
Zombicide BP Wall System + Wulfsburg Towers

Print Profile(2)

Description
Description:
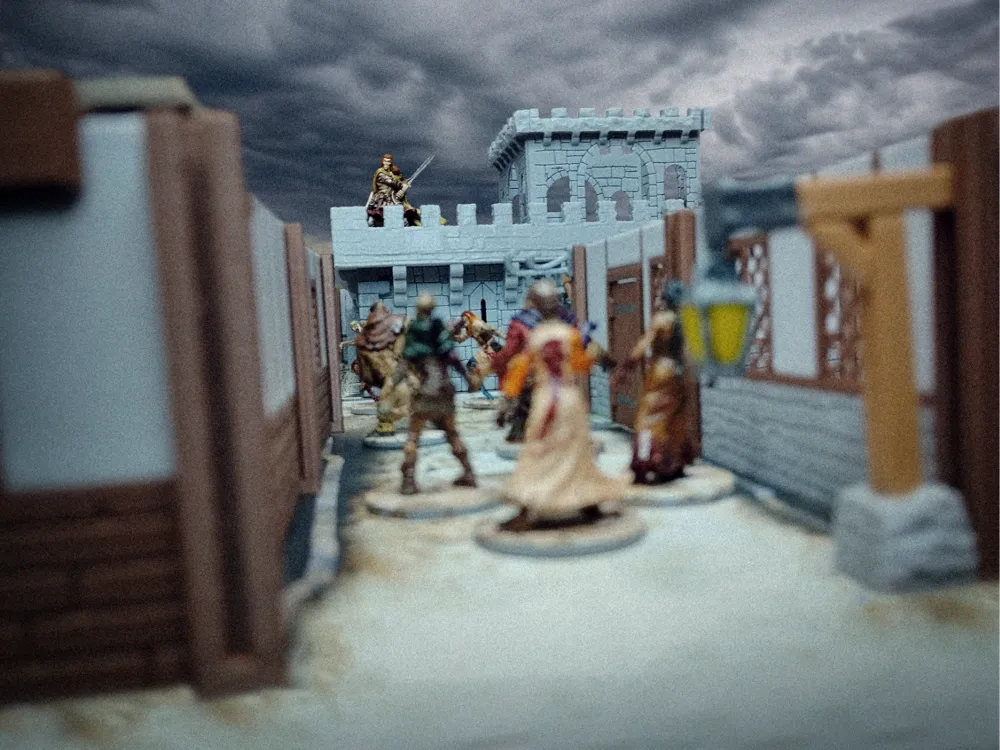
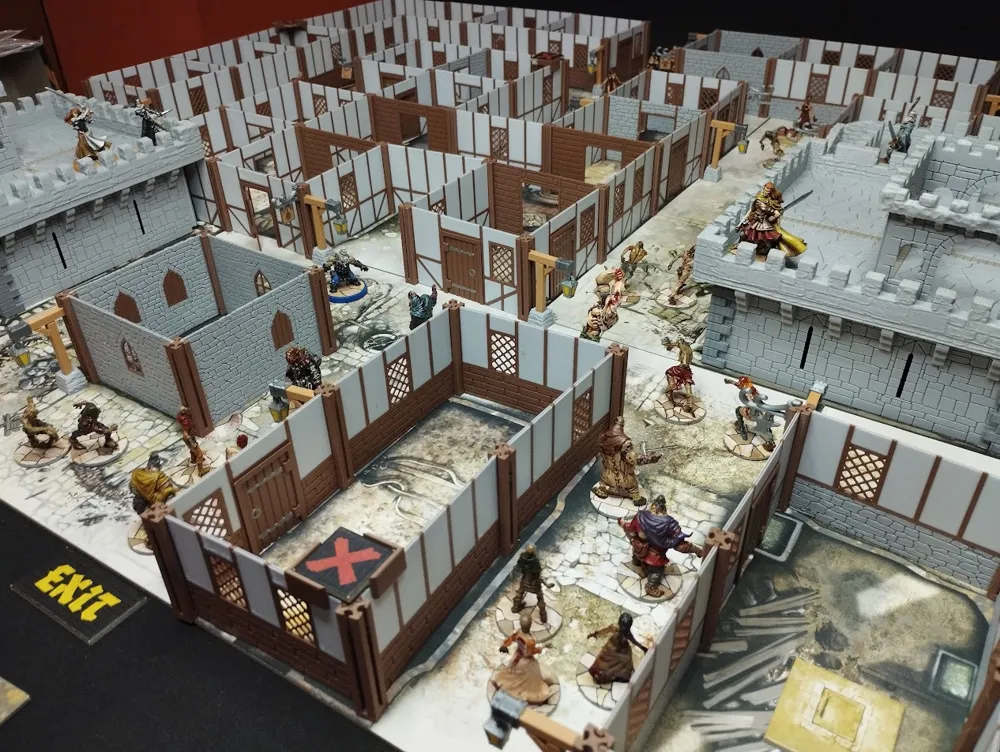
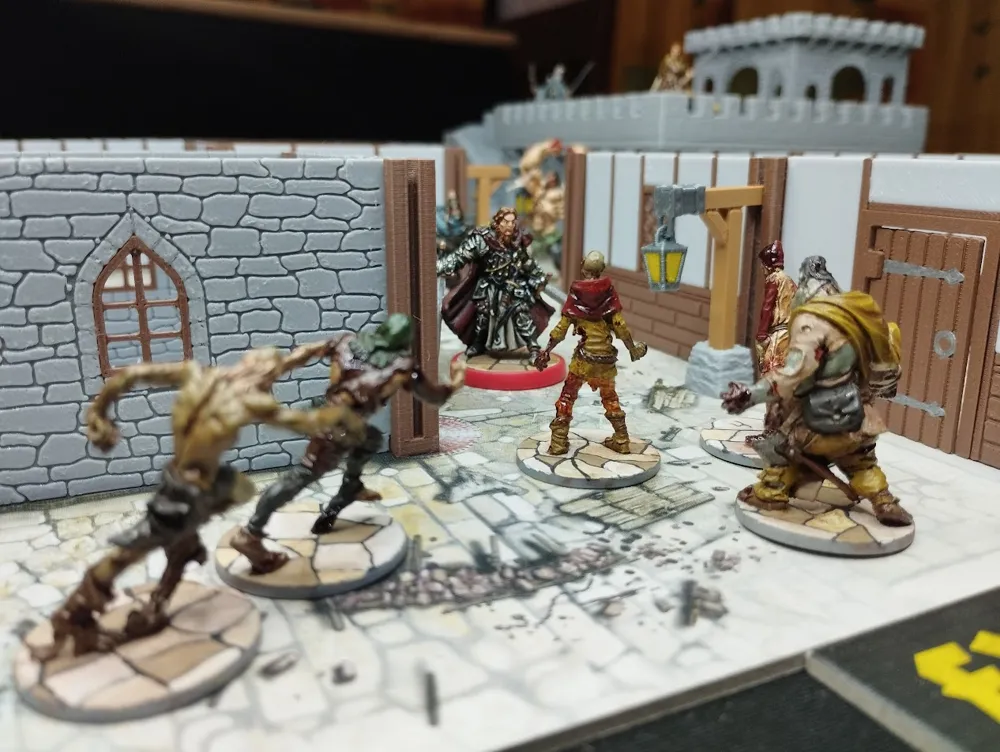
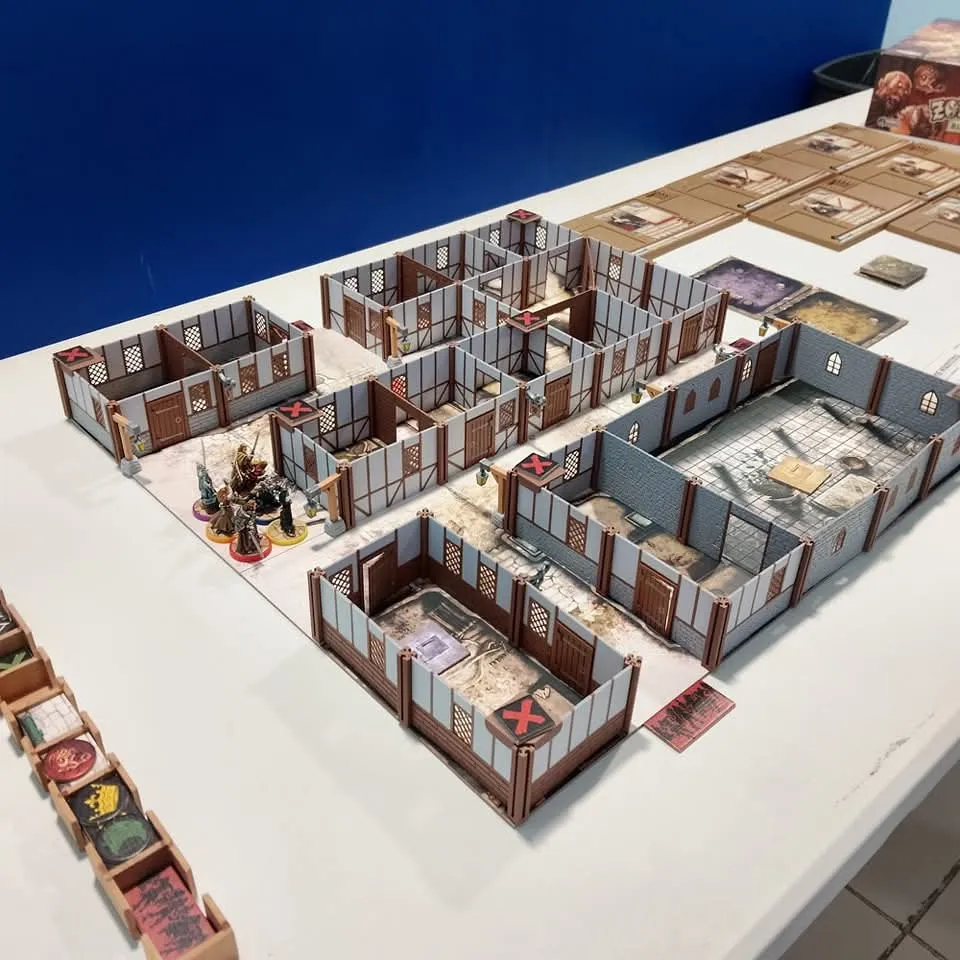
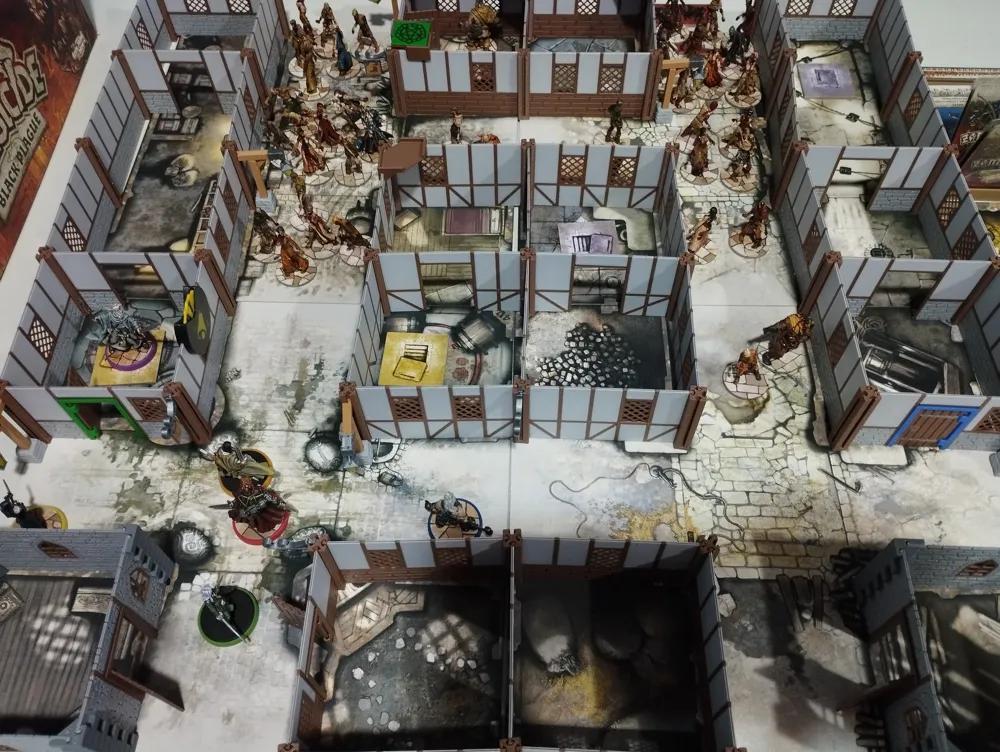
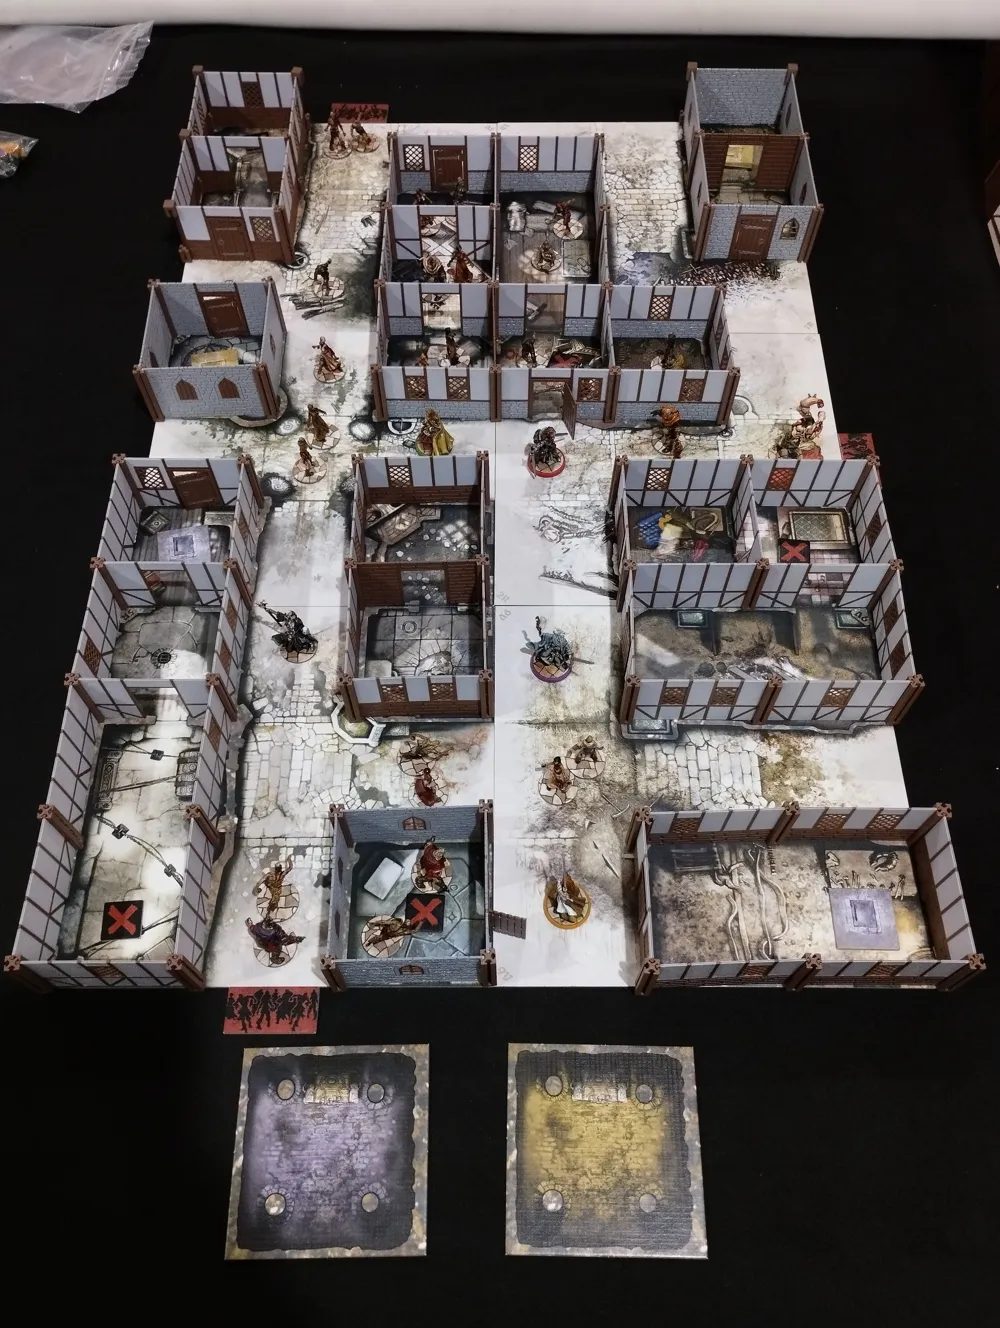
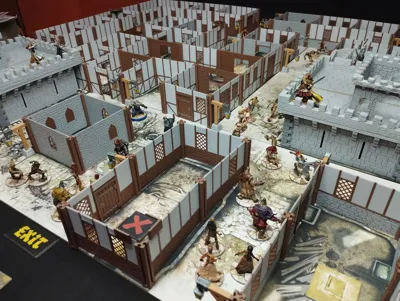
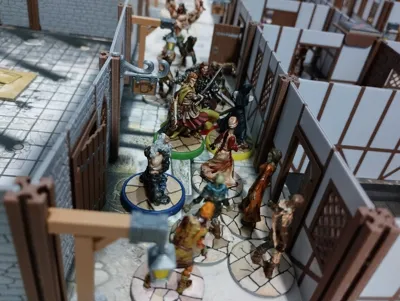
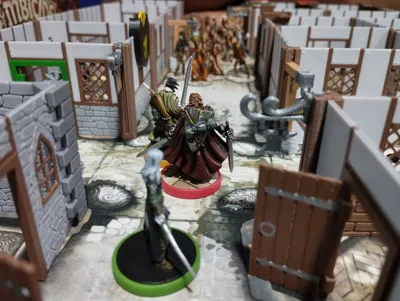
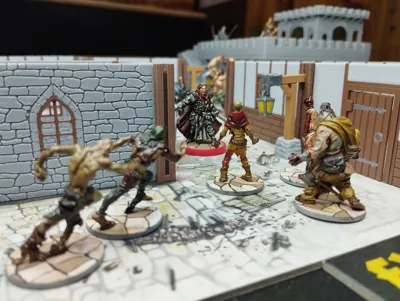
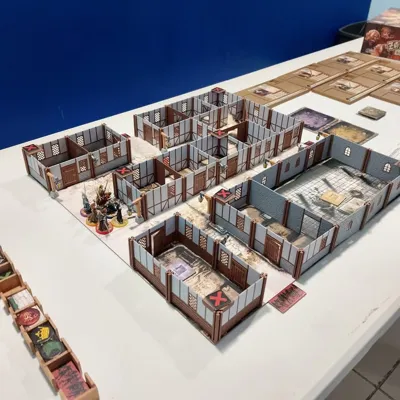
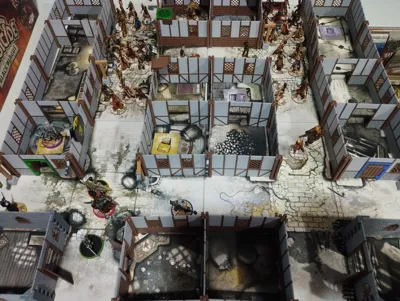
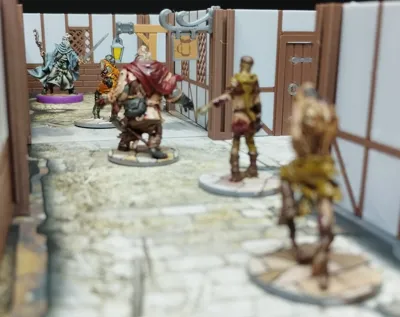
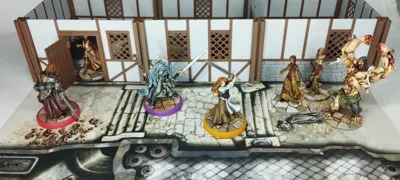
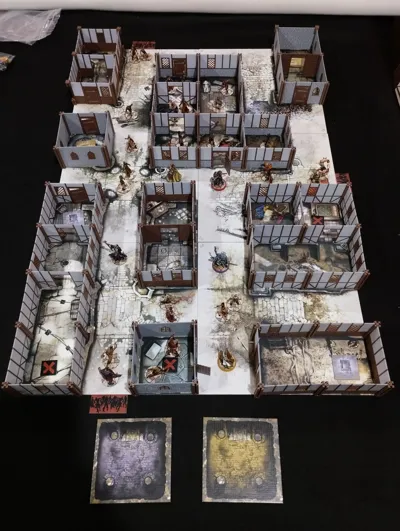
This is the wall system I designed for the Zombicide: Black Plague Board game, it's meant to enhance the thematic experience without using a ton of material, I also made the towers for the wulfsburg expansion and some accesories to decorate and fix the issues I found while playing with my copy.
About the Pieces:

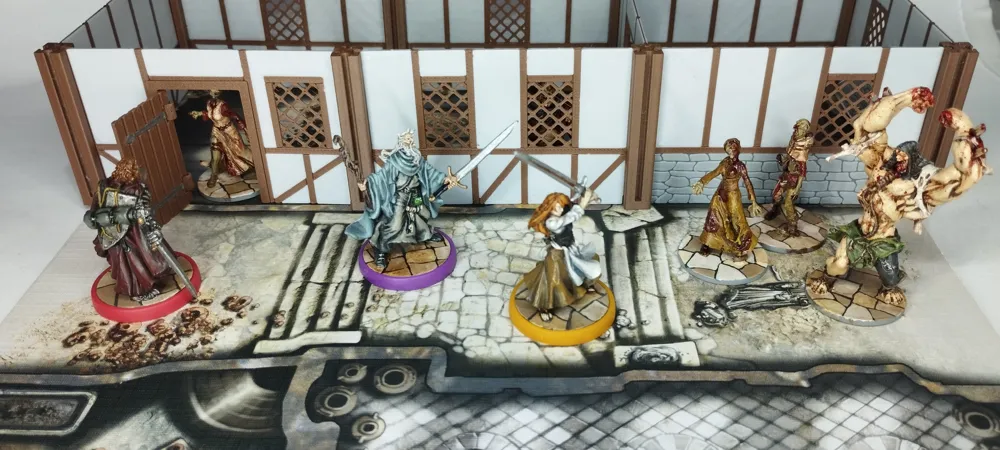
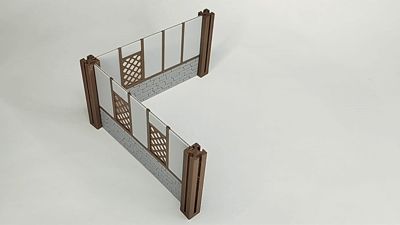
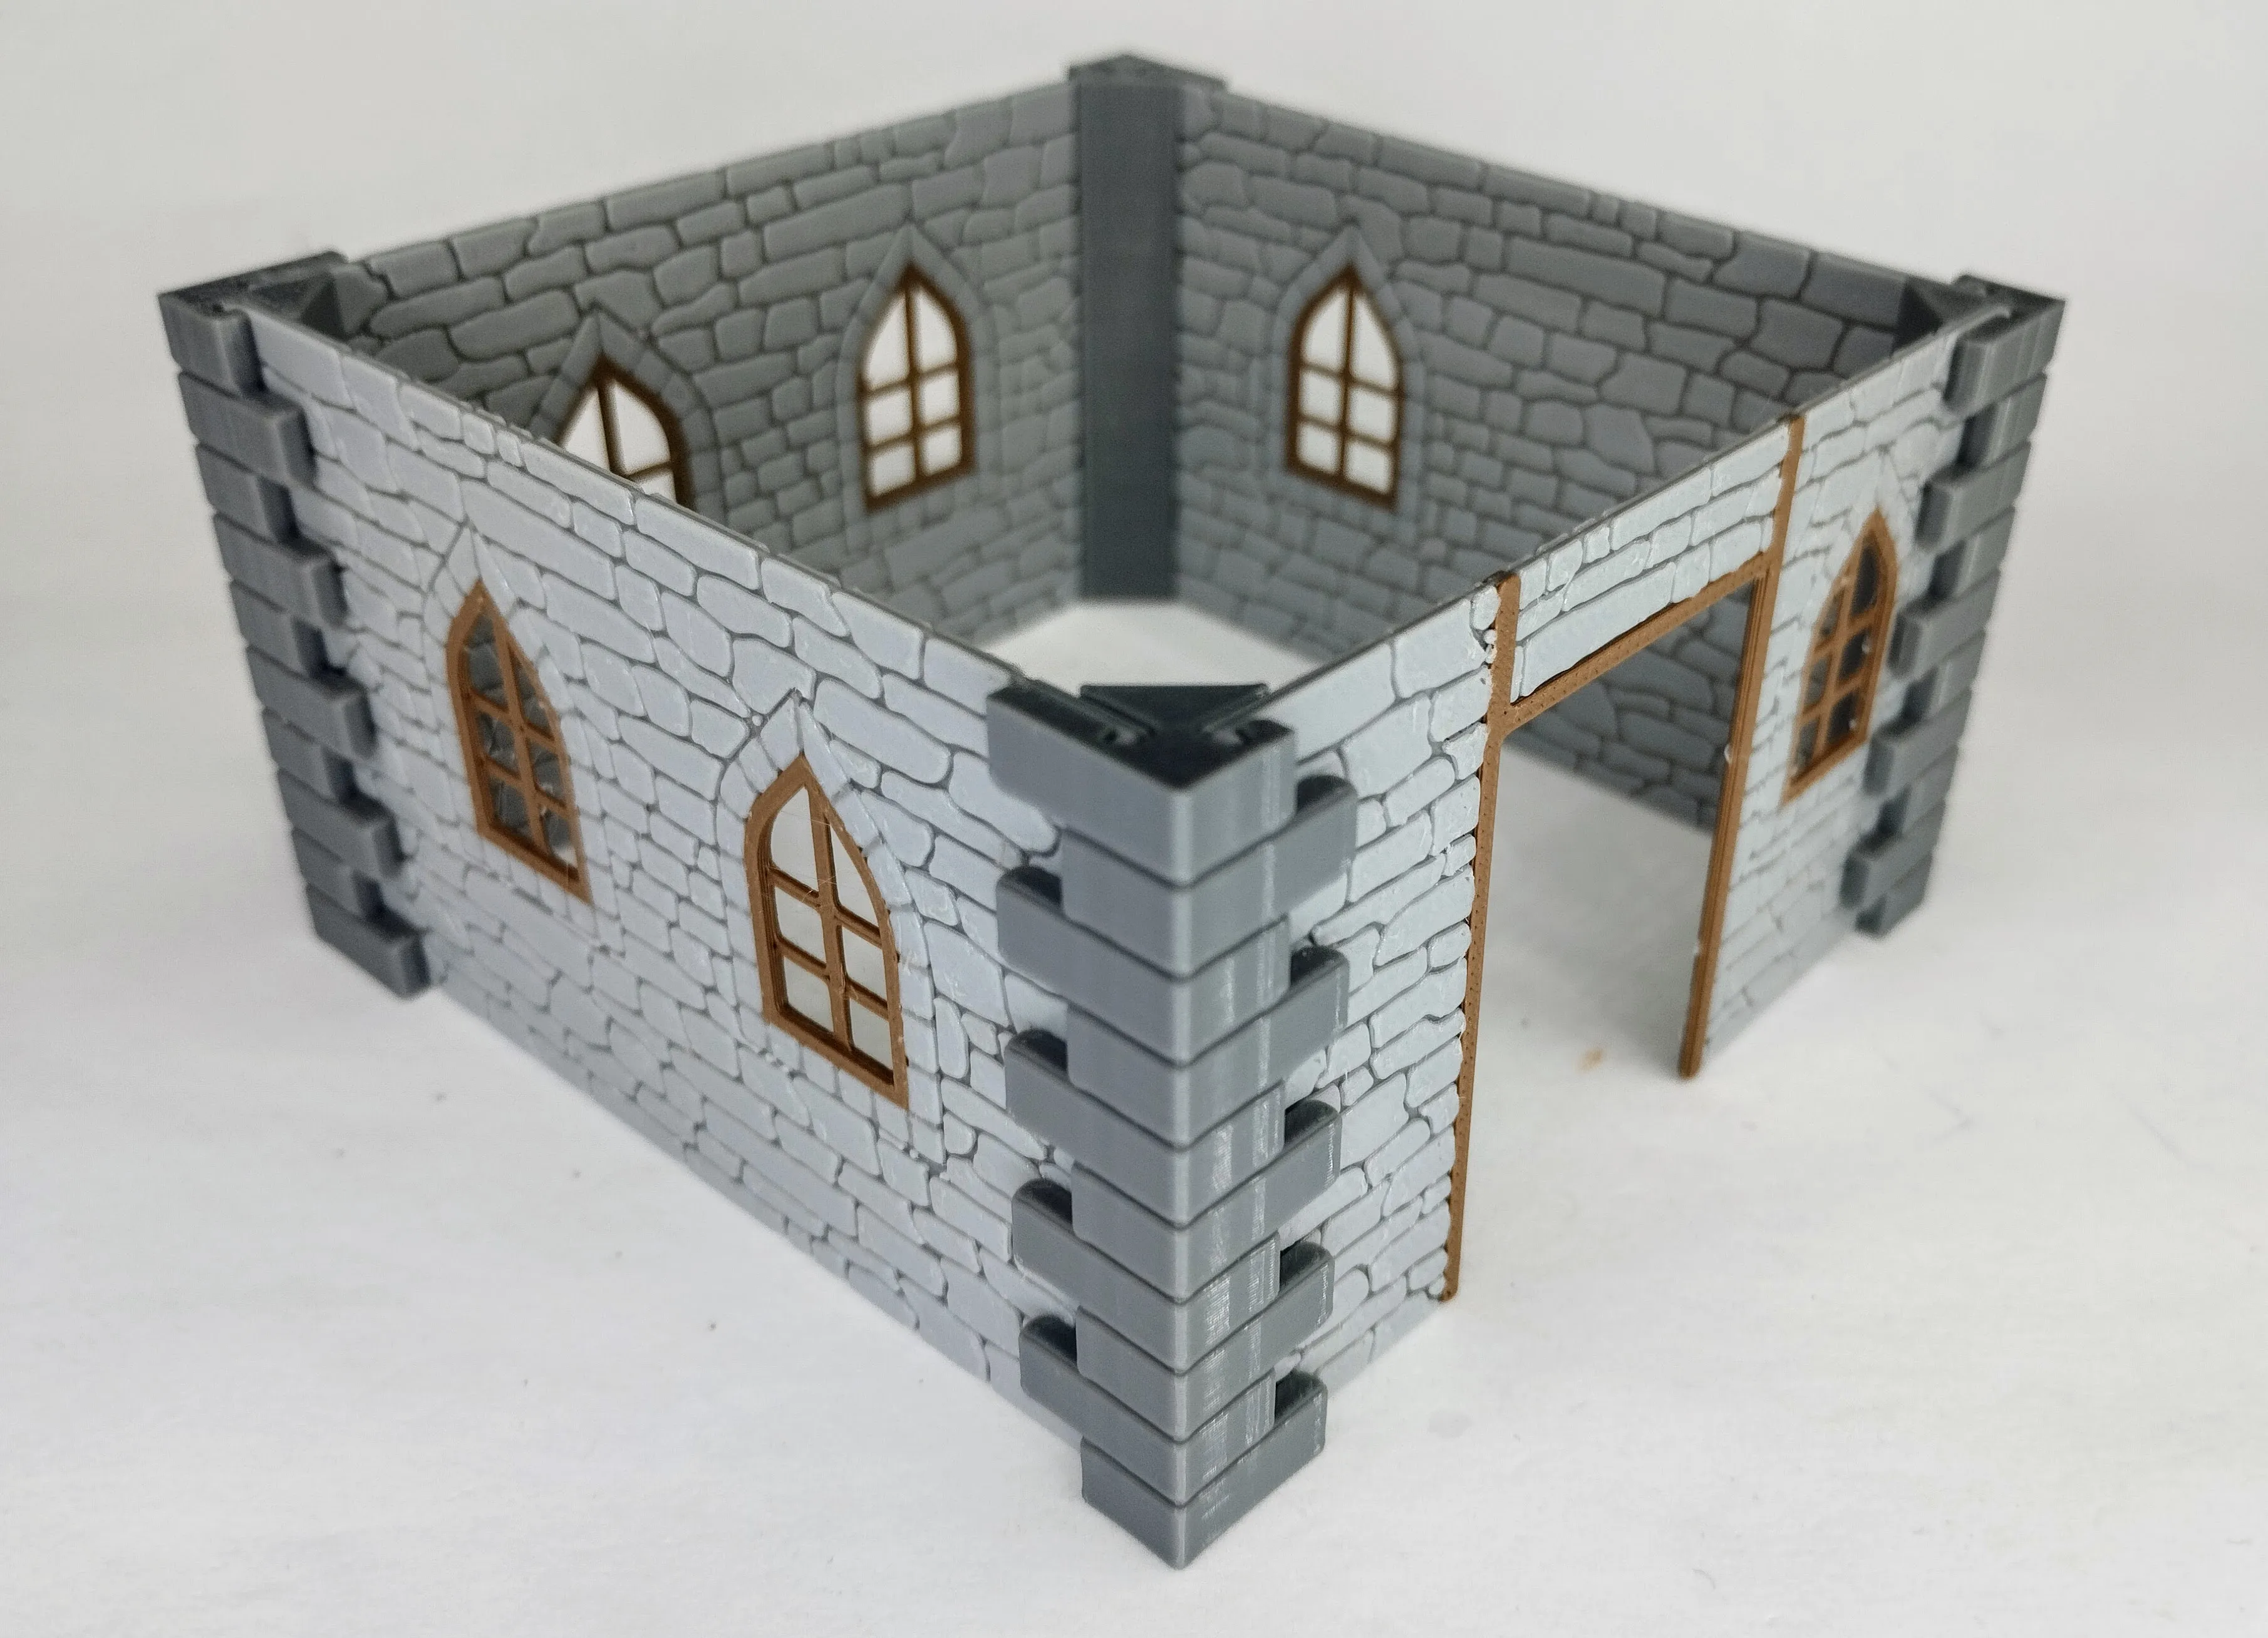
Walls: I made the walls print laying flat so that I could print different designs in multiple colors on them without a ton of color swaps and also make them thinner but strong since the board sometimes is filled with miniatures and I needed all the space I could get, as an added bonus each wall segment use only around 4 or 5 grams of pla.
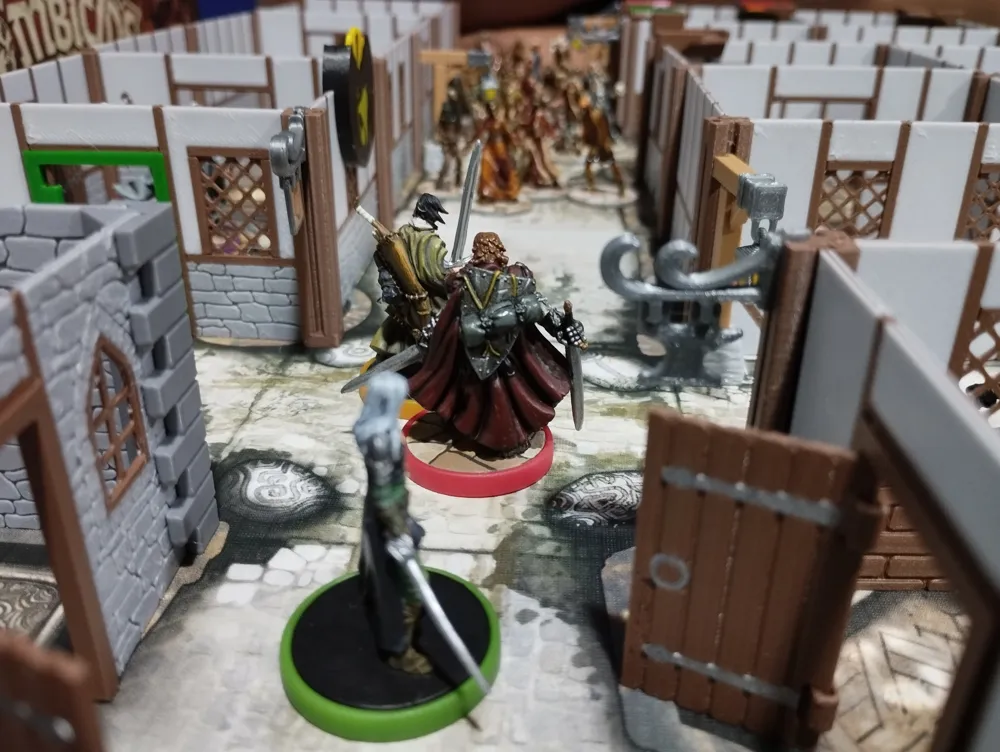
I made 4 different wall styles, each in 4 different solid wall types and 2 with a doorway, the walls with doorways and windows are meant to be on the outside (usually with a door) and the ones without a window on the inside of buildings. theres also a long wall for the diagonal wall that shows up in one of the map tiles and an extra wall style made entirely out of wood but since I felt it was too much brown I only made a couple of those.
At first i printed an equal amount of all wall types but when playing I felt walls with windows look better and provide better visibility inside buildings so I reduced the amount of walls with no windows.
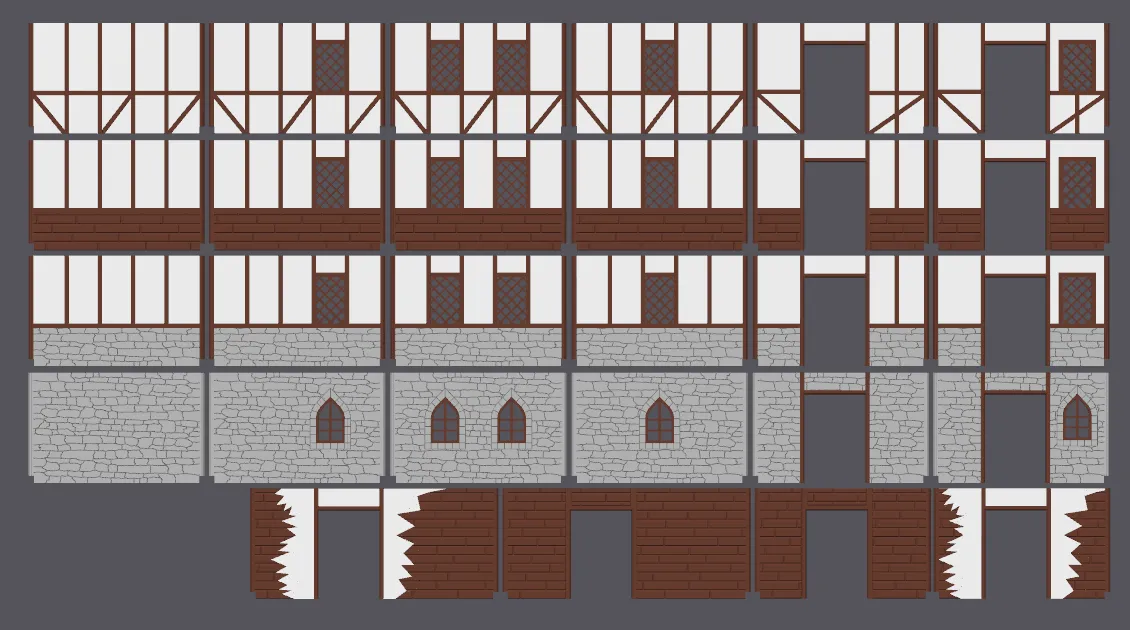
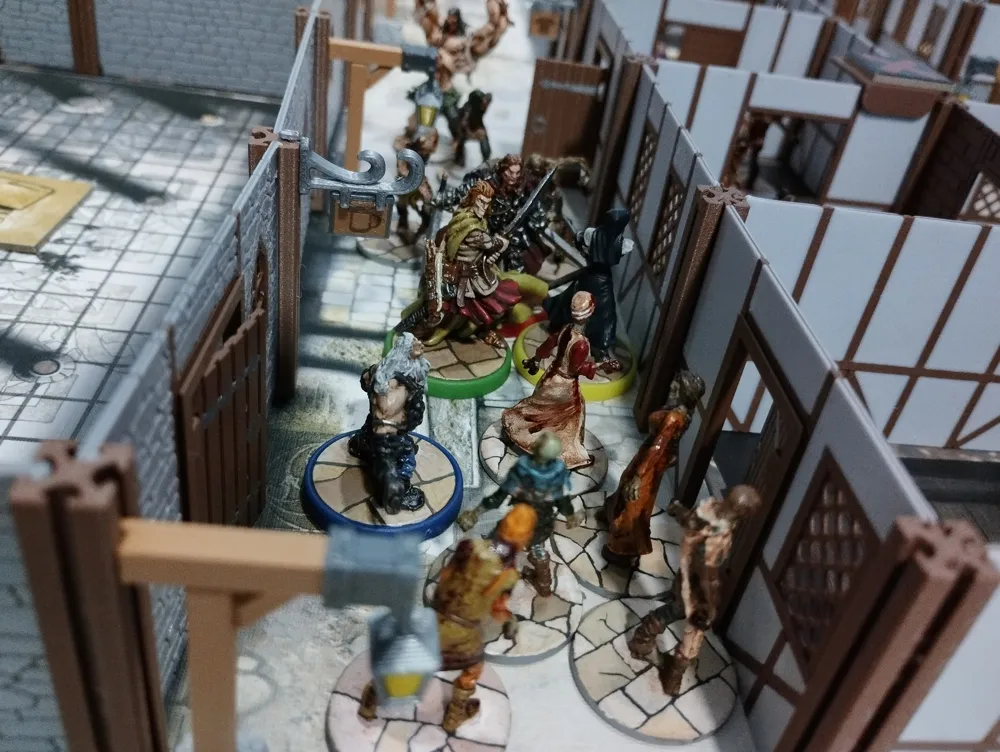
Pillars: The pillars are all the same and have slots for the walls and accesories on all 4 sides since I didn't want to have to print more pieces for straights, corners and "T" connections, theres two pillars that are different, these are for the long diagonal wall in one of the tiles.

Doors: The doors fit in any wall with a doorway, just slide them in from underneath, they are printed laying flat just like the walls for all the same reasons, you need to print the doors first and then print the door frames which have a pause at a layer to insert the door, remember that there are two colored door frames for the objectives.
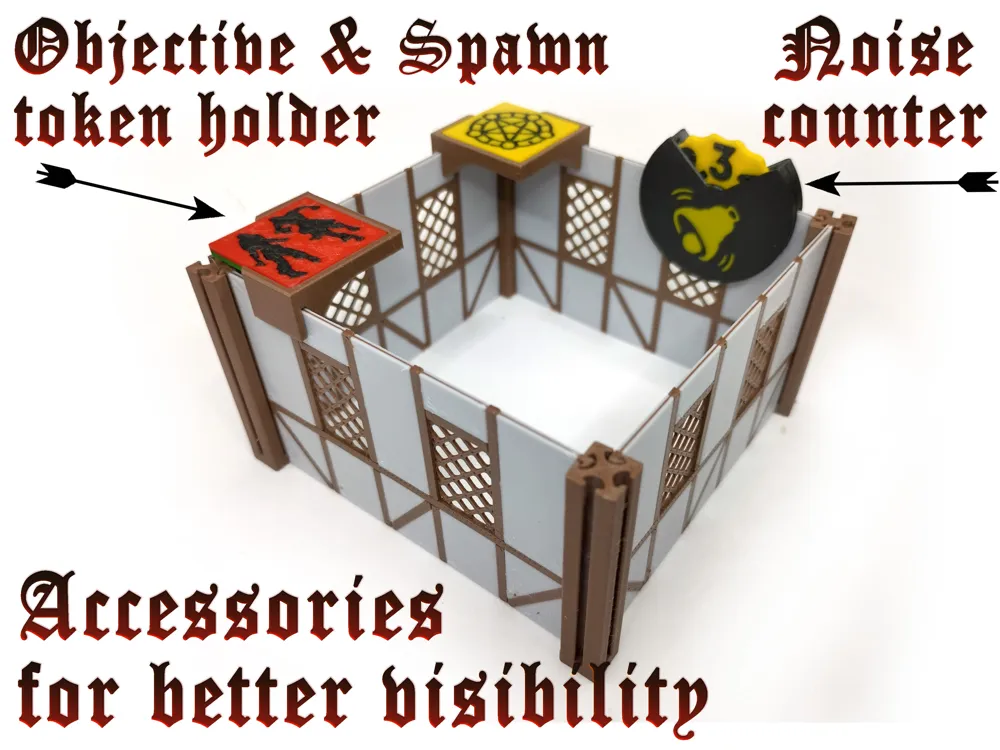
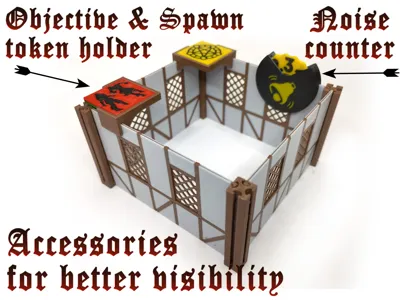
Objective Token Holders: While playing I noticed the objective tokens could be hard to keep track off so i made these tokens Holders to hold them above the walls and keep them visible at all times.
Spawn Tokens: During gameplay, a necromancer spawn point could appear inside a house, and with all the miniatures on top of it and the walls around it it was difficult to see it so I made these square spawn tokens that are the same size as the objective tokens so that they could be placed on the objective token holders I made, this way they are always visible.
Noise Counter Wheel: the first times I played with my wall system one of the biggest issues was the noise tokens, they were difficult to see, keep track of, and then remove them at the end of the round without moving everything around since most of the time they were under or between miniatures and walls, also you usually need to use several tokens in the same space so it was tedious removing them, thats why I made these rotating counters that can be placed on top of the walls I made, they can be seen from both sides and they count up to 9 noise so most of the time you only need one counter per space, if you need to add more noise simply spin the wheel to the next number and at the end of the round its easy to spot all the noise counter wheels and remove them, you need to print the wheel first and then the case since the case has a pause at a layer to place the wheels inside, they also have custom supports you have to remove and you might need to unstuck the wheel the first time you spin it by just pulling harder on it.
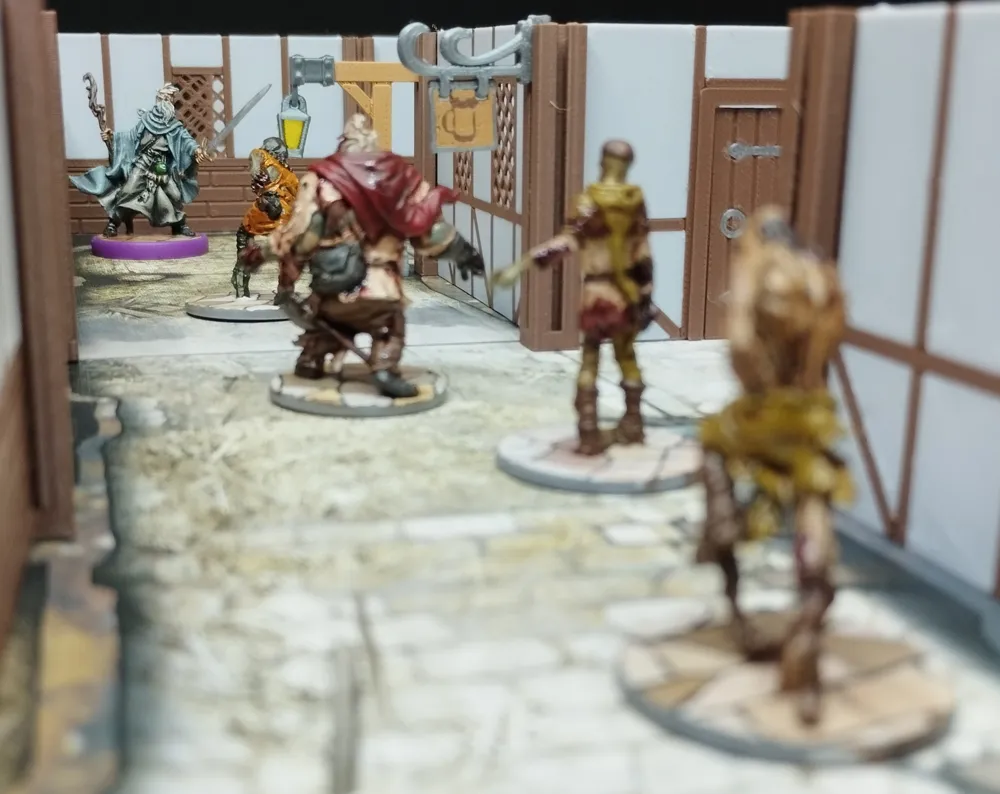
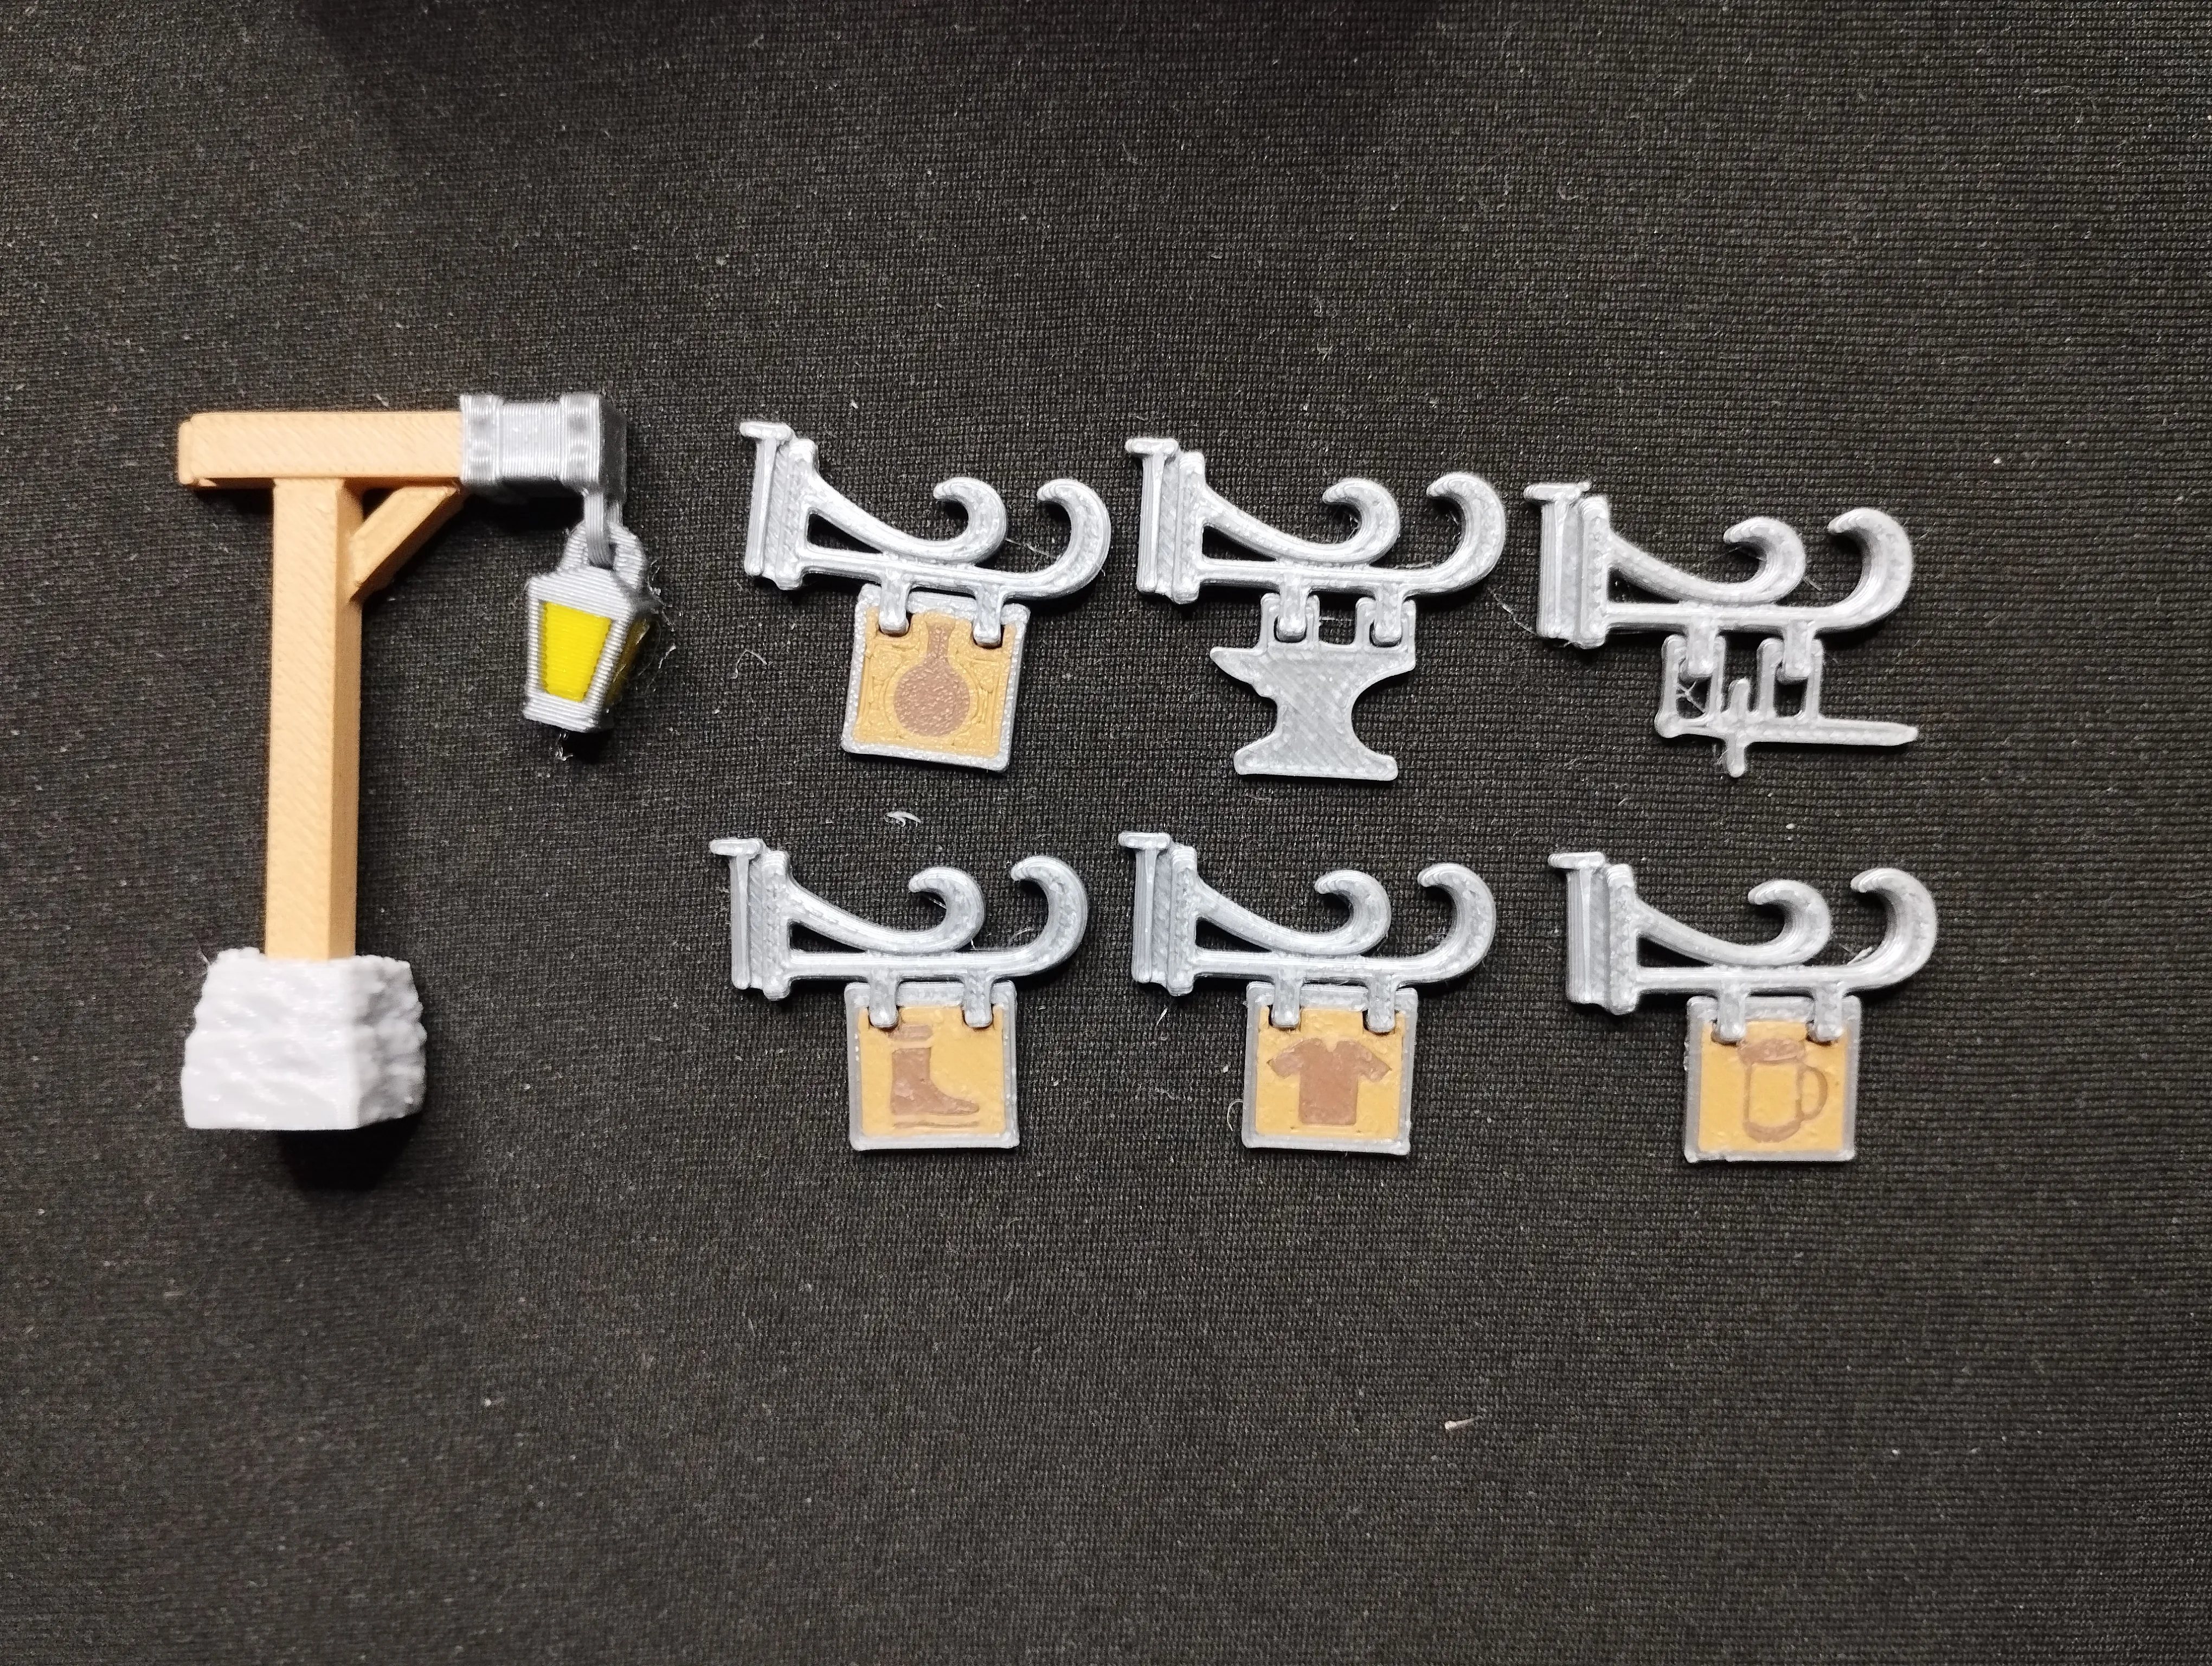
Decorations (Lamp Posts & Signs): they're not needed for gameplay, I just wanted something to make the town not so “flat”, they both slide on the pillars like the walls.
The lamp posts are printed in multiple pieces and then glued together, the hanging lamp is printed in two pieces and you need to print first the connector that goes attached to the wooden post and then print the actual hanging lamp which has a pause at a layer to insert the connector.
The sign holders also have a pause at a layer to insert the actual signs (just like the doors) so print the signs first, then the "hanger".
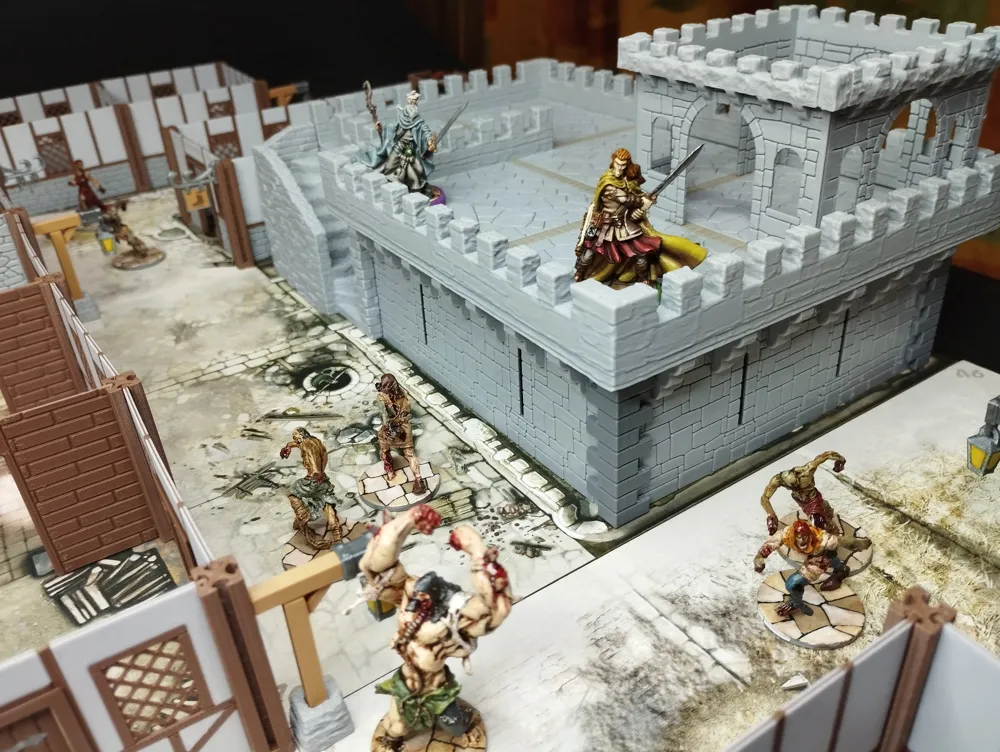
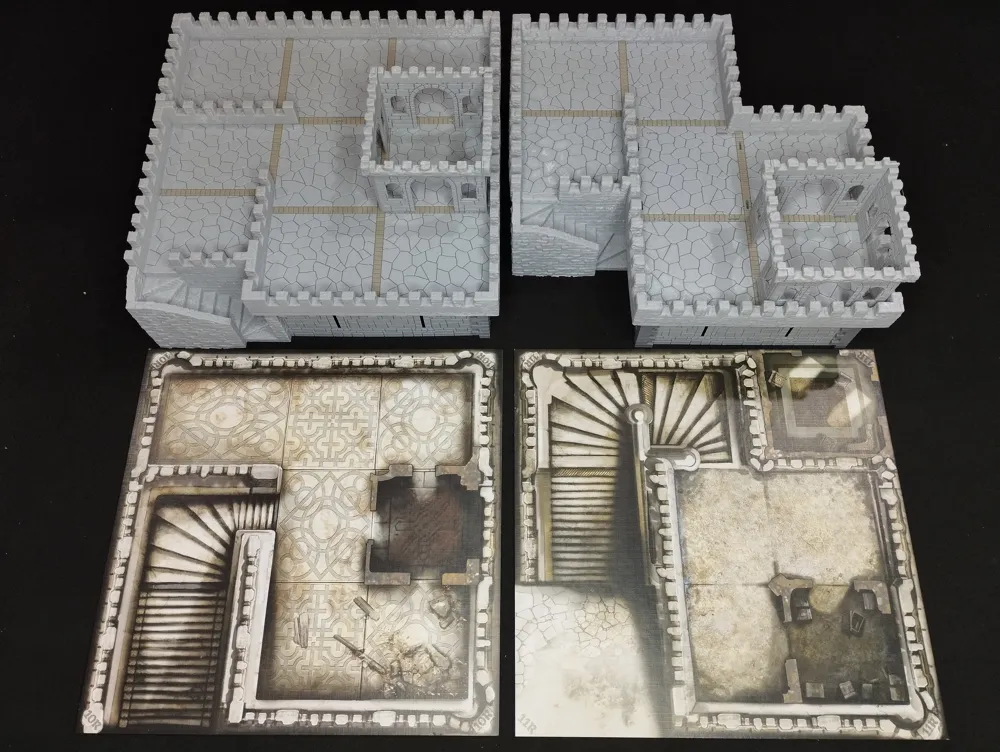
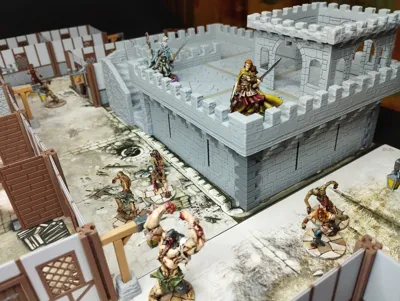
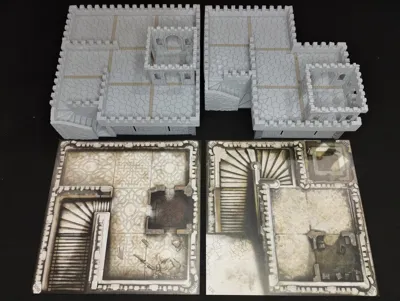
Wulfsburg Towers: I designed them in pieces to save filament and for easier storage, I also made the spaces that are supposed to be stairs in the original map tile part of the top of the tower since the bases of the miniatures vary a lot in size I would have needed to make the steps too big and unrealistic, I also didn't like how when you first set foot on the very first step of the stair you already have vision over the houses as if you were on top of the tower, so this way the stairs look like real stairs and they only serve to show from where you can access the tower and its clearer that you can see over the map when you set foot on the tower space.
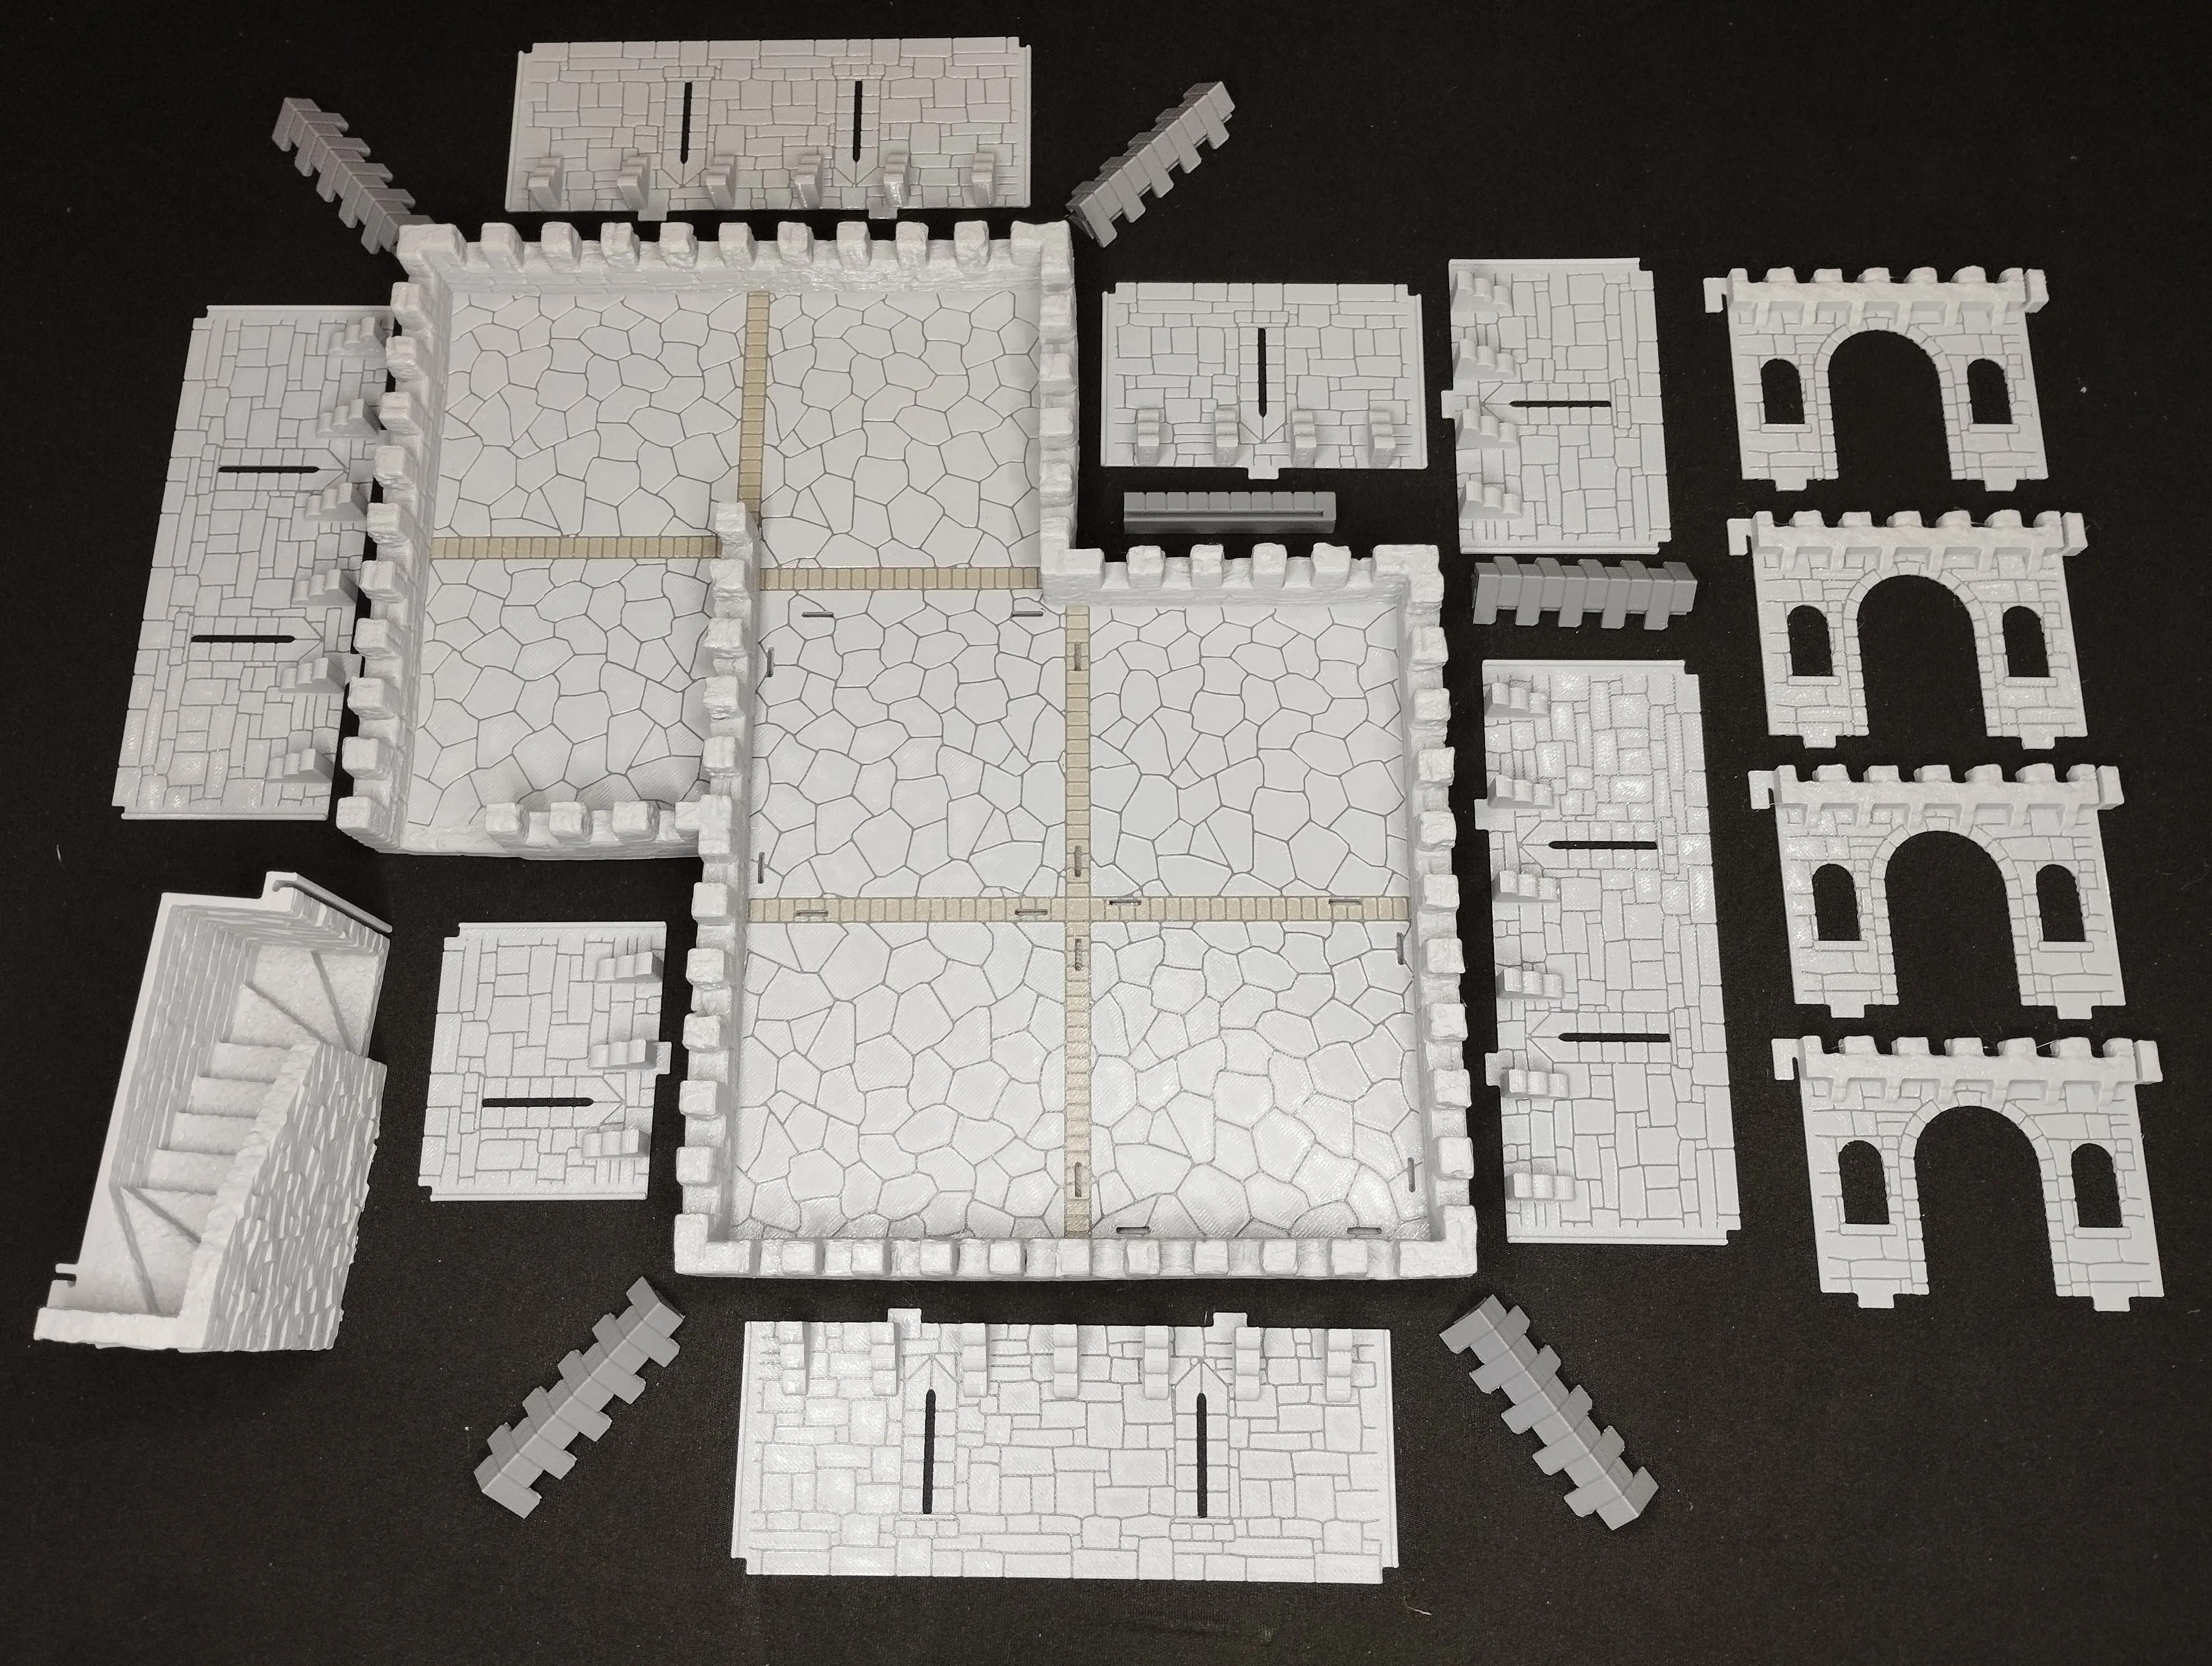
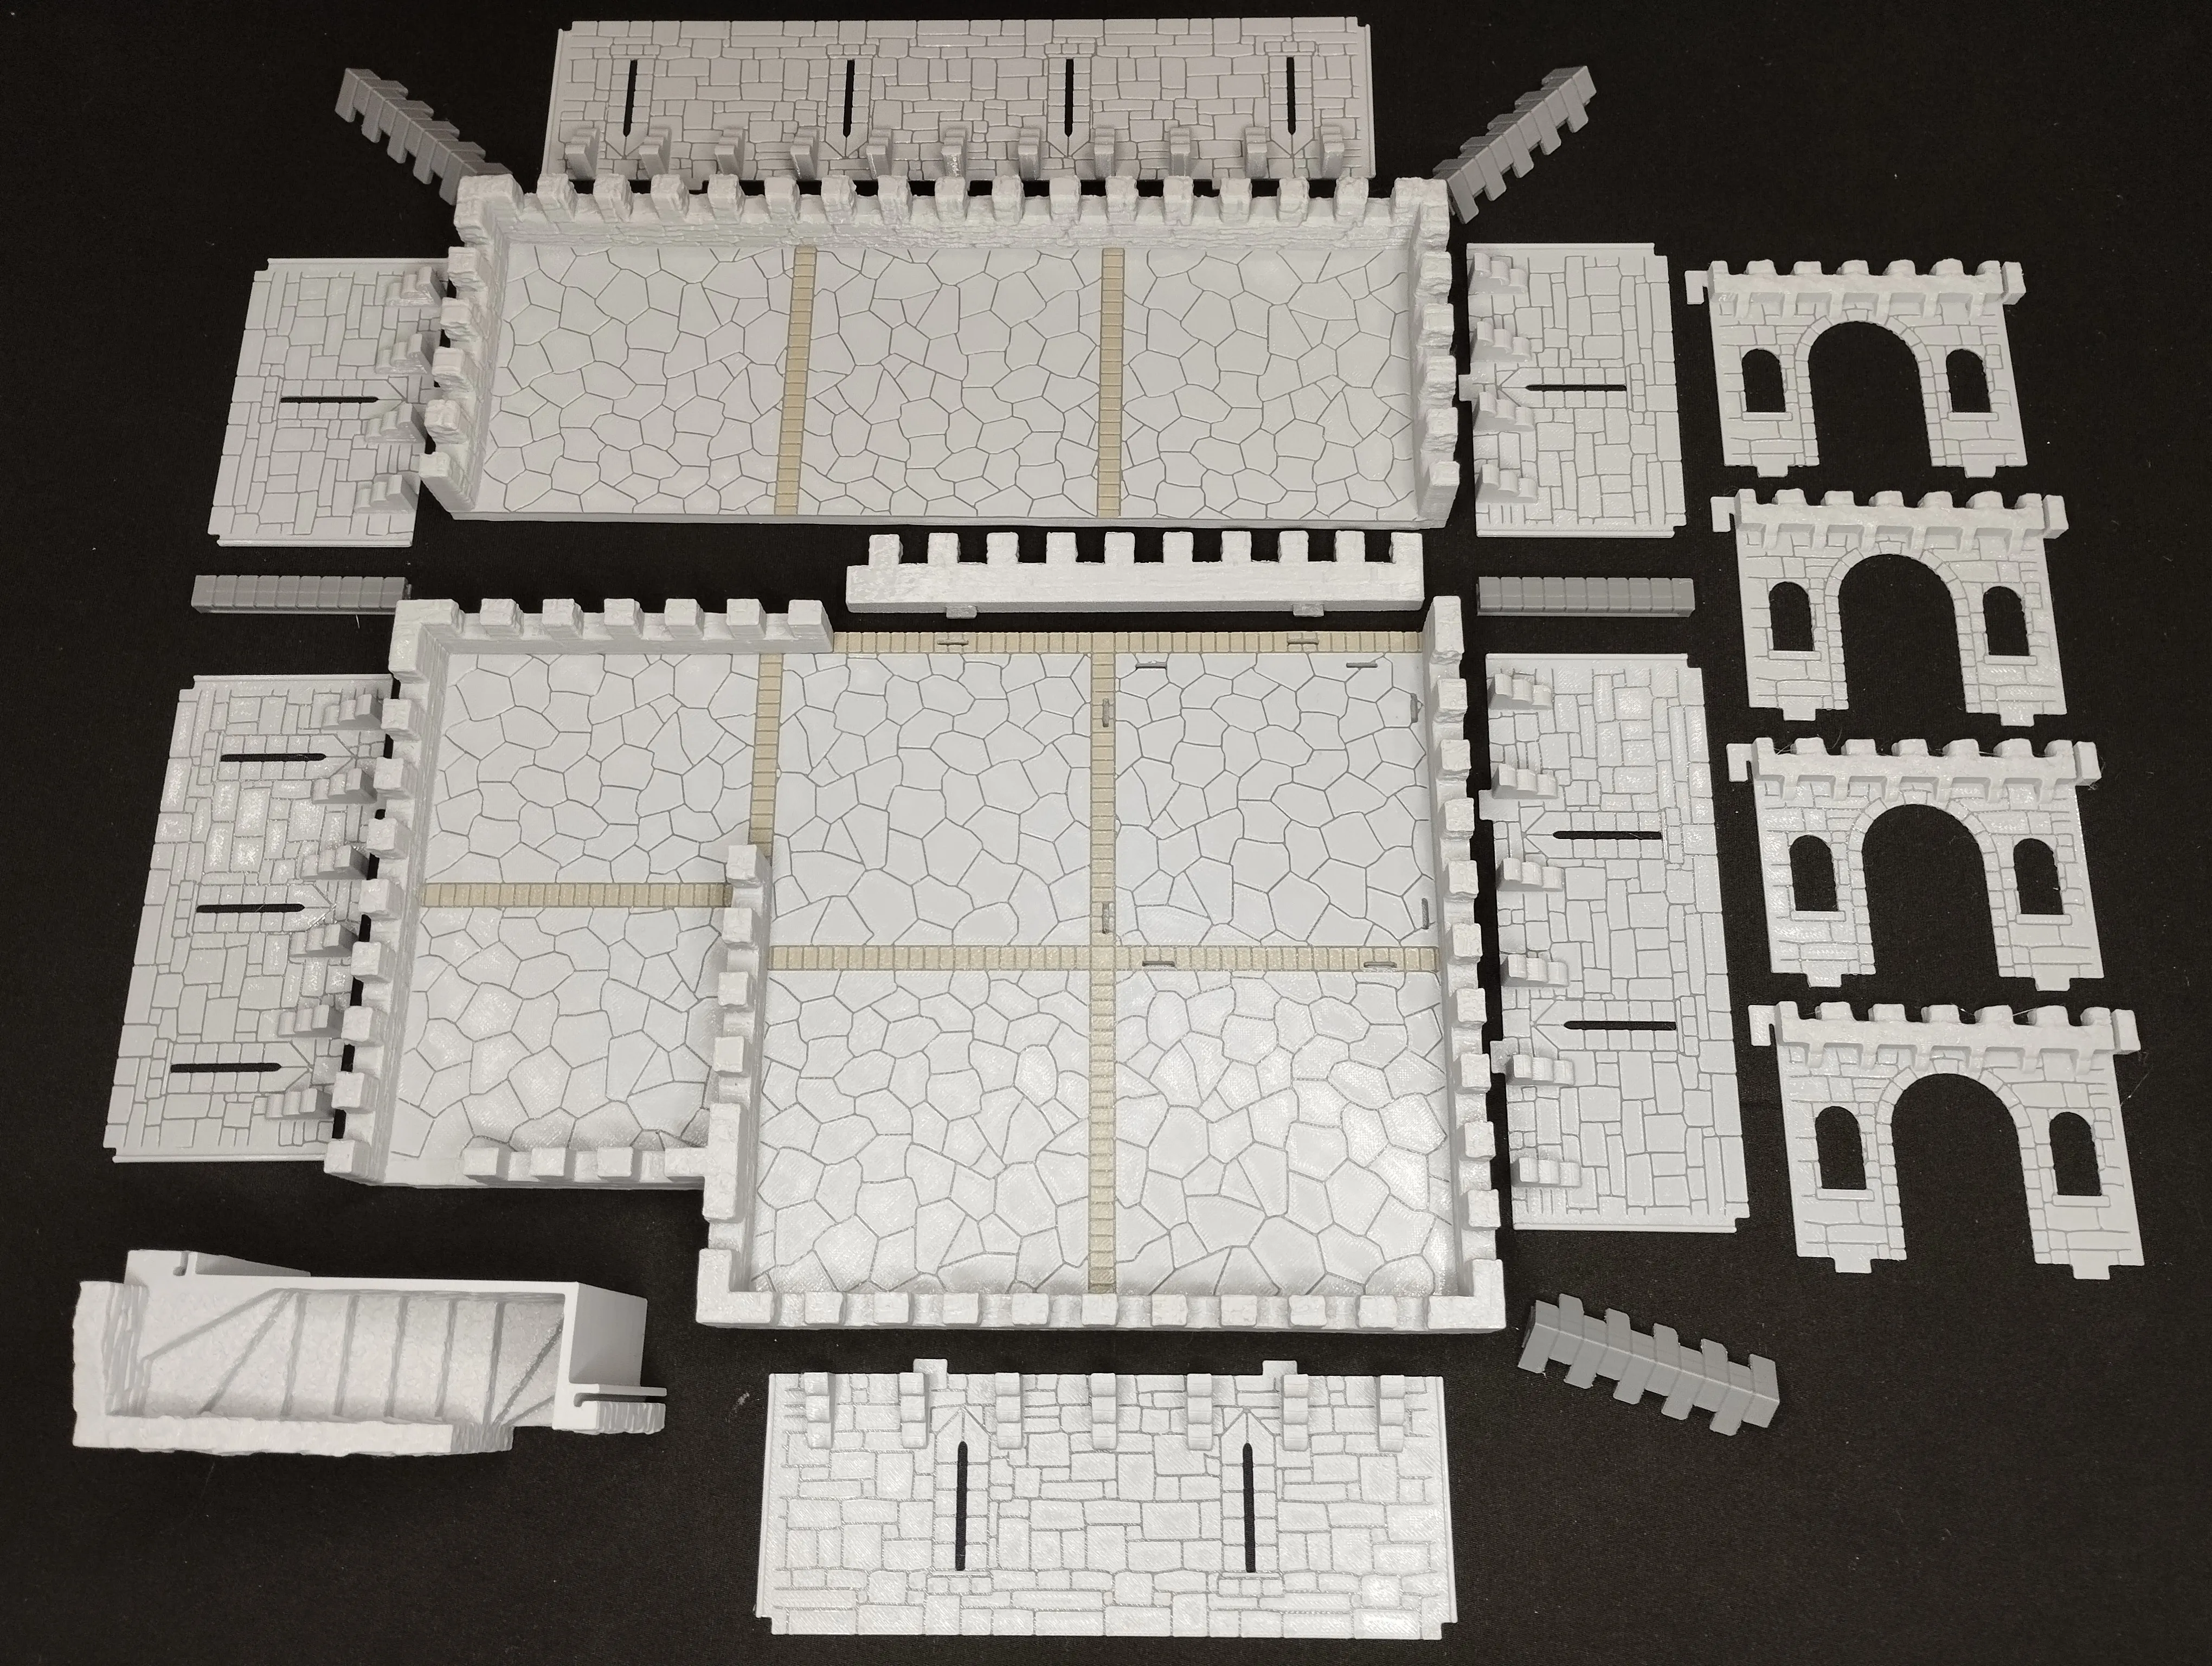
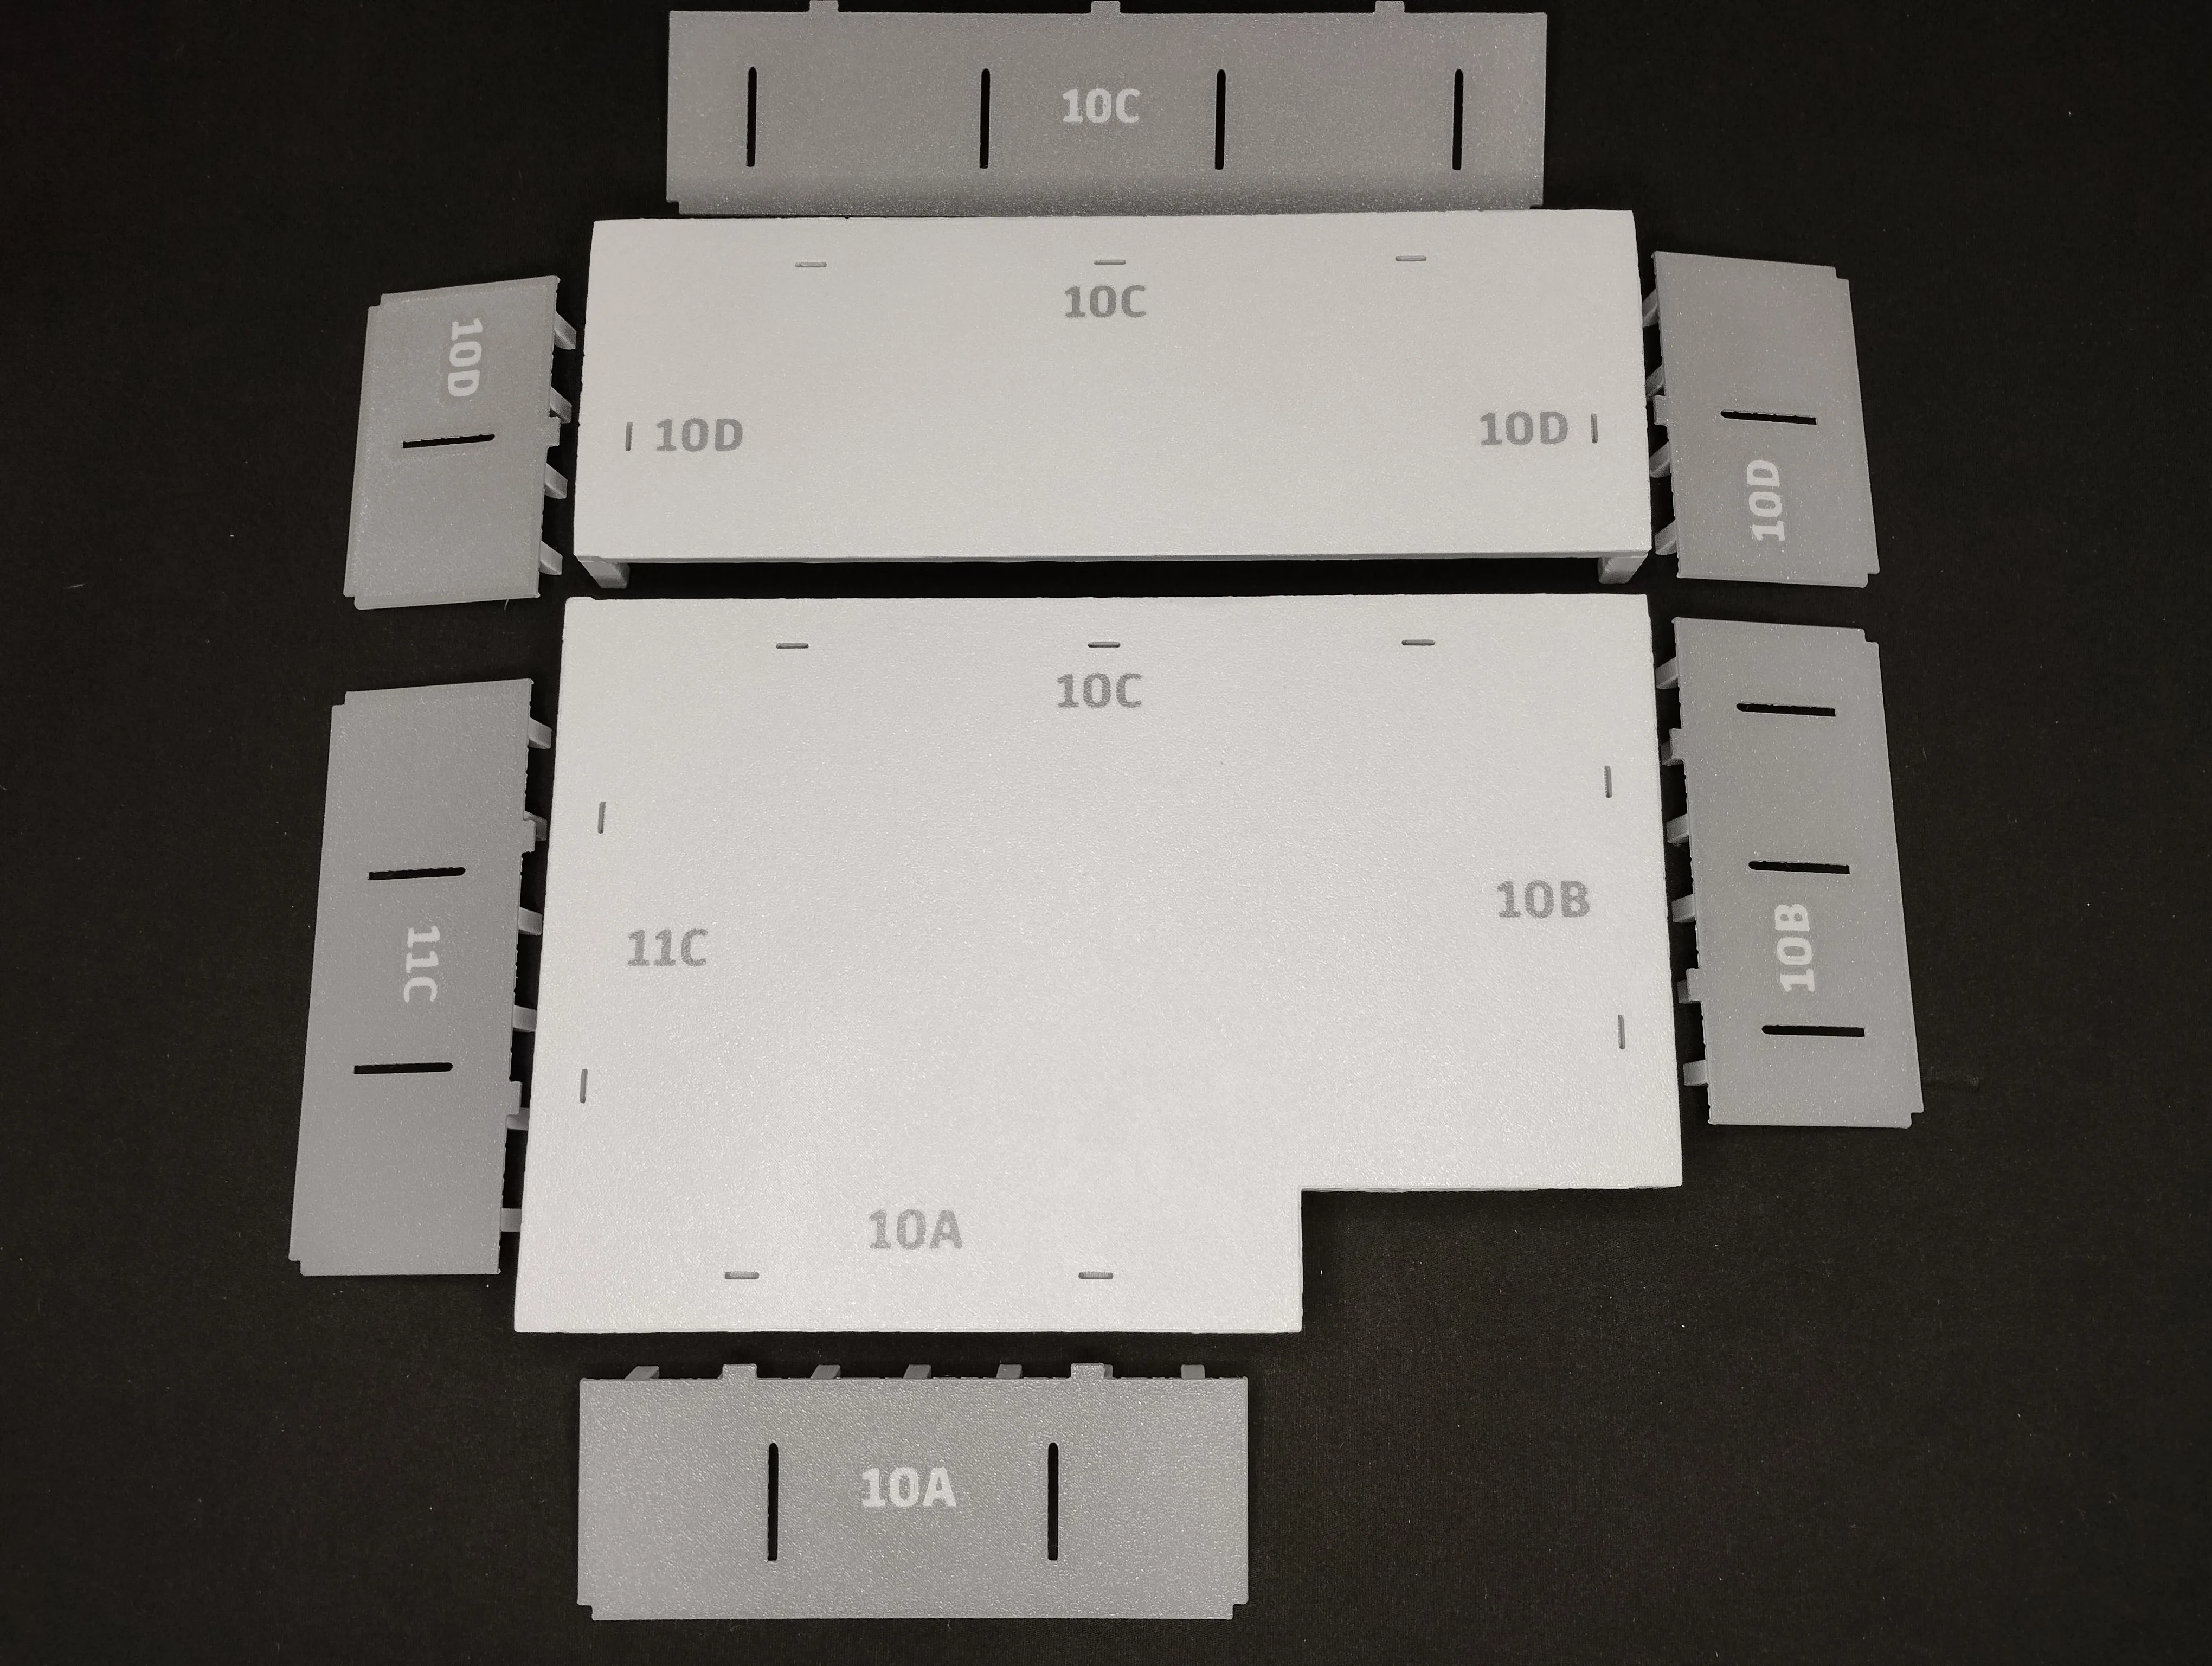
The towers and tower walls have numbers and letters printed on them to show where they go for easy asembly, when putting them together try not to push from the bottom of the walls, push from the closest point in the wall to the tab you're trying to insert to avoid bending or breaking the wall.
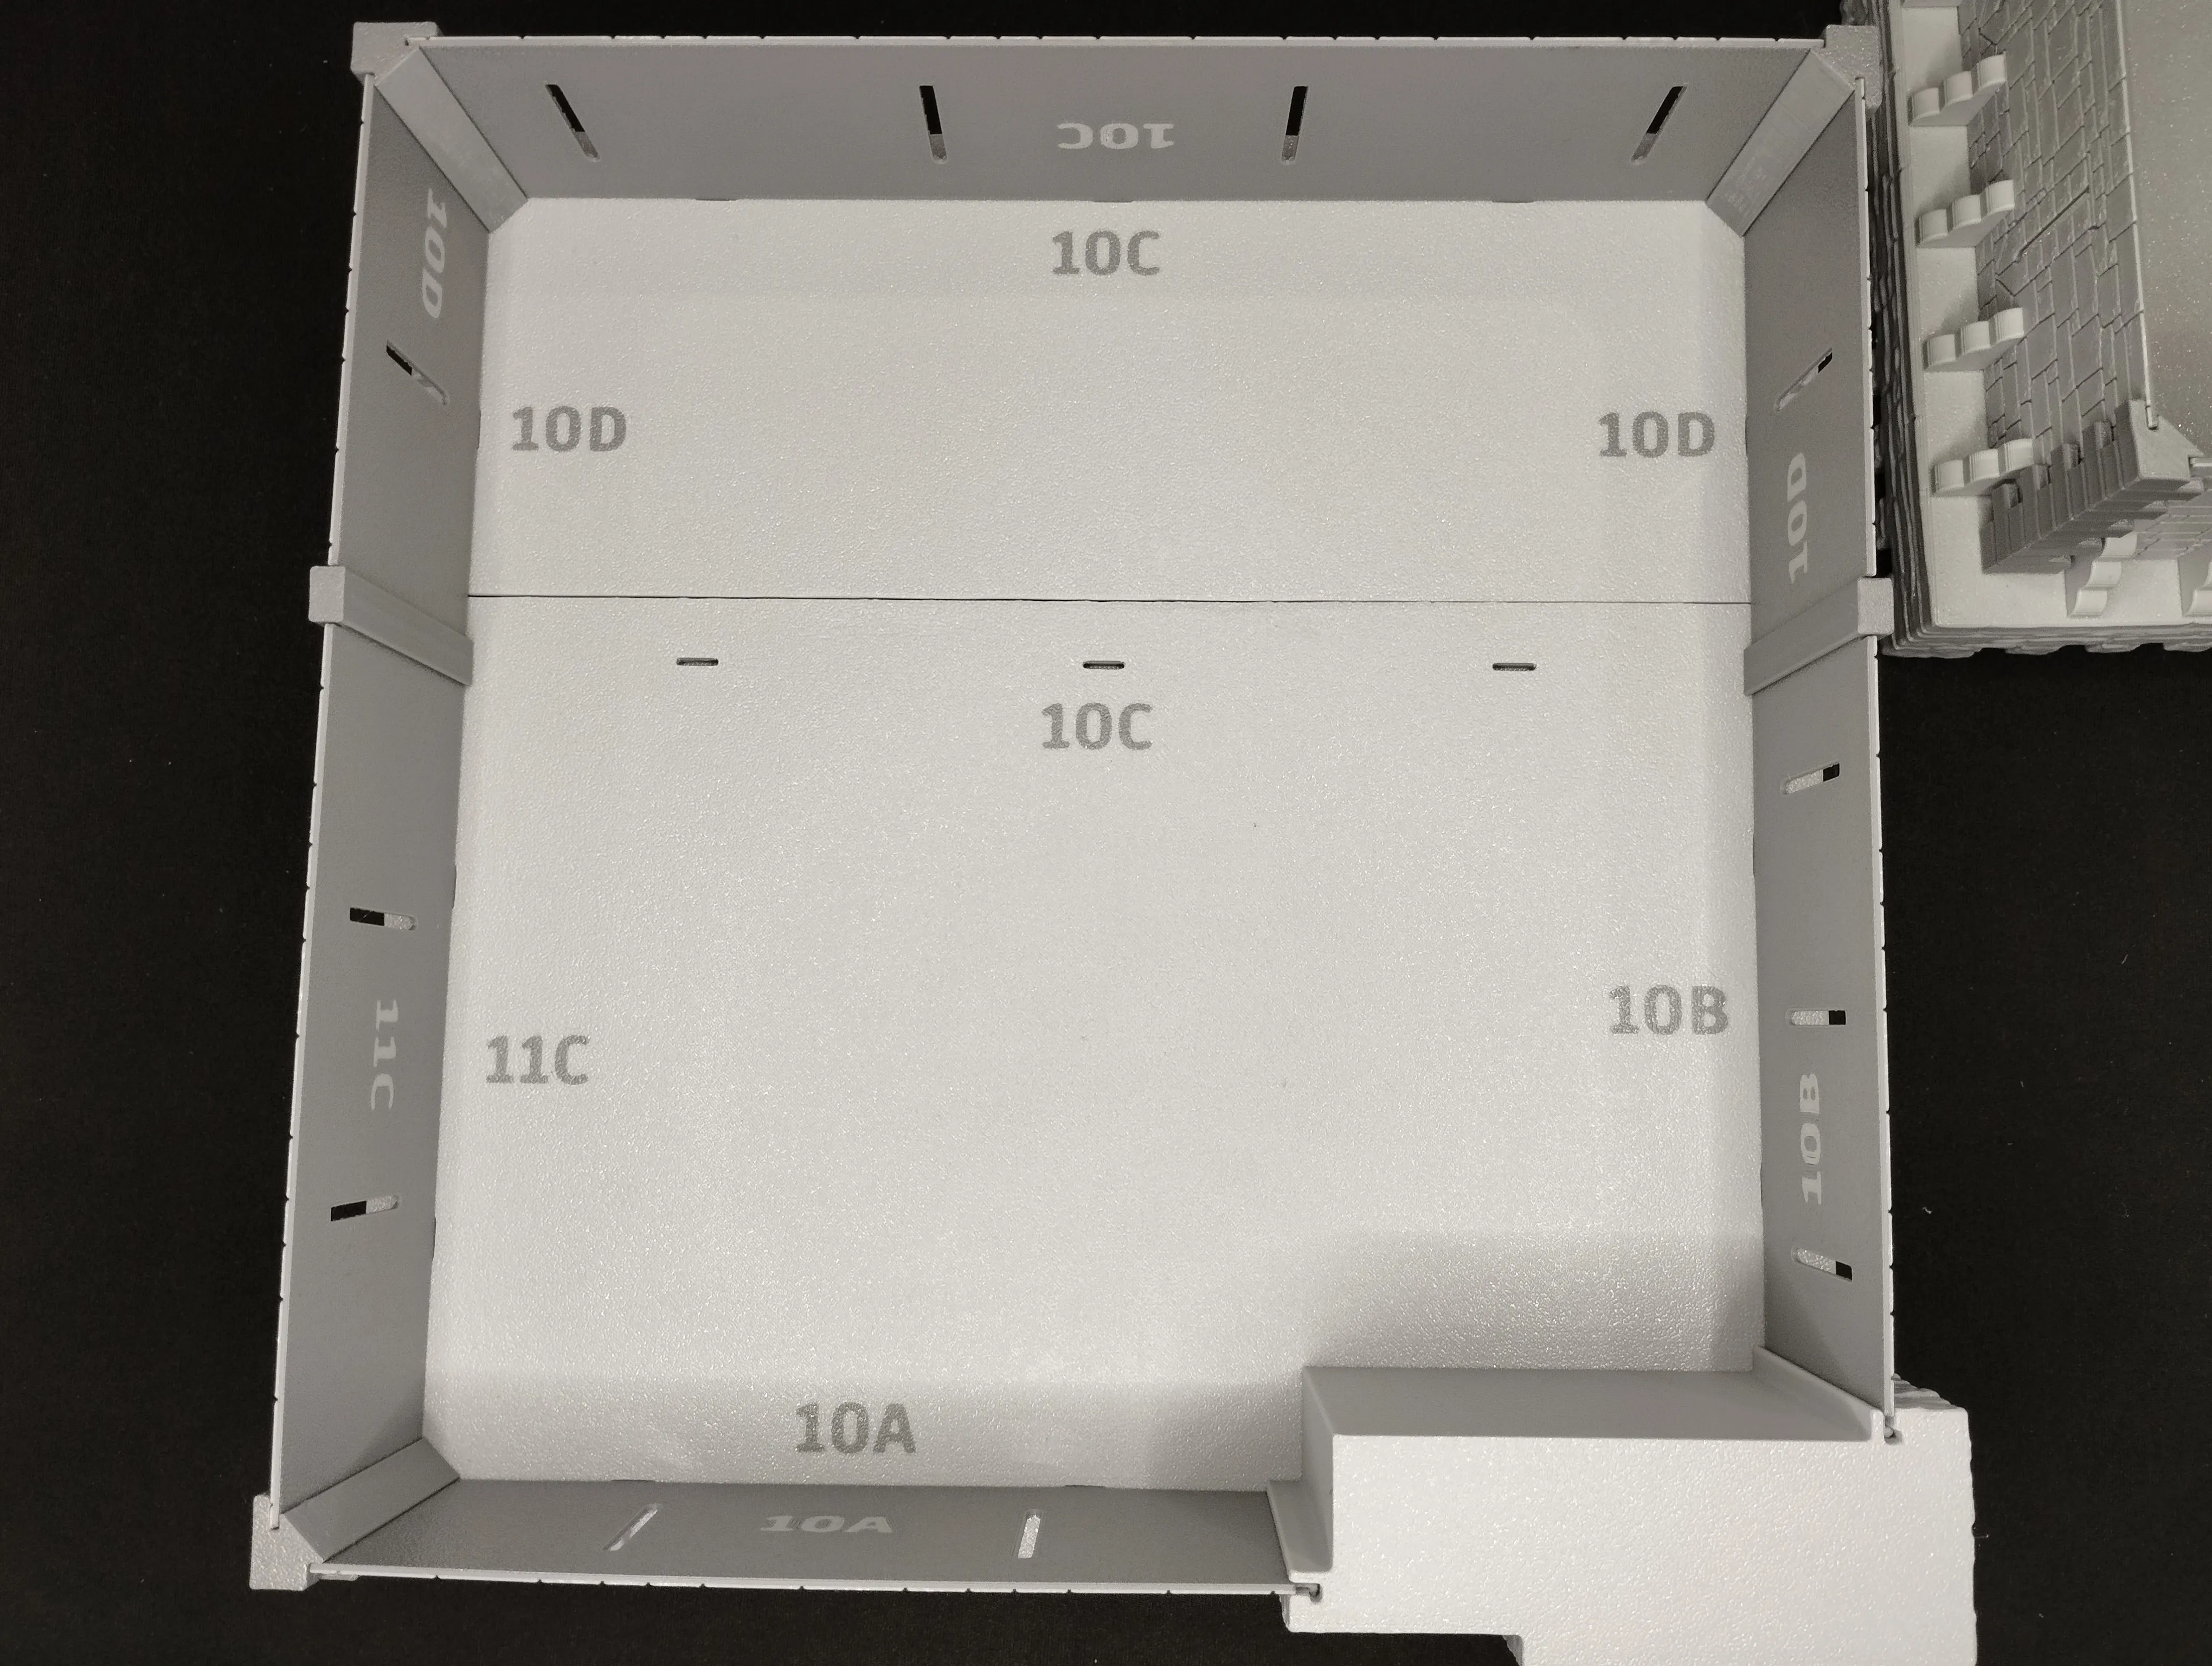
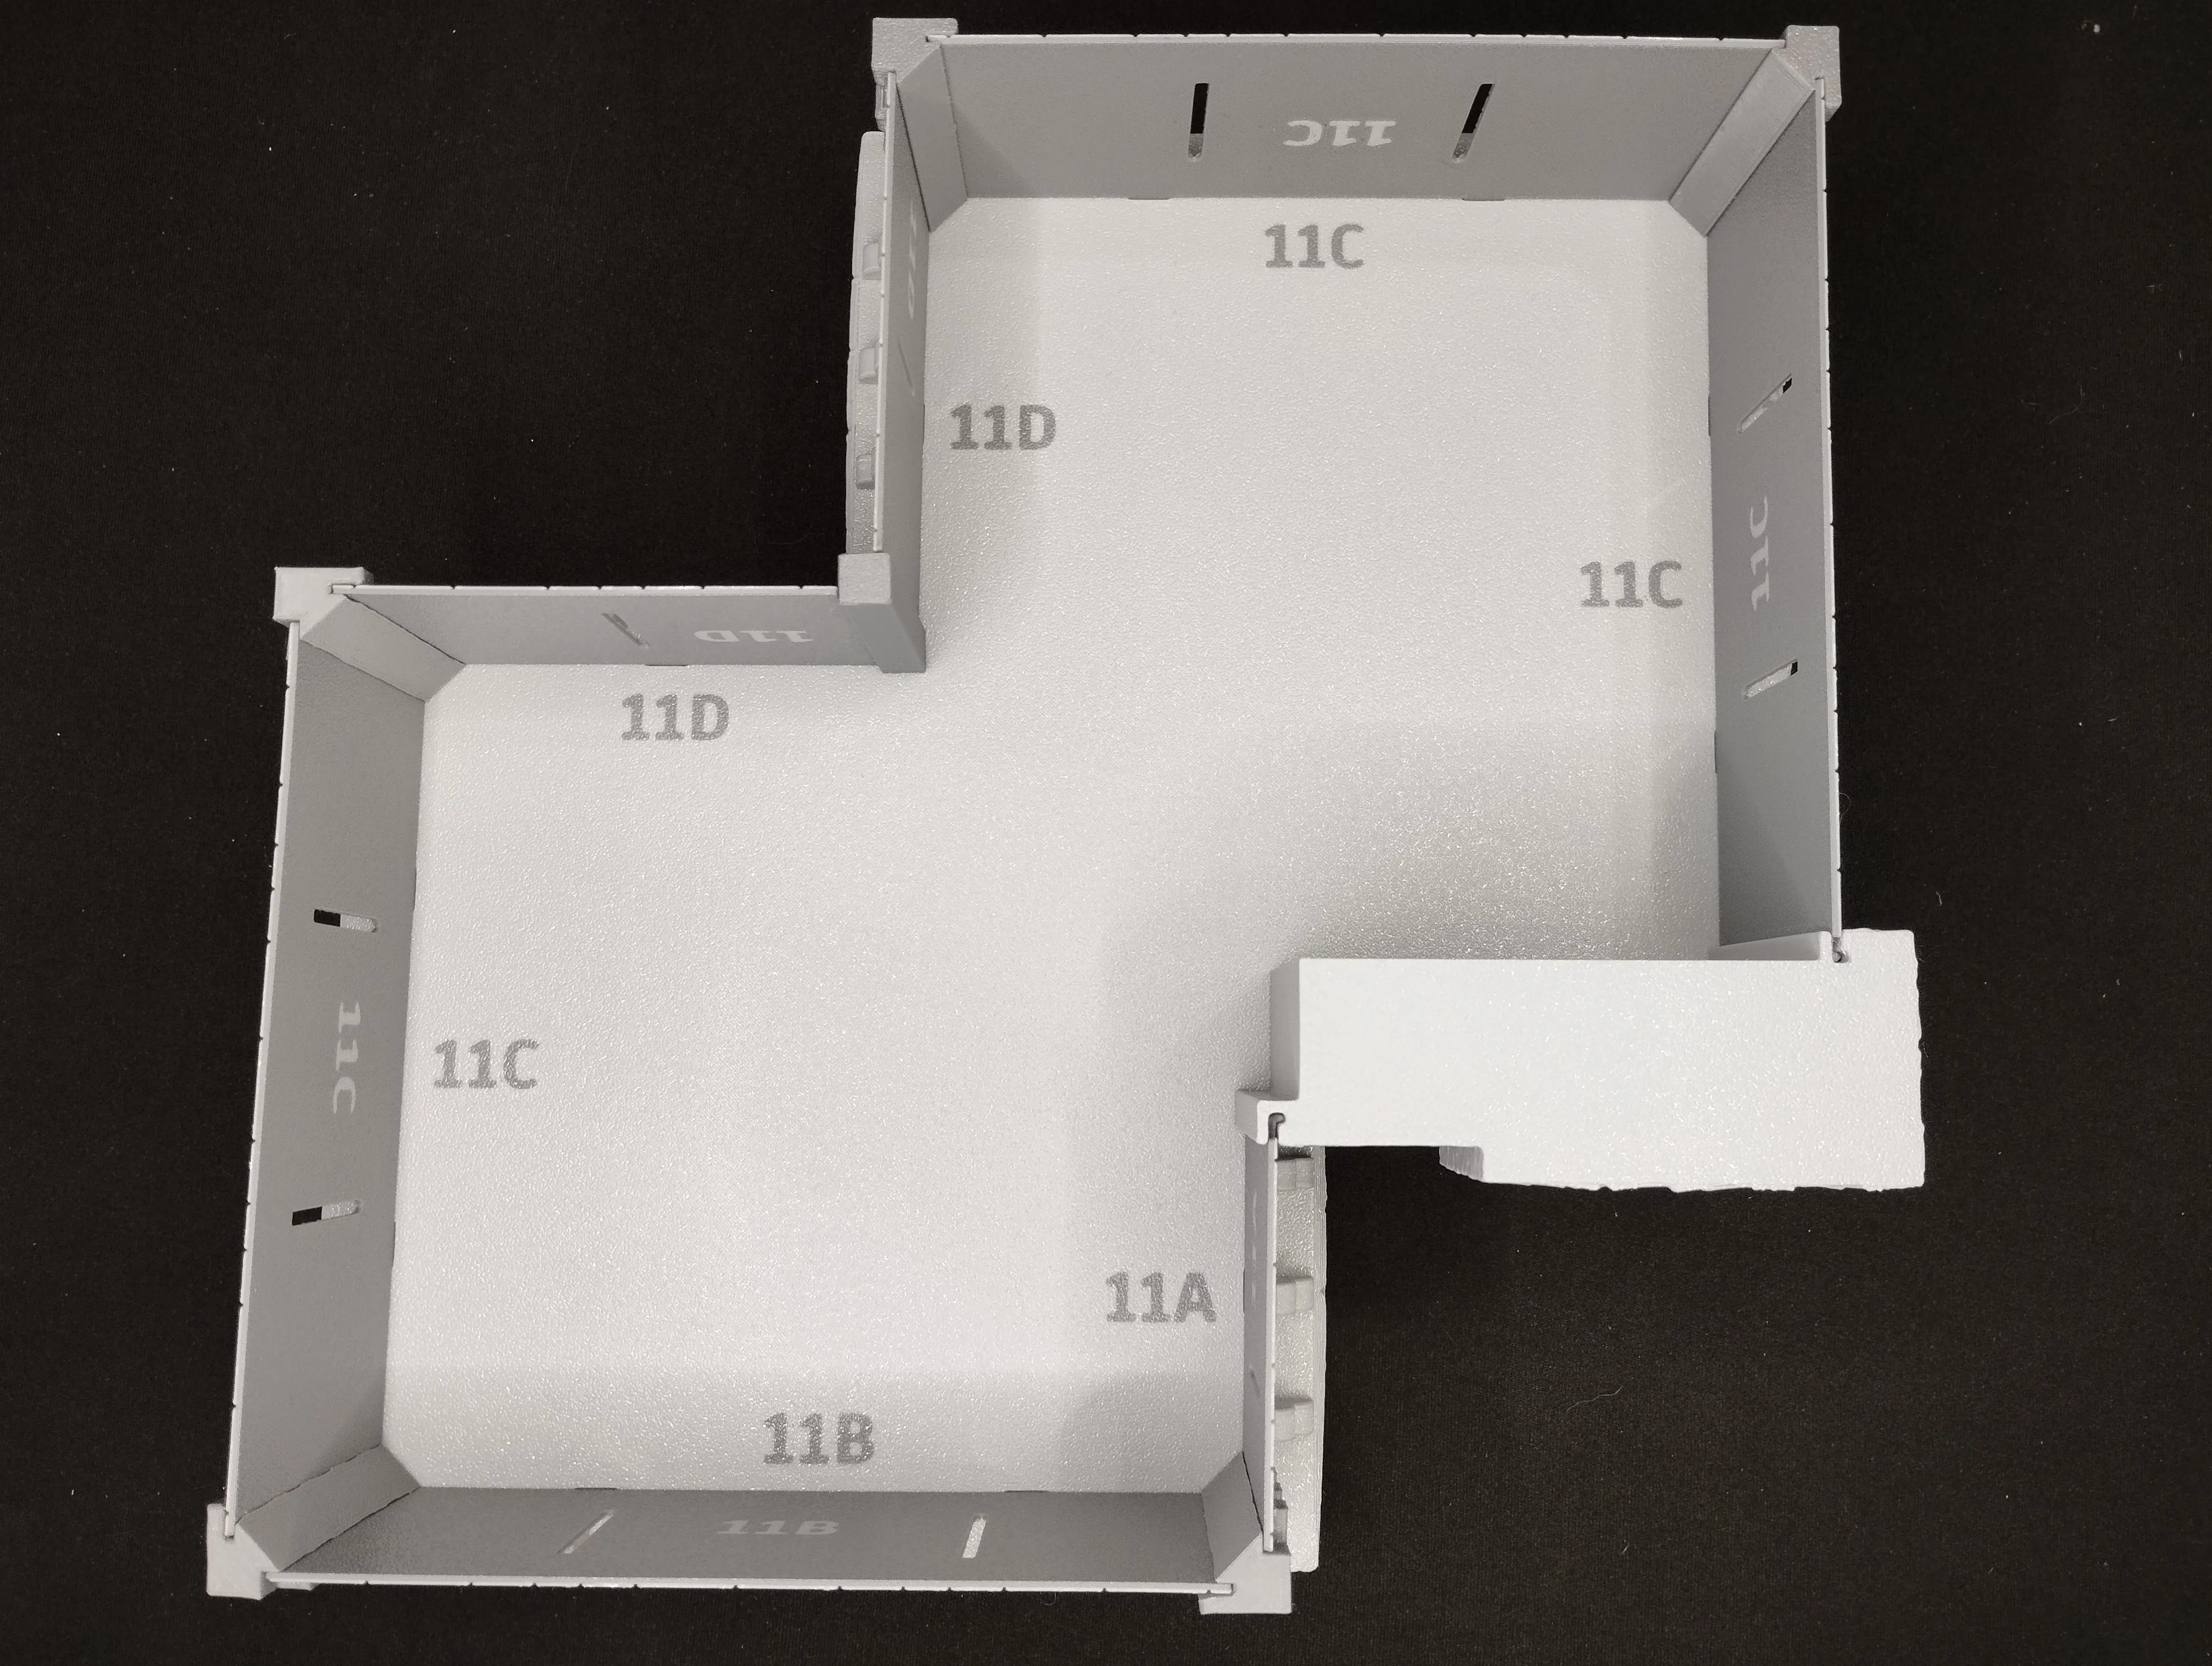
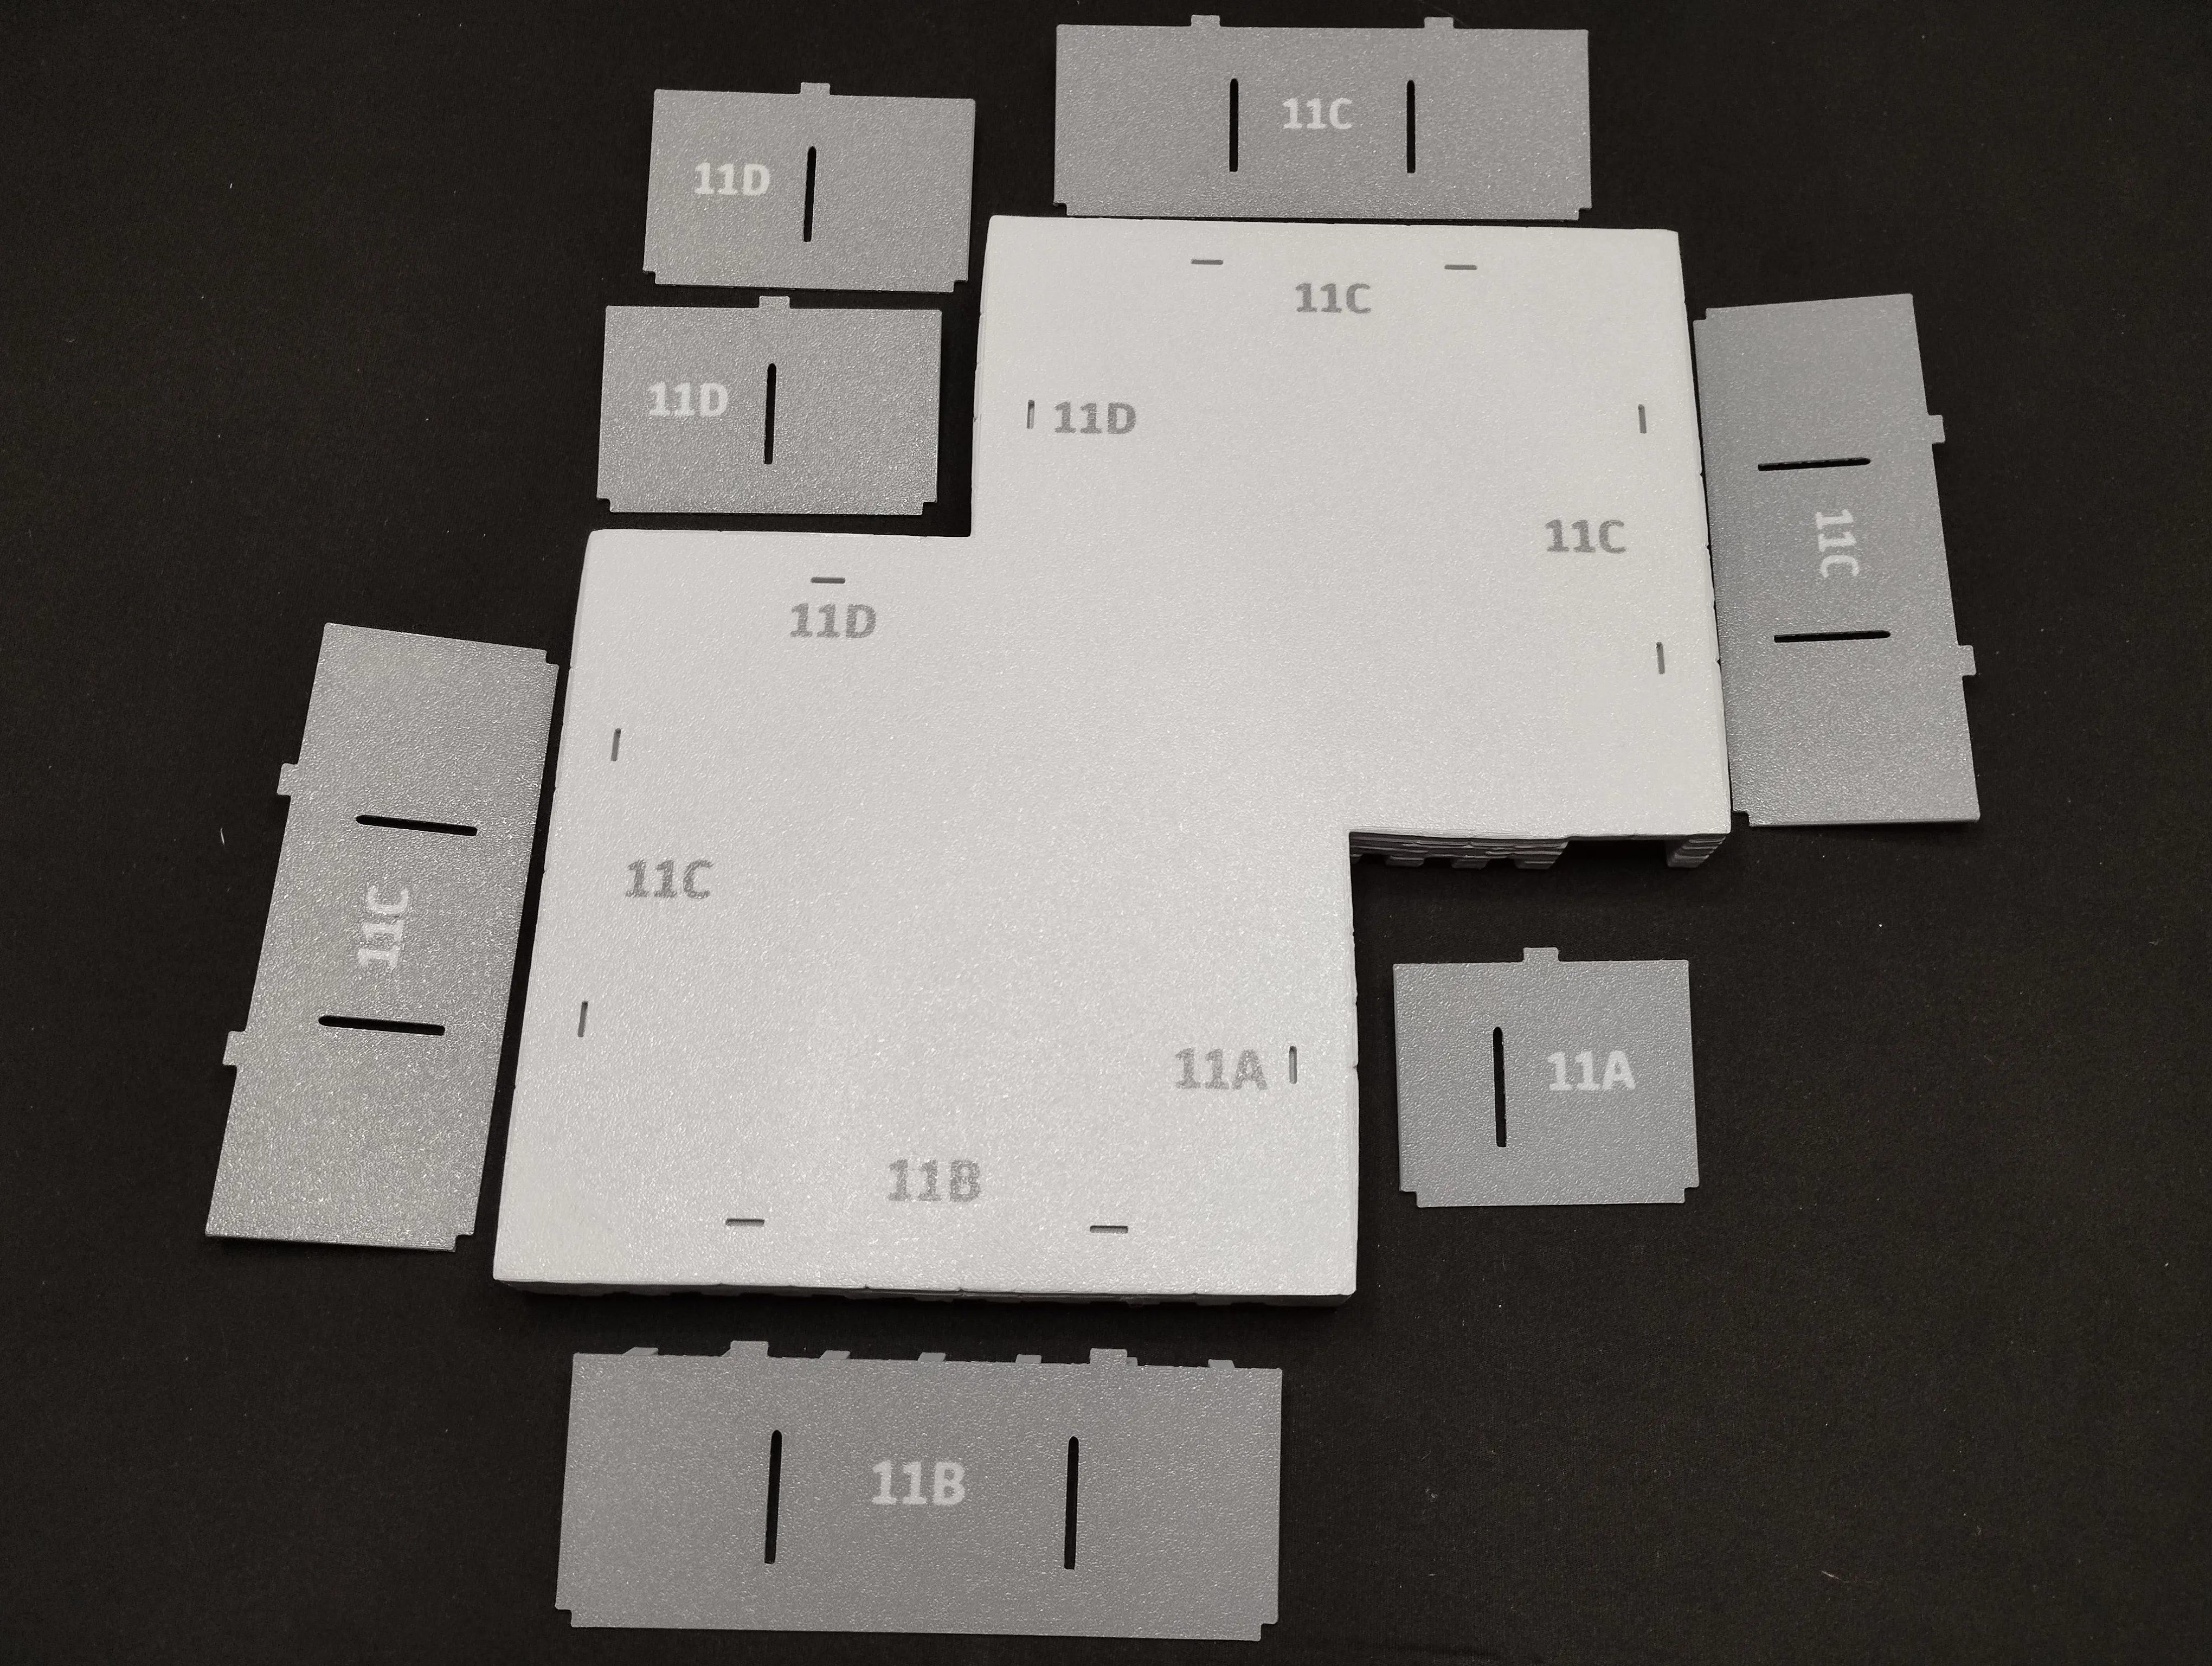
I noticed the 11R and 11V towers are the same, it just changes the position of the room on top and since you can't use both sides of the same tile at the same time, I just made one floor that has holes to place the room in the two different positions.
The 10R and 10V towers also share the same floor but the 10R is bigger so I just made one segment of a rampart deatachable and another floor that can be attached to convert it from 10V to 10R like in this image to save having to print another tower.

speaking of printing, the towers like to lift from the build plate on the corners so using glue is highly recommended.
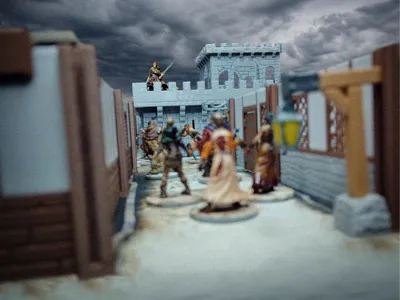
I also made the pillars from the towers fit the walls from the base game so you can use them to make the 1 square spaces that have no entrance in the base game look more like towers, like this:
Quantities:
The project I uploaded includes enough pieces for all the levels in the base game:
- 120 regular walls: 80 solid walls and 40 with a doorway
- 90 regular Pillars
- 1 diagonal wall
- 2 diagonal pillars
- 14 doors (12 regular doors, 2 colored objective doors)
- 14 objective token holders
- 12 noise counter wheels
- 12 lamp posts
- 6 different hanging store signs
I think thats it, if you have any questions or feedback feel free to leave a comment, also leave a picture if you print this project I love looking at them.
I would also really apreciate a follow or a boost if you like my work as it helps me a lot, don't forget to take a look at my other uploads if you like board game related stuff.
Boost Me (for free)
License

You shall not share, sub-license, sell, rent, host, transfer, or distribute in any way the digital or 3D printed versions of this object, nor any other derivative work of this object in its digital or physical format (including - but not limited to - remixes of this object, and hosting on other digital platforms). The objects may not be used without permission in any way whatsoever in which you charge money, or collect fees.


Comment & Rating (26)