
Deck Box with Transparent Sliding Cover
Print Profile(3)


Bill of Materials

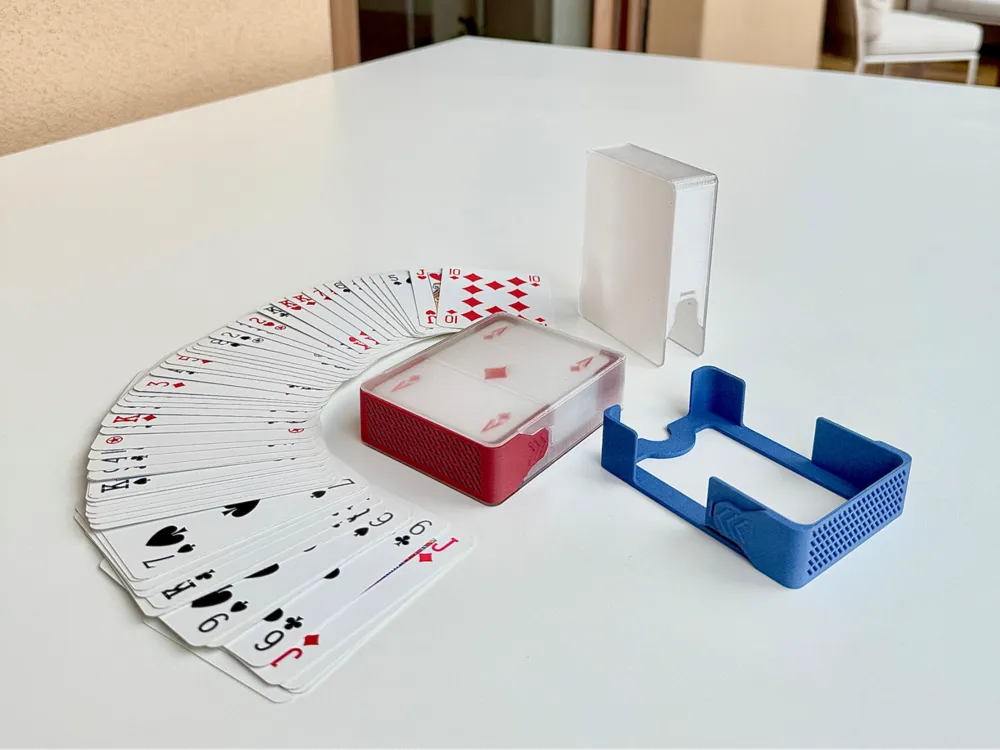
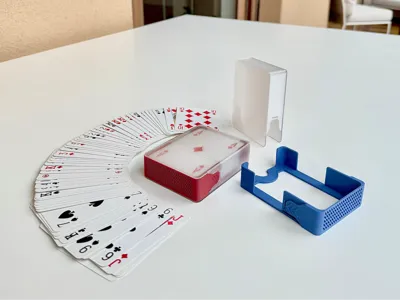
Description
Please read the full description before printing
This model requires a specific printing procedure to ensure proper fit and to achieve the intended visual effect. Following the steps as described is essential to avoid failed prints, wasted material, and to replicate the result shown in the images.
This card case was developed through multiple iterations to optimize:
- a clean and modern look,
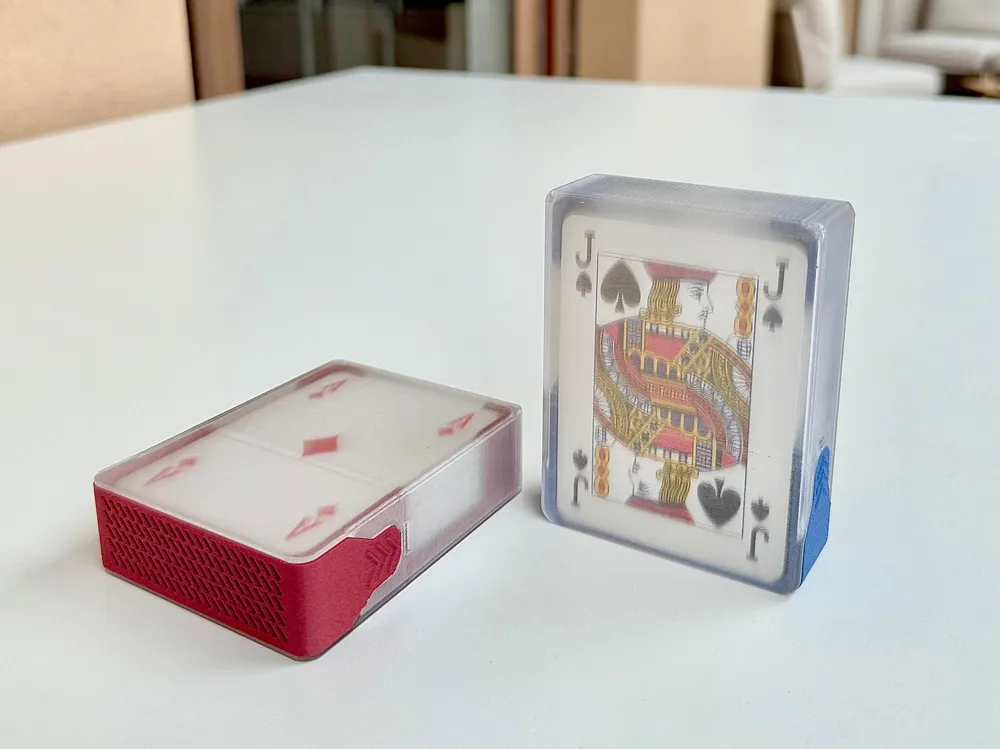
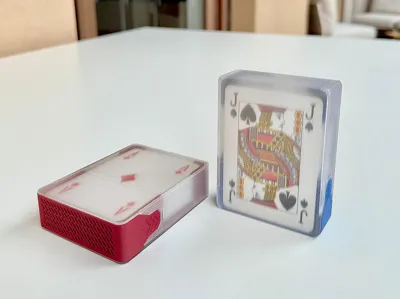
- a smooth, transparent sliding cover,
- a functional snap-lock mechanism,
- while minimizing the need for supports and reducing material waste.
It is fully printable on most 3D printers, but only by following the instructions you will get the correct tolerances and the frosted-glass effect on the cover.
The 3 uploaded print profiles include:
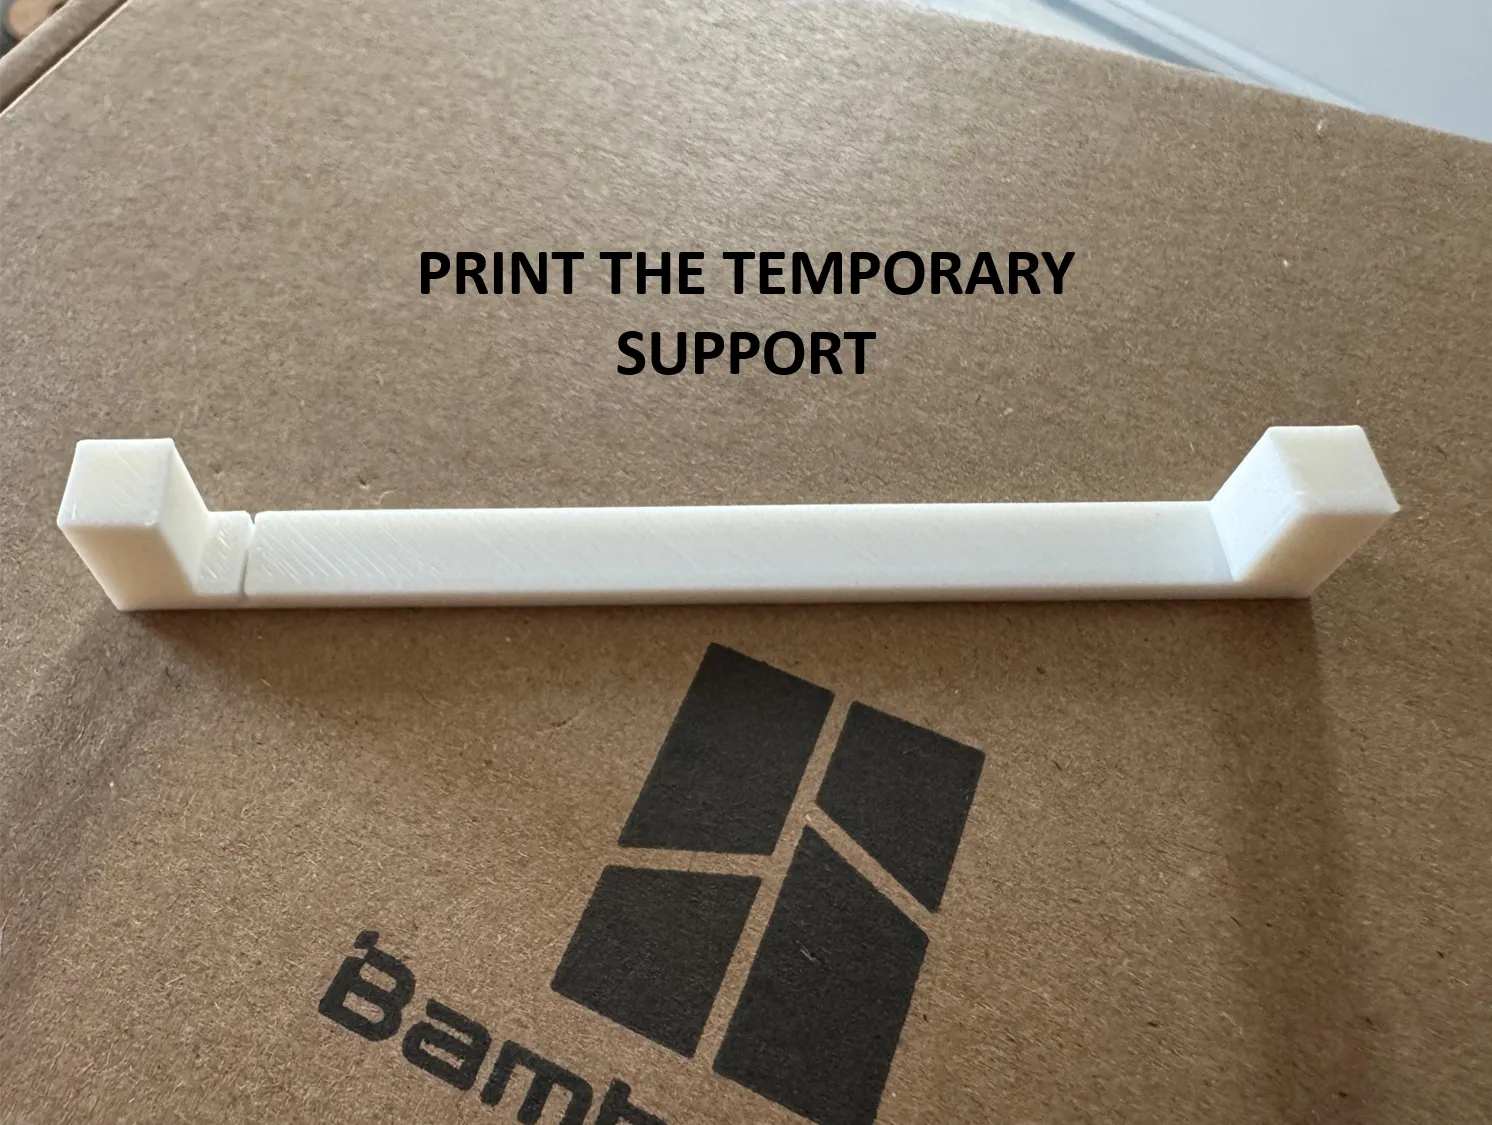
- Temporary support (must be printed first, with PLA if the cover is printed with PETG translucent)
- Transparent sliding cover (PETG translucent)
- Base container (frame) with locking side tabs (any material)
A similar result can be obtained if the cover is printed with PLA translucent and the temporary support is printed with PETG.
Essential Printing Instructions
1. Print the temporary support piece (PLA)
- Takes just 8 minutes and about 3g of material.
- This is not part of the final object – it's a tool to guarantee accurate tolerances and reduce the need for support material.
- You'll remove it after the cover is printed.
2. Print the transparent cover (PETG translucent)
- Use only the included print profile (tested with BambuLab Translucent PETG) to achieve the frosted transparency effect. For best results and maximum clarity, make sure to dry the translucent filament properly before printing. Moisture in the filament significantly reduces transparency.
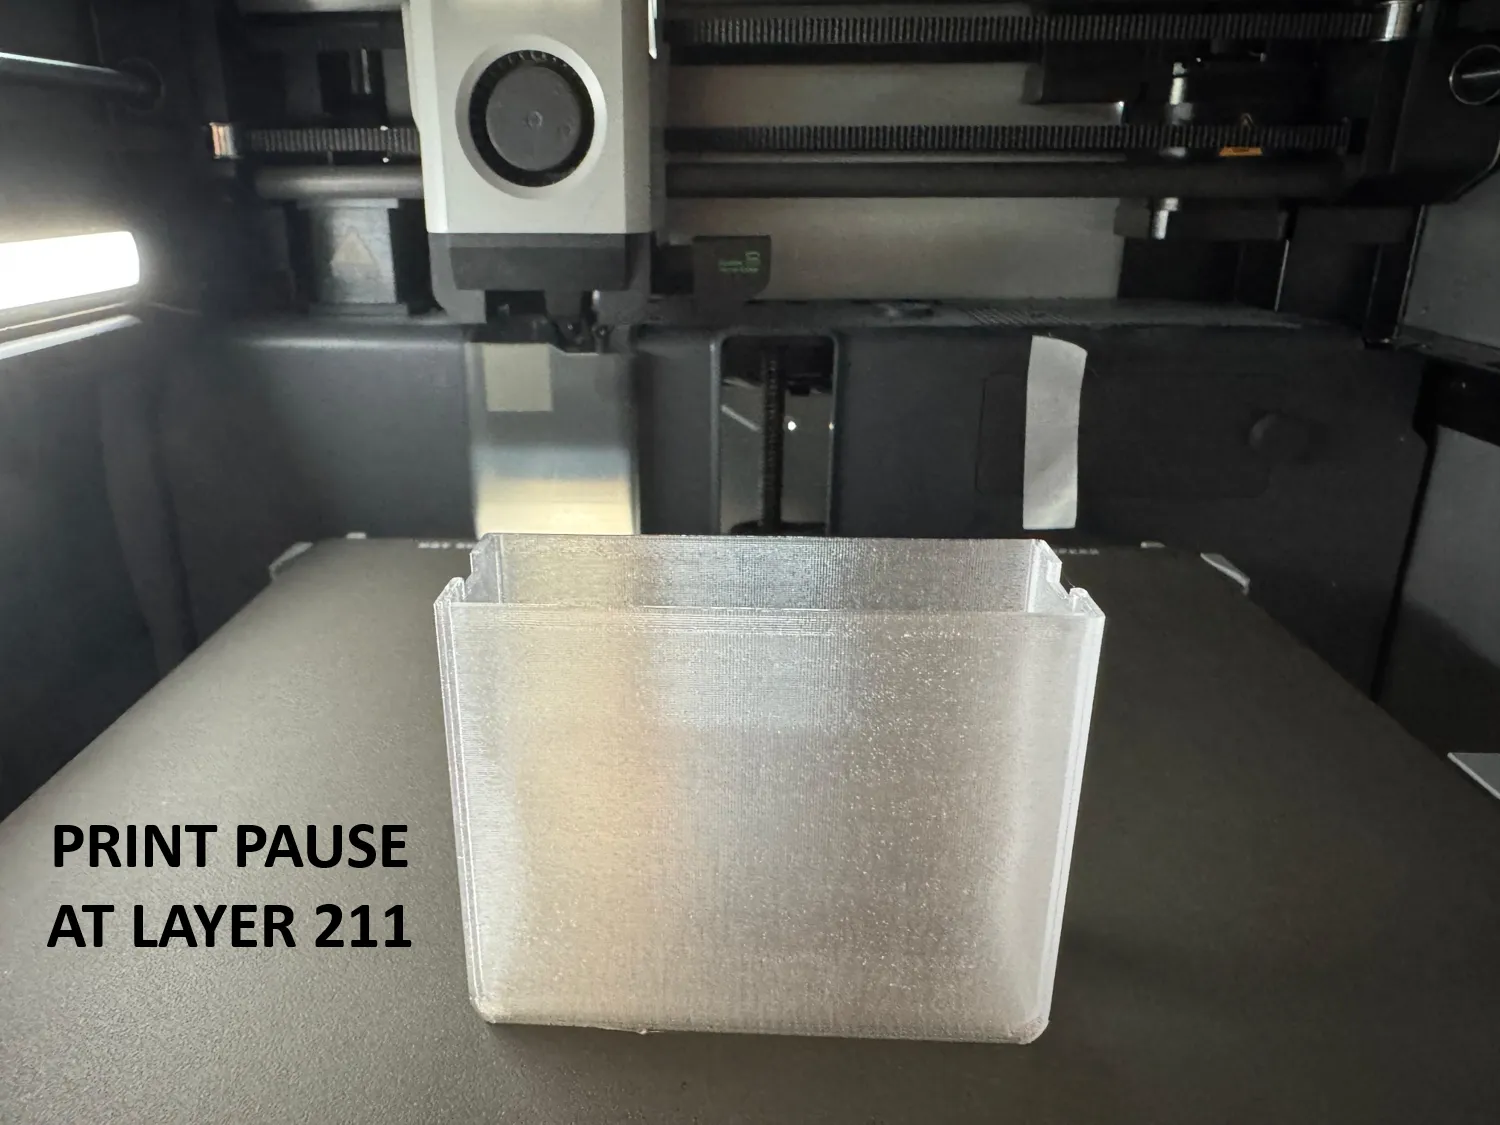
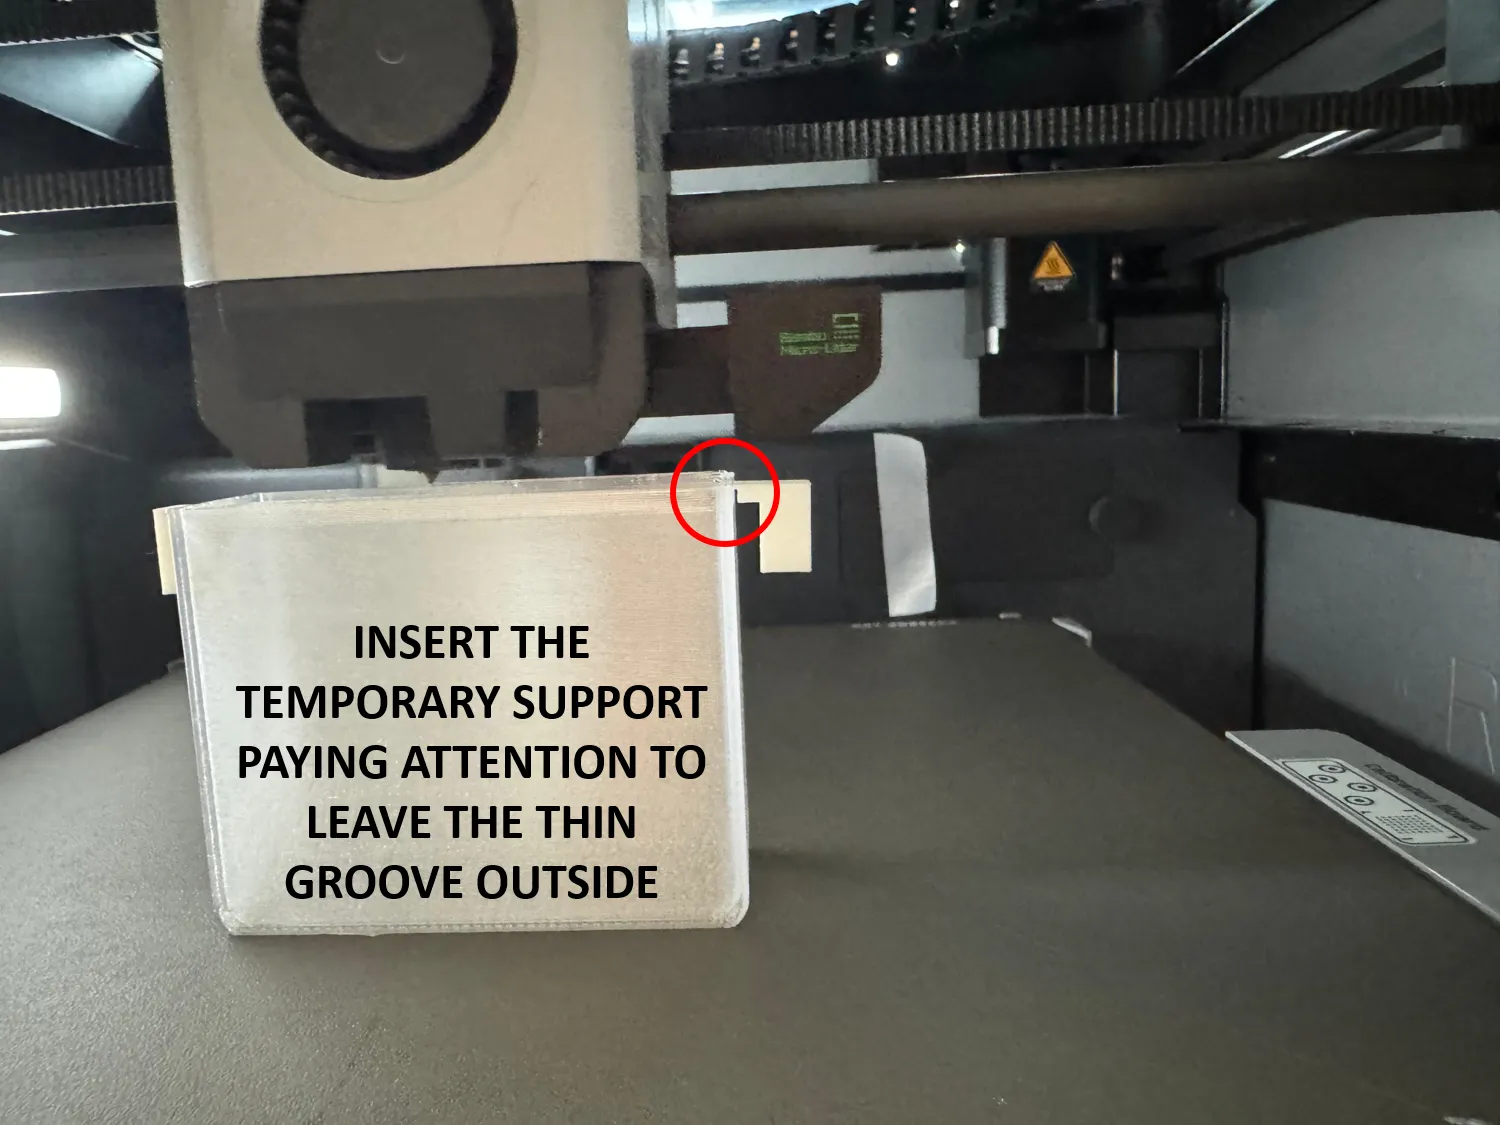
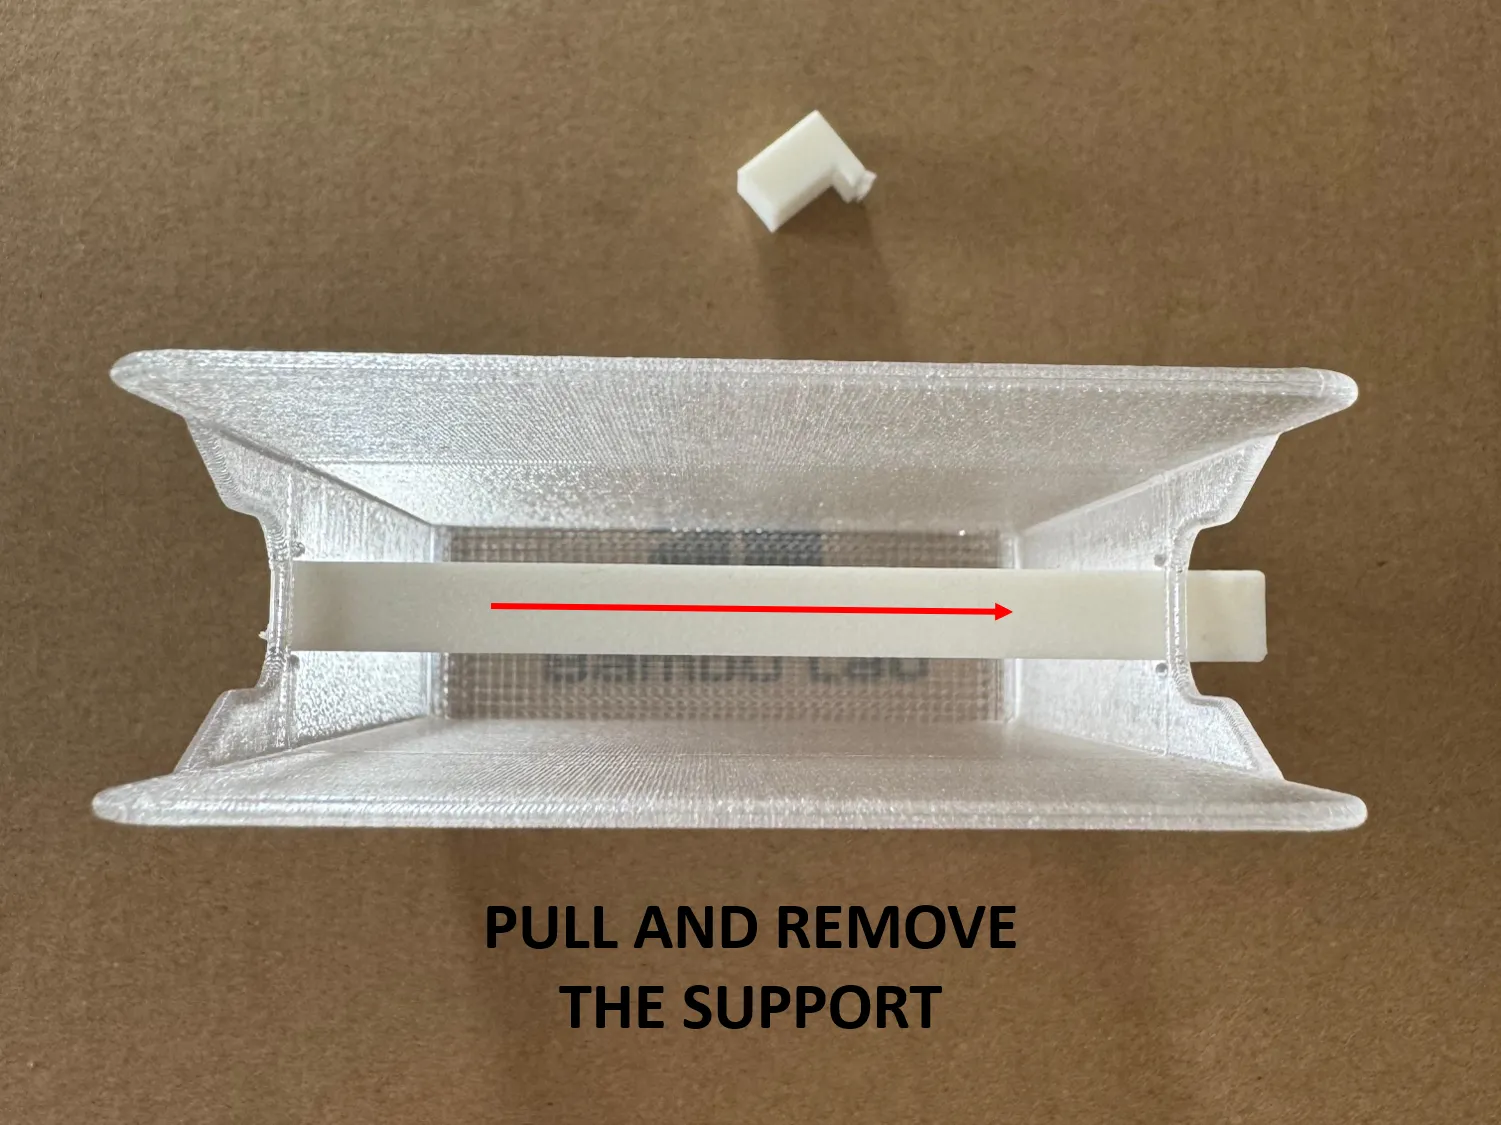
- A pause is inserted at a specific layer (Layer 211): during this pause, insert the previously printed support manually (see reference image).
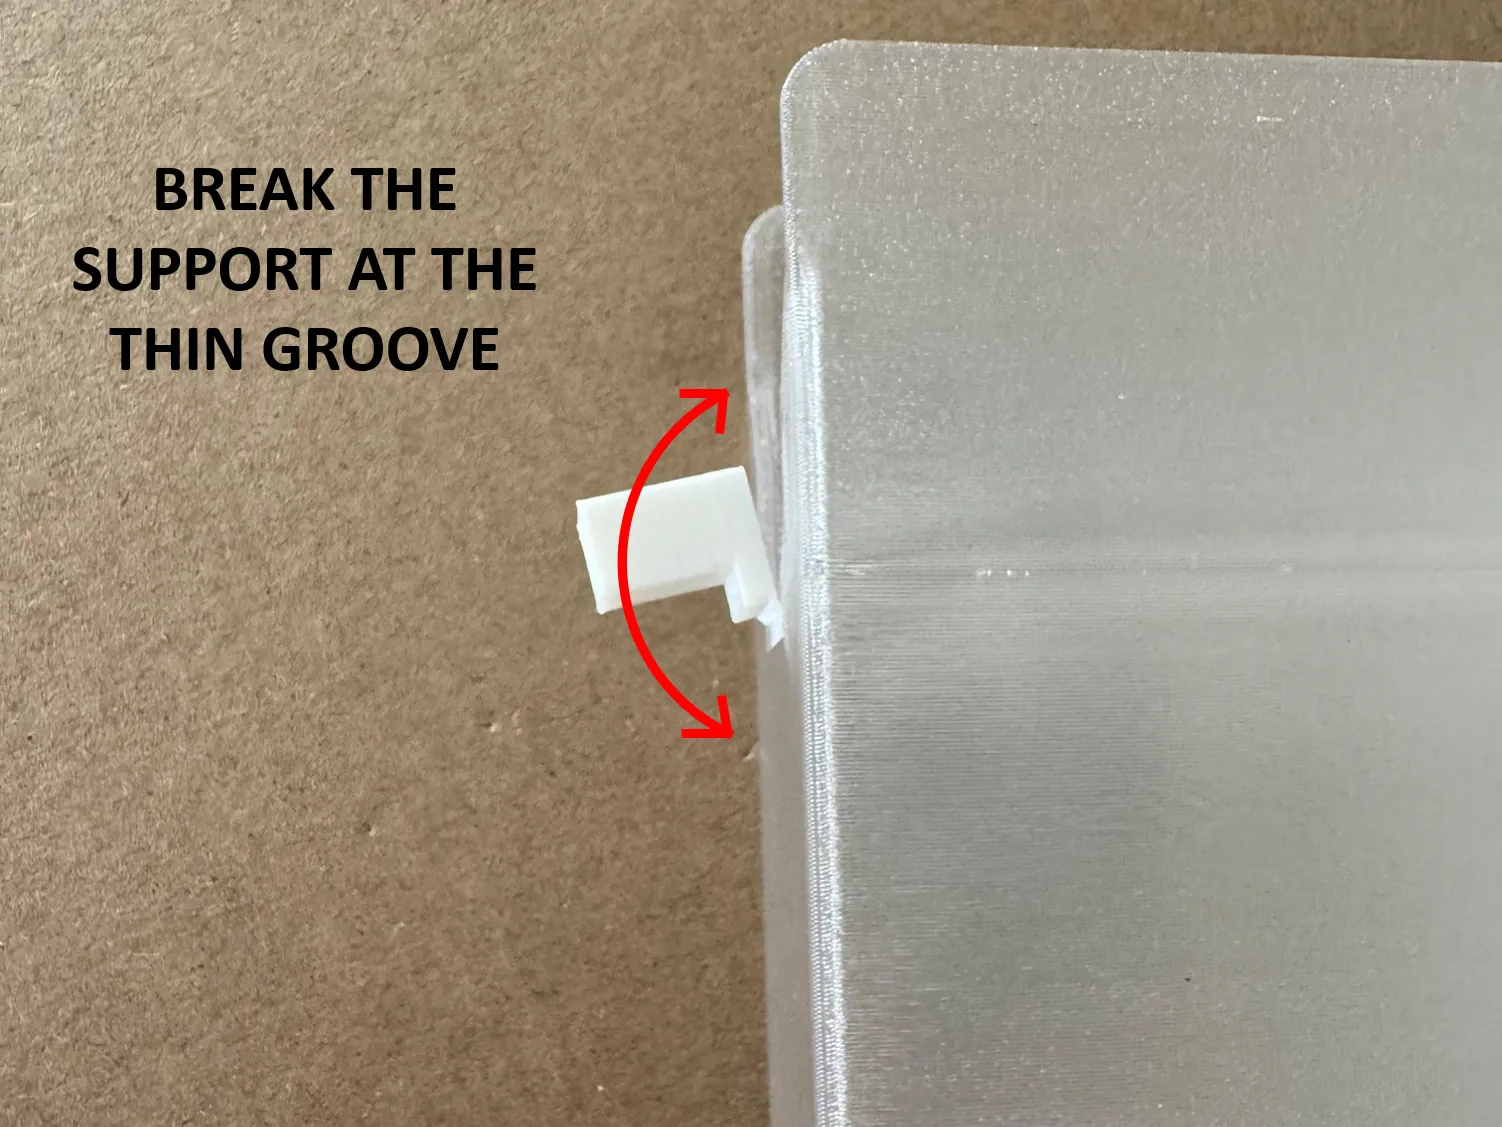
- Resume the print. After it's finished, break the support along the thin groove and slide it out laterally.
- This method avoids excessive support structures, saves filament, and ensures a clean and precise result.
3. Print the frame container
- Can be printed in any rigid filament (e.g., PLA-CF used in the examples).
- Remove the small built-in supports after printing.
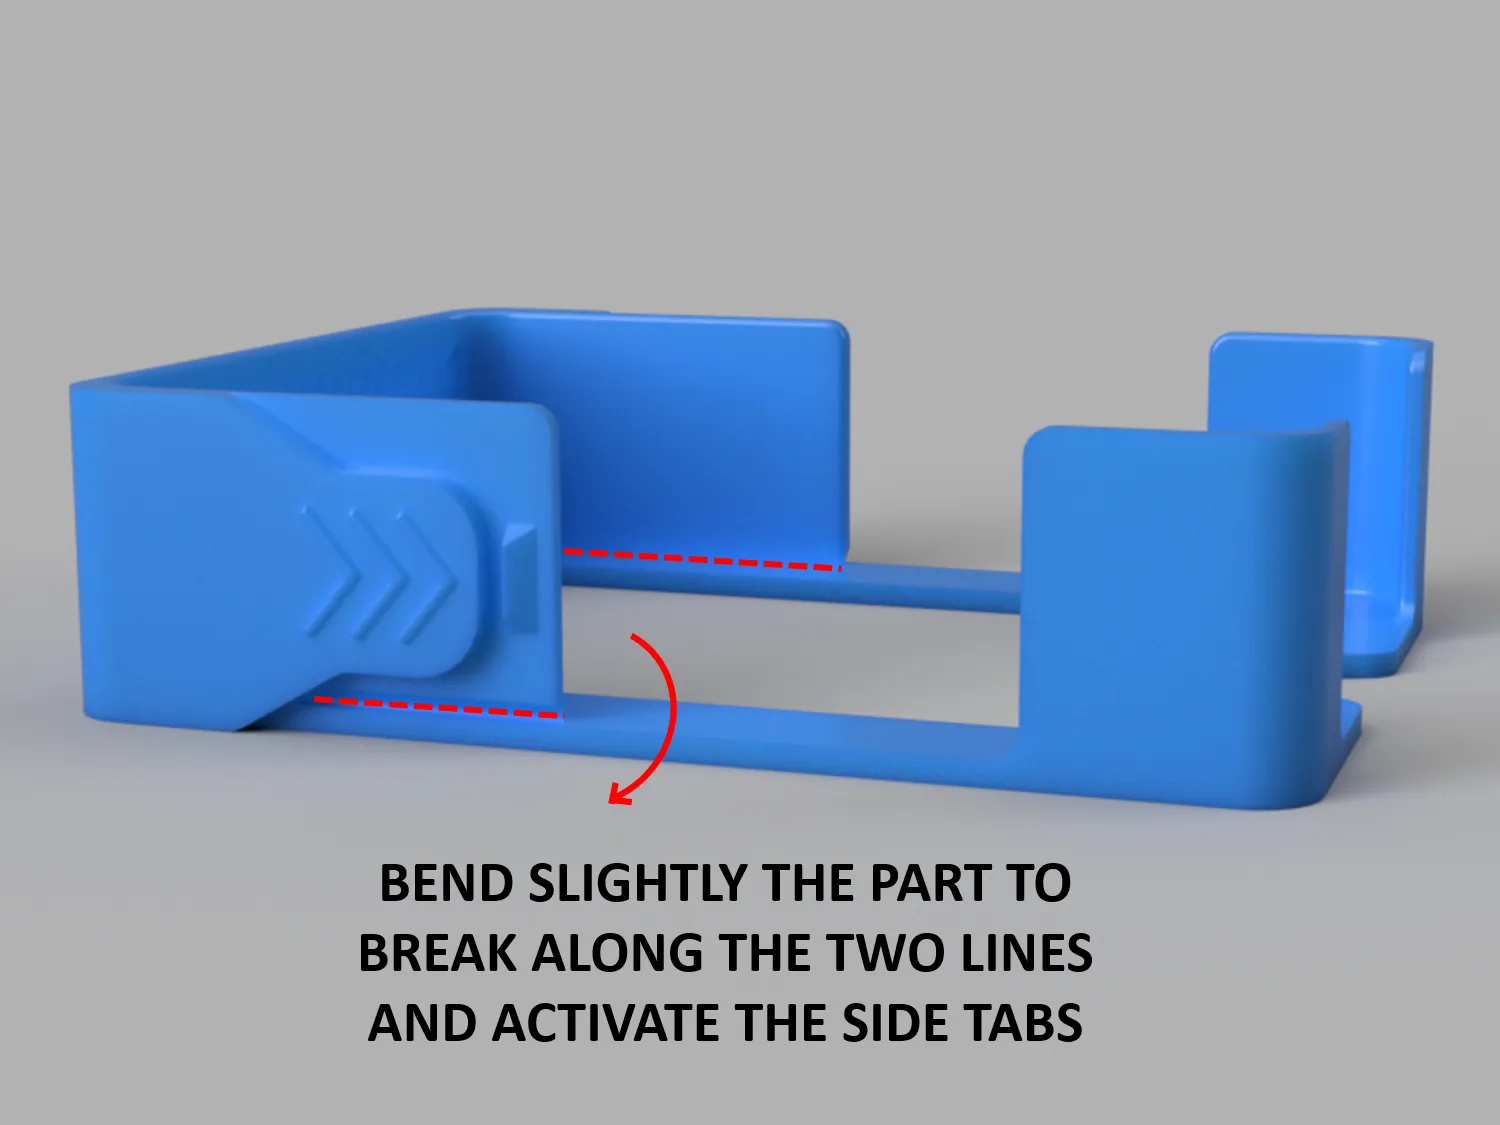
- Break the frame along two pre-designed break lines (indicated in the reference image).
- This activates the side tabs, allowing them to flex when pressed and enabling the sliding mechanism.
Opening & Closing Mechanism
Once assembled:
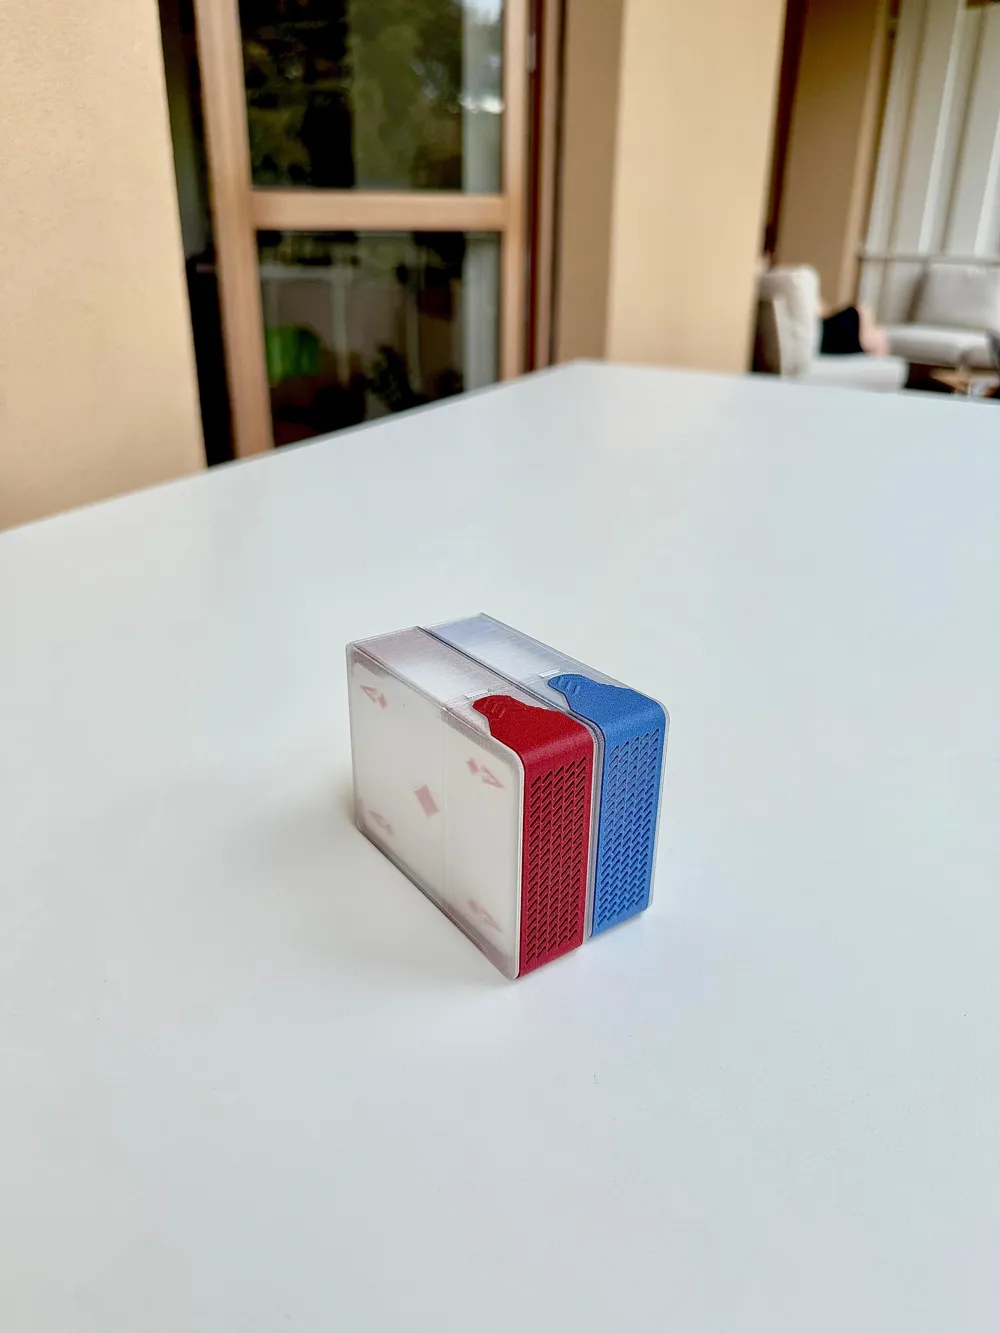
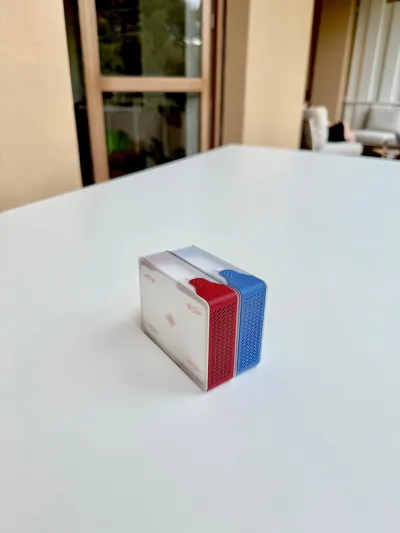
- The transparent cover slides in smoothly and clicks into place thanks to the flexible side tabs.
- To open it, press the side buttons or tabs while sliding the cover out.
License

You shall not share, sub-license, sell, rent, host, transfer, or distribute in any way the digital or 3D printed versions of this object, nor any other derivative work of this object in its digital or physical format (including - but not limited to - remixes of this object, and hosting on other digital platforms). The objects may not be used without permission in any way whatsoever in which you charge money, or collect fees.


Comment & Rating (2)