
Bambu Lab A1 - Automatic Mold Release Kit

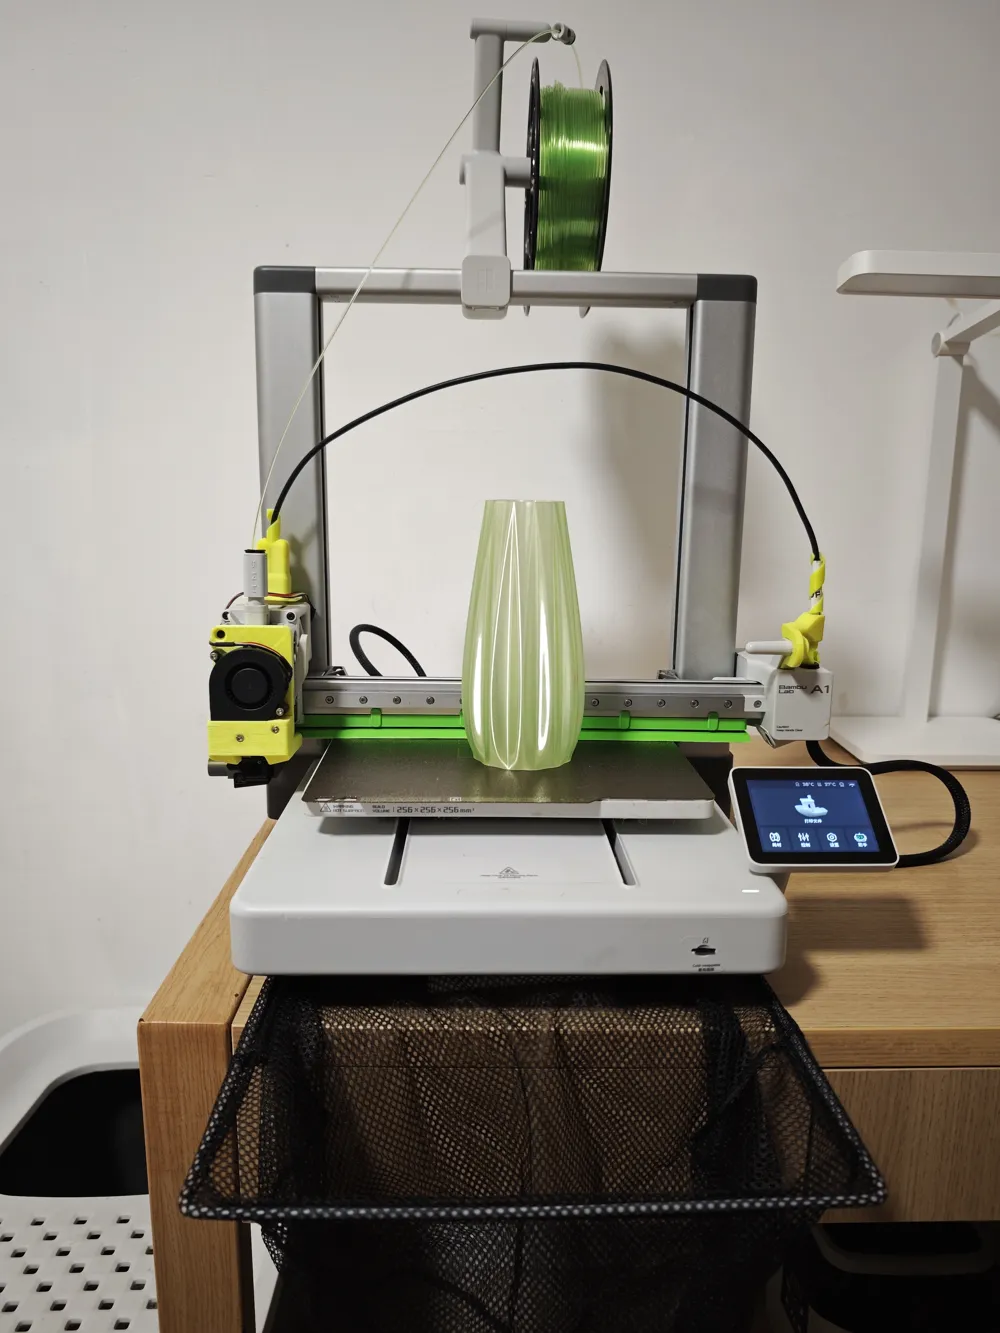
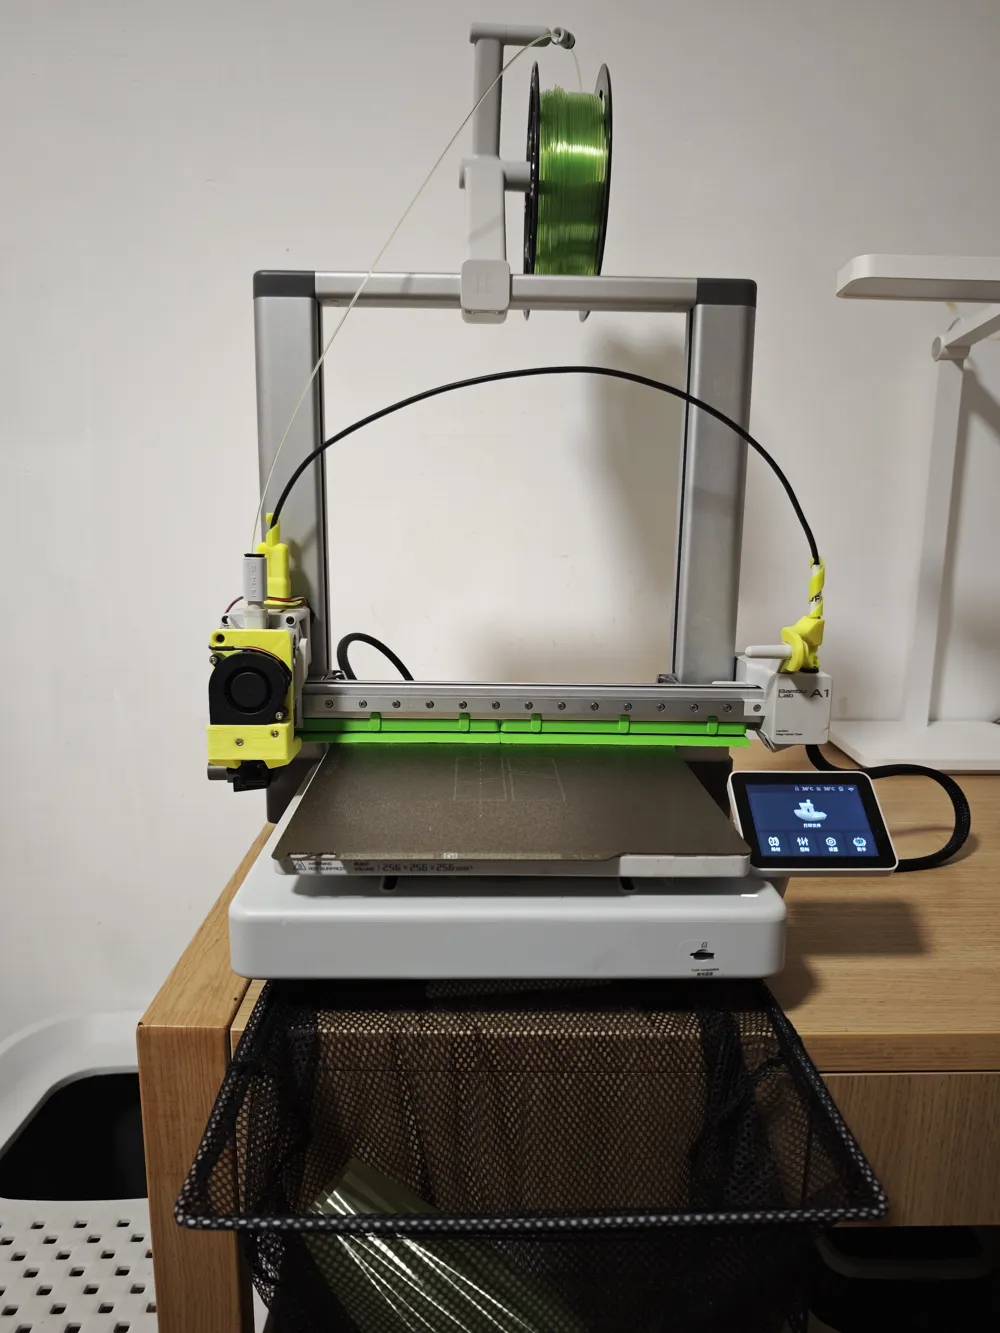
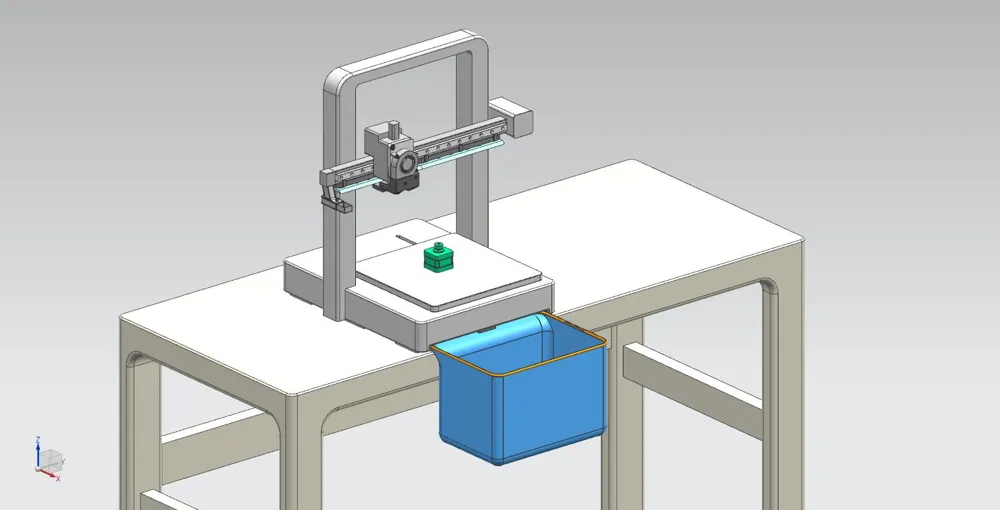
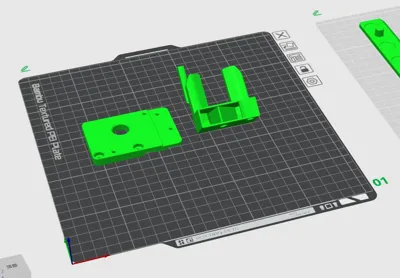
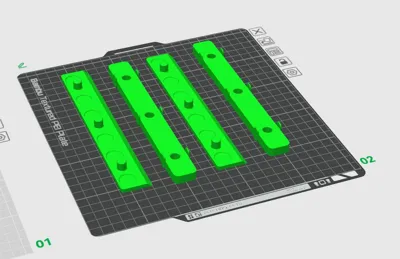
Print Profile(1)

Description
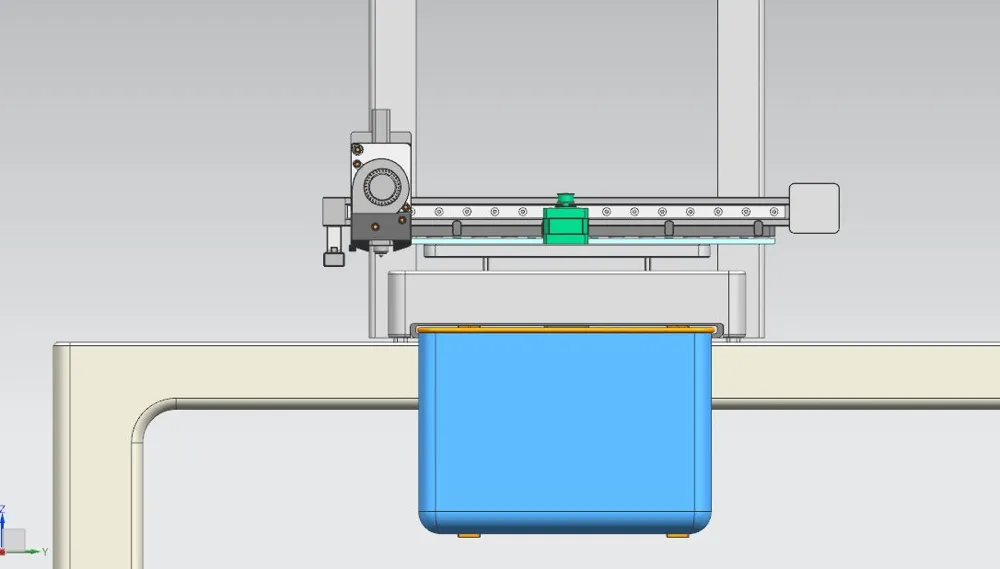
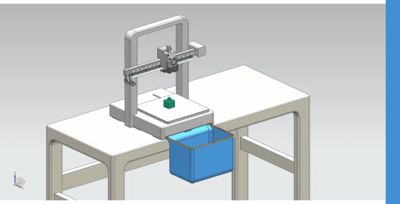
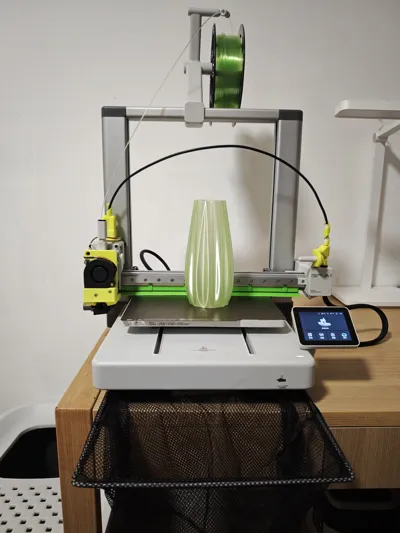
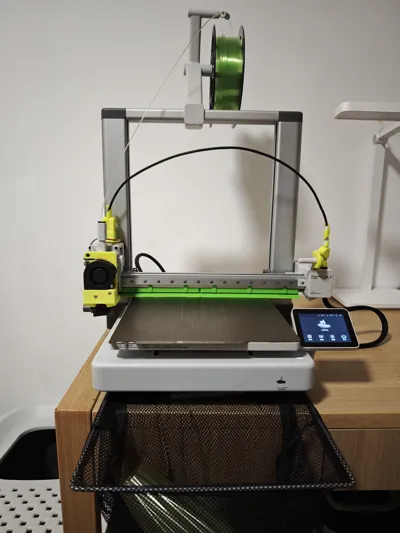
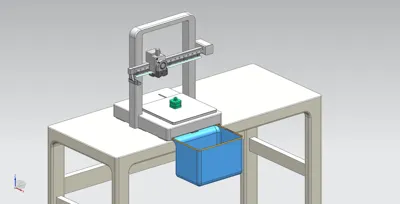
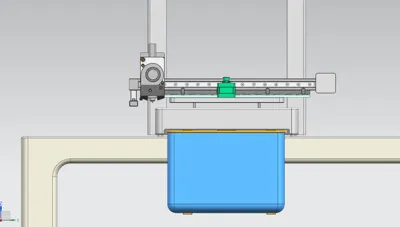
Model for Bambu Lab A1 automatic model ejection
I. Printhead Modification Steps
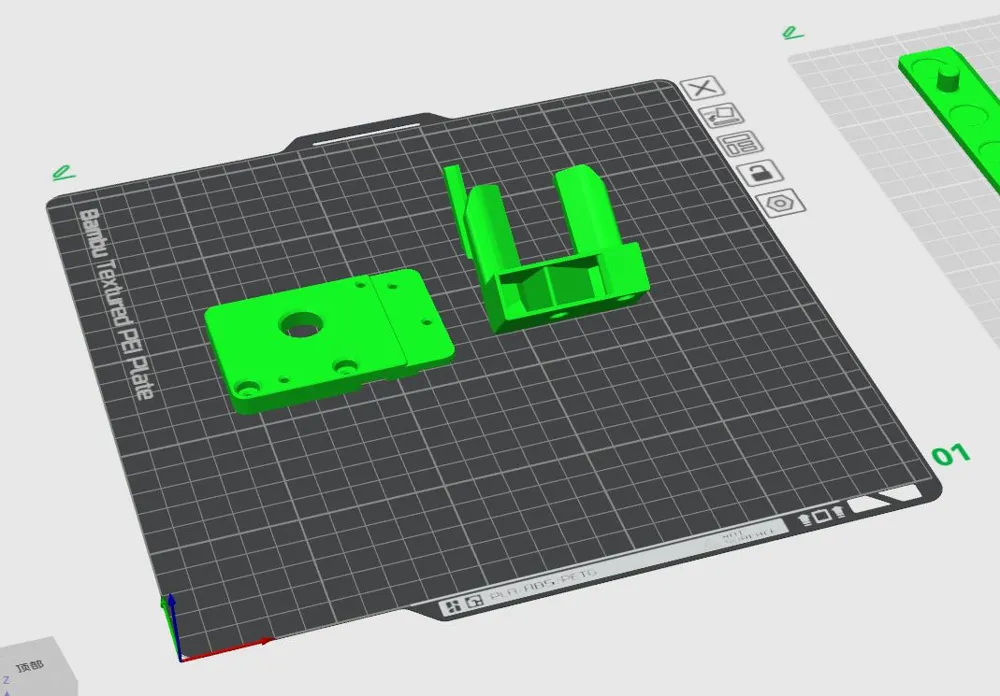
1. Complete the printing of the 3D models for modification
2. Remove the cooling fan under the A1 printhead
3. Connect the new fan to the fan mounting plate
4. Open the printhead front panel and connect the mounting plate to the printhead
5. Open the printhead back cover, disconnect the original fan plug, and connect the new fan plug
II. Scraper Assembly Installation Steps
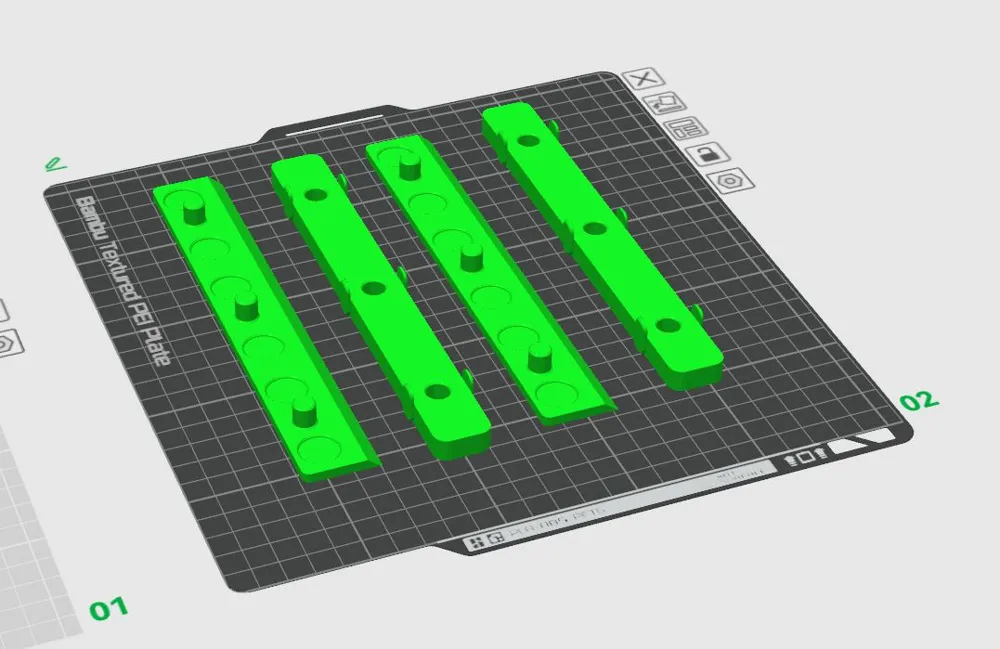
1. Apply double-sided tape to the back of the two scraper brackets
2. Install the two scraper blades onto the printer's X-axis beam
3. Apply round foam double-sided tape to the upper surface of the two scraper blades (the foam deformation will press against the build plate)
4. Connect the two scraper blades to the two scraper brackets
5. Scraper assembly installation is complete
III. hardware kit
1. 12 EVA round foam double-sided tapes (3mm thick, 15mm diameter)
2. 30cm ordinary double-sided tape (12mm wide)
3. 6 hex socket screws (M3*15)
4. Large-diameter axial fan (5015, 24V 8100rpm, 4-pin A3 plug)
Note: The wire sequence must not be wrong, otherwise the motherboard will be burned
IV. Future Update Plan
1. Detailed installation steps will be updated next time
2. G-code scripts for automatic ejection or sequential printing will be updated later
License



Comment & Rating (2)