
KeyFold - EDC Key Organizer
Print Profile(8)


Bill of Materials


Description
Membership
If you want to use this project for commercial purposes, you can join the Commercial License Membership. With this license, you will have the right to produce and sell printed versions of the Shadow Hunter Slingshot, directly supporting my work and allowing me to continue creating new 3D printable projects
KeyFold - EDC Key Organizer
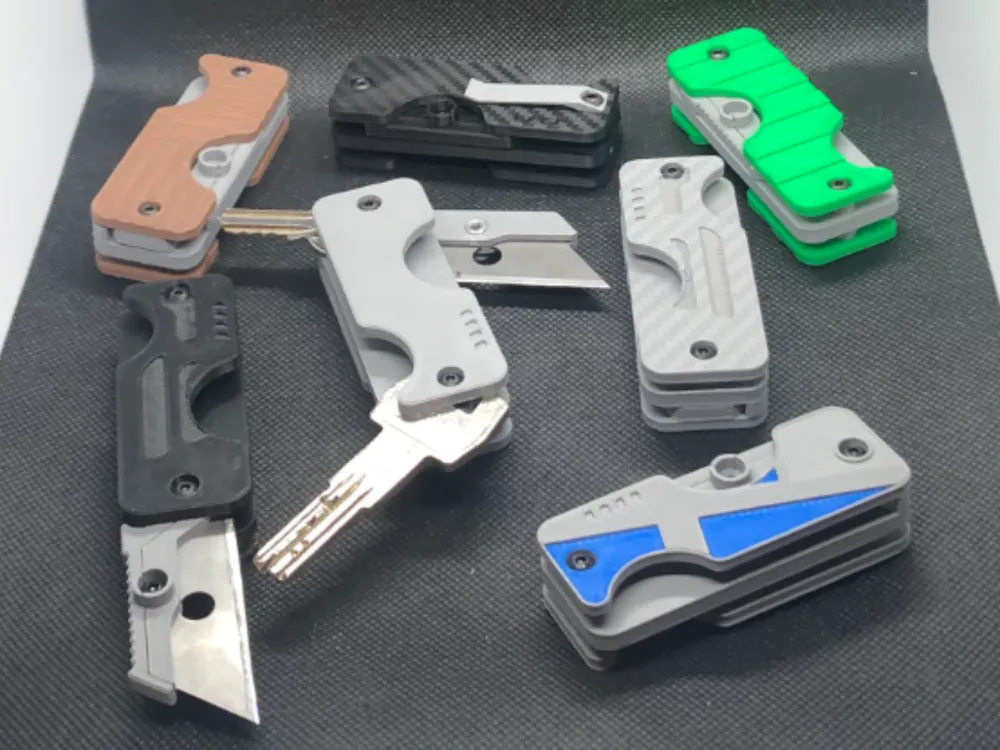
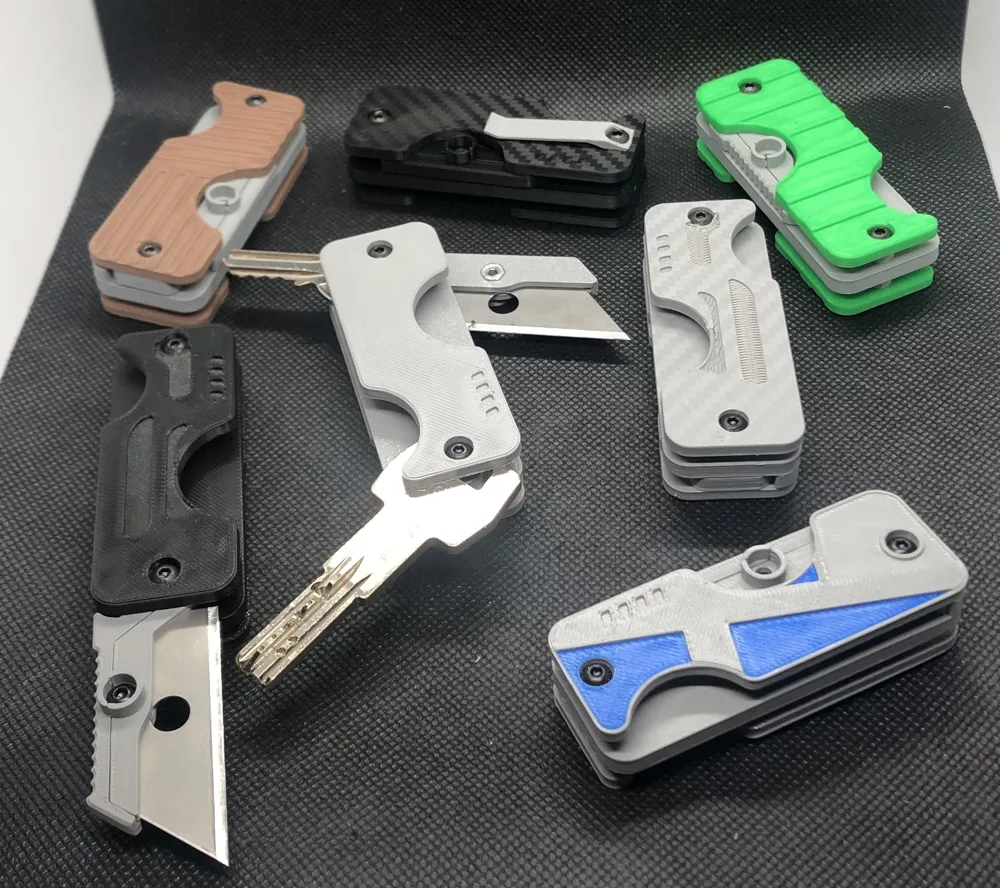
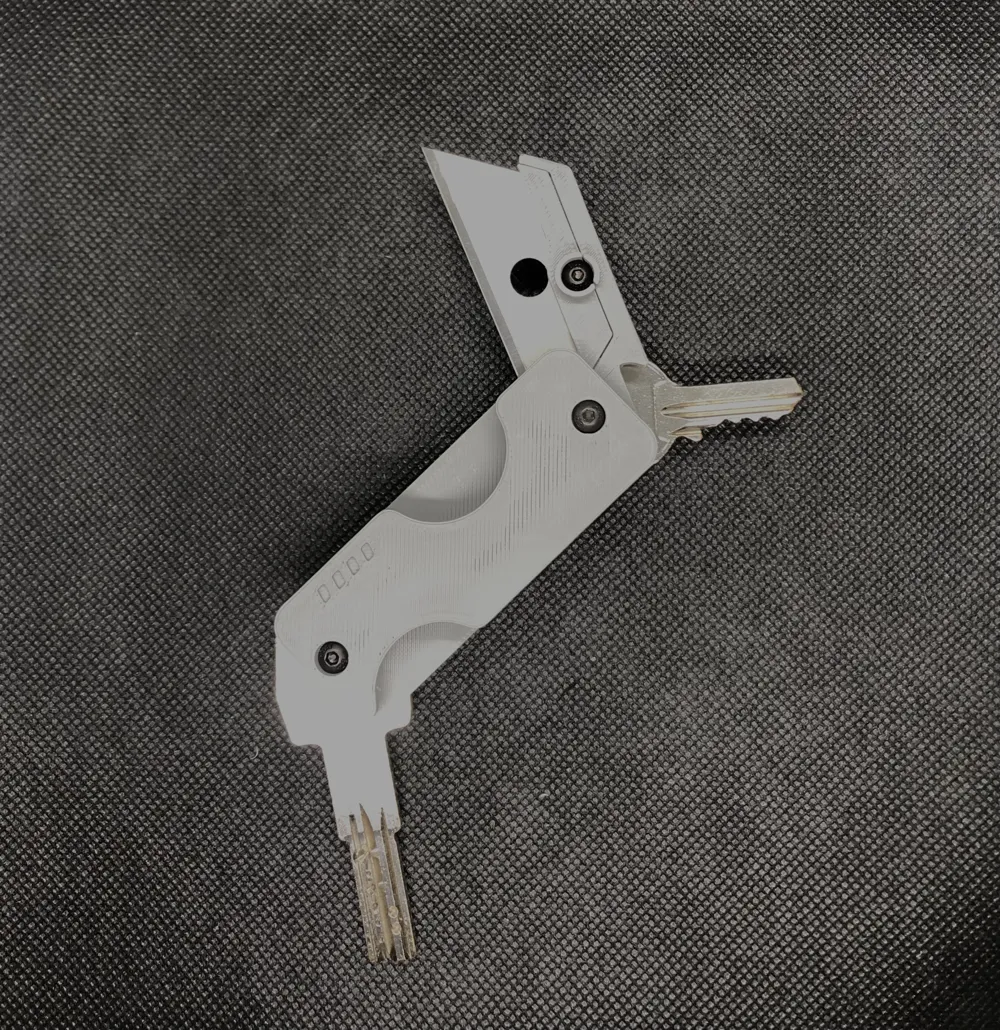
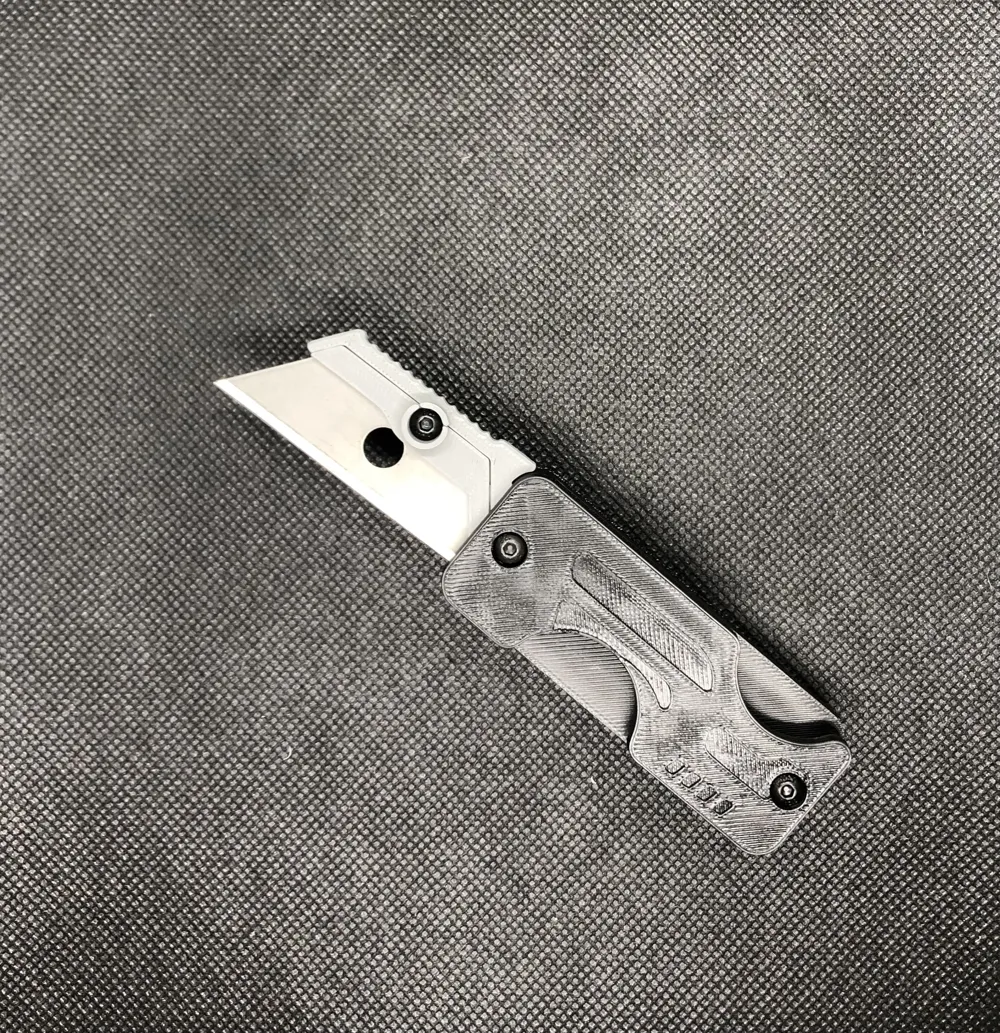
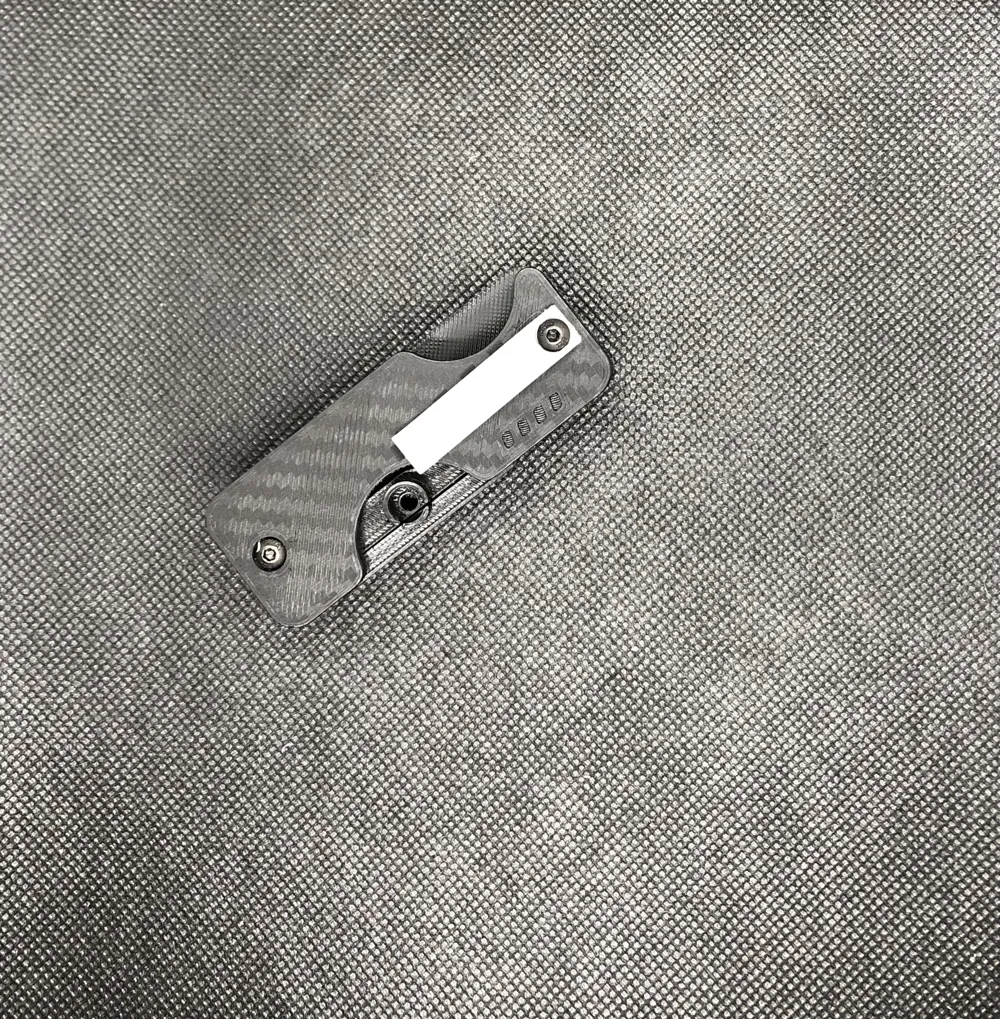
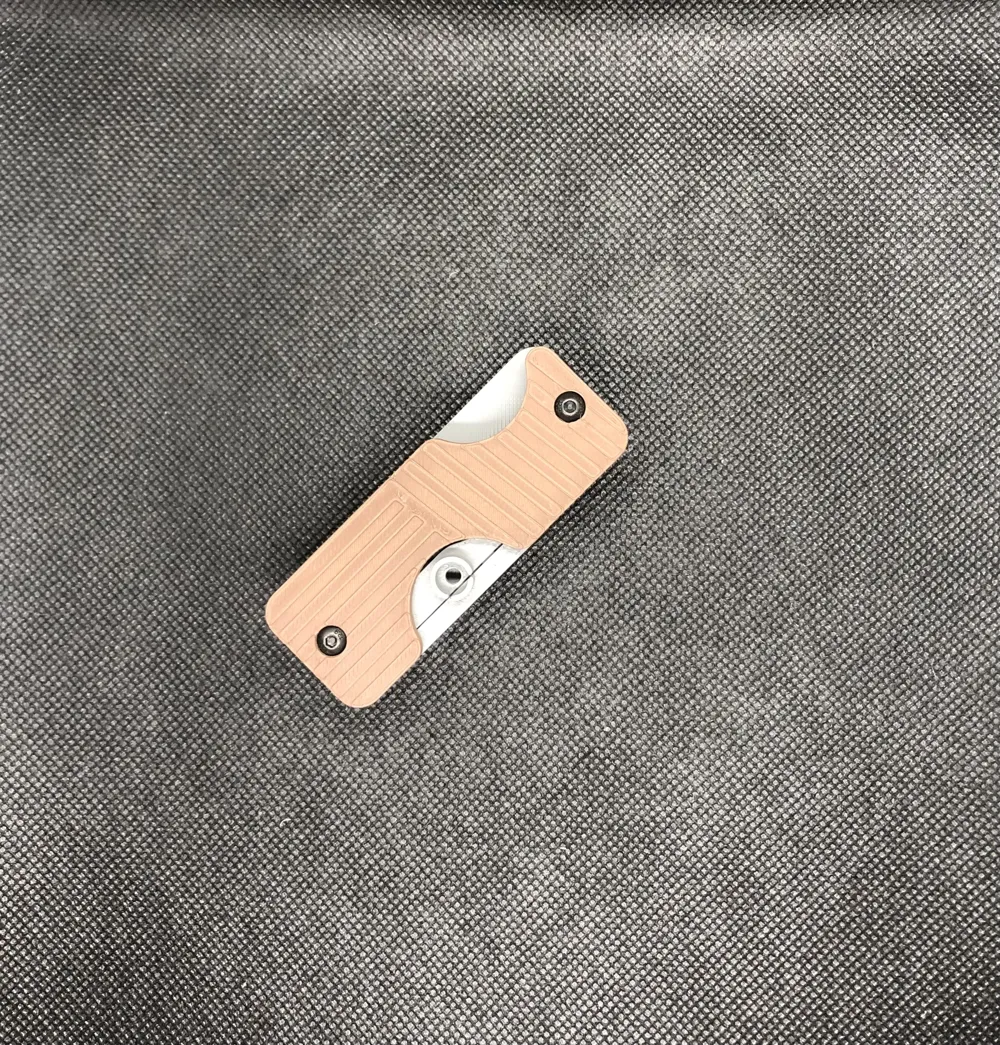
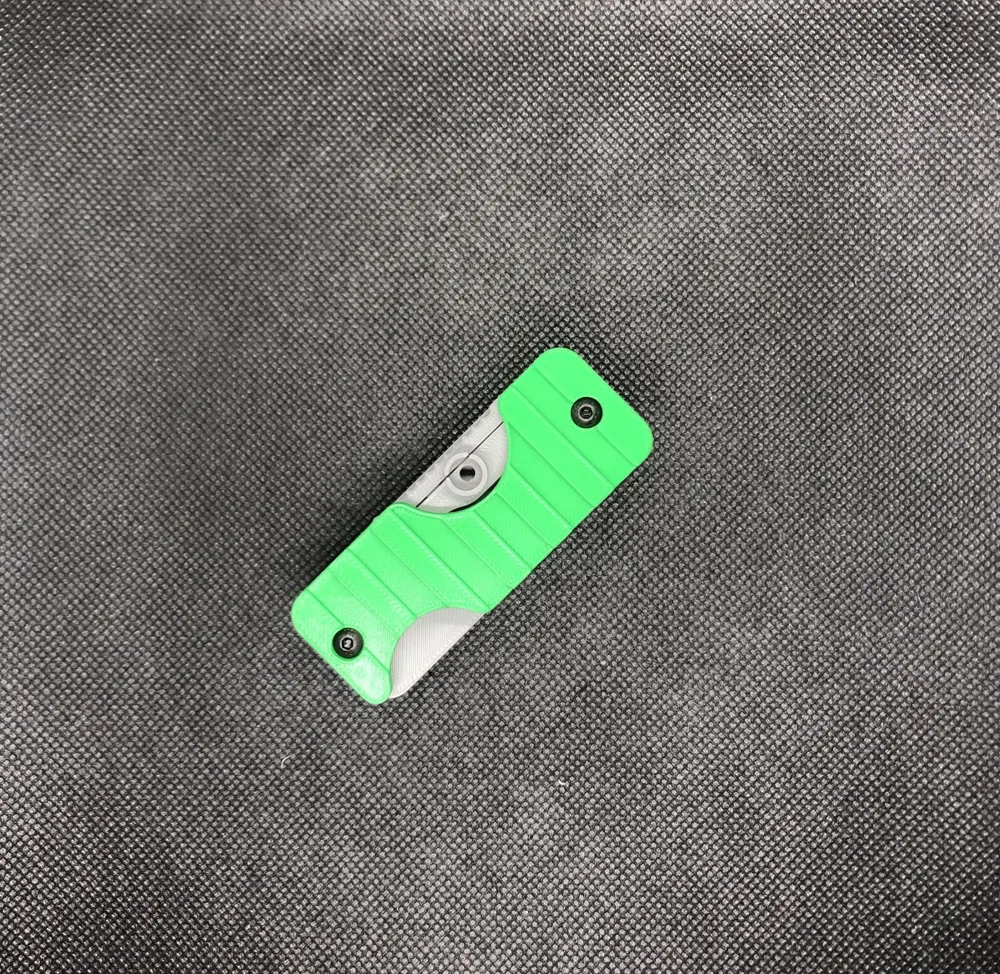
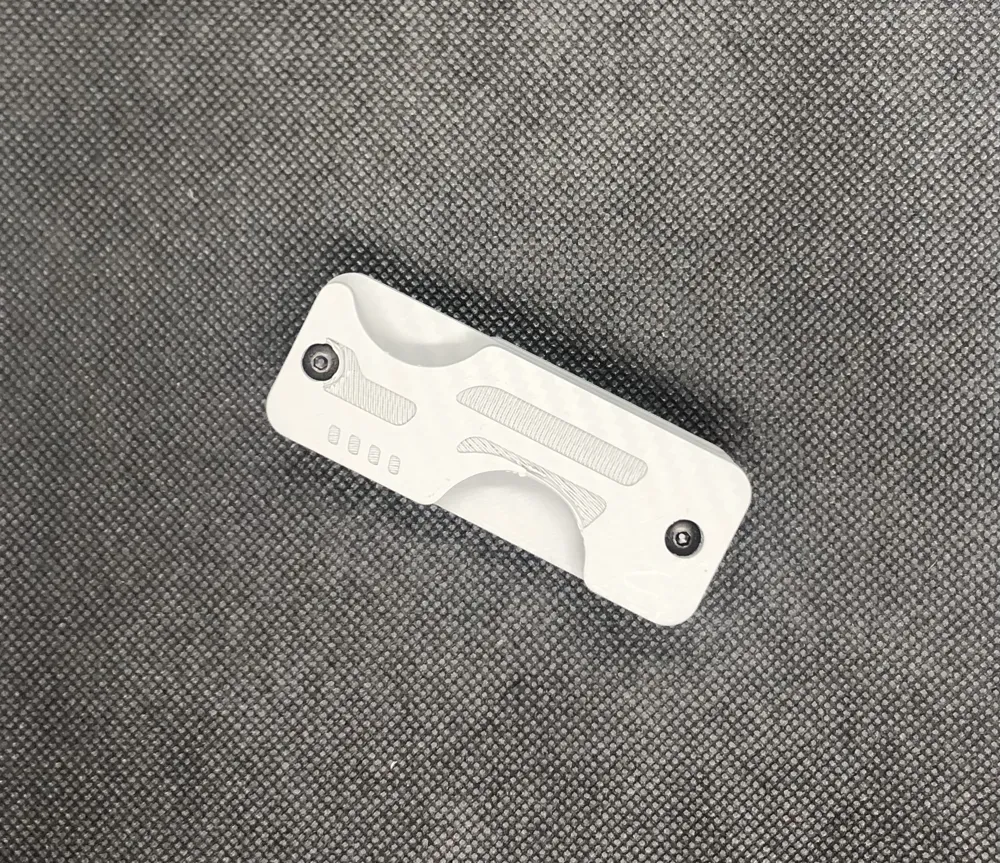
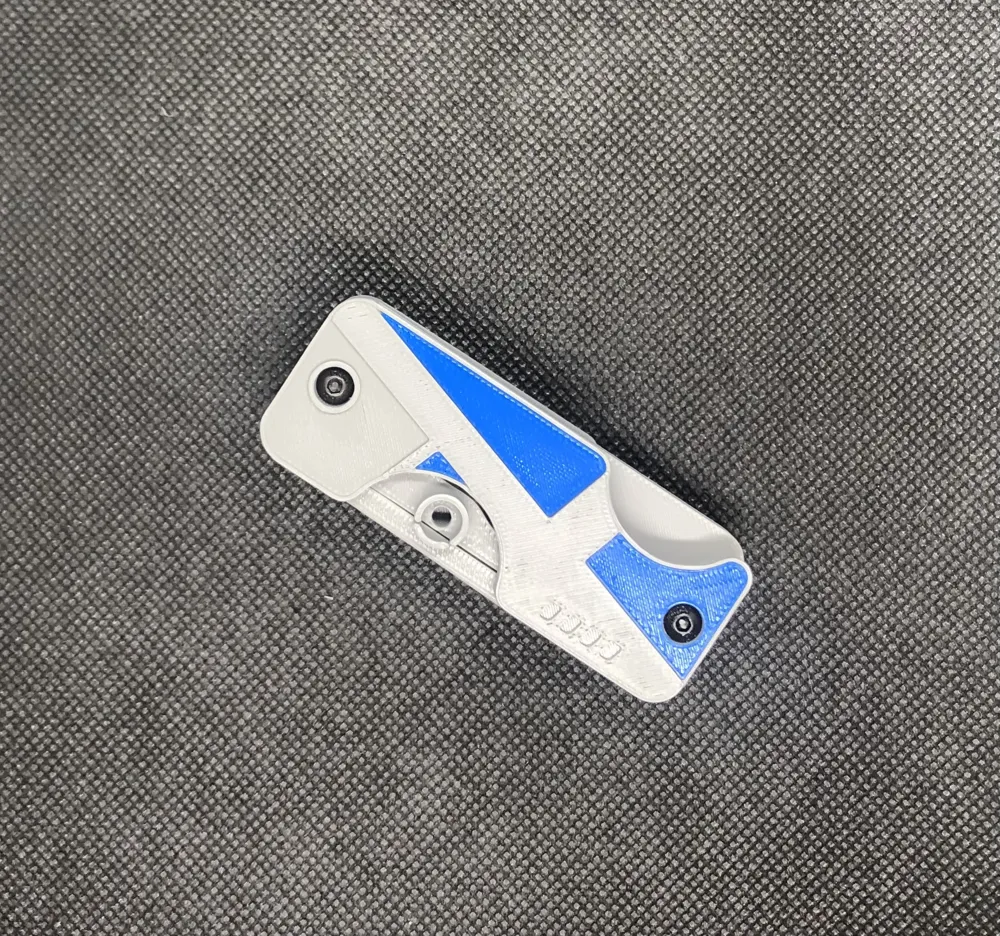
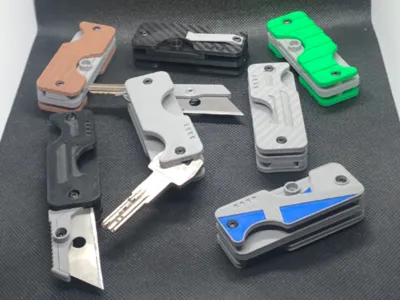
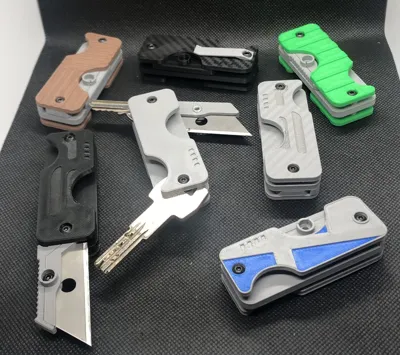
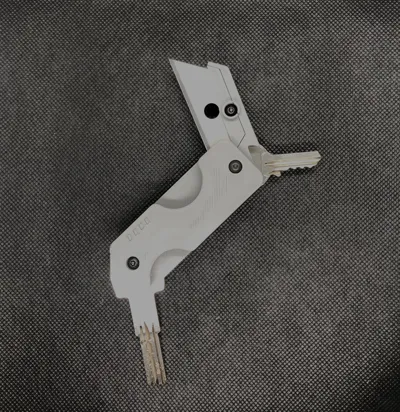
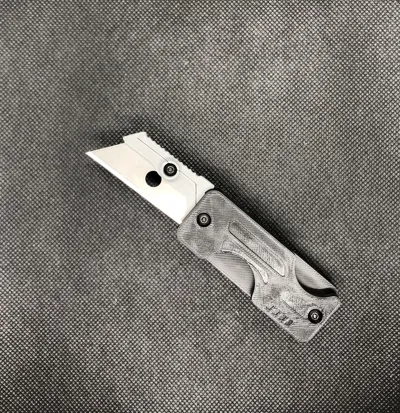
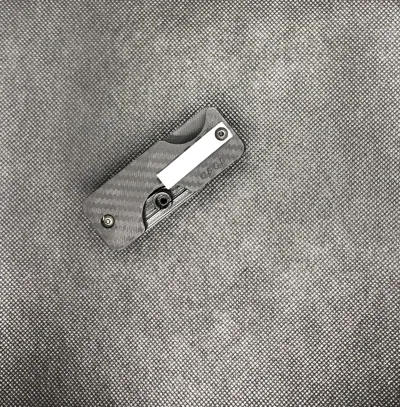
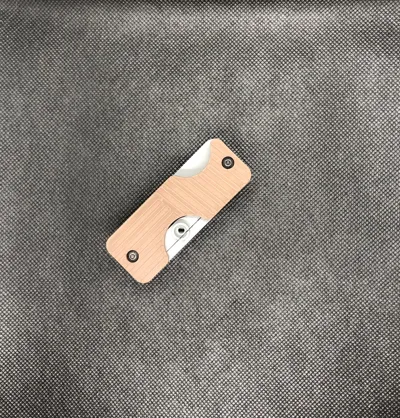
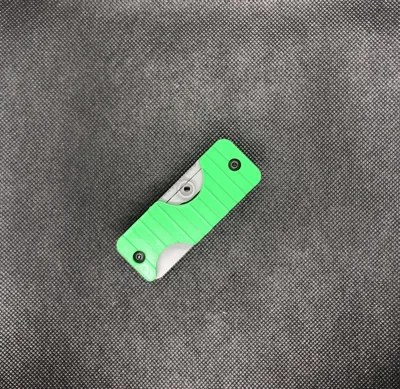
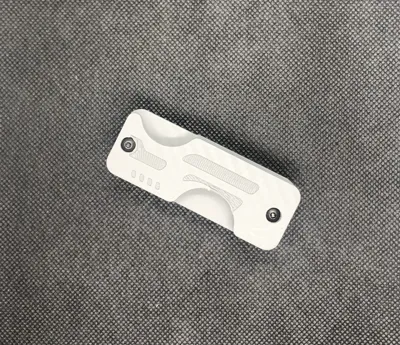
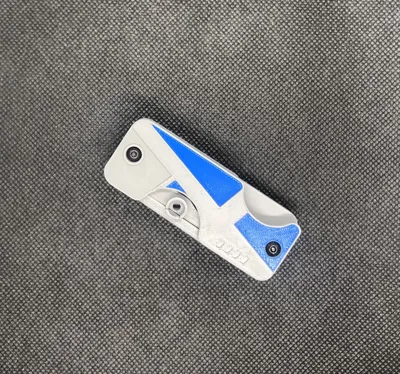
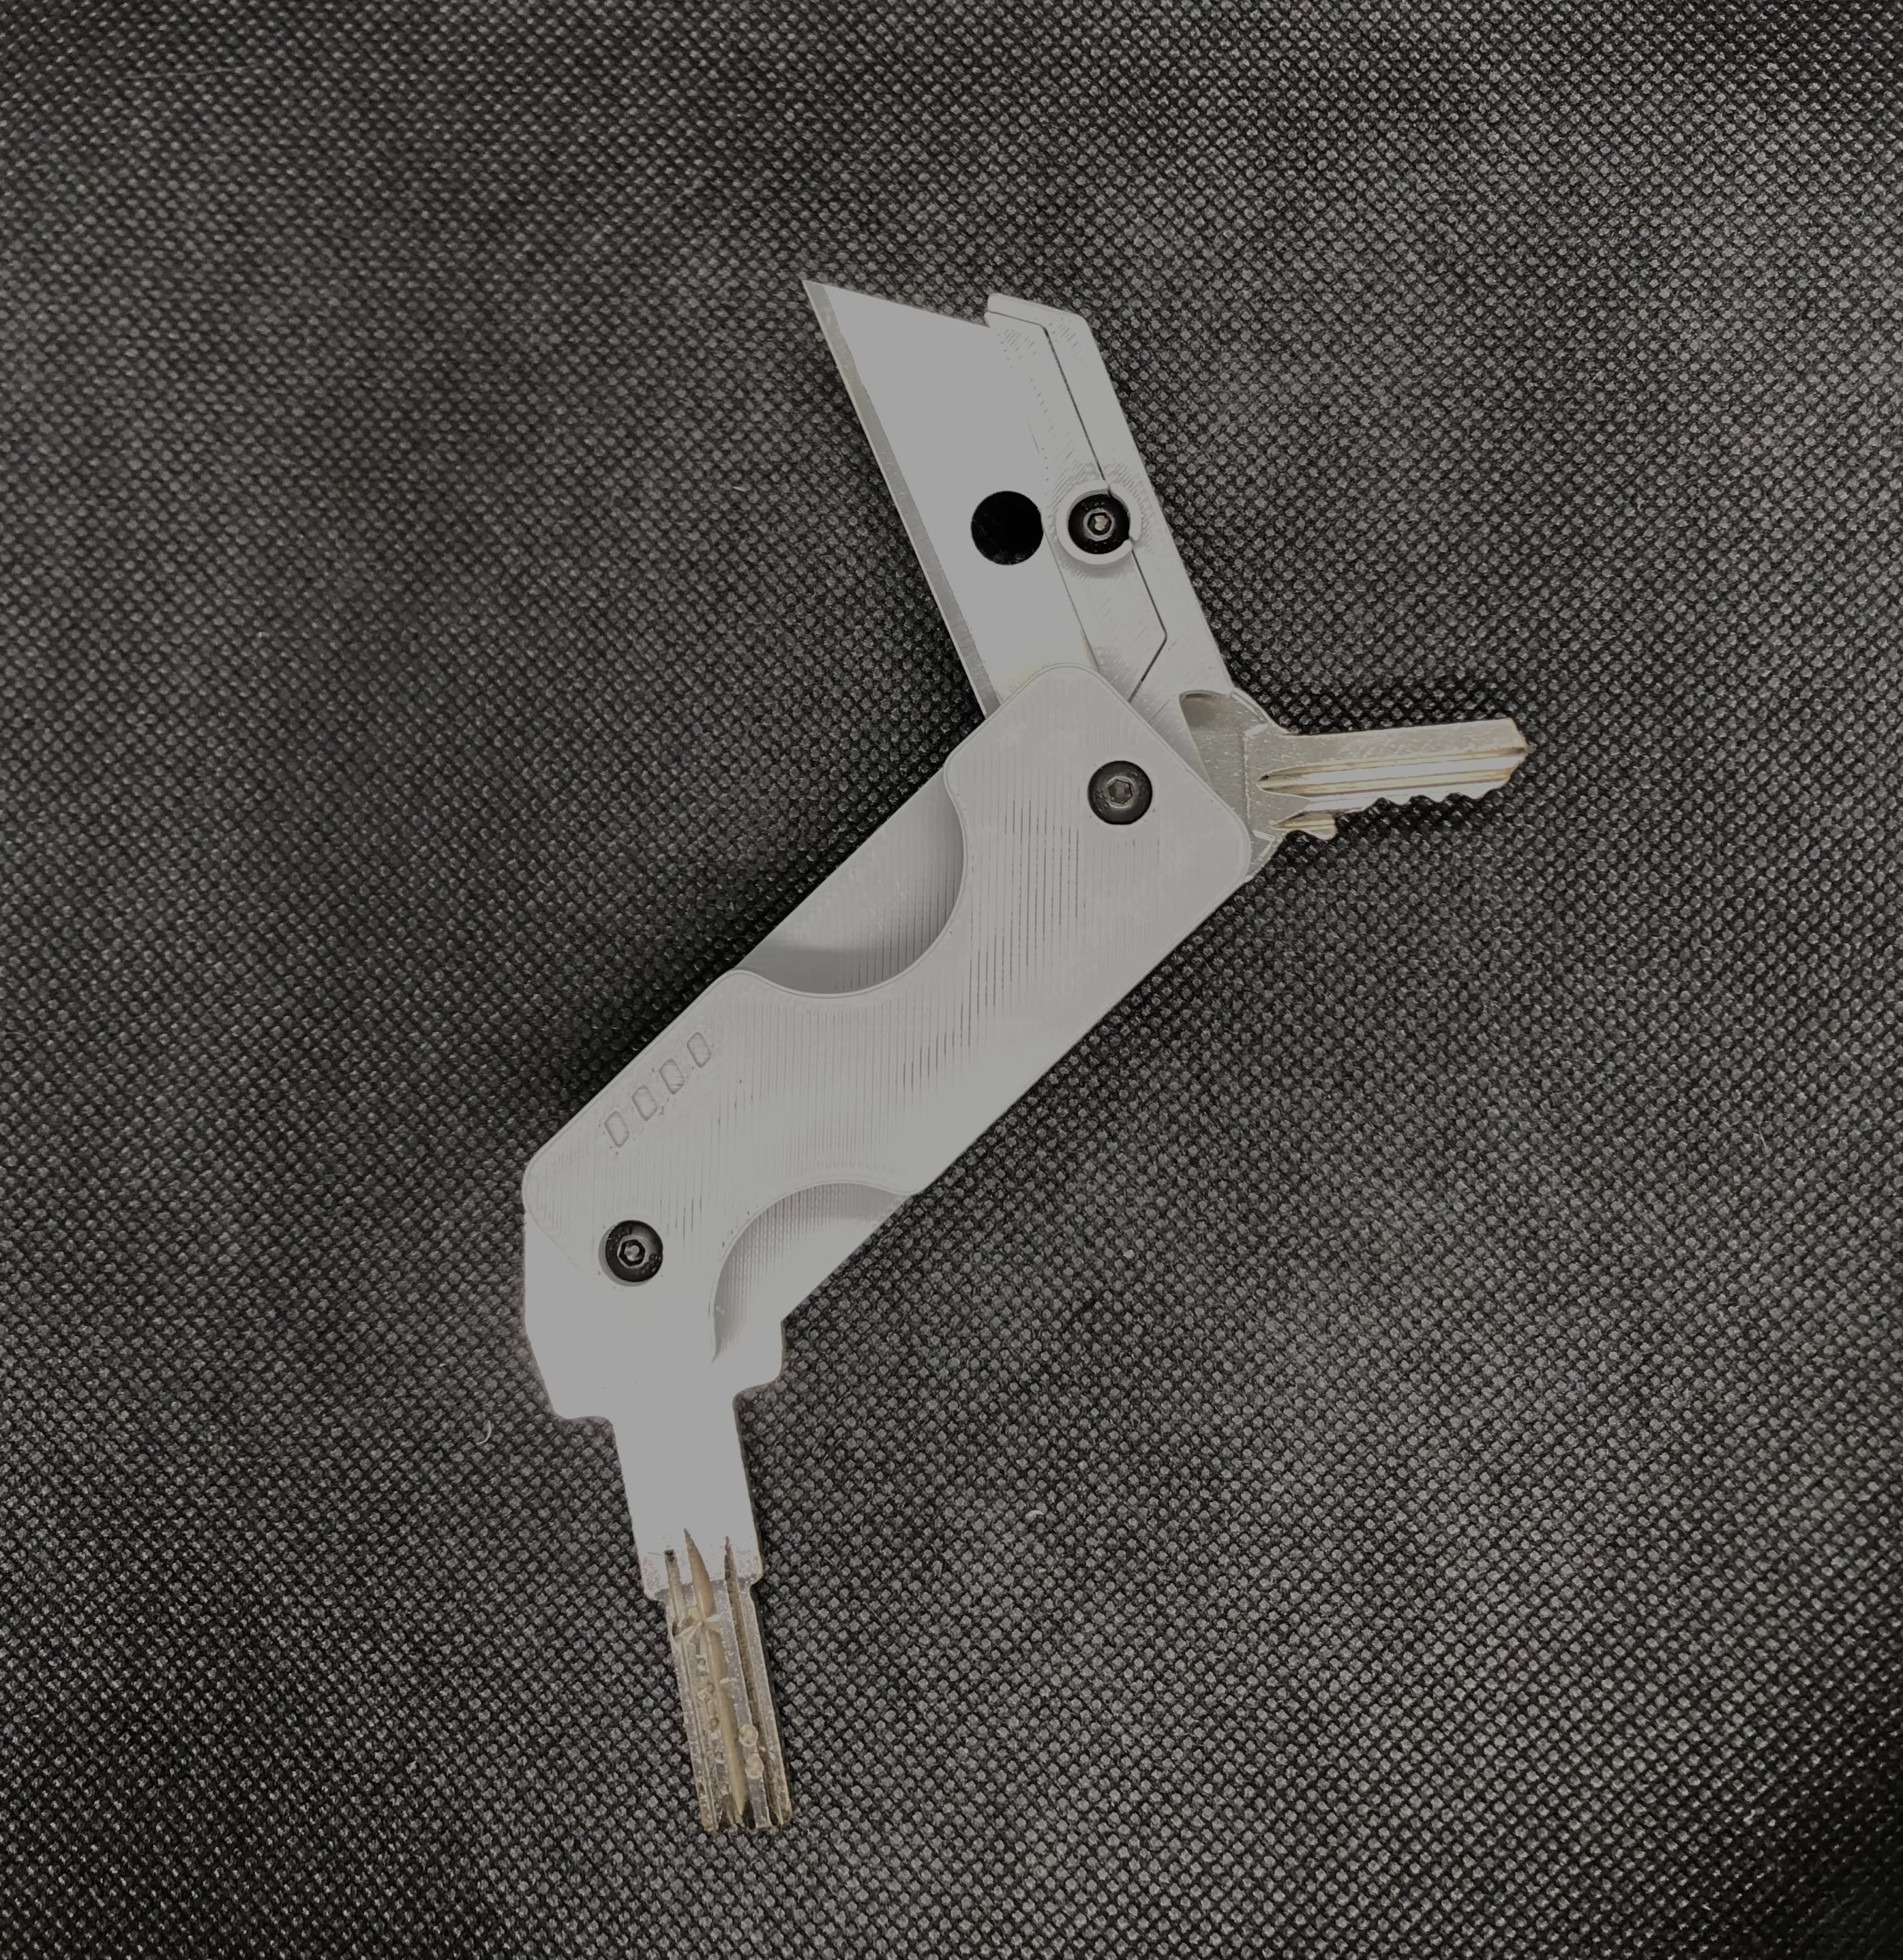
KeyFold is an EDC style key organizer, fully 3D printed with an integrated cutter blade and a modular system designed to adapt to different needs and tastes. Each version has its own style, from the simplest to the most technical, so you can choose the one that best represents you
Seven interchangeable handle styles are available: the basic version, the basic version with textured plate, the tactical variant, also available with a textured plate, a minimal urban style, a Survival version, and a modern hi-tech option. All handles are cross-compatible and assemble in the same way
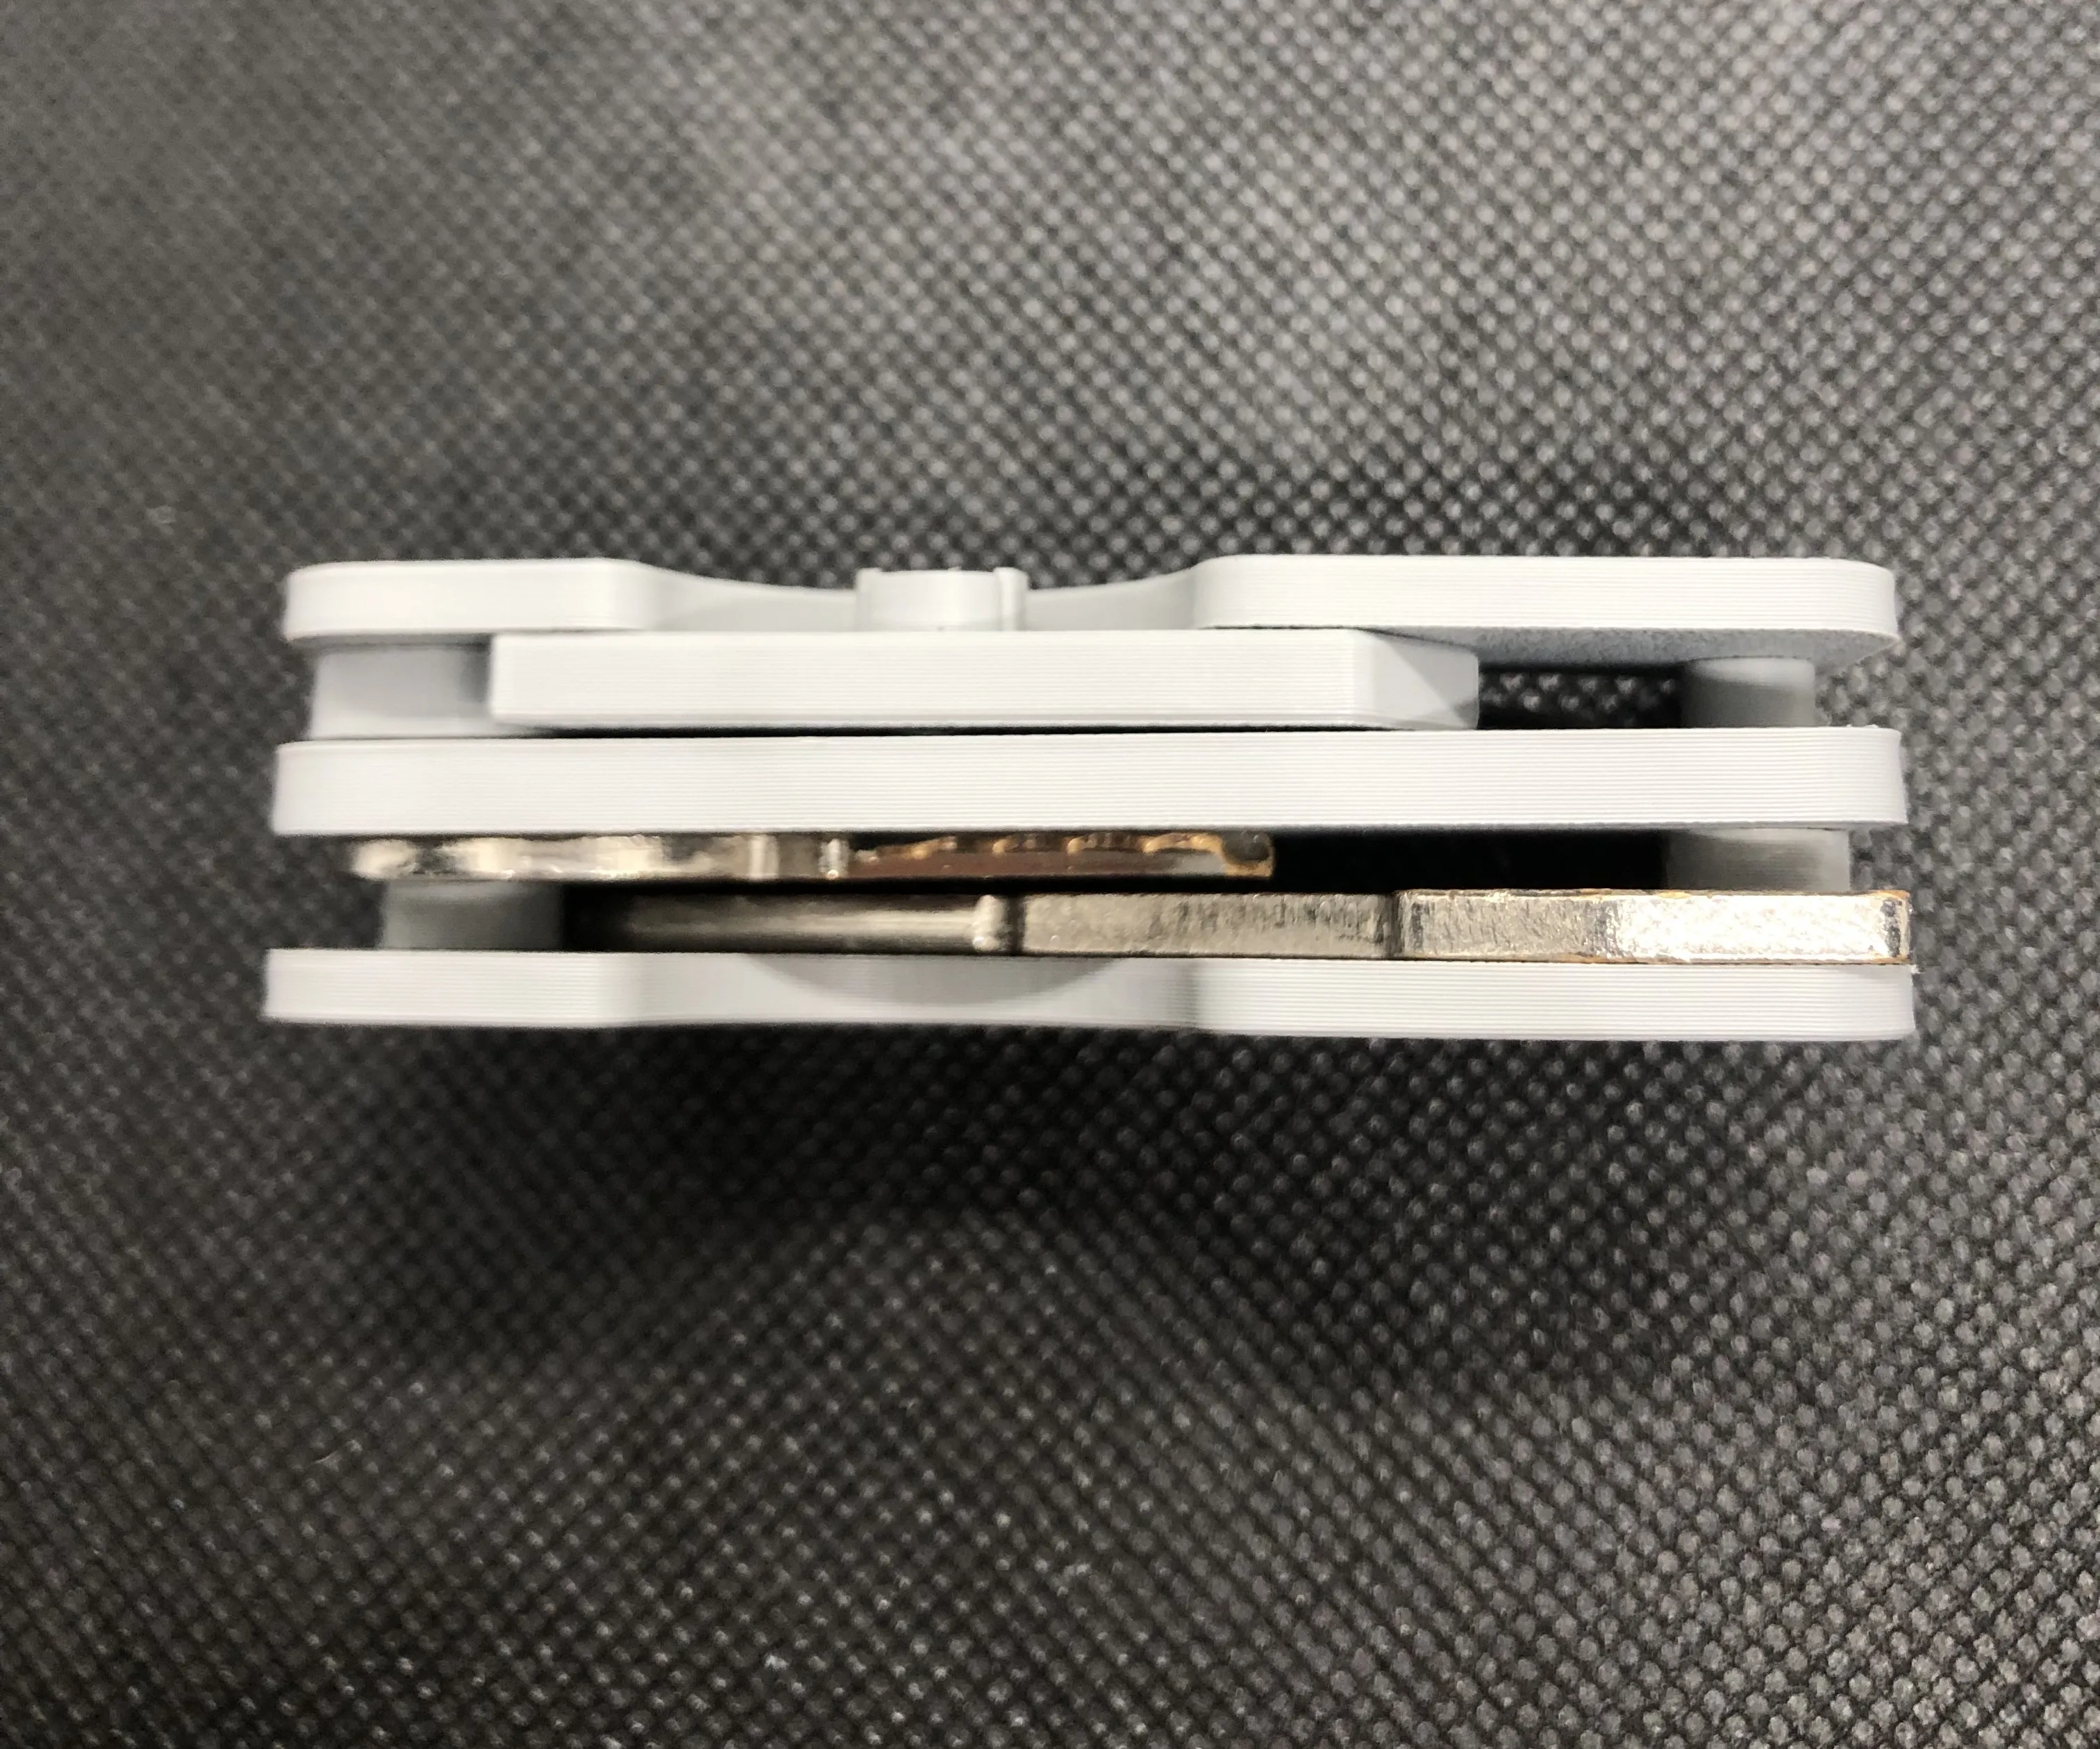
The project allows for mounting more than two keys, although in my case I only inserted two as those are the ones I use daily. Thanks to the spacers included (3.15 and 0.4mm), you can easily adjust the internal thicknesses to achieve the right distance between keys and a good blade fixation. This makes the assembly solid and customizable
Each file contains three separate plates: one with the body and the blade lock, a second with the spacers, and a third with the belt clip. Two versions of the blade lock are also available: one smooth and one with an upper serrated profile
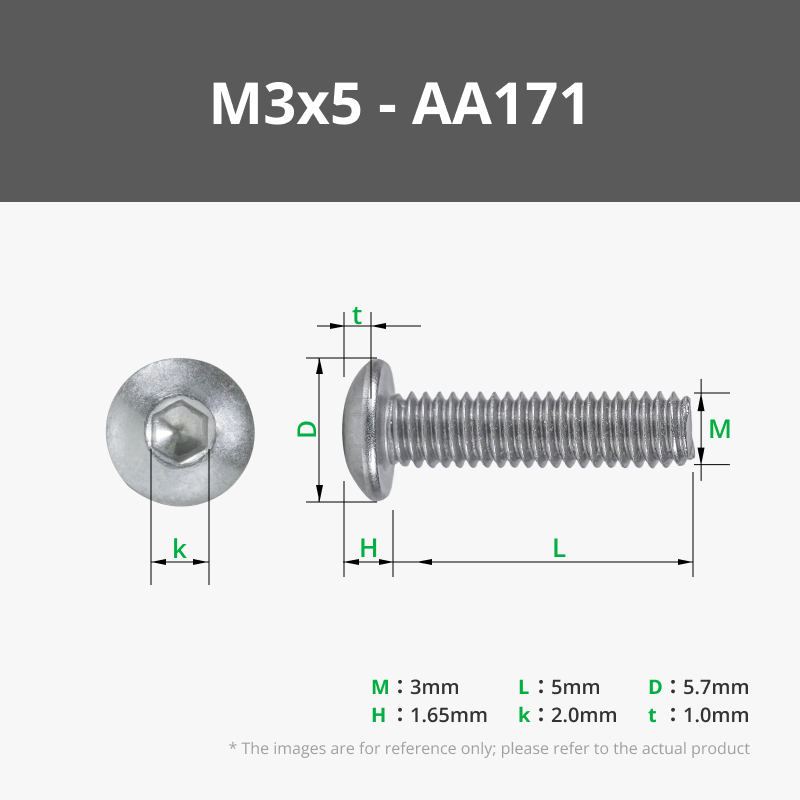
The system is designed to be assembled with M3 screws. The length depends on the number and thickness of the keys you decide to insert, so a fixed measurement is not provided
If you download the files and do not use my print profile make sure to mirror the handle
Also, if you find the object's opening too loose or too stiff, tighten or loosen the screws and add or remove spacers
Boost Me (for free)
If this Key Organizer is useful to you or you like the idea, leave a boost to support it.
With enough interest, I could create new styles, accessories, or extra functions. Thank you!
HOW TO ASSEMBLE
-BLADE
1.Insert the nut into the slot on the back of the handle
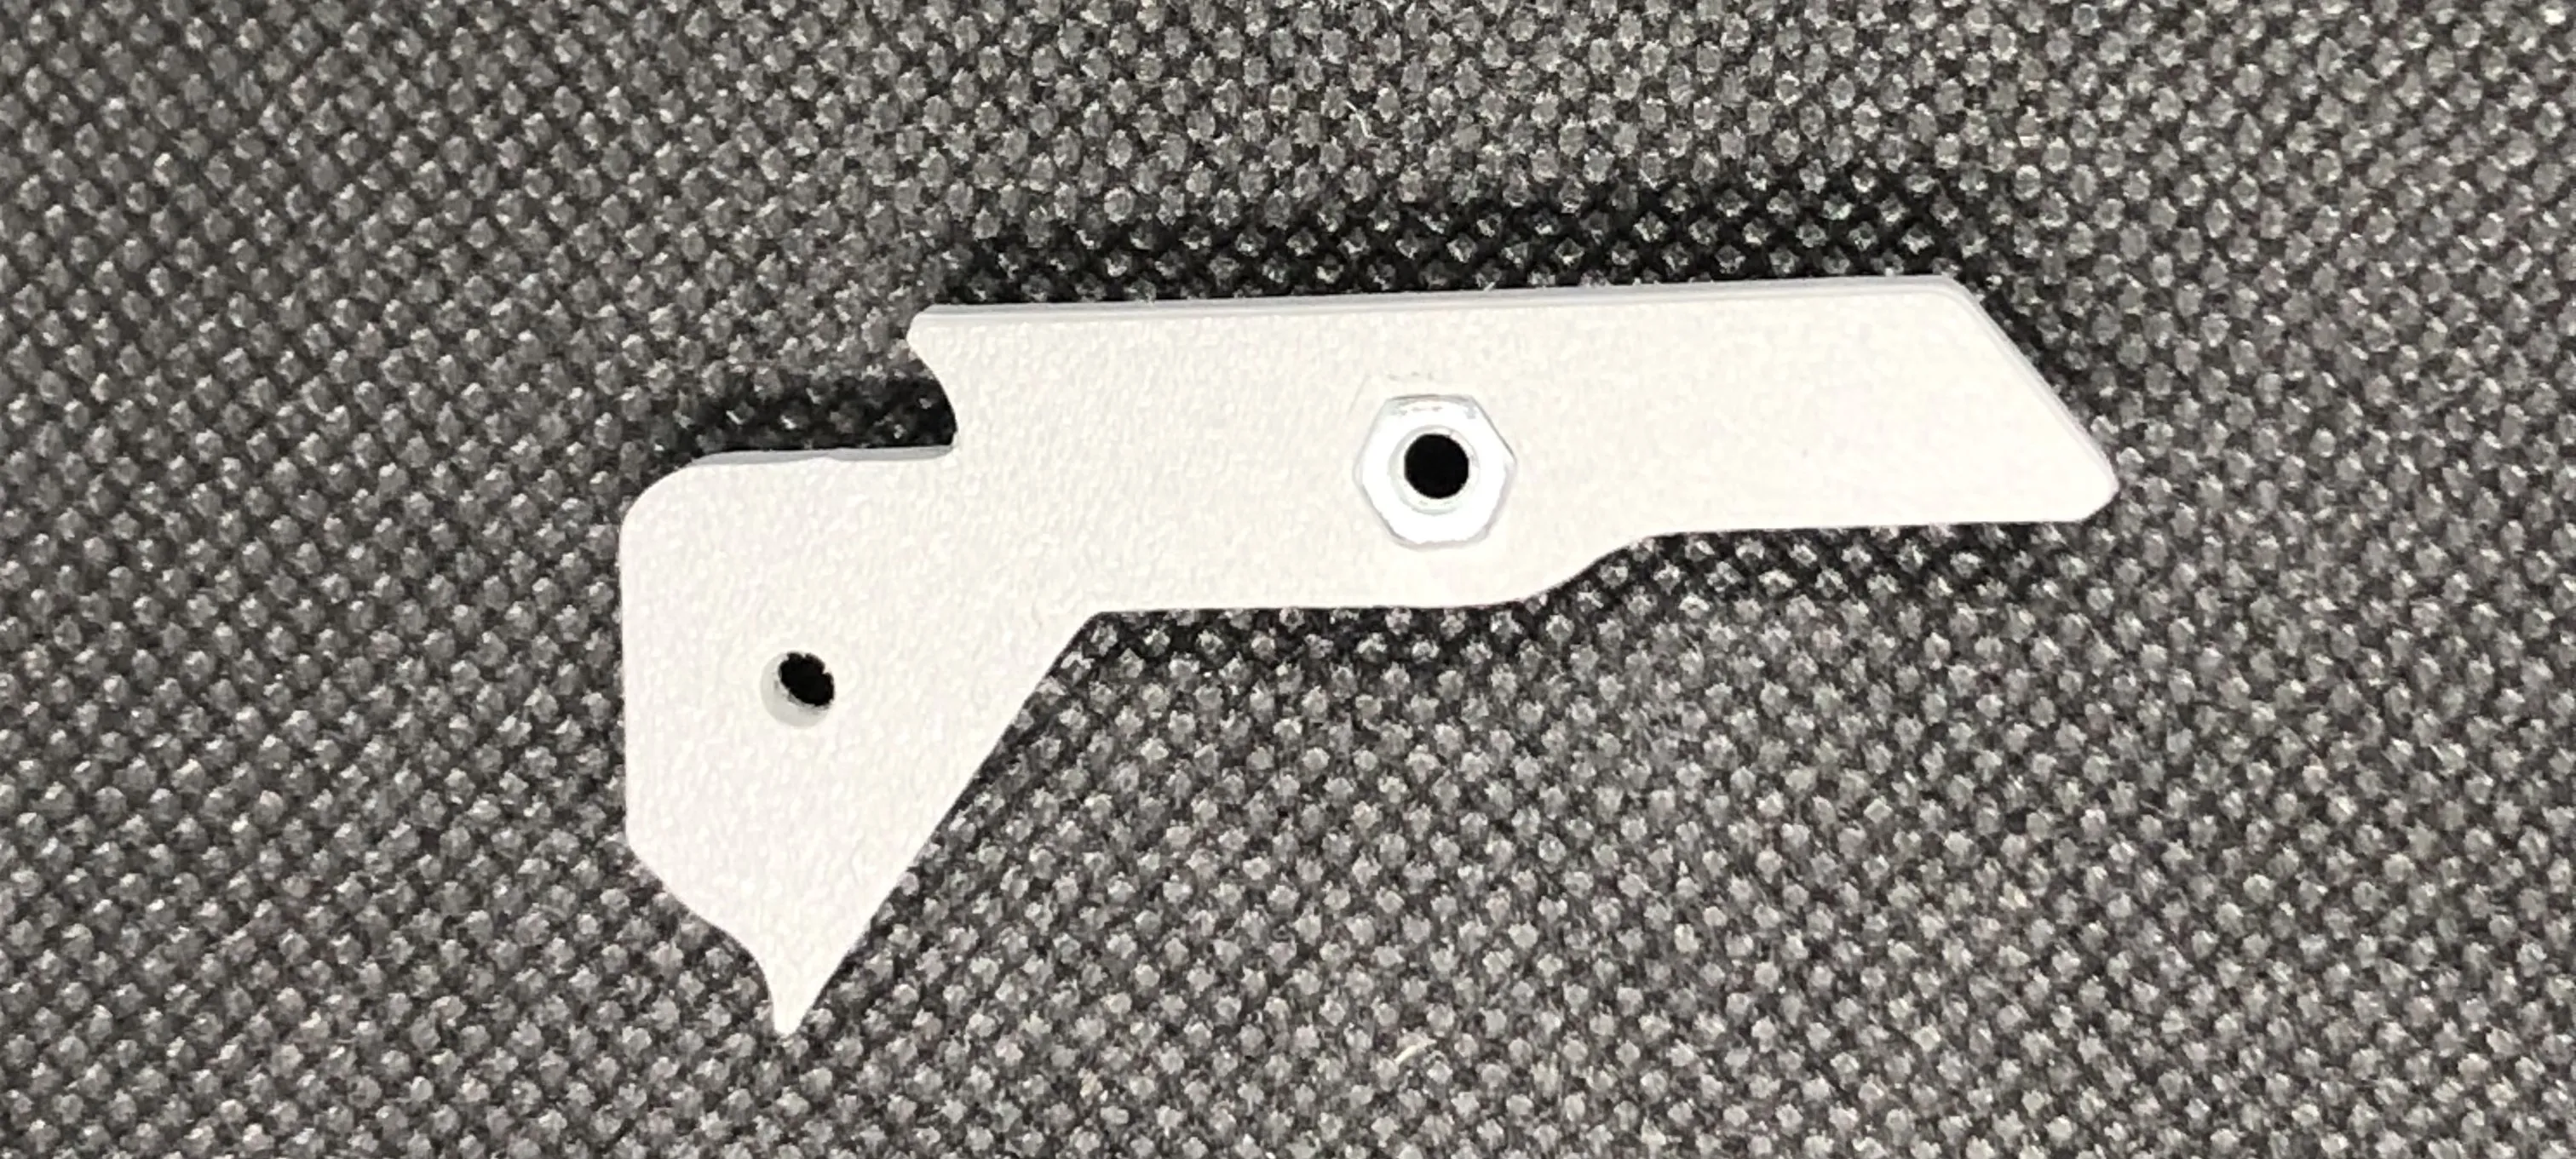
2.Place the cutter blade in the dedicated slot, above the nut
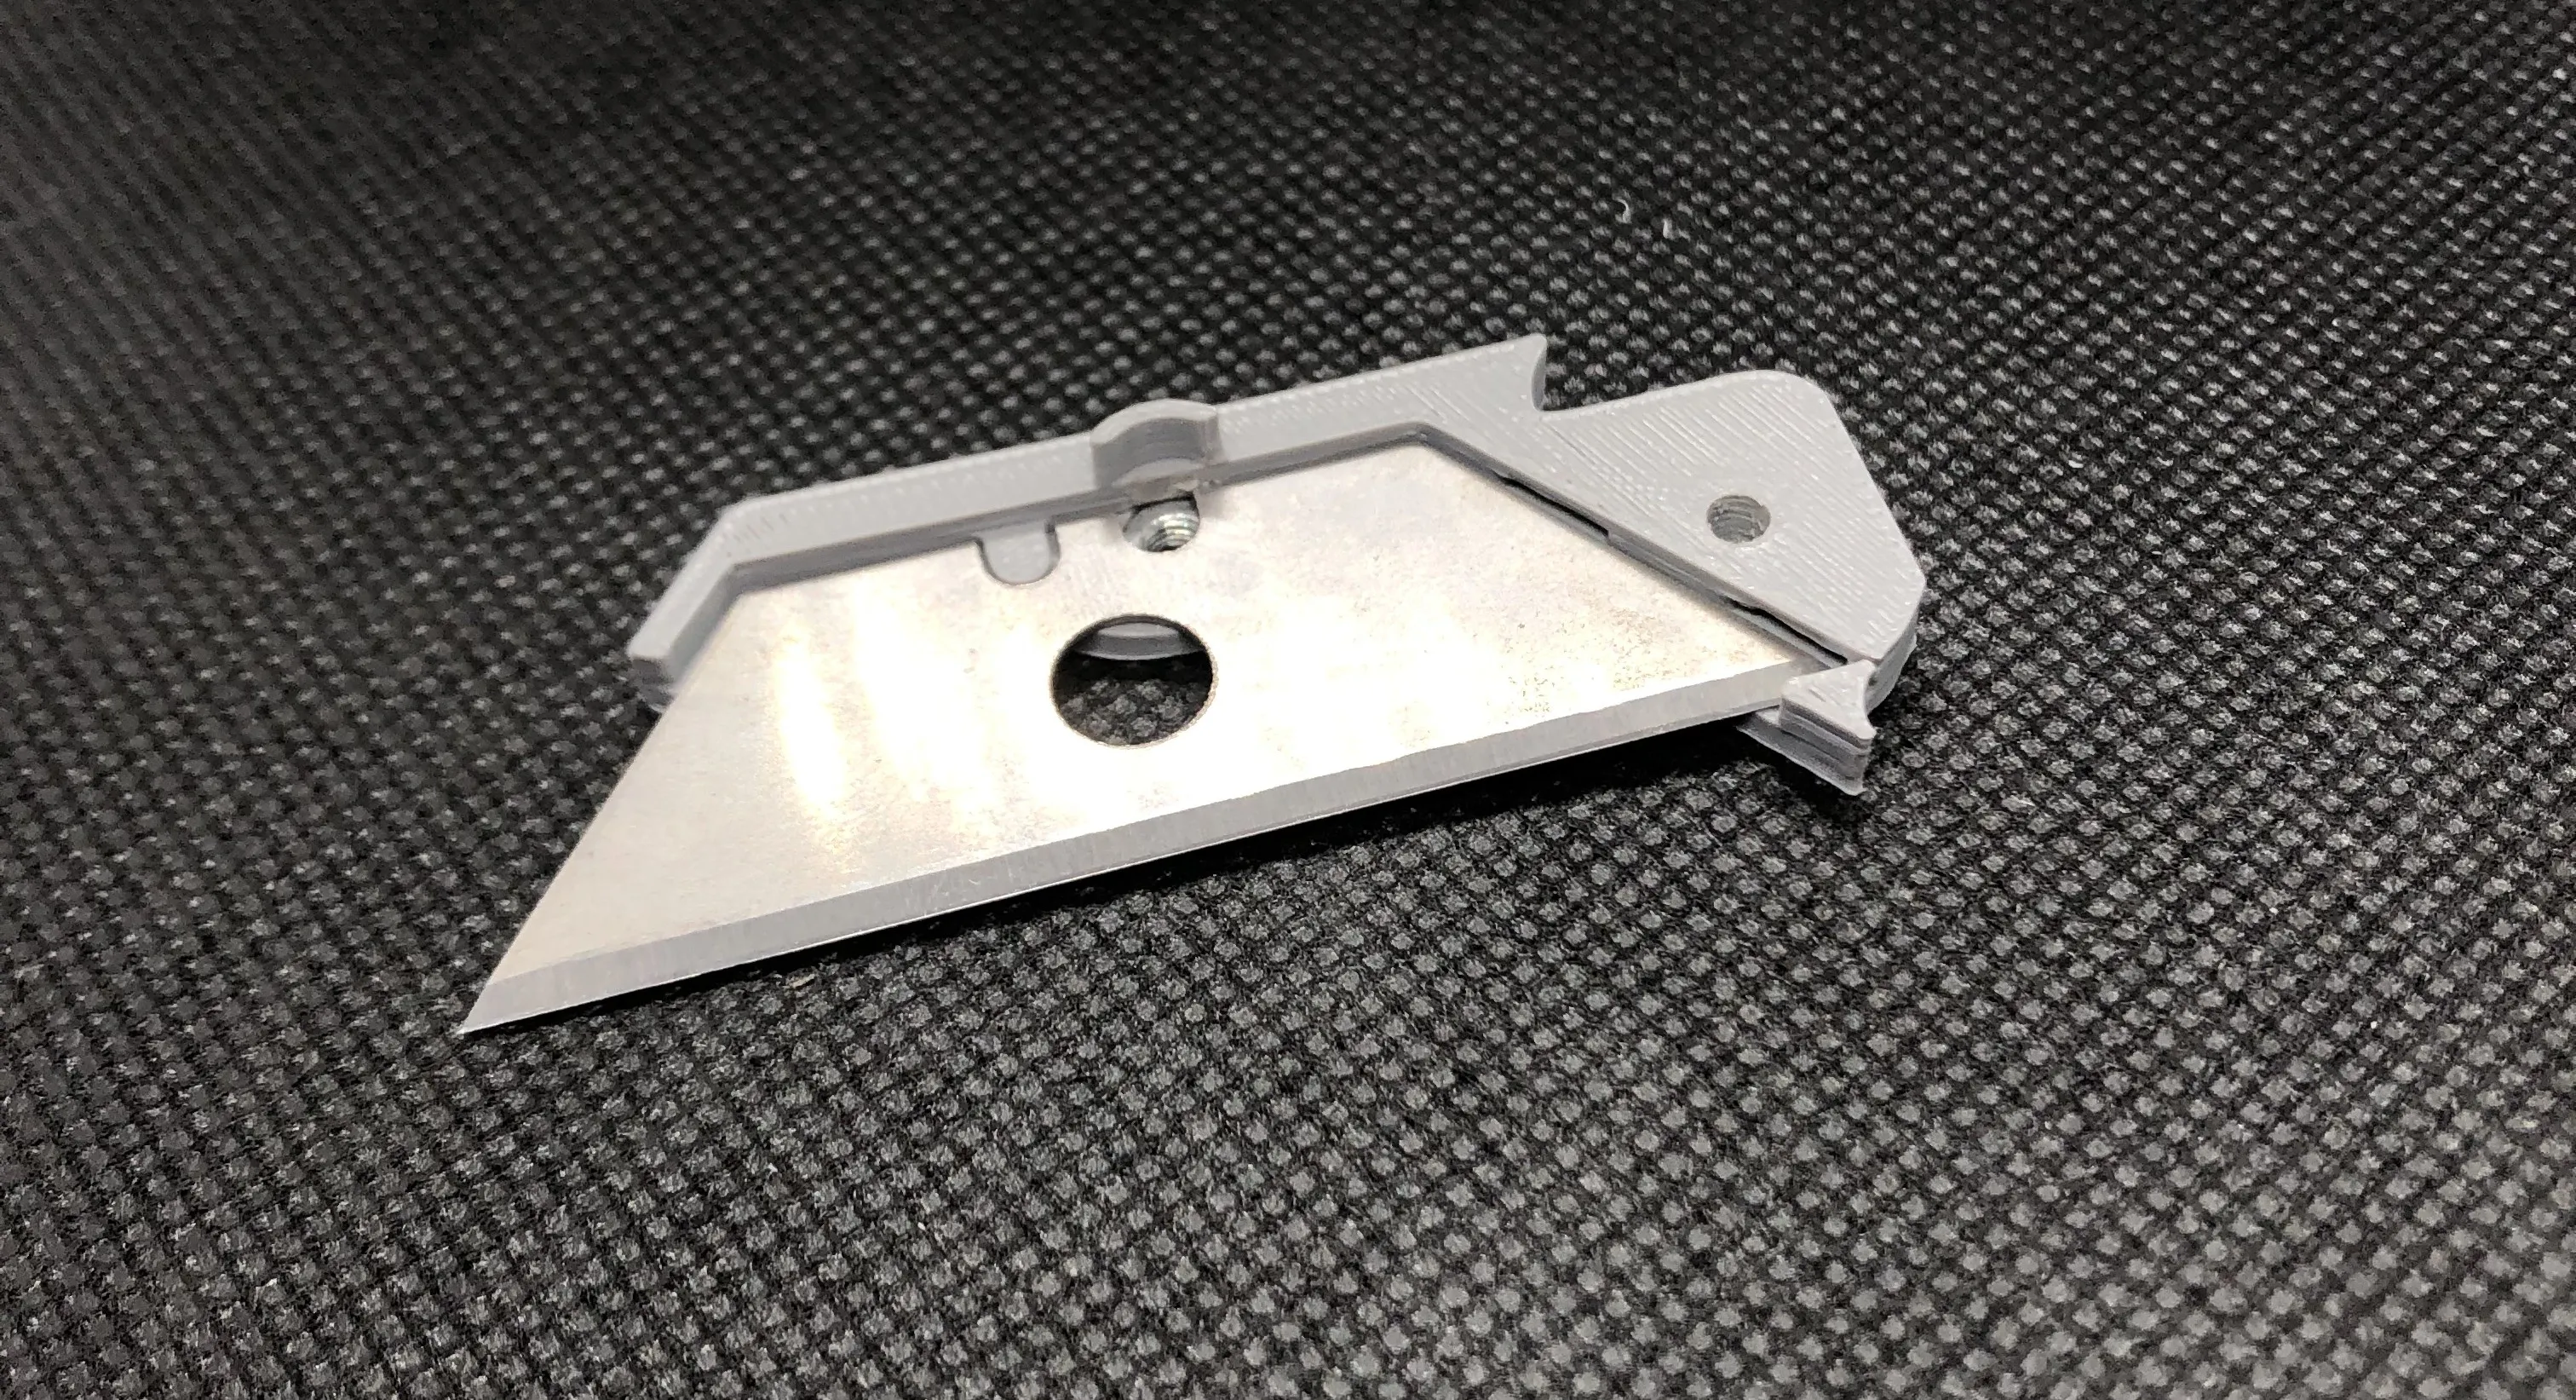
3.Rest the blade lock on top of the blade and screw through the central hole to secure everything
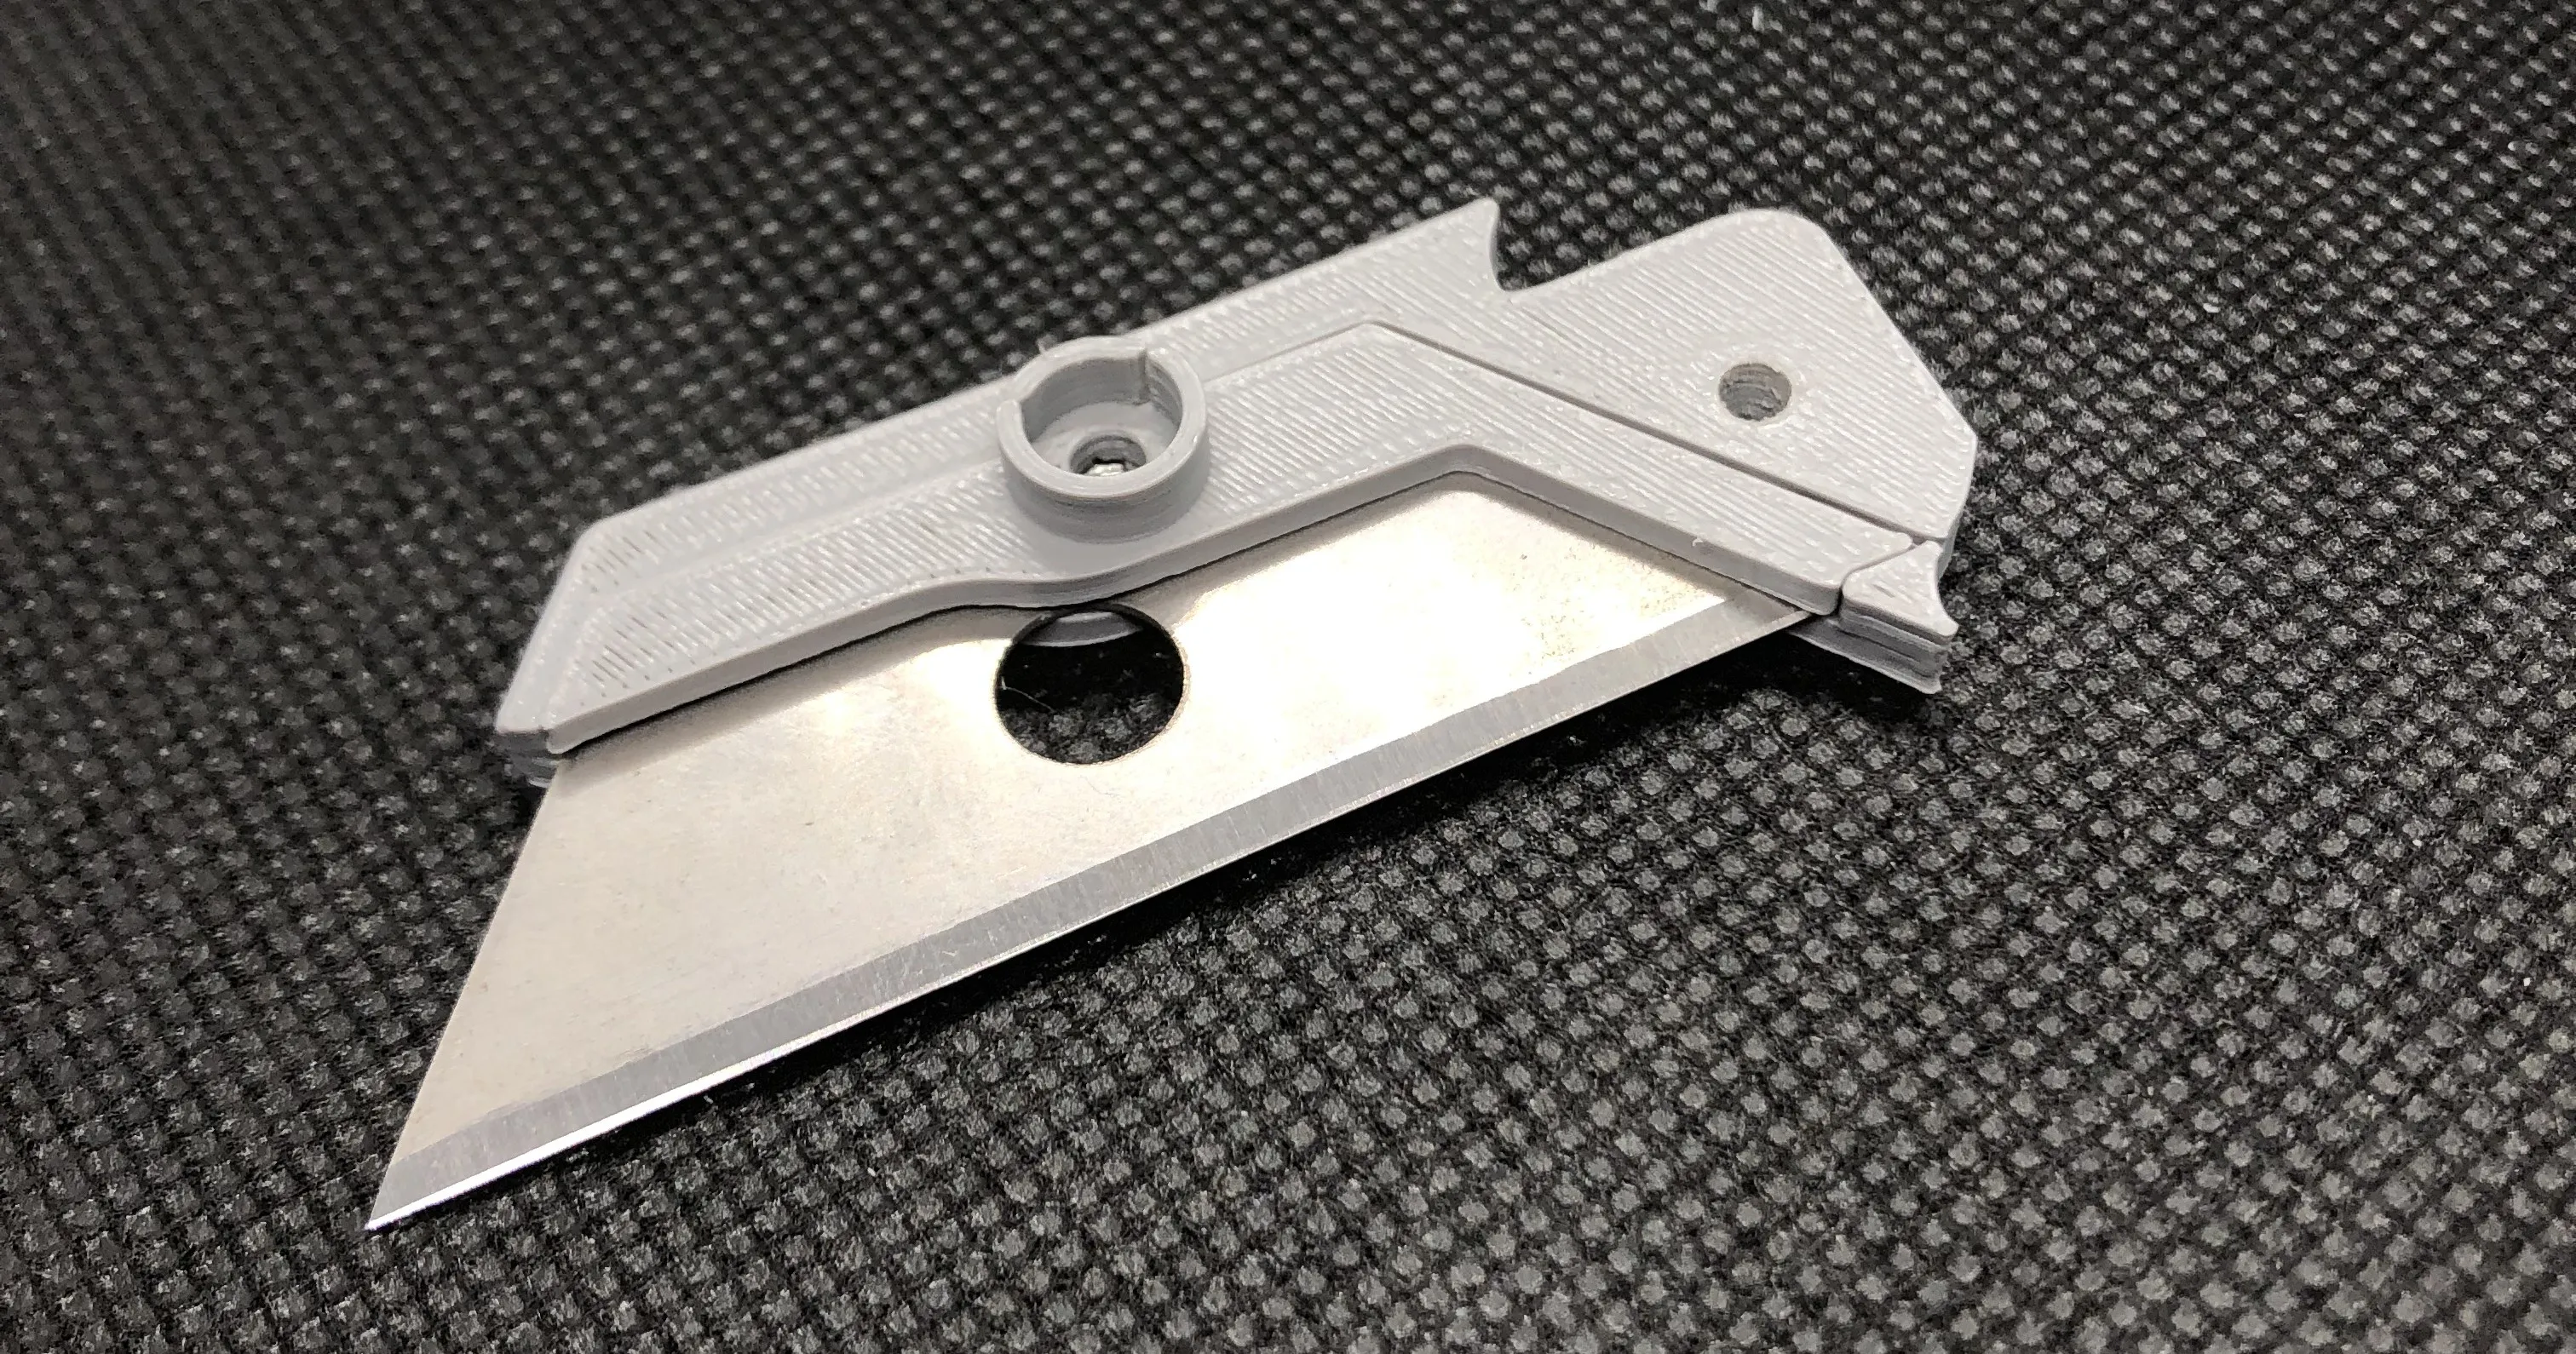
-KEYFOLD
1.Screw a bolt into one of the two sides of the main handle
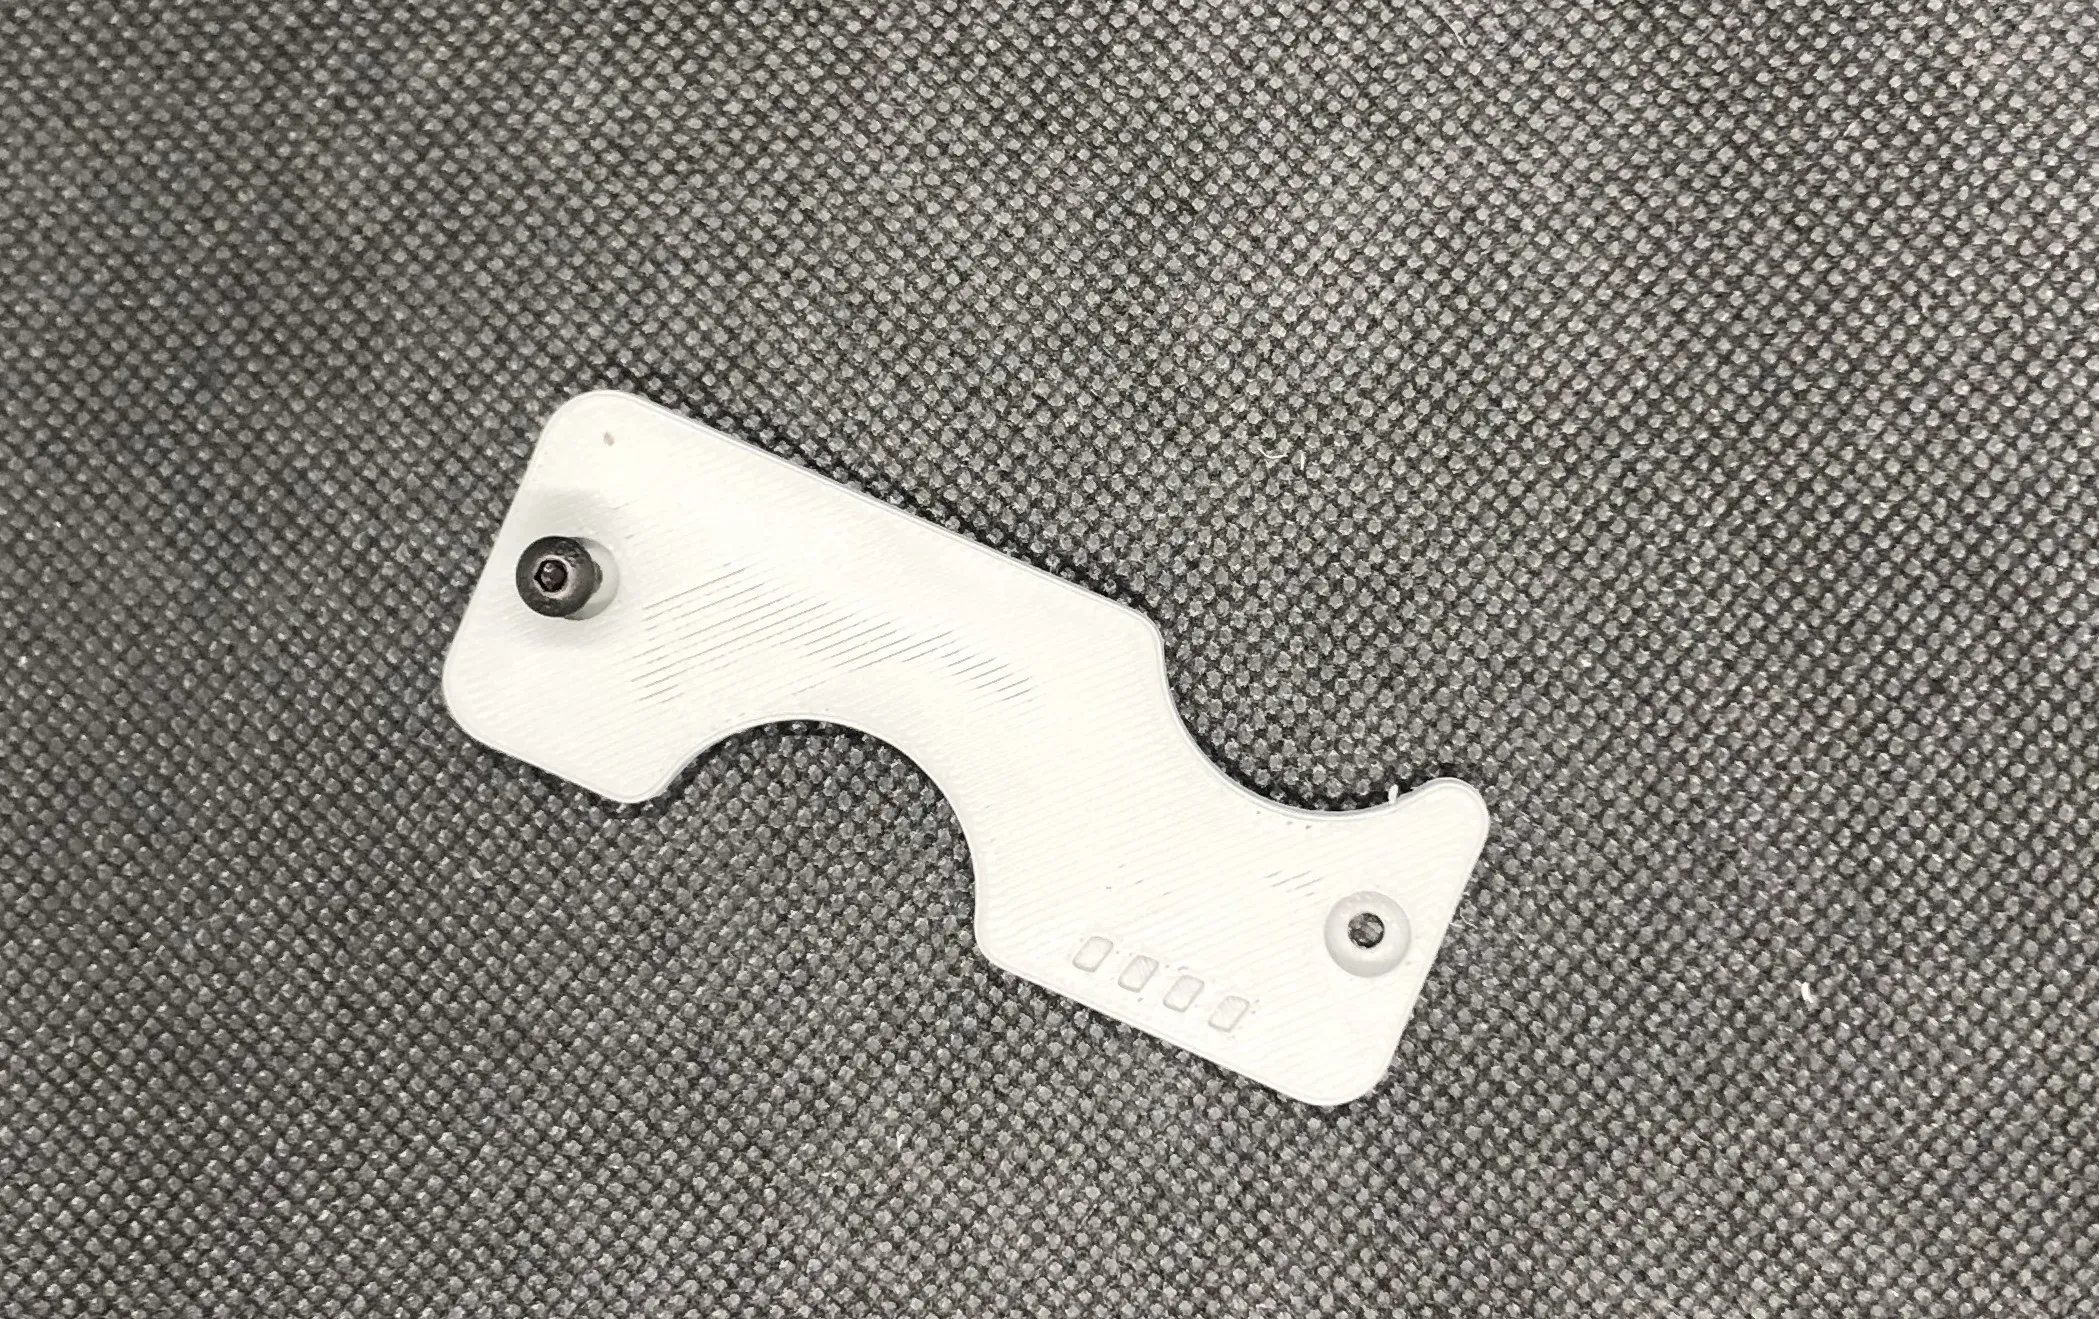
2.Insert the blade into its slot, position the handle, and screw to fix it
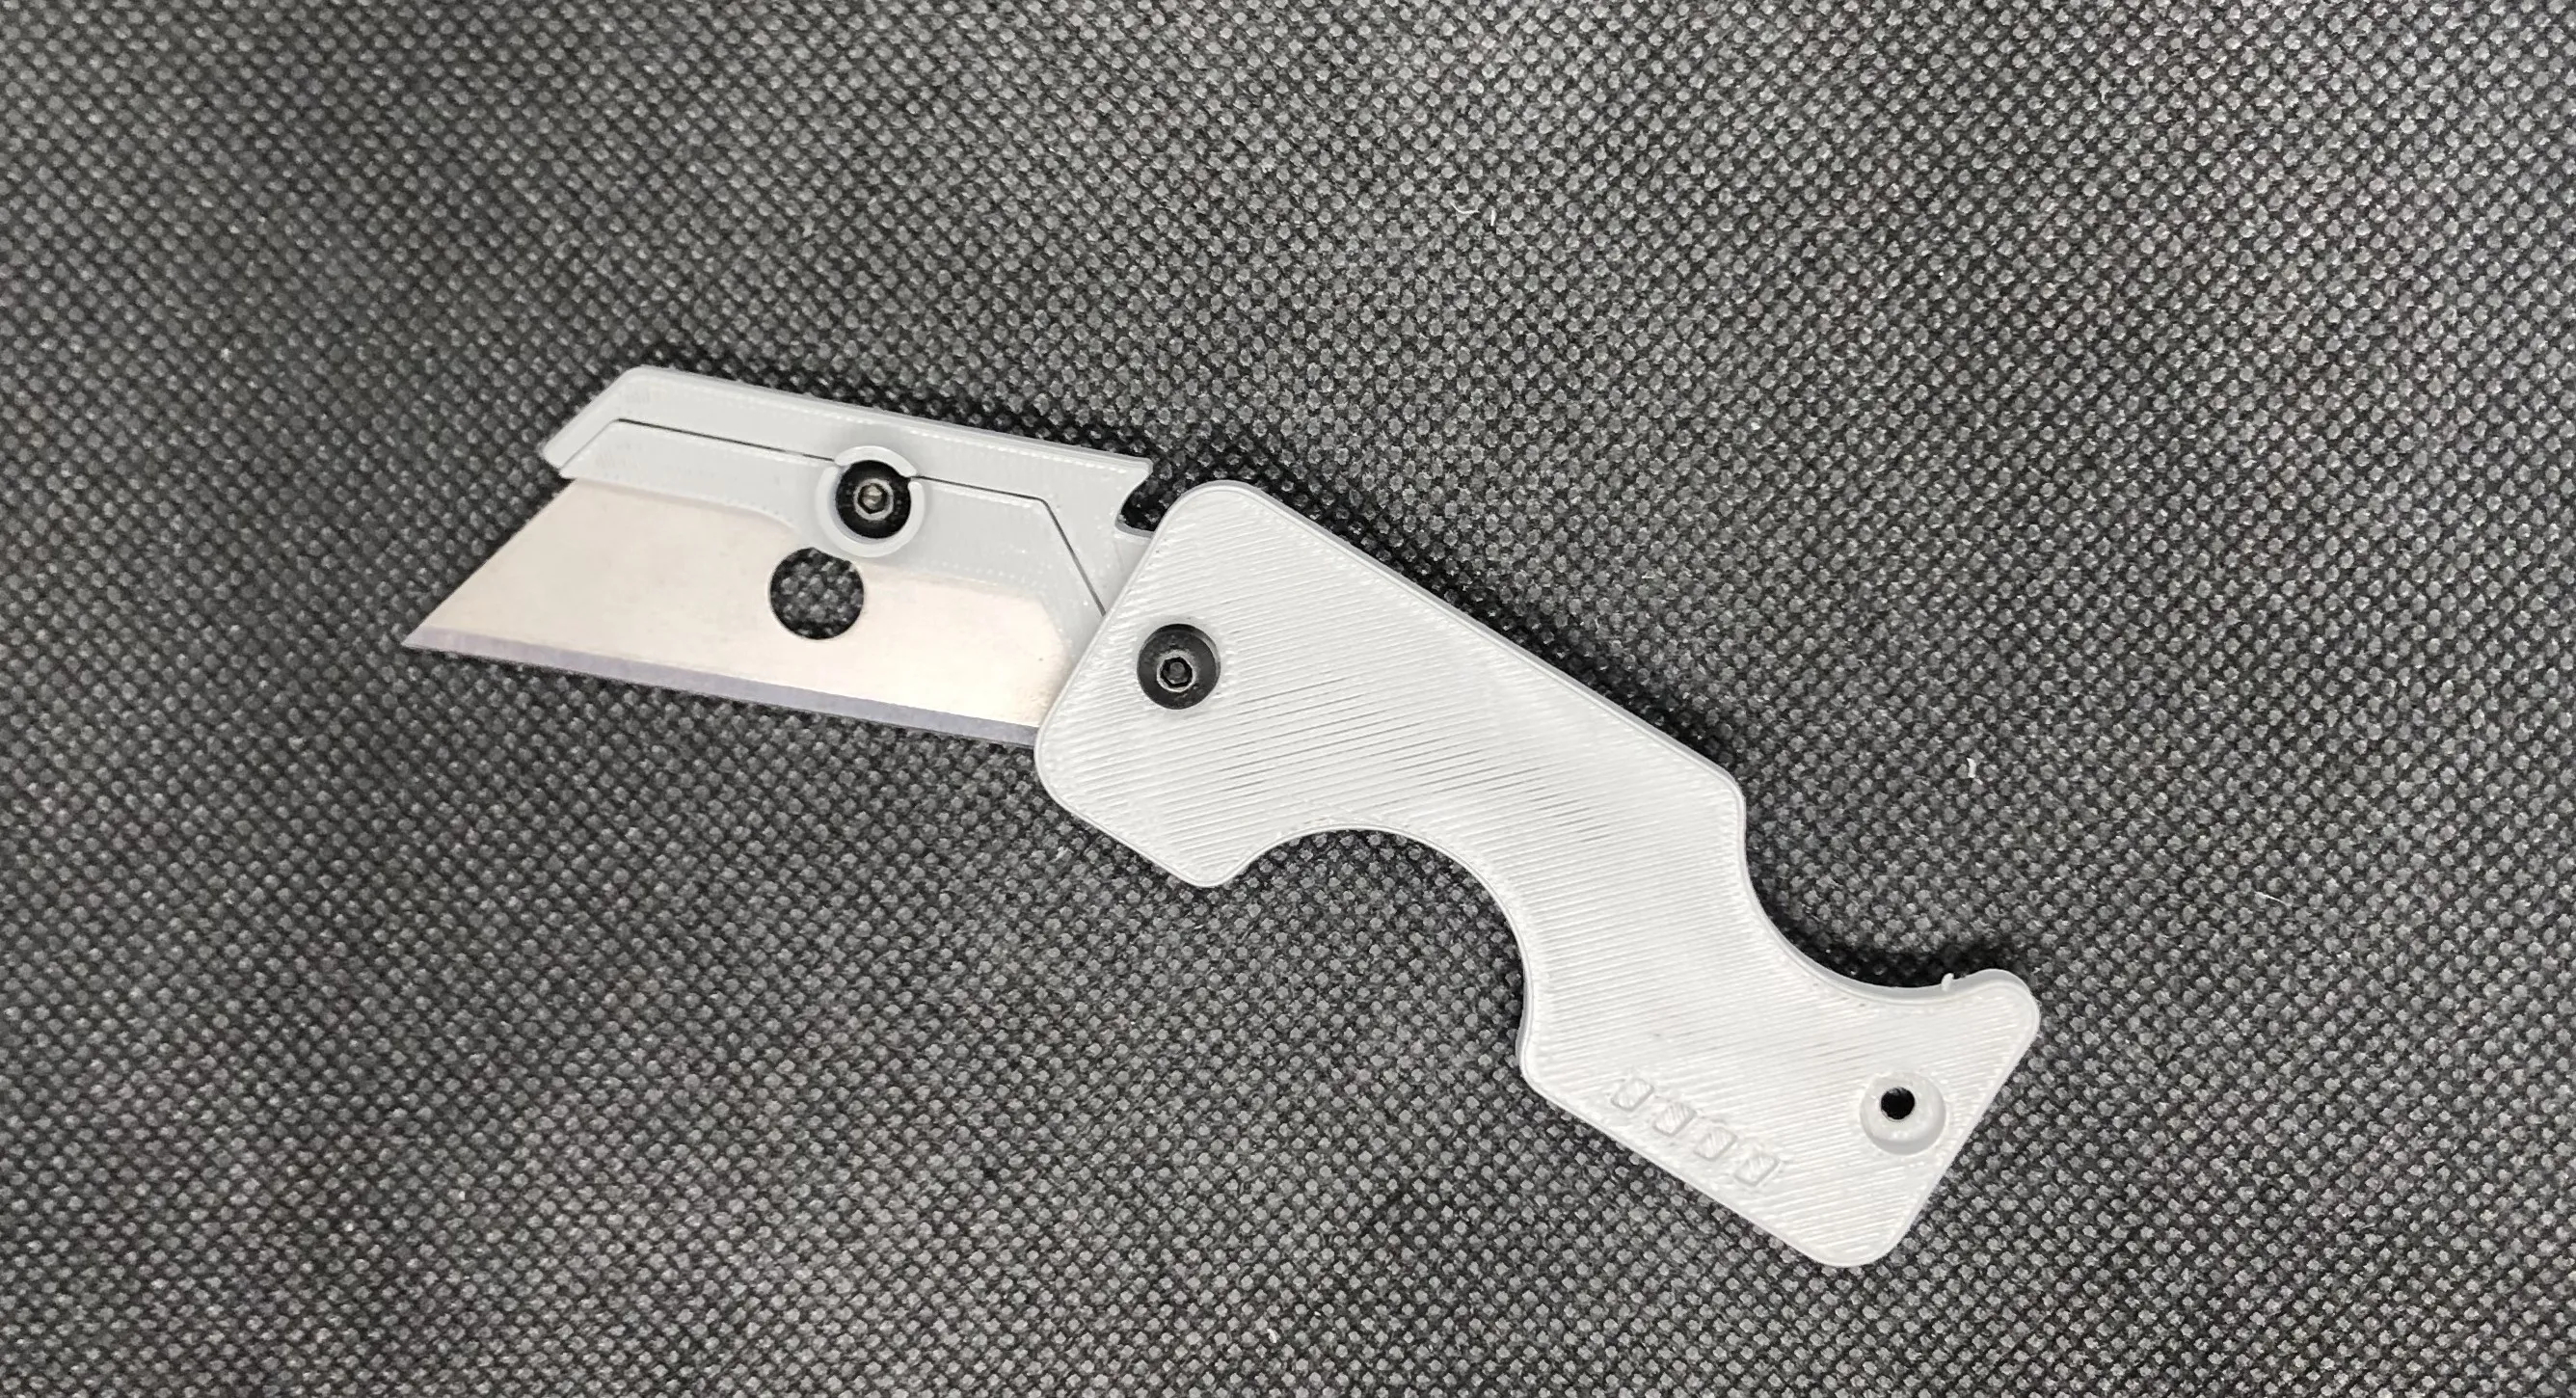
3.Screw the separator onto the blade block to create space between the two halves of the handle
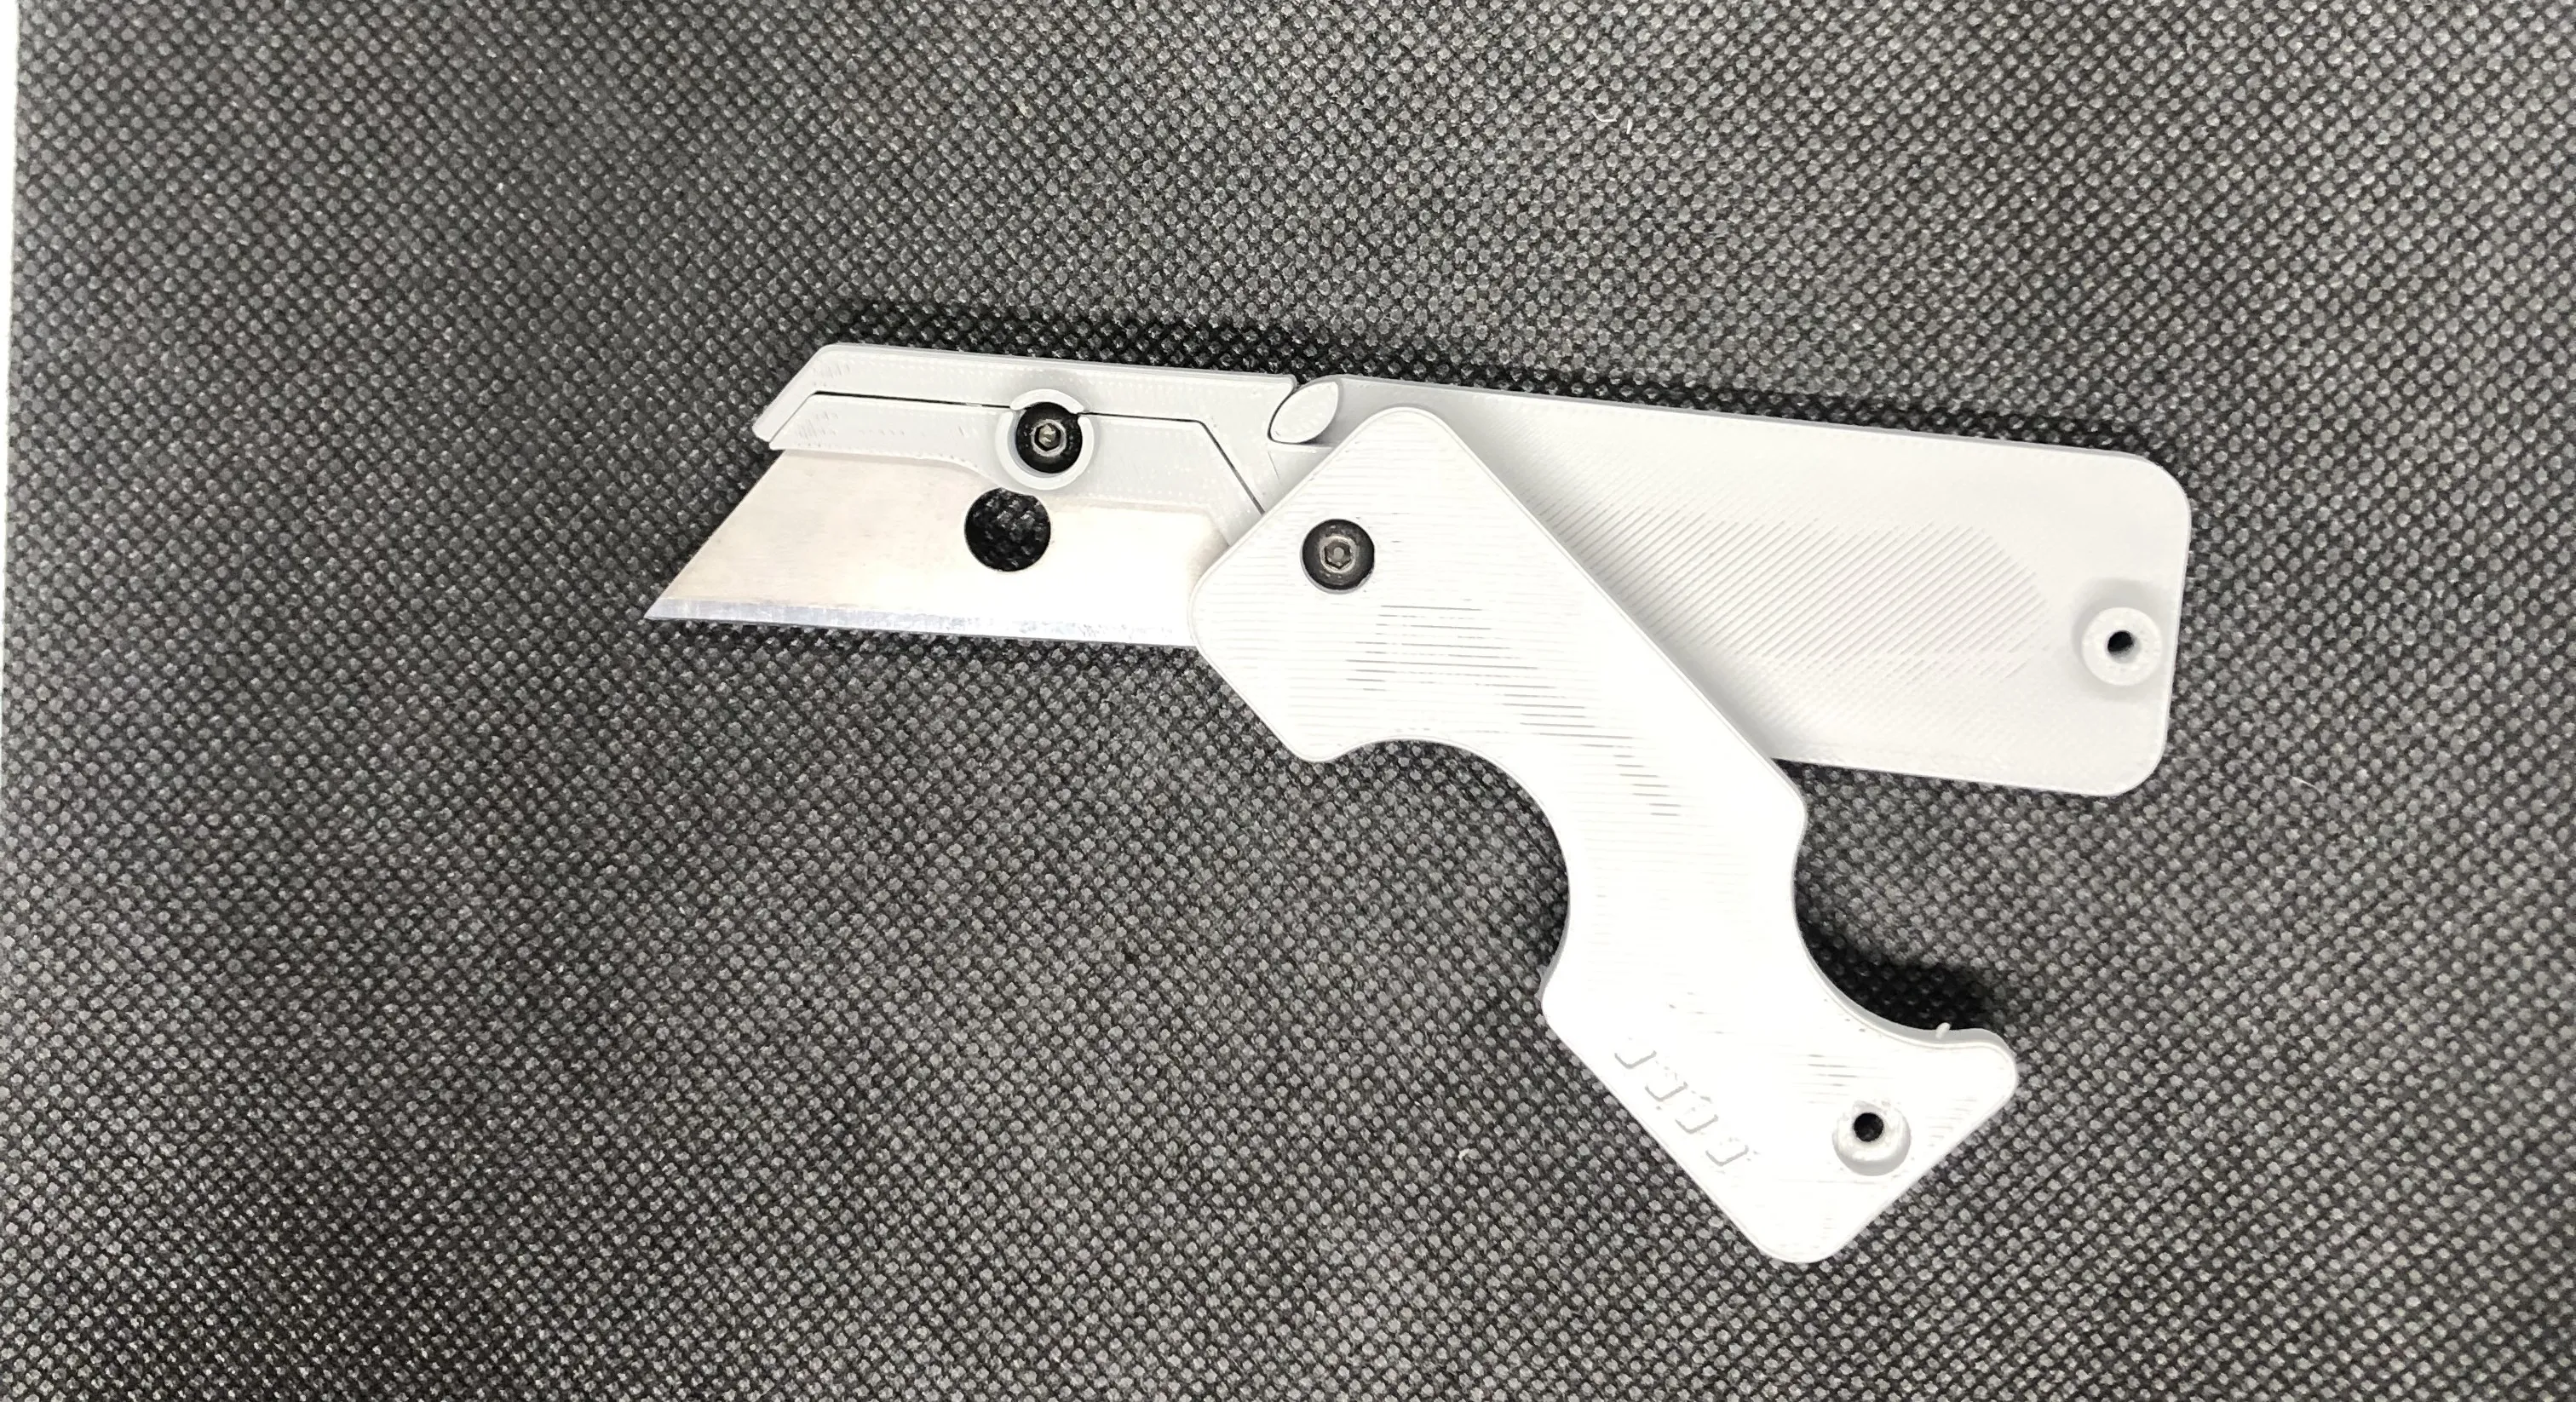
4.Also screw the second bolt into the other side of the handle
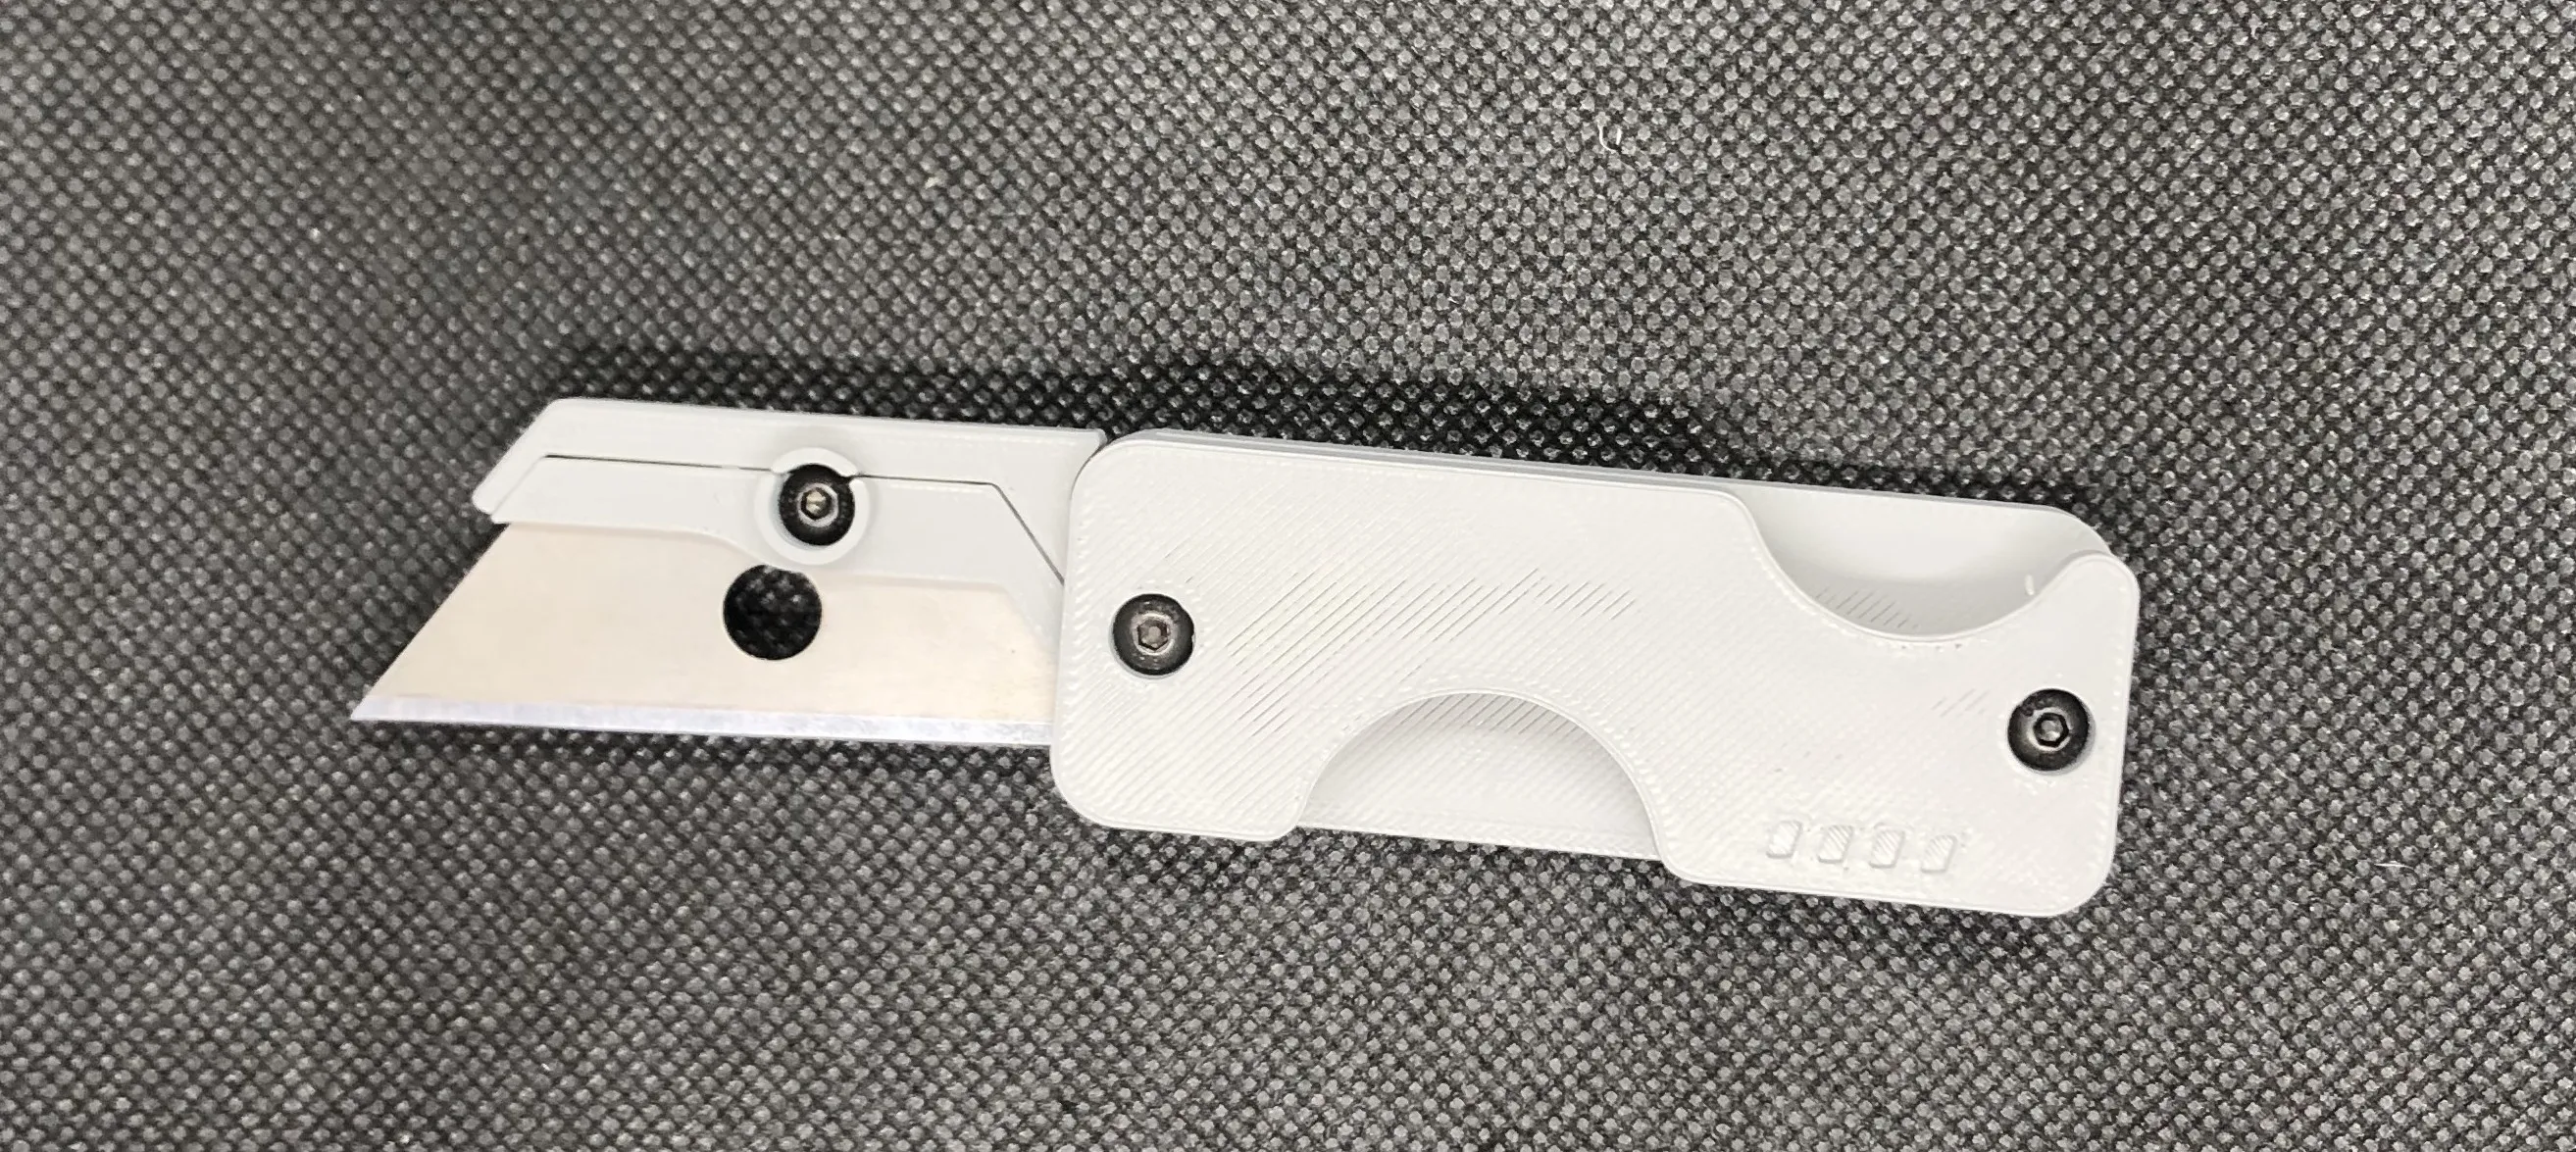
5.On one side, screw a bolt into the bottom hole. Insert a key, then a spacer. (You can also do the opposite: first the spacer, then the key. The important thing is to alternate on the other side)
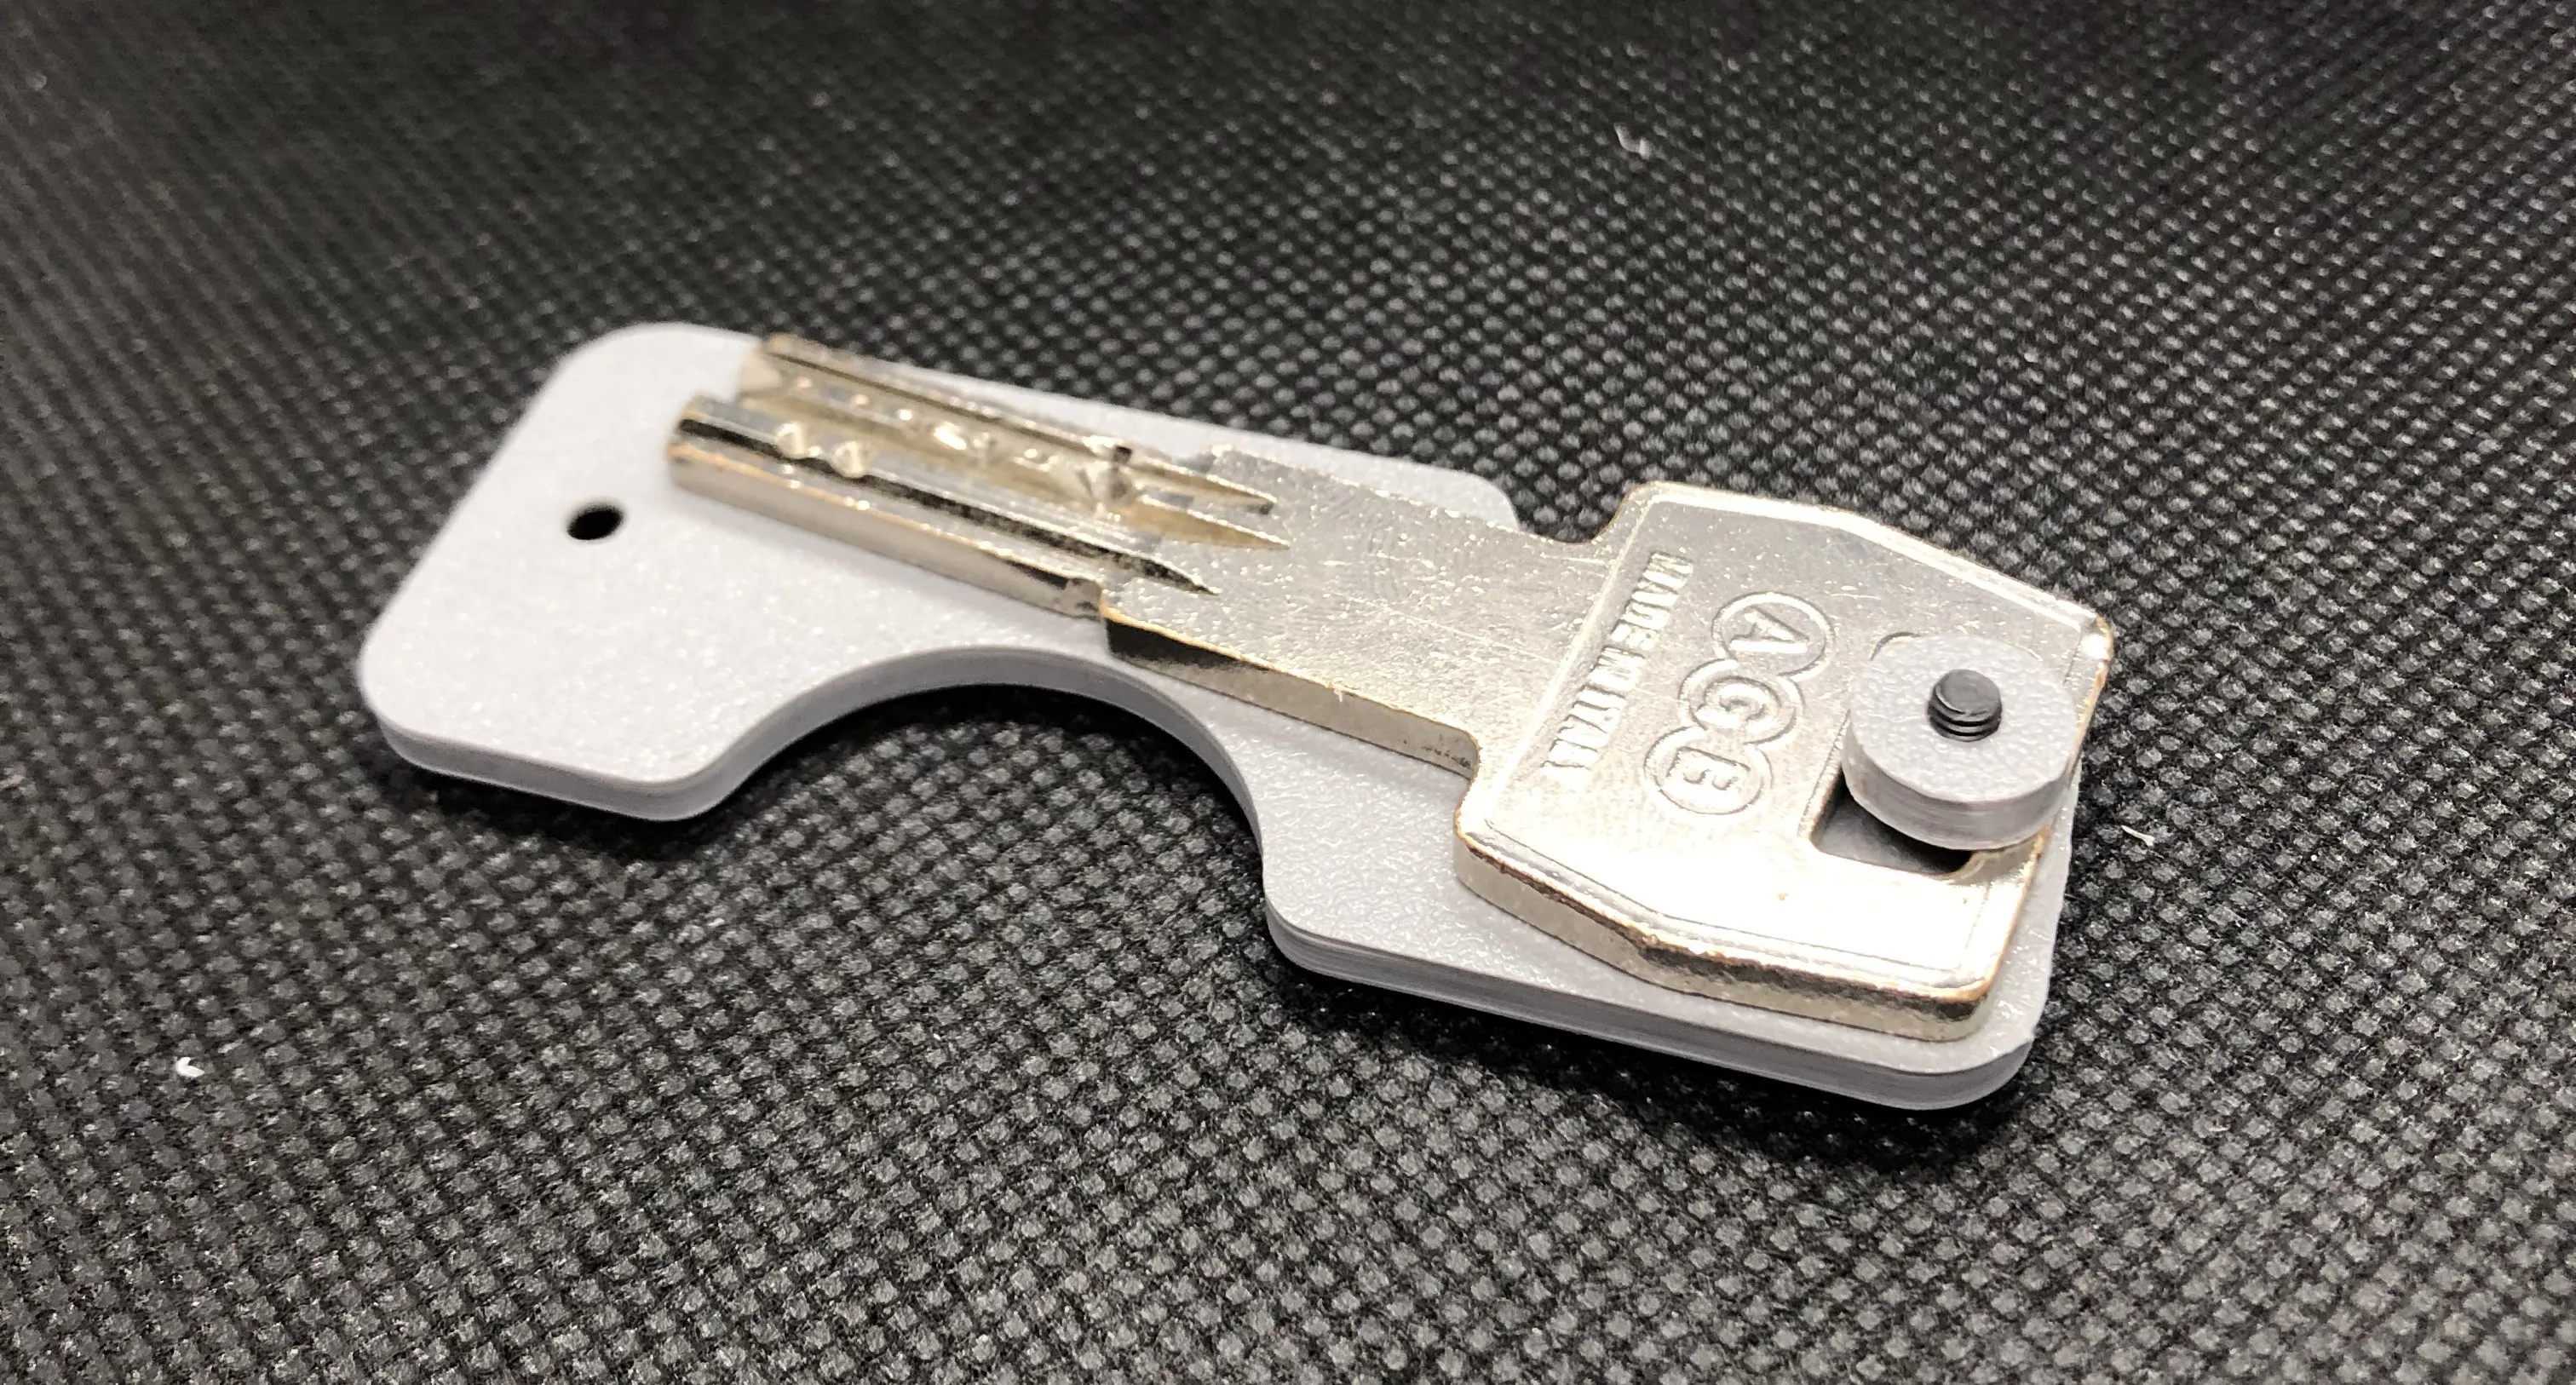
6.On the other side of the handle, insert the second bolt with a spacer and a key, then screw to join the two lower sections of the handle
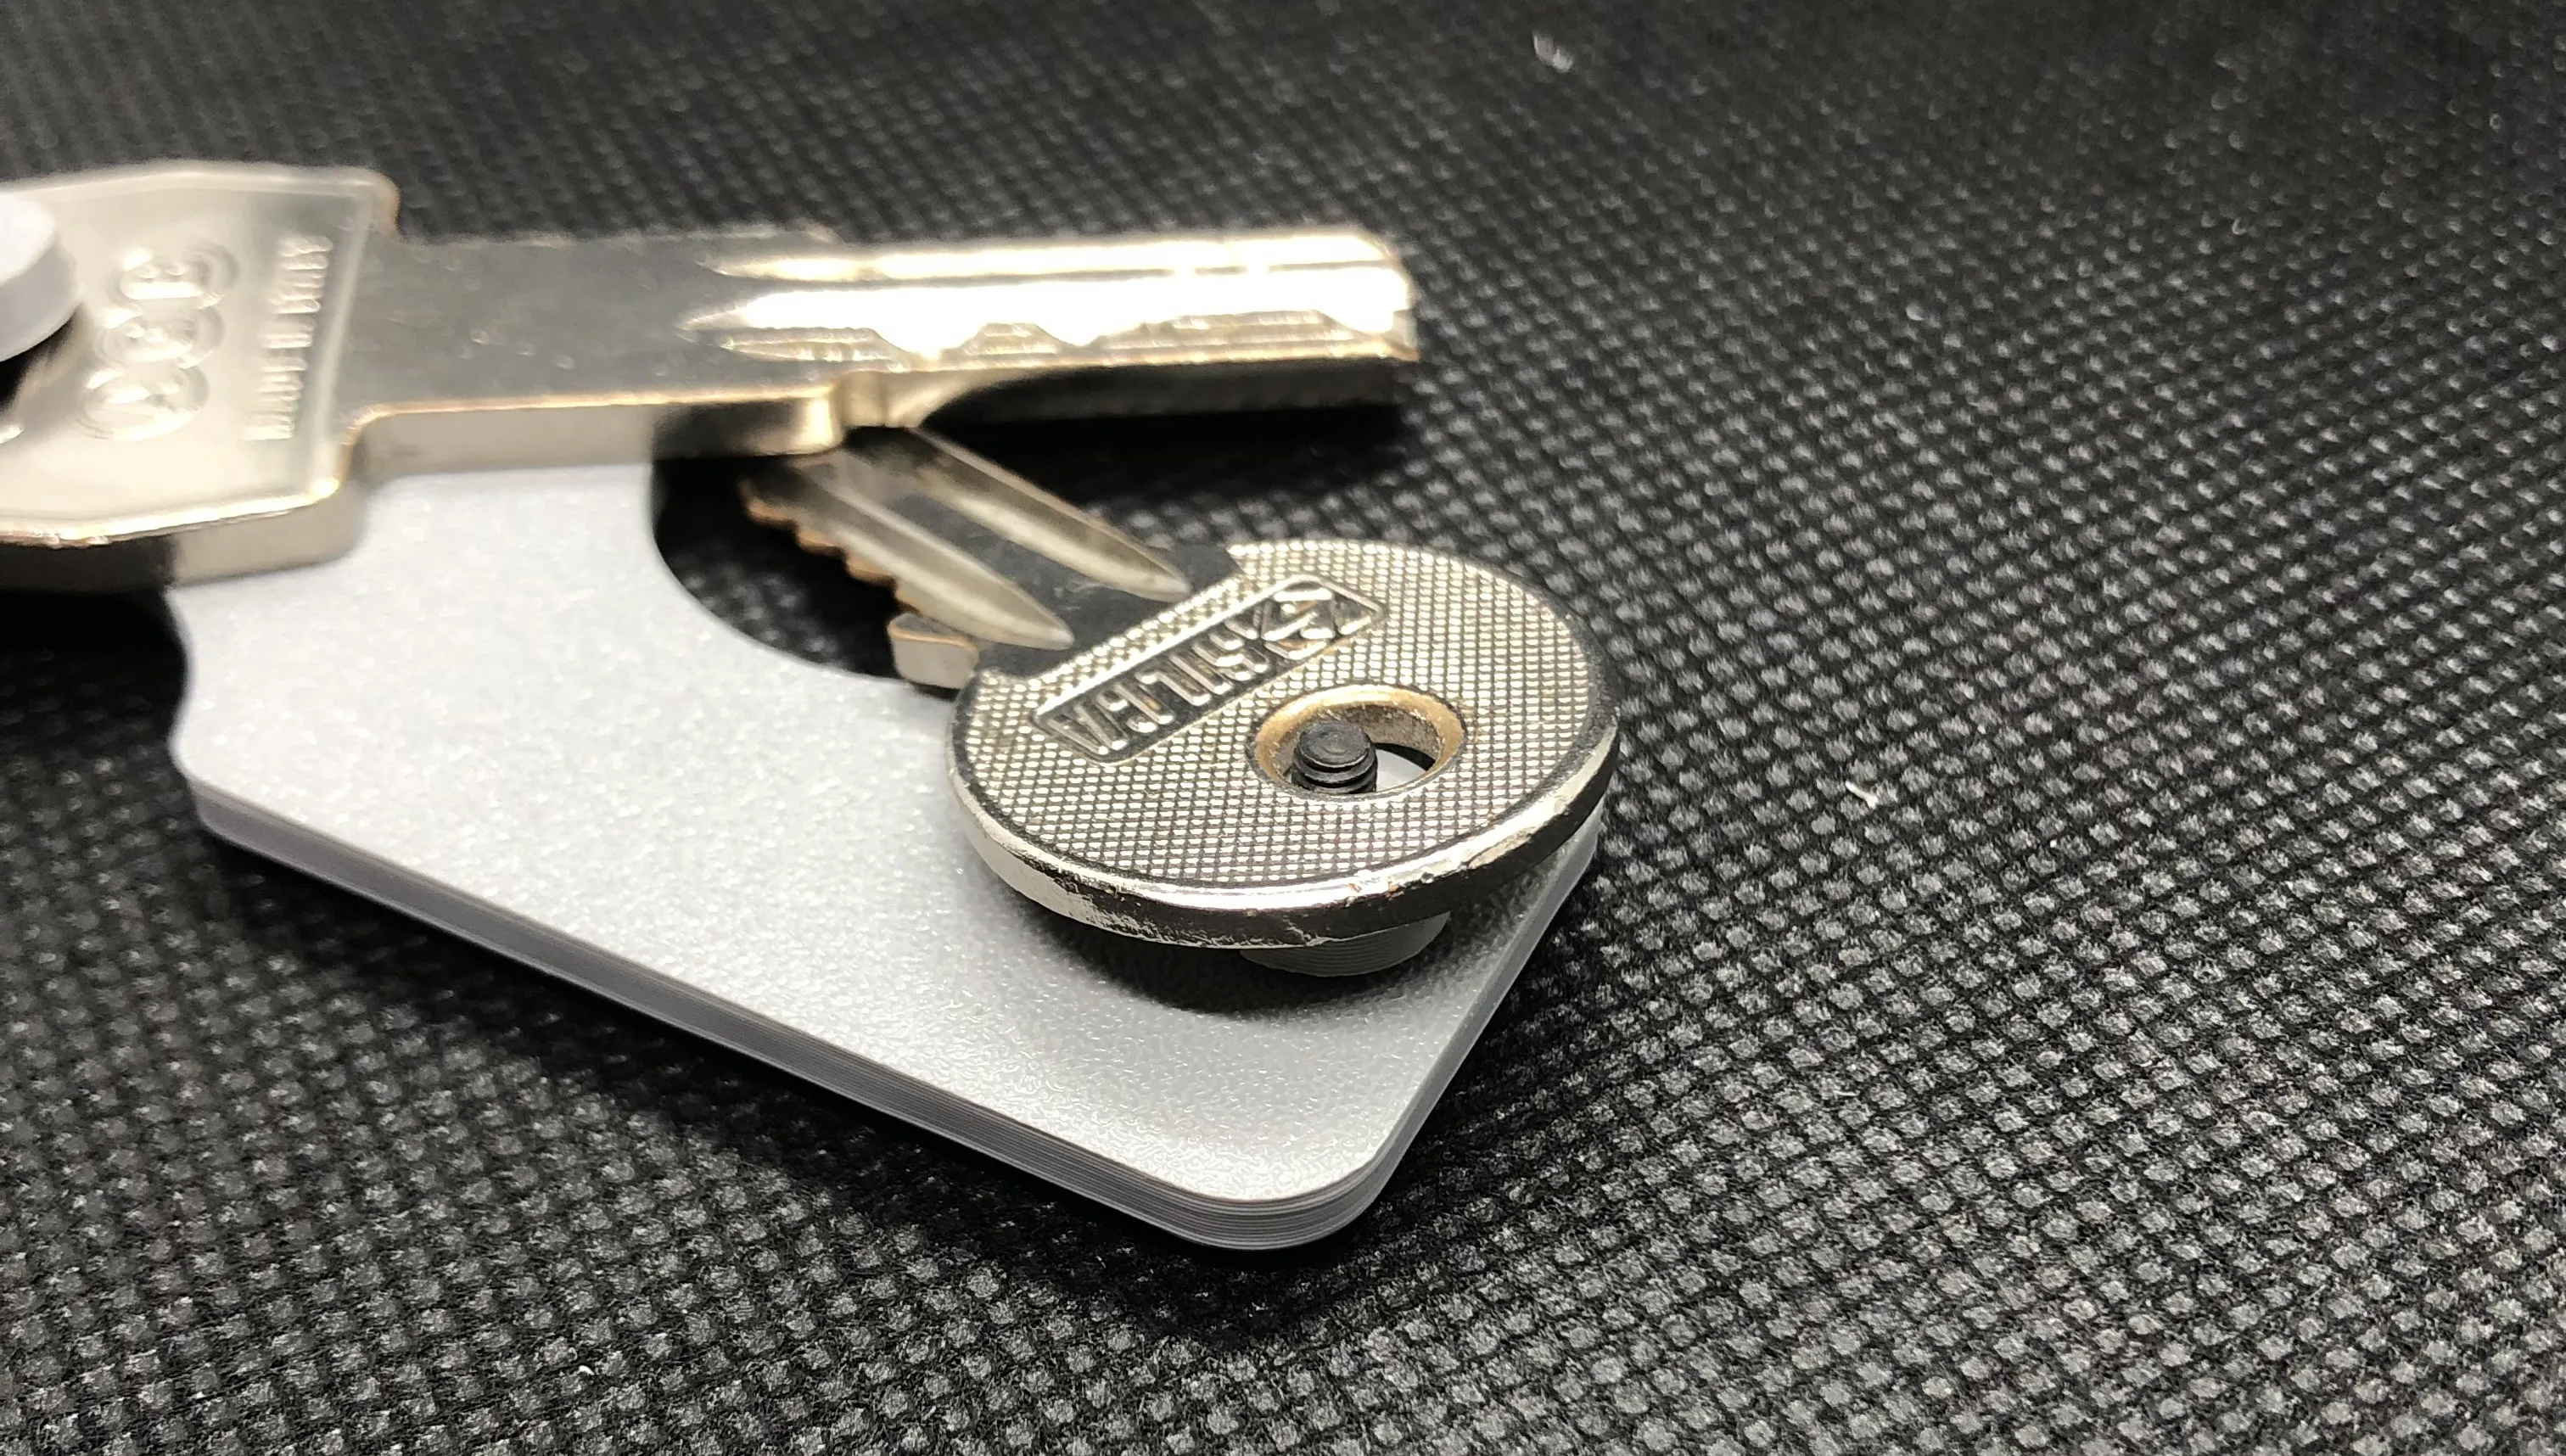
7. Enjoy it!!!
License

You shall not share, sub-license, sell, rent, host, transfer, or distribute in any way the digital or 3D printed versions of this object, nor any other derivative work of this object in its digital or physical format (including - but not limited to - remixes of this object, and hosting on other digital platforms). The objects may not be used without permission in any way whatsoever in which you charge money, or collect fees.


Comment & Rating (17)