Rivers of Blood Katana- Elden Ring


Print Profile(3)


Description
Boost Me (for free)
If you enjoy this model, please consider leaving a boost — it helps others find it and supports future projects like this one. Every bit of feedback means a lot! Thanks for your support, Tarnished !
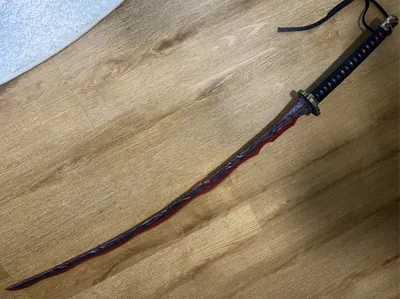
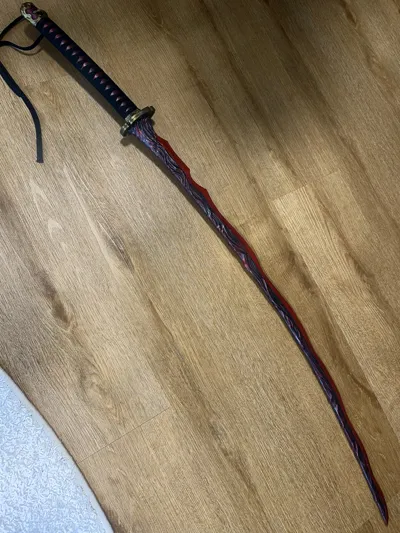
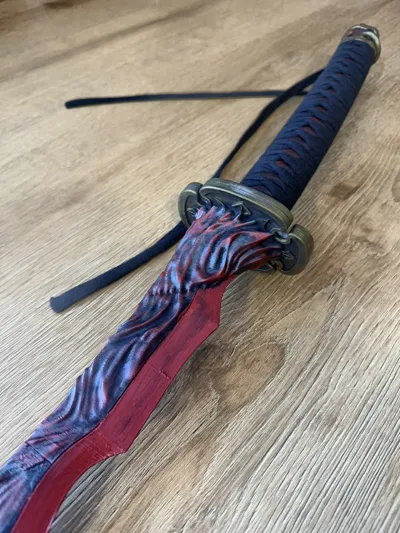
This model was made after a few members of the community asked for it — so here it is: the Rivers of Blood Katana from Elden Ring, Known for its devastating bleed build and unforgettable look, this katana is perfect for display or cosplay.
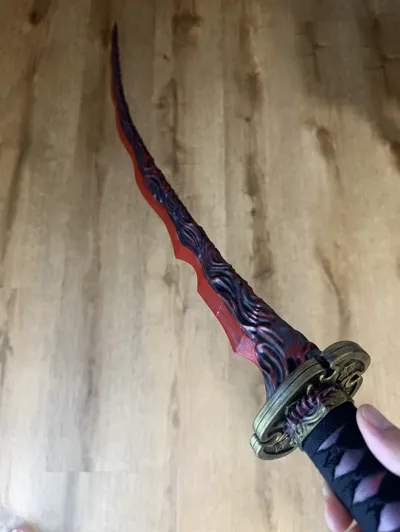
This Katana features a custom wrap-around design on the back and sides of the blade to preserve the katana’s signature curled surface pattern while maintaining a clean, sharp front edge and making it as sturdy as possible.
Printing Notes
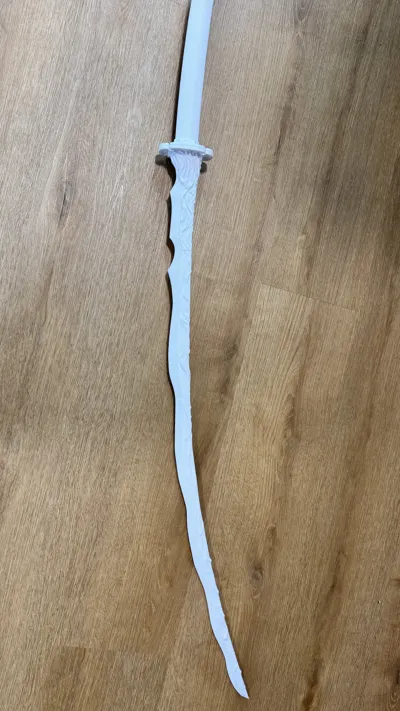
The blade pieces print standing upright on their cut face, so a clean build plate is essential for good adhesion.
If you notice issues at higher layers (e.g. shifting or weak bonding), try reducing the print speed.
I printed the entire model reliably on my X1C using the provided print profile, which is thoroughly tested and strongly recommended for best results.
Additionally, I’ve included a multicolor print profile for AMS users who prefer not to paint their model.
While this profile hasn’t been tested yet, it’s based on the same core settings and should perform just as well.
Assembly Instructions
Always test-fit each piece before applying glue!
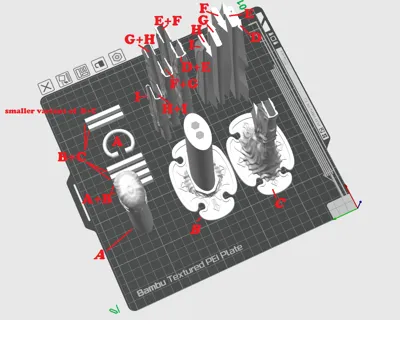
Refer to the included labeled diagram for part names and orientation.

- Start with the grip:
- Attach Grip Piece A to Grip Piece B using Dowels A+B.
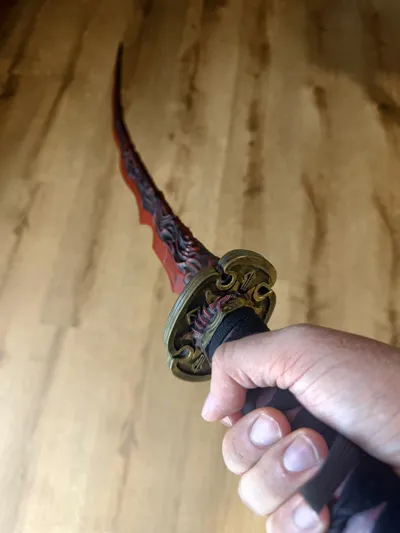
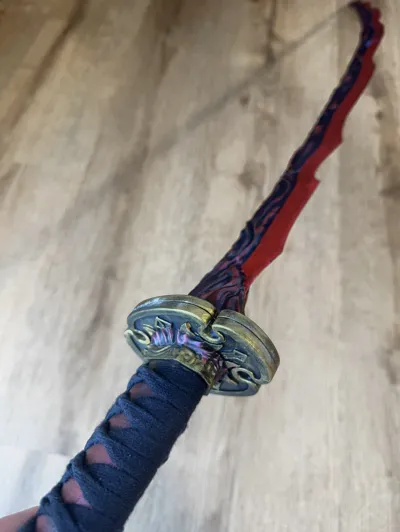
- Then attach the Handguard (Piece C) using Dowels B+C.
- Note: Two versions of B+C dowels are provided — I recommend the smaller ones, as the larger ones created a visible gap in the handguard.
- Blade Assembly:
- Insert Blade Piece D into the slot at the top of the assembled grip.
- Use Connection Piece D+E to join Blade Piece E to the build.
- Continue in this pattern:
- E+F, then Blade F
- F+G, then Blade G
- G+H, then Blade H
- H+I, then Blade I
- Finally, add the "Wrapping Part I" — this doesn’t connect two blade segments but finishes the design visually.
- Add Ring A to the bottom of the grip for the final touch.
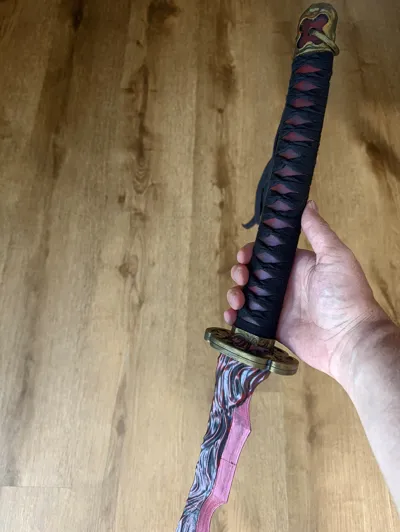
Grip Wrapping
I used a flat cotton ribbon approx. 10 mm wide and 8 meters long (~0.4 in × 33 ft) from Amazon.
Following a basic YouTube tutorial, I wrapped it tightly by hand — no fancy tools needed. It took about 30 minutes and gives the handle a much more authentic look than a printed wrap ever could.
Comment below if you are interested in a Vertical mount for this blade.
Be sure to check out my other Elden Ring–themed prints, including the Moonveil Katana and the Site of Grace Diorama.


License
You shall not share, sub-license, sell, rent, host, transfer, or distribute in any way the digital or 3D printed versions of this object, nor any other derivative work of this object in its digital or physical format (including - but not limited to - remixes of this object, and hosting on other digital platforms). The objects may not be used without permission in any way whatsoever in which you charge money, or collect fees.
Comment & Rating (235)