
Print Profile(5)


Description
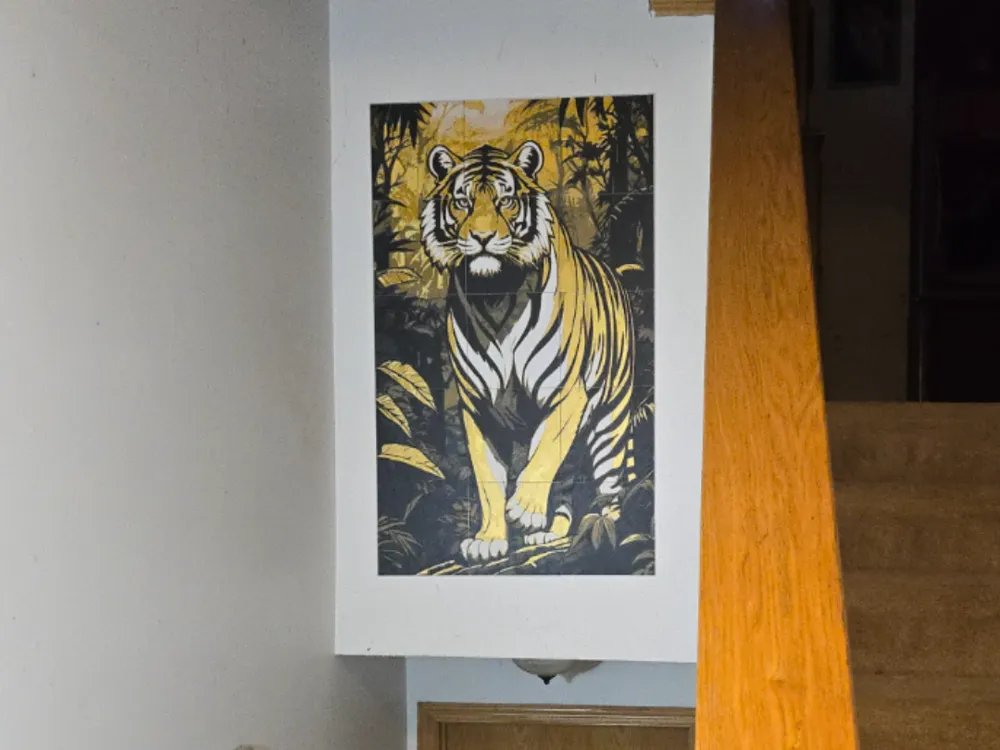
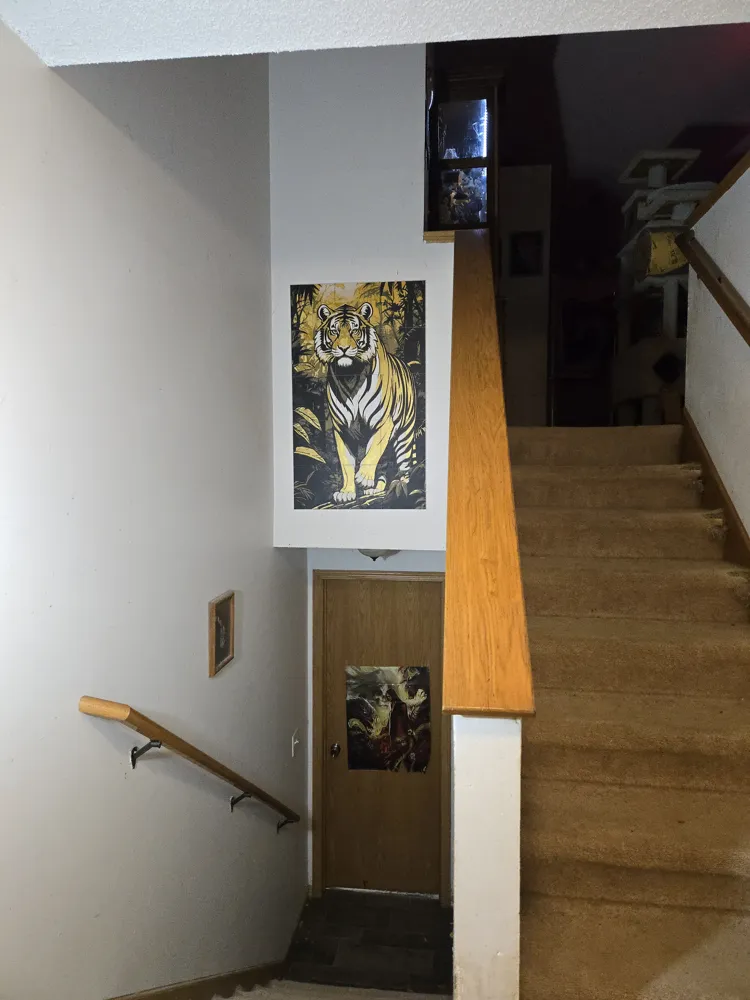
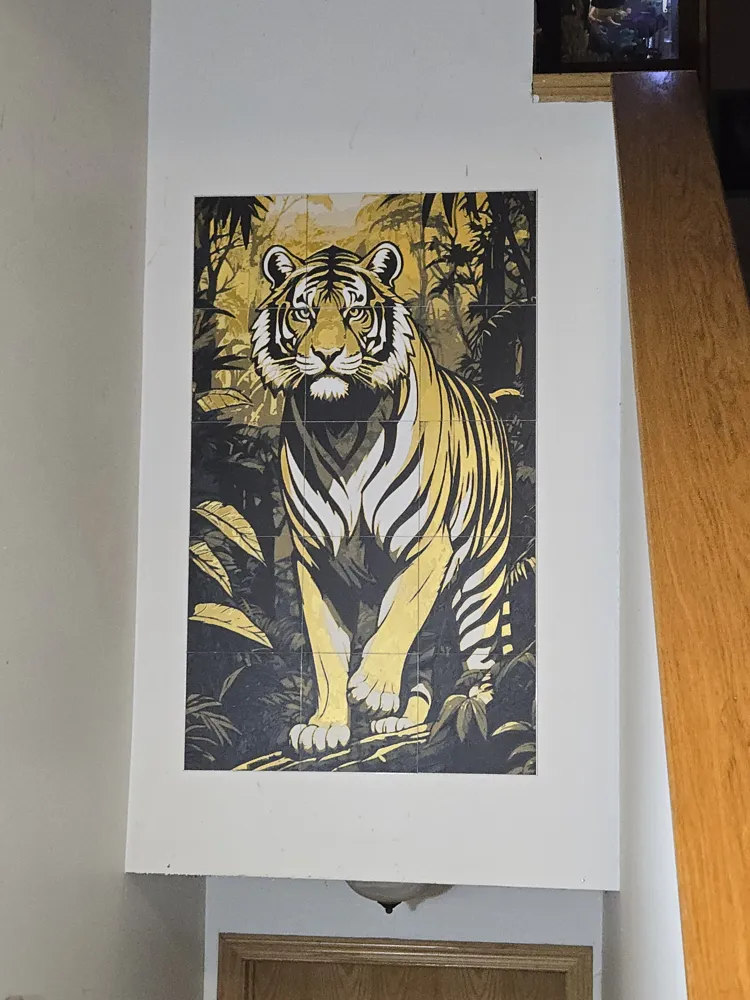
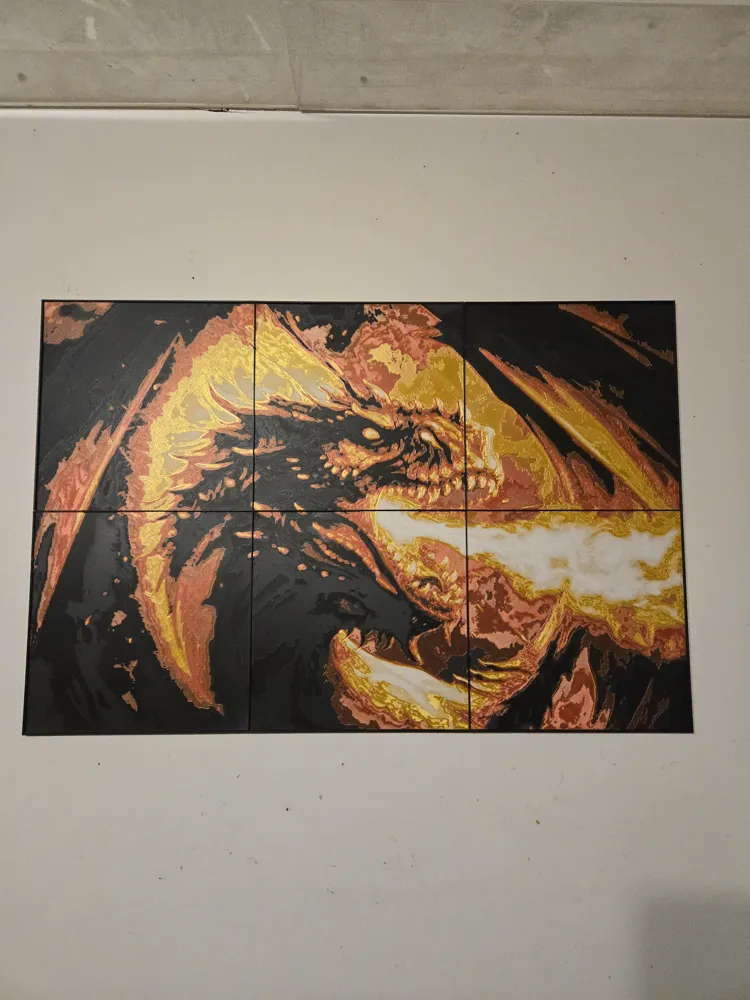
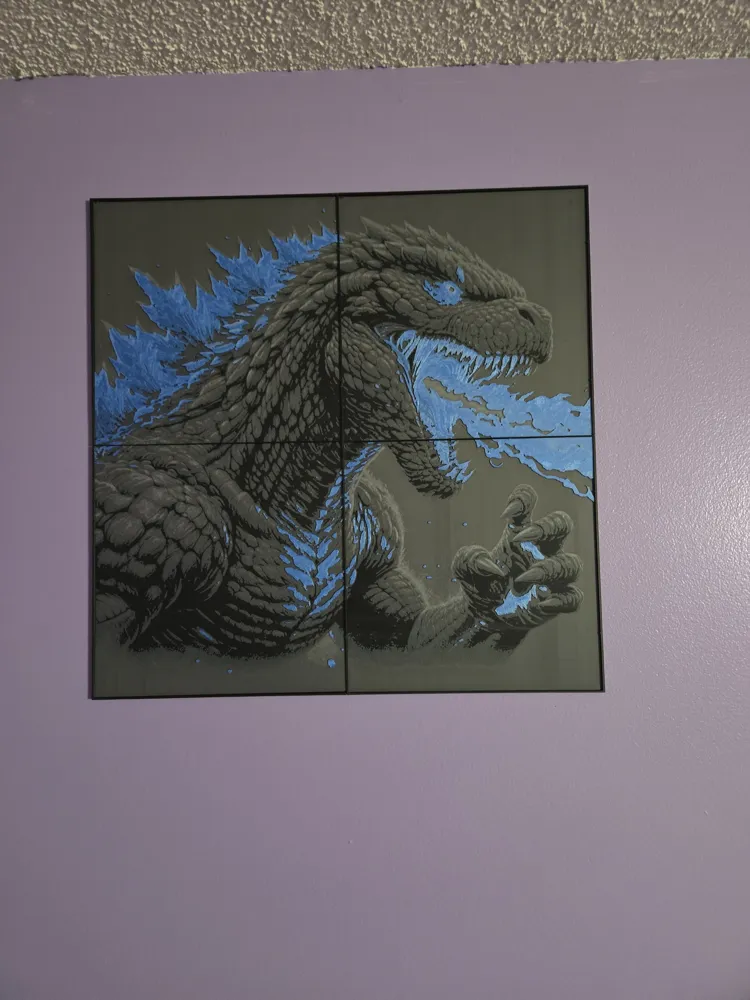
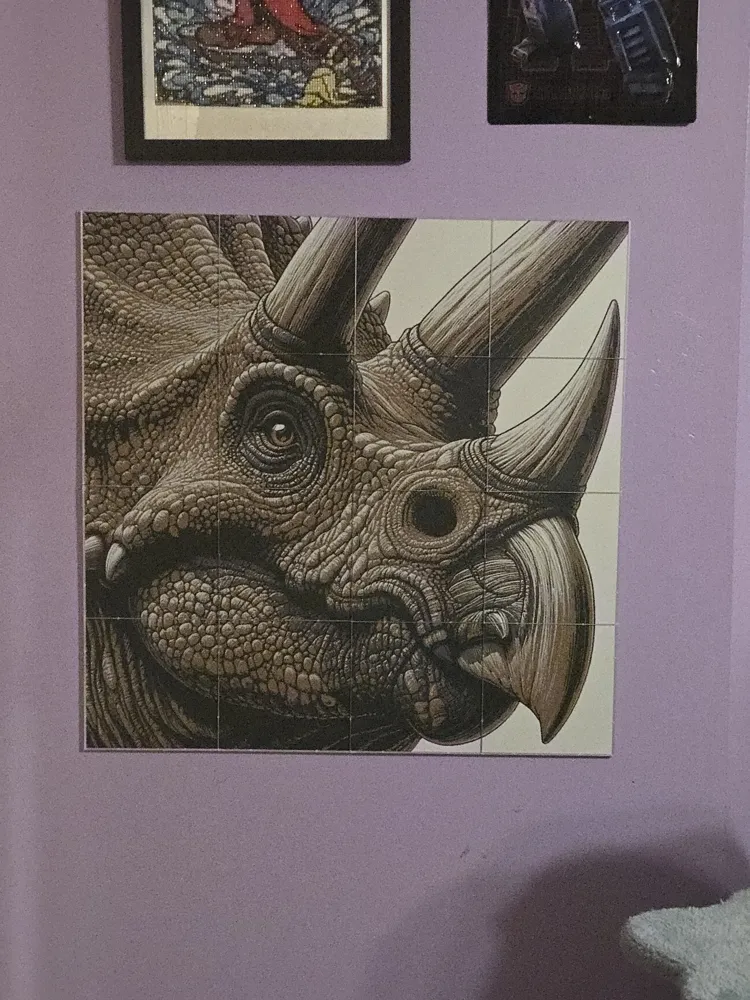
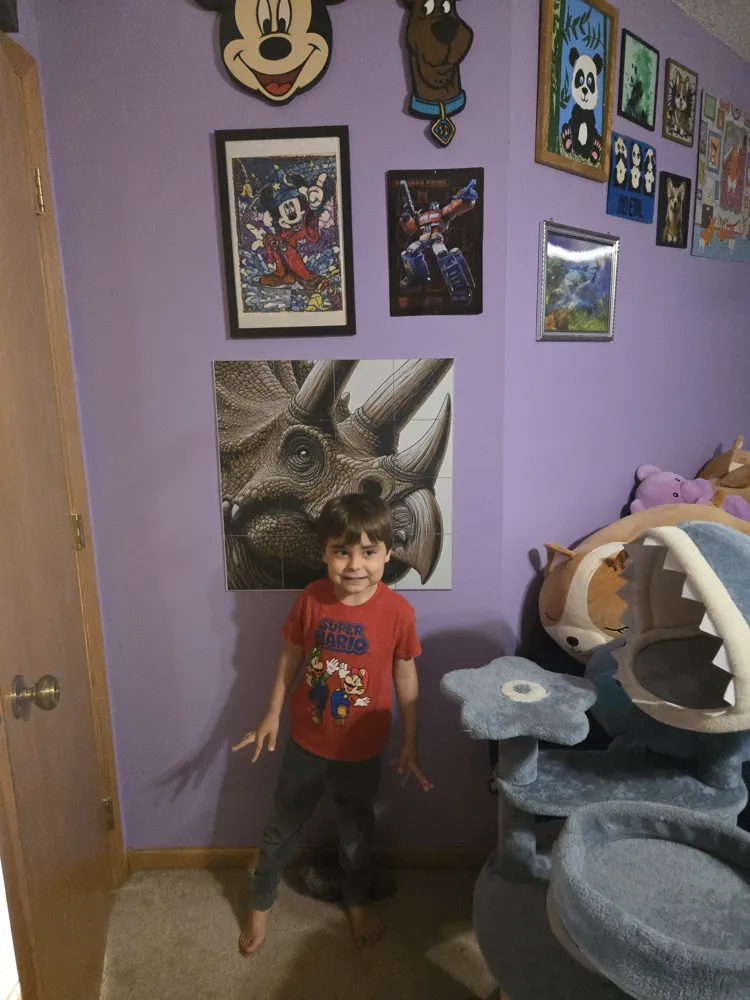
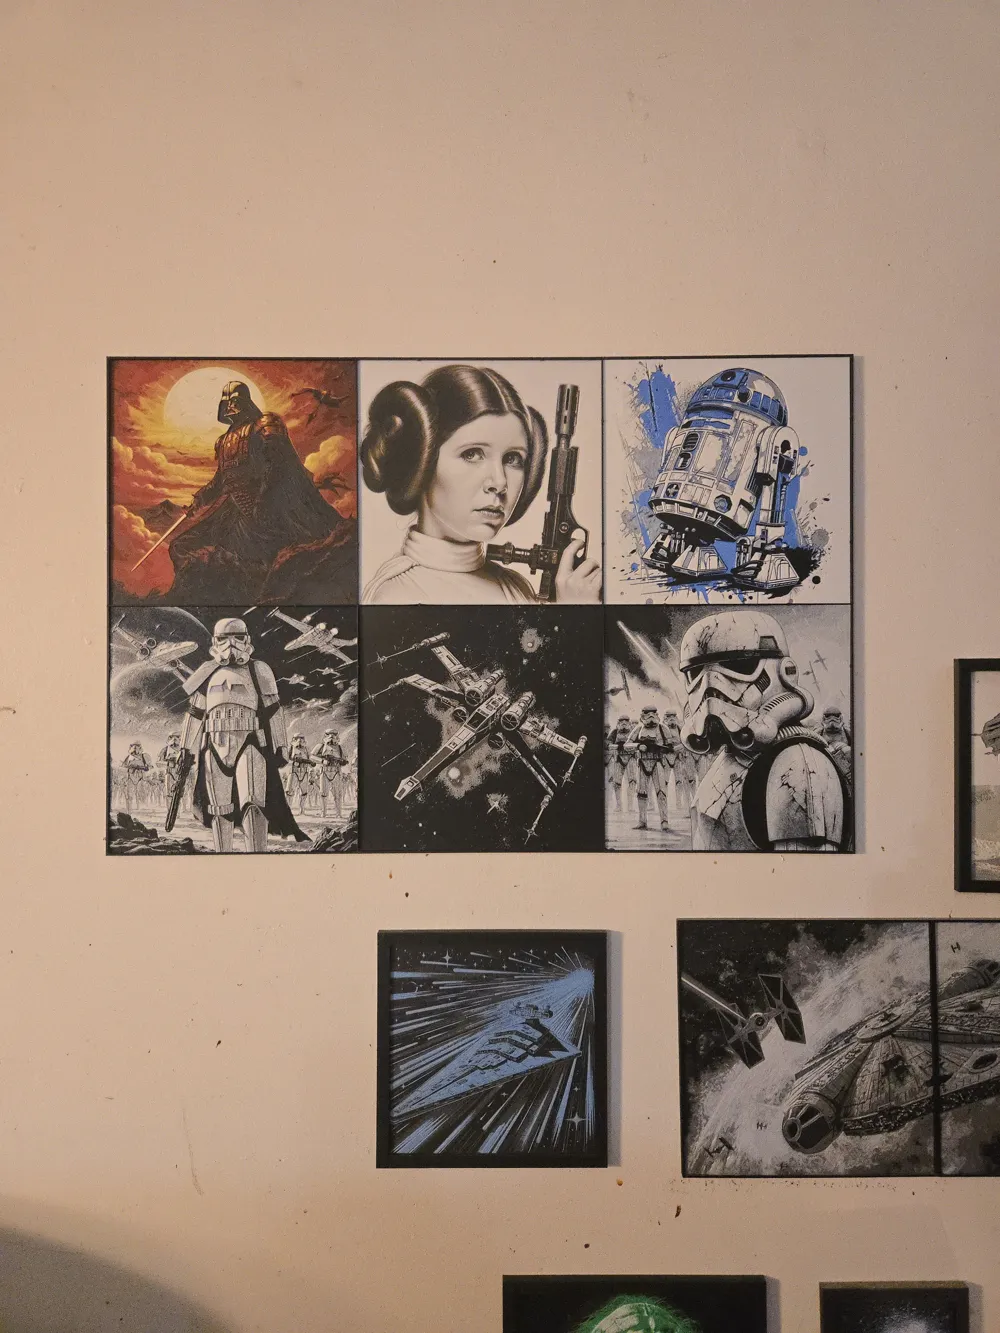
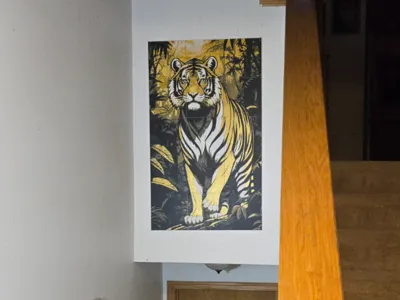
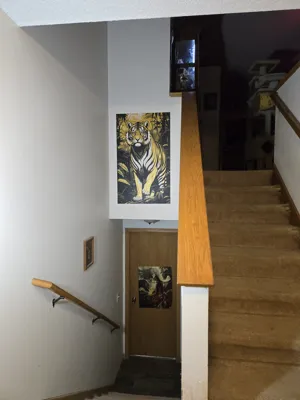
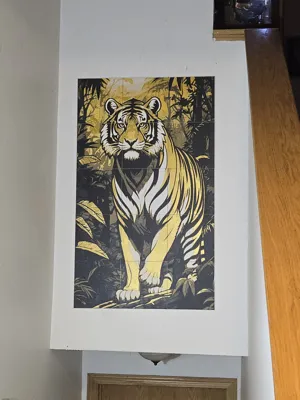
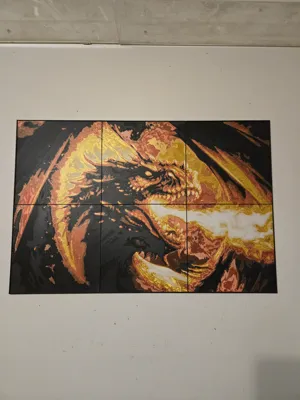
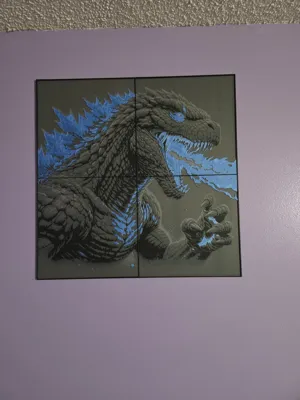
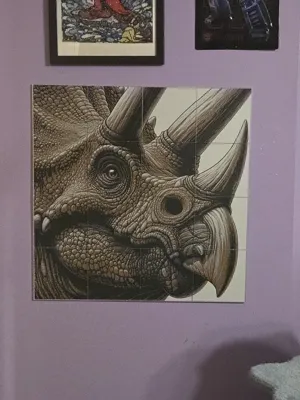
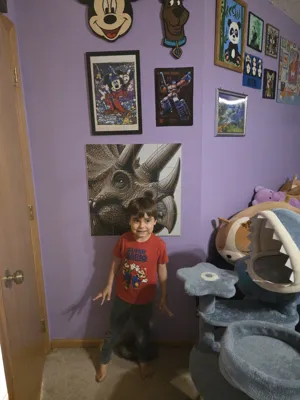
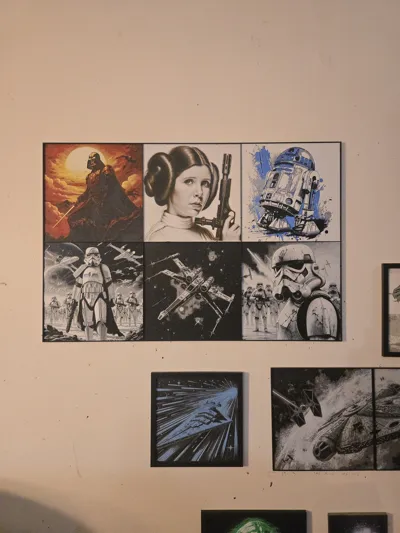
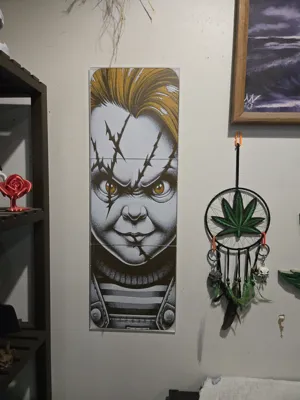
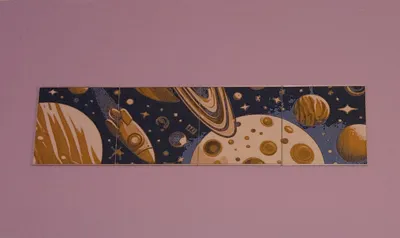
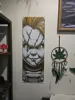
I love printing Hueforge pictures, but the biggest drawback is the size limitation. They are perfect for desktop art, but even at 225x225 they are very small for wall art. The solution is simple…either get a huge printer (lol), or scale the picture way up, split it into plate sized pieces, and hang it up with a modular frame system. Preferably with the smallest gap between pieces as possible.
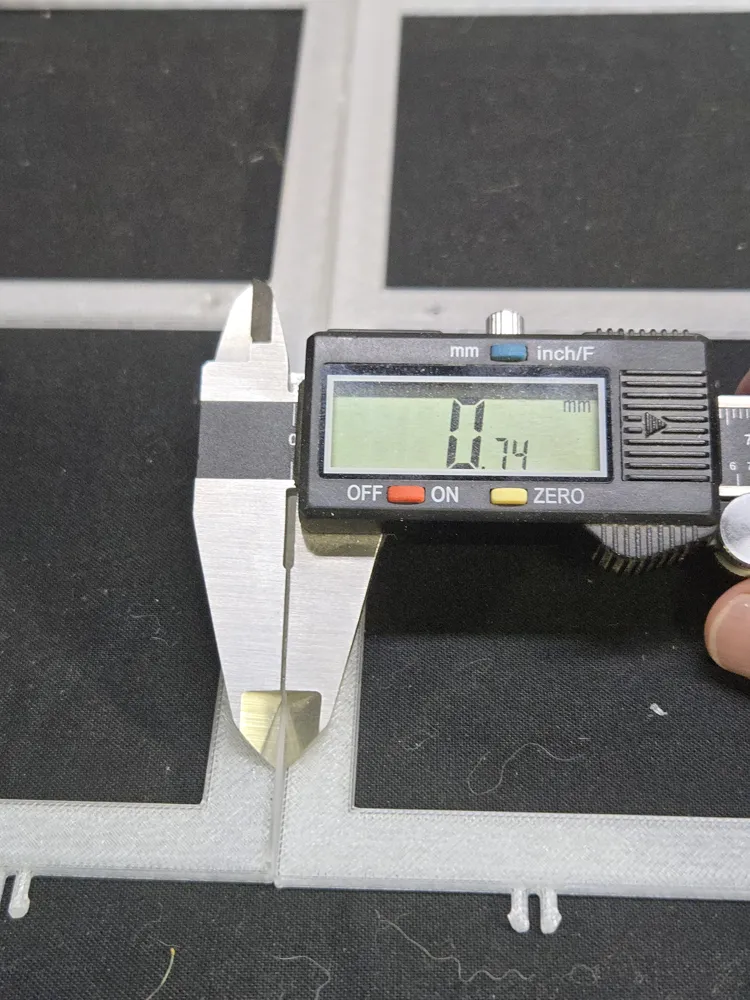
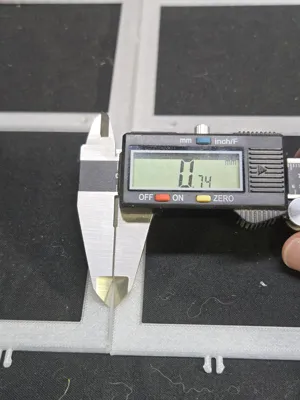
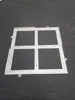
This system consists of three frame parts: a corner, an edge, and a middle. By combining these pieces, you can make a HUGEforge as small as a 2x2 grid (450x450mm) or as big as your wall. The inner frames are only .75mm thick, which makes them inconspicuous and makes the artwork seem more like one large picture.
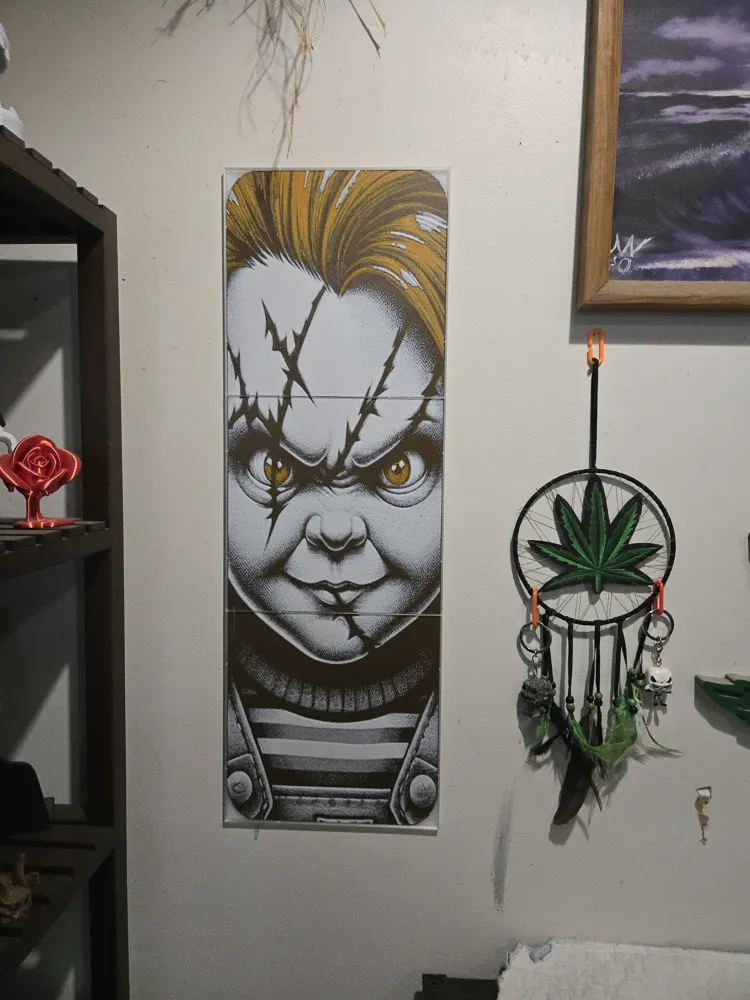
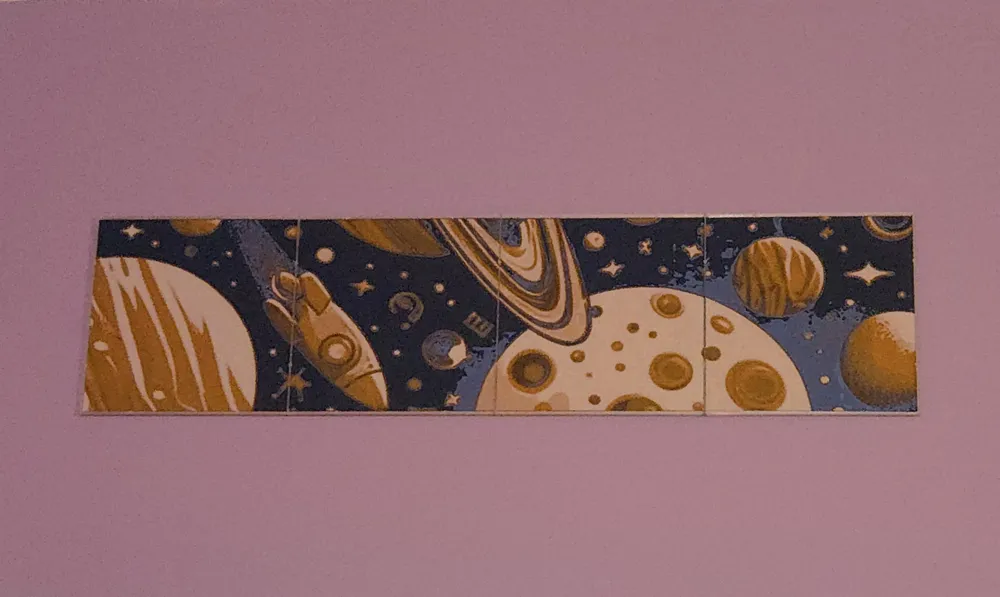
I have also added a Profile named NARROW, which is designed to be a 1x grid. Minimum is a 1x2 grid. Available in 225mm and 150mm versions.
Directions:
Step1: Choose or create a Hueforge model. Open it in Bambu Studio and scale it to the size you want. This must be in increments of 225x225 (also profiles for 200x200 or 150x150). For example a model would need to be 675x675 for a 3x3 grid.
Never scale the Z axis of a Hueforge, and it is recommended to scale X and Y the same amount to prevent stretching. Double check that Z is at 100%. These frames are designed to hold pictures up to 3mm thick. There are not many Hueforge thicker than that, but if you have one you can probably scale up the Z of the frame pieces but I haven’t tried it yet.
NOTE: This does not work with Hueforge models that have the “frame” built in as part of the model. However you can use the Cut tool to hack off the frame edges before resizing.
Use the Cut tool to split it into pieces 225x225 (or 200 or 150). Choose “Keep Orientation” for both parts, and do not add connectors. Add extra plates, and put one piece onto each. Have fun printing each piece!
NOTE: Using the Cut tool will erase the settings for the color switches! Before scaling and cutting I recommend slicing the model and writing down the filament order and what layer it switches to each. After cutting you will need to re-program each piece with those color switches.
Tips on the Cut tool: https://wiki.bambulab.com/en/software/bambu-studio/cut-tool
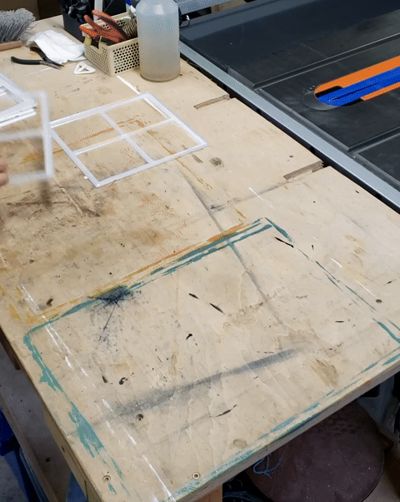
Step2: Print out the frame pieces needed.
Part A is the corners, and every HUGEforge requires 4 of those.
Part B is an edge. Print one for each edge needed between corners.
Part C is a middle. Print one for each middle piece needed.
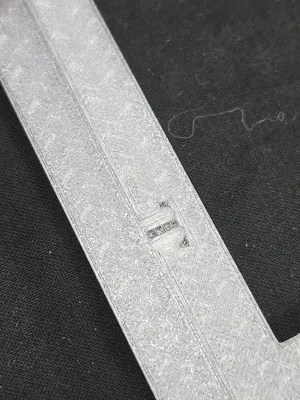
The plates are labeled, and each frame has the part letter inset in the center.
Example 4x4 grid:

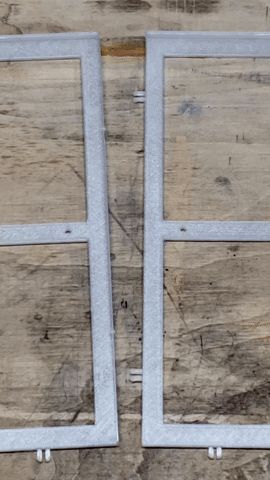
The frame pieces for the NARROW profile are similar, but made to be only one across. Piece A is the end, two are required. Piece B is a middle, print as many as needed.
You can use any filament, PLA is strong enough. My favorite is clear translucent PETG because one of my goals was to make the dividers as invisible as possible.
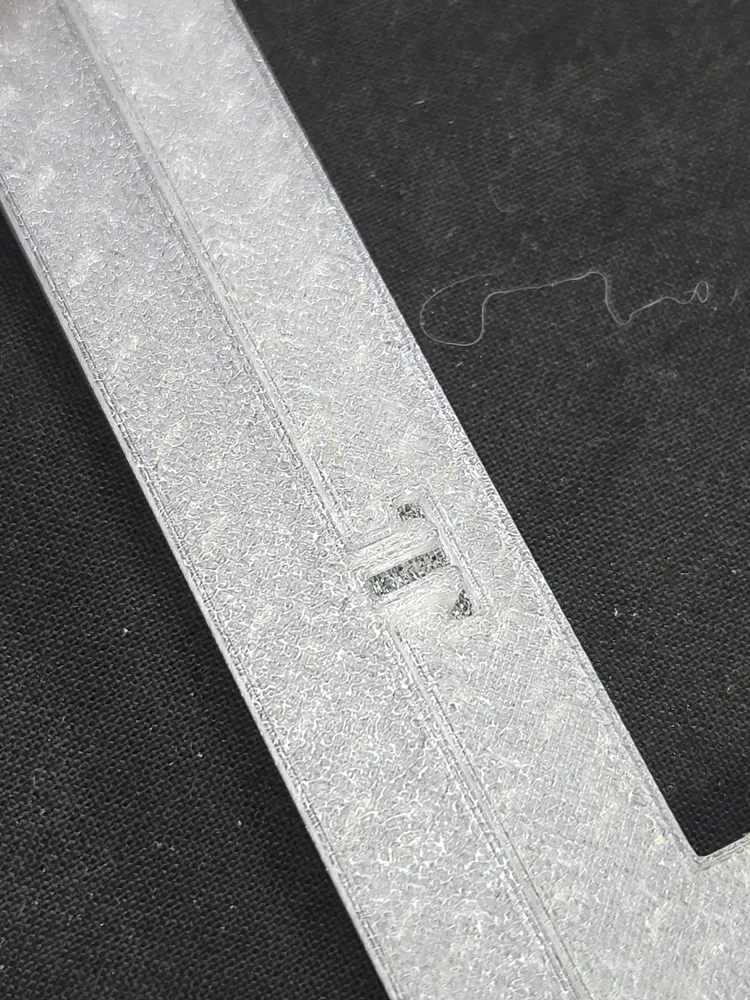
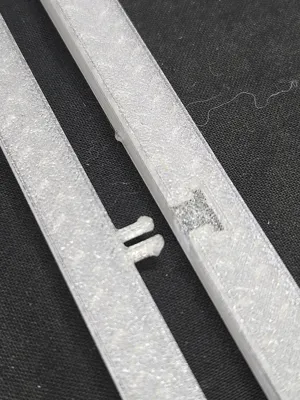
There are supports in each of the connection holes. Corners have 2, edges 3, and middles 4. Remove these before beginning assembly.
Step3: Assembly and hanging
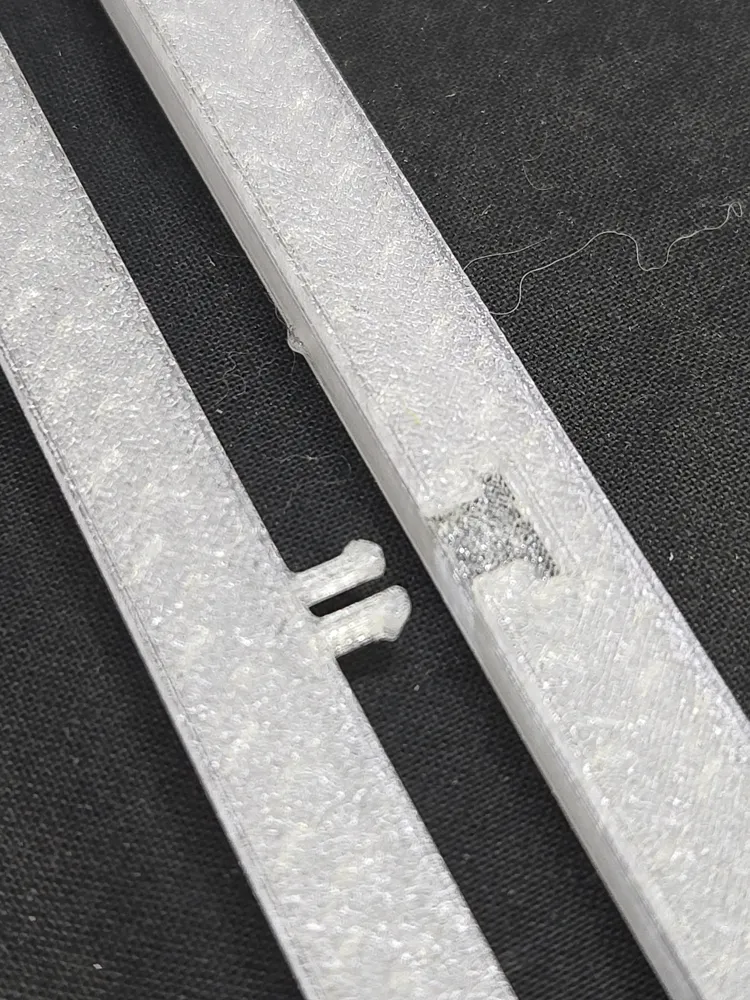
Lay the frames on a flat surface when connecting frames. The pieces snap together easily, but can be pulled apart if needed. Assemble each row first, then attach full rows together. For large grids you may want to nail the top row on the wall, then add the other rows one at a time. Do not add the Hueforge pictures until the frame is fully assembled on the wall. There are tons of holes, use as many nails as you feel are needed.
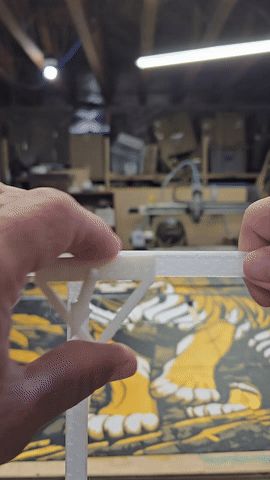
I have included a “gravity level” to assist with hanging the grid straight. To use, print Plate4. The pin pops into the triangular base from the front (the flat side printed down is front) and the pointer pops on the other end. Slide the level onto the top edge of the frame, the pointer will hang straight down and show when the frame is level. I recommend adding the first nail on one side, then watching the level while adding the nail to the other side. Remove the level from the frame before adding the pictures. I acknowledge that a hanging arrow is much less accurate than a bubble level but I found that using a bubble level while standing on a chair holding 3 connected frame pieces, 2 nails, and a hammer was difficult.

Once the entire frame grid is attached to the wall, add the pictures. They are held by small nubs on each side. You need to pop the picture past the nubs to lock them into the frames by tapping the picture near each nub.
Taking a HUGEforge down: If you need to remove the HUGEforge from the wall, use a thin object (like a knife blade) to pry each of the pictures out of the frame so you can access the nails.
I hope that everyone enjoys their artwork at wall sizes! Please drop pictures of your HUGEforge prints in the comments. I want to see them all! (because I know a bunch of you are as crazy as I am lol)
License

You shall not share, sub-license, sell, rent, host, transfer, or distribute in any way the digital or 3D printed versions of this object, nor any other derivative work of this object in its digital or physical format (including - but not limited to - remixes of this object, and hosting on other digital platforms). The objects may not be used without permission in any way whatsoever in which you charge money, or collect fees.


Comment & Rating (53)