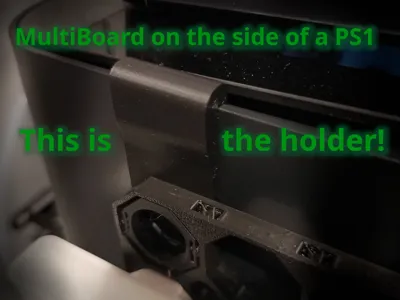
Clip for Multiboard on Bambu Lab P1S side wall


Print Profile(1)


Description
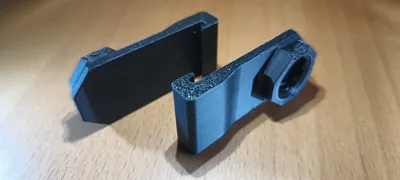
This part is mixed with a Multiboard "Raised Moderate Weight-Bearing Snap" to hold a complete multiboard with accessories for printing on the side wall of the Bambu Lab PS1. Therefore I attached a hook to the Multiboard "Raised Moderate Weight-Bearing Snap". It uses the small gap of (1,5 mm) between the top glass and the side wall of the Bambu Lab P1S. I have added 4 clips/holder to a 12x12 multiboard which can be printed in 4 parts.
E.g. go to https://www.multiboard.io/planner and select within the planner:
- Wall size of 300 mm x 300 mm
- Tile Size 6x6 (this will fit on a Bambu Lab P1S print plate)
- Tile Setup: Grid Tiles (Advanced)
- Mounting: “Offset Snap” or for more stability “Free Standing”
- Hit the “Calculate Tileset” button.
You will get all part links on the right side of the planner.
On the edges you could place offset snaps with a magnet to keep the grid on the wall.
Select accessories from "MakerWorld", "multiboard" or "thangs".
This could also fit other Bambu Lab printers with a side will and a gap between the glas and the side wall.
Measure the gap between glass and printer side wall first. With a 1,5 mm hook it is only possible to attach the clip/holder on one side of the printer and the top glass closes moderate tight.
Boost Me (for free)
If you like this part, please feel free to give me some feedback.
The easiest way is to "boost me" :-)

Comment & Rating (2)