StarCraft II - Articulated 3D Marine Model - V2


Print Profile(1)

Description
I'm excited to share that StarCraft II Marine – Version 2 is now complete!
You can find the weapon model for the marine as below
Impaler Gauss Rifle: https://makerworld.com/en/models/1695096-sc-ii-impaler-gauss-rifle-c-14#profileId-1797240
Enhanced Impaler Gauss Rifle: https://makerworld.com/en/models/1695117-sc-ii-enhanced-impaler-gauss-rifle-c-14#profileId-1797263
This updated release brings a number of improvements:
1. Heavy shoulder - done
2. Improved the arm joint, print and details - done
3. Added the hand pad - done
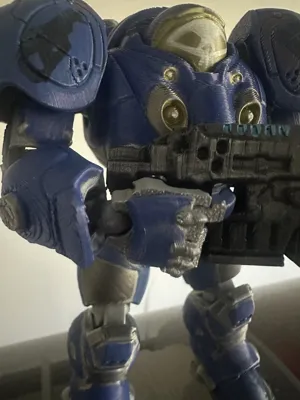
4. Added moving helmet - done
5. Improved the body joint location - done
6. Improved the foot joint - done
This project is a remix of QF V3.0 Frame OpenSource.
I used QF V3.0 Frame OpenSource for all the articulated parts in this project.
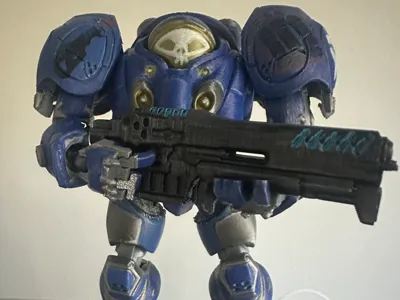
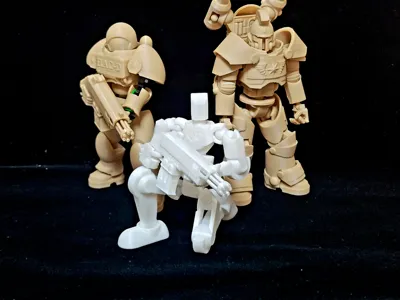
It brings one of the most iconic units from the StarCraft universe to your 3D printer: the Terran Marine. Inspired by the gritty, power-armored soldier in the game, this articulated model is designed for both collectors and enthusiasts who want a piece of the battlefield on their desk or shelf.
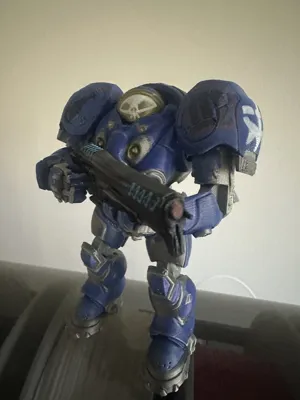
Fully poseable and print-friendly, the model features snap-fit joints and detailed armor plating, capturing the essence of the Marine while ensuring smooth assembly and movement. Whether you’re a long-time StarCraft fan or a maker who loves articulated figures, this model is built for fun, flexibility, and sci-fi flair.
All parts are optimized for FDM printing, and ideal for printing in PLA or PETG. Scale, paint, and customize to create your own squad!
⚙️ Assembly Notice:
Please take extra care when assembling the arm, hand, and leg joints. These parts are articulated and snap-fit, designed for a snug connection to maintain poseability.
I recommend the following:
• Be patient – take your time during assembly to avoid stressing or snapping small parts.
• Apply gentle, even pressure – never force the joints; if needed, lightly sand the pegs or sockets for a smoother fit.
• Dry-fit before final assembly – test the joint alignment to ensure everything moves freely.
• Use pliers with protection (e.g., soft cloth or tape) for tight joints, but always with care.
• When assemble hands and the pads, please assemble the fingers first, and then put on the pads.
Some basic model handling skills will help – this is a fun build, but precision counts!
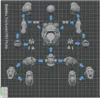
I have the below Assemble Guide for you.

🔧 Ongoing Development:
Next, I will be diving into some new projects — including models that inspired by WH 40K Space Marine and continuing my puzzle designs.
Stay tuned for more builds and updates!
Your feedback is incredibly valuable! If you spot issues or have suggestions, feel free to share — I be listening and iterating to make each version better than the last.
Documentation (1)
Comment & Rating (19)