
Print Profile(2)


Bill of Materials

- Felt 2mm thick x 1: I got a roll of 50 cm x 300 cm. I still have more than half left. The color I used is light gray.
- Velvet fabric x 1: I got a piece of size 50 cm x 150 cm. I used more than half of this, but should be enough as long as you are not wasting way too much of it. Ring compartments use a lot, so consider that when buying. I made 2 of the ring compartments and could definitely have made 1 more. More than that, might require more fabric.
- Polyester foam 7mm thick x 1: I got a piece of size 50 cm x 150 cm. I used more than half of this, but definitely is enough as long as you are not wasting way too much of it.
- M3 bolts Length 6mm x 8: Head of the bolts are 3 mm tall
- Brass inserts M3 OD5mm length 3mm x 8:
Description
Boost Me (for free)
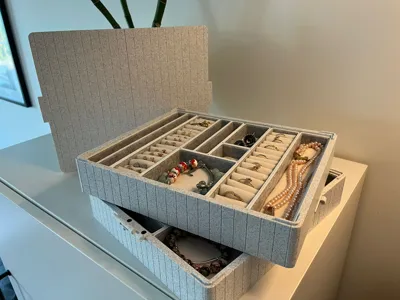
This is my first published model and I literally spent weeks on this design to make it the perfect jewelry box for my wife and maybe you?.
Is that worth a boost?
Update 17th February 2026: Added .step files for adding more layers. Find them under “Download STL/CAD files” on the MakerWorld website. Orient them same way as the top and bottom boxes. Make sure supports are on. You may have to draw supports at the holes for hinges. I will add as print profiles later when I have had opportunity to print them.
Update 15th November 2025: Added print profile for H2 series to print outer boxes and lid each in 1 piece. See below for further notes about printing this.
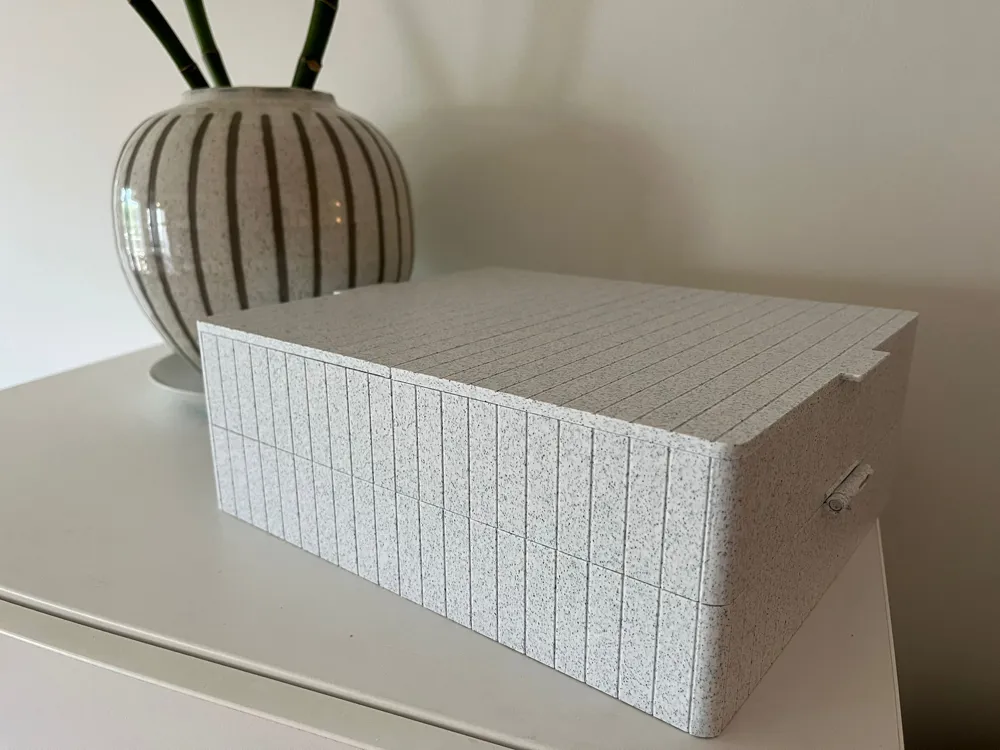
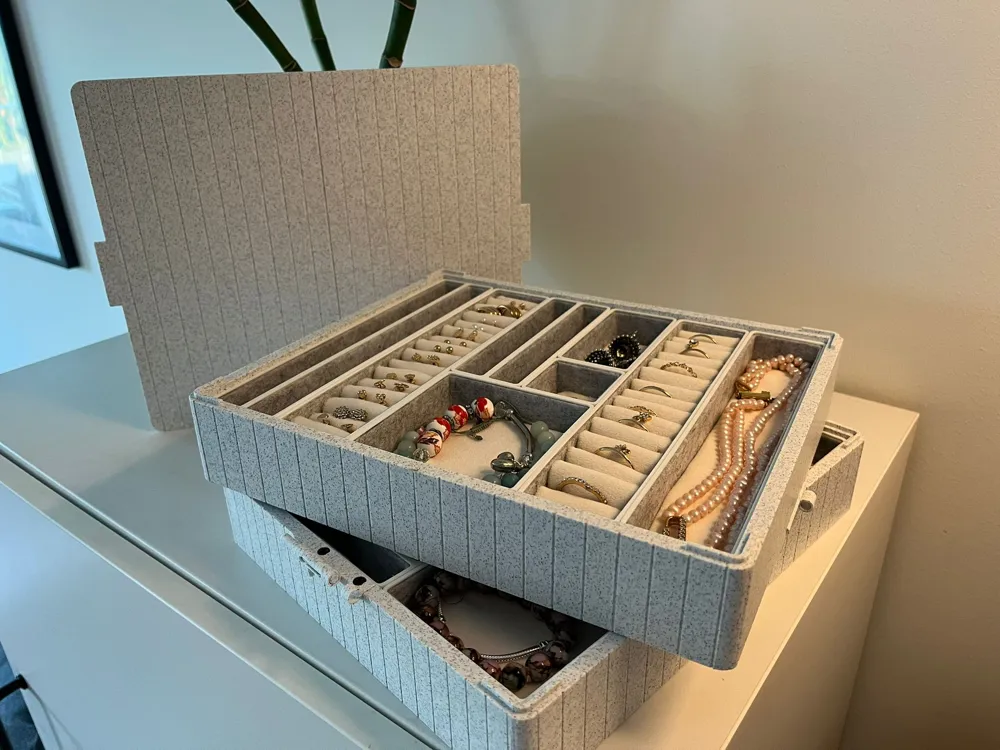
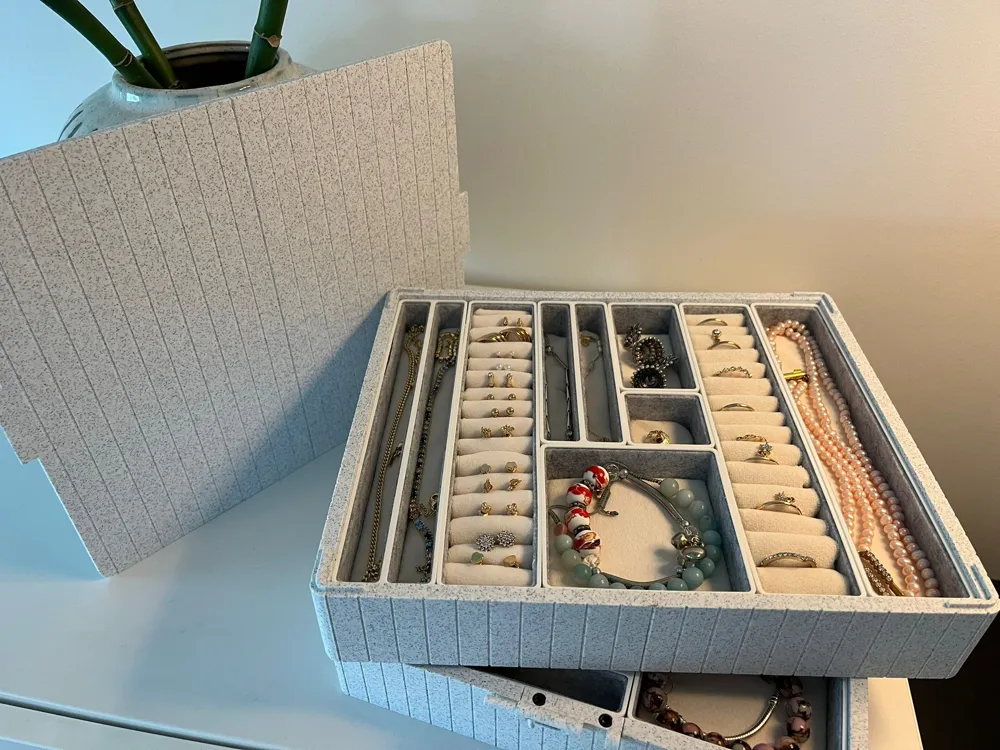
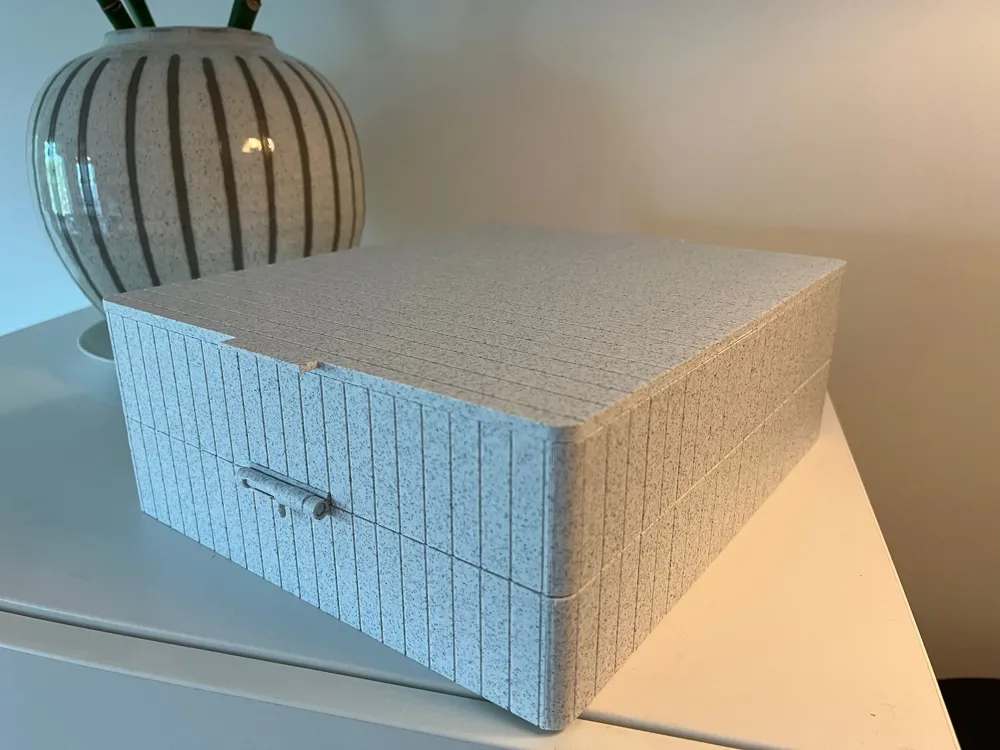
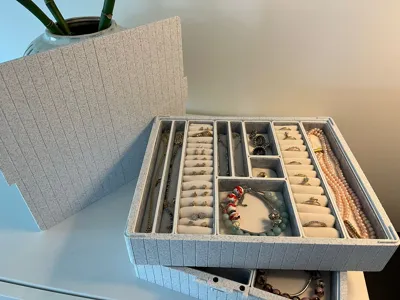
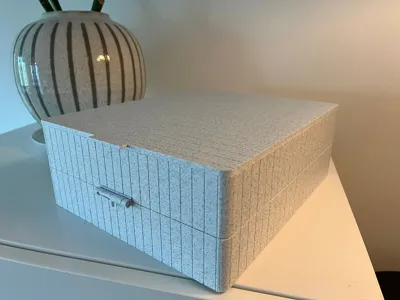
Jewelry box with endless possibilities
I designed this jewelry box for my wife. She didn't just want something that looks and feels like plastic.
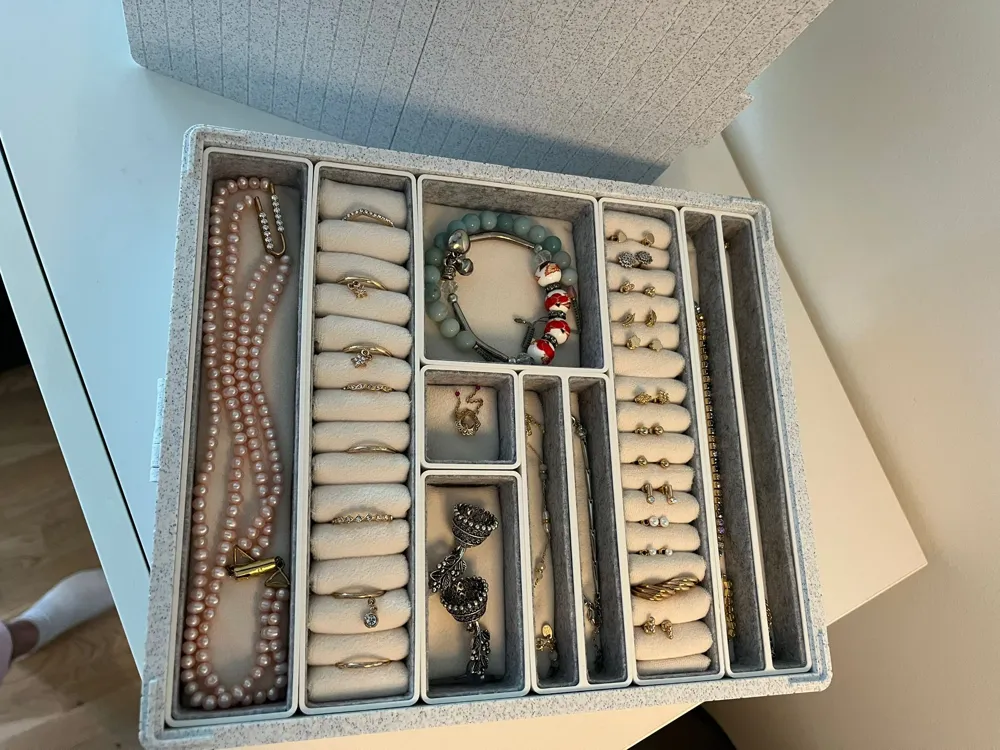
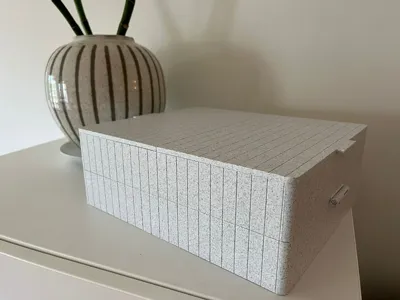
Therefore, I designed this box which uses strong walls and possibility to pad it to make it look and feel like one of the high-end jewelry boxes that you buy.
The needs from a jewelry box doesn't always stay the same and everyone has their individual needs.
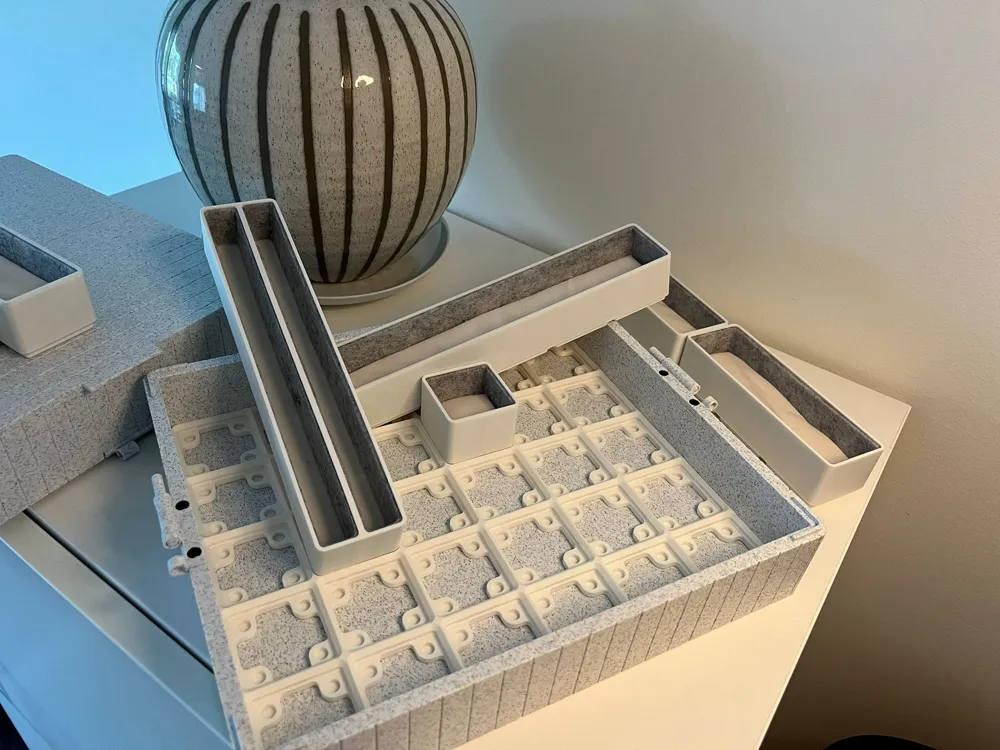
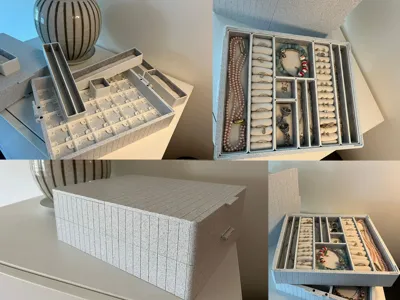
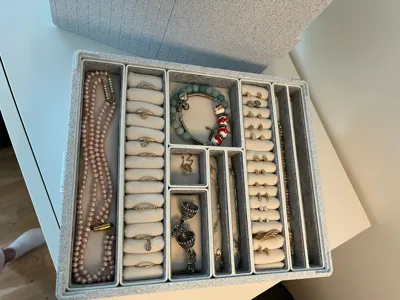
For this reason, I have considered the gridfinity standards to make the inside of the jewelry box changeable so when your needs change, you don't need to get en entirely new box, simply print the compartments that you need and change it.
As this model uses various materials aside from plastic and quite a bit of crafts, this is not for the person who just want to 3d print and be done with it.
You will need to do some serious crafts work to get the box to feel as nice as it can do.
Please read the full guide before printing as there is important information.
Plan your box
The first thing you want to do before printing this, is decide which materials to use and which compartments you need.
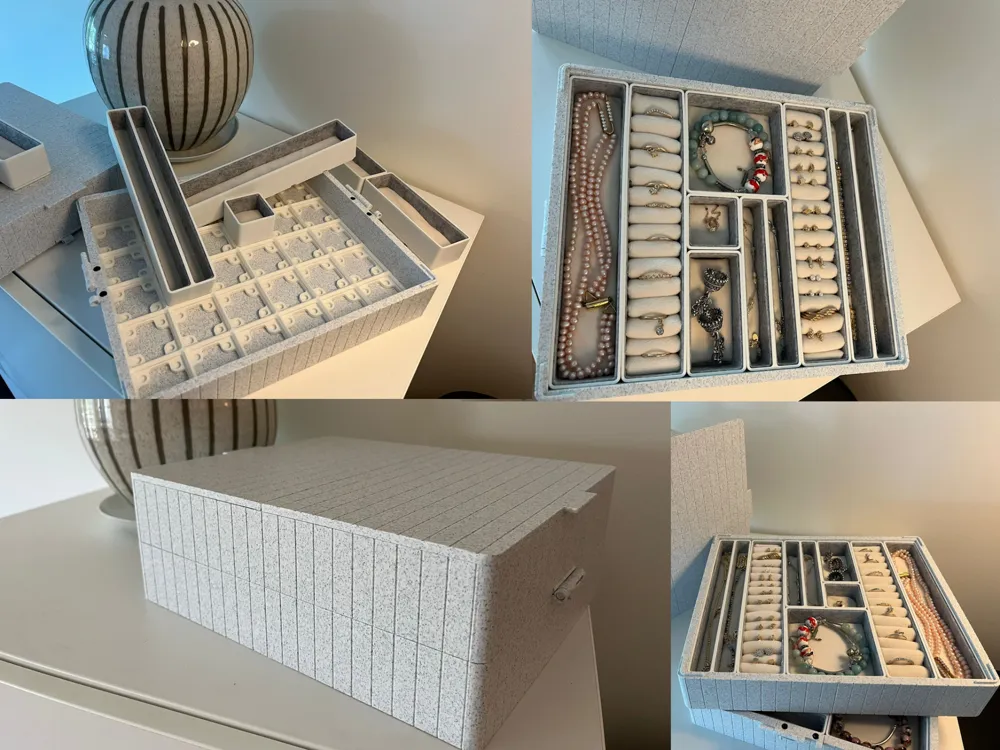
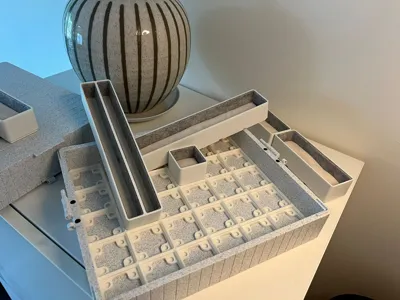
Each layer is a 5x6 grid, so total of 60 squares you can fill out.
Each different compartment is on it's own plate, making it easy to just choose amount of copies when printing from the bambu handy app.
When printing from bambu studio, you can copy the compartments you need onto a plate such that you fill it out.
Available boxes: 1x1, 1x2, 1x3, 1x3 with divider, 1x5, 1x5 with divider, 1x6, 2x2.
Missing a compartment?
I included quite a few options for compartments. But if you need any other compartment, just let me know and I can create it for you to use.
Otherwise, the box is using gridfinity standards for fit, so you can always create one yourself if you want something special for exactly your needs.
Print settings
I have selected the printing parameters to save filament where it doesn't harm the feel or structure.
I printed everything on a BIQU CryoGrip Pro Glacier build plate with temperature 50 degrees C (I believe SuperTack should be just as good), this is saved in the print settings. Most can be printed at the standard 45 degrees, but the locks on the side I found needed the slightly higher temperature even on a freshly cleaned build plate to avoid the one part falling.
Assembly guide for after printing
The outer boxes
Remove the supports. The supports in the holes on the sides can be pulled out by grabbing them with a set of pliers.
The boxes slide together with a bit of resistance allowing them to stay together without needing glue. If you find they are a little loose, just use a bit of super glue.
Please note that PLA wood filaments are often more brittle, causing increased risk of breaking when assembling.
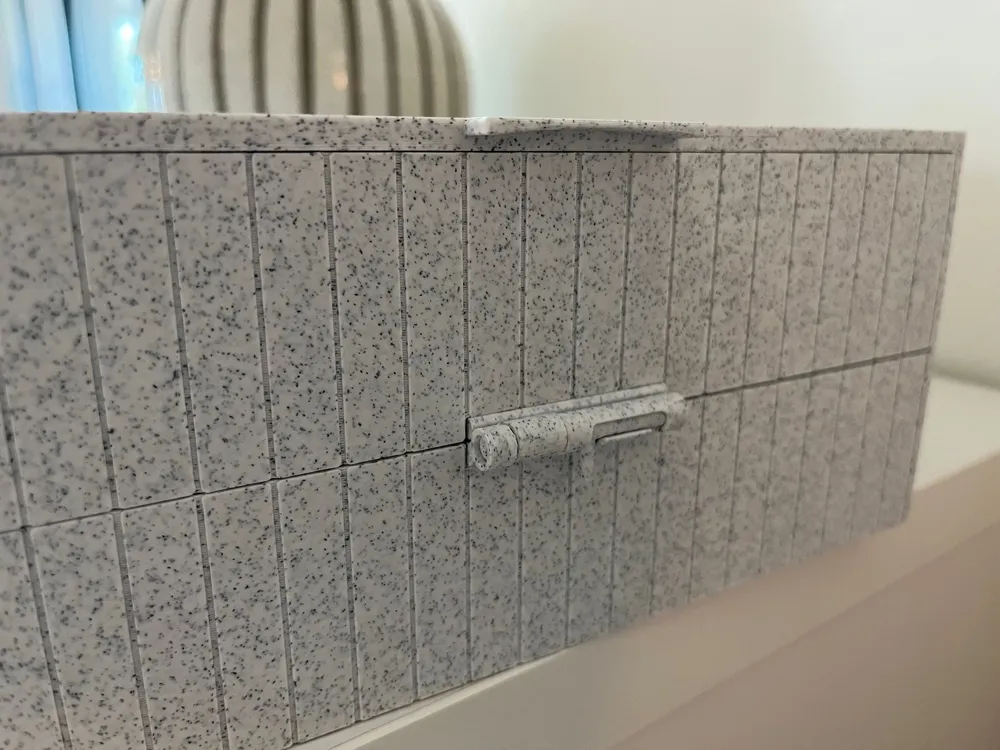
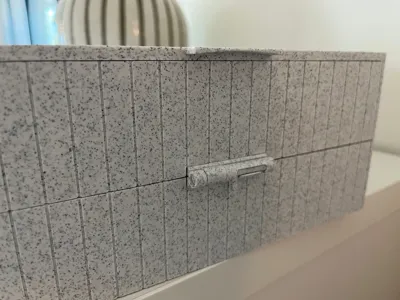
The locks are printed in place and the one side lock is a mirror of the other side. They should slide smoothly after removing supports.
Use some brass inserts (M3, OD 5 mm, L 3mm) in the outer boxes holes on the sides.
Then screw the locks on to the boxes using M3 bolts with a length of 6 mm (head height on my bolts is 3 mm).
H2 series print profile has outer boxes each in 1 piece.
The lid
The lid comes with 3 pins. These slide into the 3 holes on each side working as dowels. The fit is very tight and I had to use pliers to get a proper grip.
If there is a bit too much space between the two sides of the lid after assembly, then you can take them apart again and gently cut of a little bit of the edges to make them go closer together until the lid fits nicely on top of the outer boxes.
H2 series print profile has lid in 1 piece and the above can be ignored
Gridfinity base plates
You will need to print 2 of these.
They simply slide into the outer boxes and again provide a tight fit.
If you want, you can use some Ø6x3mm magnets in the holes of the plates. Just remember to keep same polarity up in all the holes that you use magnets in.
I found that magnets are not really needed for my wife's use.
Compartments general
I used 2 mm felt to line the sides of the compartments.
You can get felt with tape on the backside.
Or you can do as me and use glue to stick it to the sides. I found that wood glue works okay for this. It doesn't stick extremely well, but it is cheap and works well enough.
Cut the felt into strips of 27-27.5 mm width and length as needed. I cut pieces that were too long, put them in the compartment to measure how much was extra and then cut the extra off.
For the bottom of most compartments, I used a “white elastic foam stabilizer, 100% polyester” with a thickness of 7mm.
I covered the foam with Polyester velvet fabric.
I found that a drop of super glue basically welds the foam and fabric together, but if you want a nicer solution, you can create a pocket around the foam and stitch it on the back.
You can again install magnets on the bottom of the compartments to make them stick better to the baseplate. I don't think it's necessary, but it's an option. Remember to install them such that opposite poles meet with the magnets in the baseplate.
A bit of super glue can be used to put them in place if fit is a bit loose, although my test showed it was quite good tight fit without glue.
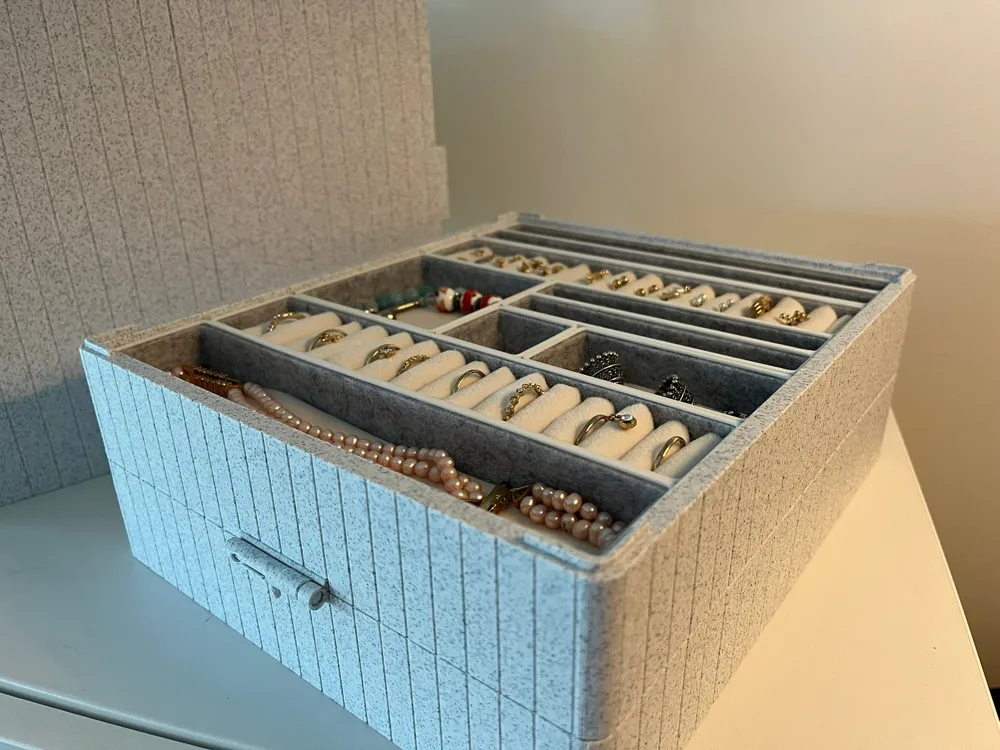
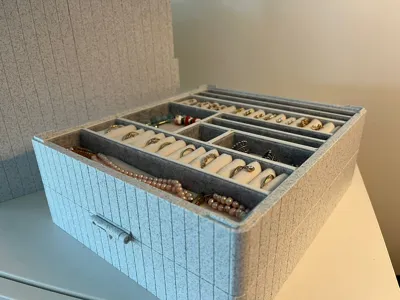
Rings and earrings compartment
For this I used the standard 1x5 compartment lined with felt on the sides.
Then I used a piece of foam 90cm length. I created a pocket around the foam with the fabric and stitched it on the back. Perhaps textile glue could have done the trick if you don't want to stitch.
The super glue trick doesn't work so well here as it loses some of the flexibility.
Then just fold it into a long “harmonica” in the 1x5 compartment.
This can of course also be done for other lengths of compartments, then you just need to adjust the length of foam.
H2 series print profile specifics
Due to the print orientation change when printing the outer boxes in 1 piece, the lines on the sides will get slightly rounded edges.
This is because the nozzle is round and cannot be avoided when printing at this orientation.
Using a 0.2mm nozzle will make this less visible, but will drastically increase printing time.
The lid will still have the sharp edges and so the look may be a little off as boxes and lid are not fully matching. To give you options, I have included 2 extra versions of the lid.
Lid with sharp edges on lines: This is the original design just in 1 piece,
Lid with soft edges on lines: I have modified the design to approximate the rounded edges of the outer boxes' lines. The minimum layer height is limiting here and the result still does not look exactly the same.
Lid without lines: This eliminates the problem of different appearances by removing the lines from the lid entirely.
If you are brave or want to take a risk at getting the same finish on outer boxes and lid, then you can try to orient the lid and outer boxes at a 45 degrees angle on the build plate such that only 1 edge is touching the build plate.
Due to the weight of the boxes and lid, this may not work, but with strategic support placement, perhaps there is a way to do it.
Final words
I could create more layers for the boxes if that is of interest to anyone. Let me know if it is and I might push myself to do that.
Let me know if you have any questions and I do hope you or your special someone will have joy when using this box.
License

You shall not share, sub-license, sell, rent, host, transfer, or distribute in any way the digital or 3D printed versions of this object, nor any other derivative work of this object in its digital or physical format (including - but not limited to - remixes of this object, and hosting on other digital platforms). The objects may not be used without permission in any way whatsoever in which you charge money, or collect fees.


Comment & Rating (37)