


Print Profile(1)

Bill of Materials

Description
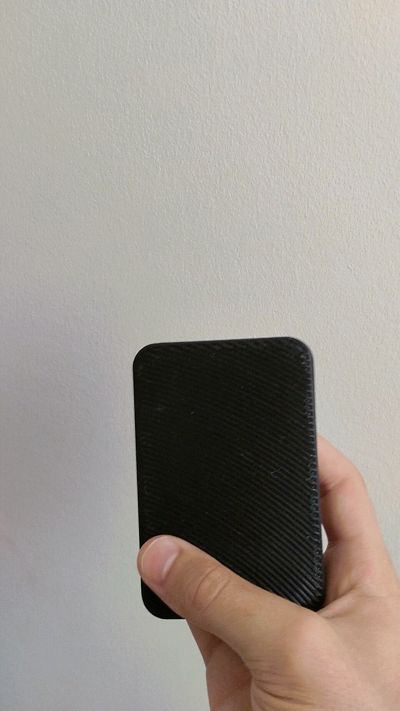
This is a twisting mechanical wallet. It uses integrated magnets to hold the wallet securely closed, giving a satisfying snap every time it locks shut. The internal mechanism keeps your cards in place—even if the wallet is turned upside down or shaken—so your essentials stay safe.
The wallet comfortably holds up to 6 standard cards and is mostly printed in PLA, with TPU 90A parts that provide flexibility and durability where it matters most. The top and bottom feature a grippy textured surface for better handling and everyday use.
This project took over 3 months of design and refinement, resulting in a sleek, reliable, and fun everyday carry piece for anyone who appreciates smooth mechanical action.
Boost Me (for free)
This project took months to design and test so any support is greatly appreciated!
Printing and assebly guide:
1. Print plate number 1, 2 and 7.
2. Begin printing the third plate. Pause the print at layer 95. While paused, insert the roller (from Plate 1) into the hole, then resume printing.
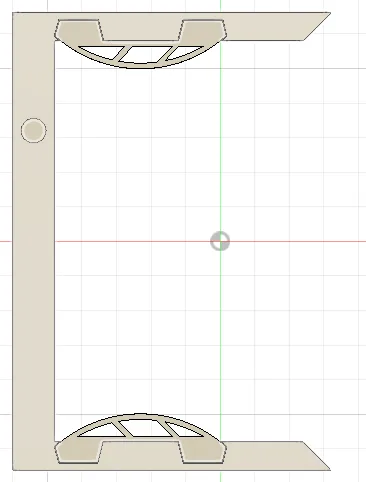
3. Print plate number 4, 5 and 6 using TPU 90A.
4. Assemble the sliders (from Plate 2) and the springs (from Plate 4). Glue them together so that the straight support beams in the middle of the springs face the back (the bottom of the “U” shape), as shown in Picture 6.
5. Lightly oil the sides of the sliders using a cotton swab. Do not apply too much—there should be no visible blobs, just a slight shine.
6. Insert the magnets into 3 top pieces (which have 4 holes each). Test the orientation before gluing—all magnets must attract each other.
7. Place a slider inside a bottom part, then glue a top part on, as shown in Pictures 7 and 8. Repeat this process twice, but note that one of the bottom parts comes from Plate 3.
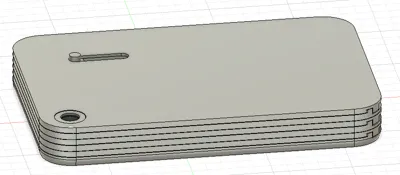
8. Slide the two glued assemblies onto the rod of the third glued segment, as shown in Pictures 9 and 10.
9. Apply a very small amount of glue (less than a drop) inside the roller section of the part printed on Plate 3. Insert the last piece (from Plate 1) into the hole, as shown in Picture 11.
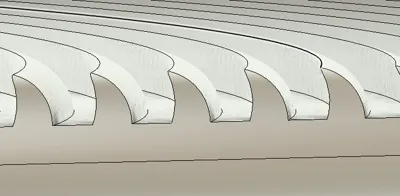
10. Glue the TPU ribs in place (Pictures 12 and 13). Pay attention to orientation:
- The top rib should have the wave pattern (viewed from the side) going bottom-left. (The top is where cards come out.)
- The bottom rib should have the wave pattern going top-right (In the last picture the patterns going left.)
11. Glue the final 2 magnets in, but make sure the orientation first.
License
You shall not share, sub-license, sell, rent, host, transfer, or distribute in any way the digital or 3D printed versions of this object, nor any other derivative work of this object in its digital or physical format (including - but not limited to - remixes of this object, and hosting on other digital platforms). The objects may not be used without permission in any way whatsoever in which you charge money, or collect fees.
Comment & Rating (8)