Search models, users, collections, and posts

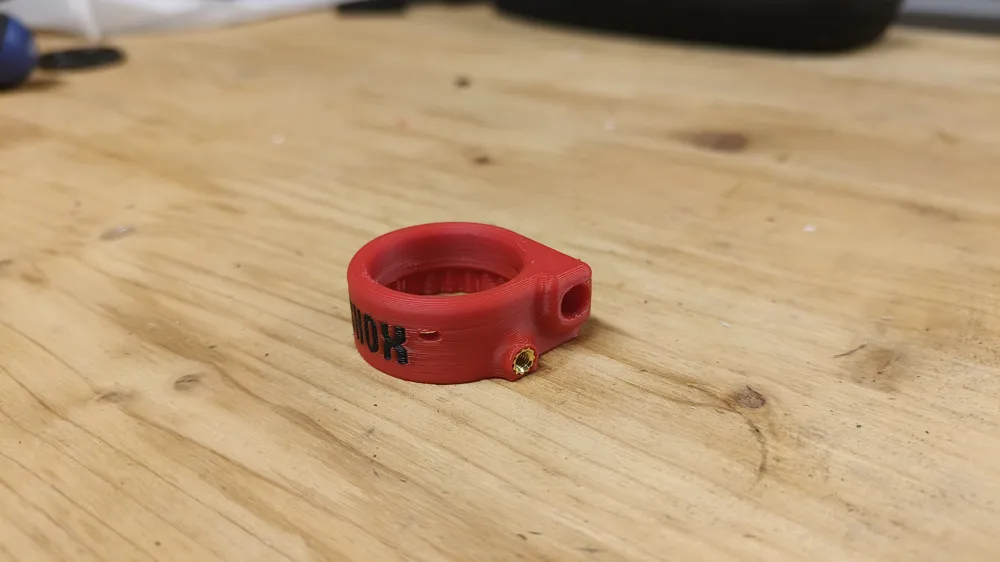
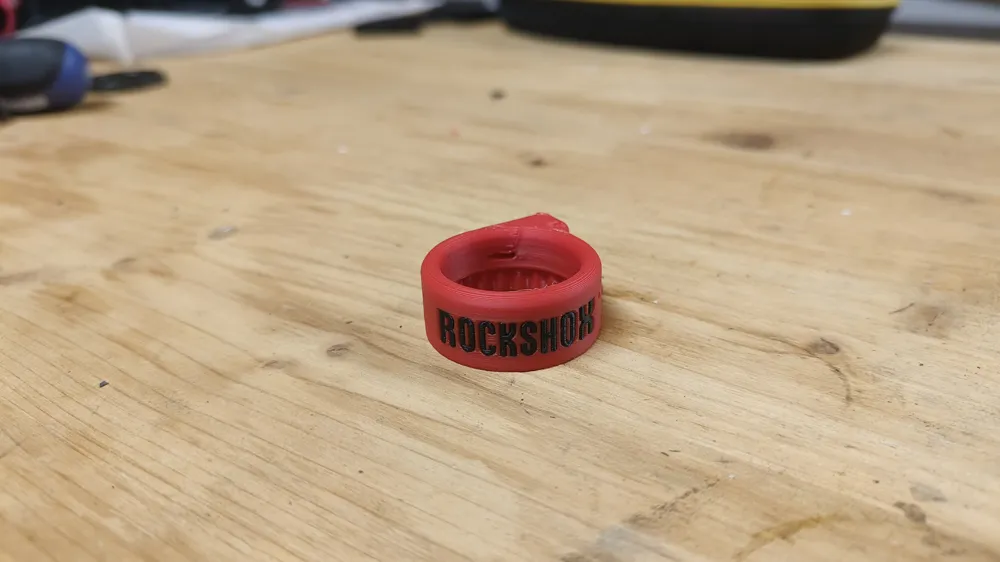
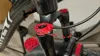
RockShox Remote Spool Casing – Durable Replacement
IP Report
Print Profile(2)

0.2mm layer, 2 walls, 100% infill
Designer
1.4 h
1 plate
0.2mm layer, 3 walls, 100% infill MAX ENFORCED
Designer
1.8 h
1 plate
Open in Bambu Studio
Boost
17
44
2
0
21
11
Released
Bill of Materials
List other parts
- M3 Brass Insert x 1: 6mm
- M3 Screw x 1: 8mm
Description
Why I Made This
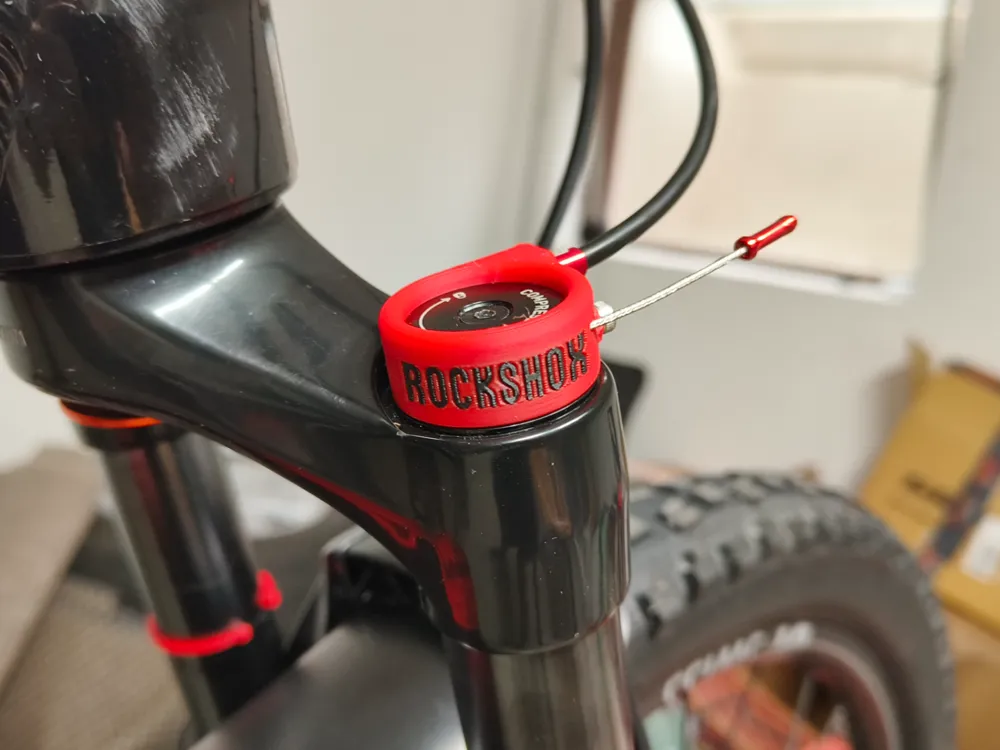
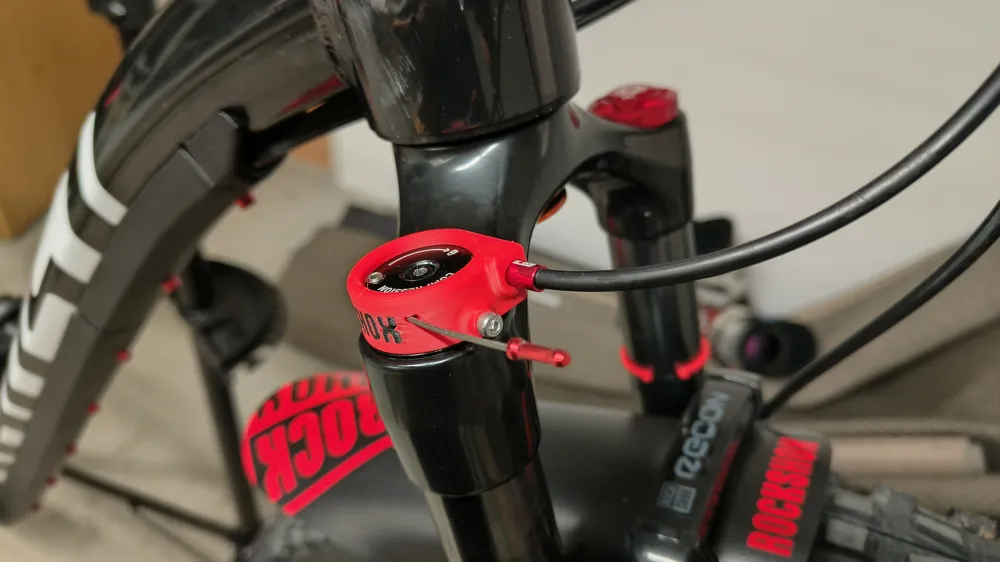
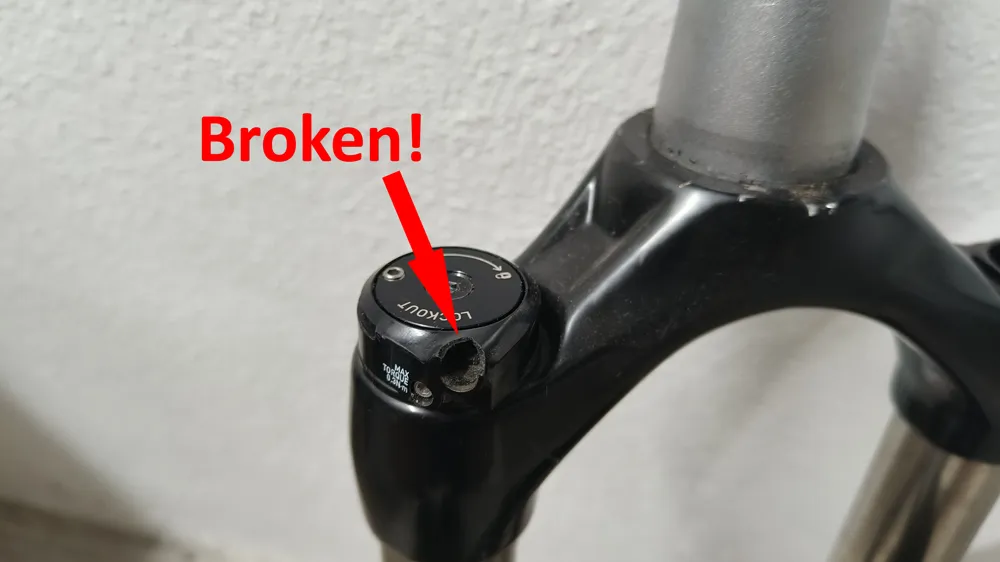
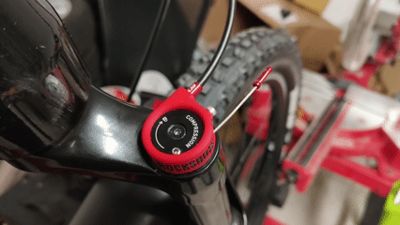
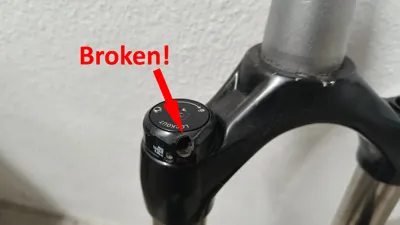
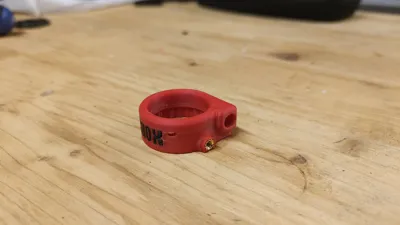
On all the RockShox forks I’ve owned, the small plastic spool housing eventually broke—usually right at the spot where the ferrule sits. To avoid replacing the same weak part again and again, I designed a stronger replacement casing.
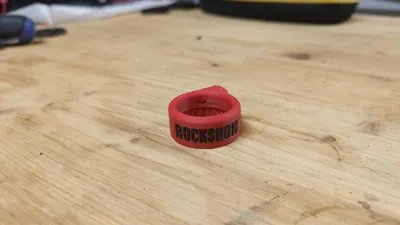
As a bonus, this also lets me bring some color onto the bike.
What’s Included
- .3mf file prepared for BambuLab X1C
- .stl files for general 3D printing
- .sldprt files if you’d like to adjust or remix the model in SolidWorks
Printing Notes
- Use a durable material that can handle sun and heat (e.g., PETG, ABS, ASA, etc.).
- Print it strong → multiple walls, and I, personally, went with 100% infill (the part is small).
Hardware Needed
- M3 brass insert – 6 mm
- M3 screw – 8 mm (worked perfectly for me)
Installation
- Pull out the shifting cable with ferrule.
- Remove the old plastic housing (loosen the grub screw).
- Keep the existing spool in the fork.
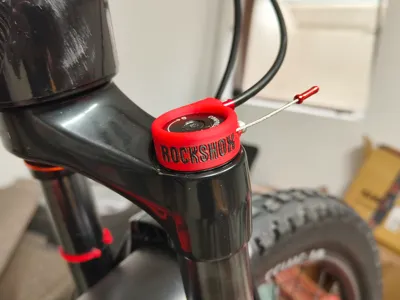
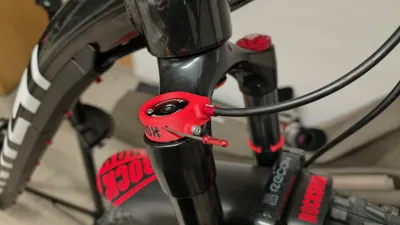
- Place the new printed housing on top and secure it with the M3 screw (no need to overtighten).
- Push the cable back in — it can be a bit tight, but it will come through.
- Re-tighten the shifting cable and fix it with the screw again.
Tags
License

This user content is licensed under a
Creative Commons Attribution-Share Alike


Comment & Rating (2)