
Print Profile(1)

Bill of Materials


- Utility knife x 1:
- 2.5 mm drill bit x 1:
- 8 mm drill bit x 1:
Description
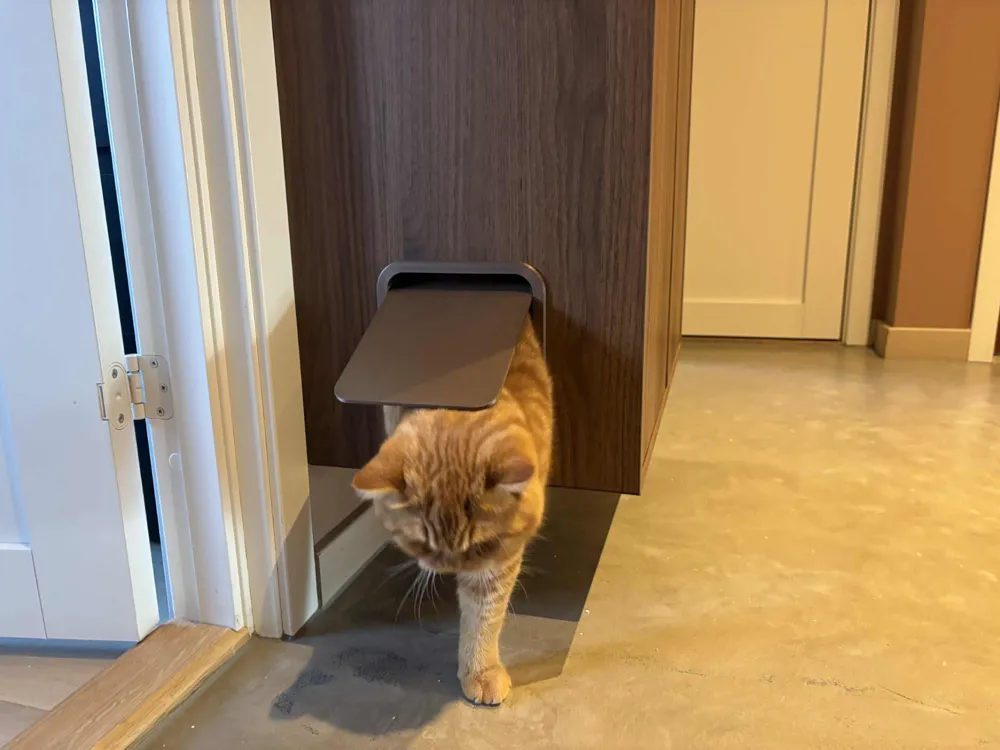
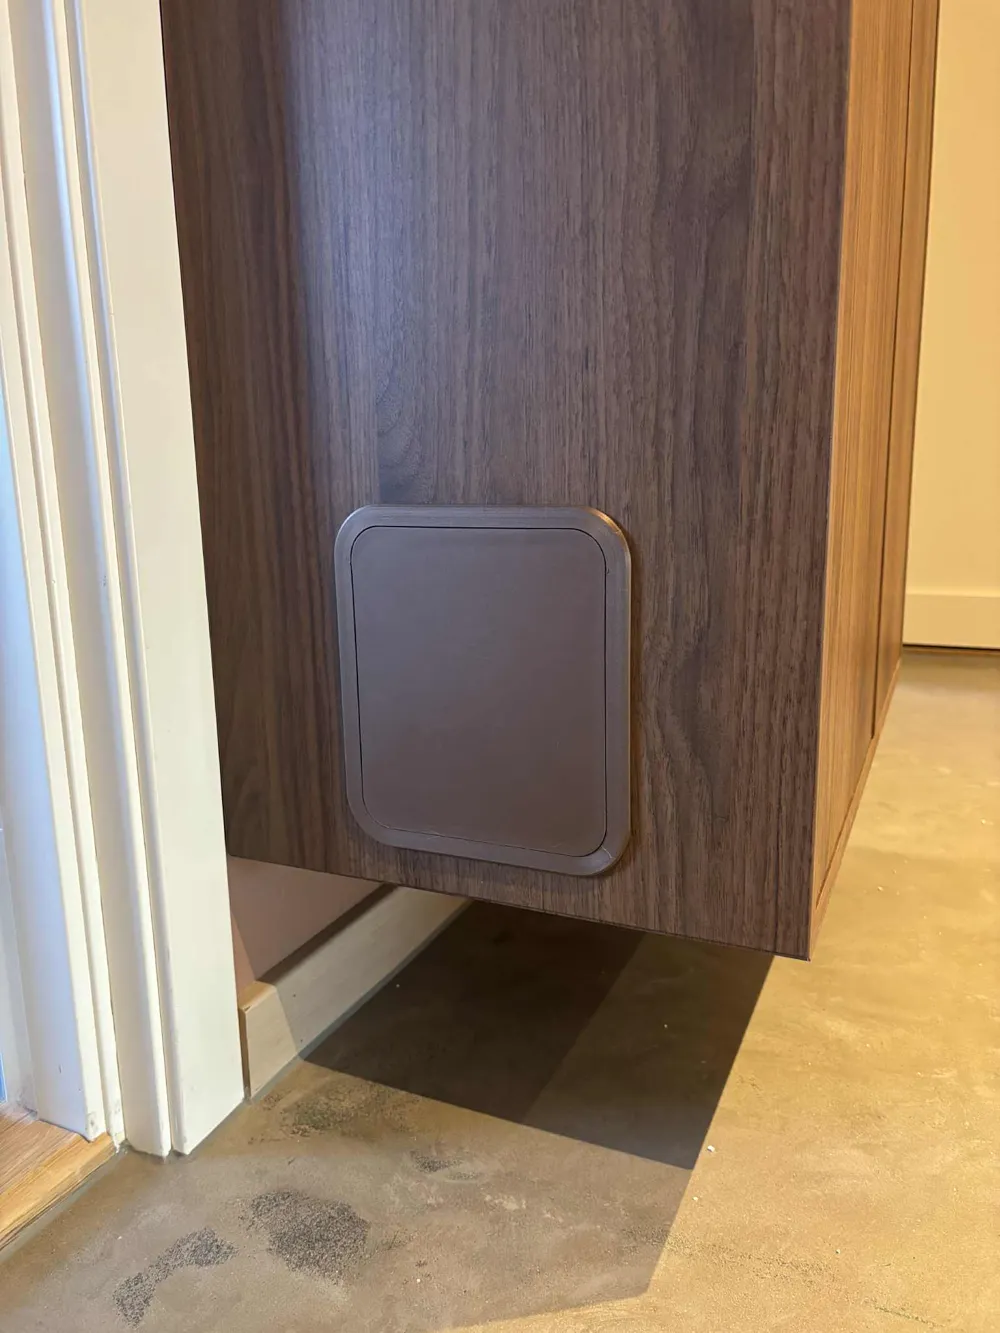
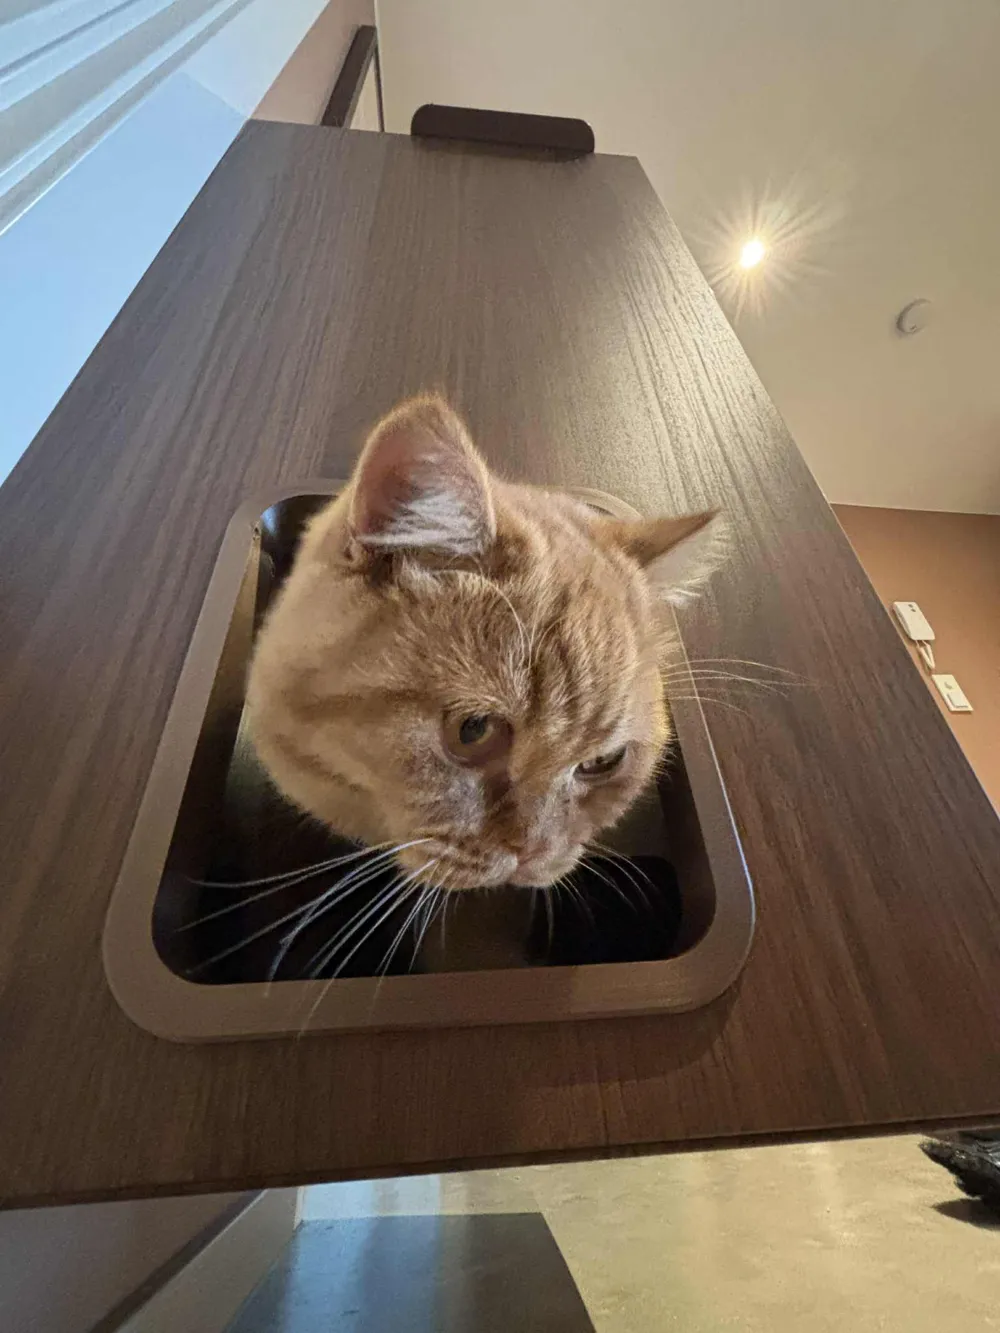
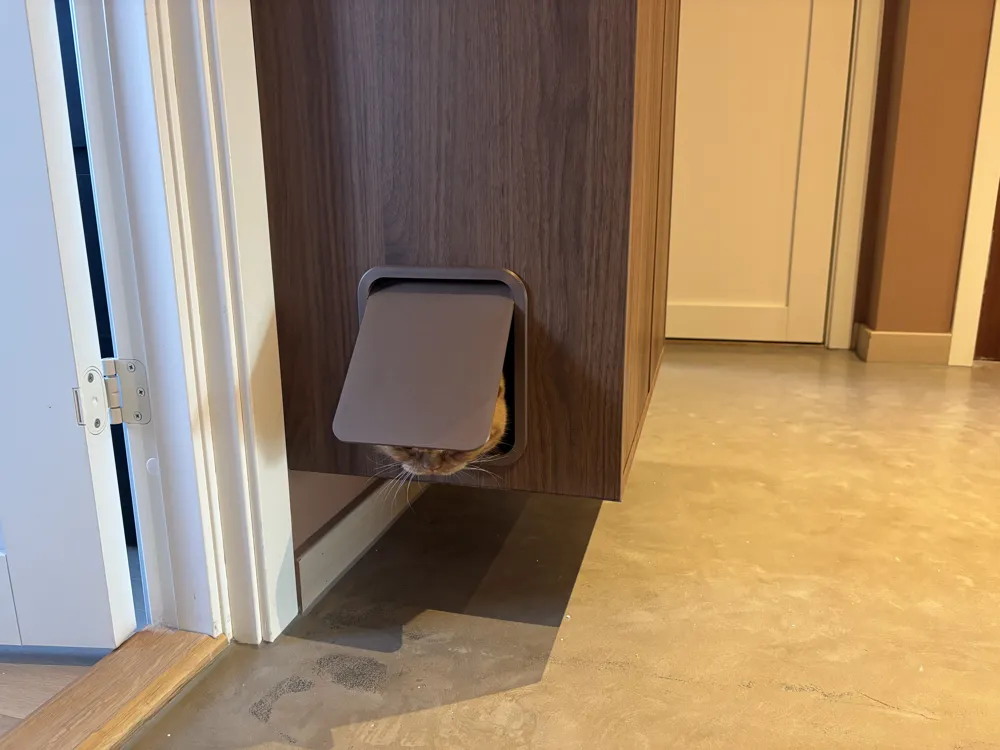
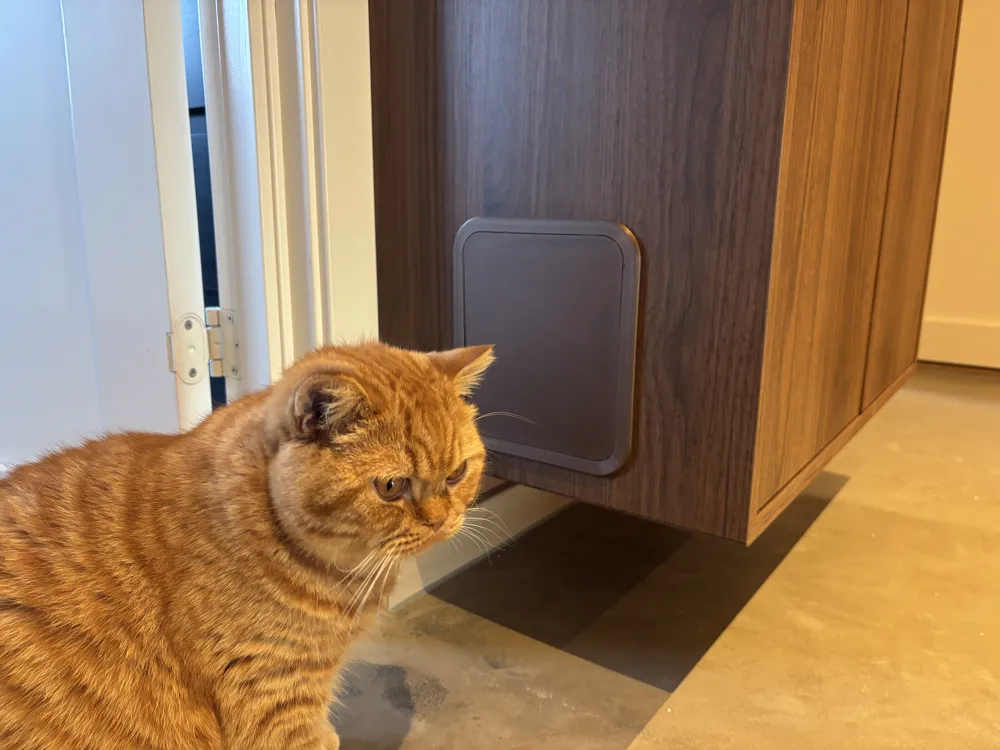
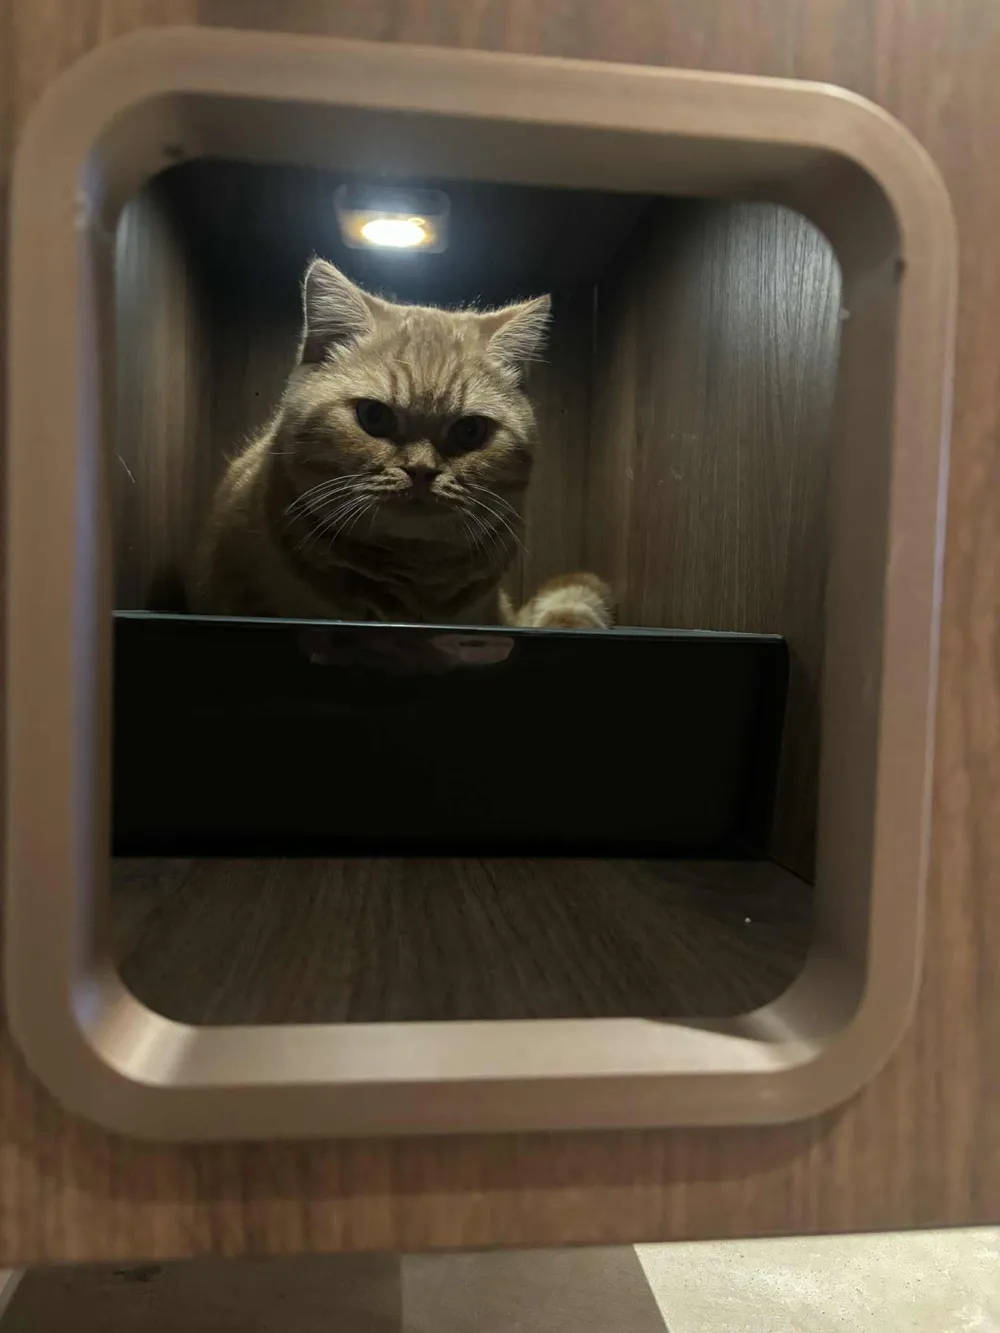
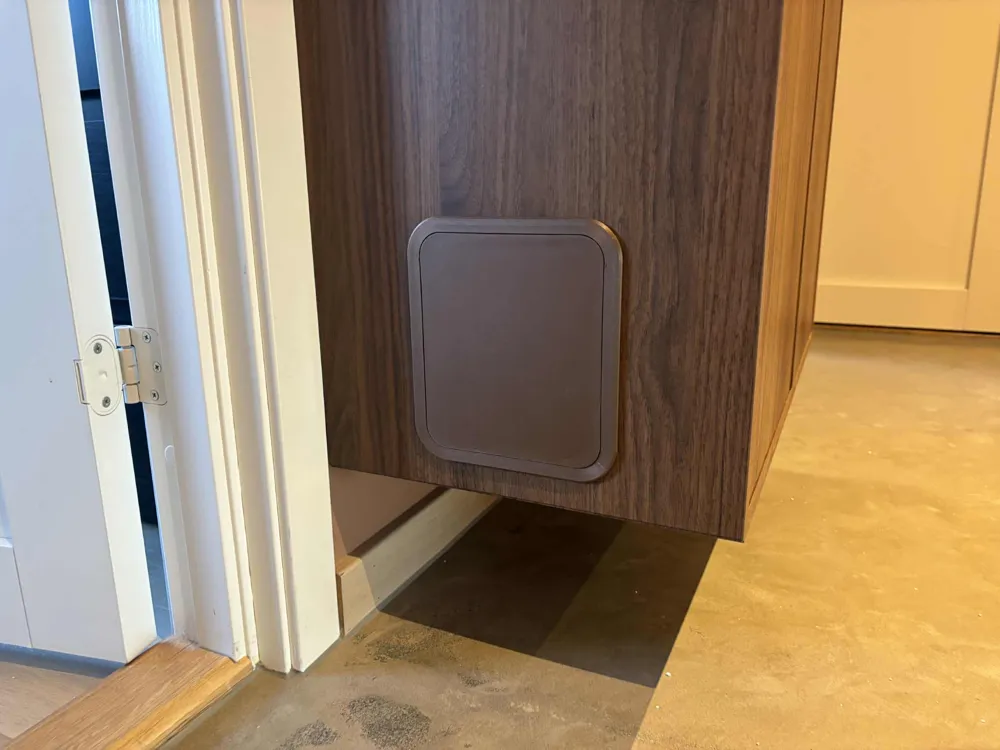
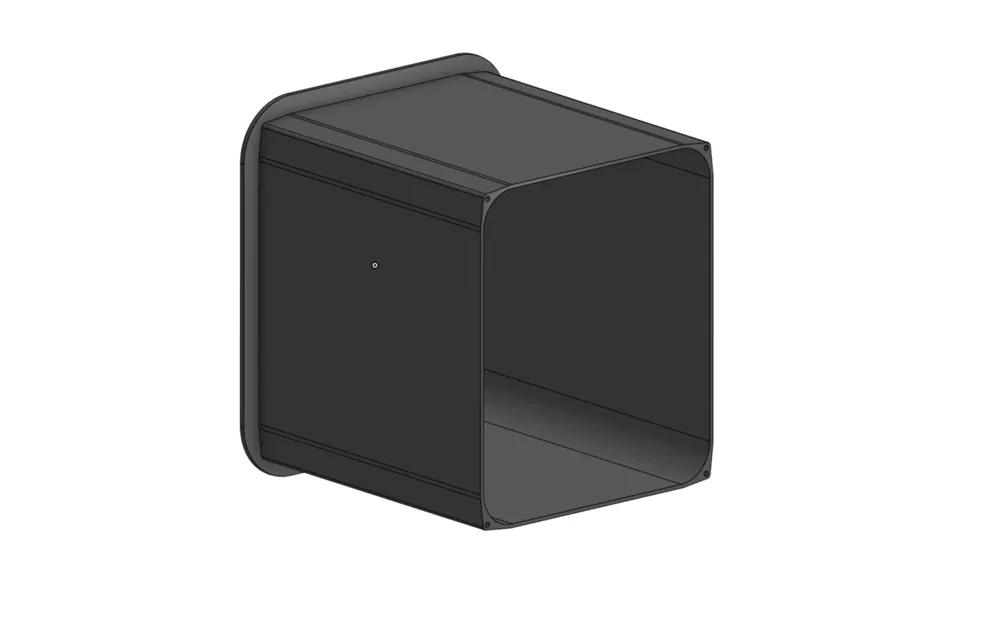
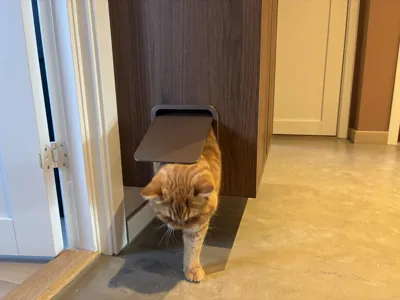
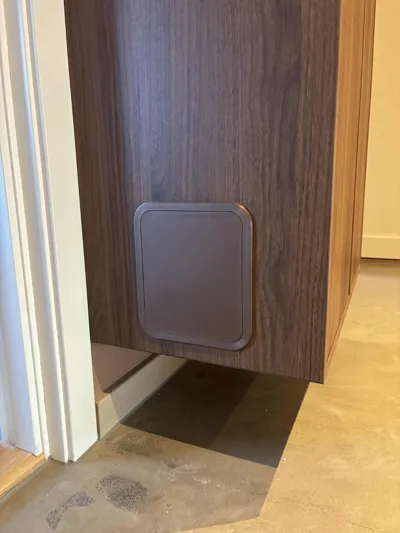
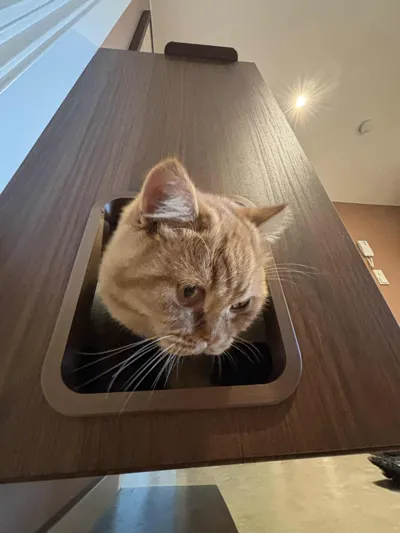
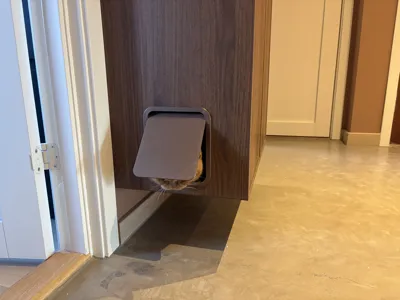
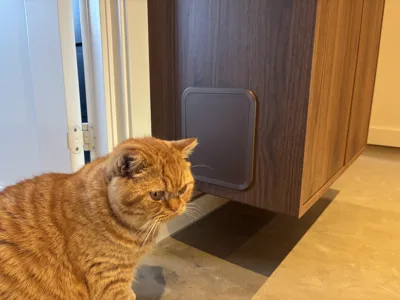
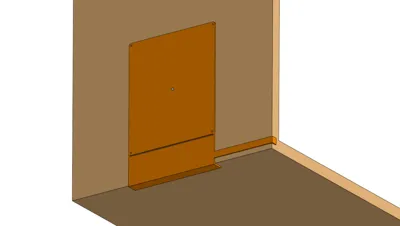
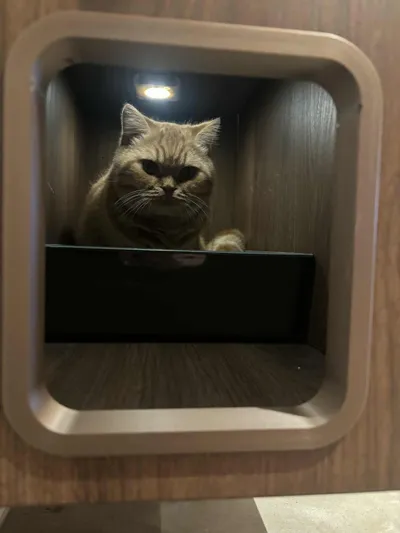
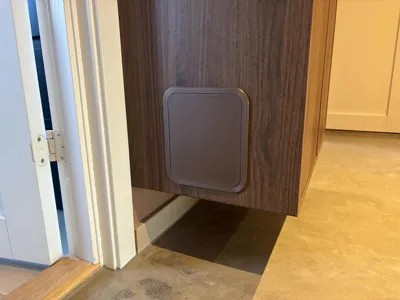
Turn your IKEA Eket cabinet into a discreet and stylish litter box with this 3D printed cat door. Designed to fit perfectly with the IKEA Eket series, it allows you to hide your cat’s litter box inside the cabinet while still giving your cat easy access.
This model was printed in Bambu PLA Copper Brown Metallic to match the walnut finish of the cabinet.
What you need:
- 4 × M3x6 fasteners (up to 16 mm)
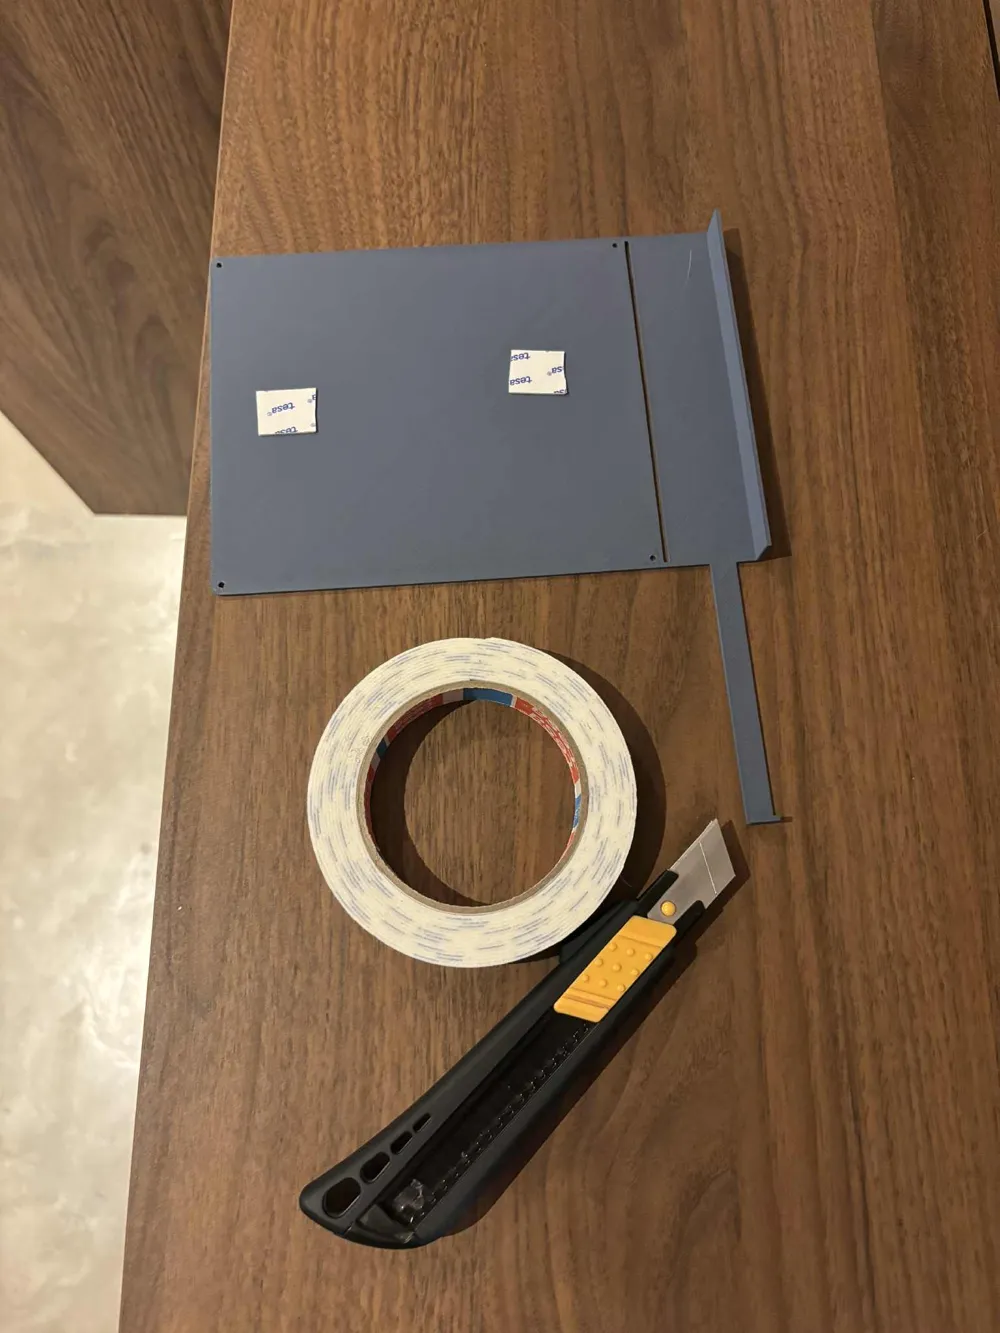
- 1 × utility knife
- Drill with 2.5 mm and 8 mm drill bits
- Double-sided tape
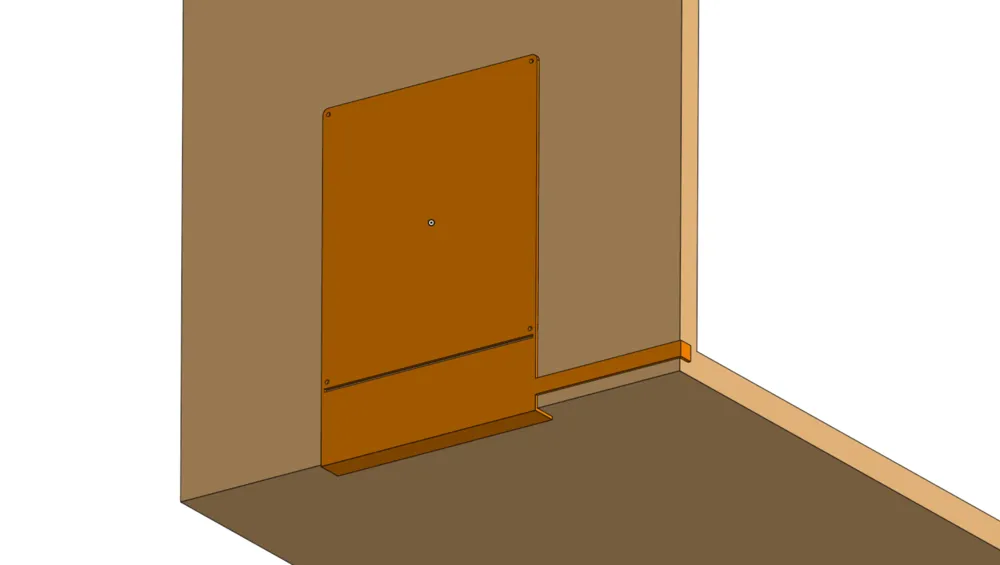
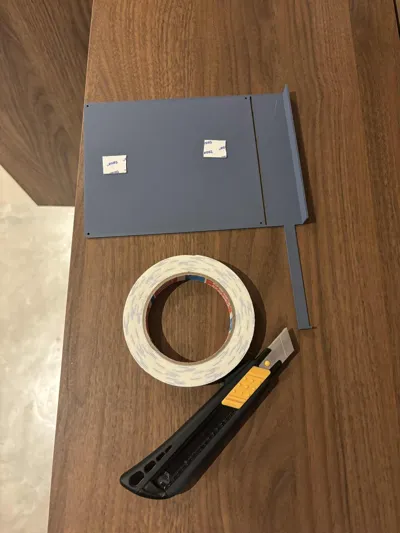
- Printed cutting template
- A cat 🐾
- (Optional) Multi-tool – can speed up the process
Dimensions:
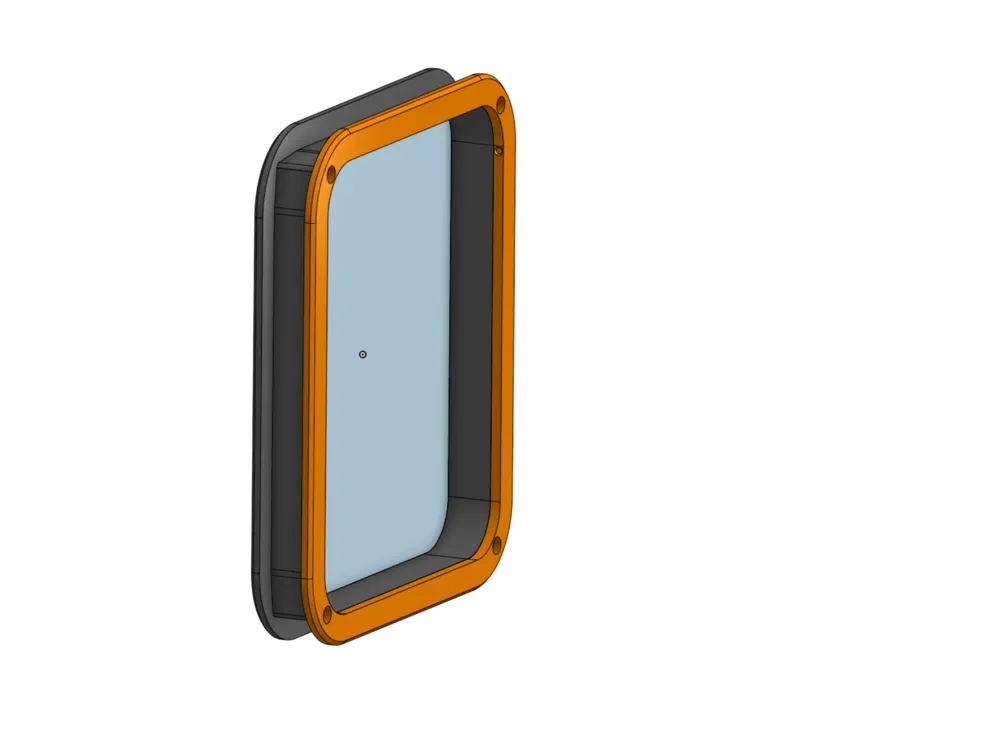
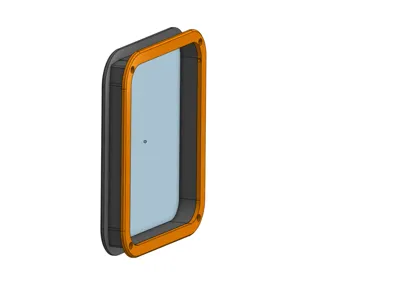
- Inner opening: approx. 145 × 145 mm
- Wall cut-out: 150 × 175 mm
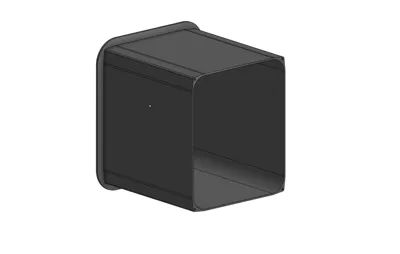
There is also a version with an extra-long backplate. Simply cut it in your slicer to fit your cabinet wall thickness: measure your wall thickness, add 4 mm, measure from the build plate, and cut at that point in your slicer.
Installation steps:
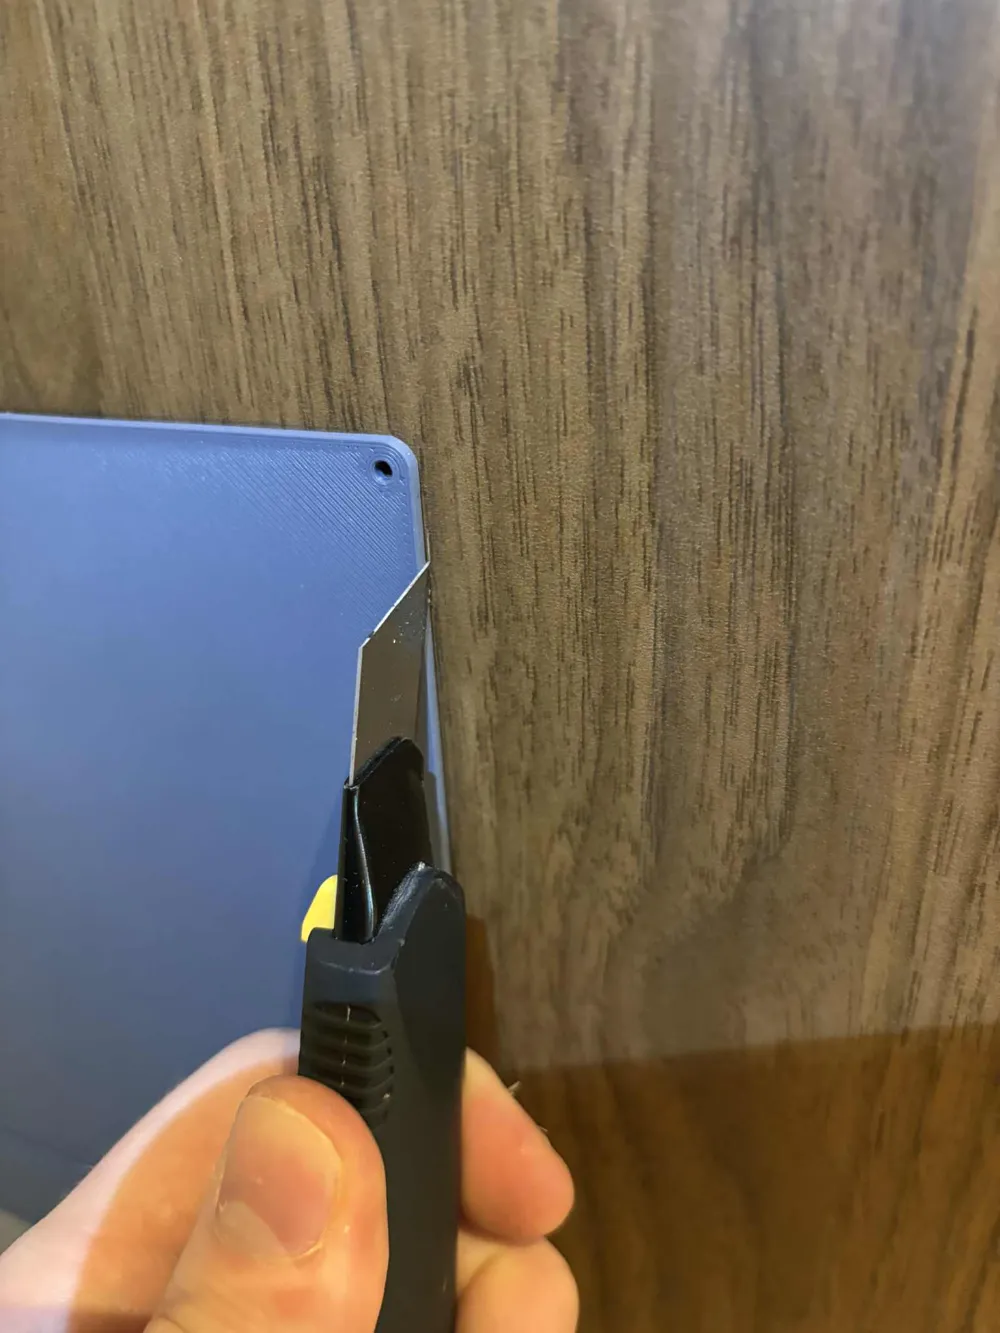
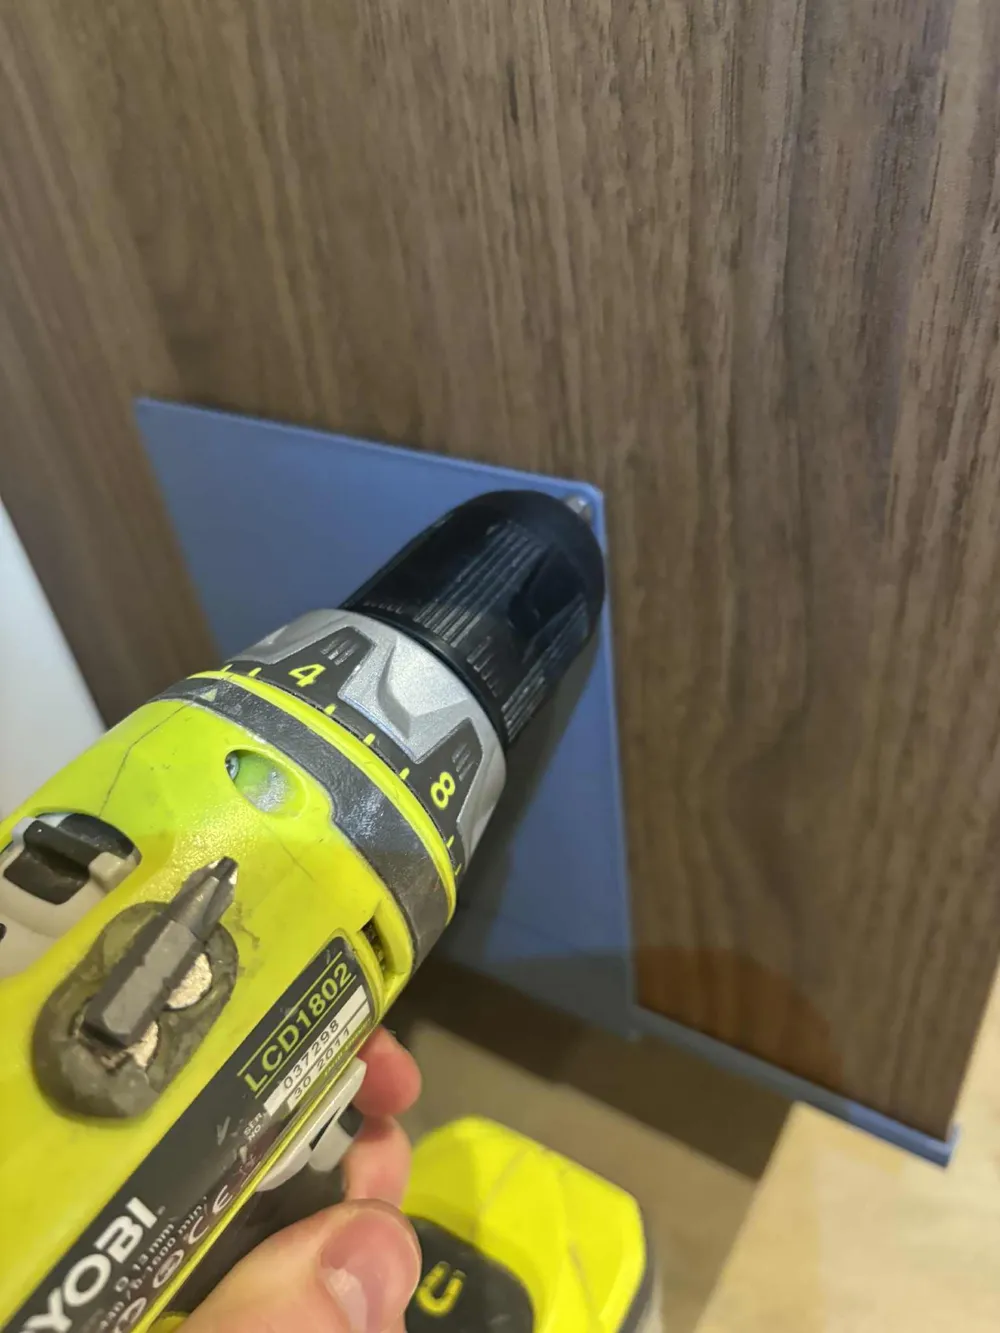
- Attach the printed cutting template (choose left or right side) to the cabinet using double-sided tape.
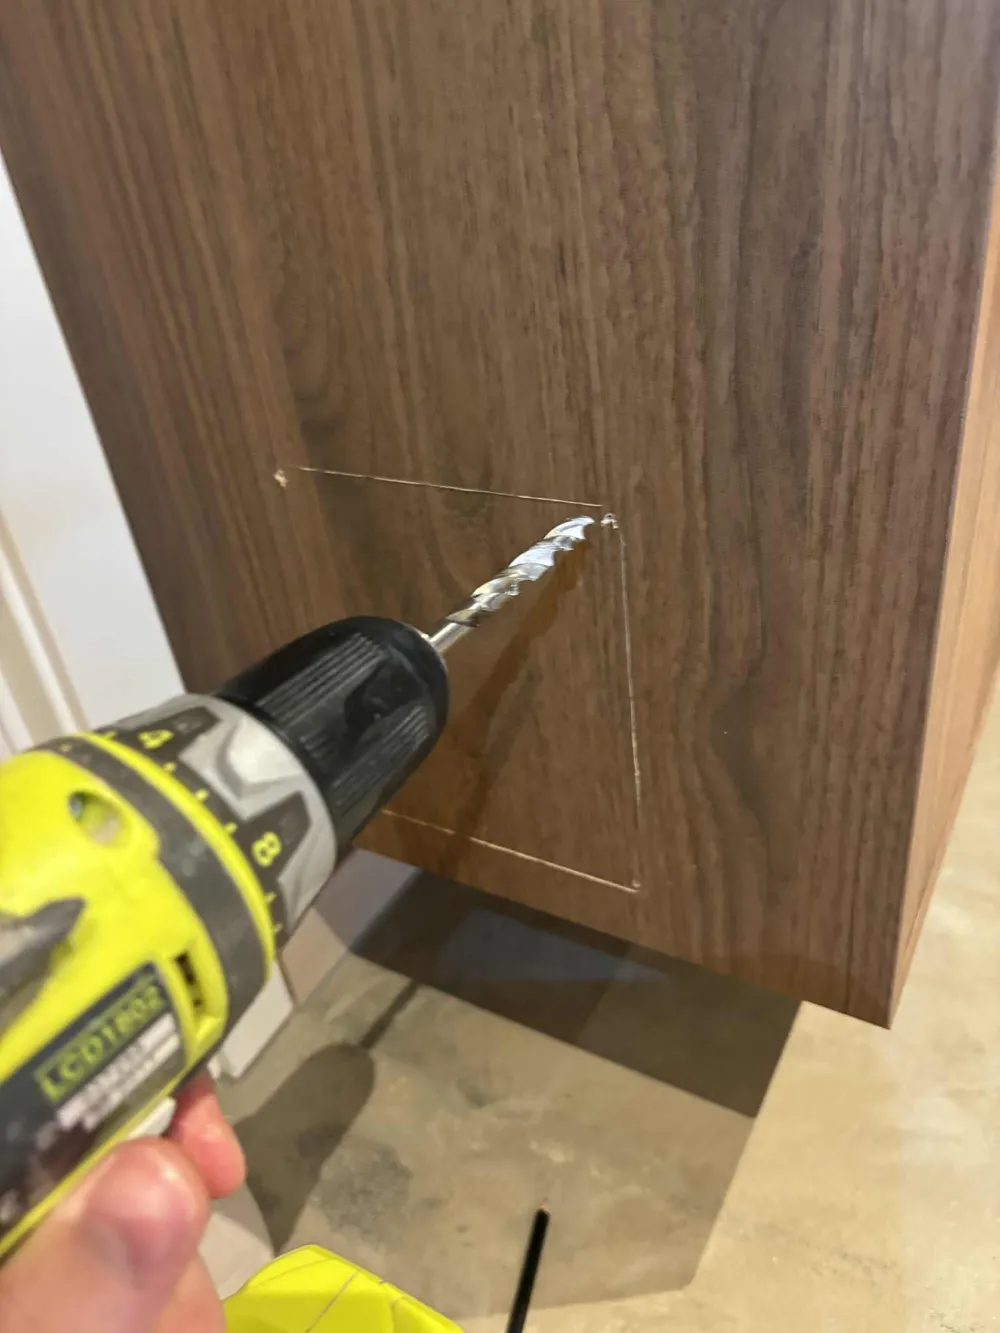
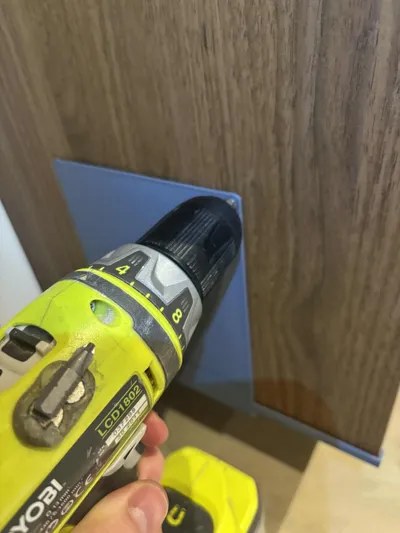
- Drill 4 pilot holes with the 2.5 mm drill bit.
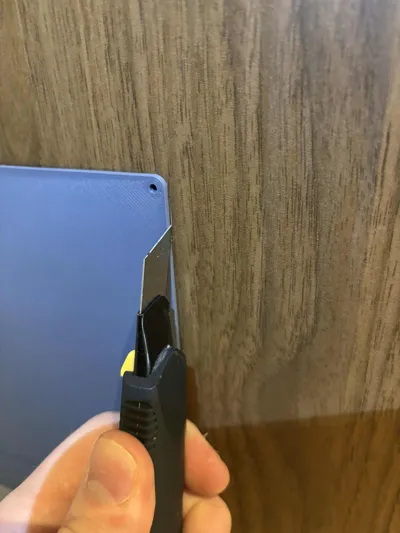
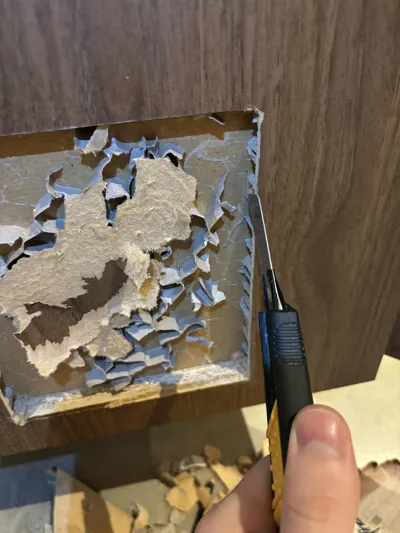
- Score along the outer edges of the template with the utility knife.
- Remove the template.
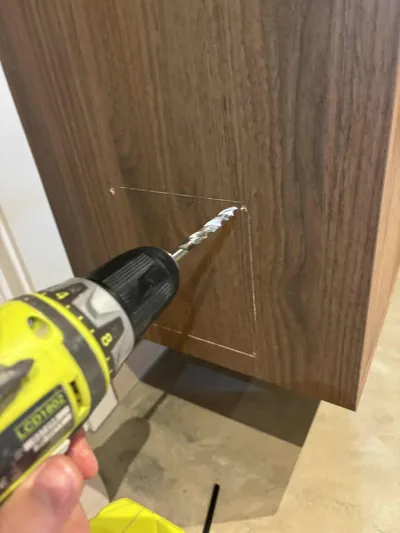
- Enlarge the holes using the 8 mm drill bit.
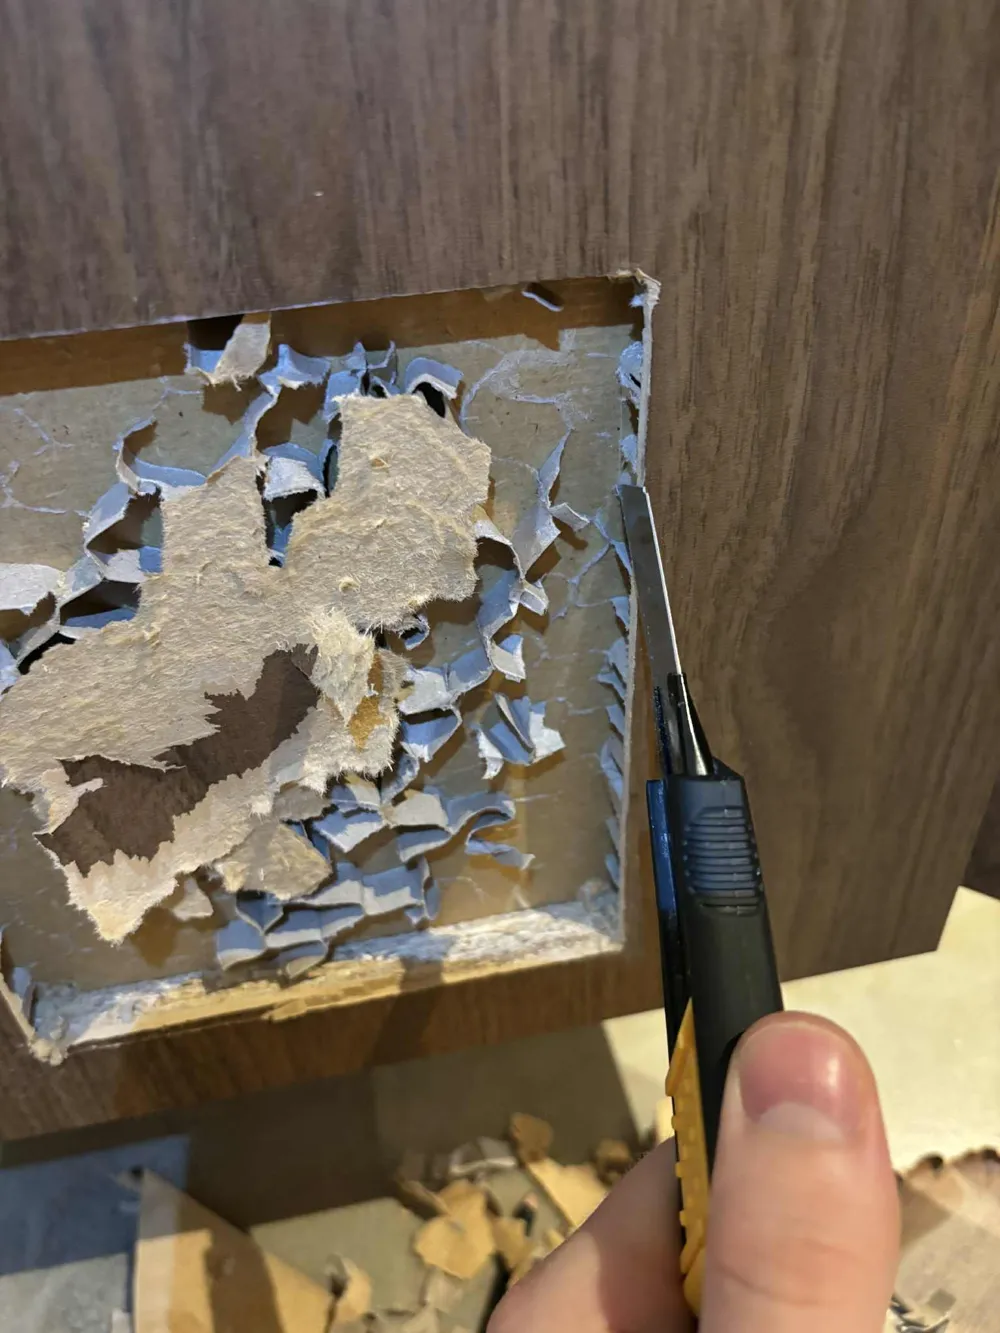
- Use the utility knife (or multi-tool) to cut through the veneer.
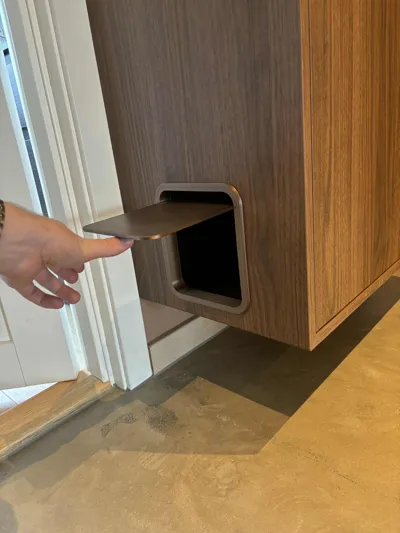
- Snap the printed cat door into place.
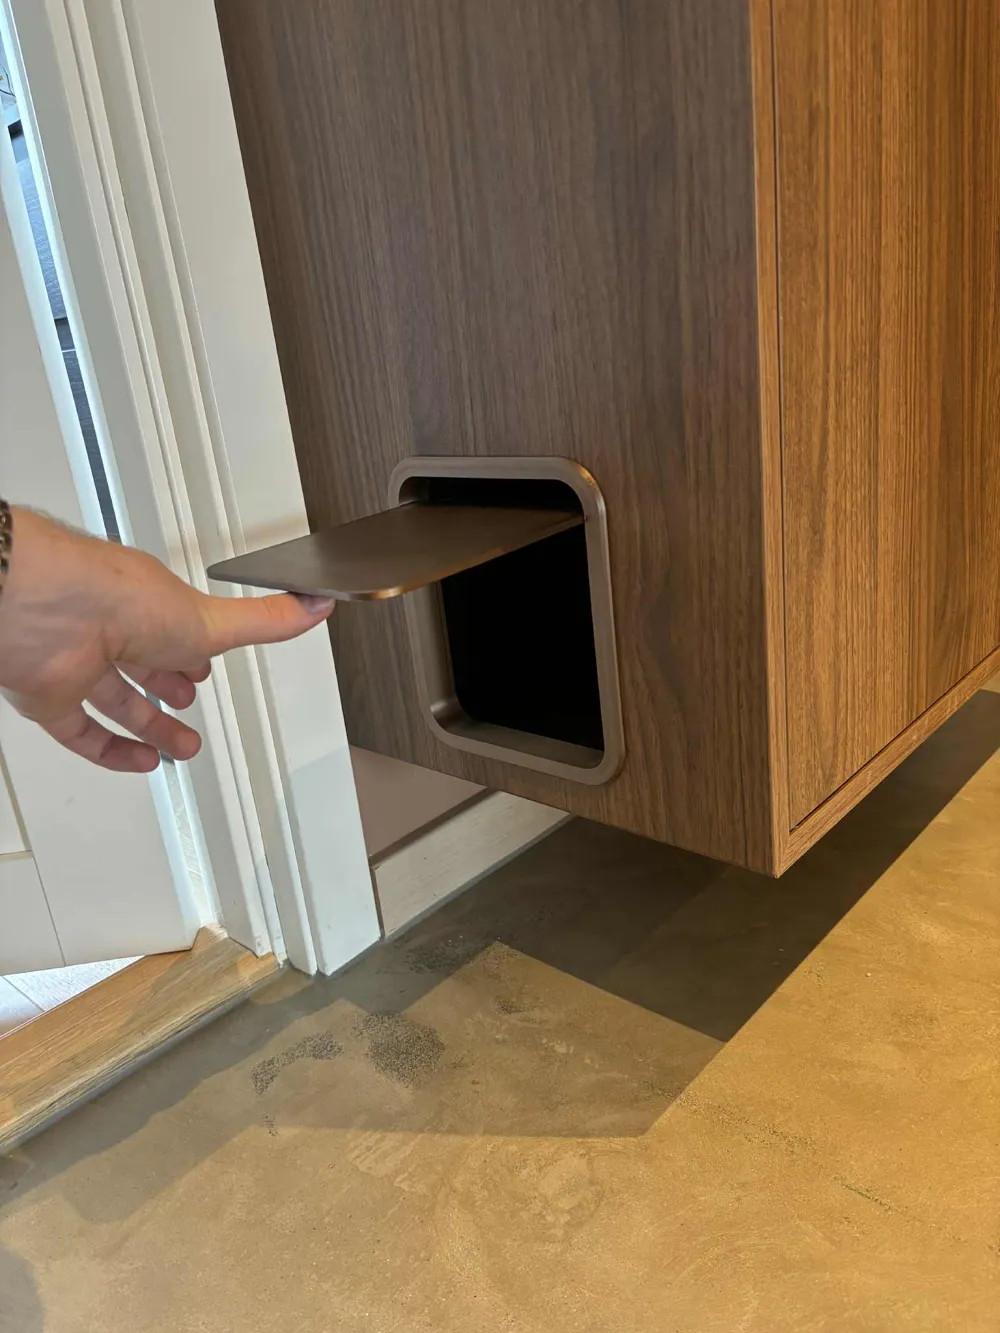
- Test that the flap swings freely – if it rubs against the frame, carefully trim away material until it moves smoothly.
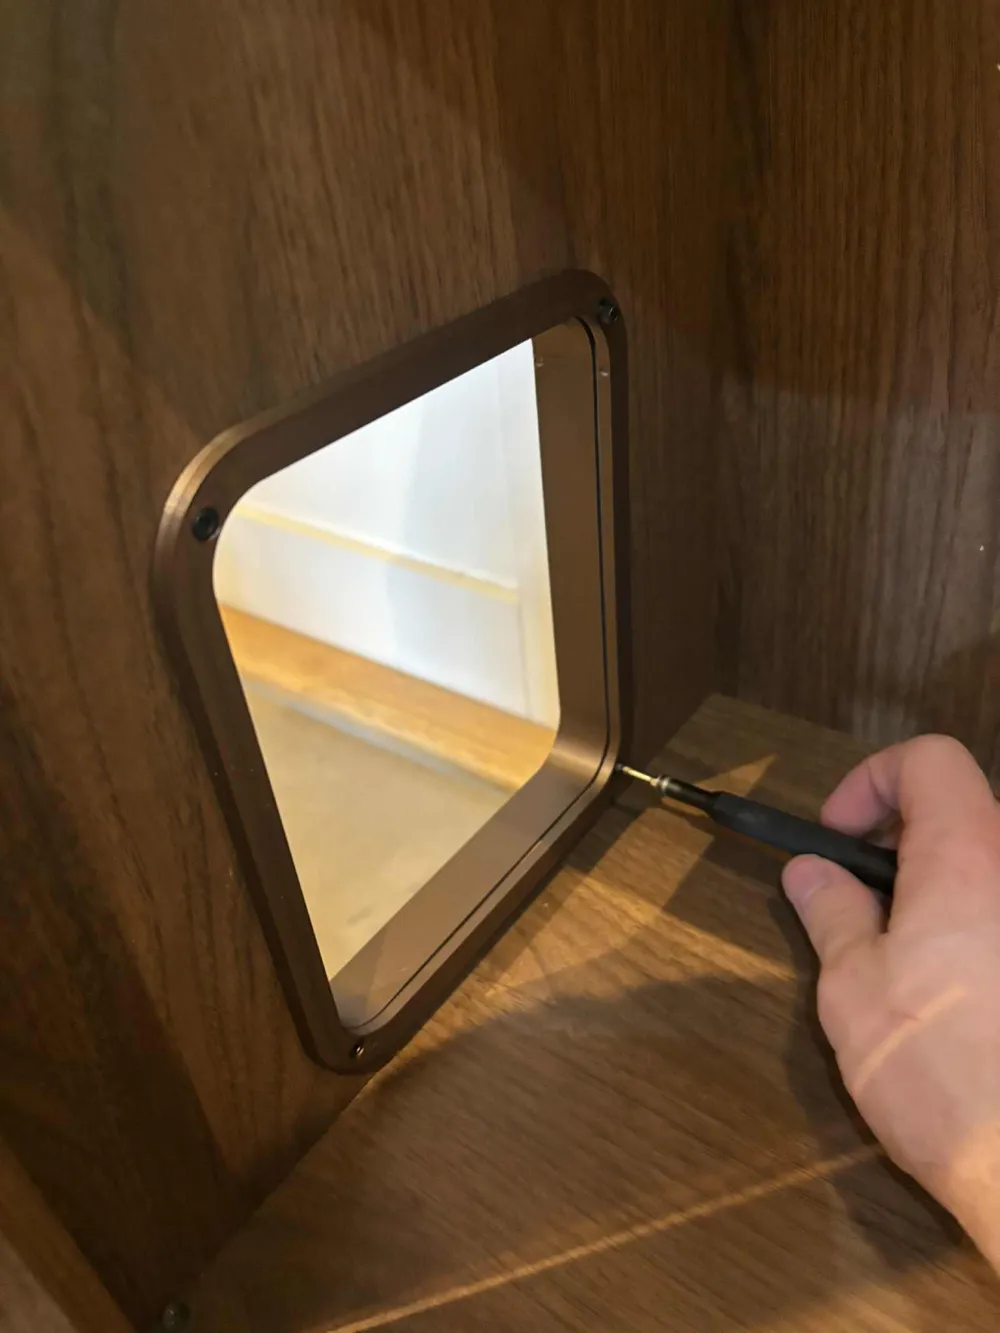
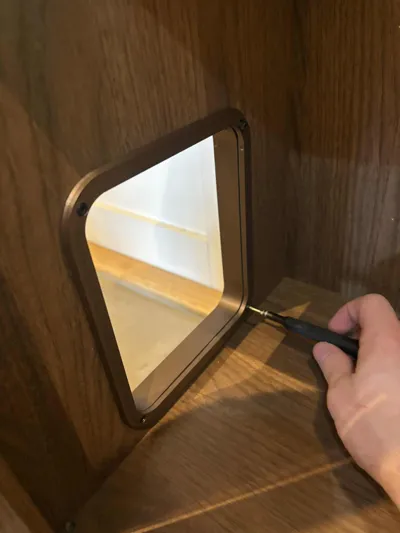
- Secure the backplate with 4 M3 screws.
See the reference images for step-by-step installation guidance.
License

You shall not share, sub-license, sell, rent, host, transfer, or distribute in any way the digital or 3D printed versions of this object, nor any other derivative work of this object in its digital or physical format (including - but not limited to - remixes of this object, and hosting on other digital platforms). The objects may not be used without permission in any way whatsoever in which you charge money, or collect fees.


Comment & Rating (3)