
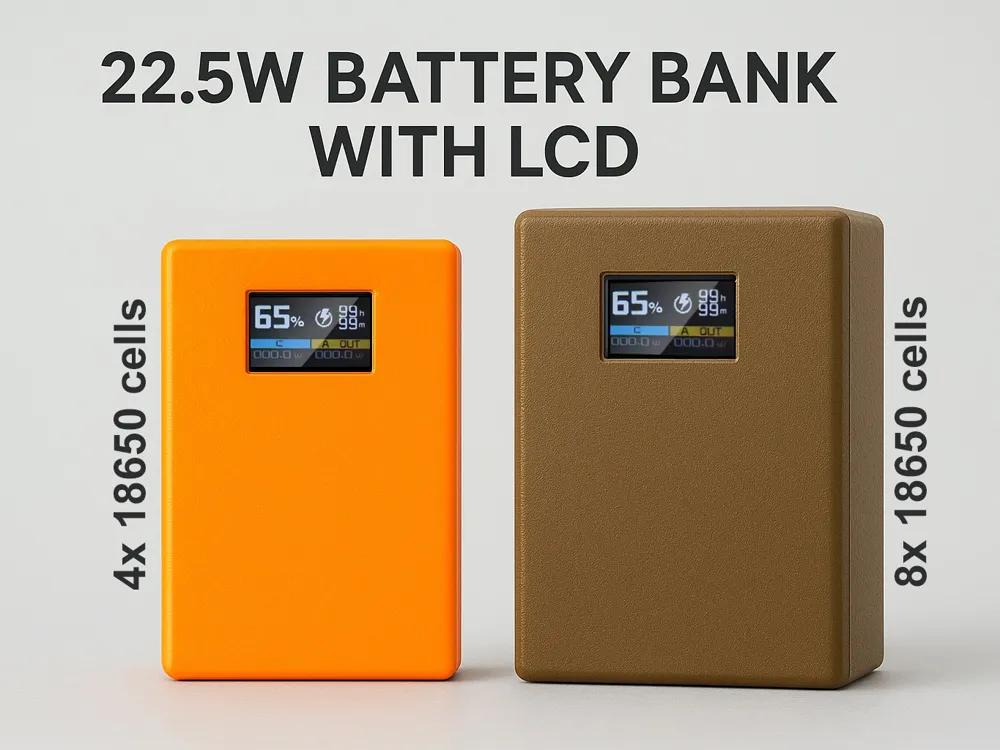
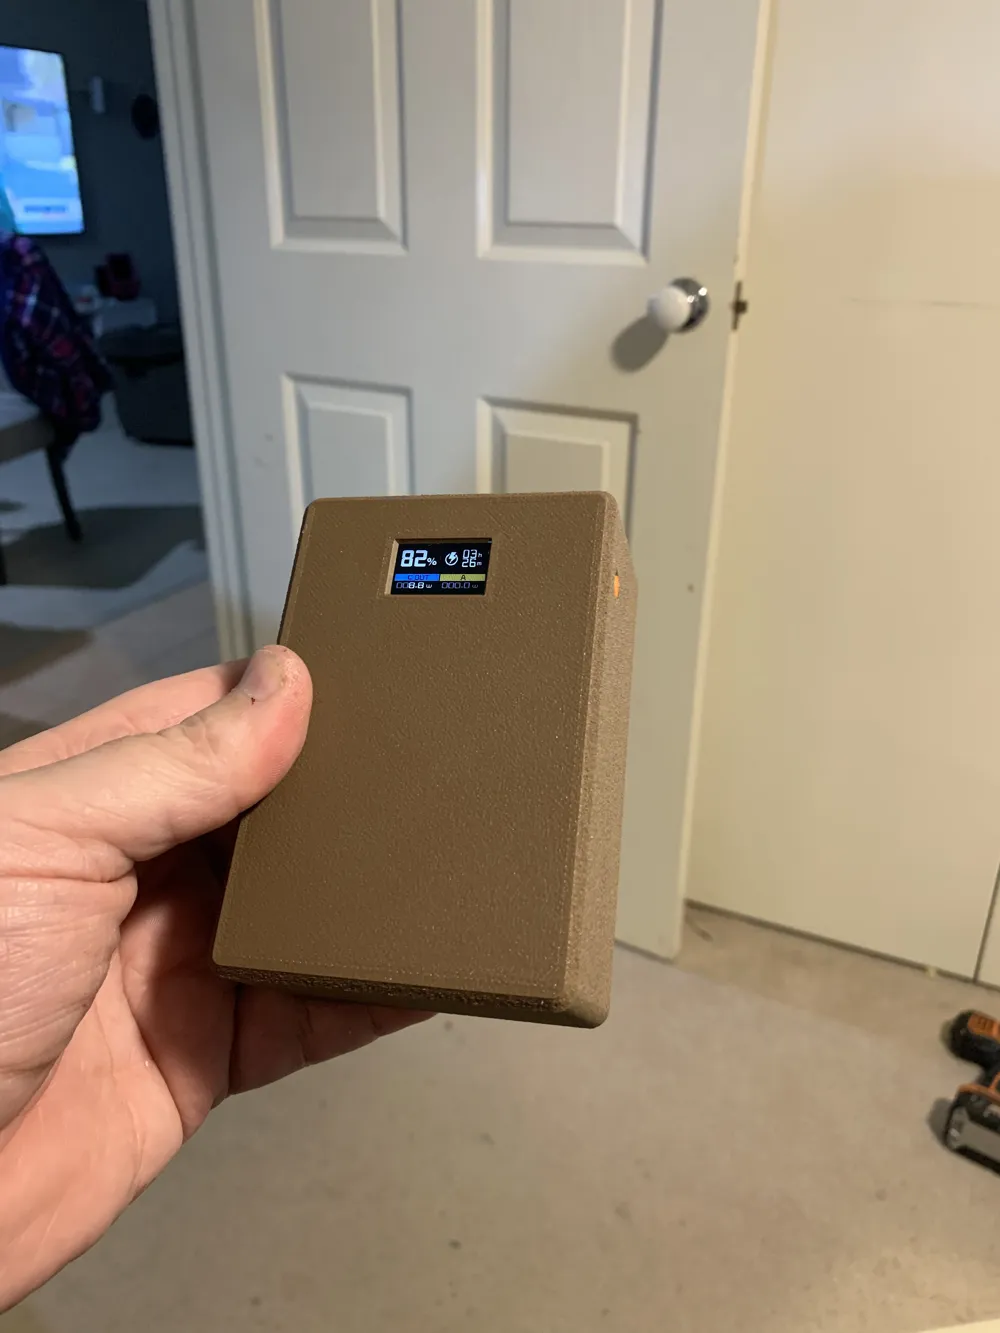
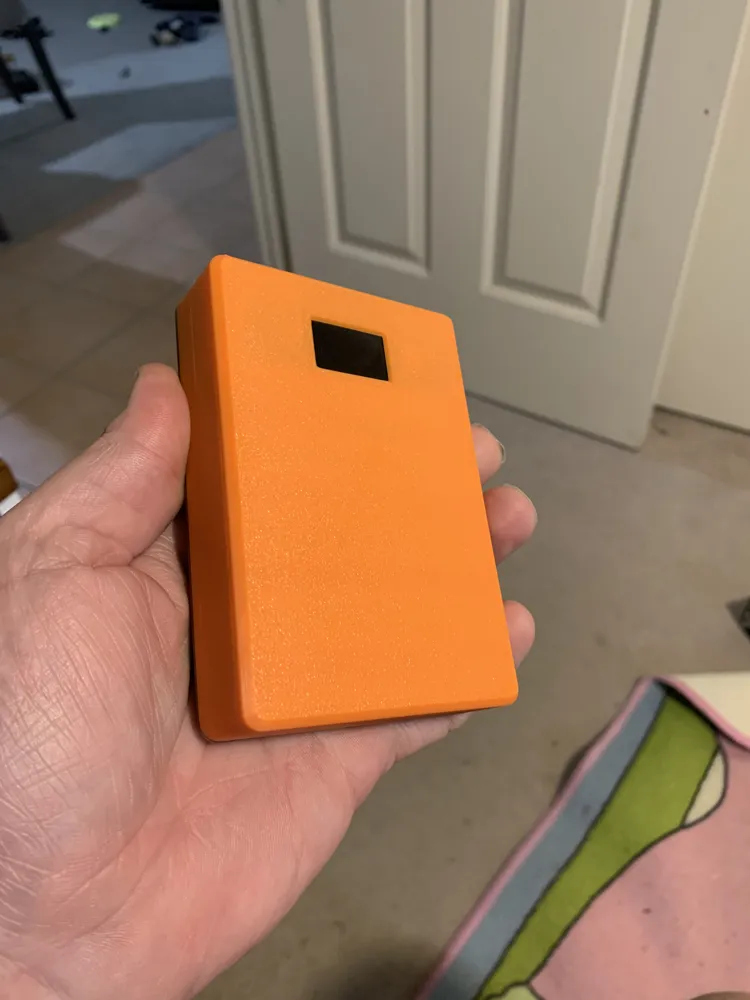
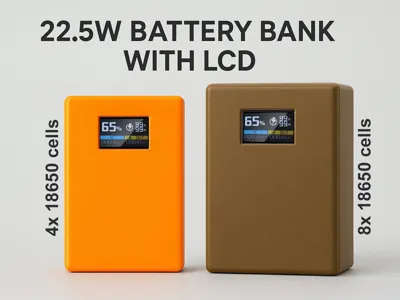
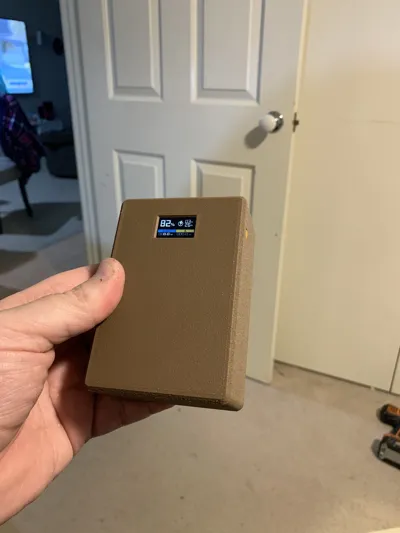
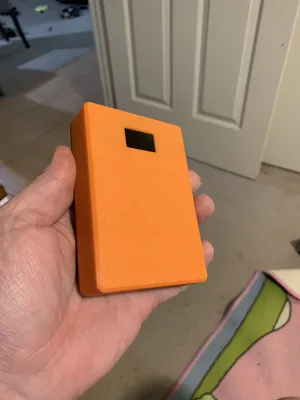
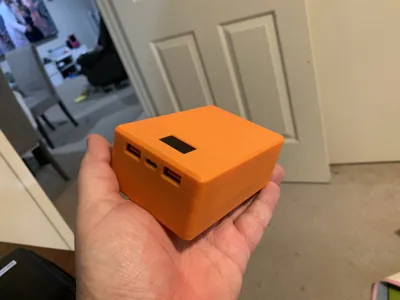
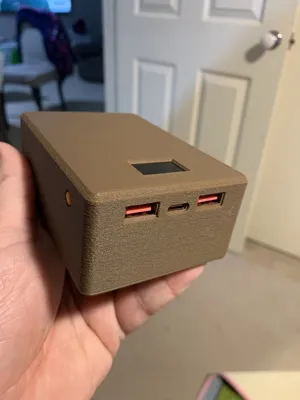
Battery Bank - 22.5w 18650 cells
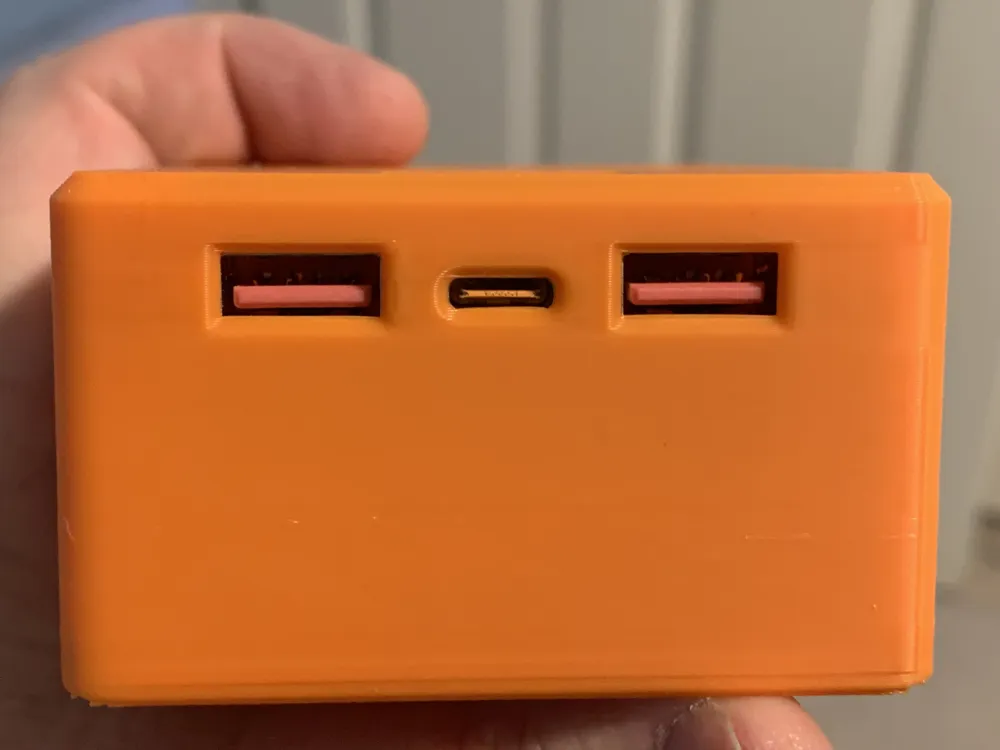
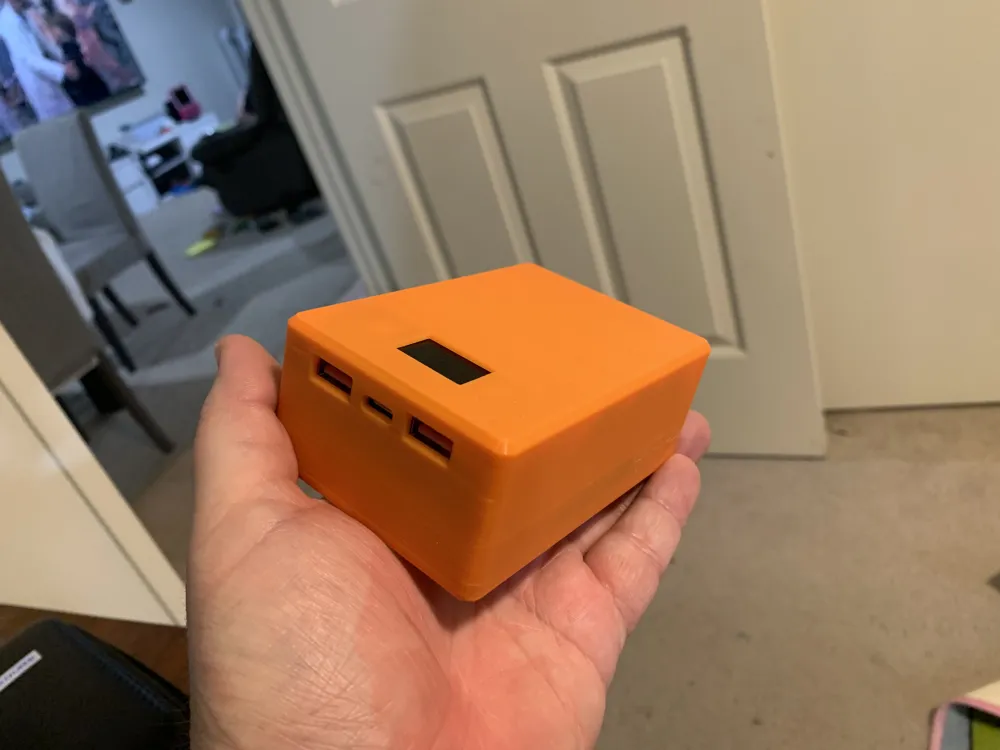
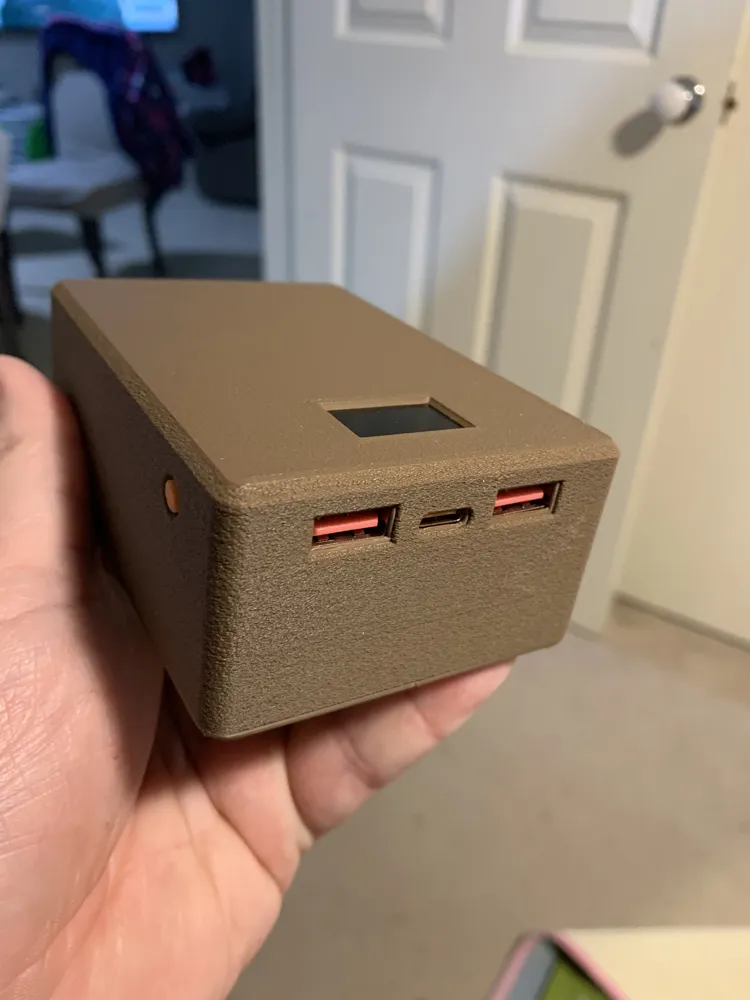
Print Profile(2)


Description
Boost Me (for free)
Please boost me if you like my designs and would like to see more.
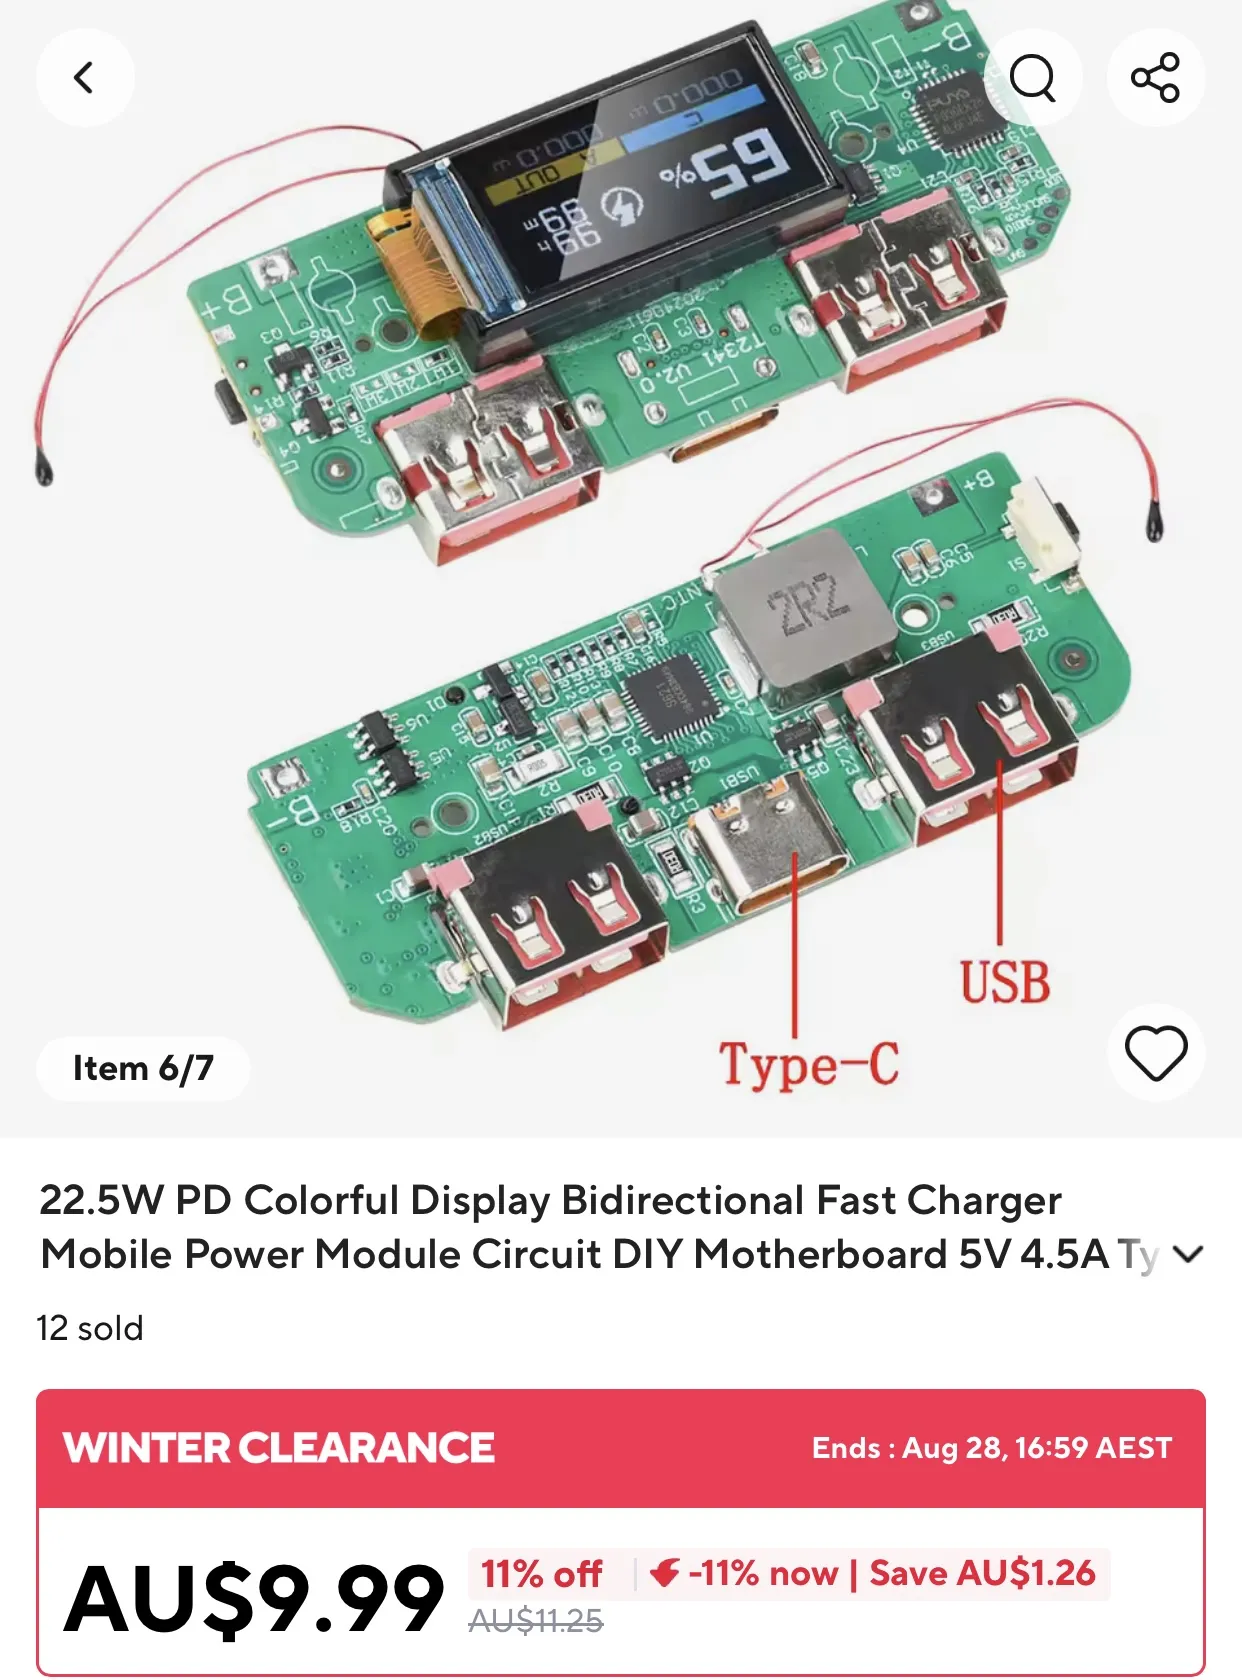
Parts required
- 3D Printed parts
- 6x M2-4mm Brass heated inserts
- 6x M2x4mm screws
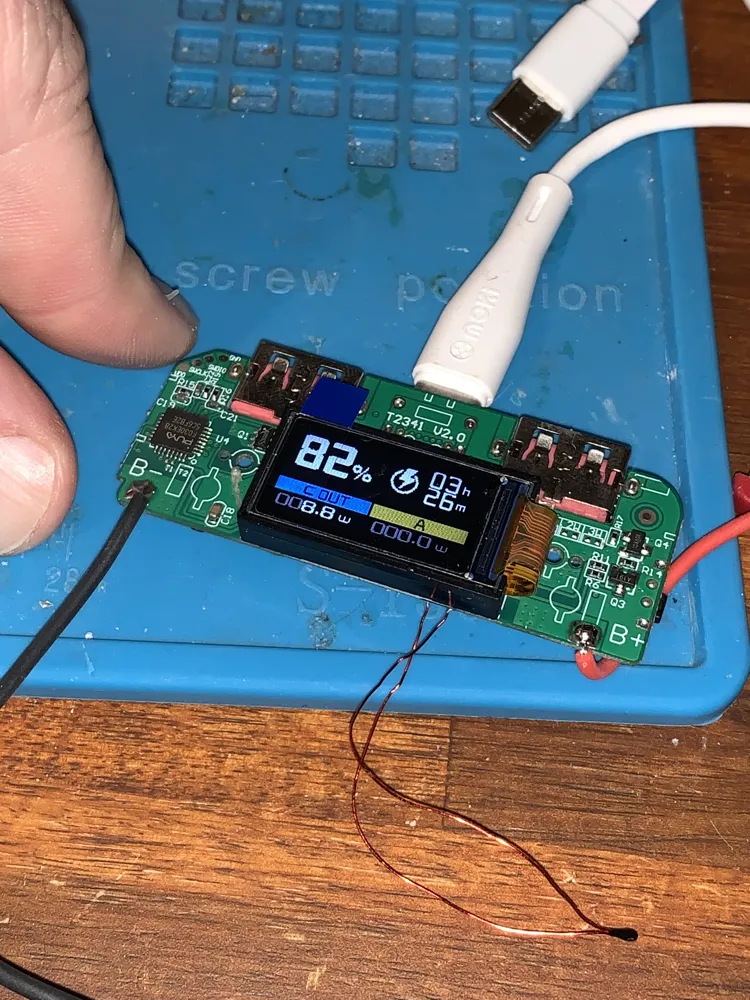
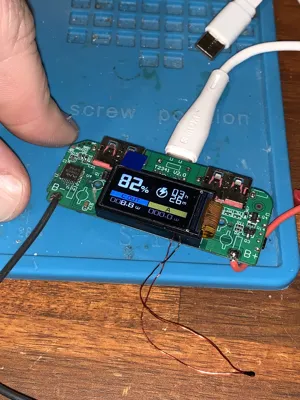
- 1x 22.5w charging module from Aliexpress LINK
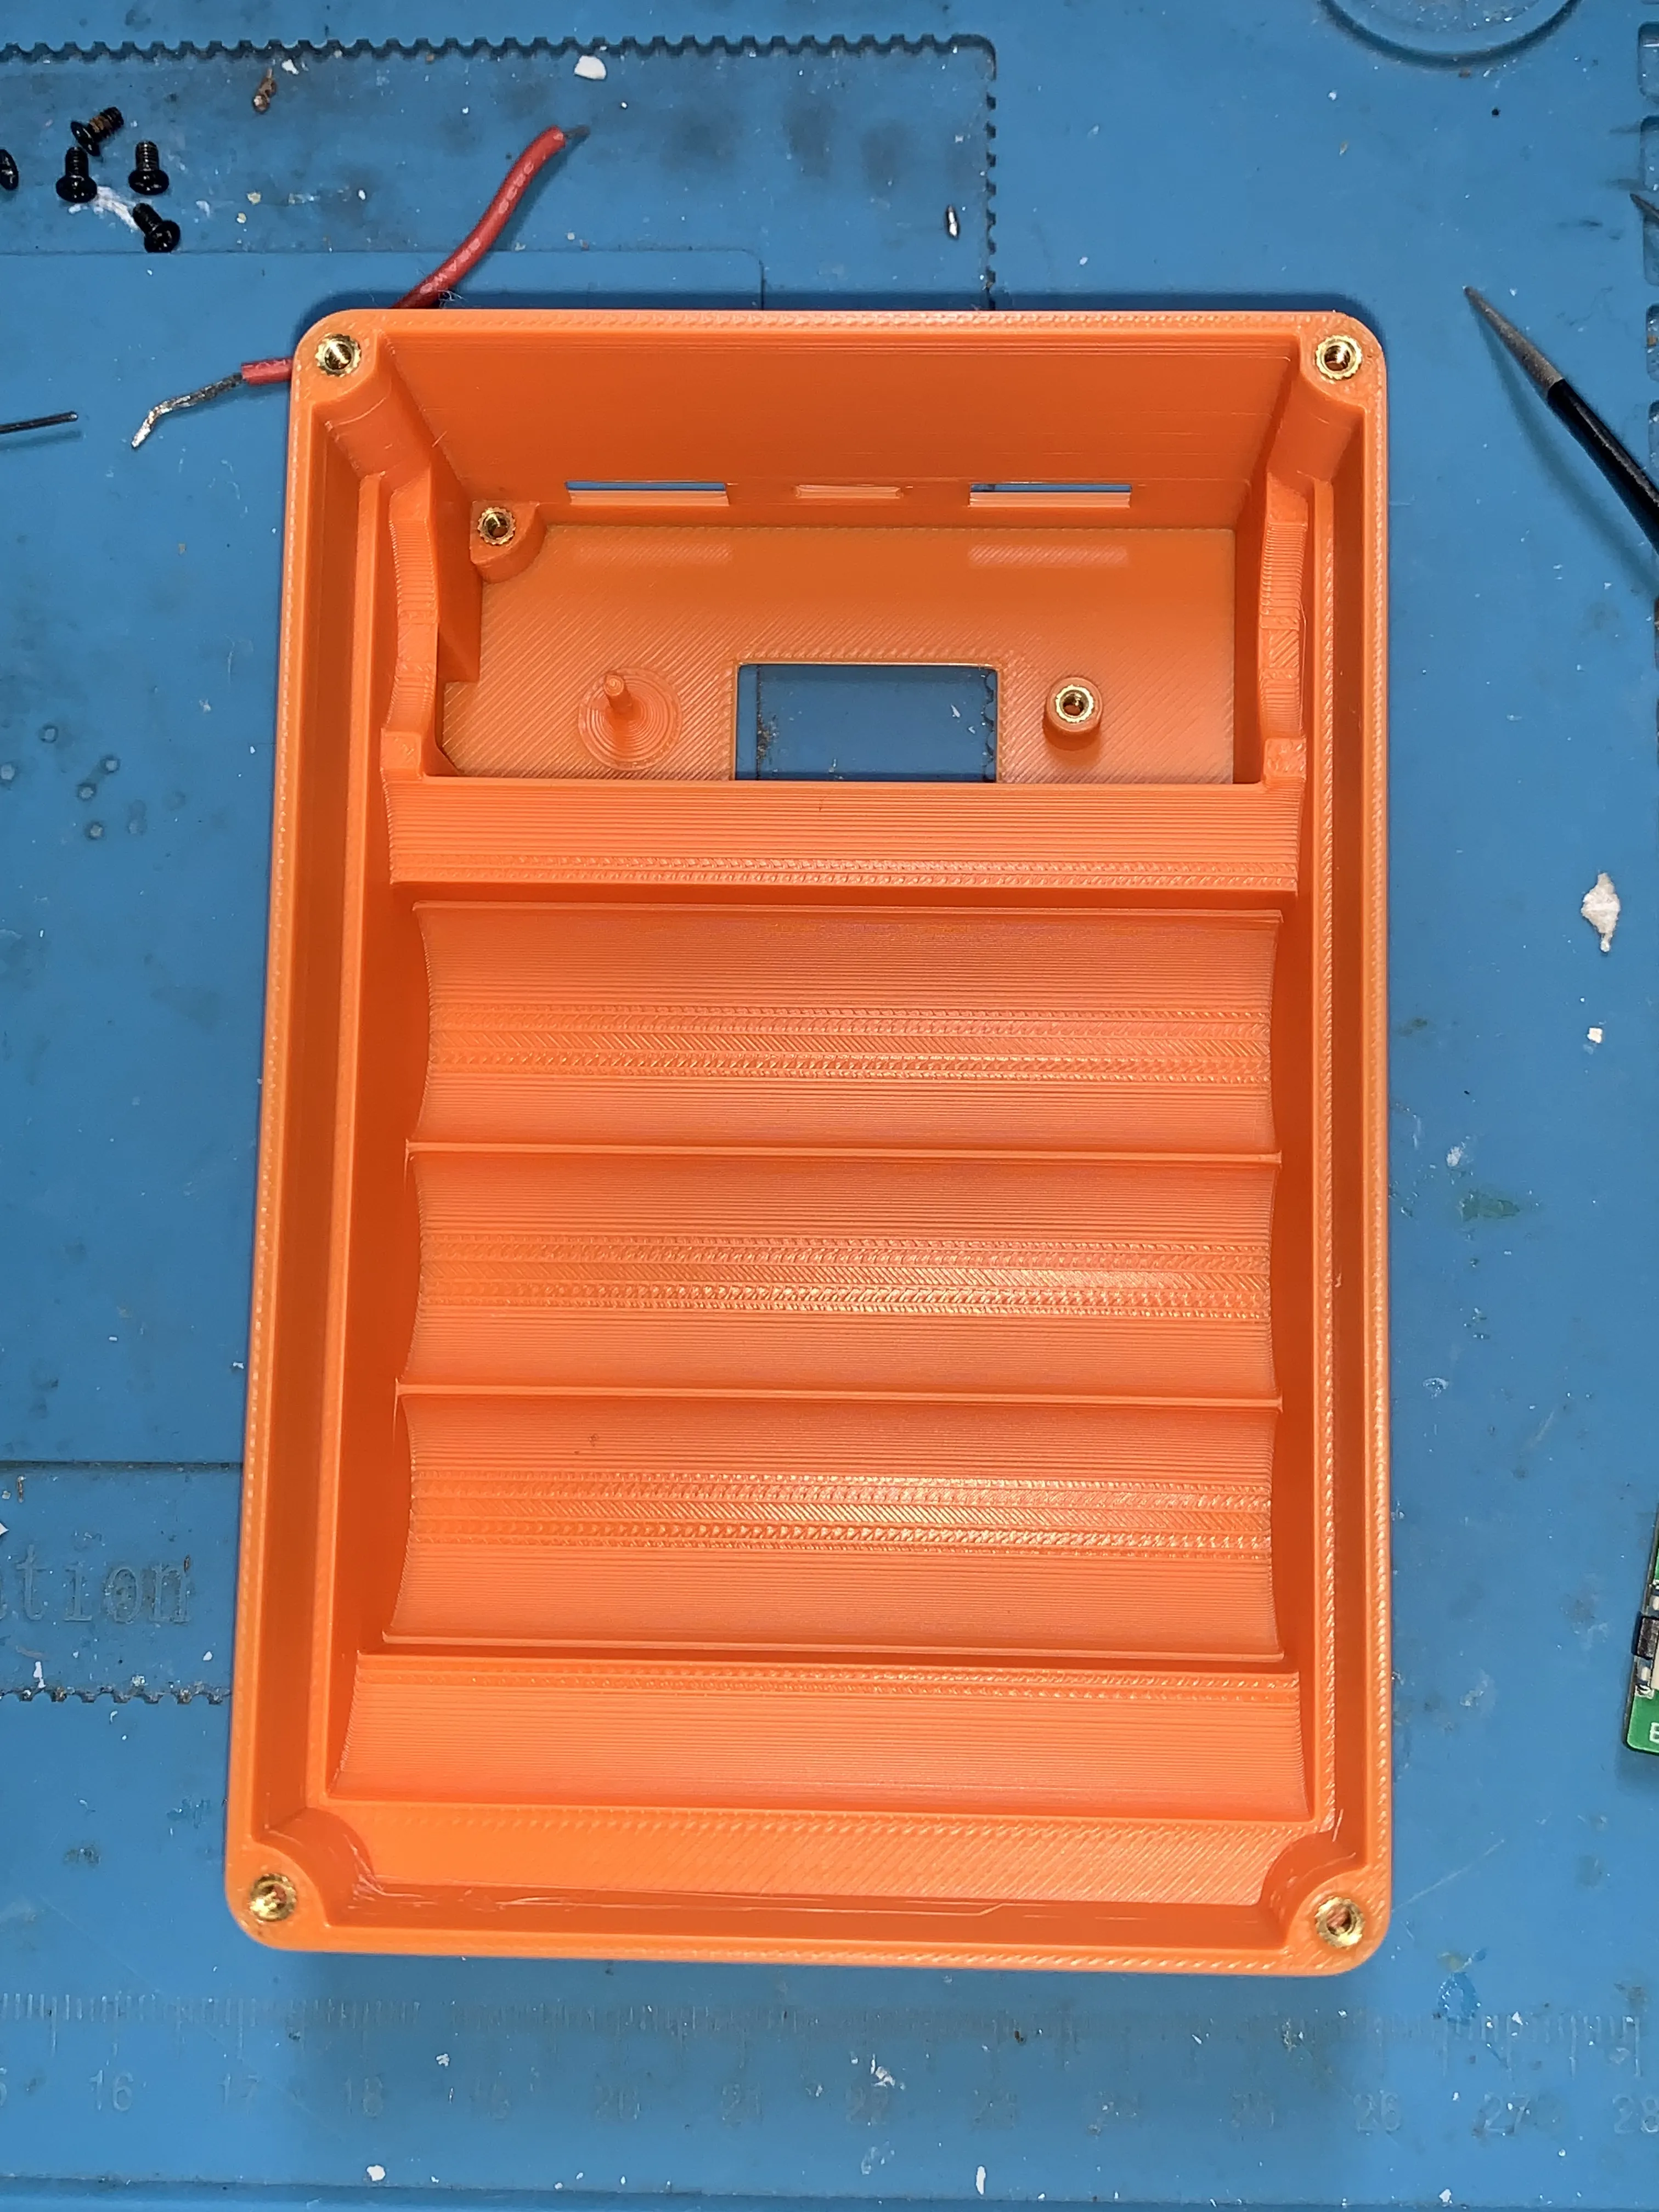
Assembly Instructions
- Print the Base, Lid, Menu Button and LCD washer
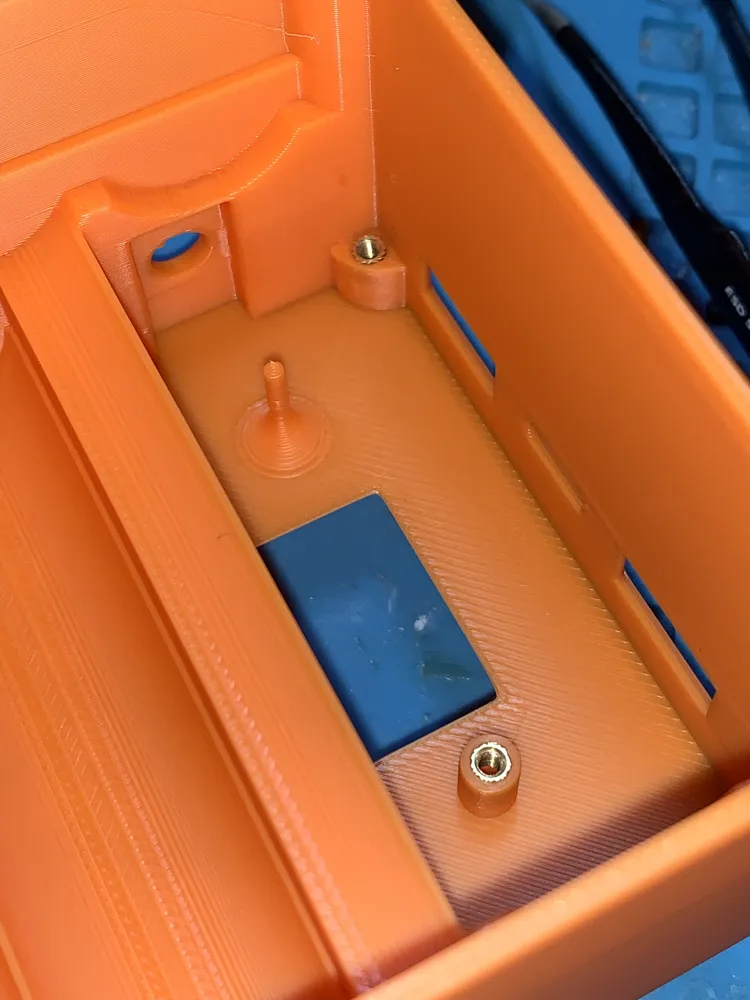
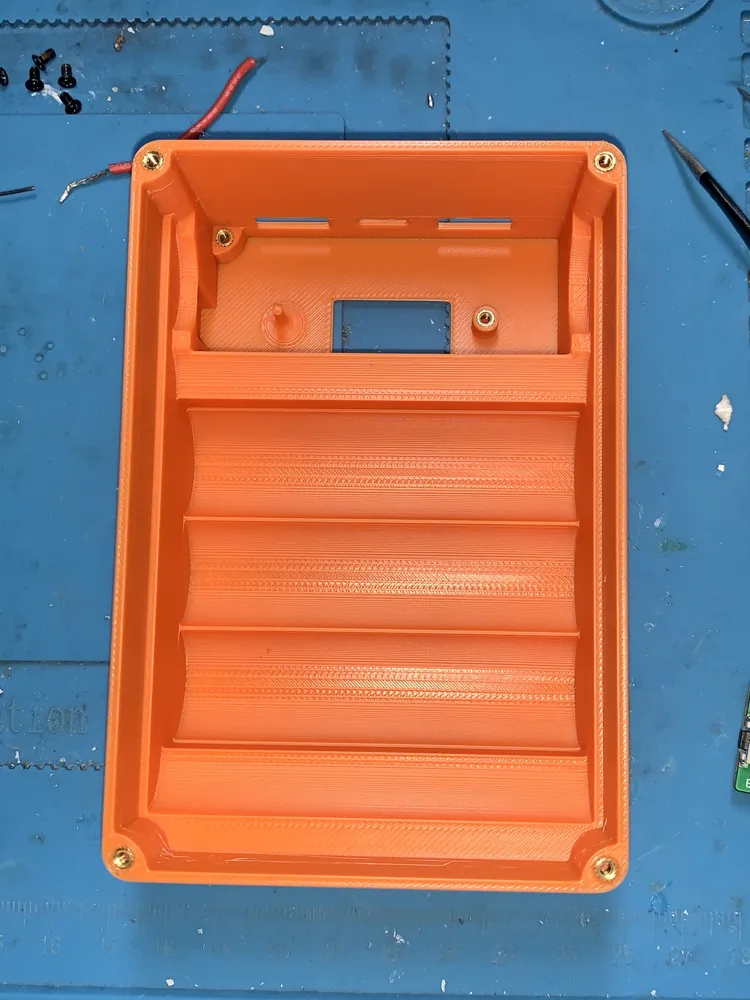
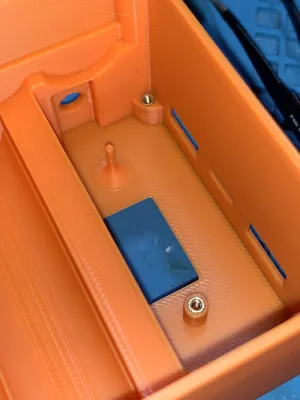
Insert the 6 brass inserts using a soldering iron
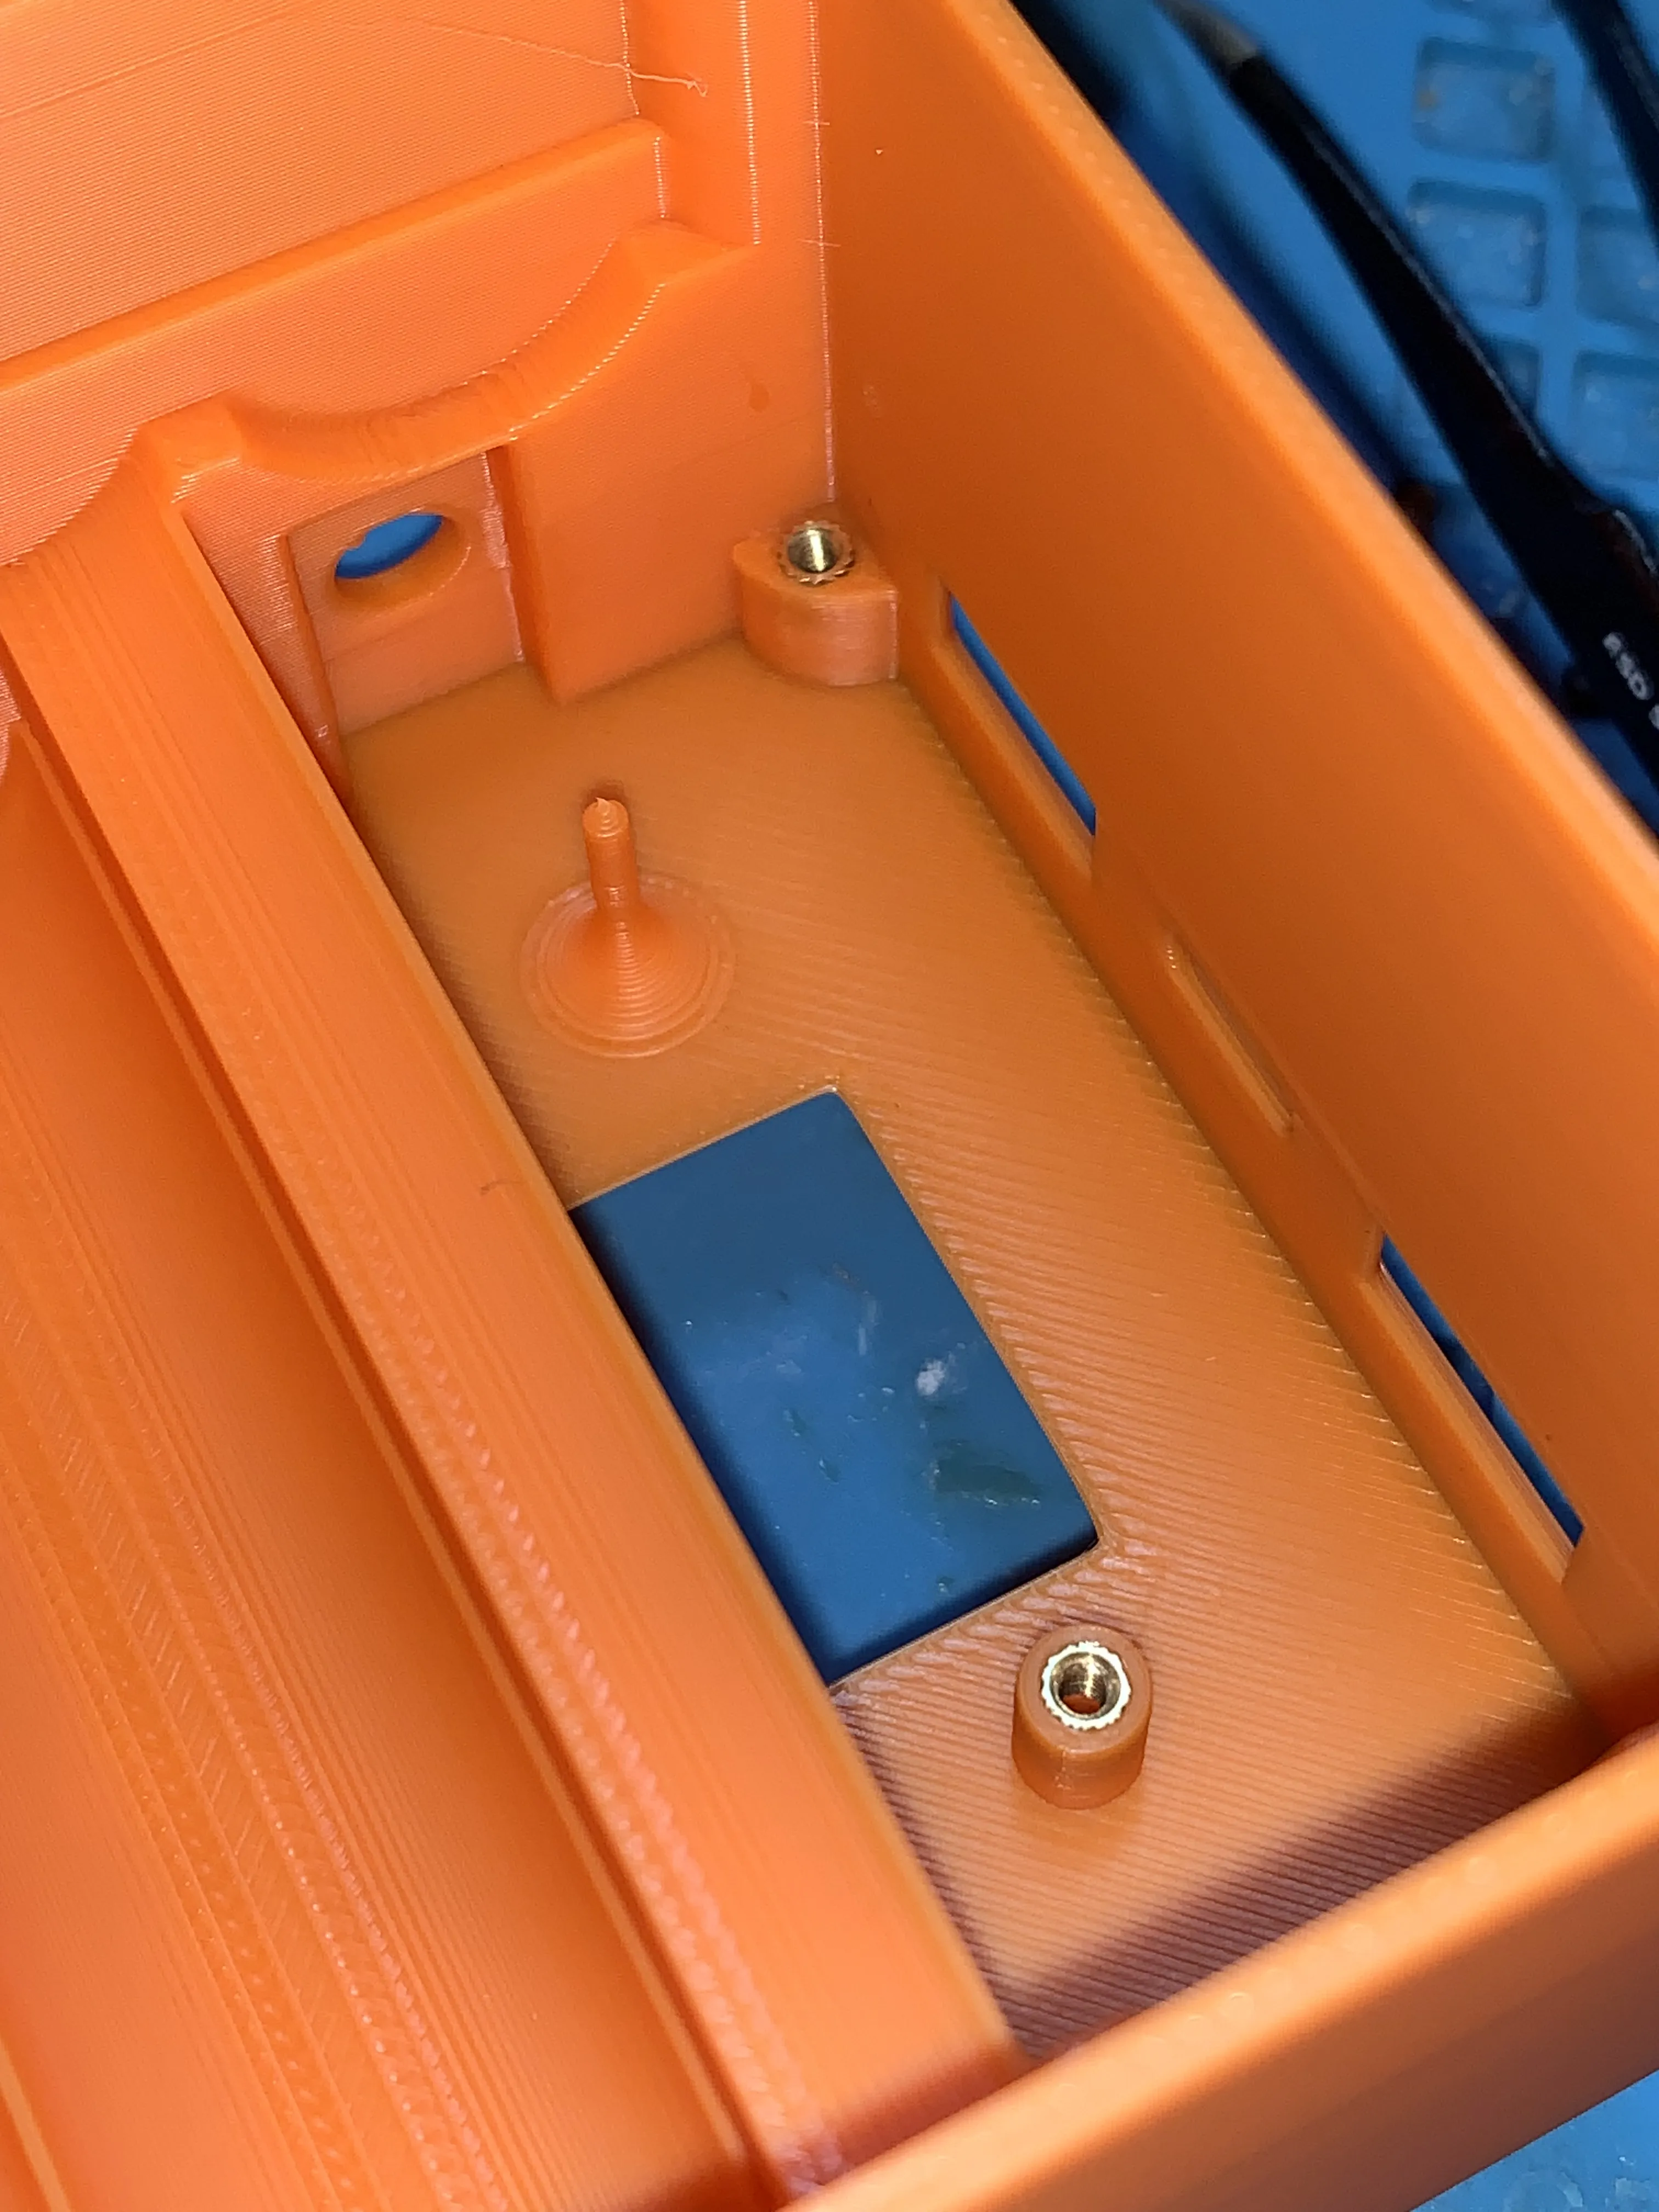
Insert Menu button
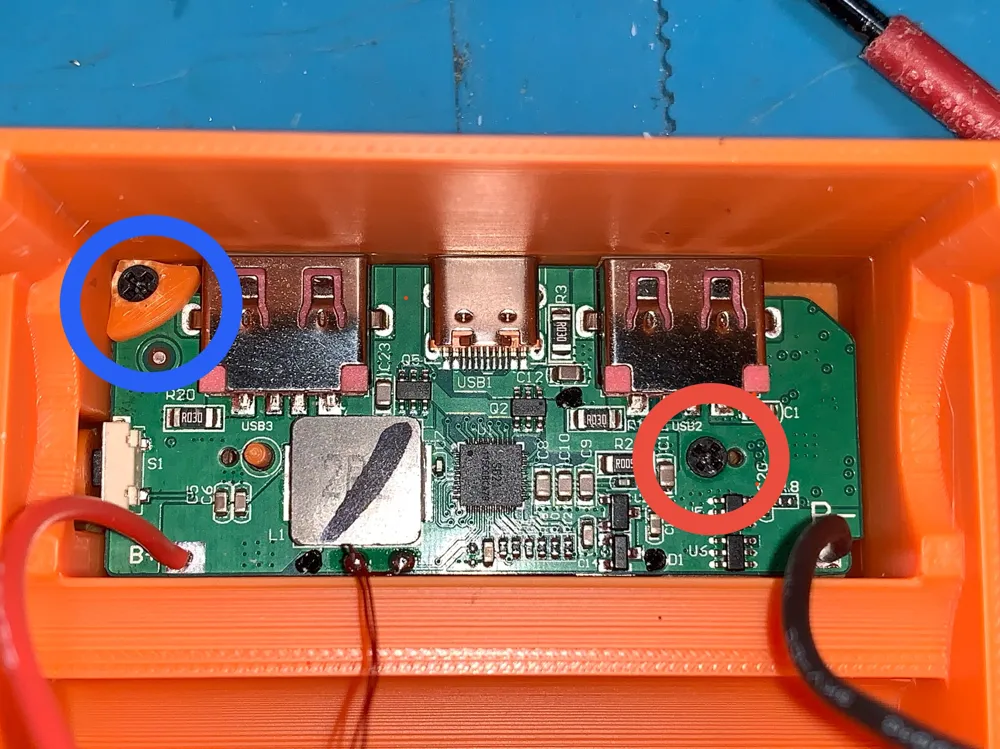
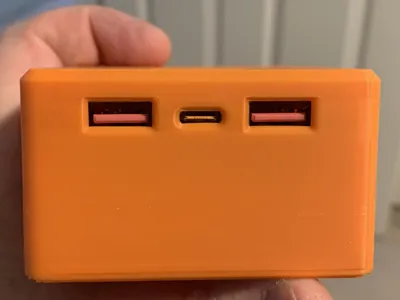
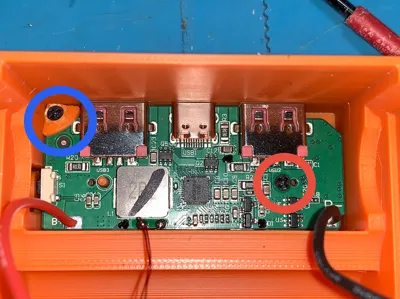
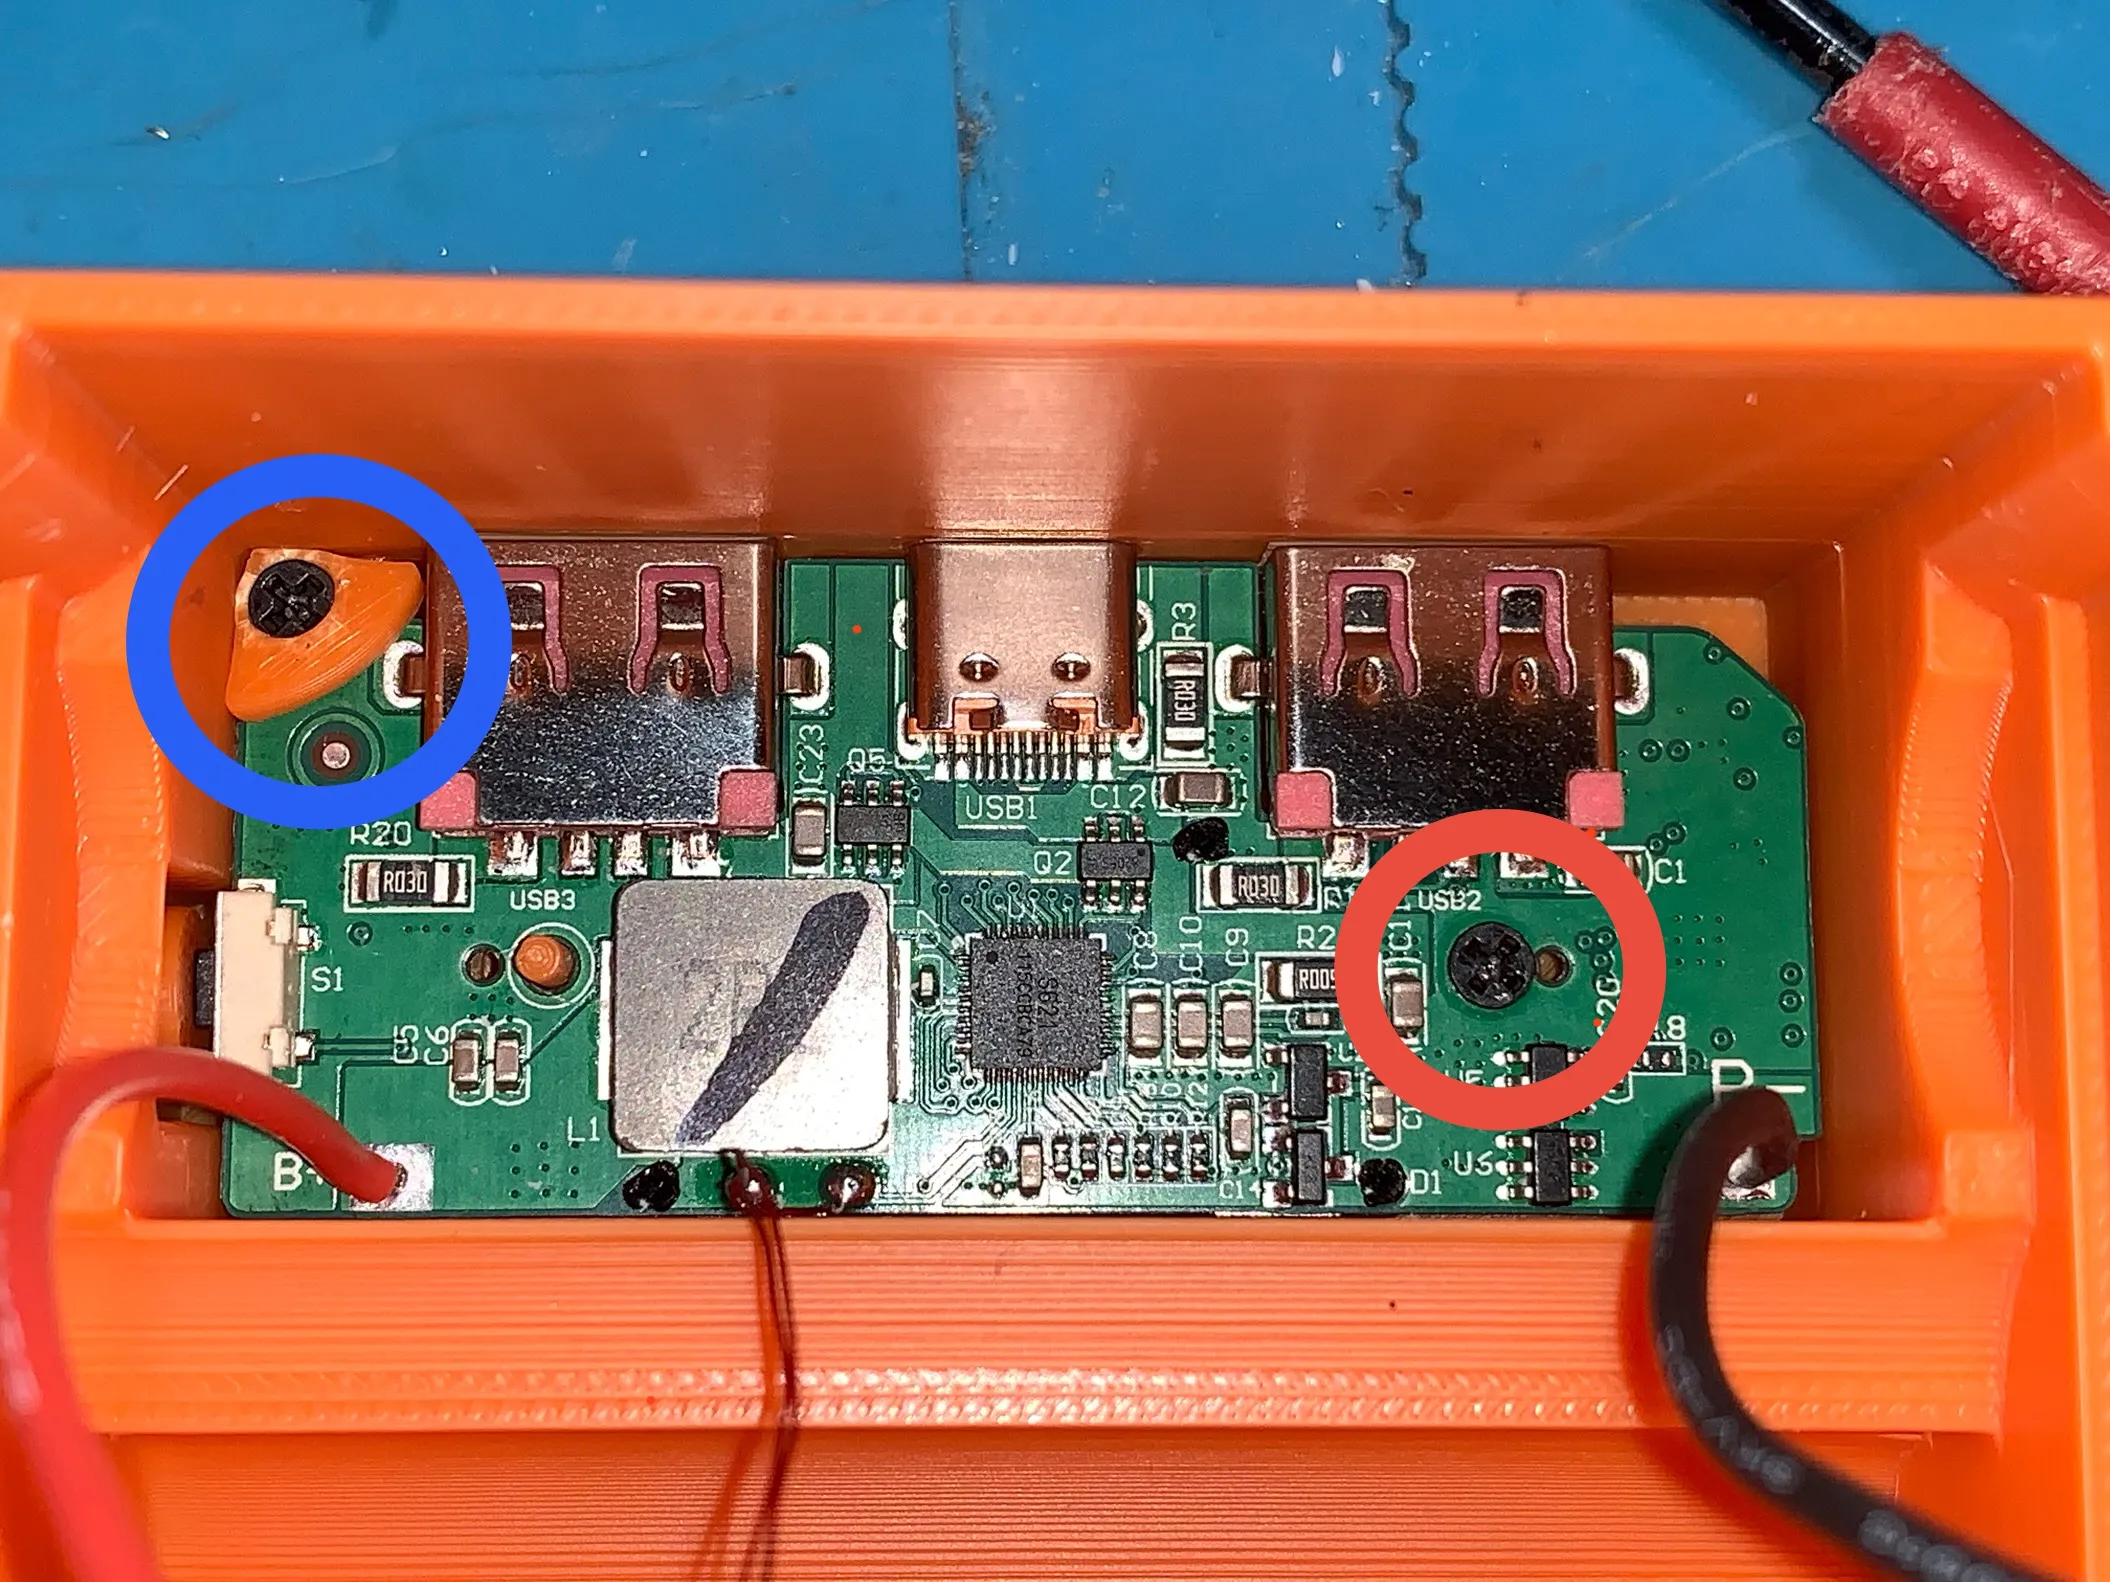
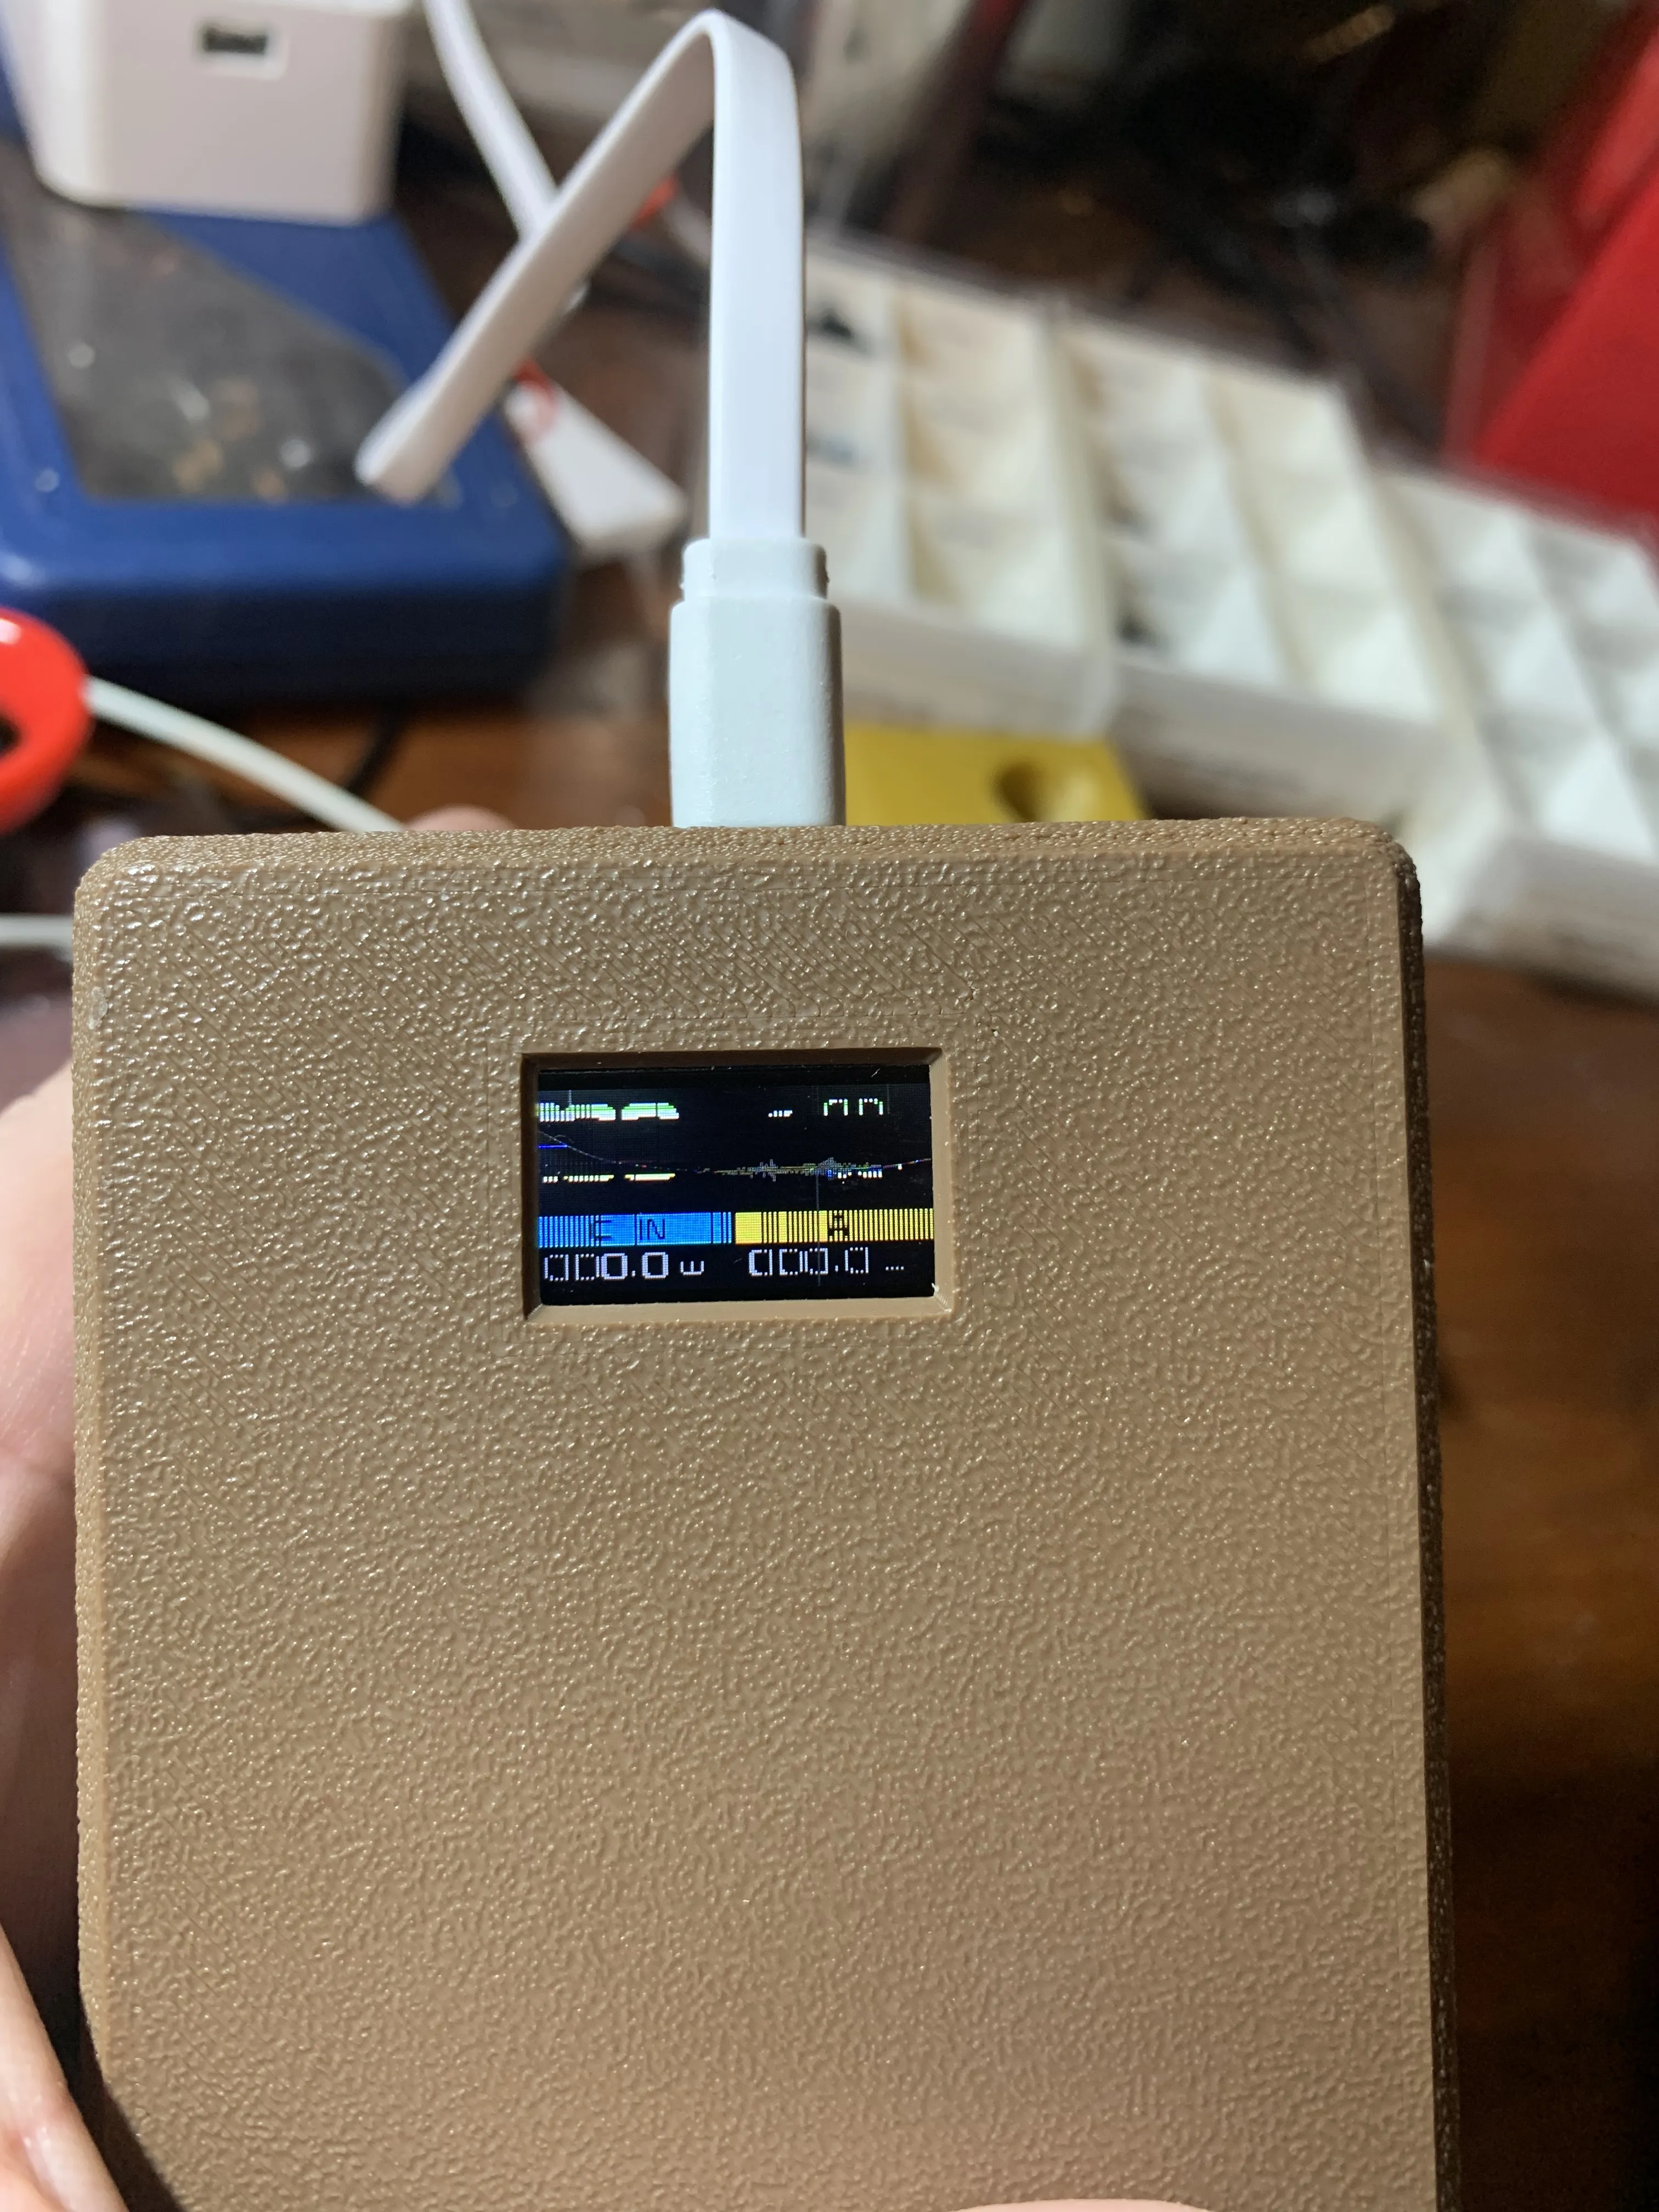
- Insert USB LCD charging module so that the button touches the 3D printed button, then CAREFULLY lay it on the 2 screw posts. The board will be aligned with the guide pin. (Screen is very delicate….ask me how I know!)
Use the two M2-4mm screws with the 3D printed triangular LCD Washer
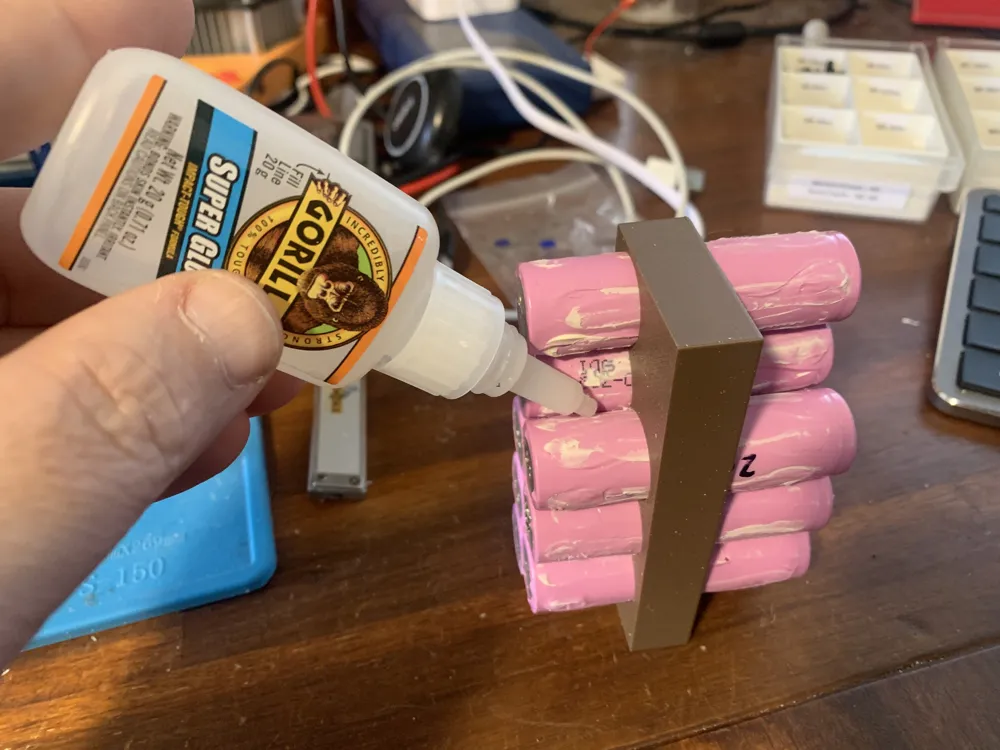
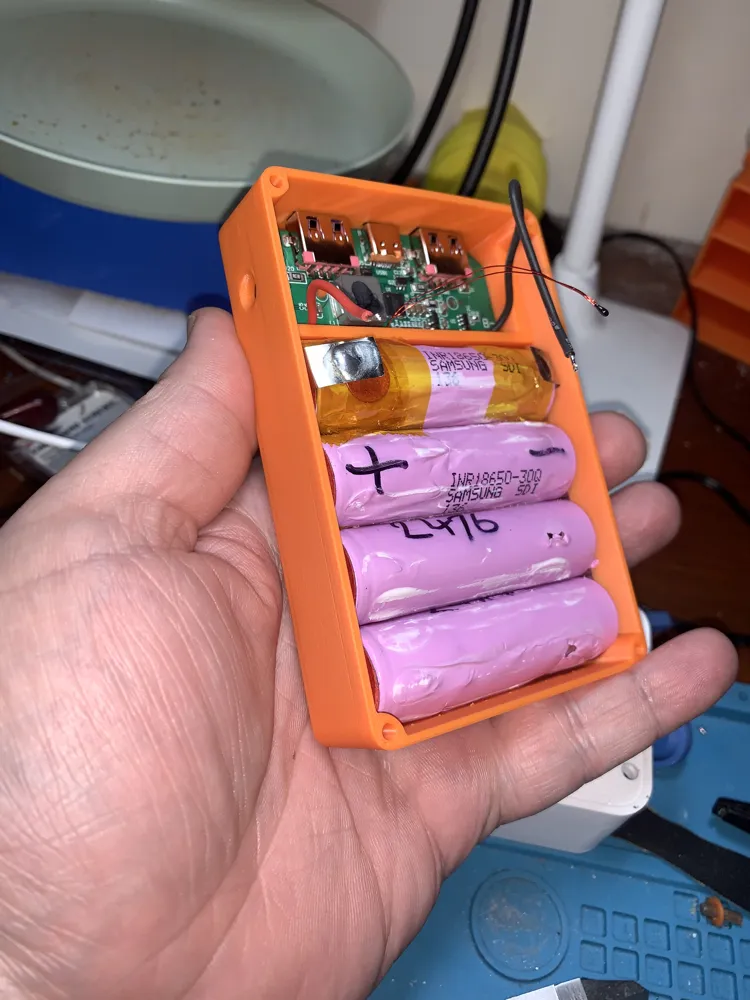
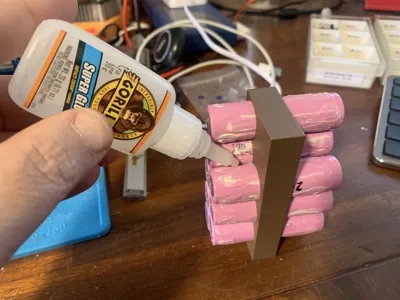
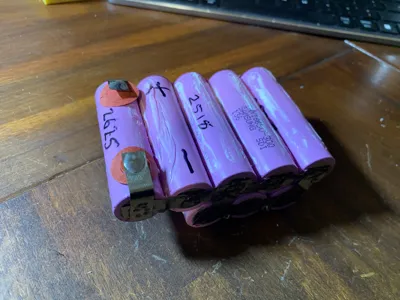
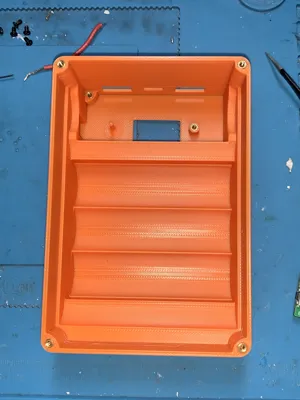
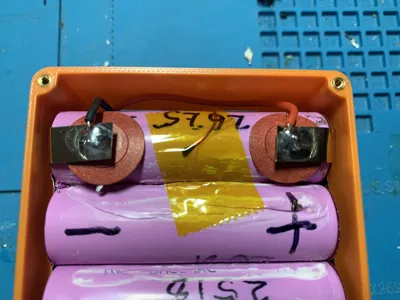
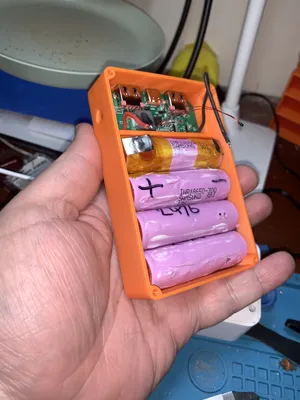
Insert 5x 18650 cells into 18650 guide all in parallel (preferably with positive to the left, I did it backwards)
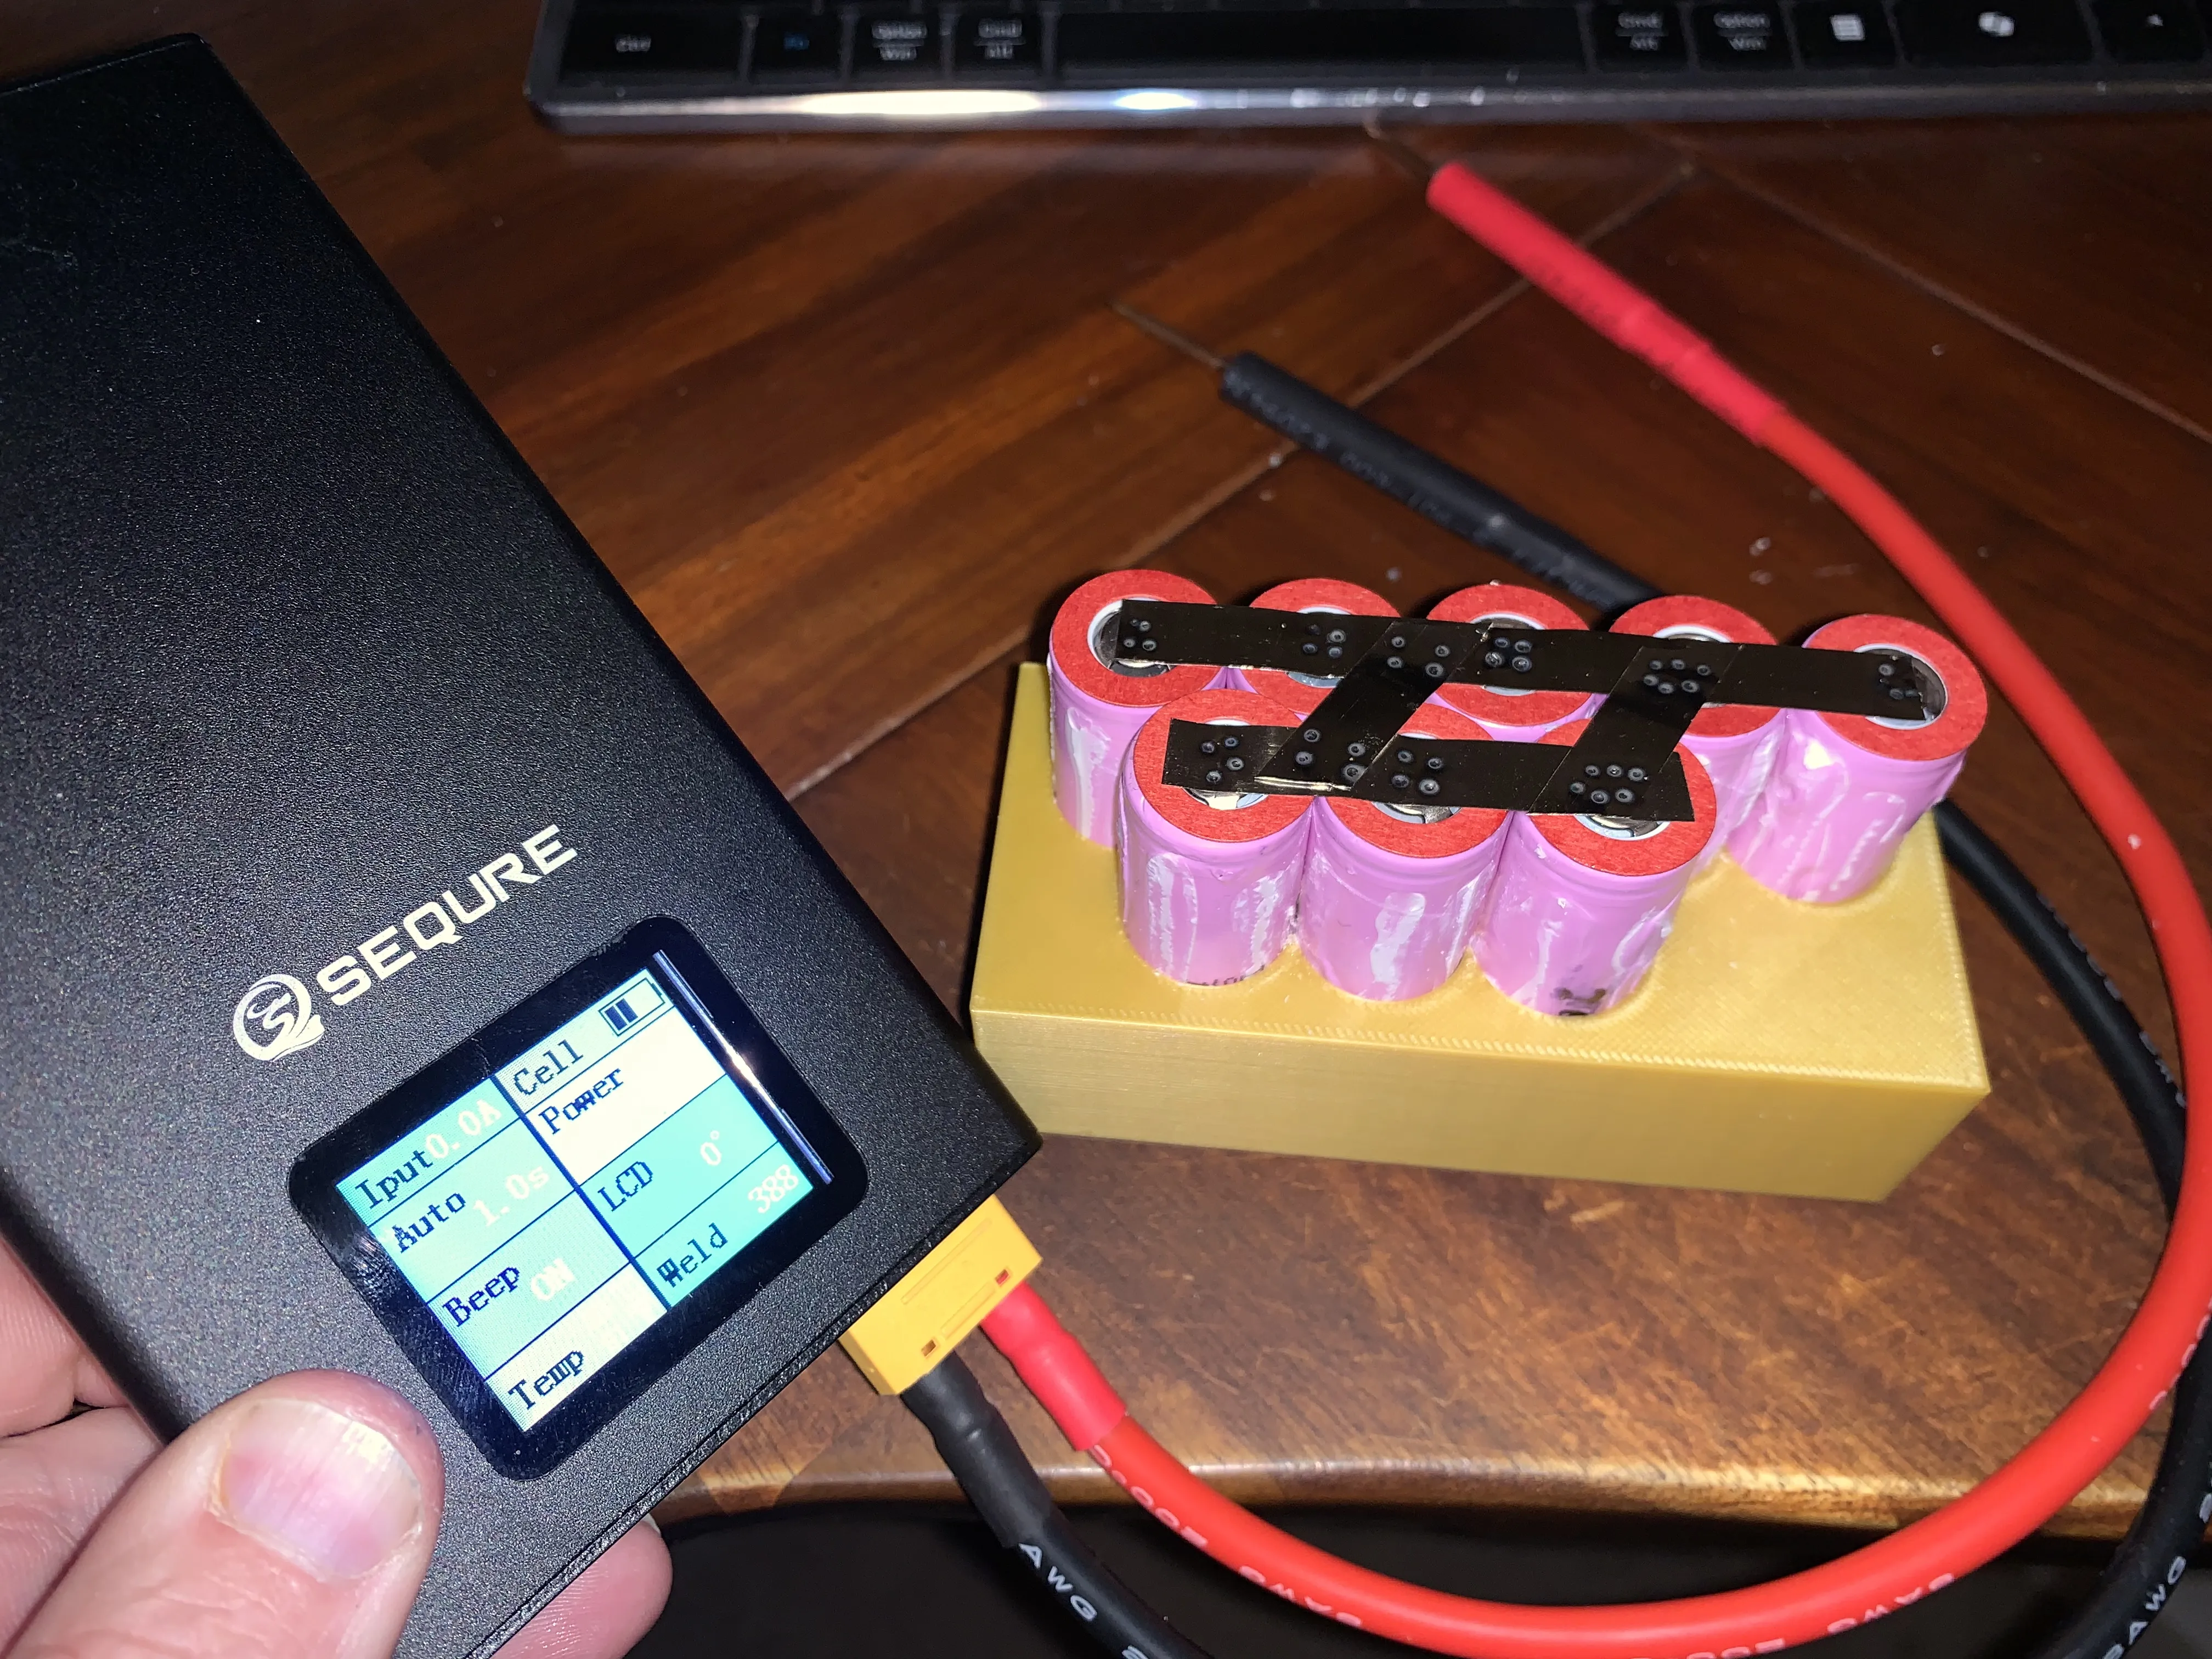
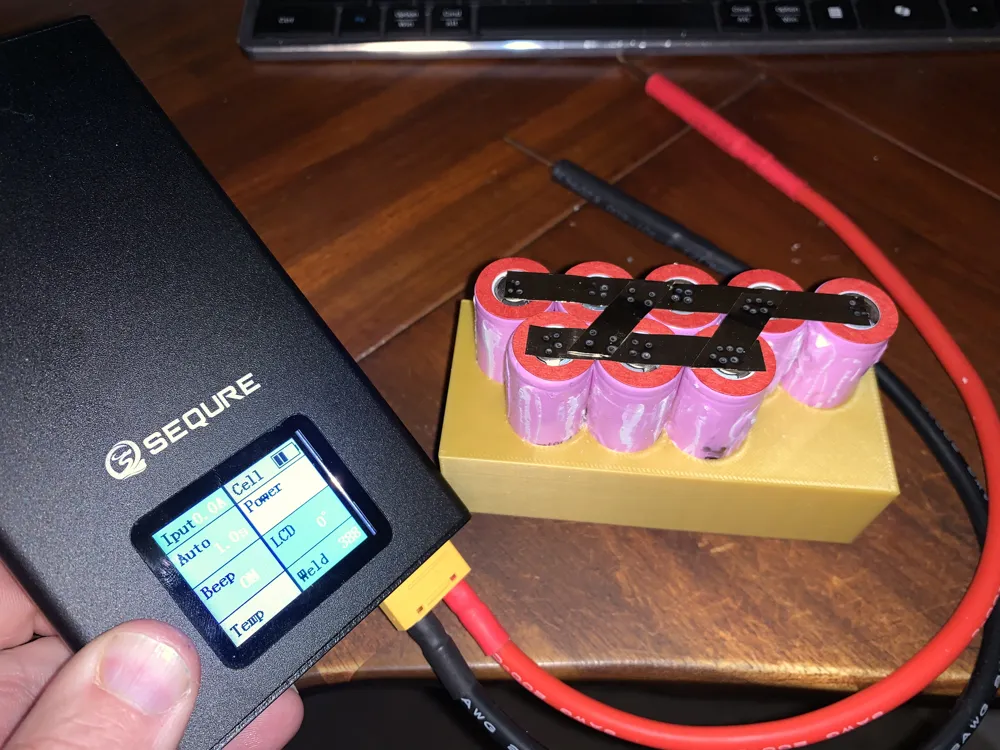
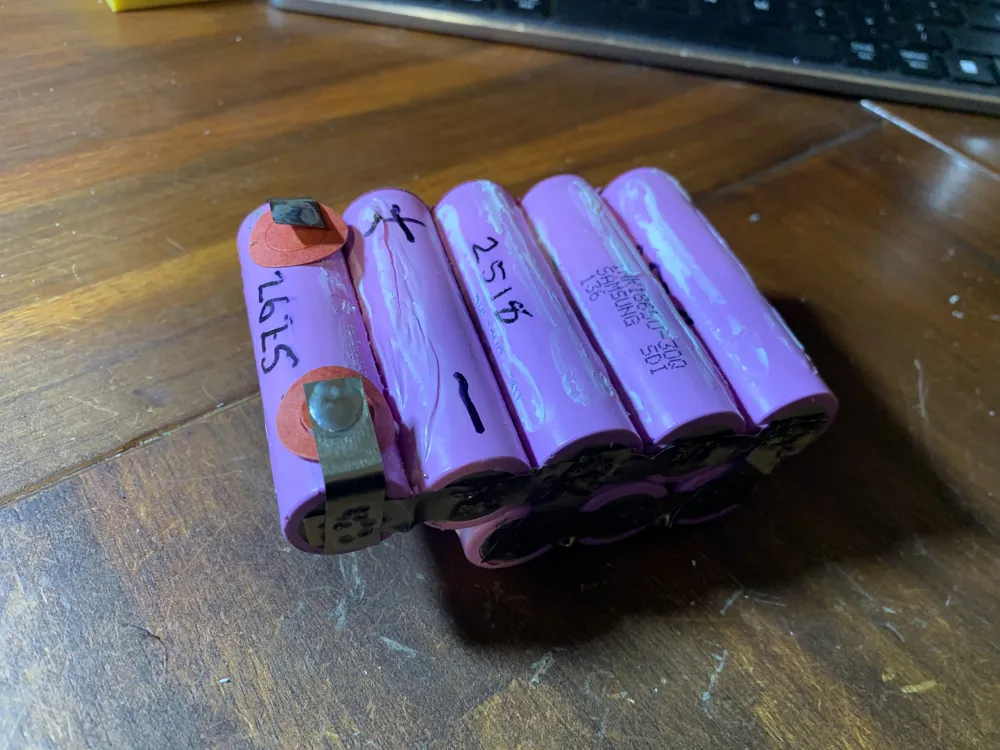
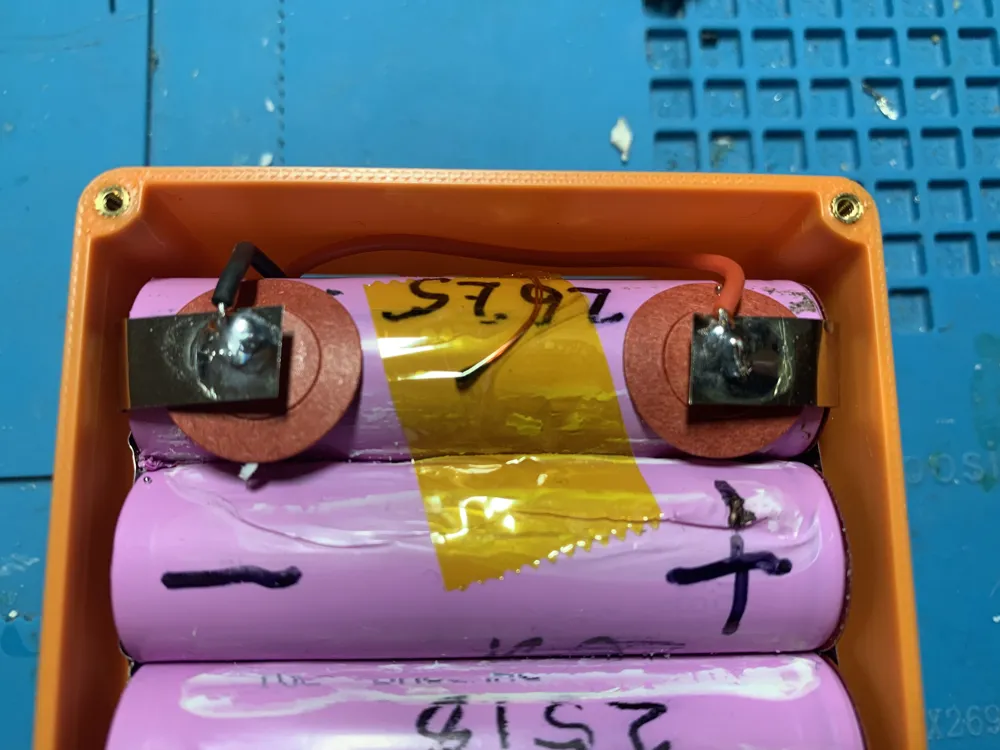
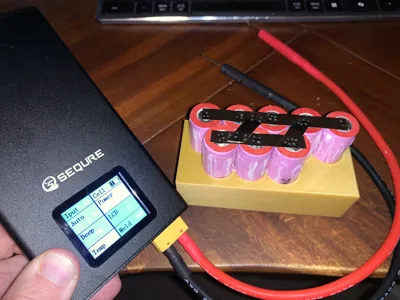
- Spot-weld nickel strips to cells to create a large 3.7v battery
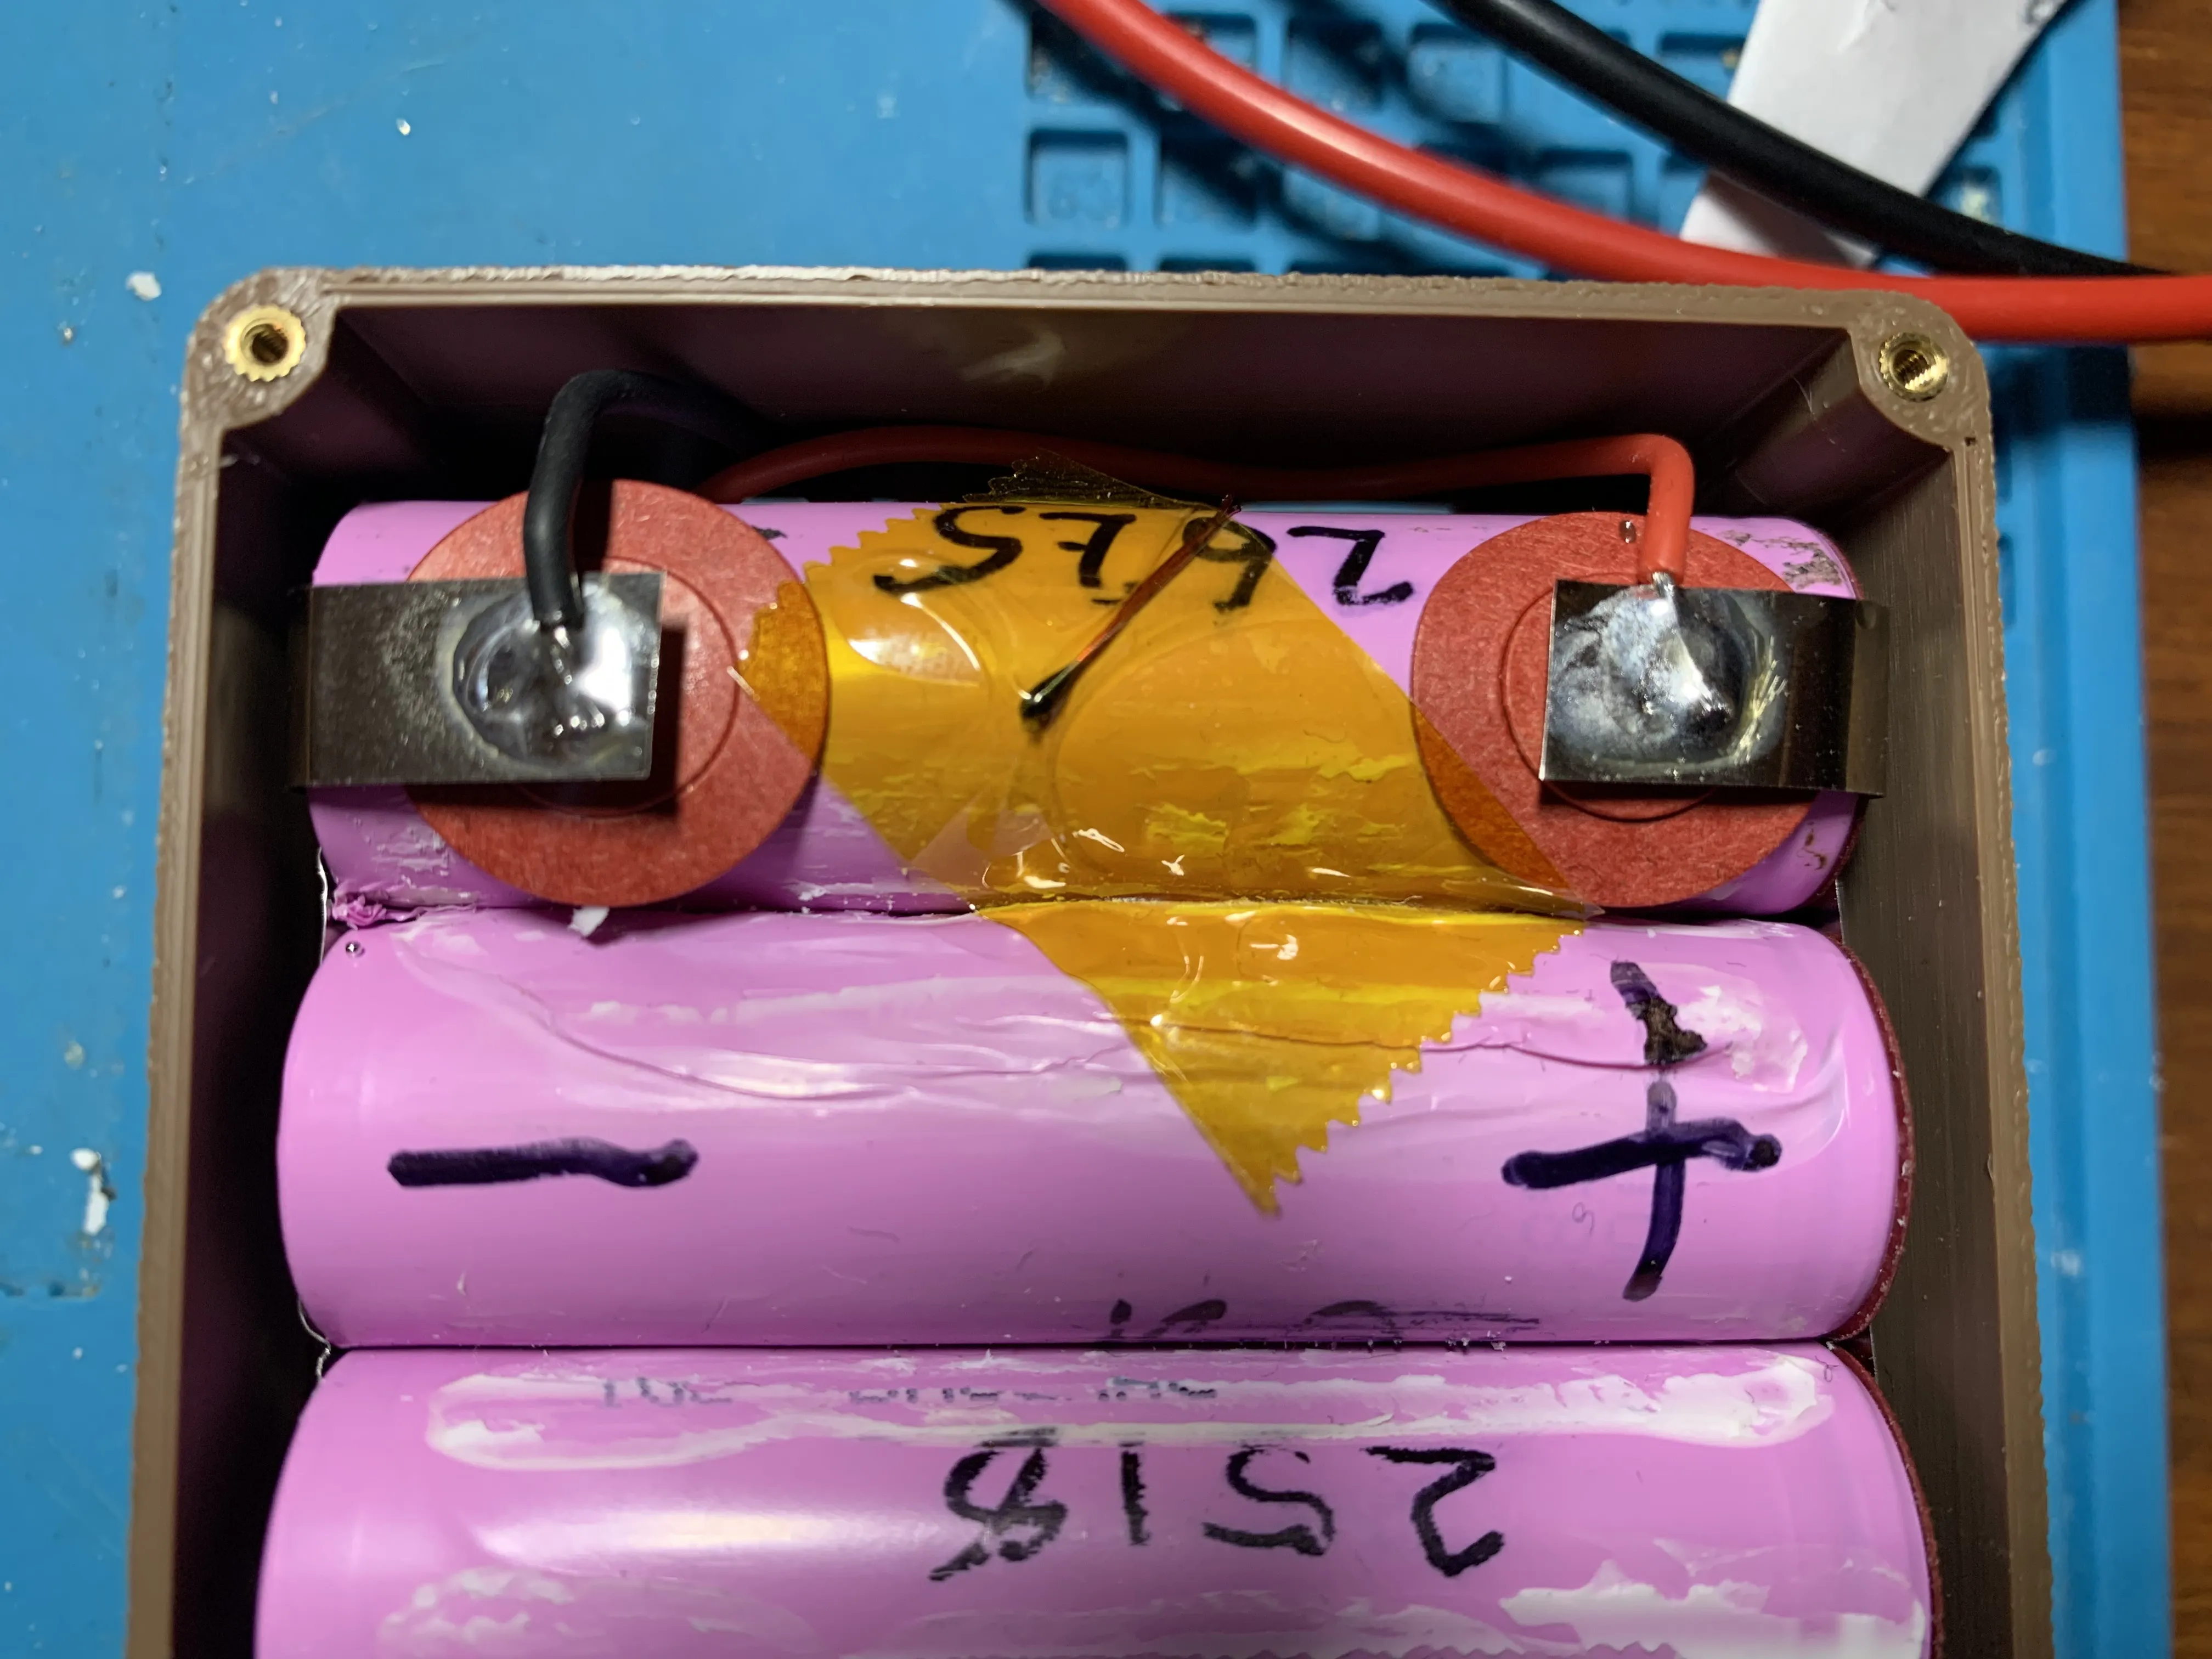
- Insert battery into case and solder on positive and negative wires from the USB board
- Tape the temperature sensor onto one of the cells
- Depending on the fit, you may need a bit of foam tape to hold the battery secure. In my case, the back panel creates a tight fit and there's no wobbling inside.
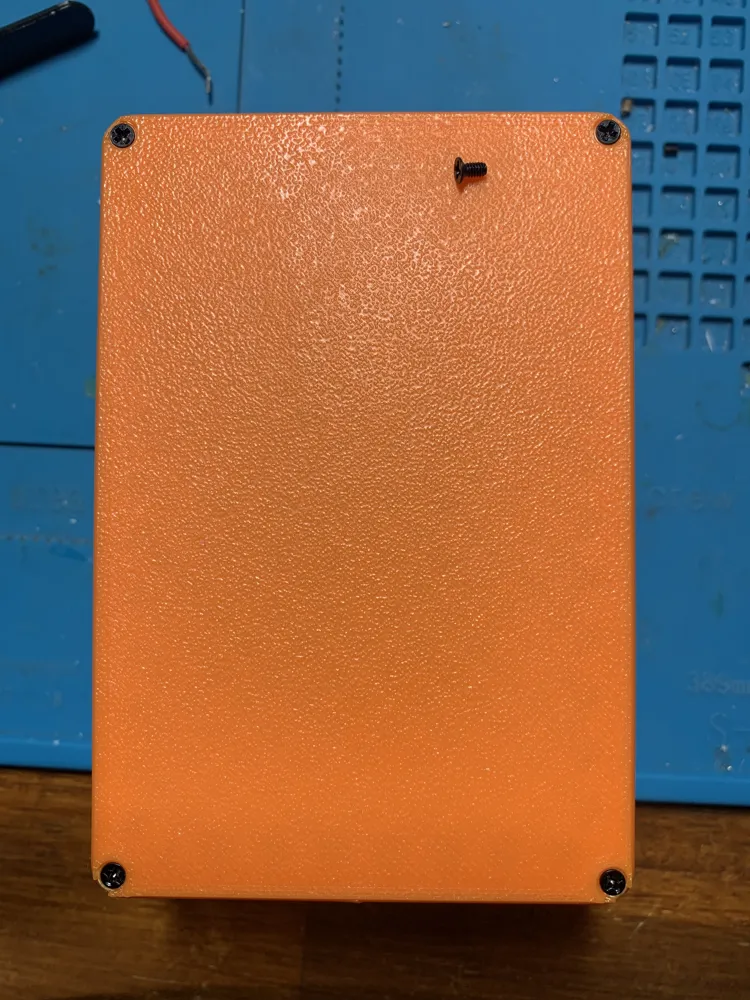
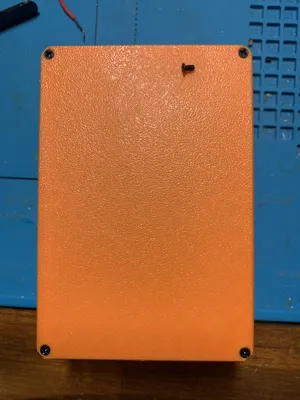
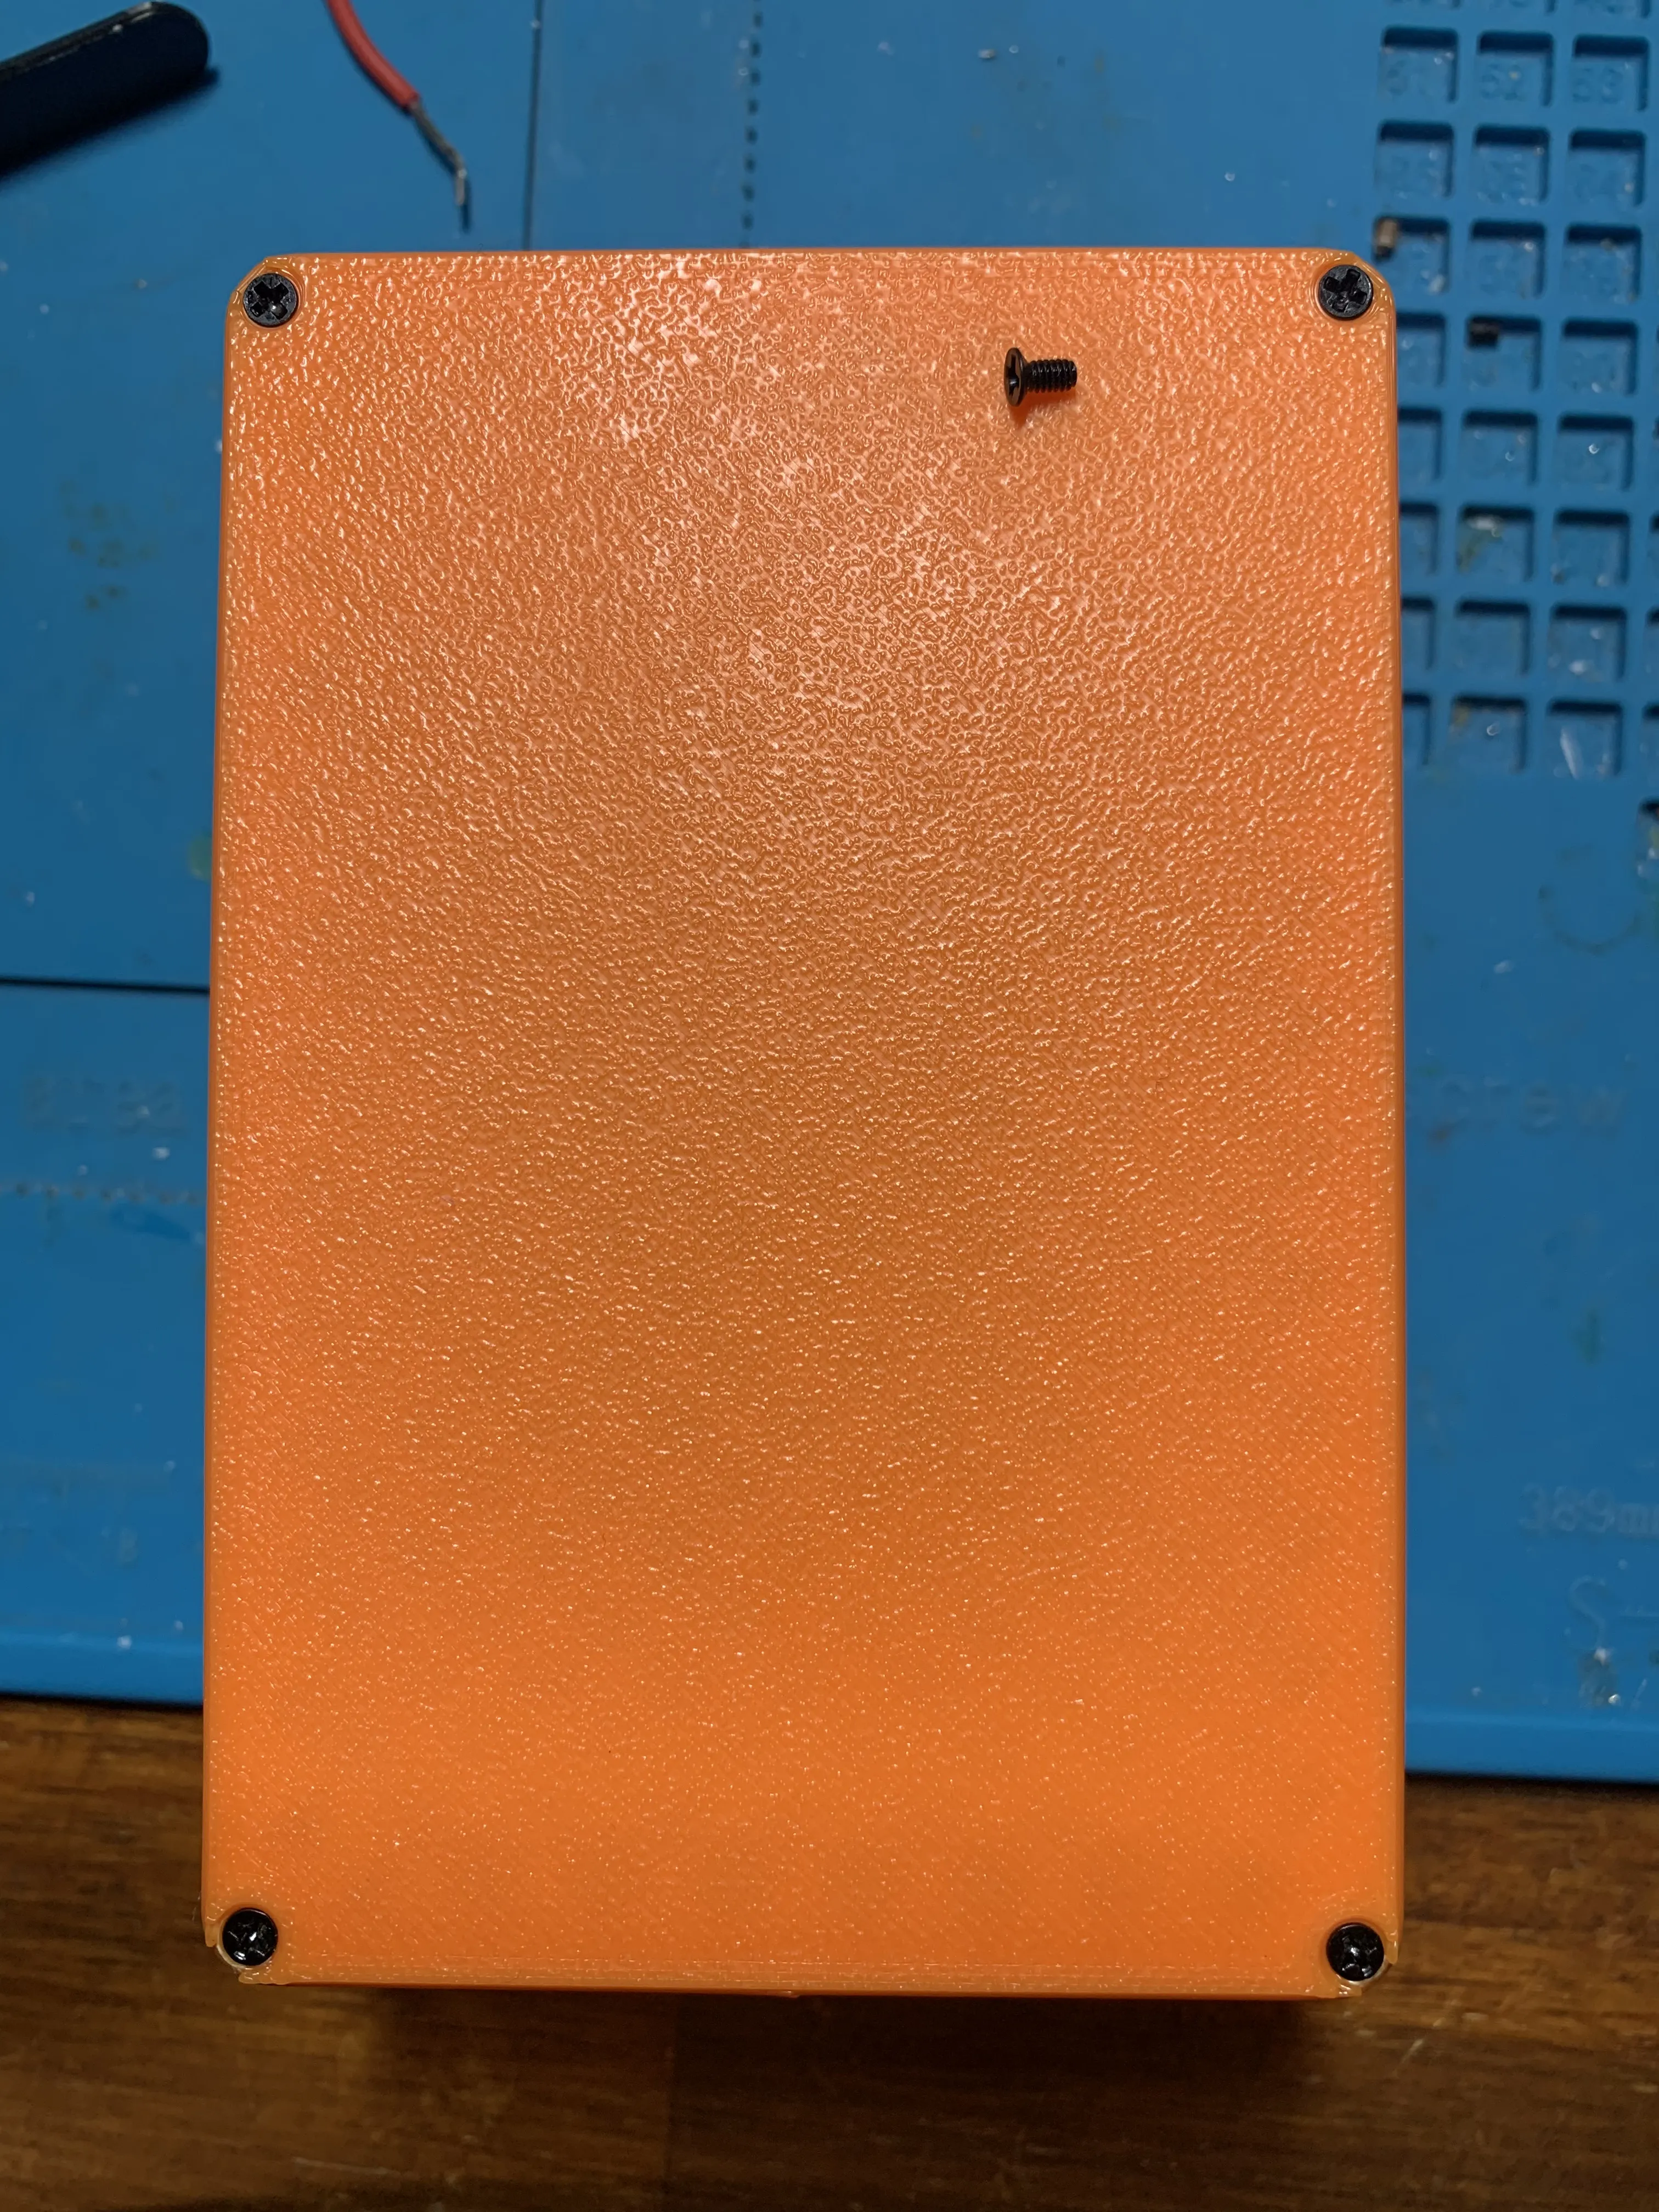
- Use four M2-4mm screws to screw on the back panel
Caution - Delicate LCD Screen!
The LCD screen is delicate. I accidentally broke this while designing the case, I had accidentally dropped a battery cell on the screen.
But don't worry, Once installed into this case, the screen will be safe.
License

You shall not share, sub-license, sell, rent, host, transfer, or distribute in any way the digital or 3D printed versions of this object, nor any other derivative work of this object in its digital or physical format (including - but not limited to - remixes of this object, and hosting on other digital platforms). The objects may not be used without permission in any way whatsoever in which you charge money, or collect fees.


Comment & Rating (33)