
Double Sided Lightbox Display Stand / Lighted Base







Print Profile(7)


Description
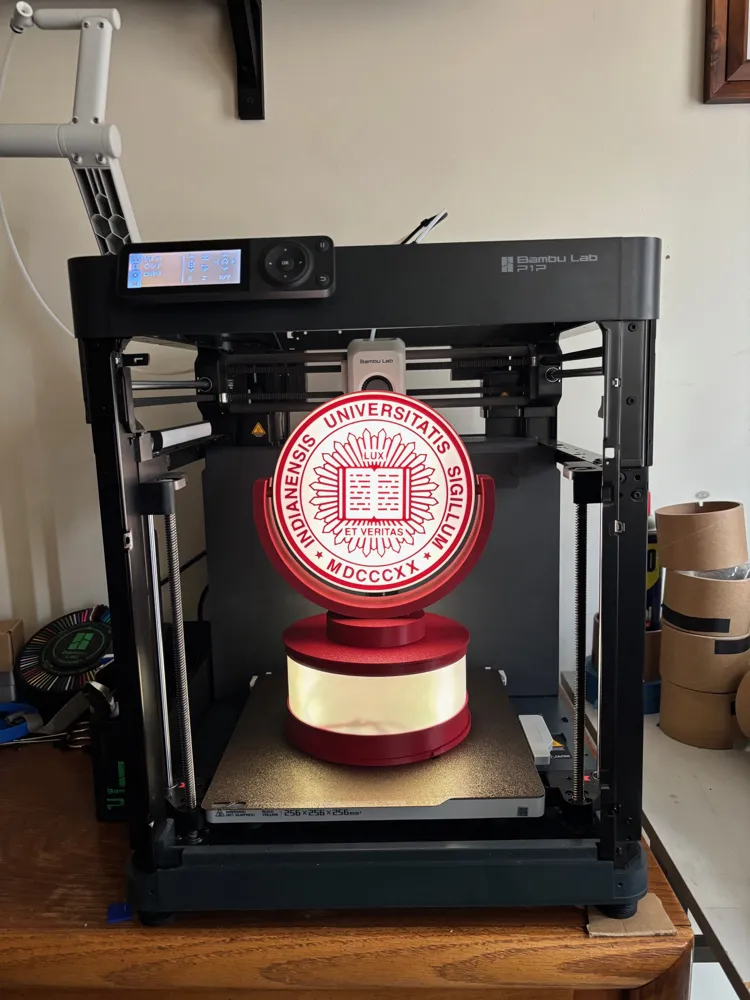
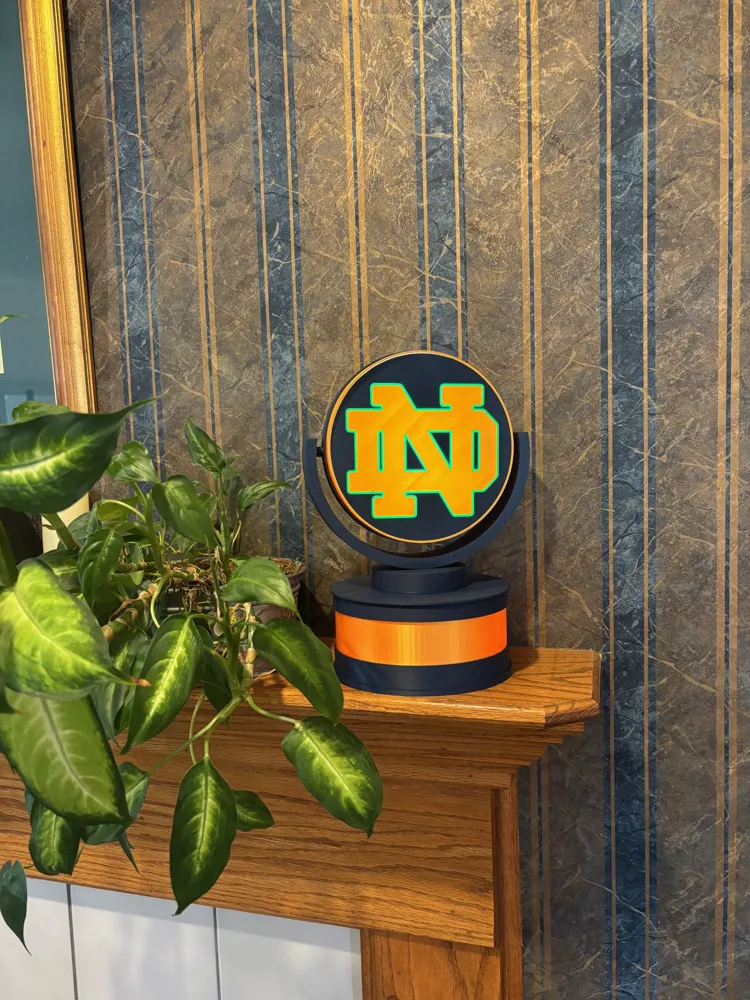
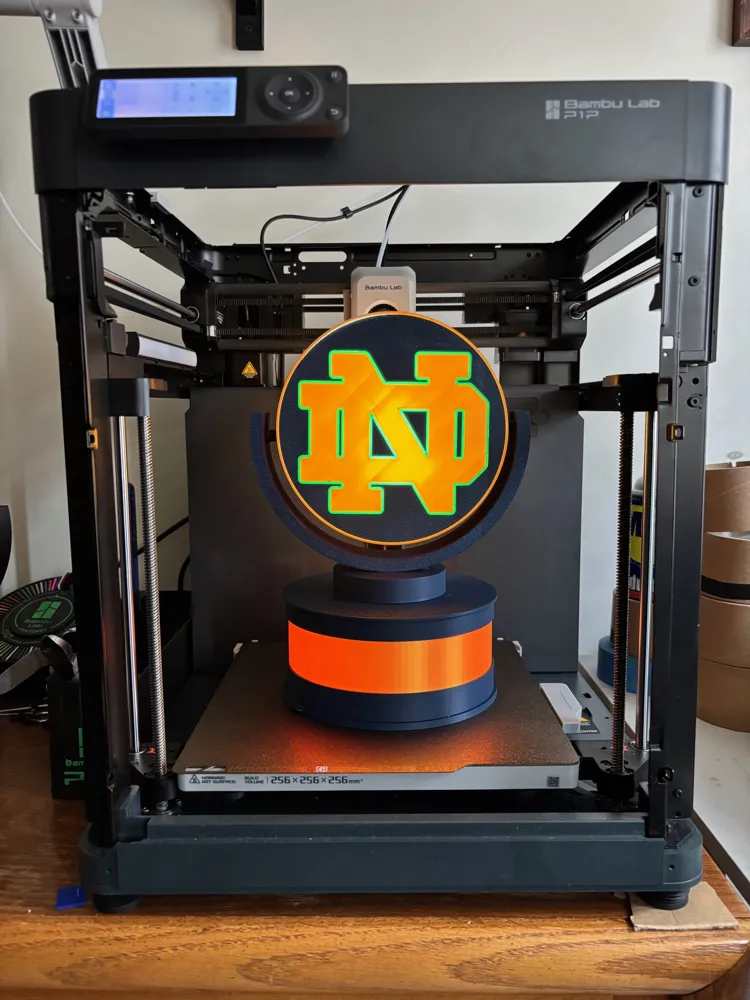
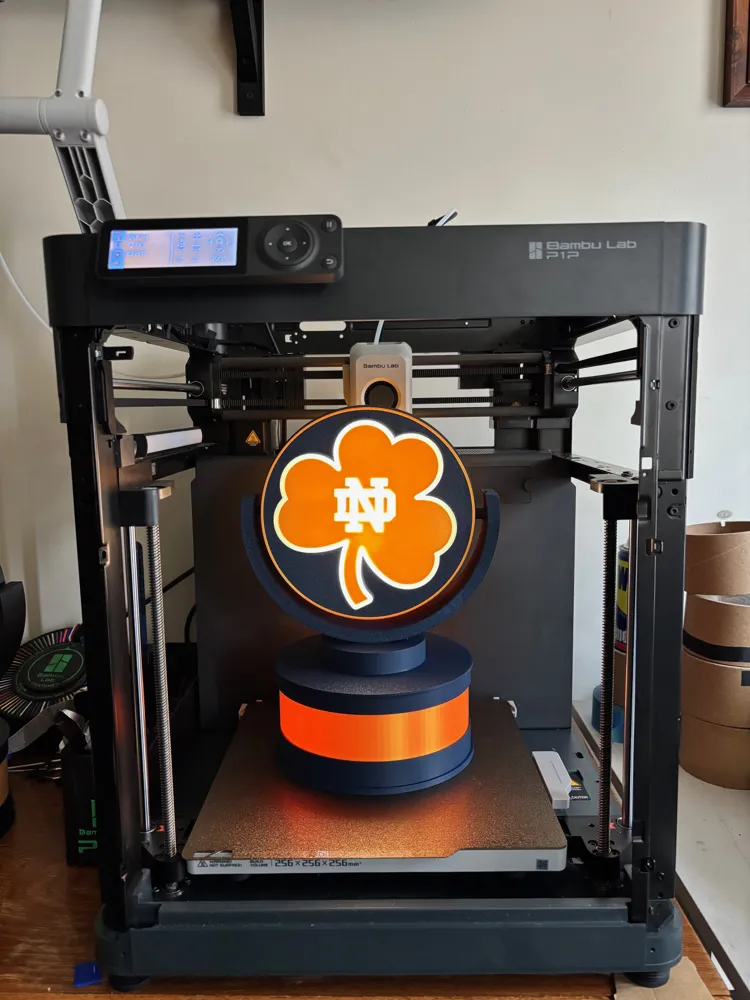
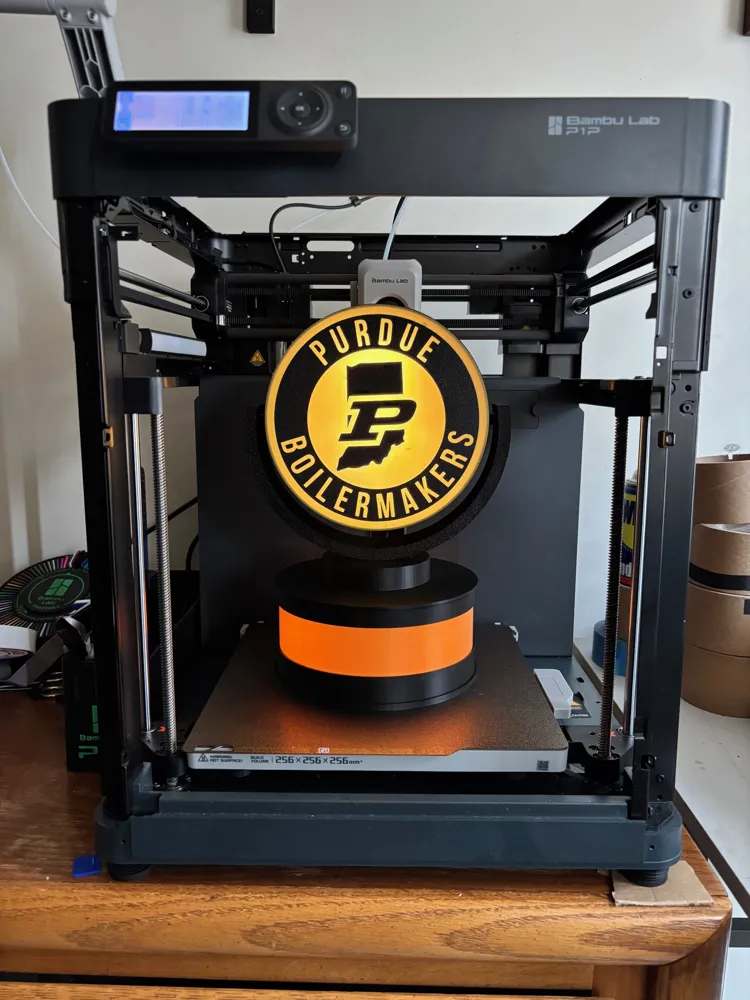
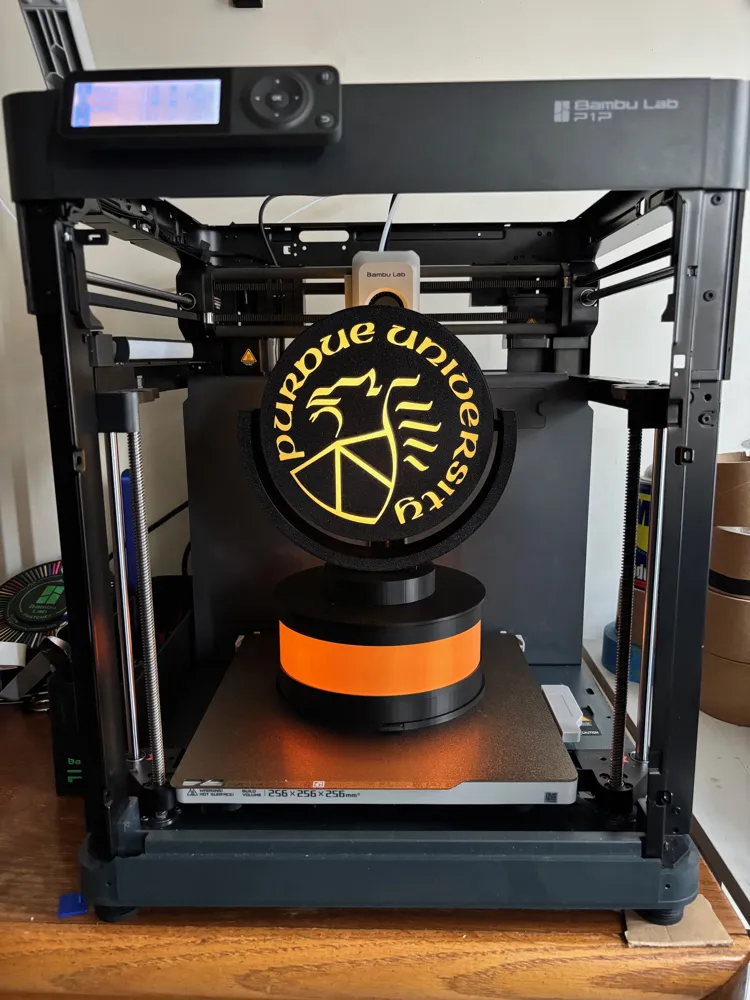
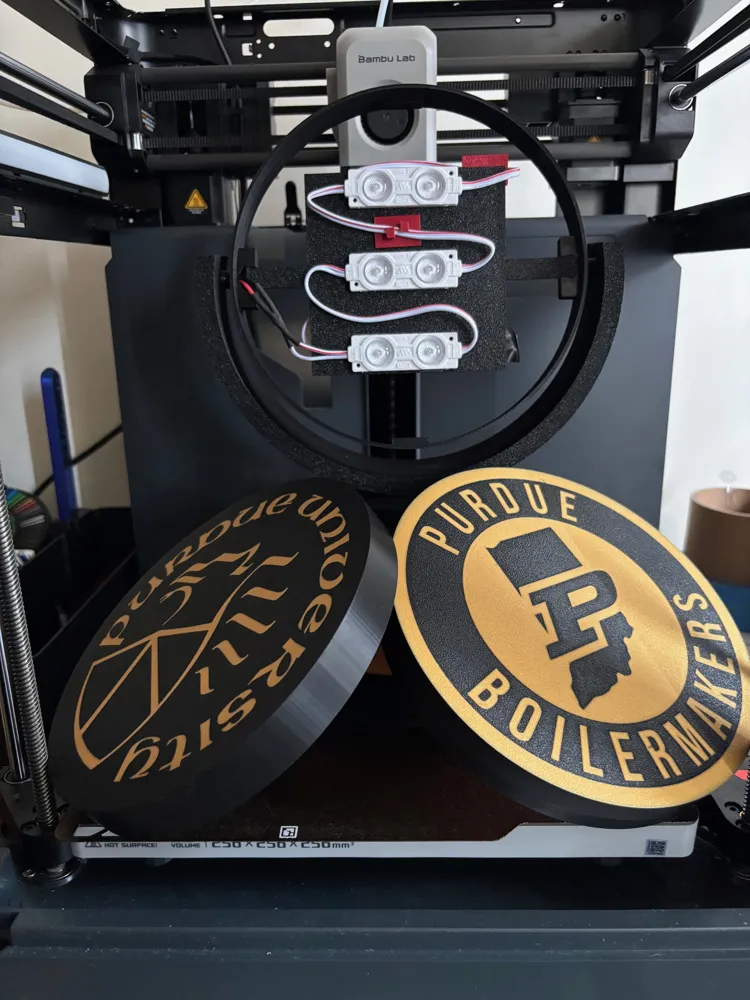
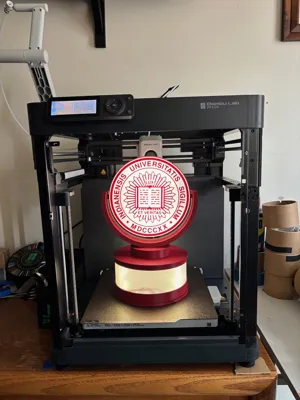
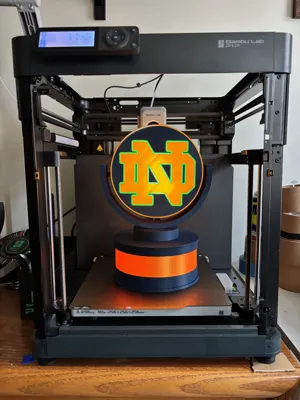
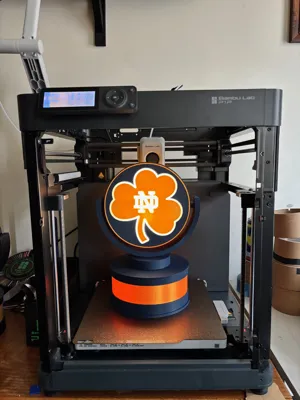
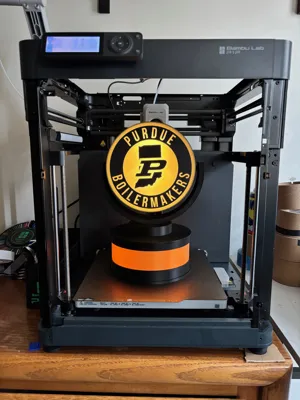
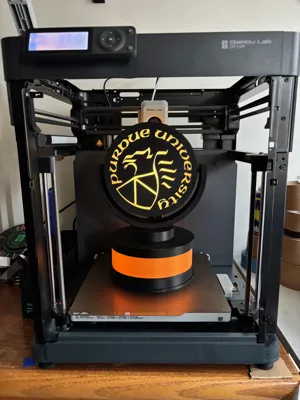
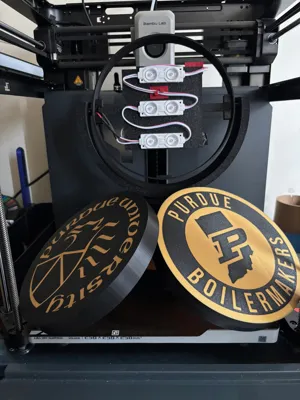
Double Sided Lightbox Display Stand with lighted base.
Thank you for looking at my design, made with love for my wife which is an IU fan! GO Hoosiers!
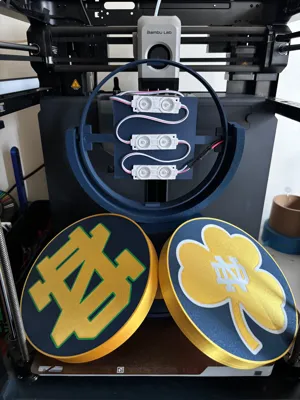
LightBox Top Inserts can be made here on MakerLab. Find your favorite Logo and add it to Lightbox Maker. The lightbox is a circle and the dimension's are 170mmX170mmX20mm. (https://makerworld.com/makerlab/lightboxMaker)
Added Indiana Hoosiers, Notre Dame and Purdue inserts Profiles.
Needed Tools:
Soldering Iron
Wire Cutters
Glue
Heat Source: to shrink tubing (Heat Gun or Lighter)
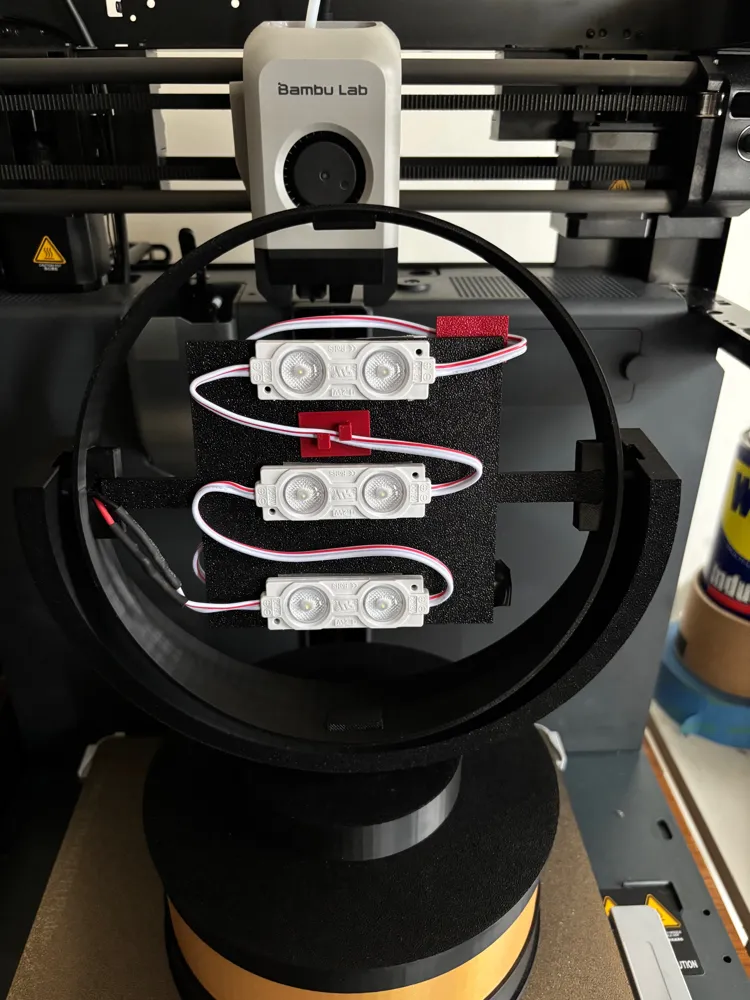
Here is the wire management I used for this project. Its the red piece that is holding the wires down.
https://makerworld.com/en/models/1827473-wire-management-no-supports#profileId-1951088
List of needed parts from Amazon.
LEDs:
Power Pig tail for LEDs:
12v Battery Holder/Case:
Wire:
Shrink wrap tubing:
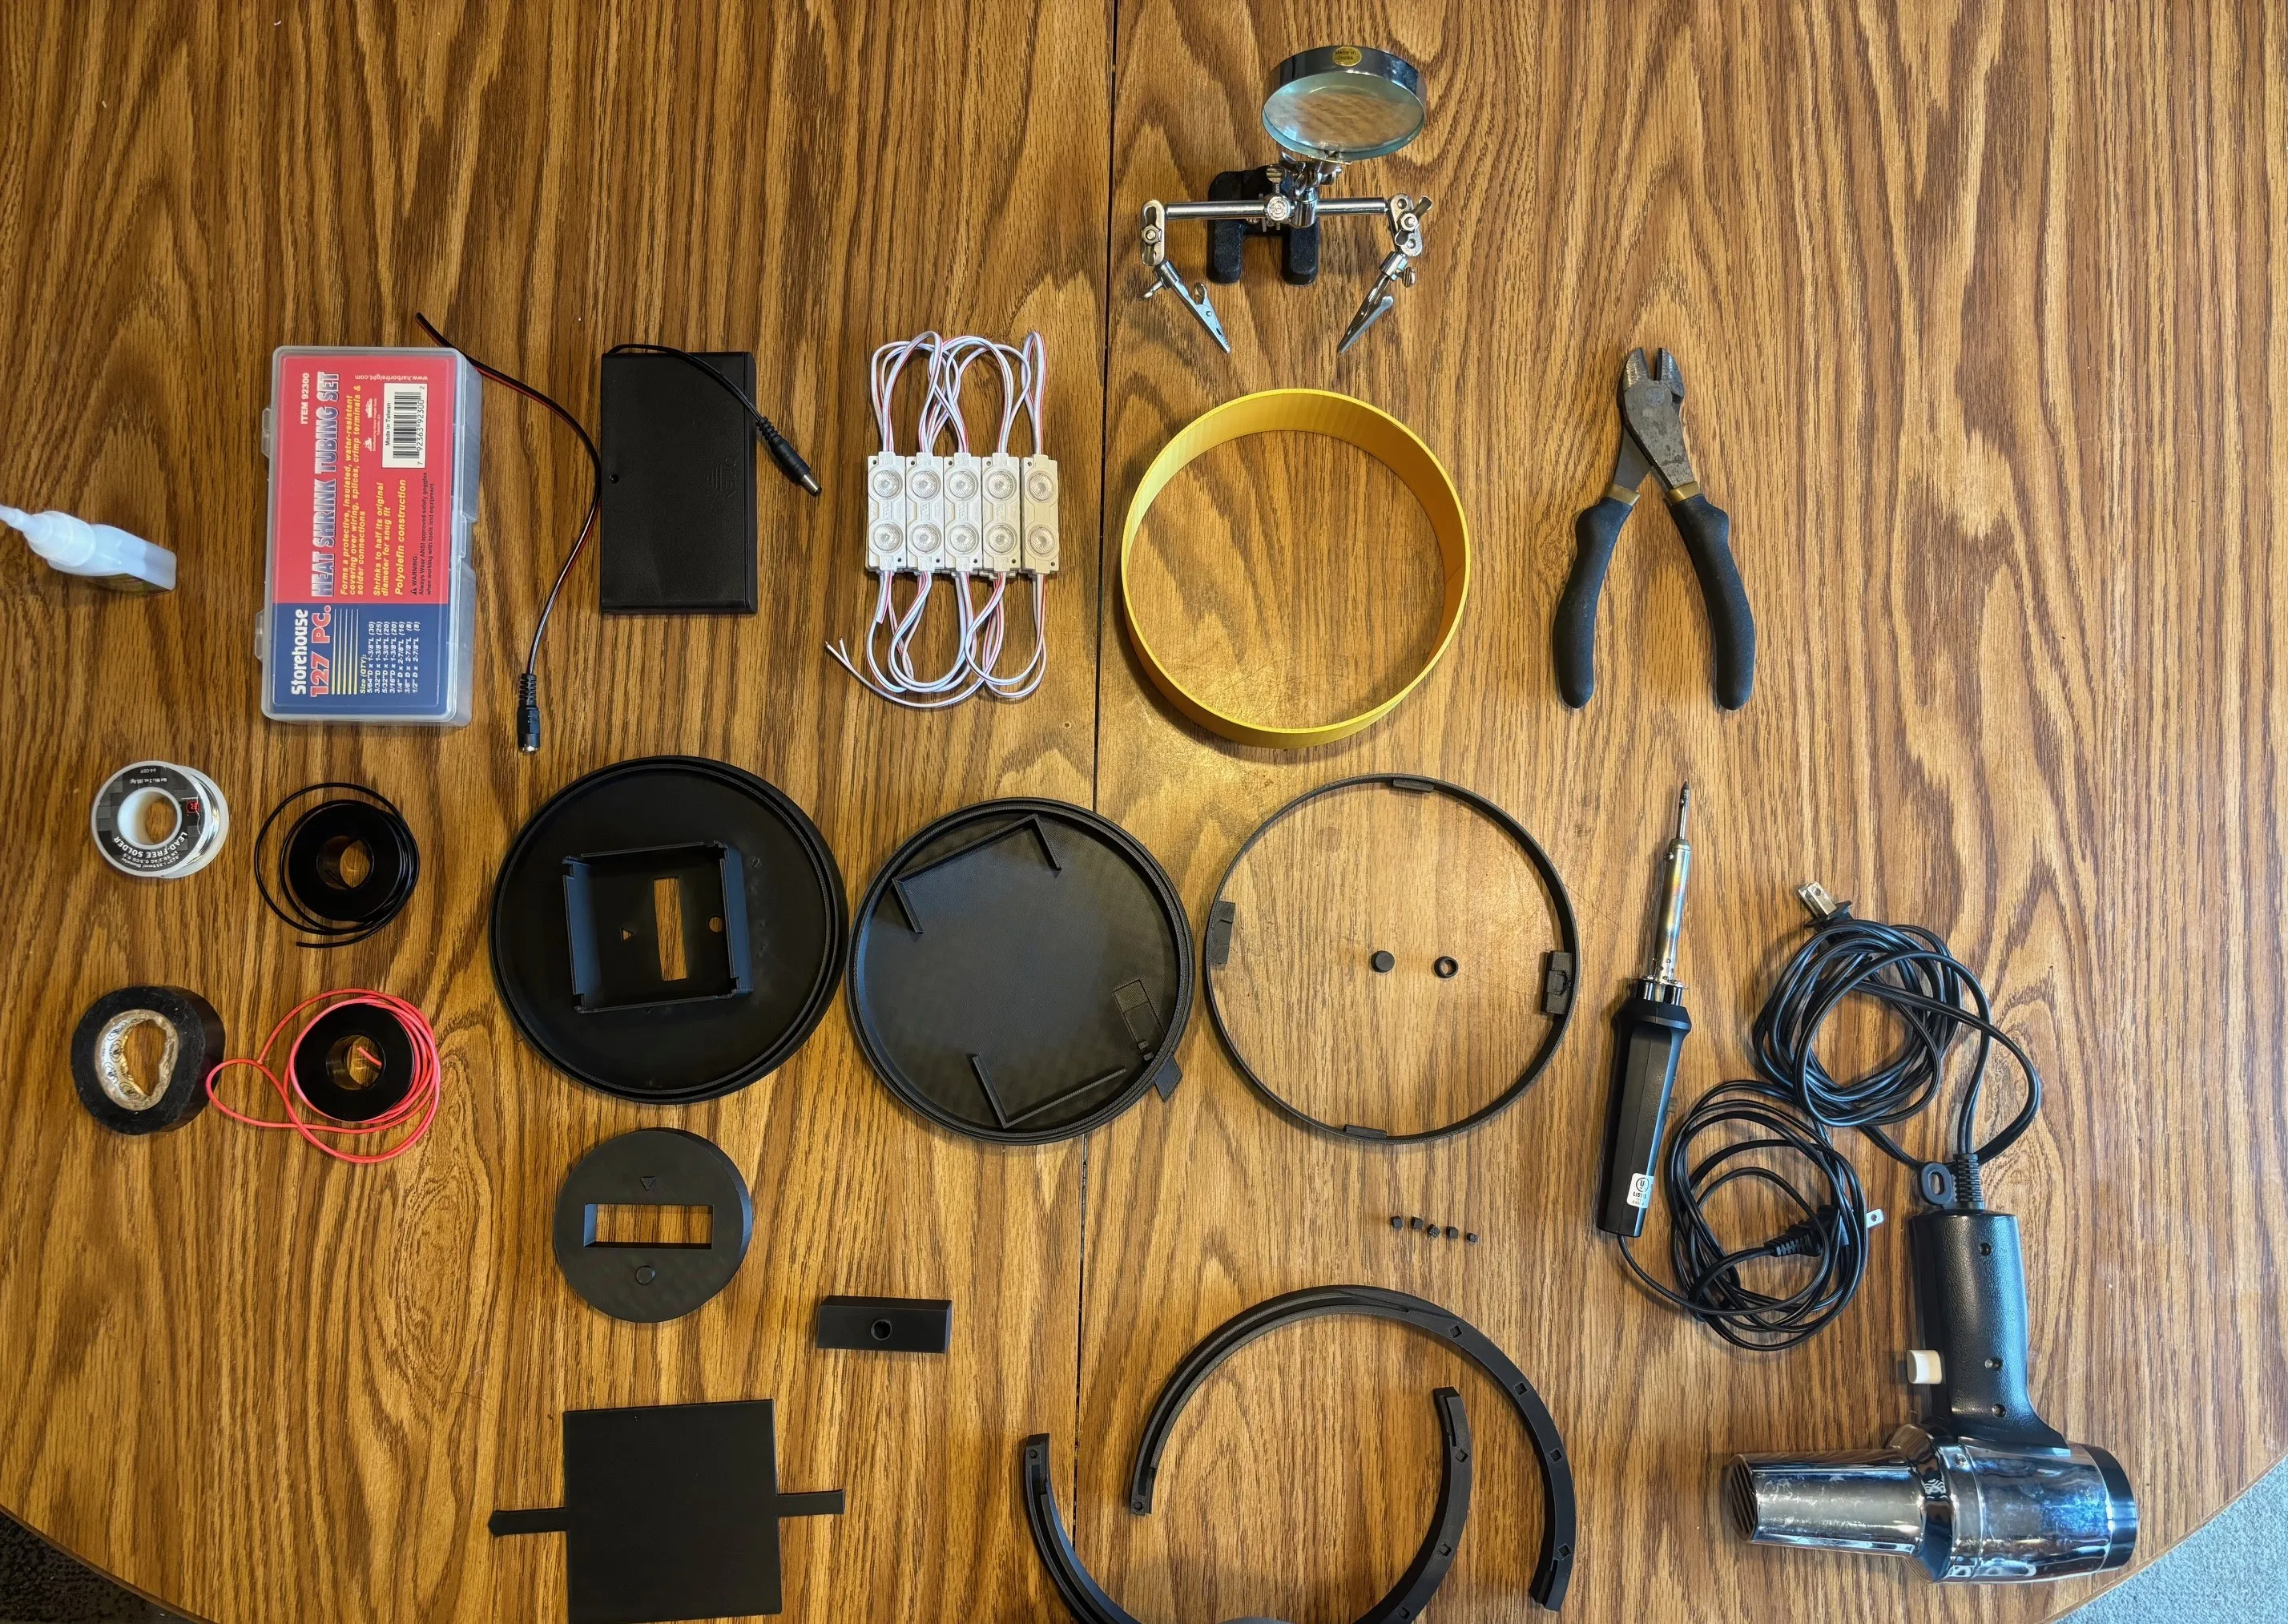
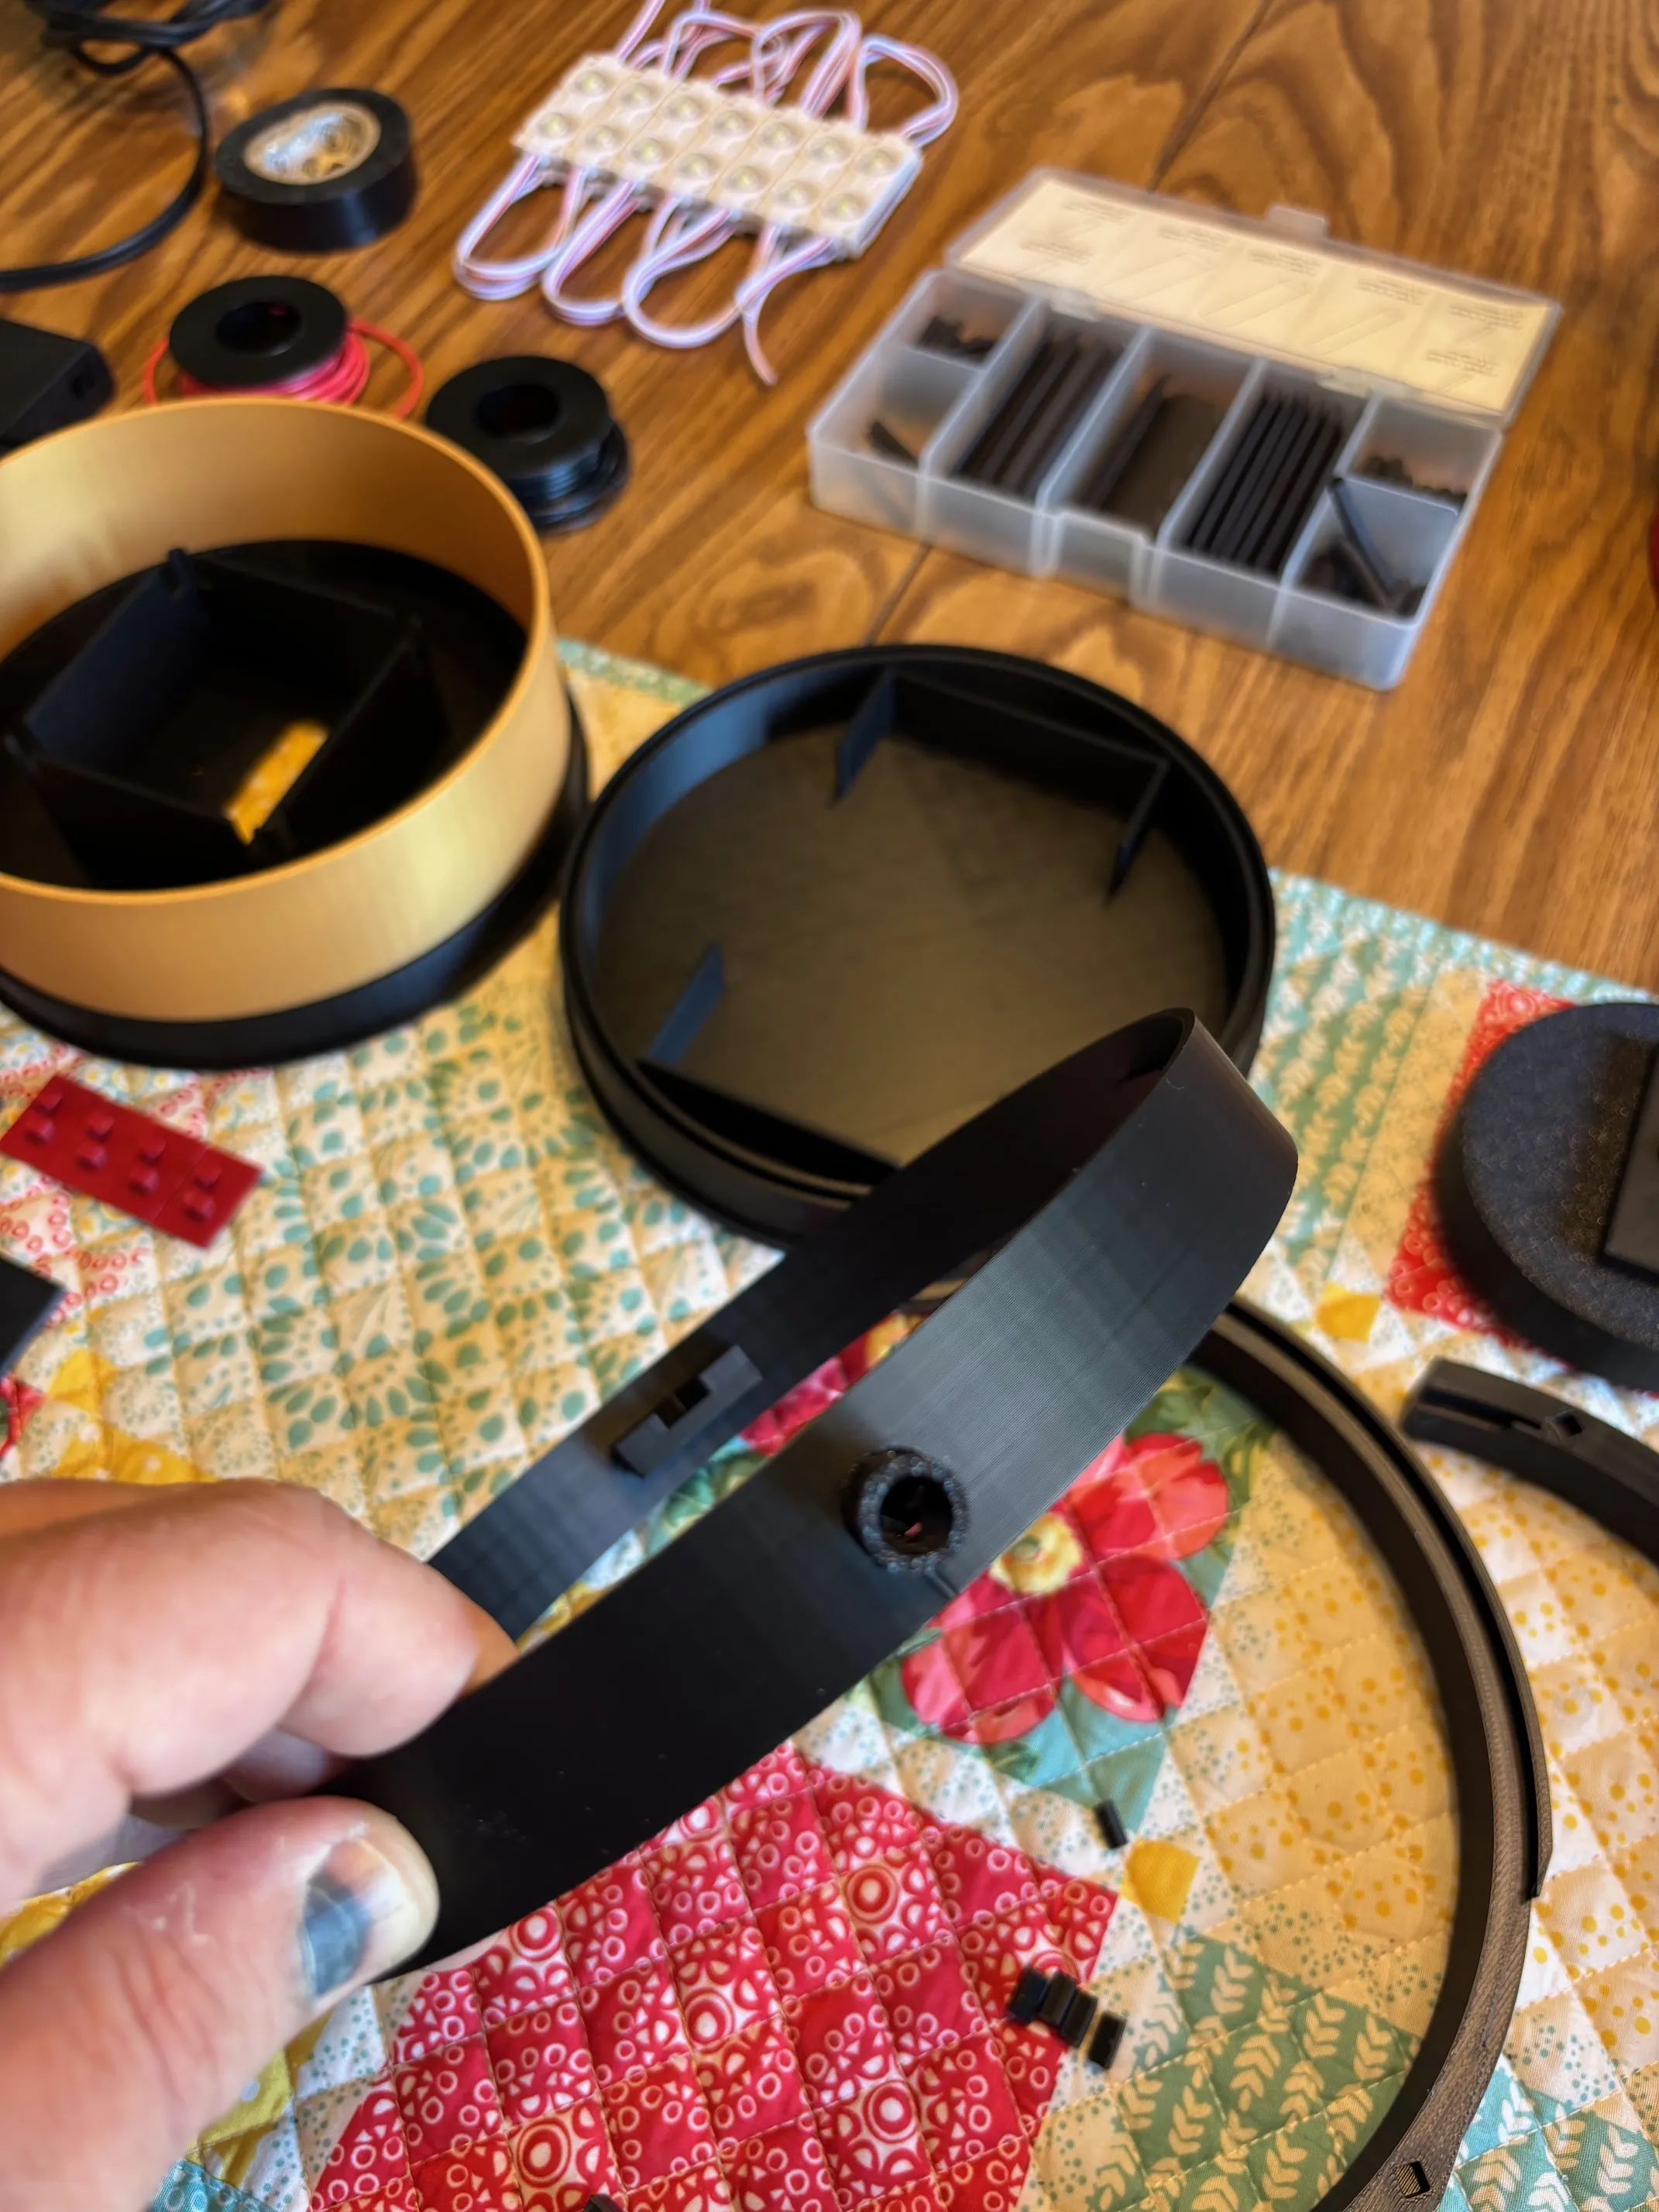
Here is a picture of all the parts and tools I used for this build.
I started at the top and worked my way down to build the stand.
Glue Connectors into one side of the Main Ring. Set aside to dry.
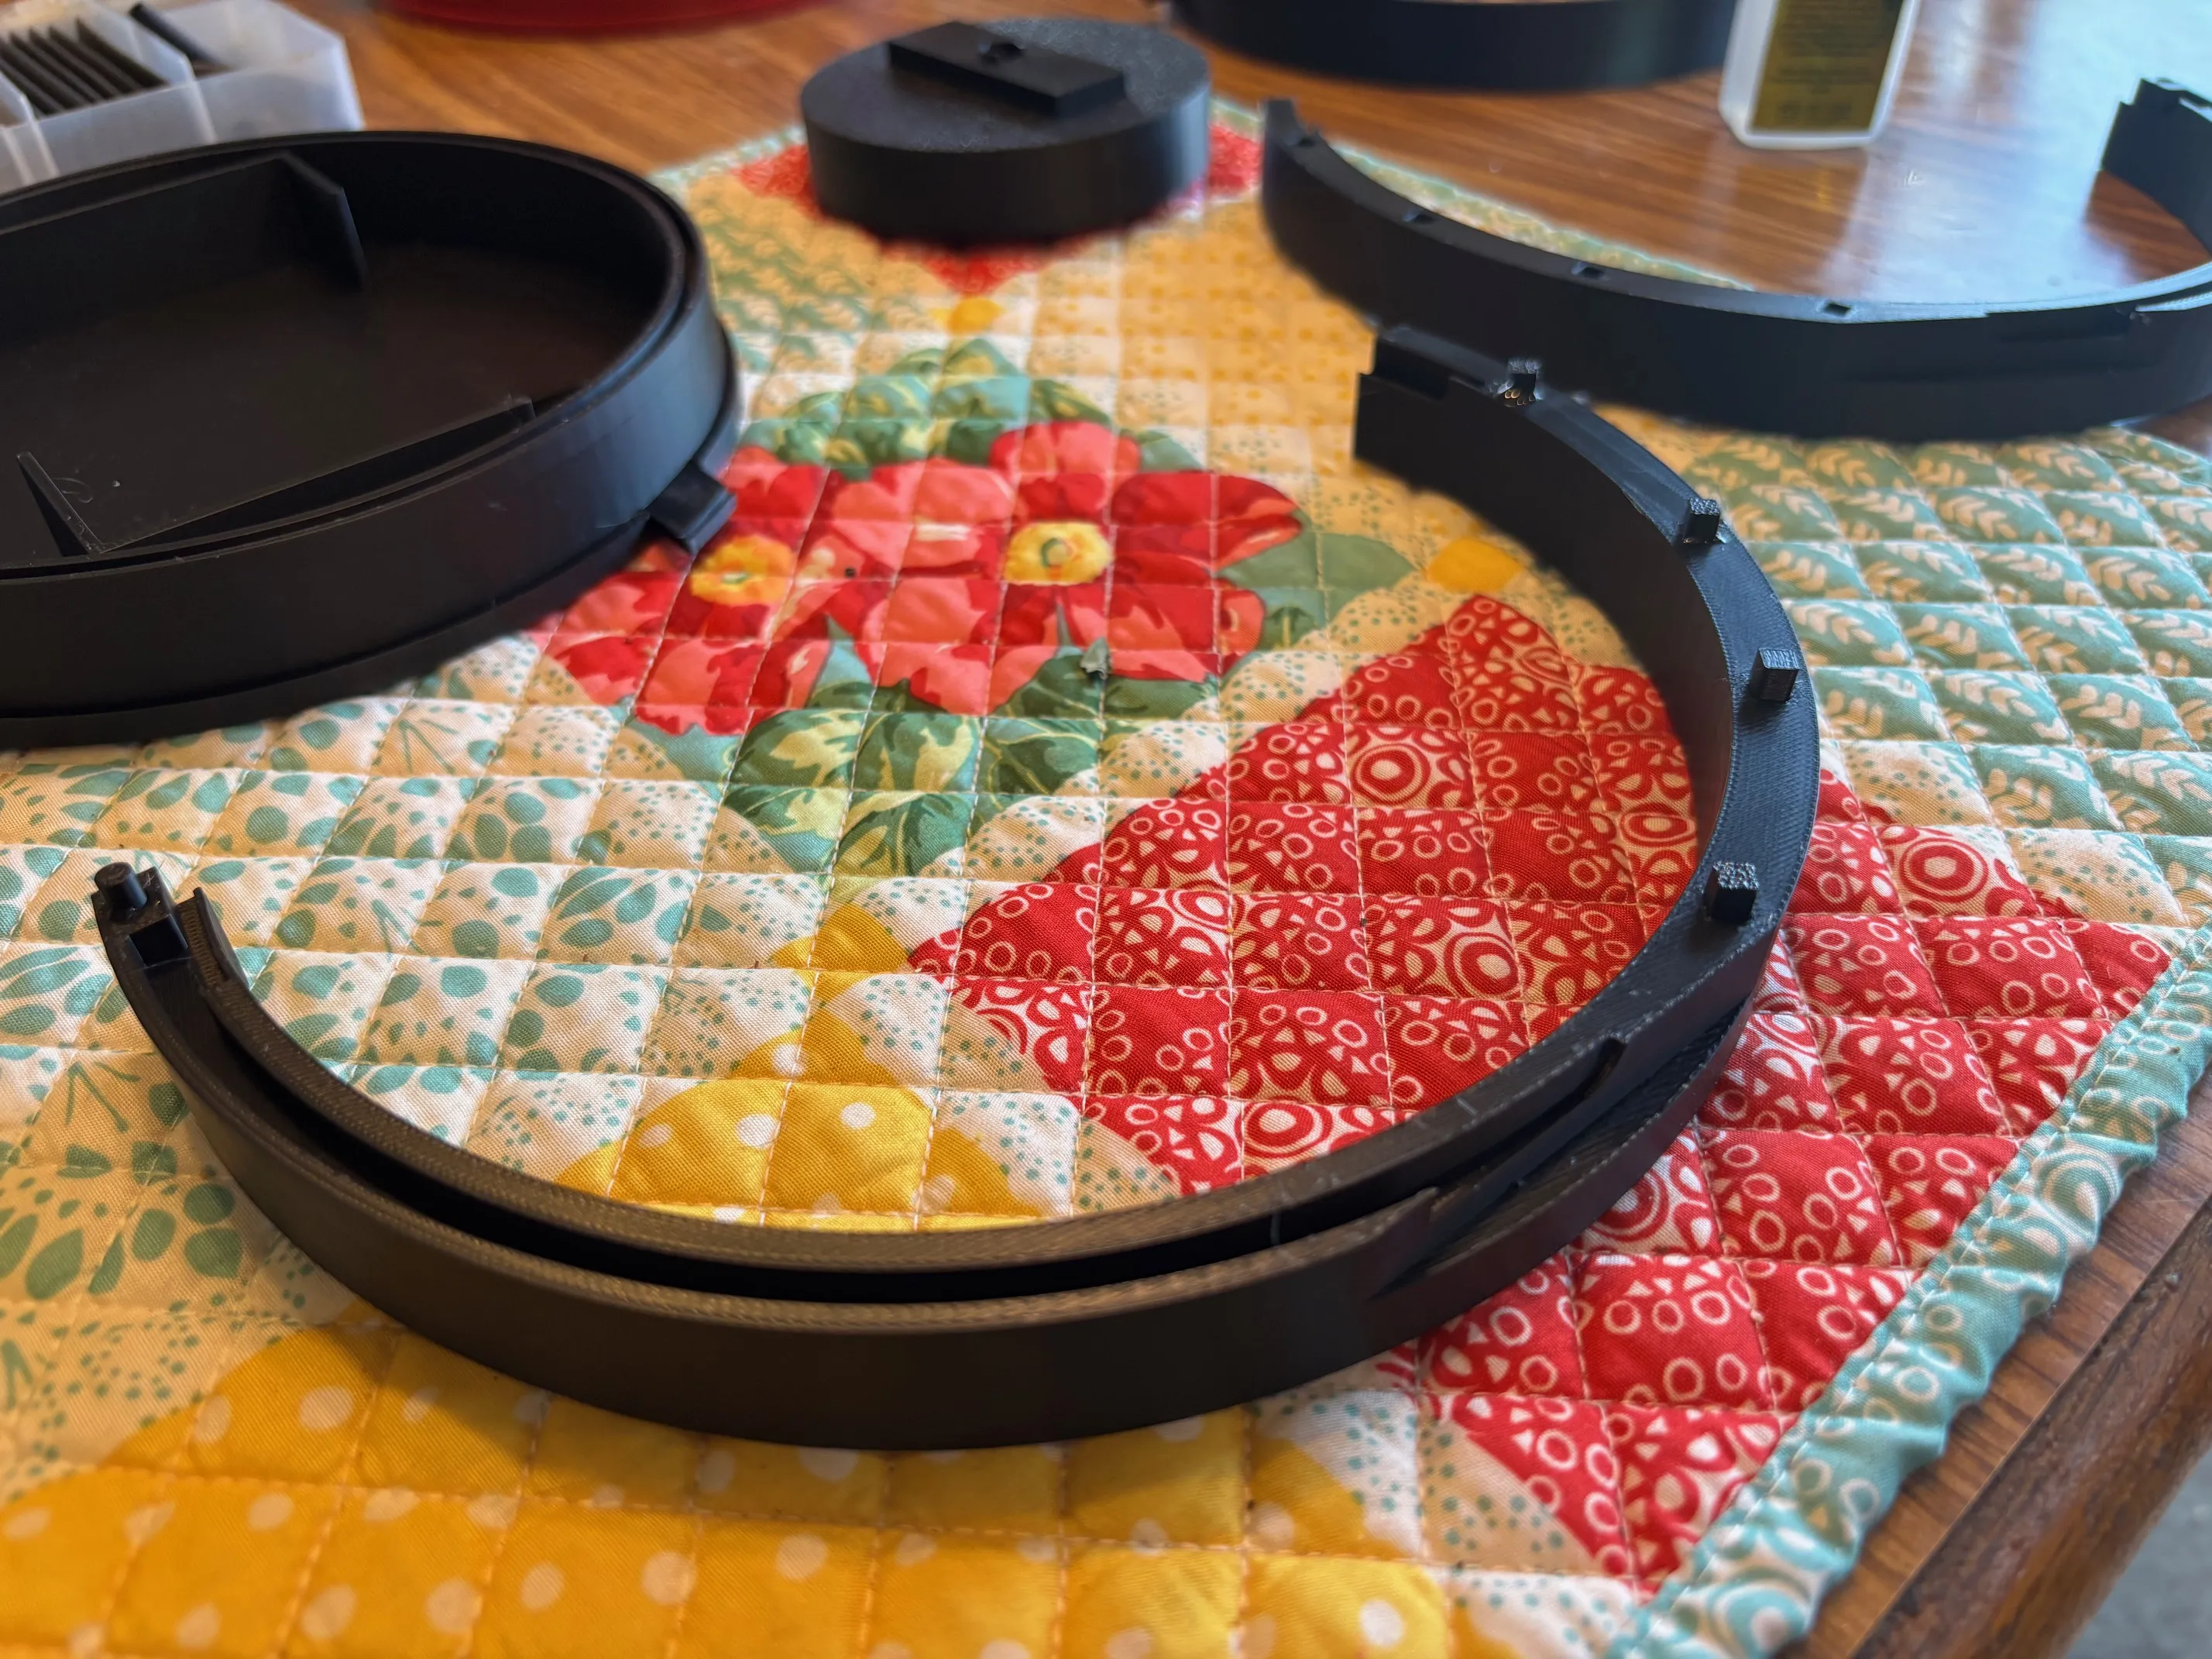
Glue Side Pins to Middle Ring Lightbox Mount. There is 1 Side Pin with a Hole, this goes with the hole provided in Middle Ring Lightbox Mount. This hole will be to route the wire through and down to the Bottom Base. Set aside to dry.
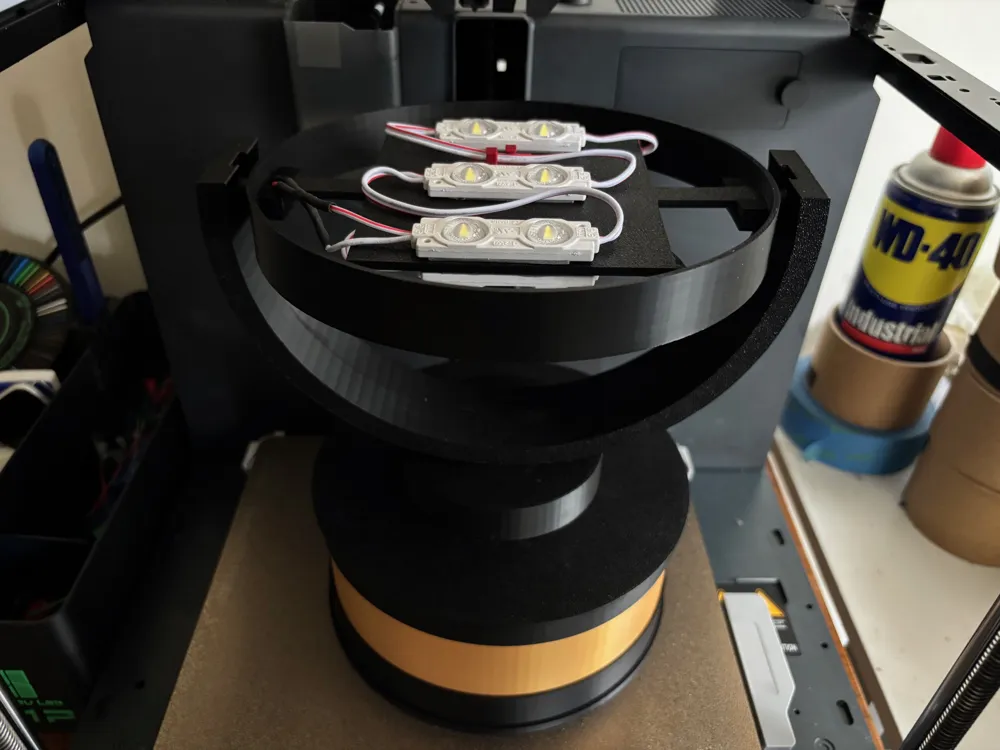
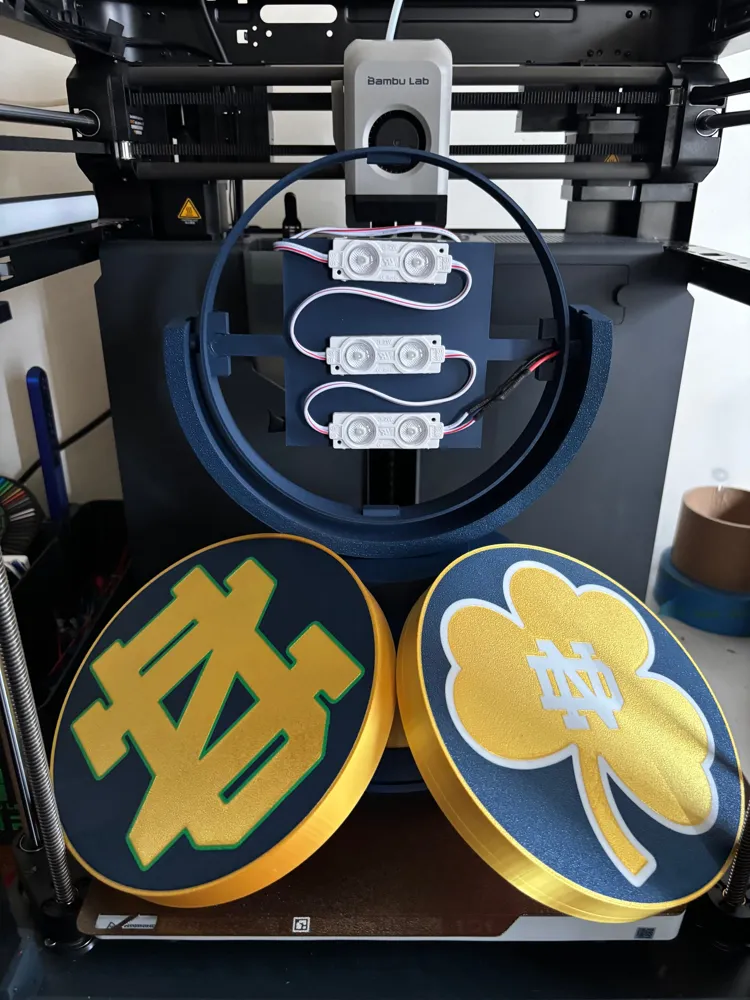
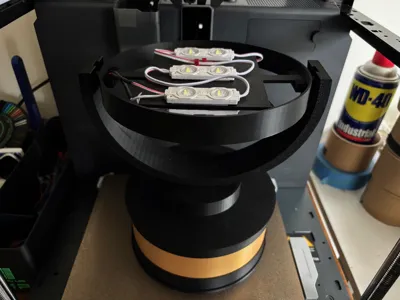
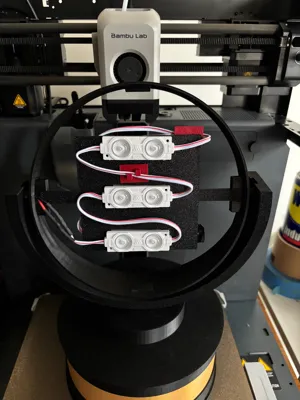
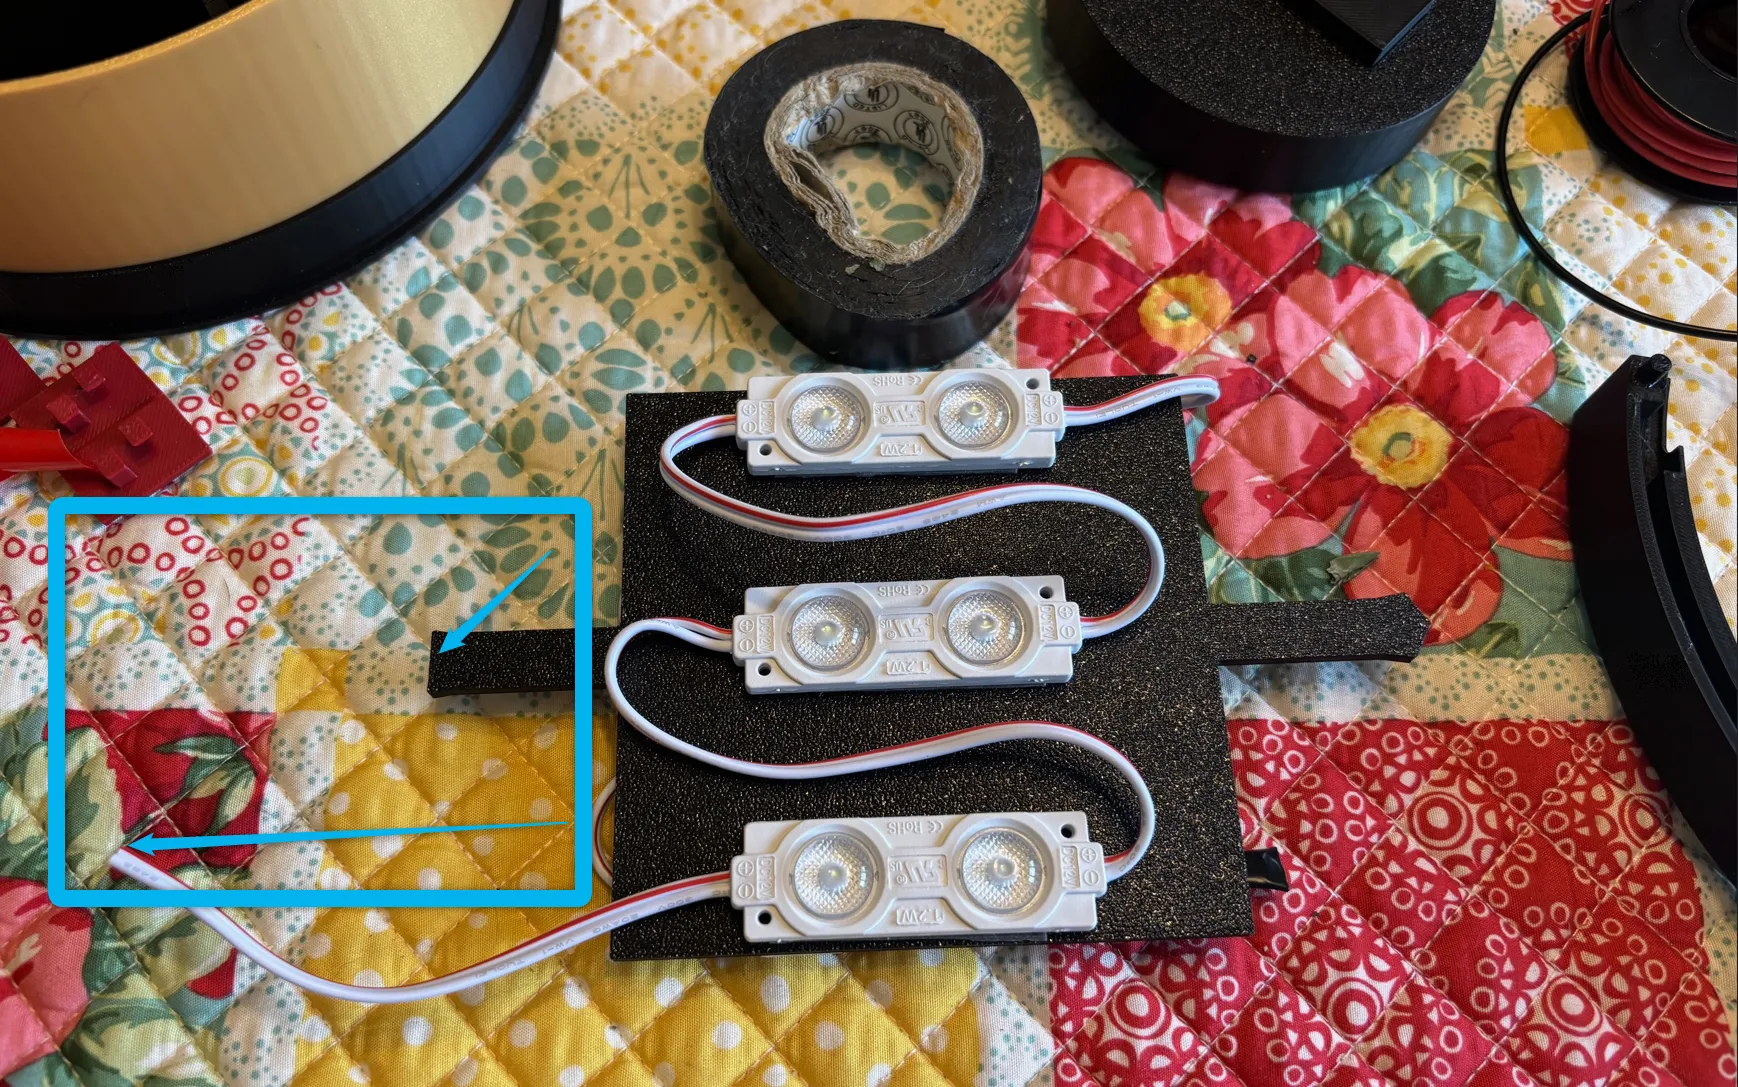
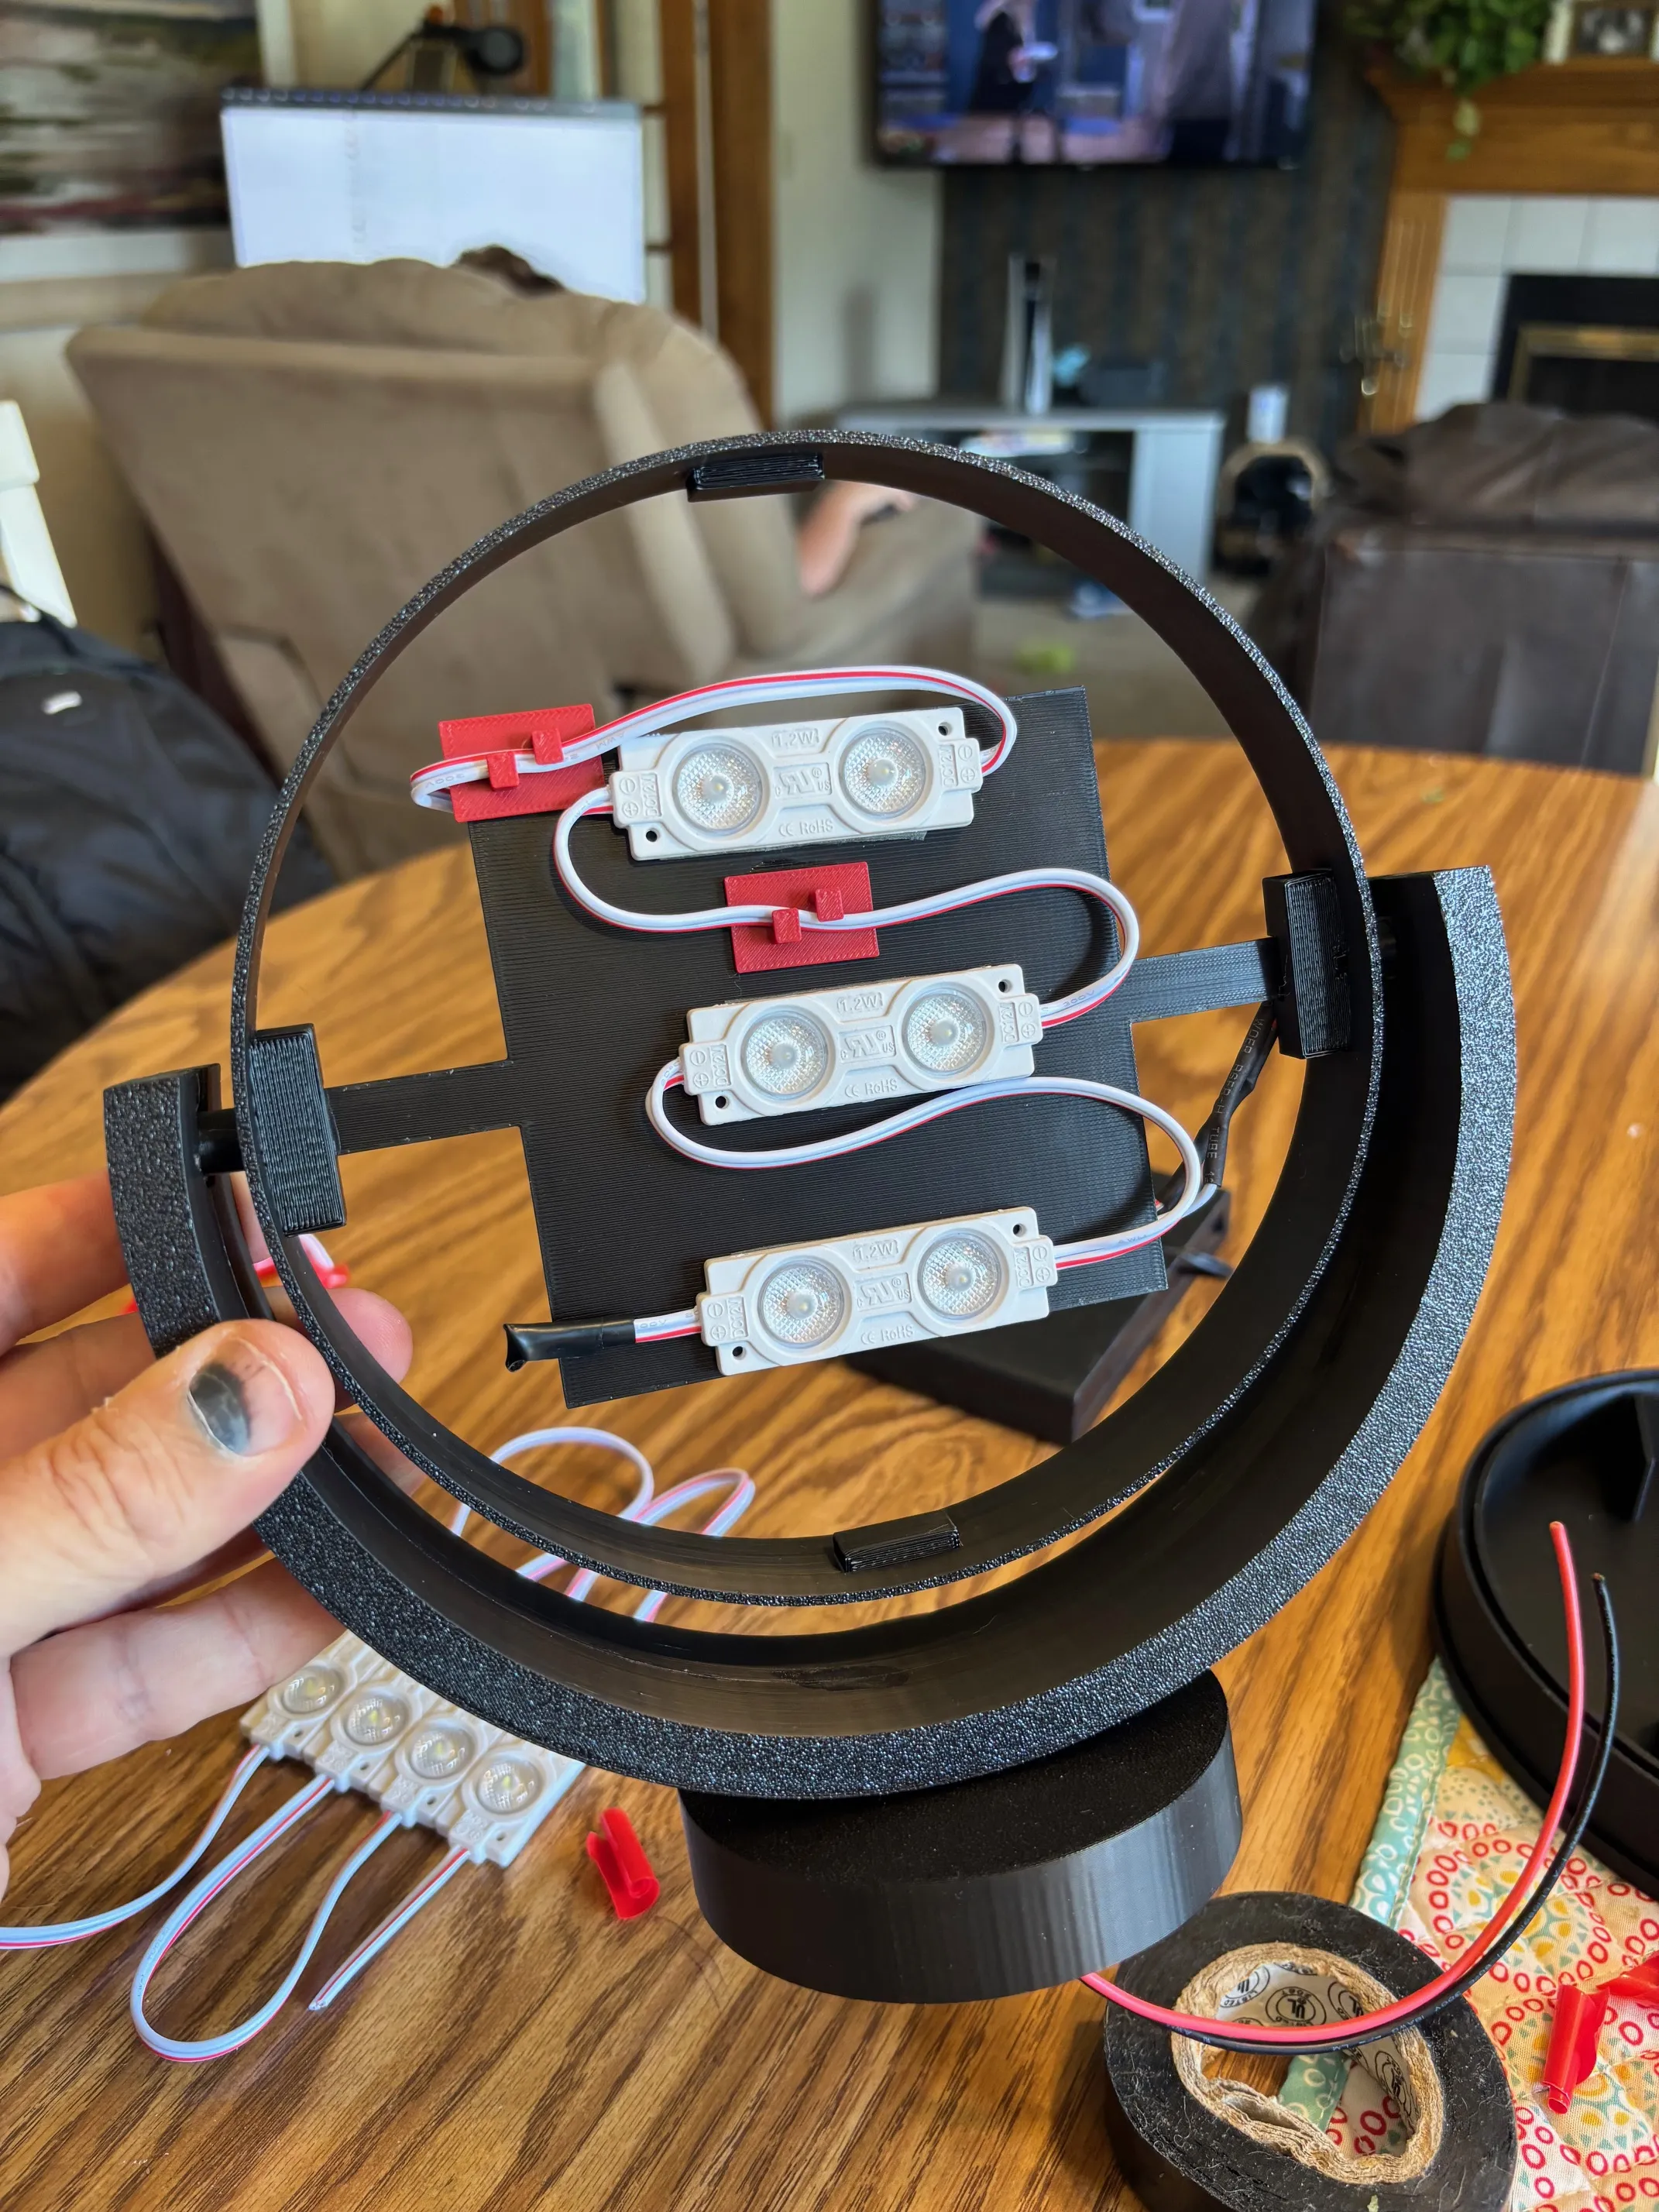
Start adding the LEDs to the Middle Ring Lightbox Insert. Make sure you leave the long end pointed to the cut off side of the Middle Ring Lightbox Insert as shown in the picture below. I added 3 LEDs per side and put electrical tape on the end that is not used.
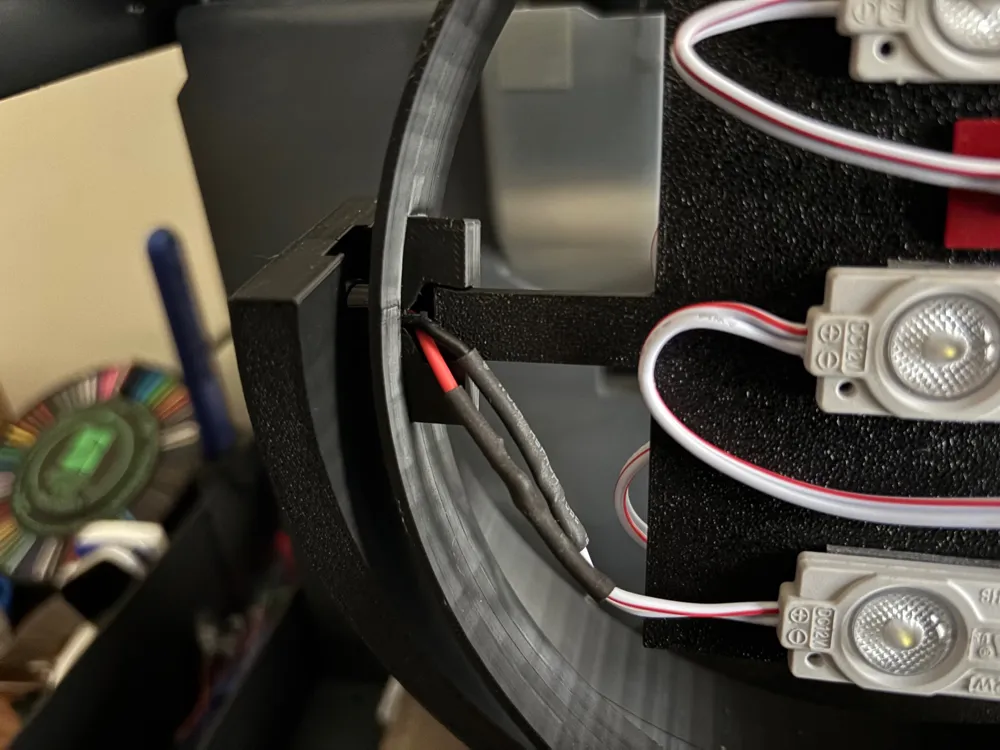
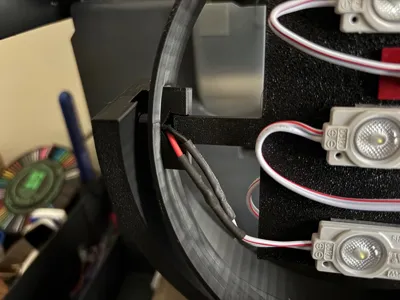
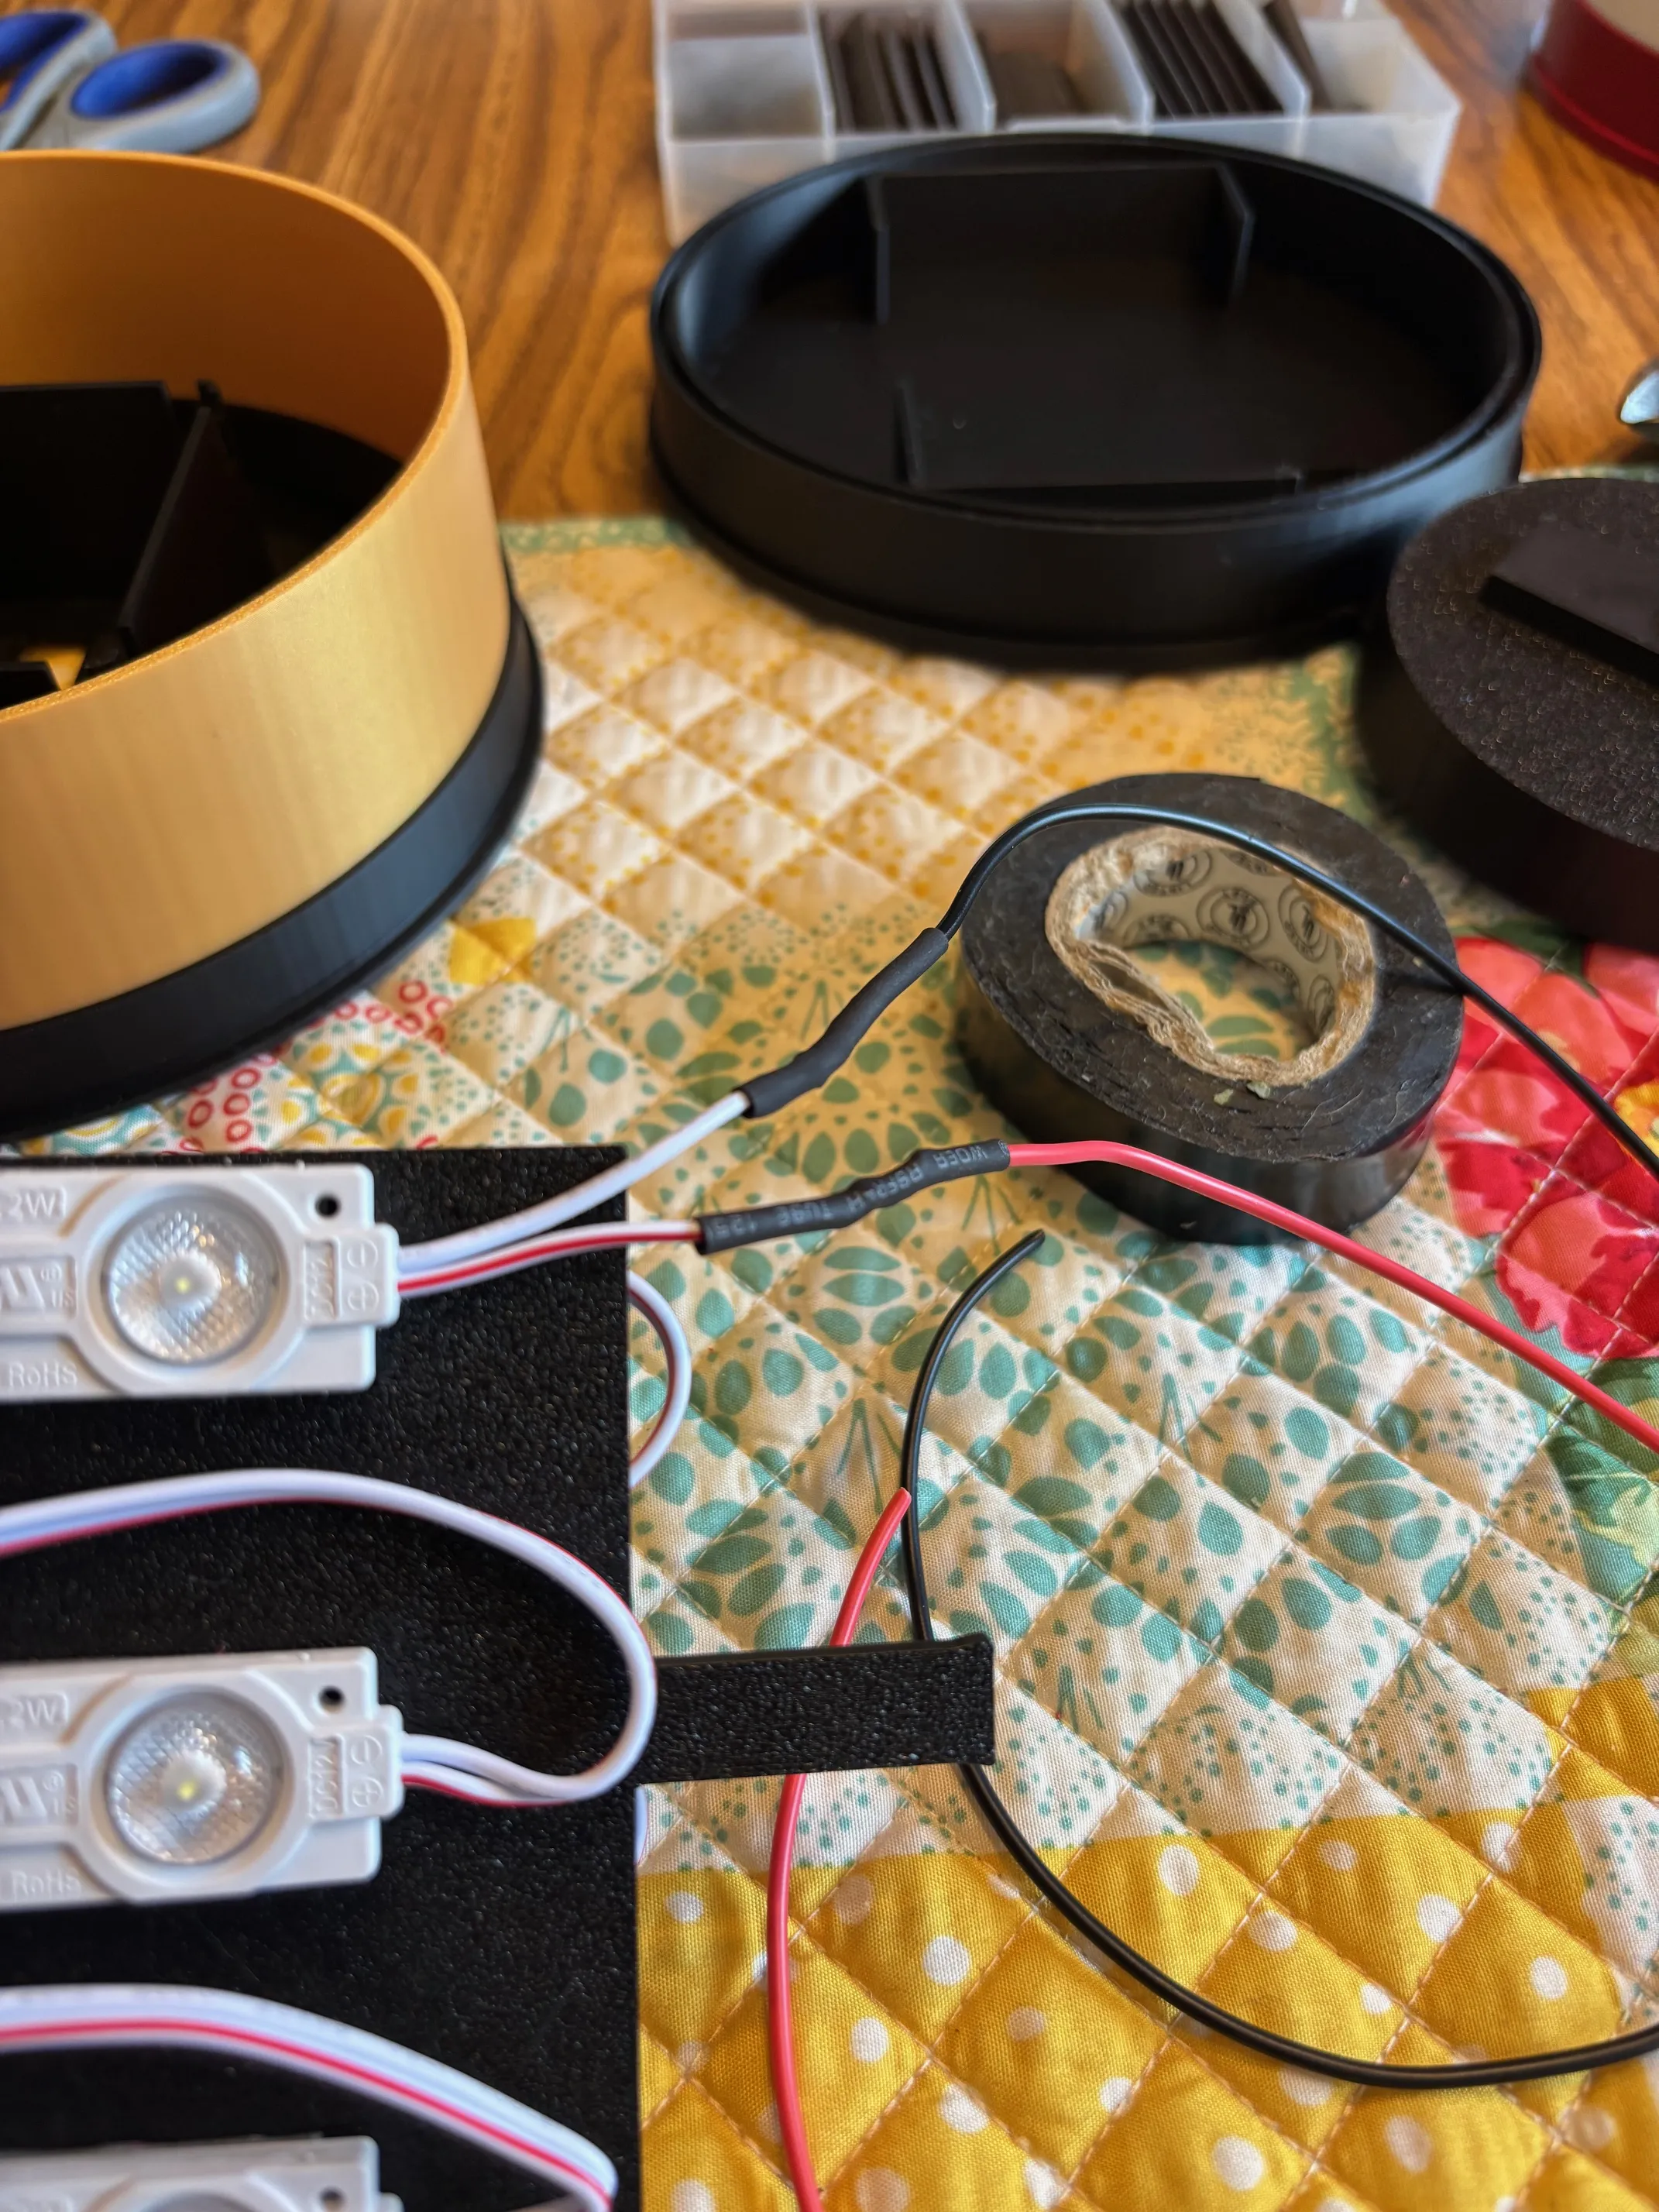
4. Solder the LED RED wire to about 12 inches of Red wire you purchased. After soldering, use shrink wrap tubing over the soldered ends. Solder the LED WHITE wire to about 12 inches of Black Wire you purchased. After soldering, use shrink wrap tubing over the soldered ends.
5. Once your glue has dried. Insert both wires into the hole provided on the Middle Ring Lightbox Insert. Add wires to the wire channel provided in the Main Ring half. The Middle Ring Lightbox Insert Side Pegs does not need to be in the provided channel at this time.
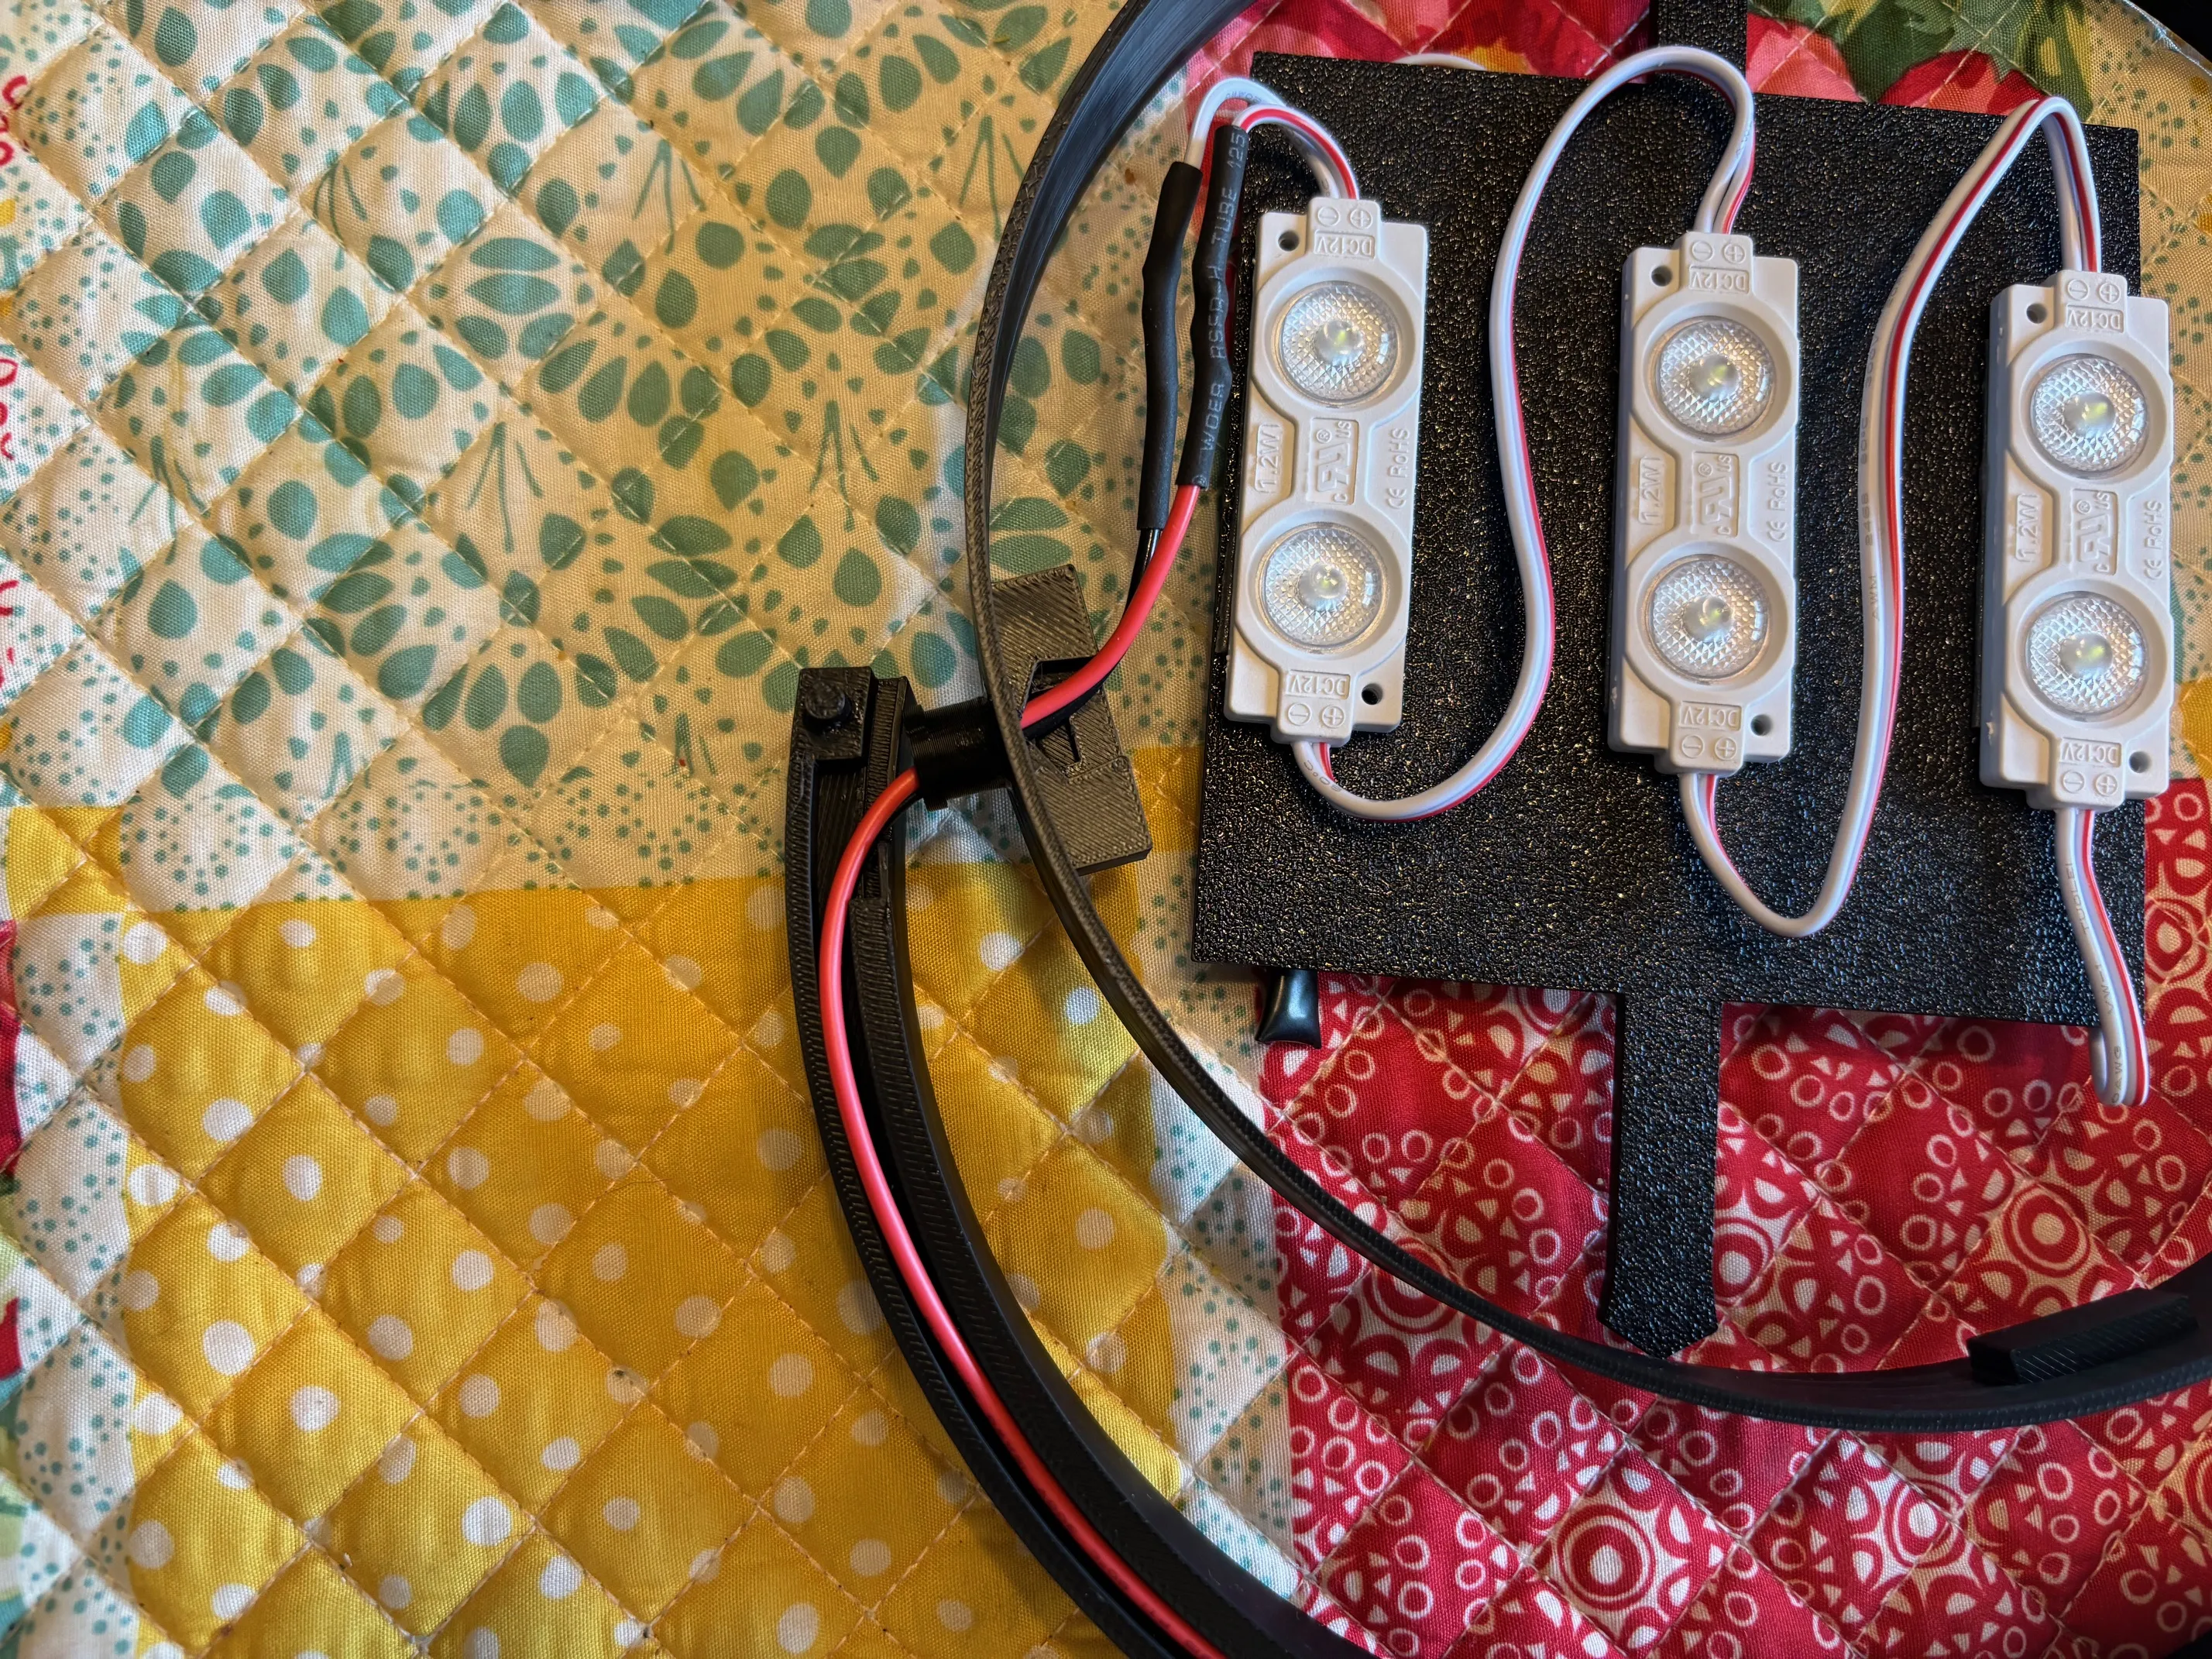
6. Take the top Main Ring half and GLUE to the bottom Ring half with both wires in the channel. I used a clamp for better gluing results. Let dry. Once dry, the Main Ring and Middle Ring LightBox Mount can be combined. Line up both sides and pull the wire as you push the Main Ring and Middle Ring LightBox Mount together.
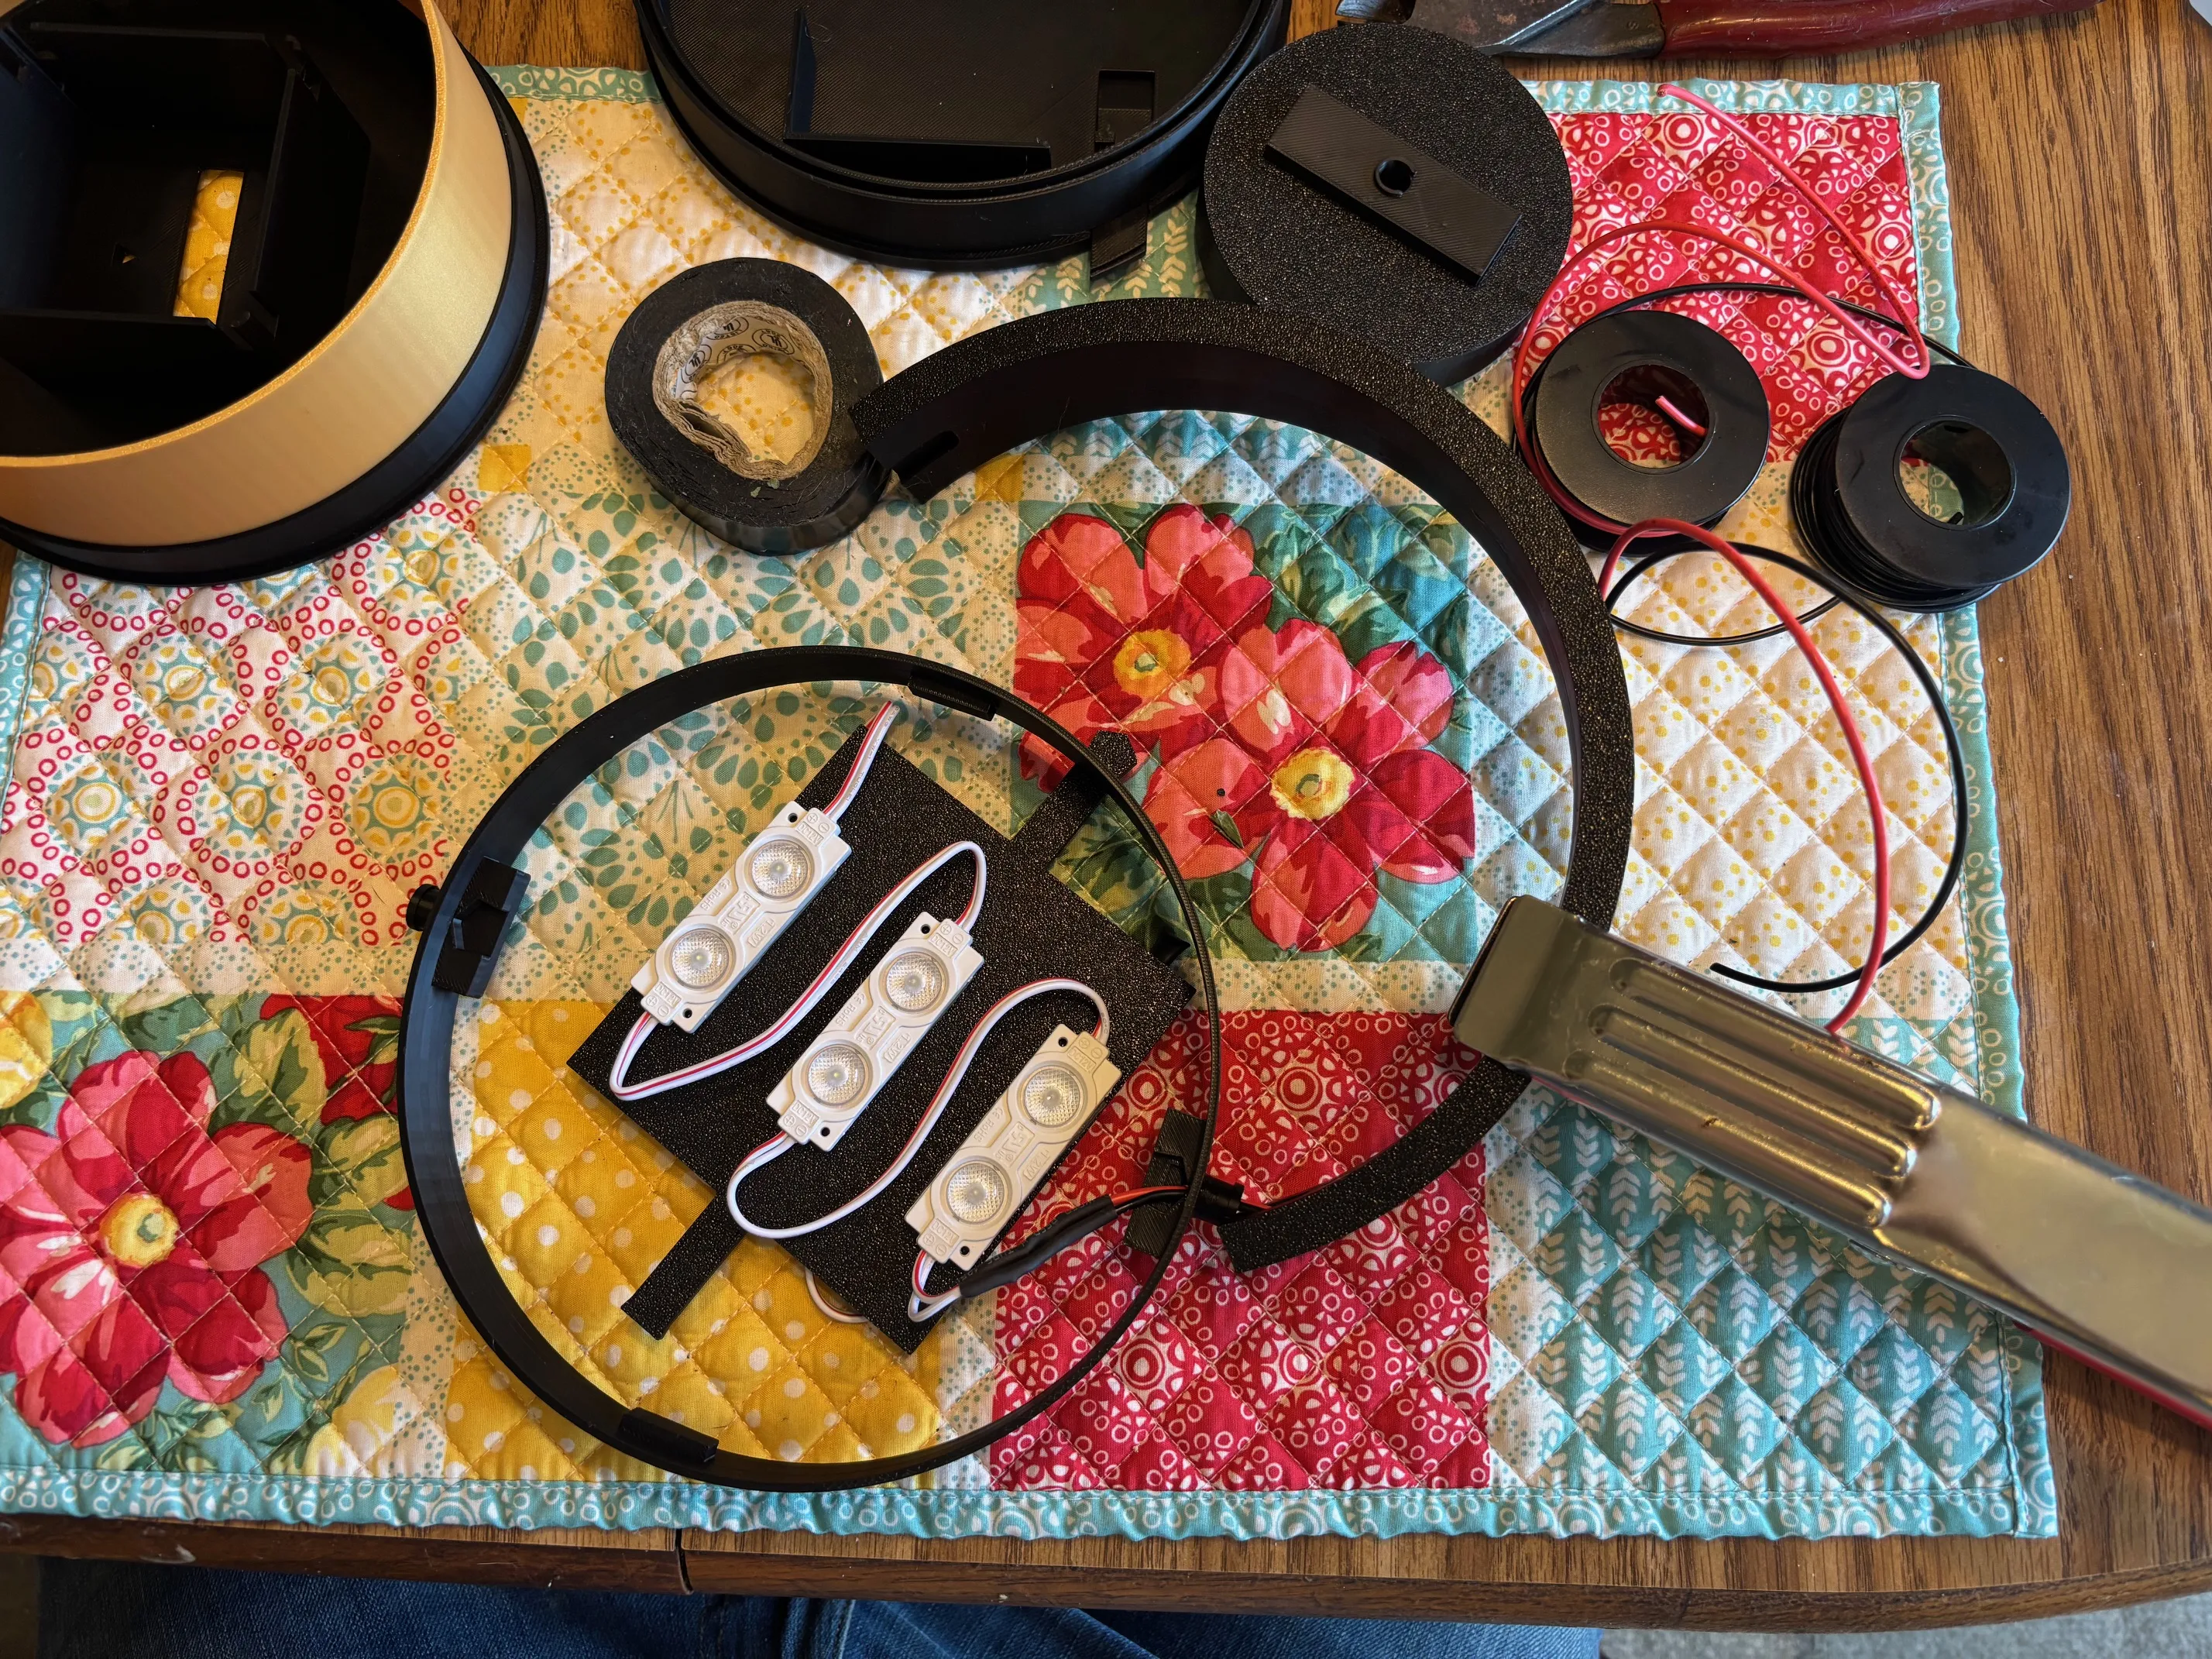
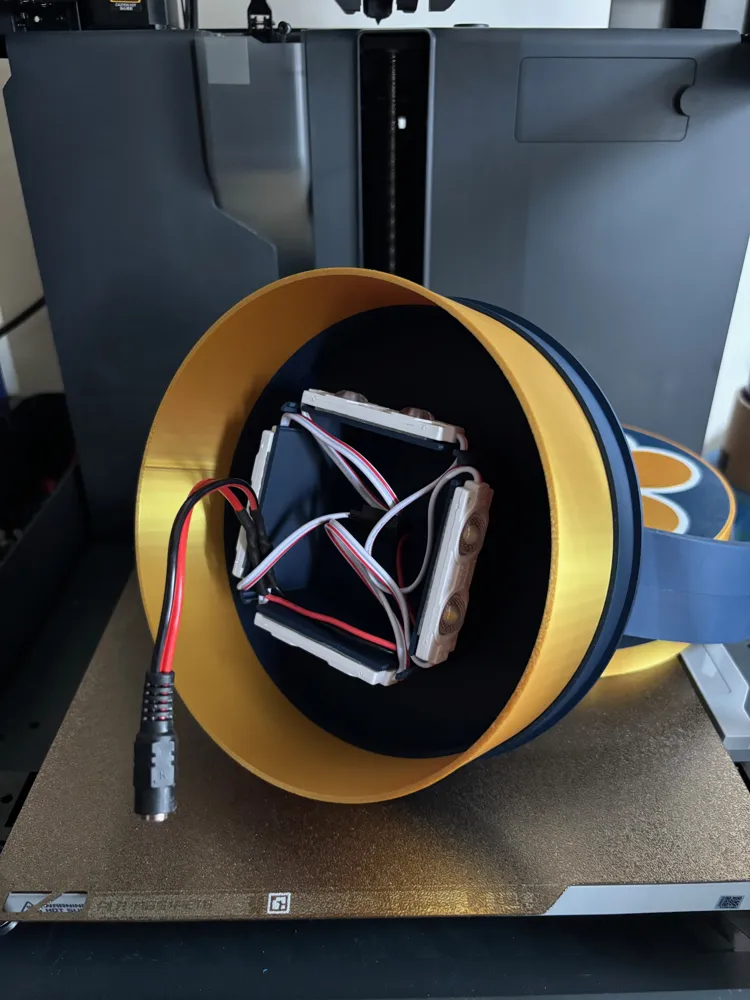
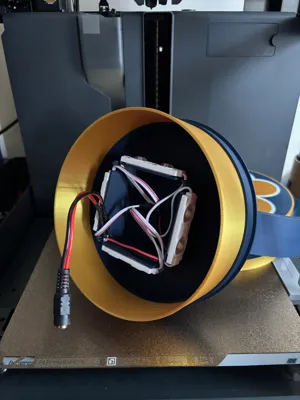
7. As it is drying lets start on the Ring Base Top and the LEDs. Take 4 LEDS and mount them to the inside of the Ring Base Top_A. Use the wire management provided to tuck the wires of each LED into the middle of the Ring Base Top.
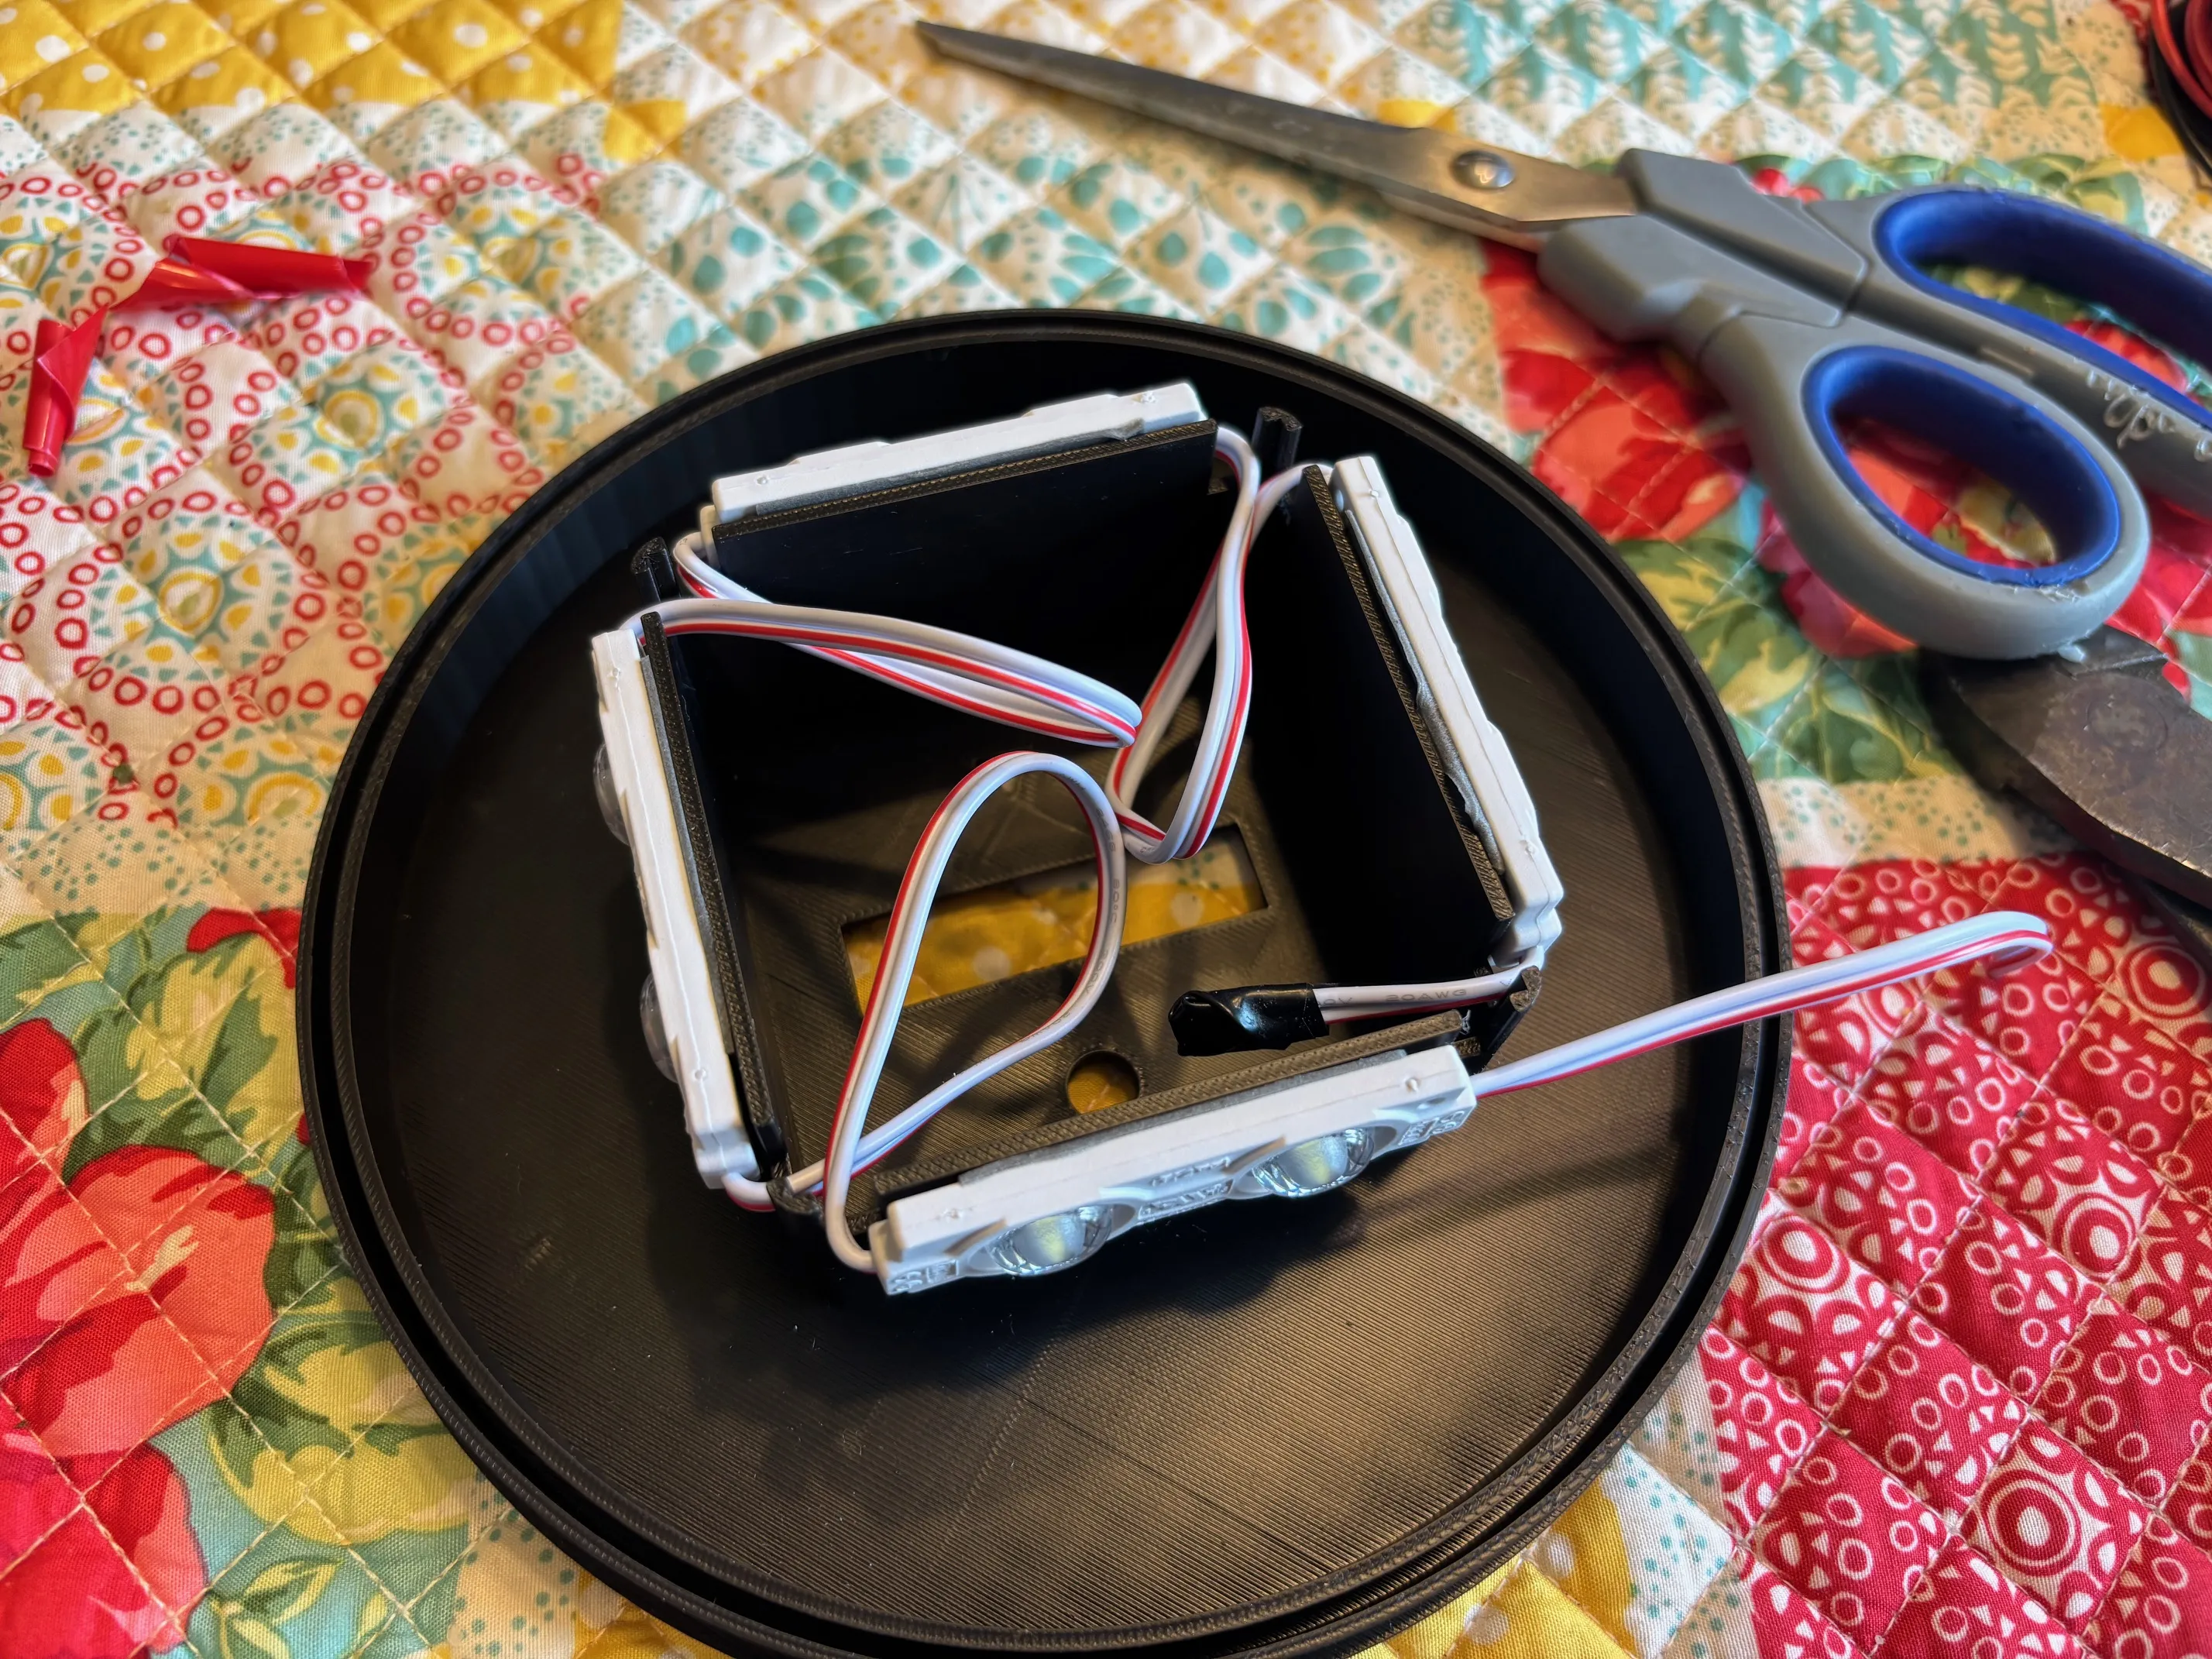
8. Take Ring Base Insert and press fit into Ring Base Top_B. Take wires and put through the hole provided in the Ring Base Insert. GLUE Ring Base Insert to Main Ring. The Ring Base Insert is Keyed.
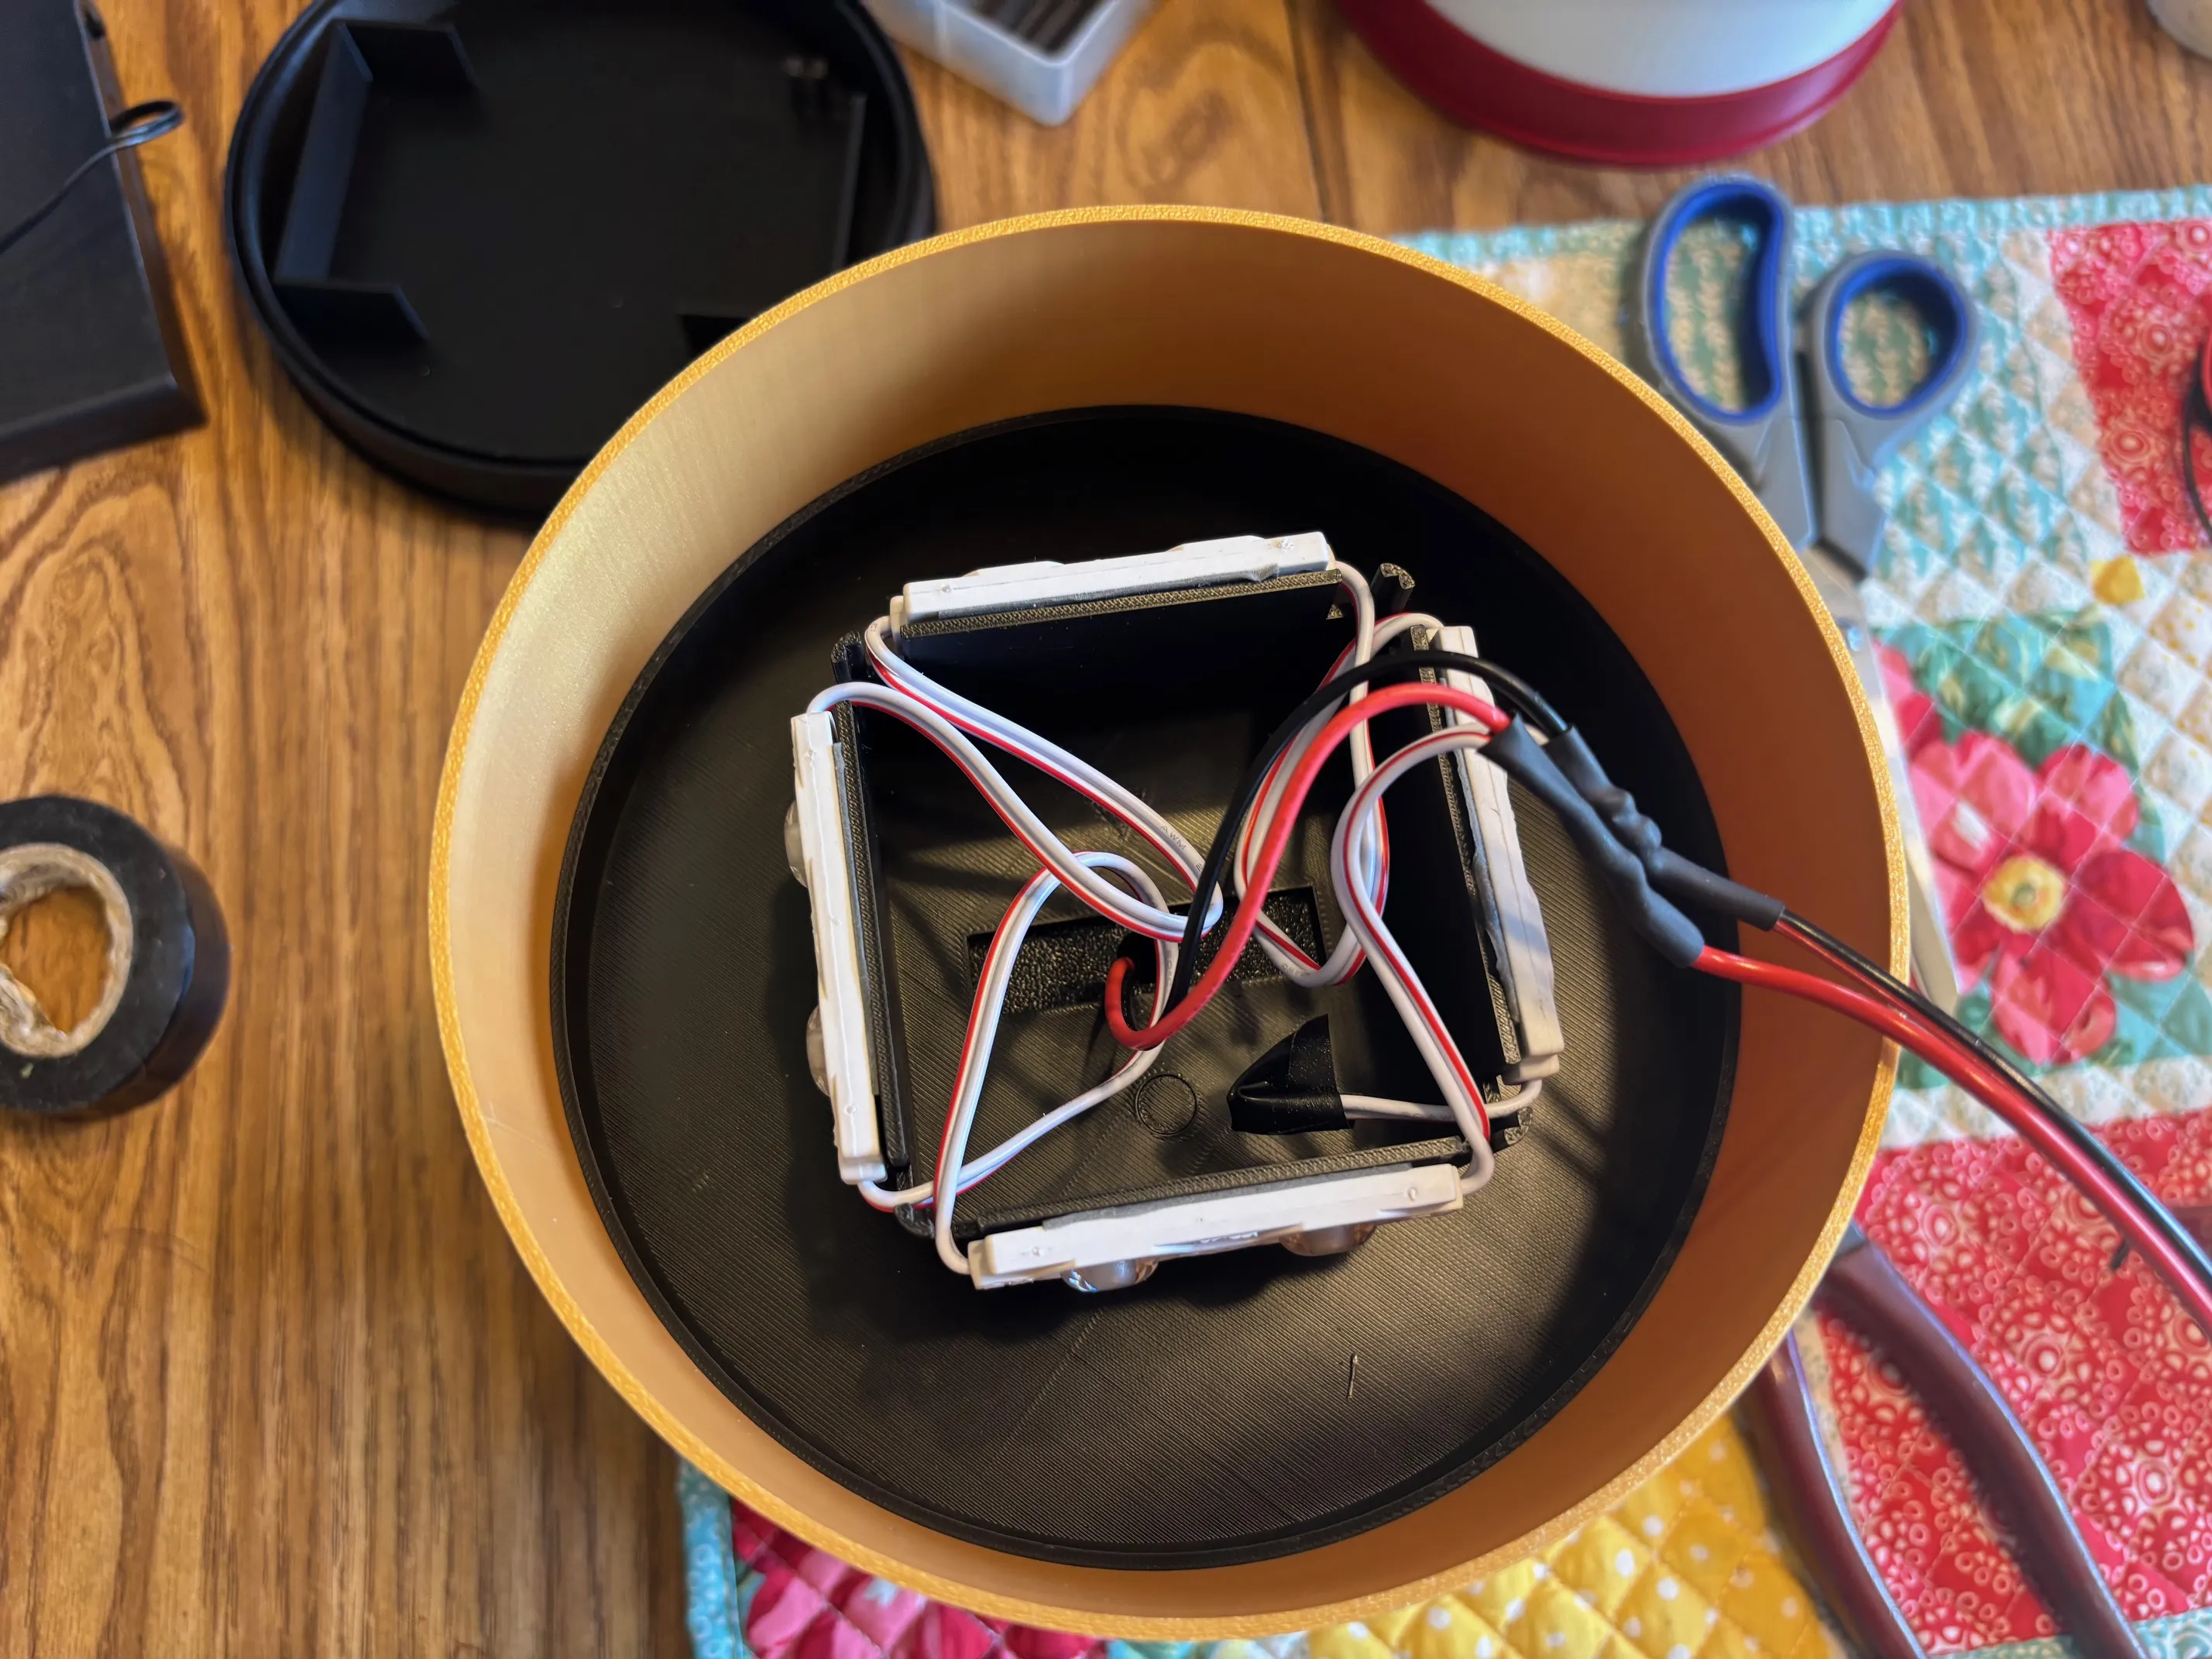
9. Put wire through slit in Ring Base Top_A. GLUE Ring Base Top_A to Ring Base Top_B.
10. Solder Power Pig tail to both LEDs and Wires coming from Top Ring. Add Shrink Wrap Tubing before soldering. RED to RED…… BLACK to BLACK/WHITE wires.
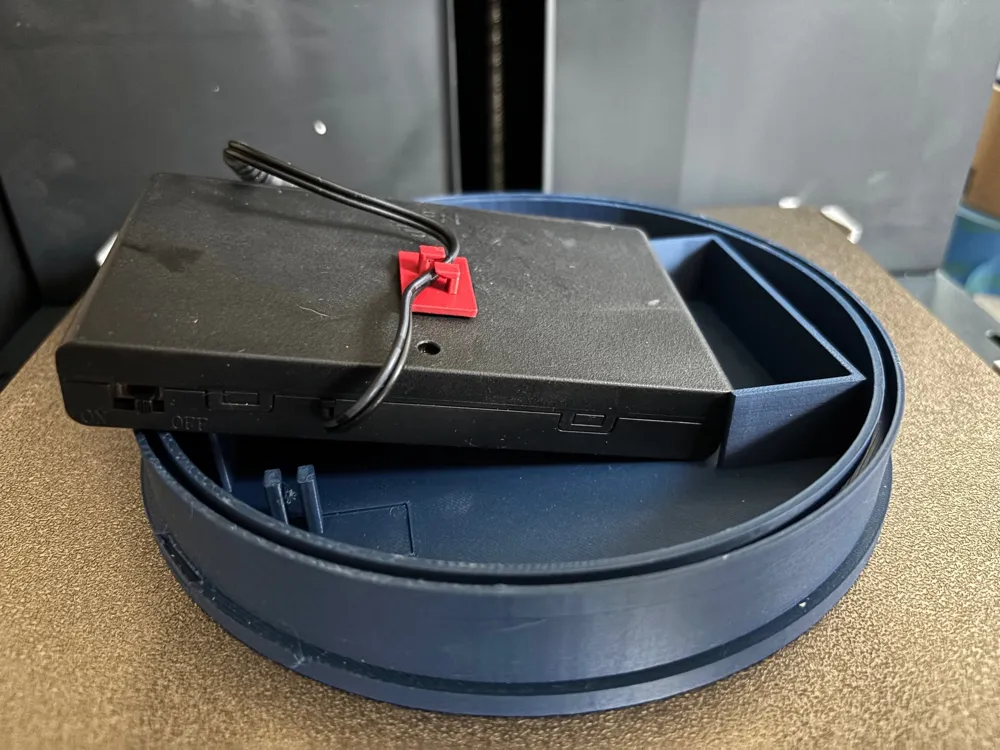
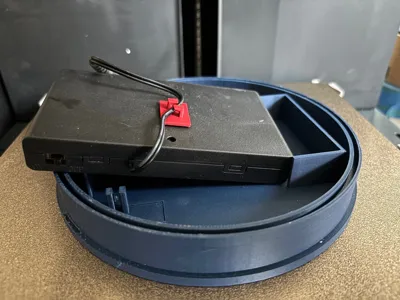
11. Insert Switch into Ring Base Bottom. Add 12v Battery Case/Holder to Ring Base Bottom with power switch inserted into Switch part.
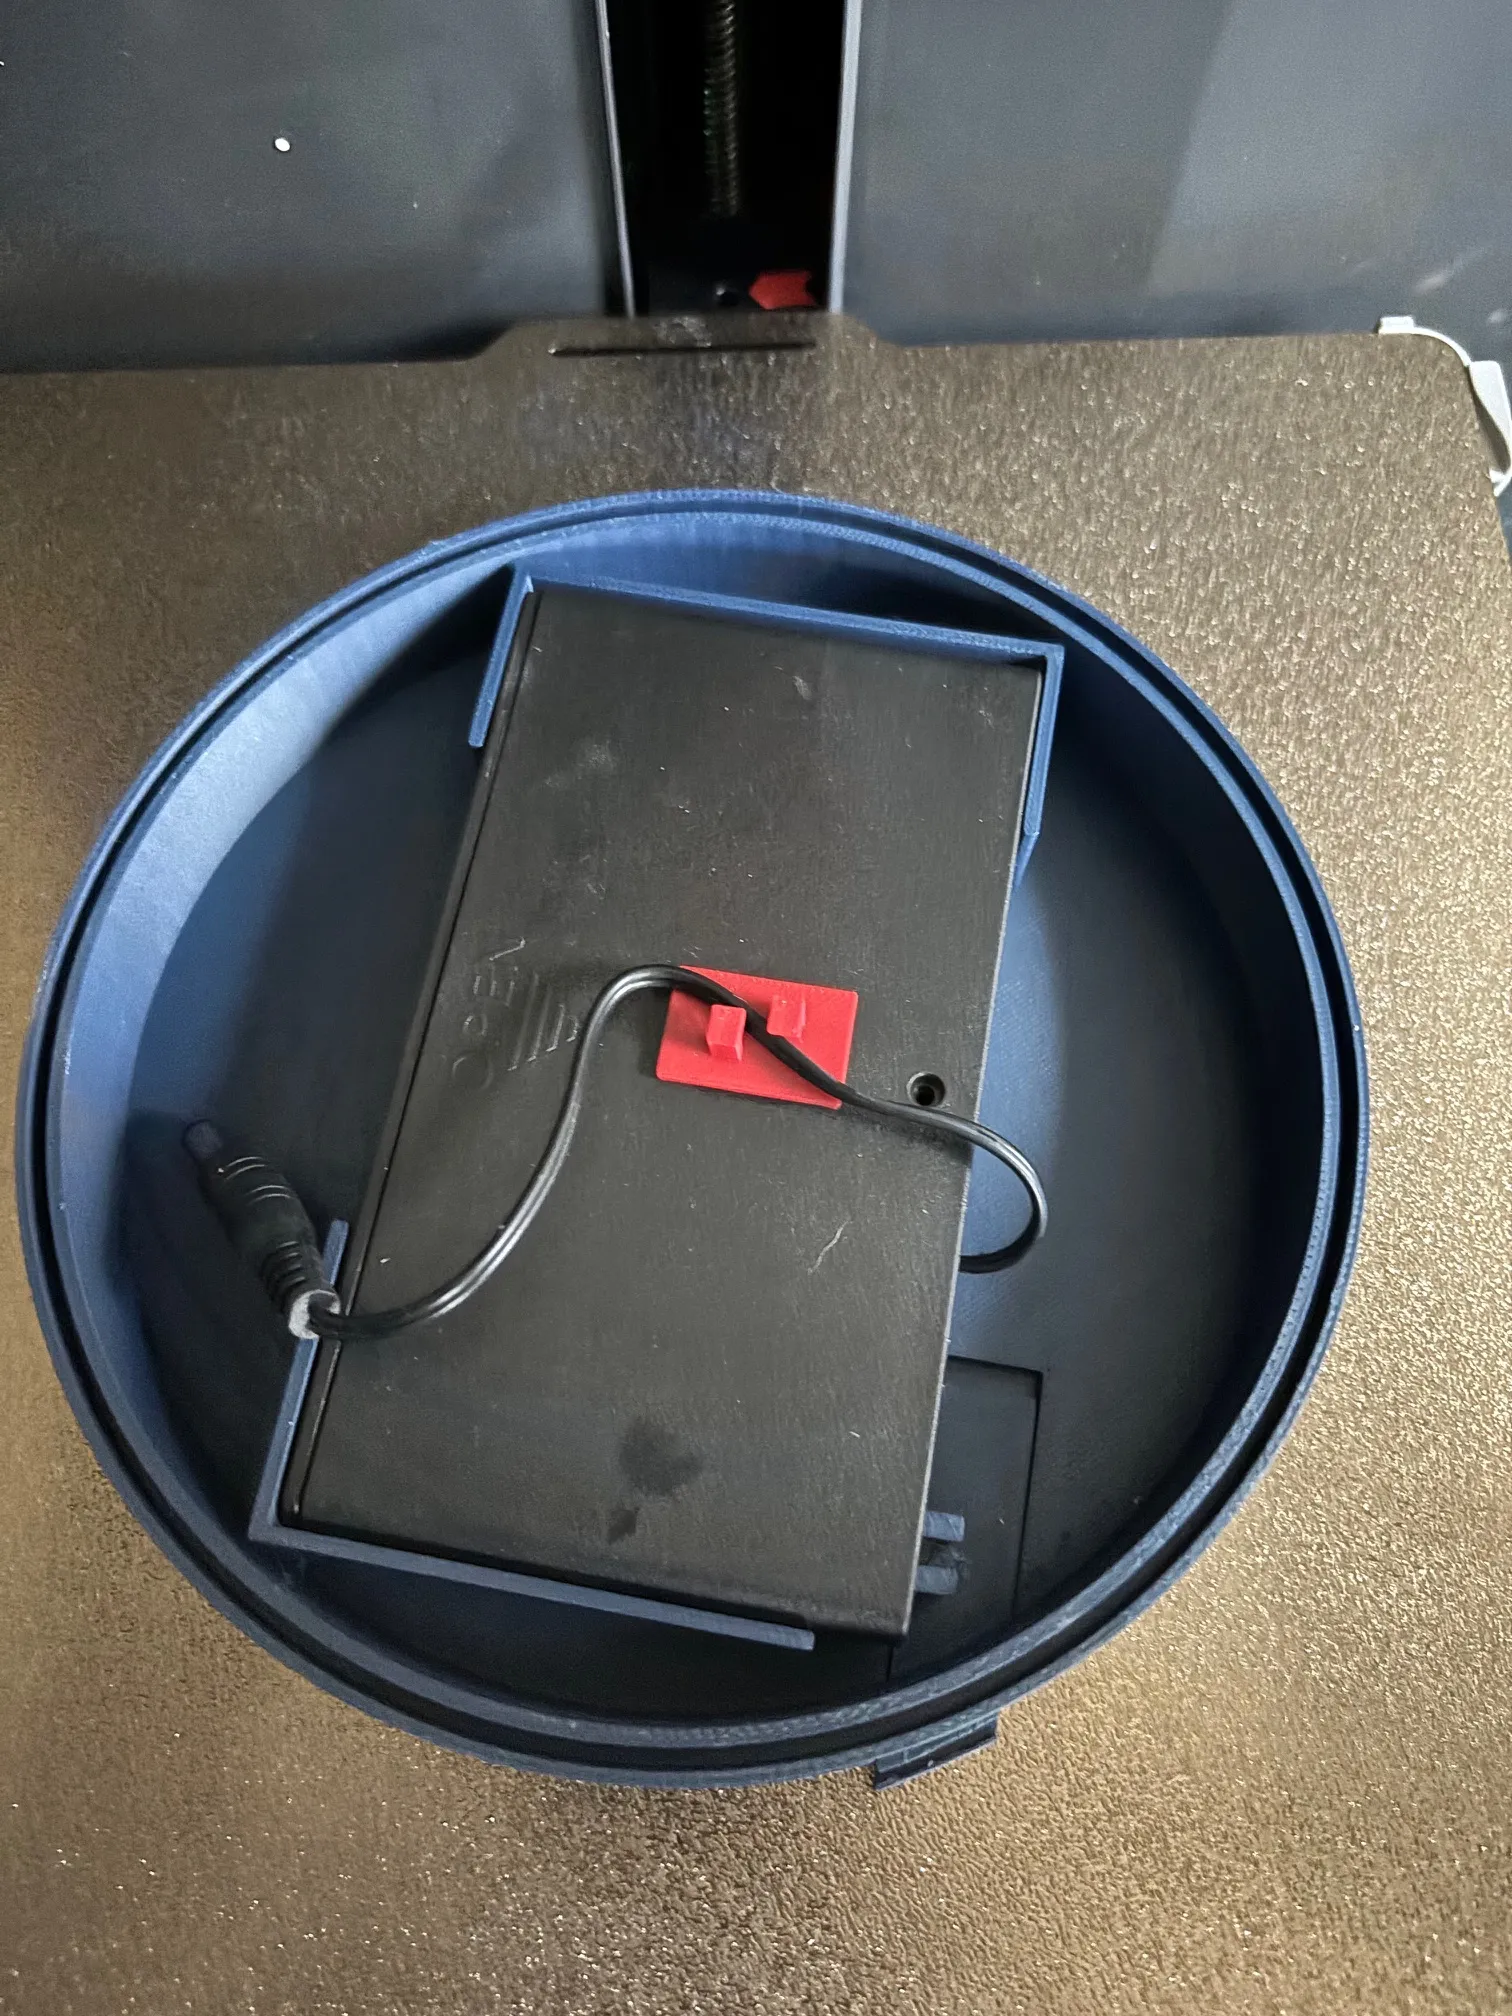
12.The Power Pig Tail now can be connected with the base 12v Battery Case/Holder.

13. Build Complete!
License



Comment & Rating (15)