
very simple arduino robot only servo needed
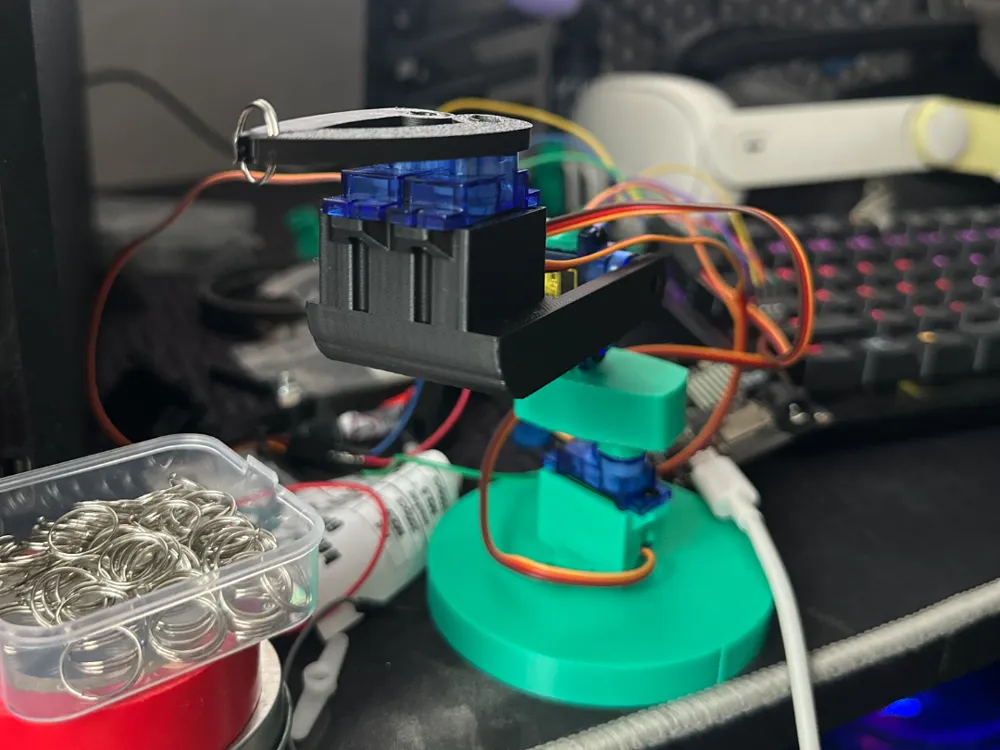
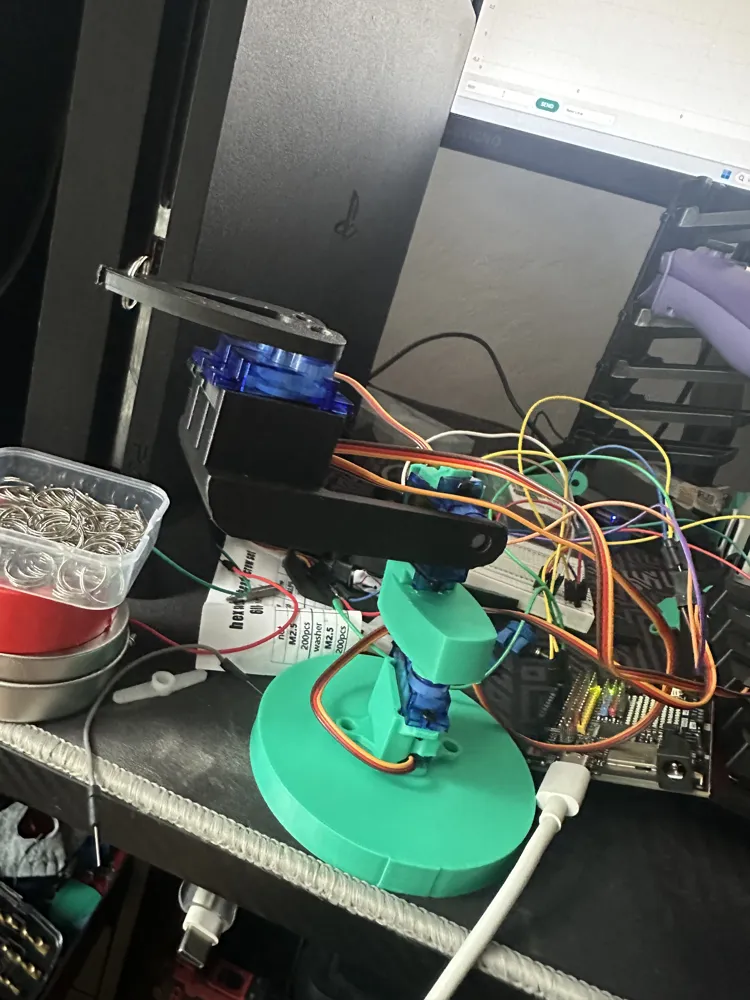
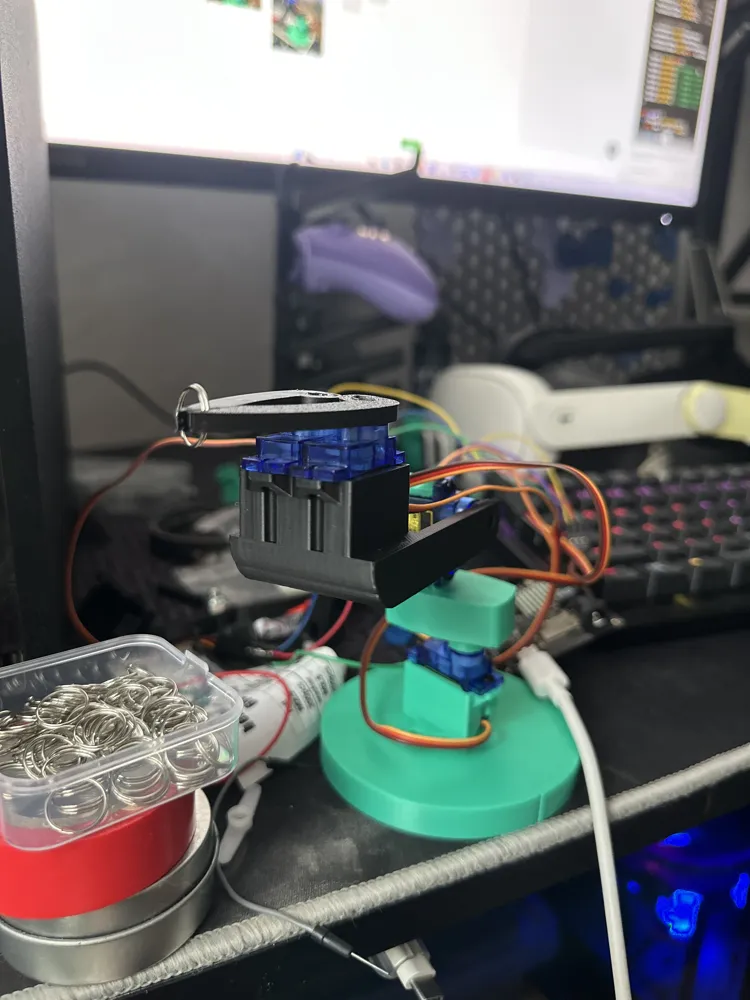
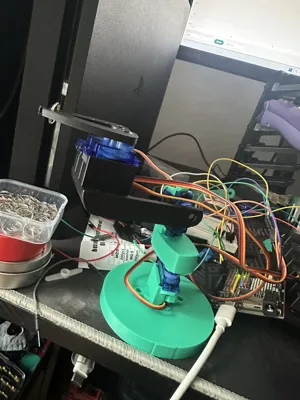
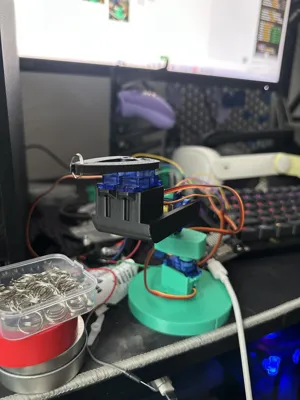
Print Profile(0)
Bill of Materials
- arduino x 1: To
- SQ 90 servo mechanism x 4:
- some wires to connect arduino with servos x 20: i dont know if its 20 or less, or more :D
Description
its the code that allows you to controll robot by “WSAD” and O for open and C for close.
W- up
S - down
A - rotate left
D- rotate right
CODE:
#include <Servo.h>
// Obiekty serwomechanizmów
Servo serwoRamie; // ramię góra/dół (teraz pin 3)
Servo serwoObrot; // obrót L/P (teraz pin 5)
Servo serwoSzczekaL; // lewa szczęka (pin 6)
Servo serwoSzczekaP; // prawa szczęka (pin 9)
// Pozycje początkowe
int ramiePos = 45; // środek zakresu
int obrotPos = 45; // środek zakresu
int szczekaPos = 0; // szczęki zamknięte
void setup() {
// Przypisanie pinów
serwoRamie.attach(3); // ramię góra/dół
serwoObrot.attach(5); // obrót L/P
serwoSzczekaL.attach(6); // lewa szczęka
serwoSzczekaP.attach(9); // prawa szczęka
// Pozycje startowe
serwoRamie.write(ramiePos);
serwoObrot.write(obrotPos);
serwoSzczekaL.write(szczekaPos);
serwoSzczekaP.write(90 - szczekaPos);
Serial.begin(9600);
Serial.println("Sterowanie:");
Serial.println("w - ramię w górę");
Serial.println("s - ramię w dół");
Serial.println("a - obrót w lewo");
Serial.println("d - obrót w prawo");
Serial.println("o - otwórz szczęki");
Serial.println("c - zamknij szczęki");
}
void loop() {
if (Serial.available()) {
char cmd = Serial.read();
switch (cmd) {
case 'w': ramiePos = constrain(ramiePos - 5, 0, 90); break;
case 's': ramiePos = constrain(ramiePos + 5, 0, 90); break;
case 'a': obrotPos = constrain(obrotPos - 5, 0, 90); break;
case 'd': obrotPos = constrain(obrotPos + 5, 0, 90); break;
case 'o': szczekaPos = constrain(szczekaPos + 5, 0, 90); break;
case 'c': szczekaPos = constrain(szczekaPos - 5, 0, 90); break;
}
// Aktualizacja pozycji serw
serwoRamie.write(ramiePos);
serwoObrot.write(obrotPos);
serwoSzczekaL.write(szczekaPos);
serwoSzczekaP.write(90 - szczekaPos);
// Informacja zwrotna
Serial.print("Ramie: "); Serial.print(ramiePos);
Serial.print(" | Obrot: "); Serial.print(obrotPos);
Serial.print(" | Szczeki: "); Serial.print(szczekaPos);
Serial.print(" / "); Serial.println(90 - szczekaPos);
}
delay(50);
}
code is designed for arduino uno. you need to connect power to 5V, every signal wire from servo to PWM pin on your arduino. (~)
Boost Me (for free)
Hi! That project took me quite a bit of time, so I’d really appreciate a boost! :D
License

You shall not share, sub-license, sell, rent, host, transfer, or distribute in any way the digital or 3D printed versions of this object, nor any other derivative work of this object in its digital or physical format (including - but not limited to - remixes of this object, and hosting on other digital platforms). The objects may not be used without permission in any way whatsoever in which you charge money, or collect fees.


Comment & Rating (0)