
Quad Cortex Protection V1 & V2
Print Profile(3)

Bill of Materials


Description
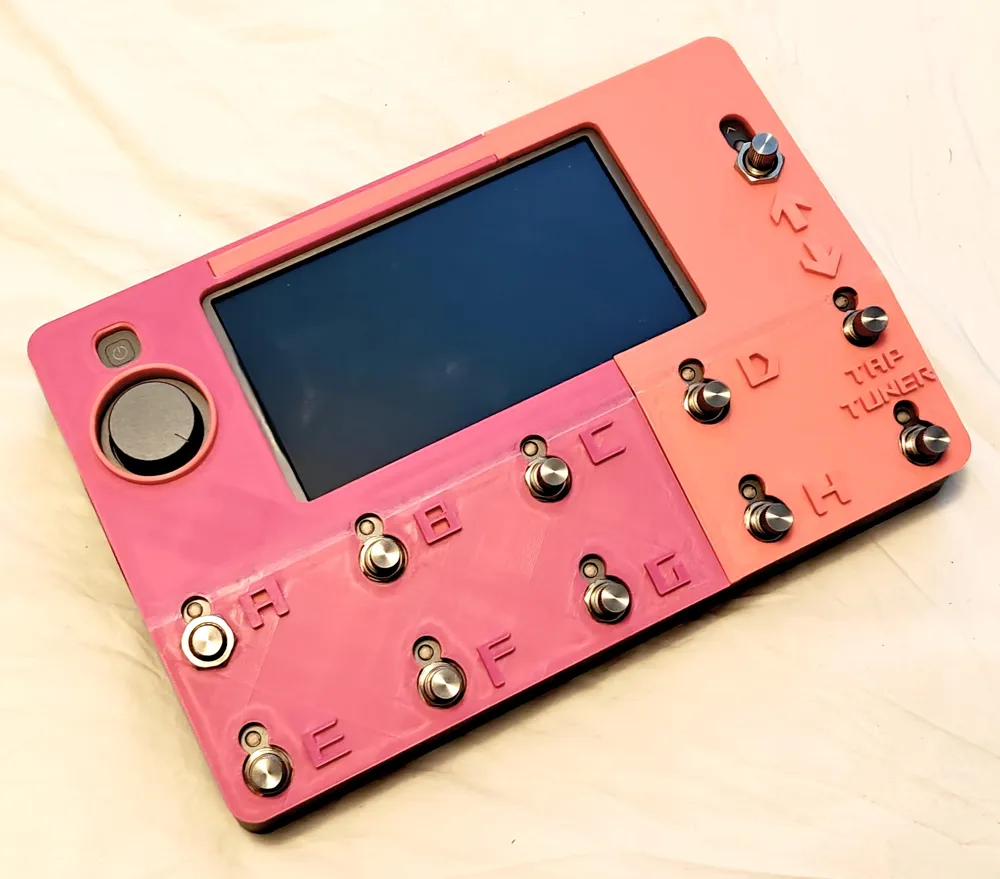
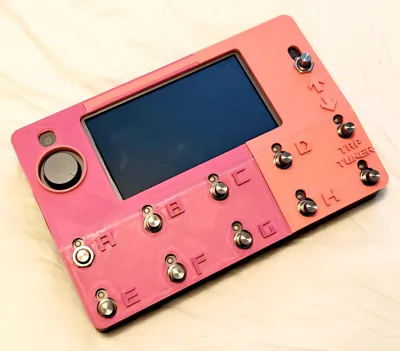
2026-04-15 Update: After recieving requests i've now added a printing profile of the V2 version with lettering. This model is printing face up so the surface isn't going to be as smooth as the V2 without lettering.
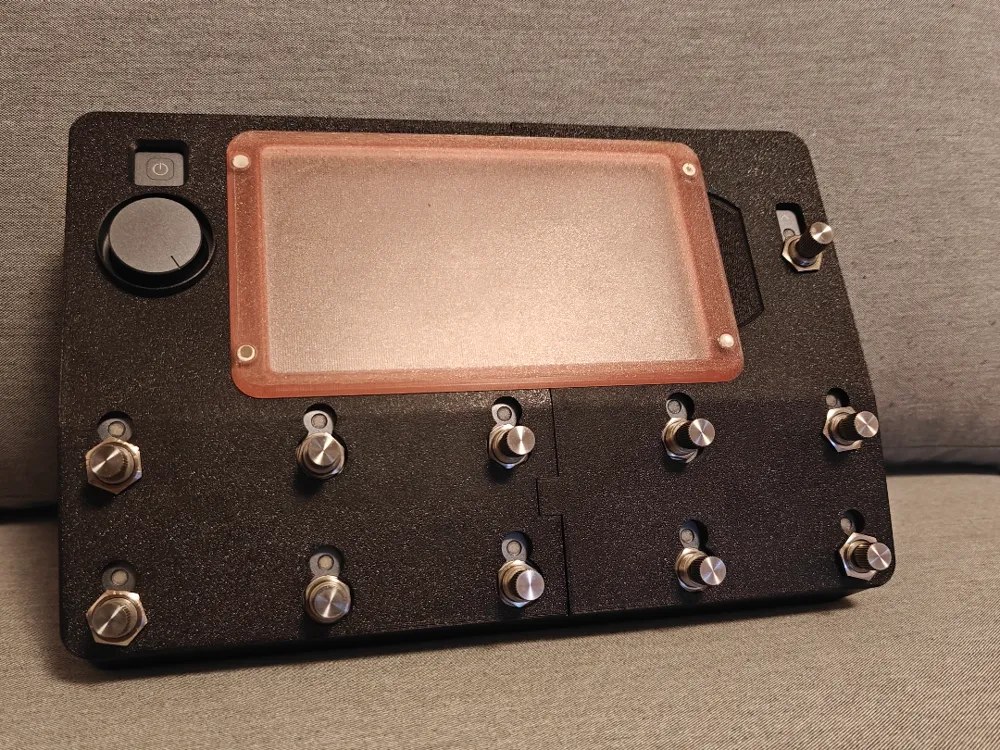
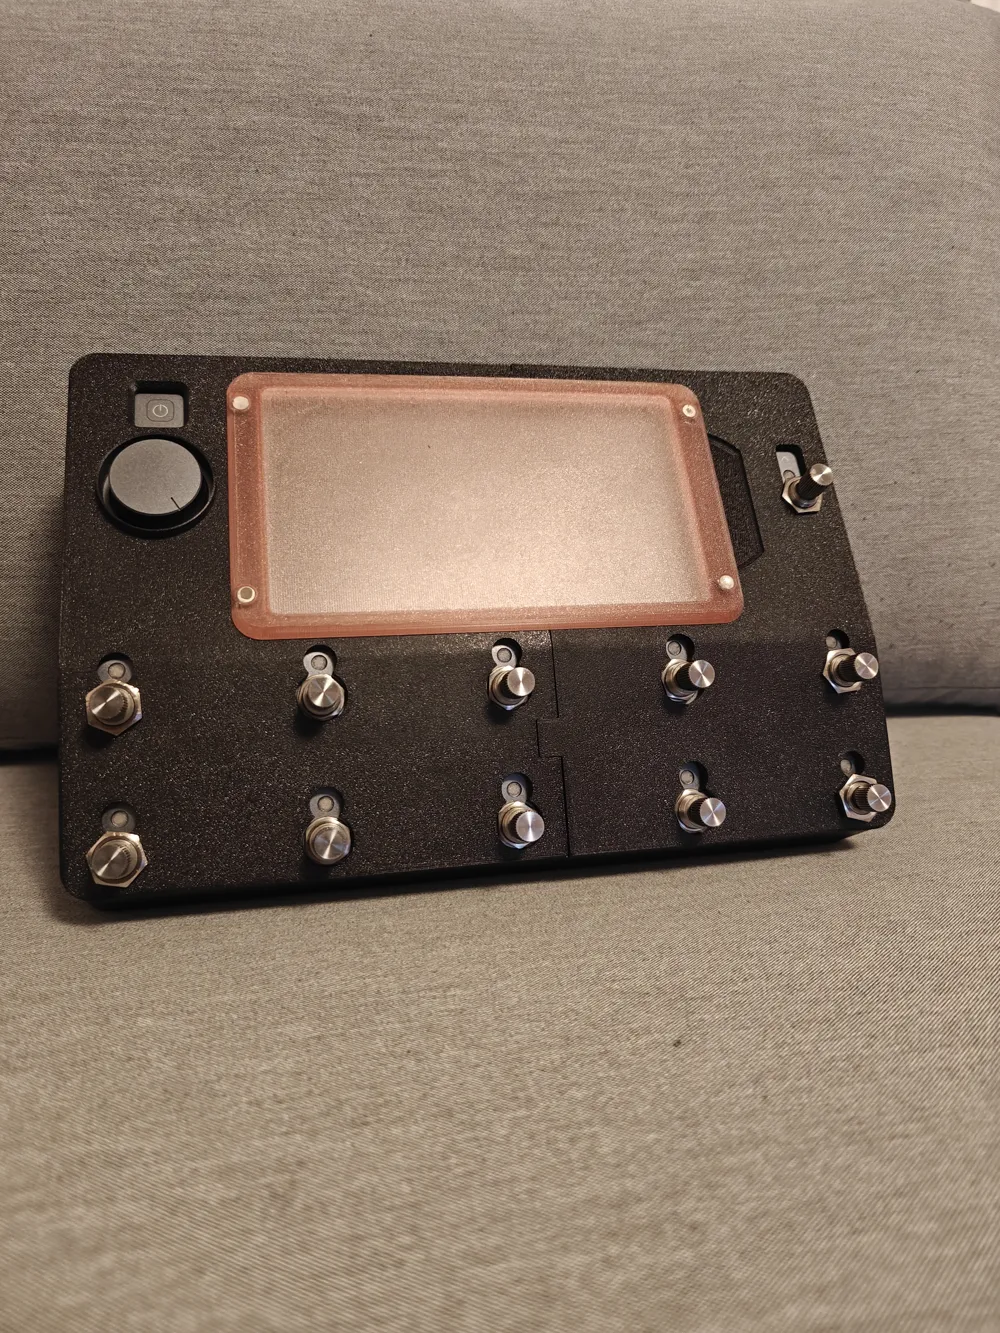
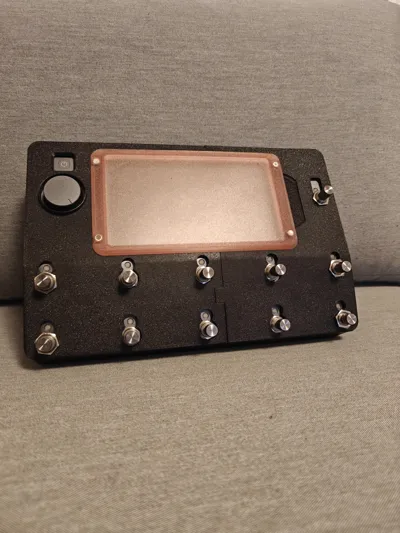
2026-03-07 Update: I have now finished version 2 of this model. I've basically overhauled the design to fit the unit better. I've added holes to fit 6mm x 2mm magnets in order to have a magnetic lid. I bought the magnets from Amazon so they are most likely available in most markets. The holes are deeper then 2mm in order to fit the glue to keep them attached to the unit. This version doesn't feature any lettering but if you are interested i can upload a version with lettering.
2026.02.21 Update: Upon request, i've added blank STL files and Bambu Studio projects
I designed this QC protector that is supposed to keep the surface of the unit cleaner from scratches & protect the device.
It's designed to be very snug so a bit of hammer violence might be needed. If you are going to use it outdoors print with PETG.
TIP: If you are using bambu studio to edit the printing settings you can add a pause or filament swap for the lettering. I'd recommend to print that part using Glow in the dark filaments.
steps after printing:
1: Make sure the print cools down for easier support removal
2: Bend the lower part of the model so that it can go over the angled surface of the unit
3: Attach the protector with m12 .075 nut
License

You shall not share, sub-license, sell, rent, host, transfer, or distribute in any way the digital or 3D printed versions of this object, nor any other derivative work of this object in its digital or physical format (including - but not limited to - remixes of this object, and hosting on other digital platforms). The objects may not be used without permission in any way whatsoever in which you charge money, or collect fees.


Comment & Rating (22)