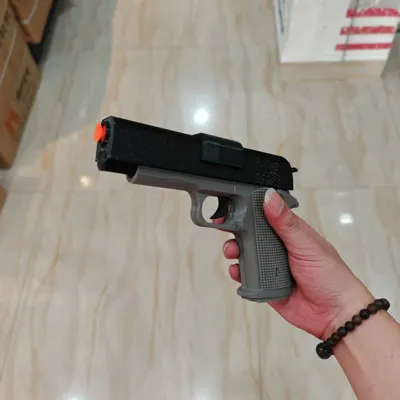
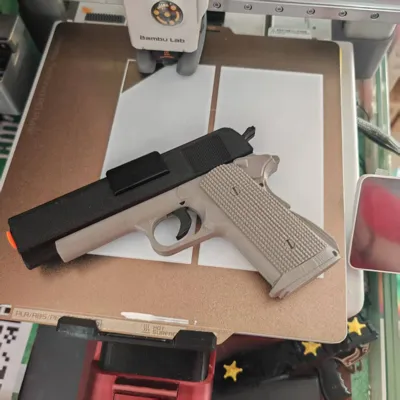
toy pistol foam dart blaster


Print Profile(3)


Description
Boost Me (for free)
Please follow, like, and boost me
This pistol uses ordinary foam soft darts, making it safe and fun
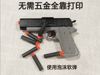
No hardware is needed. Only rubber bands and foam darts are required
Please use high-strength materials. I used PETG without any issues. Other materials have not been tested yet
Please try to avoid dry firing, as it lacks air pressure cushioning and can cause damage more easily
After racking the slide, it must reset before firing
Installation Guide:
Print two plates


Remove all supports and clean up any burrs or rough edges

Add lubricant or grease to all sliding grooves and movable holes (If the round holes are irregular, they may need slight trimming with a tool)

As shown, hook the linkage rod with a rubber band and install the trigger (The printed cylindrical parts of the linkage rod and trigger may have imperfections and need to be trimmed slightly to move smoothly in the movable holes)

Apply lubricant and insert the connecting post into the hole

Combine the two sides of the gun body

Take a section of dart foam to use as a piston seal. Pearl cotton or rubber sheets will also work, but the thickness must be sufficient, as this also acts as a buffer


Fix it with screws or glue to the front end of the cylinder push rod

Trim the edges to make them somewhat round, it doesn't need to be perfectly circular. The size must be larger than the cylinder, just enough to be inserted. The foam needs to be thick enough to act as a buffer

Lubricant needs to be applied inside the cylinder

As shown, insert the cylinder into the gun body and secure the rubber bands to the cylinder (the same applies to the other side). The rubber bands should not be too tight, just moderately taut

Install one side of the pull bar. The pull bar also needs lubrication. Also install the connecting post

Confirm that all parts are snapped into place and combine the pull bar

Finally, snap on the pull bar retainer to complete the installation

License
You shall not share, sub-license, sell, rent, host, transfer, or distribute in any way the digital or 3D printed versions of this object, nor any other derivative work of this object in its digital or physical format (including - but not limited to - remixes of this object, and hosting on other digital platforms). The objects may not be used without permission in any way whatsoever in which you charge money, or collect fees.
Comment & Rating (21)