Type 3 Chi-Nu (1943) WW2 Tank, Scale 1:30


Print Profile(2)


Description
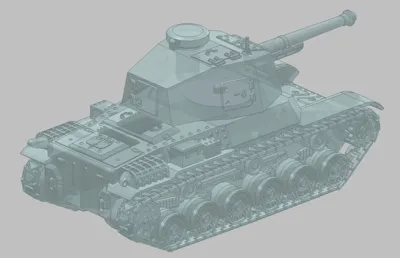
This is a japanese world war 2 tank model, designed by Me matching various drawings, real photos of the vehicle and some articles you also can find on the internet. The model can be assembled without glue, so I use tight tolerances. (Scale 1:30) If you find any errors in desing, printing settings or have any suggestions feel free to leave a comment.
Please read the print settings and assembly with care, it may save some valuable time and filament. Some parts can break easily.
Print settings: (Those are my settings that worked on Bambulap P1S)
- All plates are printed with a 0.4 nozzle with the layer height of 0.08 mm, PLA, 15% infill.
- I use 35 mm/s speed for the first layer on all plates.
- All plates and parts was printed with 2 walls, EXCEPT the turret that has 4 walls to have better angeled surfaces.
- On the 3rd plate printing speeds are reduced to about 65-75% of the normal values because this way the tracks will fit just fine.
- Supports only from the table, and for crucial areas only.
- Tree support for the two split tank bodys on the 1st plate.
- Normal support for the turret on the 2nd plate.
Assembly: (recommended)
- Phus the 4 pins into the blind holes on one side of the splitted tank body.
- Join the two sides,
- Phus the wheels on the correct pin sticking out of the wheeled sides. If not sure you can see the correst order of the wheels on the picture. (If you put them in wrong order the tracks may not turn properly.)
- Phus the wheeled sides to the tank body.
- Join the tracks. There should be 61 pieces on each side, if it is hard to connect it also works with 62 or even 63. (On the 3rd plate there are 130 so that should be enough, even if some of them break.)
- The cone, hatch and gun should be phused to the correct place on the turret, seen on pictures.
License
You shall not share, sub-license, sell, rent, host, transfer, or distribute in any way the digital or 3D printed versions of this object, nor any other derivative work of this object in its digital or physical format (including - but not limited to - remixes of this object, and hosting on other digital platforms). The objects may not be used without permission in any way whatsoever in which you charge money, or collect fees.
Comment & Rating (10)