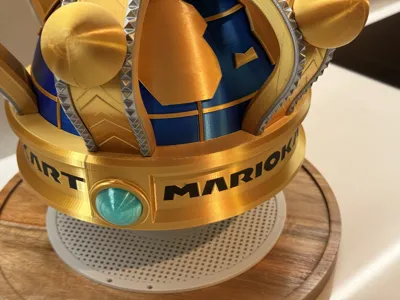
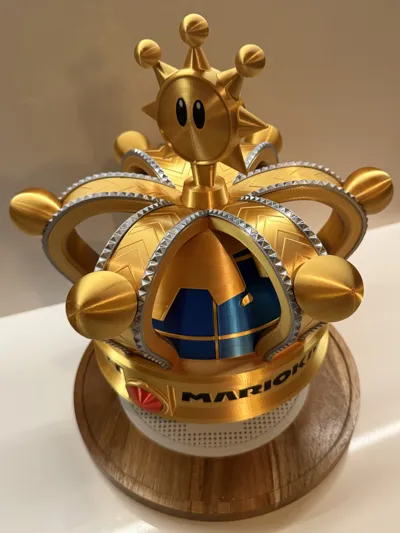
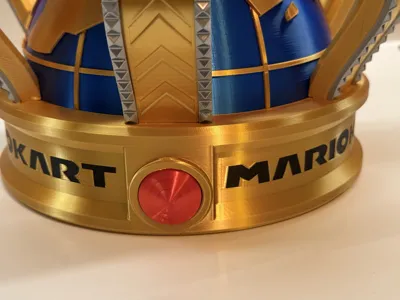
[V2] Mario Kart World Crown - Full size replica


Print Profile(3)
![[LETTERS WITH AMS] Crown Base](https://makerworld.bblmw.com/makerworld/model/USb17671de8acfc/396752356/instance/2025-09-01_e581cd0a0c40f8.jpeg?x-oss-process=image%2Fresize%2Cw_100%2Fformat%2Cwebp)
![[No AMS needed] All parts separated [v2.0.2]](https://makerworld.bblmw.com/makerworld/model/USb17671de8acfc/469573162/instance/2025-09-01_2c56e8676eac98.jpeg?x-oss-process=image%2Fresize%2Cw_100%2Fformat%2Cwebp)
![[NO LETTERS] Crown Base](https://makerworld.bblmw.com/makerworld/model/USb17671de8acfc/396752994/instance/2025-09-01_b84e404e7d2d2.jpg?x-oss-process=image%2Fresize%2Cw_100%2Fformat%2Cwebp)
Bill of Materials


Description
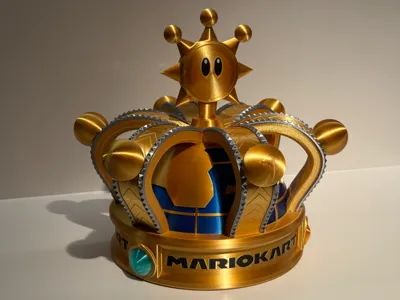
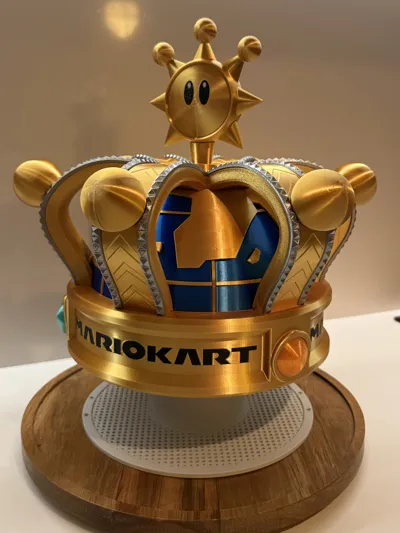
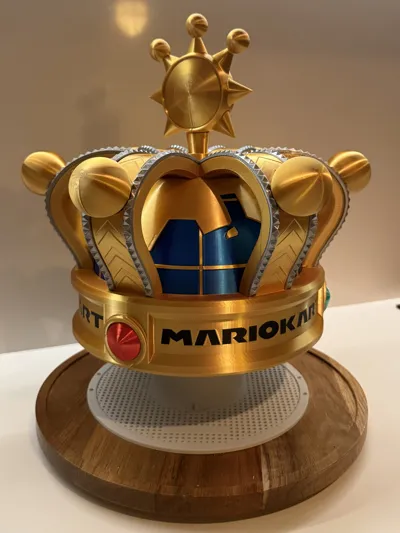
This is a new version of the full-size Mario Kart World Crown I created, where I redesigned every part for easier printing and assembly.
It is designed as a detailed display piece or wearable prop and can fit an average adult head but can be scaled as needed. In this new version I added some slots at the bottom to be able to add chin straps but keep in mind that the crown is still a bit top heavy and not necessarily super comfortable to wear.
Check out my new matching Rainbow-Road-inspired display base here

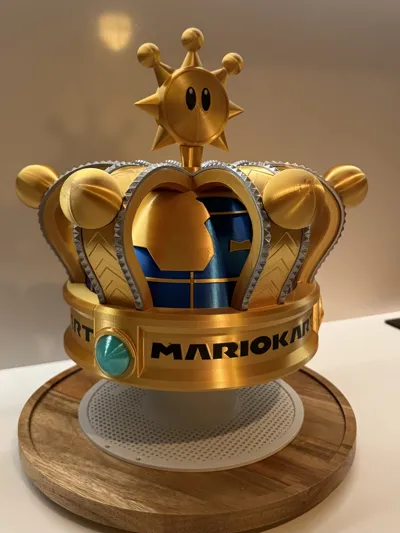
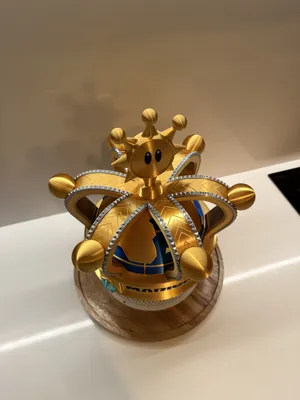
⚠️ Shine Sprite: To print the Shine part, check out the ‘[v2] Mario Kart World Crown’ Print profile I created for Alchemist Industries' excellent model of Shine Sprite - Mario Sunshine https://makerworld.com/nl/models/494504-shine-sprite-mario-sunshine#profileId-1863861
Summary of changes compared to v1:
- Increased tolerances
- AMS now 100% optional added the letters for the base of the crown on a separate build plate in the [NO AMS] print profile.
- Better print quality: either by better orientation on the build plate, smaller layer height, adjustments in geometry or a combination of these)
- Easier print of especially the map part by decreasing overhang on the top part and shortening the longitude lines
- Only 6 connector pins for the orbs on the arms/arches
- Less supports needed
- Minimal glue needed only for the shine sprite and the islands (and in case of the [NO-AMS] print profile also the letters for the base of the crown.)
Print Information:
- Print in parts: Since all the parts of the crown are separate, it makes it easy to print in different colors if desired.
- ⚠️ Shine Sprite: To print the Shine part, check out the ‘[v2] Mario Kart World Crown’ Print profile I created for Alchemist Industries' excellent model of Shine Sprite - Mario Sunshine https://makerworld.com/nl/models/494504-shine-sprite-mario-sunshine#profileId-1863861
- Map part: Printing at 50% speed is still my advice for optimal results.
- Layer Heights: Default layer height of 0.12, shine and orbs are best at 0.08. But feel free to adjust to sacrifice a bit of quality for faster print times.
Assembly Information:
- Start with the top of the globe by placing/pressing the top of the globe in the map part. Then add the (small) latitude line. You should be able to click it into the top part and make these 3 parts feel like a whole.
- Glue the islands in the bottom part of the globe and glue the two halves of the shine sprite.
- Place the bottom part of the globe in the base and add the big latitude line. Then try out the placement of the top part (from step 1) by loosely placing it on the globe. Make sure the map lines up with the placement of the islands. (see pictures for reference). Now get the smaller (longitude) lines and ‘puzzle’ them in place with the map as a reference to pick the right length. You can lift the top to be able to press in the lines in the bottom globe part where needed.
- Add the top part where the Shine sprite will be placed in at top of the globe.
- Add an arm by placing it with a vertical motion on the z-axis from top to bottom. It should be a snug fit. After that you should be able to add the silver jewel strips fairly easy by first pressing the bottom of it in the base of the crown and then it should ‘click’ in place at the top of the arm. If there is still a gap, push it down a little until it's snug on the arm. Add the orb and repeat for the other 5 arms.
- Click in the gem stones in the base and glue the Shine Sprite in it's holder
💡 I test-printed multiple iterations but mostly with the same filament. Not all of the spools were flow-rate (re-)calibrated. If you notice any problems with tolerances (or print quality) with certain filaments and/or parts, please let me know and I'll try to help out where I can.
Filaments Used in Example:
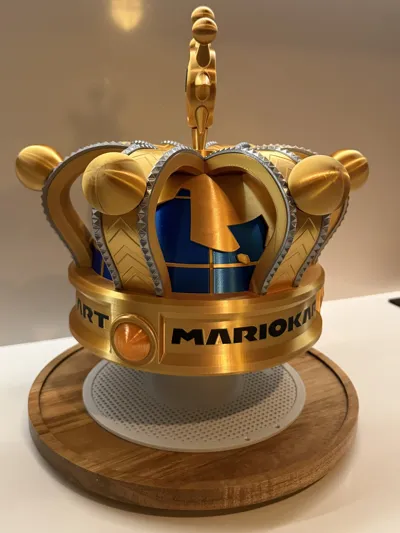
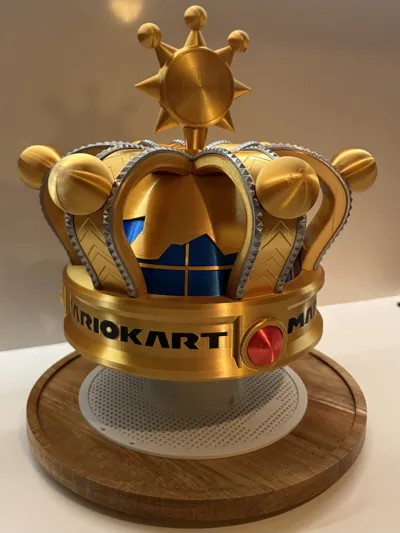
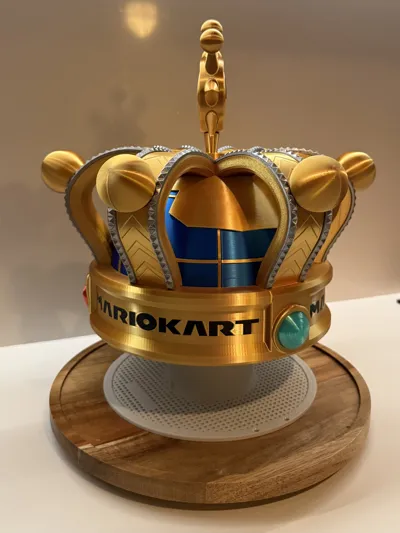
- Tinmorry PLA Silk Gold, Silver – for the arches, crown body, and trim.
- CC3D PLA Silk Blue, Red – for the globe and one of the gems.
- Bambulab Translucent PETG Orange, Teal - for the other two gems
License
You shall not share, sub-license, sell, rent, host, transfer, or distribute in any way the digital or 3D printed versions of this object, nor any other derivative work of this object in its digital or physical format (including - but not limited to - remixes of this object, and hosting on other digital platforms). The objects may not be used without permission in any way whatsoever in which you charge money, or collect fees.
Comment & Rating (275)