


Print Profile(4)


Description
Boost Me (for free)
Boost me to show you appreciate my designs and want more of them!
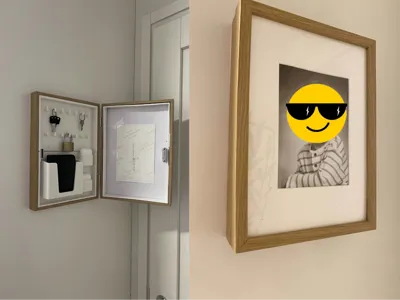
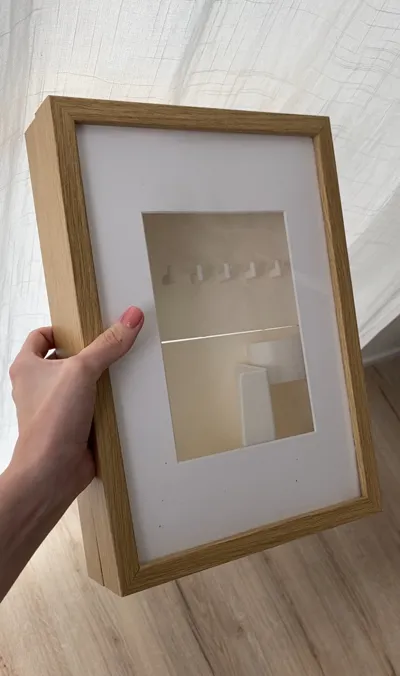
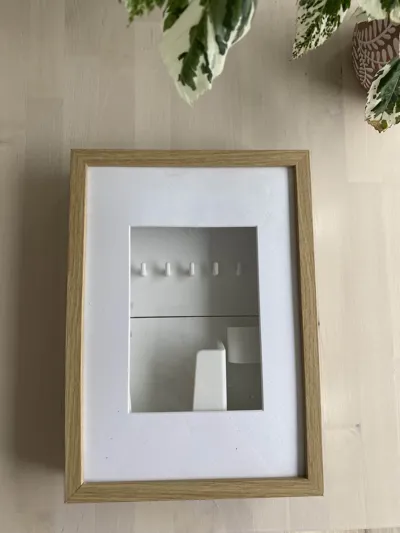
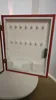
Here's a hidden key hanger together with a wallet holder and two airpods holders as well. This model is only the backplate to print, but contains instructions for how to assemble it as well.
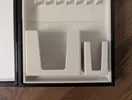
It features 14 key hangers on two rows, a wallet holder which is around 12x9x4cm (My wallet is 11.5x9x3 in the picture) and two airpods holders (Tested with airpods 3). The plate is split in two so you can actually print them, but also so you could design your own lower or upper part depending on needs.
Like this one? You may also like my passport and bankcard hidden storage: https://makerworld.com/en/models/2516946-ikea-rodalm-passport-bank-card-holder
Here's the items you need:
- 2x IKEA Rödalm frames: https://www.ikea.com/fi/en/p/roedalm-frame-oak-effect-50566393/
- A magnet setup to keep the frames closed. Listed below are some examples:
- https://www.amazon.de/-/en/Magnetic-Catches-Magnets-Cabinet-Cupboard/dp/B0D9NTN11B (Matches the closest what I used)
- https://www.amazon.de/-/en/Magnetic-Cabinet-Cupboard-Wardrobe-Furniture/dp/B0D47DBW7Q (If you want to just have a flush magnet on the frames itself. Instructions for this not included though)
- https://www.amazon.de/-/en/sourcing-Antique-Vintage-Bronze-Screws/dp/B07JGTY3GZ (You can also use a hook latch on the side of the frames. Instructions for this not included)
- Hinges. You can use whatever you want. Just make sure the screws are short so they don't pierce through the wood:
- https://www.amazon.de/-/en/Hinges-Foldable-Stainless-Windows-Cabinets/dp/B0CYSX88TK (Similar to what I used)
- A drill
- A screwdriver
- A pen to mark with
Here's the assembly instructions:
- Lay the two frames on top of each other and make sure they line up.
- Put the hinges on the sides and mark out the holes.
- Drill out said holes with a small diameter drillbit.
- Screw in the hinges on the frames to create a door.
- Place the two 3D printed parts into one of the sides facing upwards and make sure they line up. You might have a bit of a line in the middle but it's intentional so you have some wiggle room getting it lined up.
- Take the small 3D printed part and mark out where the magnet plate holes should be.
- Drill out said holes with a small diameter drillbit.
- Screw the magnet plate into the small 3D printed part.
- Place the two white frame parts from Rödalm into the frame to measure where you'll end up placing the magnet.
- Put the magnet on the 3D printed part to line it up and mark where the holes should go in the white part (And wood if your screws reach that far)
- Drill slowly into the white frame (and potentially wooden part) to make sure it doesn't crack.
- Mark where the big magnet should go on the backplate.
- Drill into the backplates wall (and potentially wood if your screws reach).
- Place the Rödalm parts into the frame in this order:
- Clear plastic sheet.
- White cardboard (if you intend on using it).
- Picture to display (Potentially tape it down if you use the white cardboard).
- Clear plastic sheet.
- Place both white frame parts into the side that doesn't have the backplate.
- Screw both the big magnet and magnet plate into the wall of the frame.
- If you're not changing the picture, glue down the white frame parts to the wooden frame. (DO NOT DO THIS IF YOU WANT TO CHANGE PICTURE IN THE FUTURE).
- If your screws didn't reach into the wood from the magnet baseplate attachment. Screw in another screw into the wood part to contain the white frame in place. I added a little plate to further help it attach but it's not necessary if you have shorter screws than i had on hand.
- At this point you should have a finished key closet. Either screw it up to the wall or attach it with mirror tape (which is what I did).
License
You shall not share, sub-license, sell, rent, host, transfer, or distribute in any way the digital or 3D printed versions of this object, nor any other derivative work of this object in its digital or physical format (including - but not limited to - remixes of this object, and hosting on other digital platforms). The objects may not be used without permission in any way whatsoever in which you charge money, or collect fees.
Comment & Rating (62)