
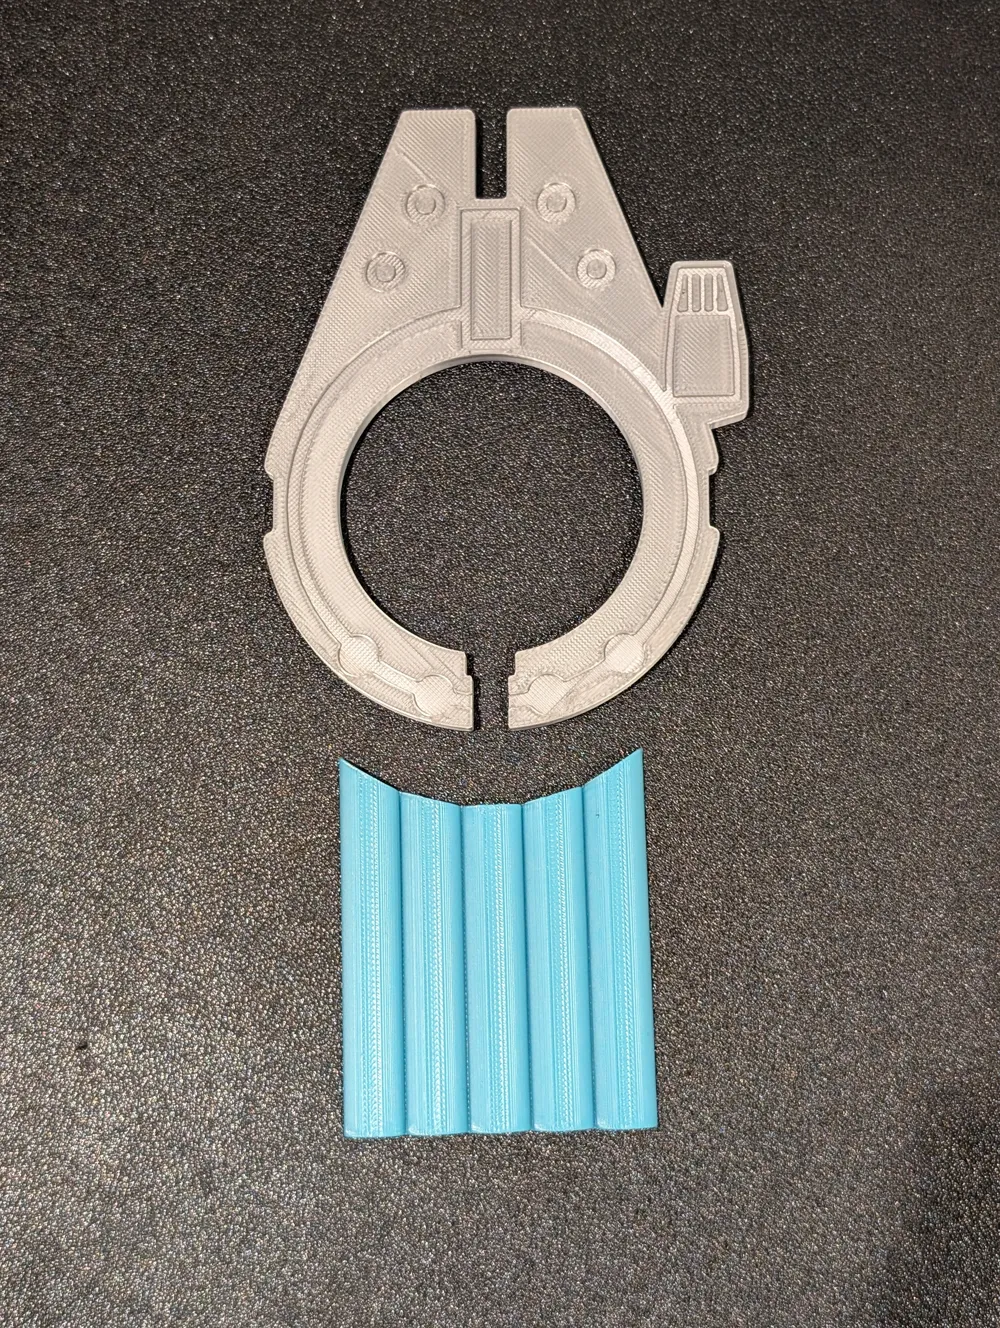
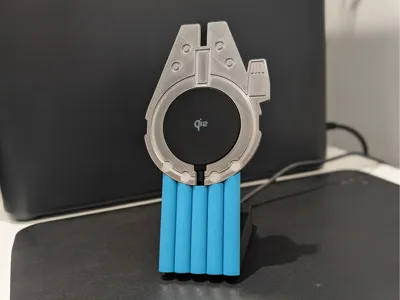
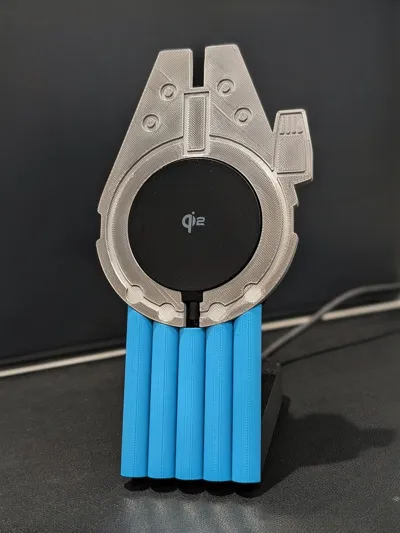
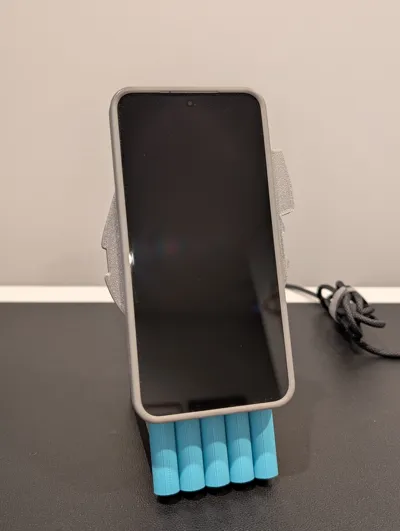
Print Profile(1)

Description
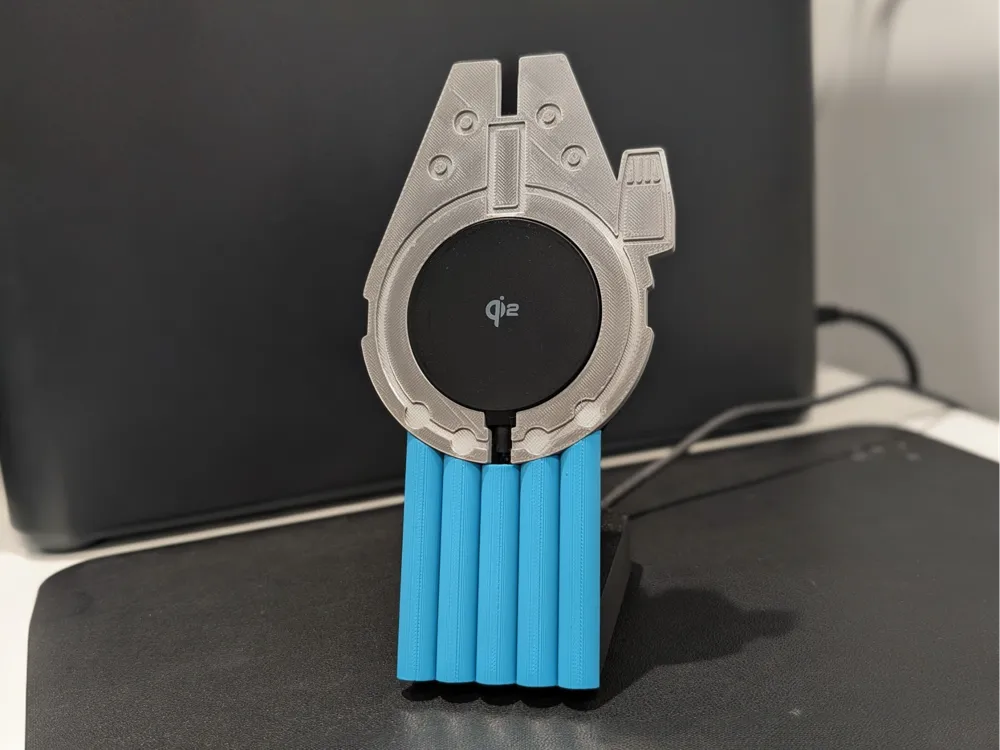
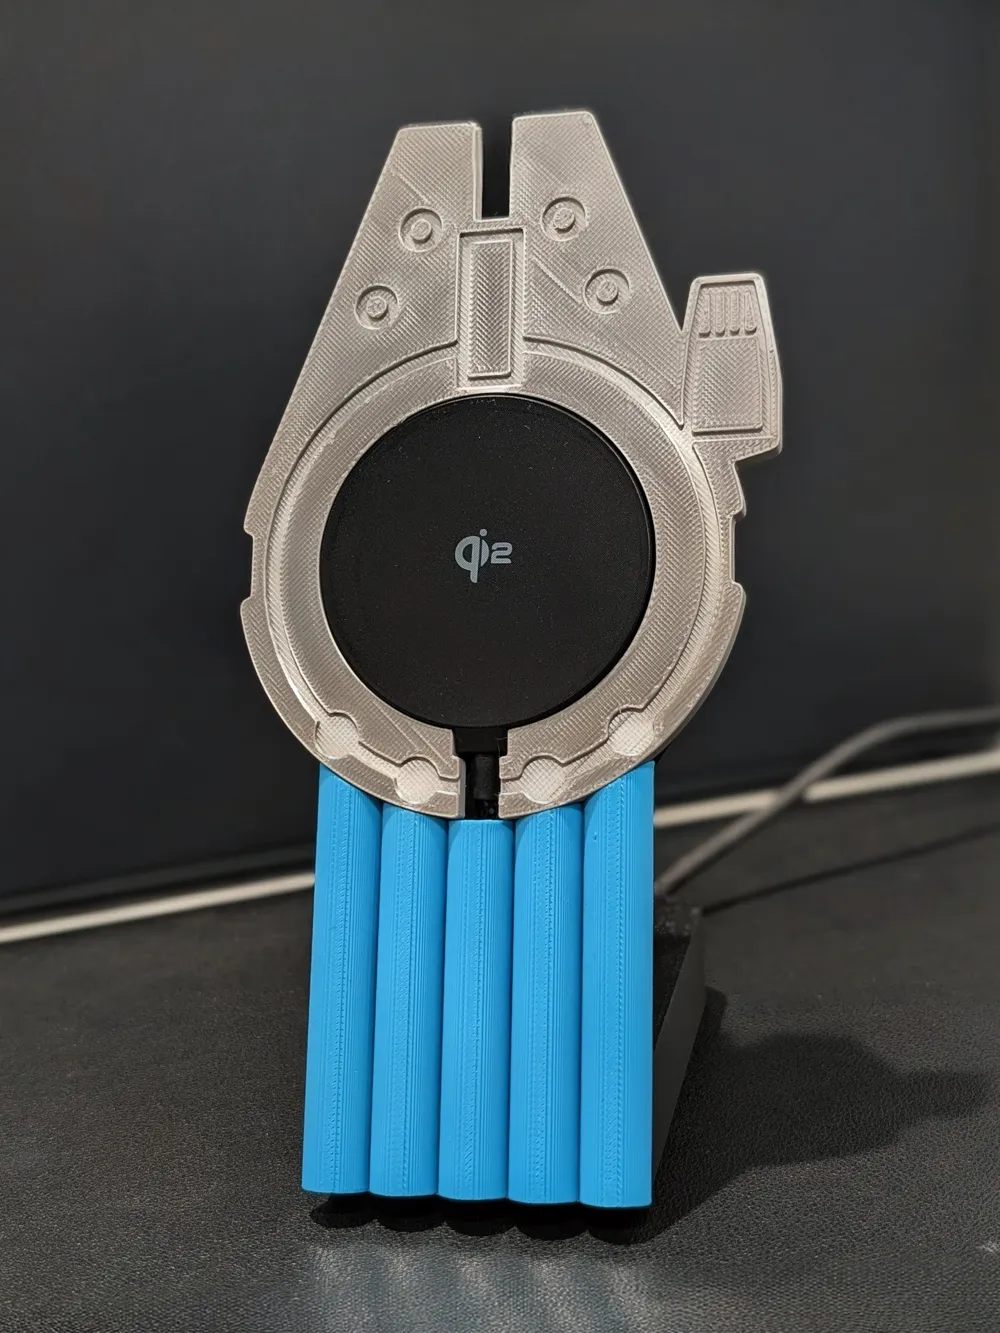
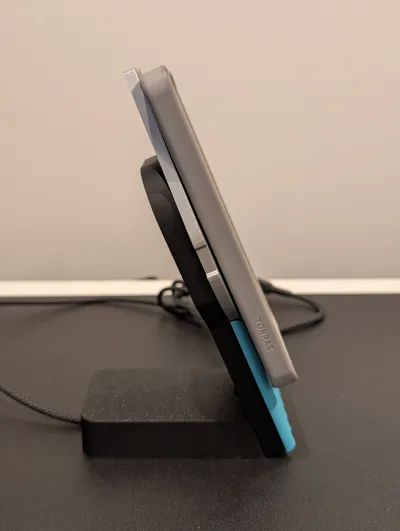
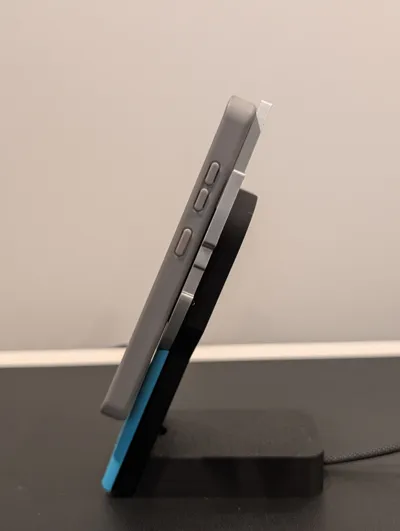
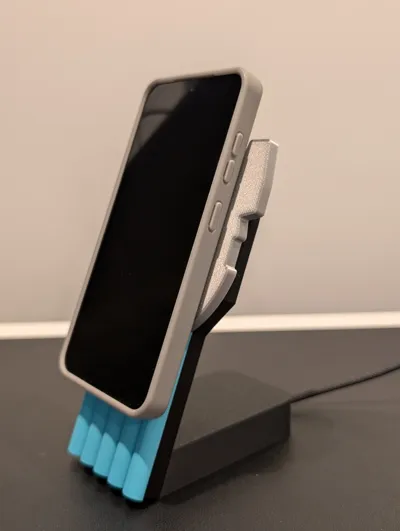
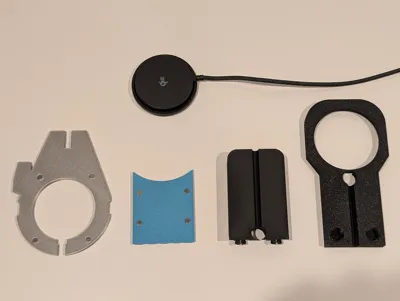
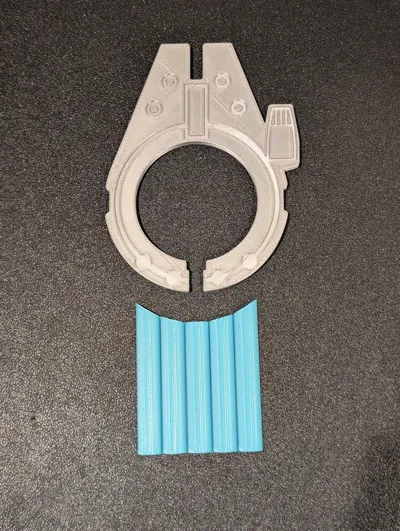
Introducing the MagSnap Customizable Qi2 Phone Charger Stand - Millennium Falcon Edition!
"You've never heard of the Millennium Falcon (MagSnap Customizable Qi2 Phone Charger Stand)?… It's the ship I mean charger stand that made the Kessel Run in less than twelve parsecs."
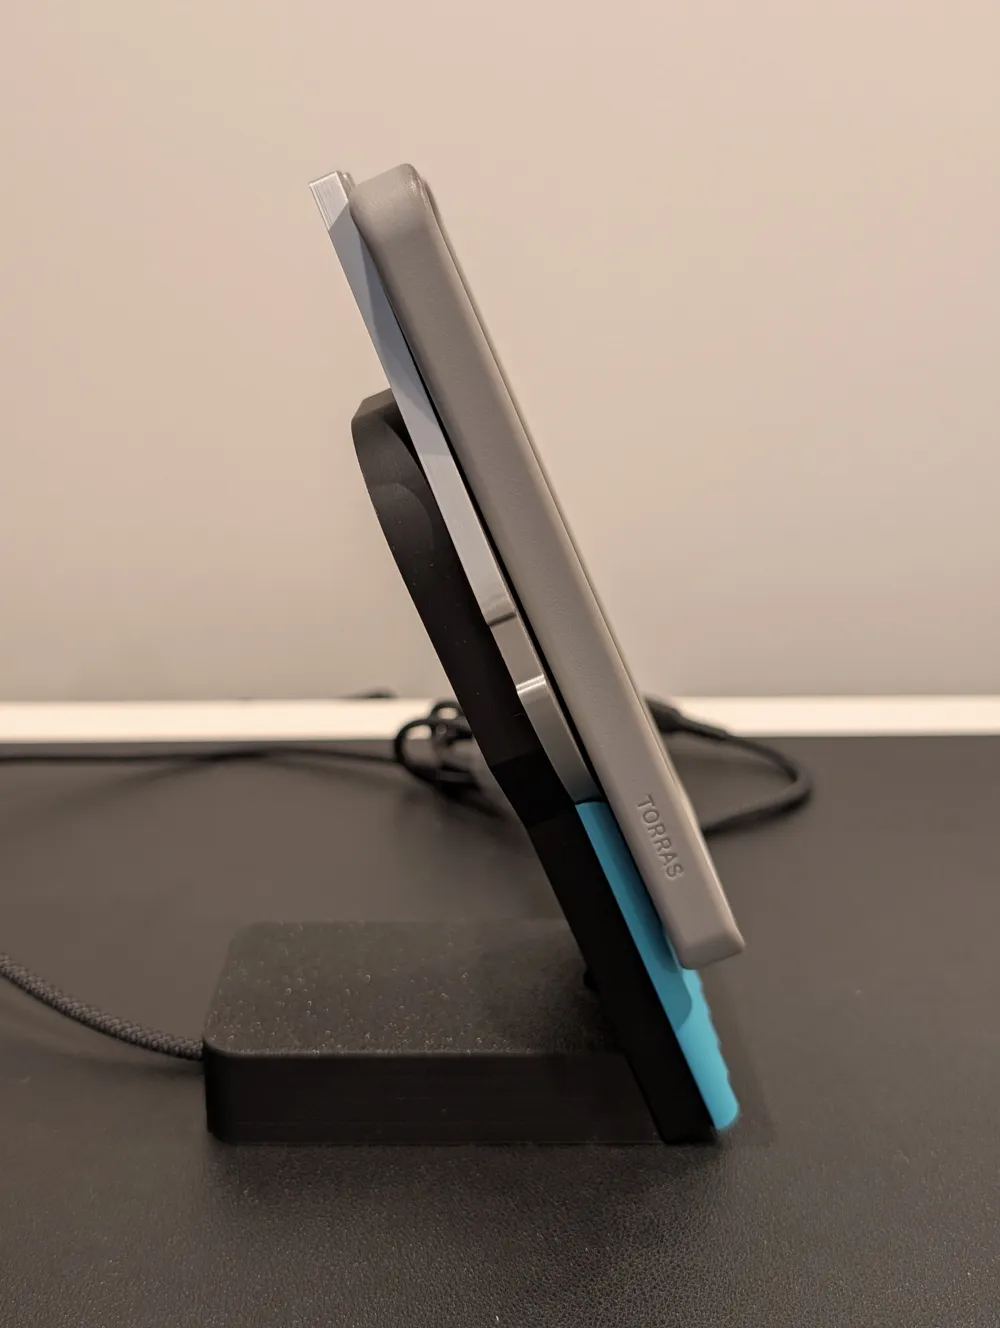
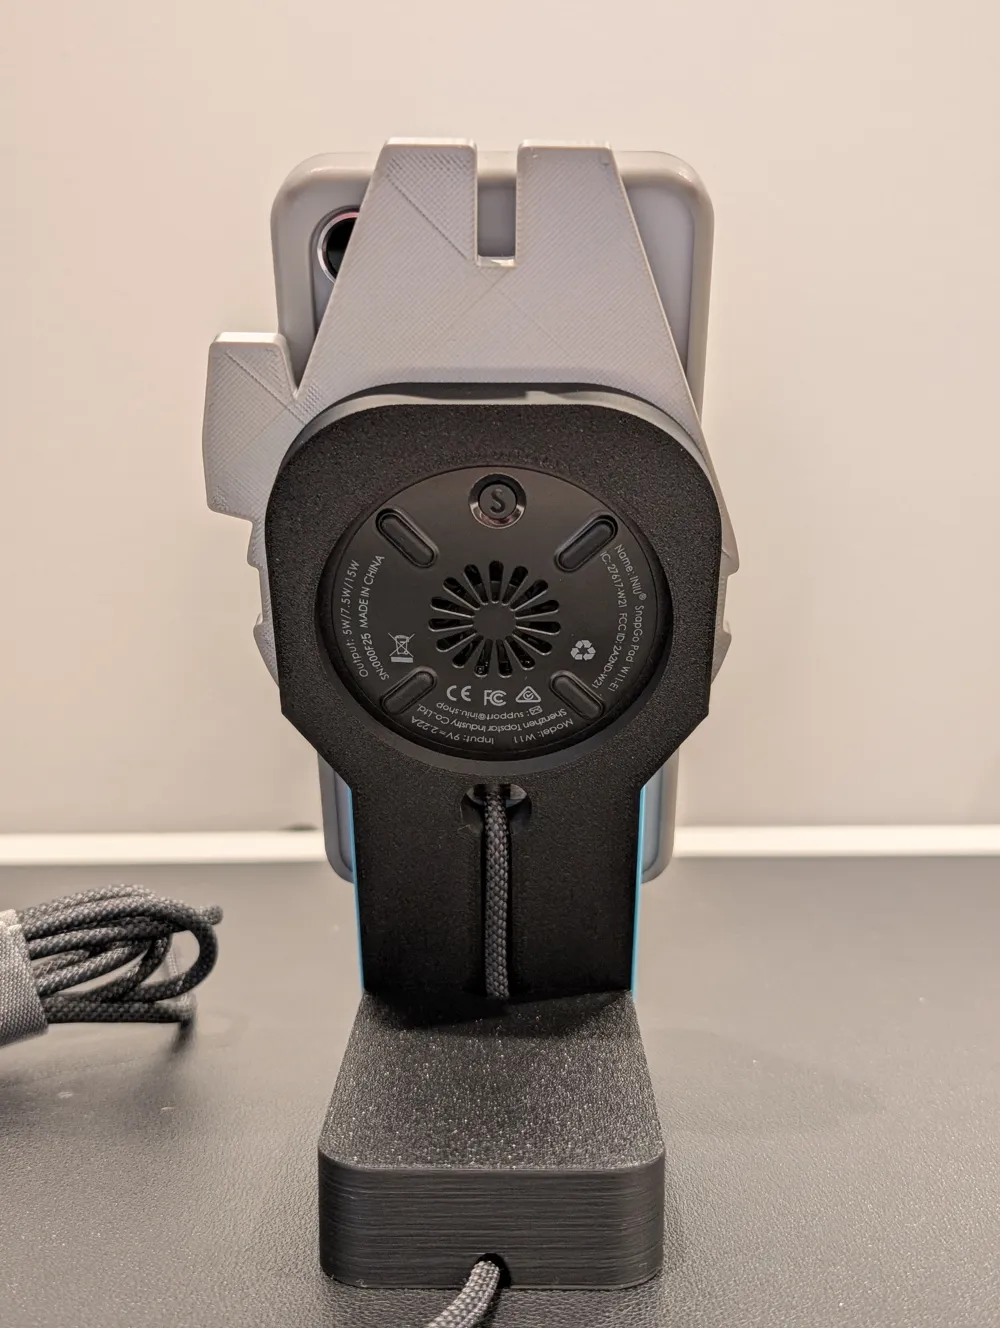
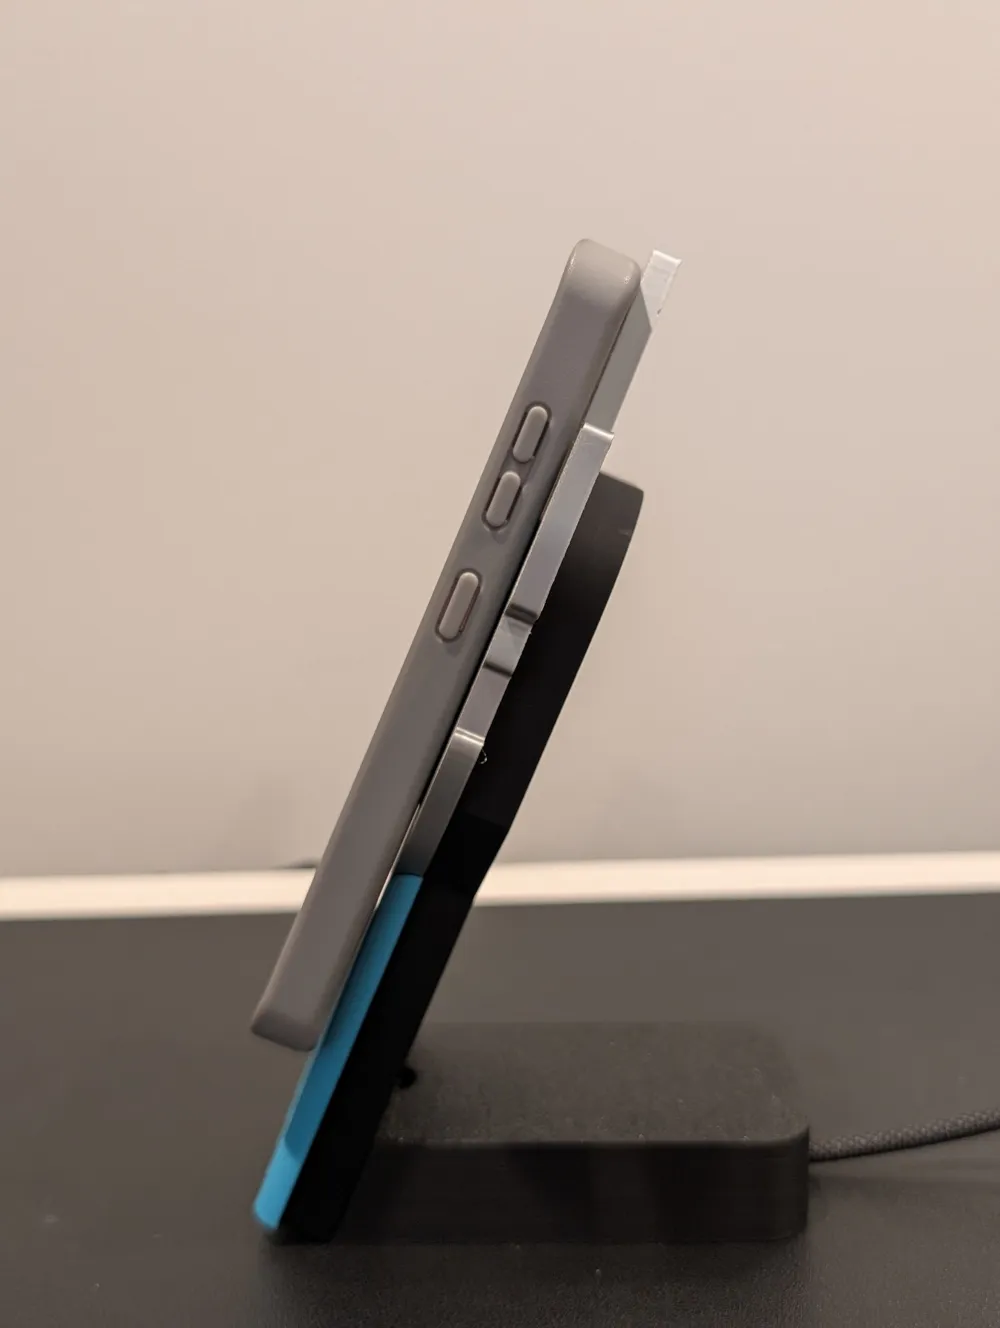
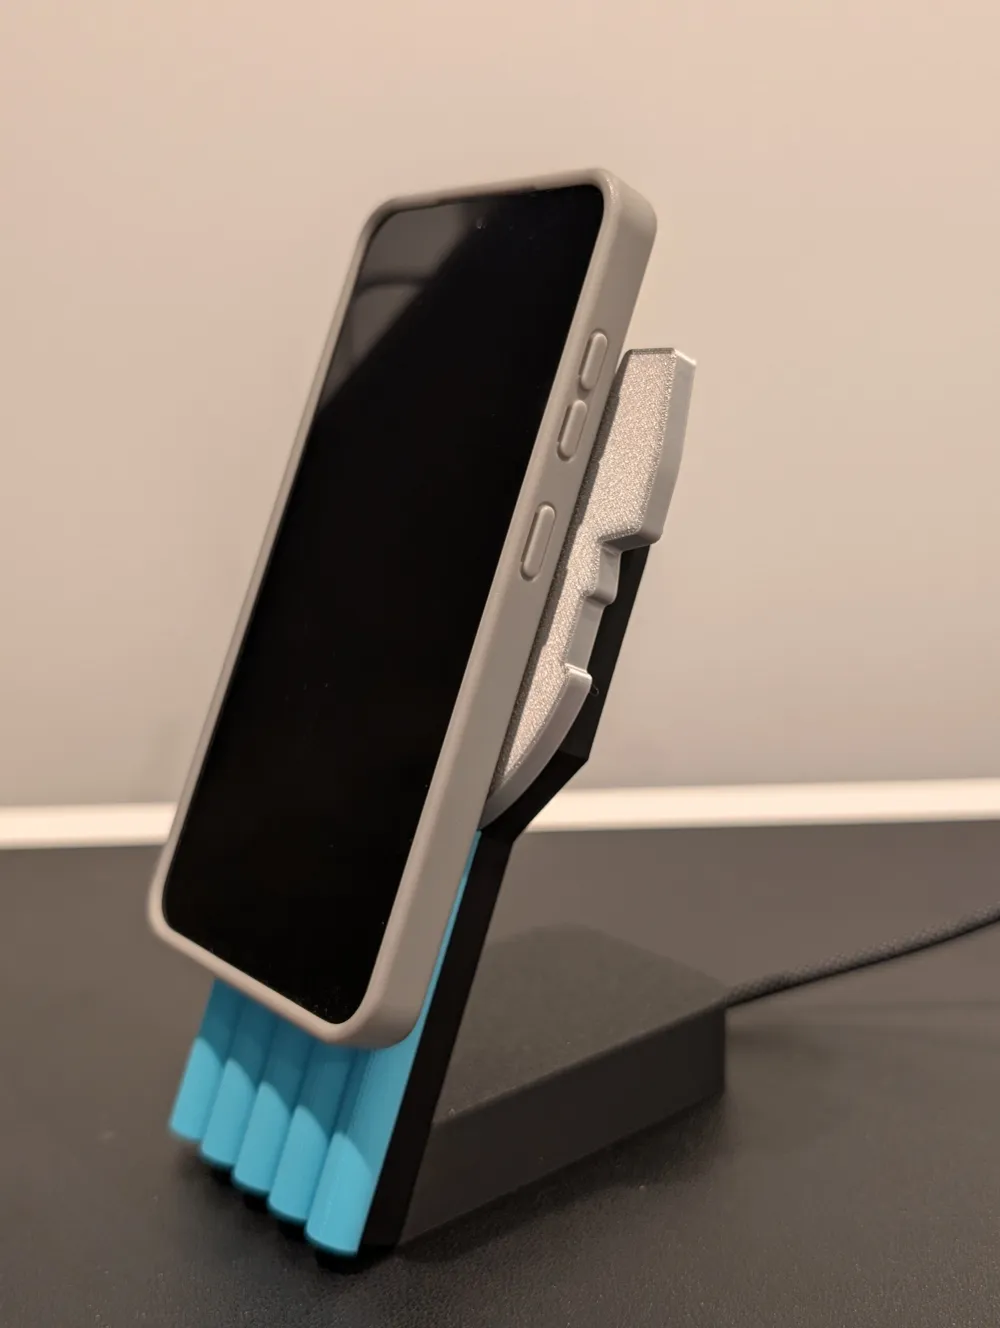
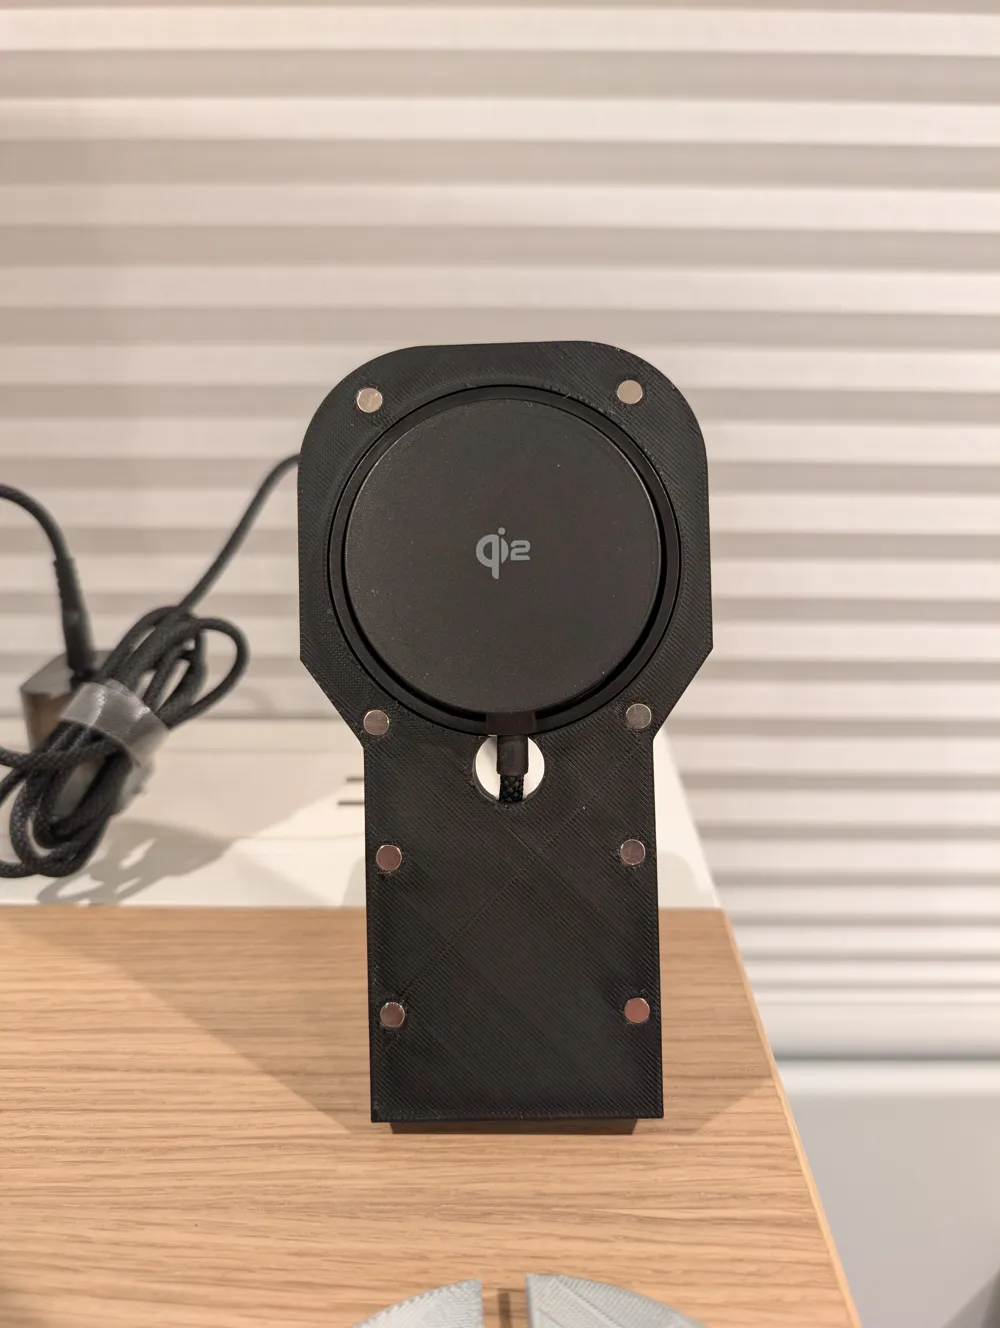
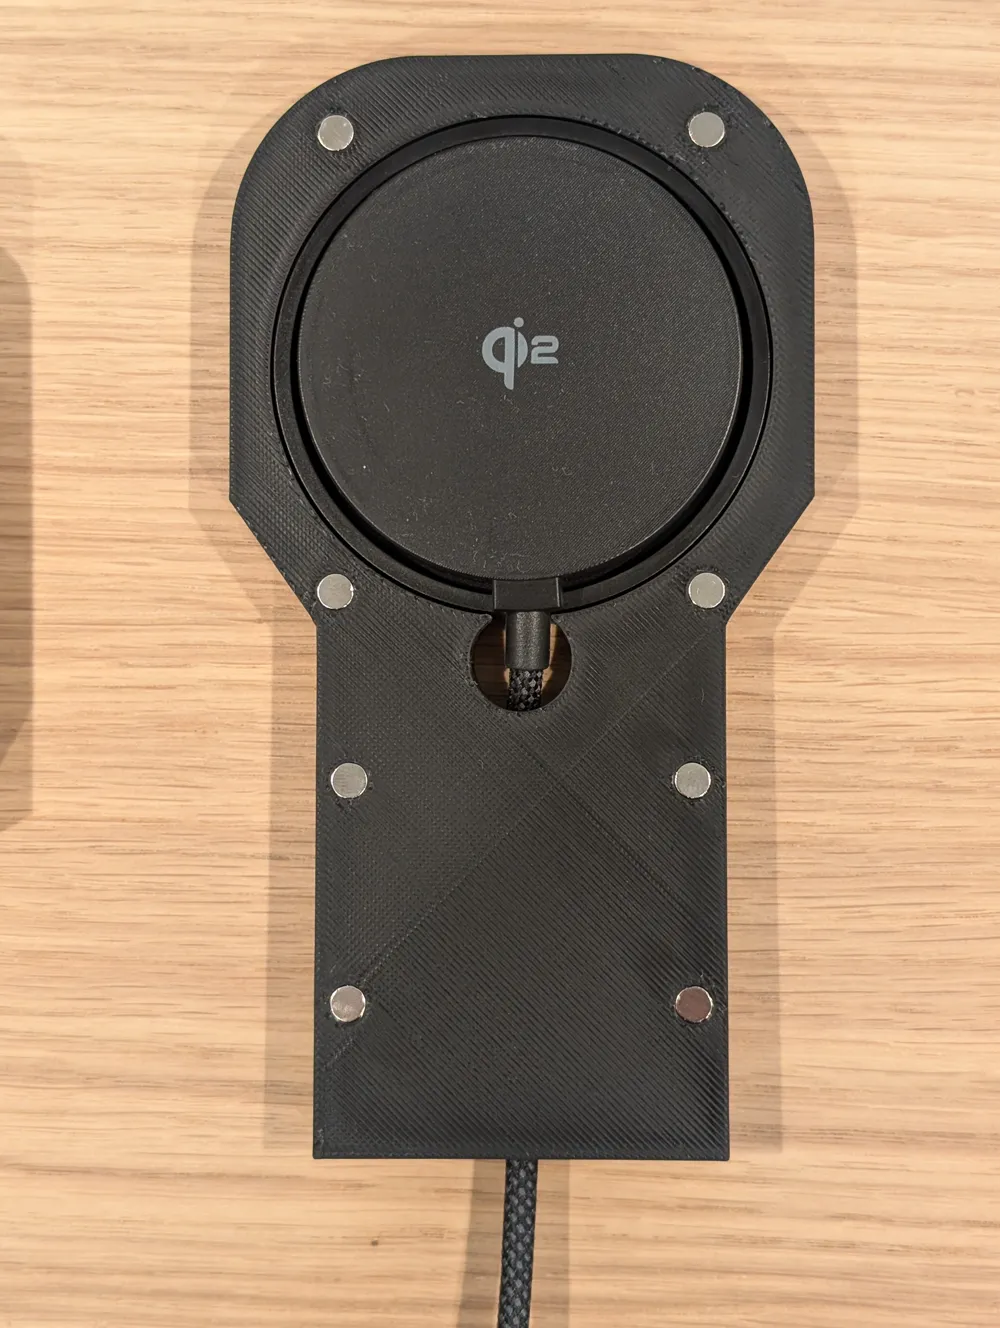
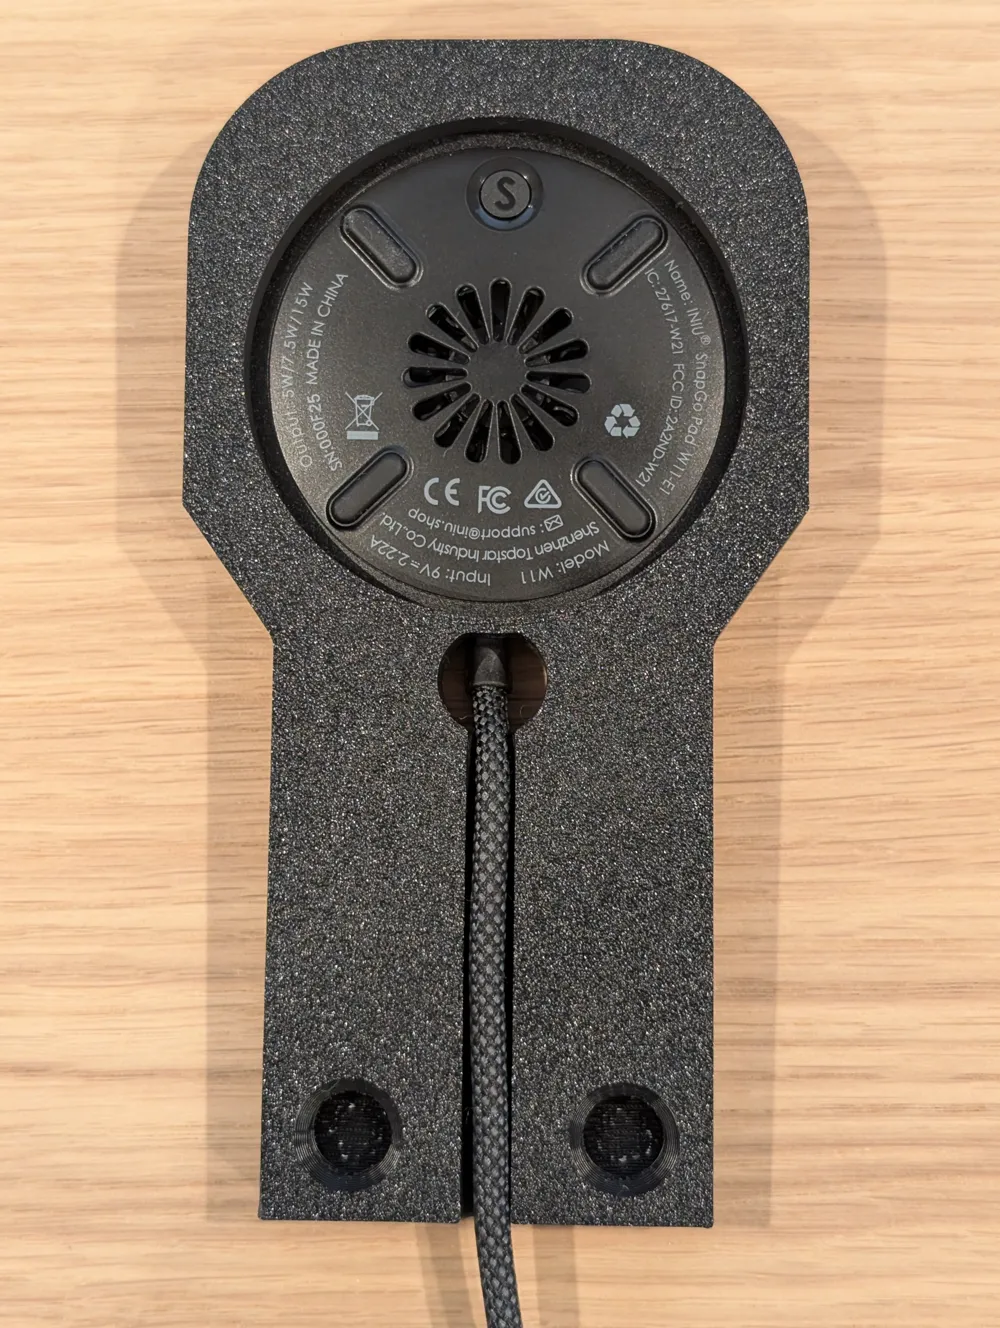
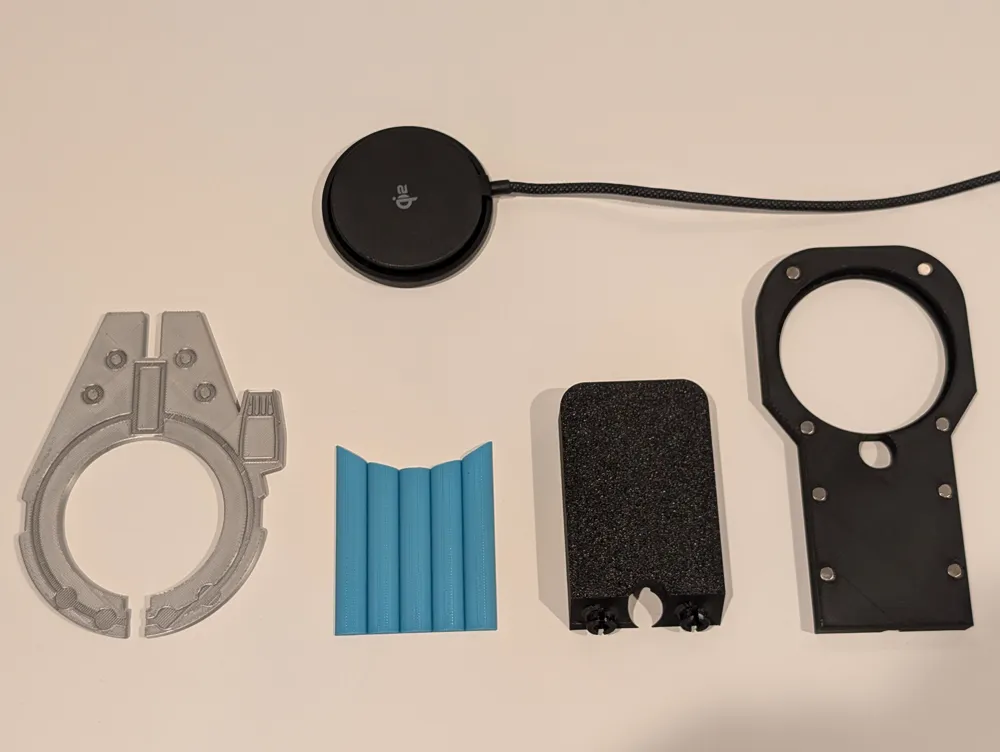
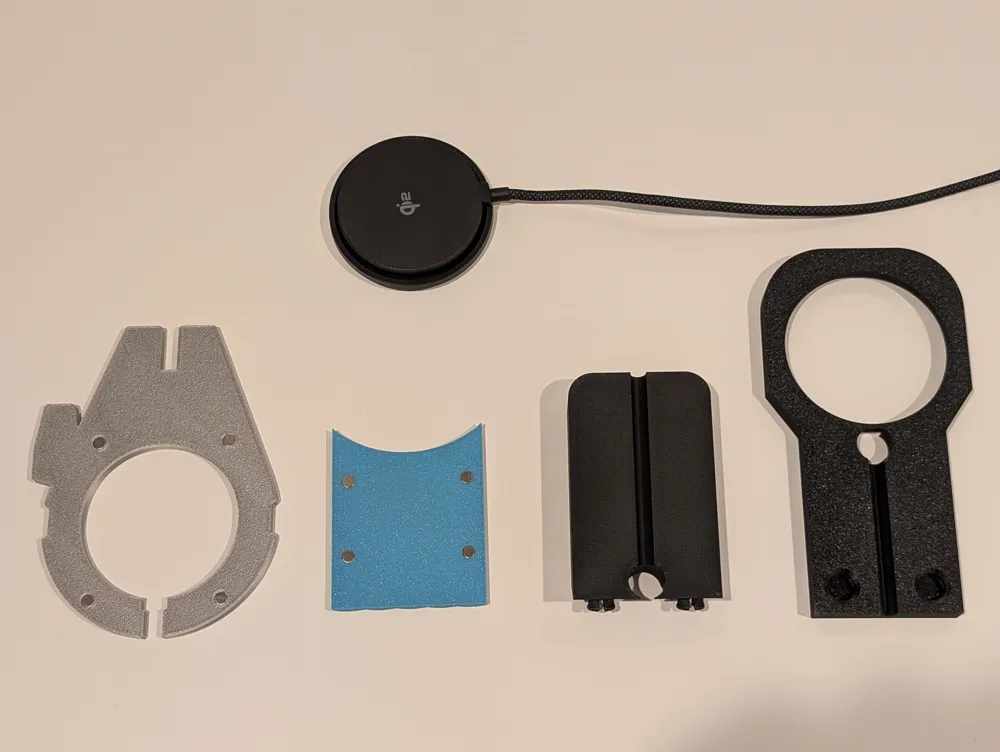
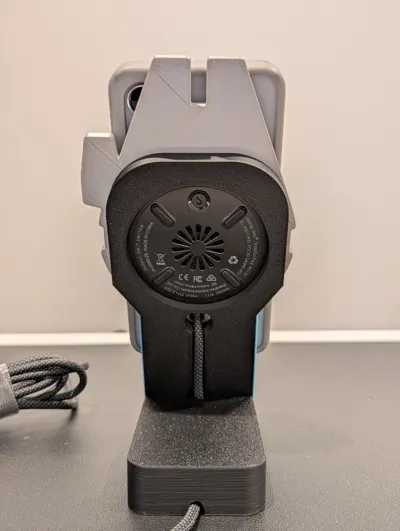
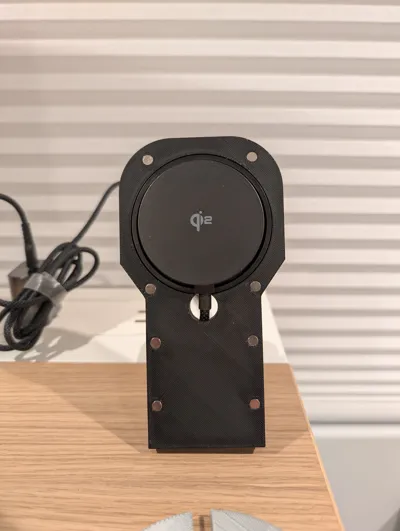
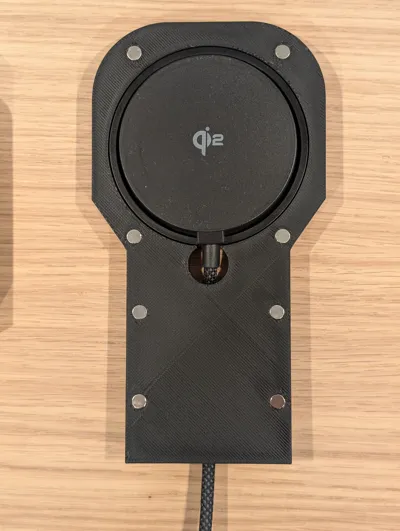
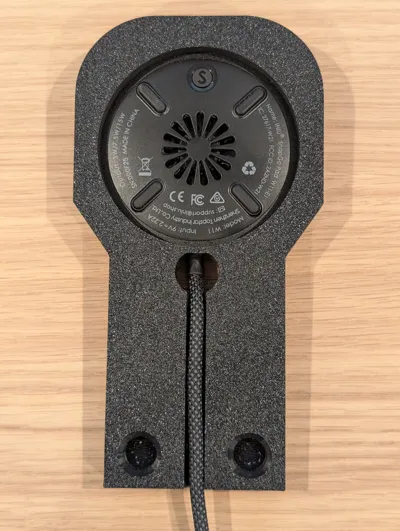
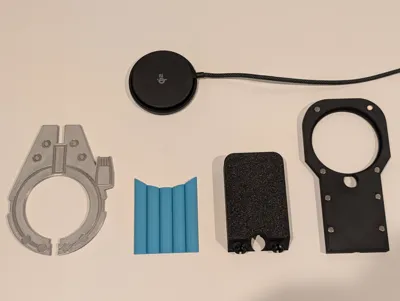
This 4-piece, easy-to-print model does not require any glue or AMS to print or assemble. It uses (16) press-fit 5x2mm magnets to secure the Millennium Falcon and lightspeed trail to the stand. The base and upright stand connect with sockets, and the INUI Magnetic Wireless Charger (Qi2) simply snaps into the stand. This particular wireless puck has a cooling fan that remains accessible from the back.
This fun, magnetic design allows for easy customization with interchangeable designs. Death Star Edition is now available!
Building instructions
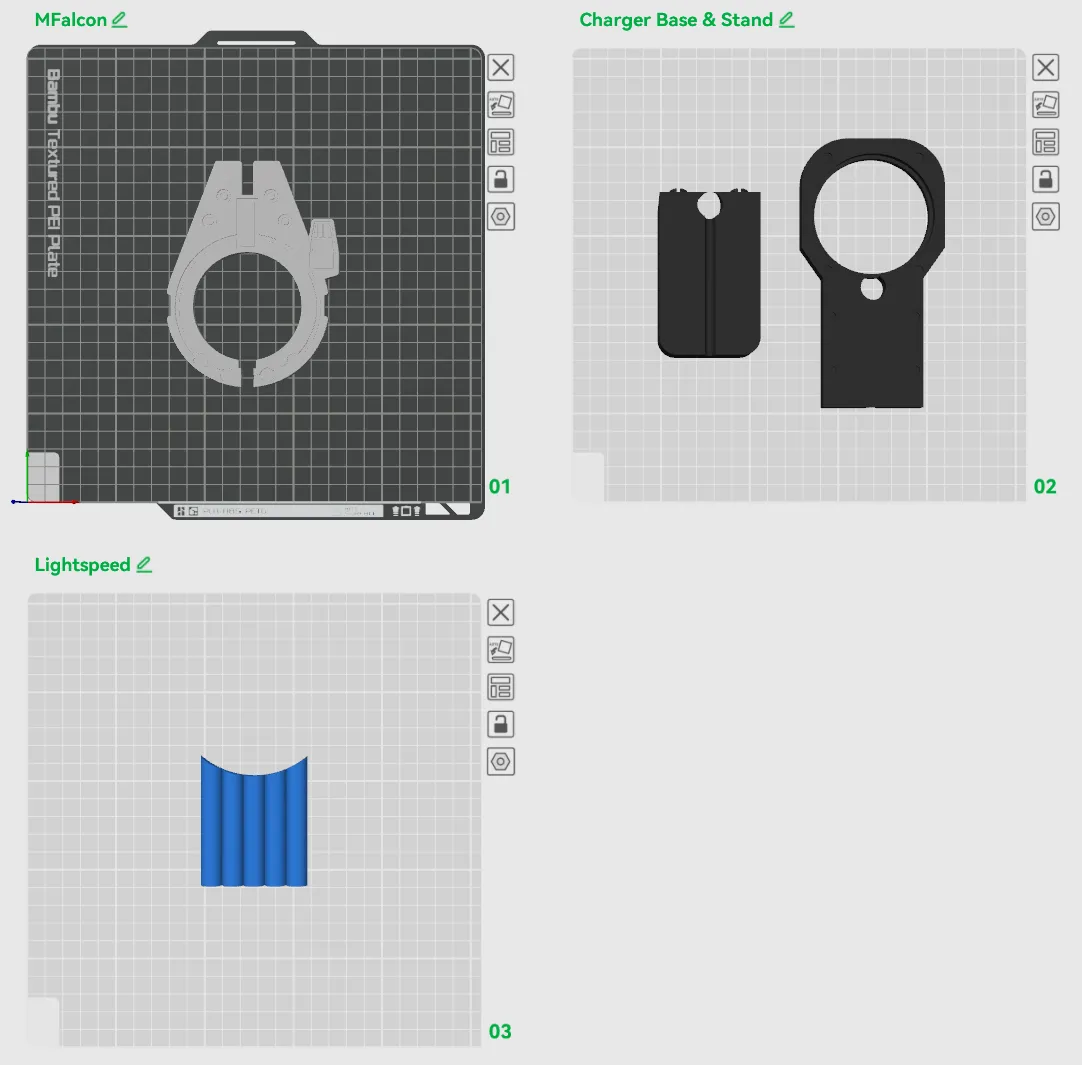
- Print the 4 components (MFalcon, Lightspeed, Base, and Stand) in any filament (I used Polymaker PLA Pro for the stand and base, but time will tell if there's any issues with heat, as wireless chargers sometimes get rather warm).
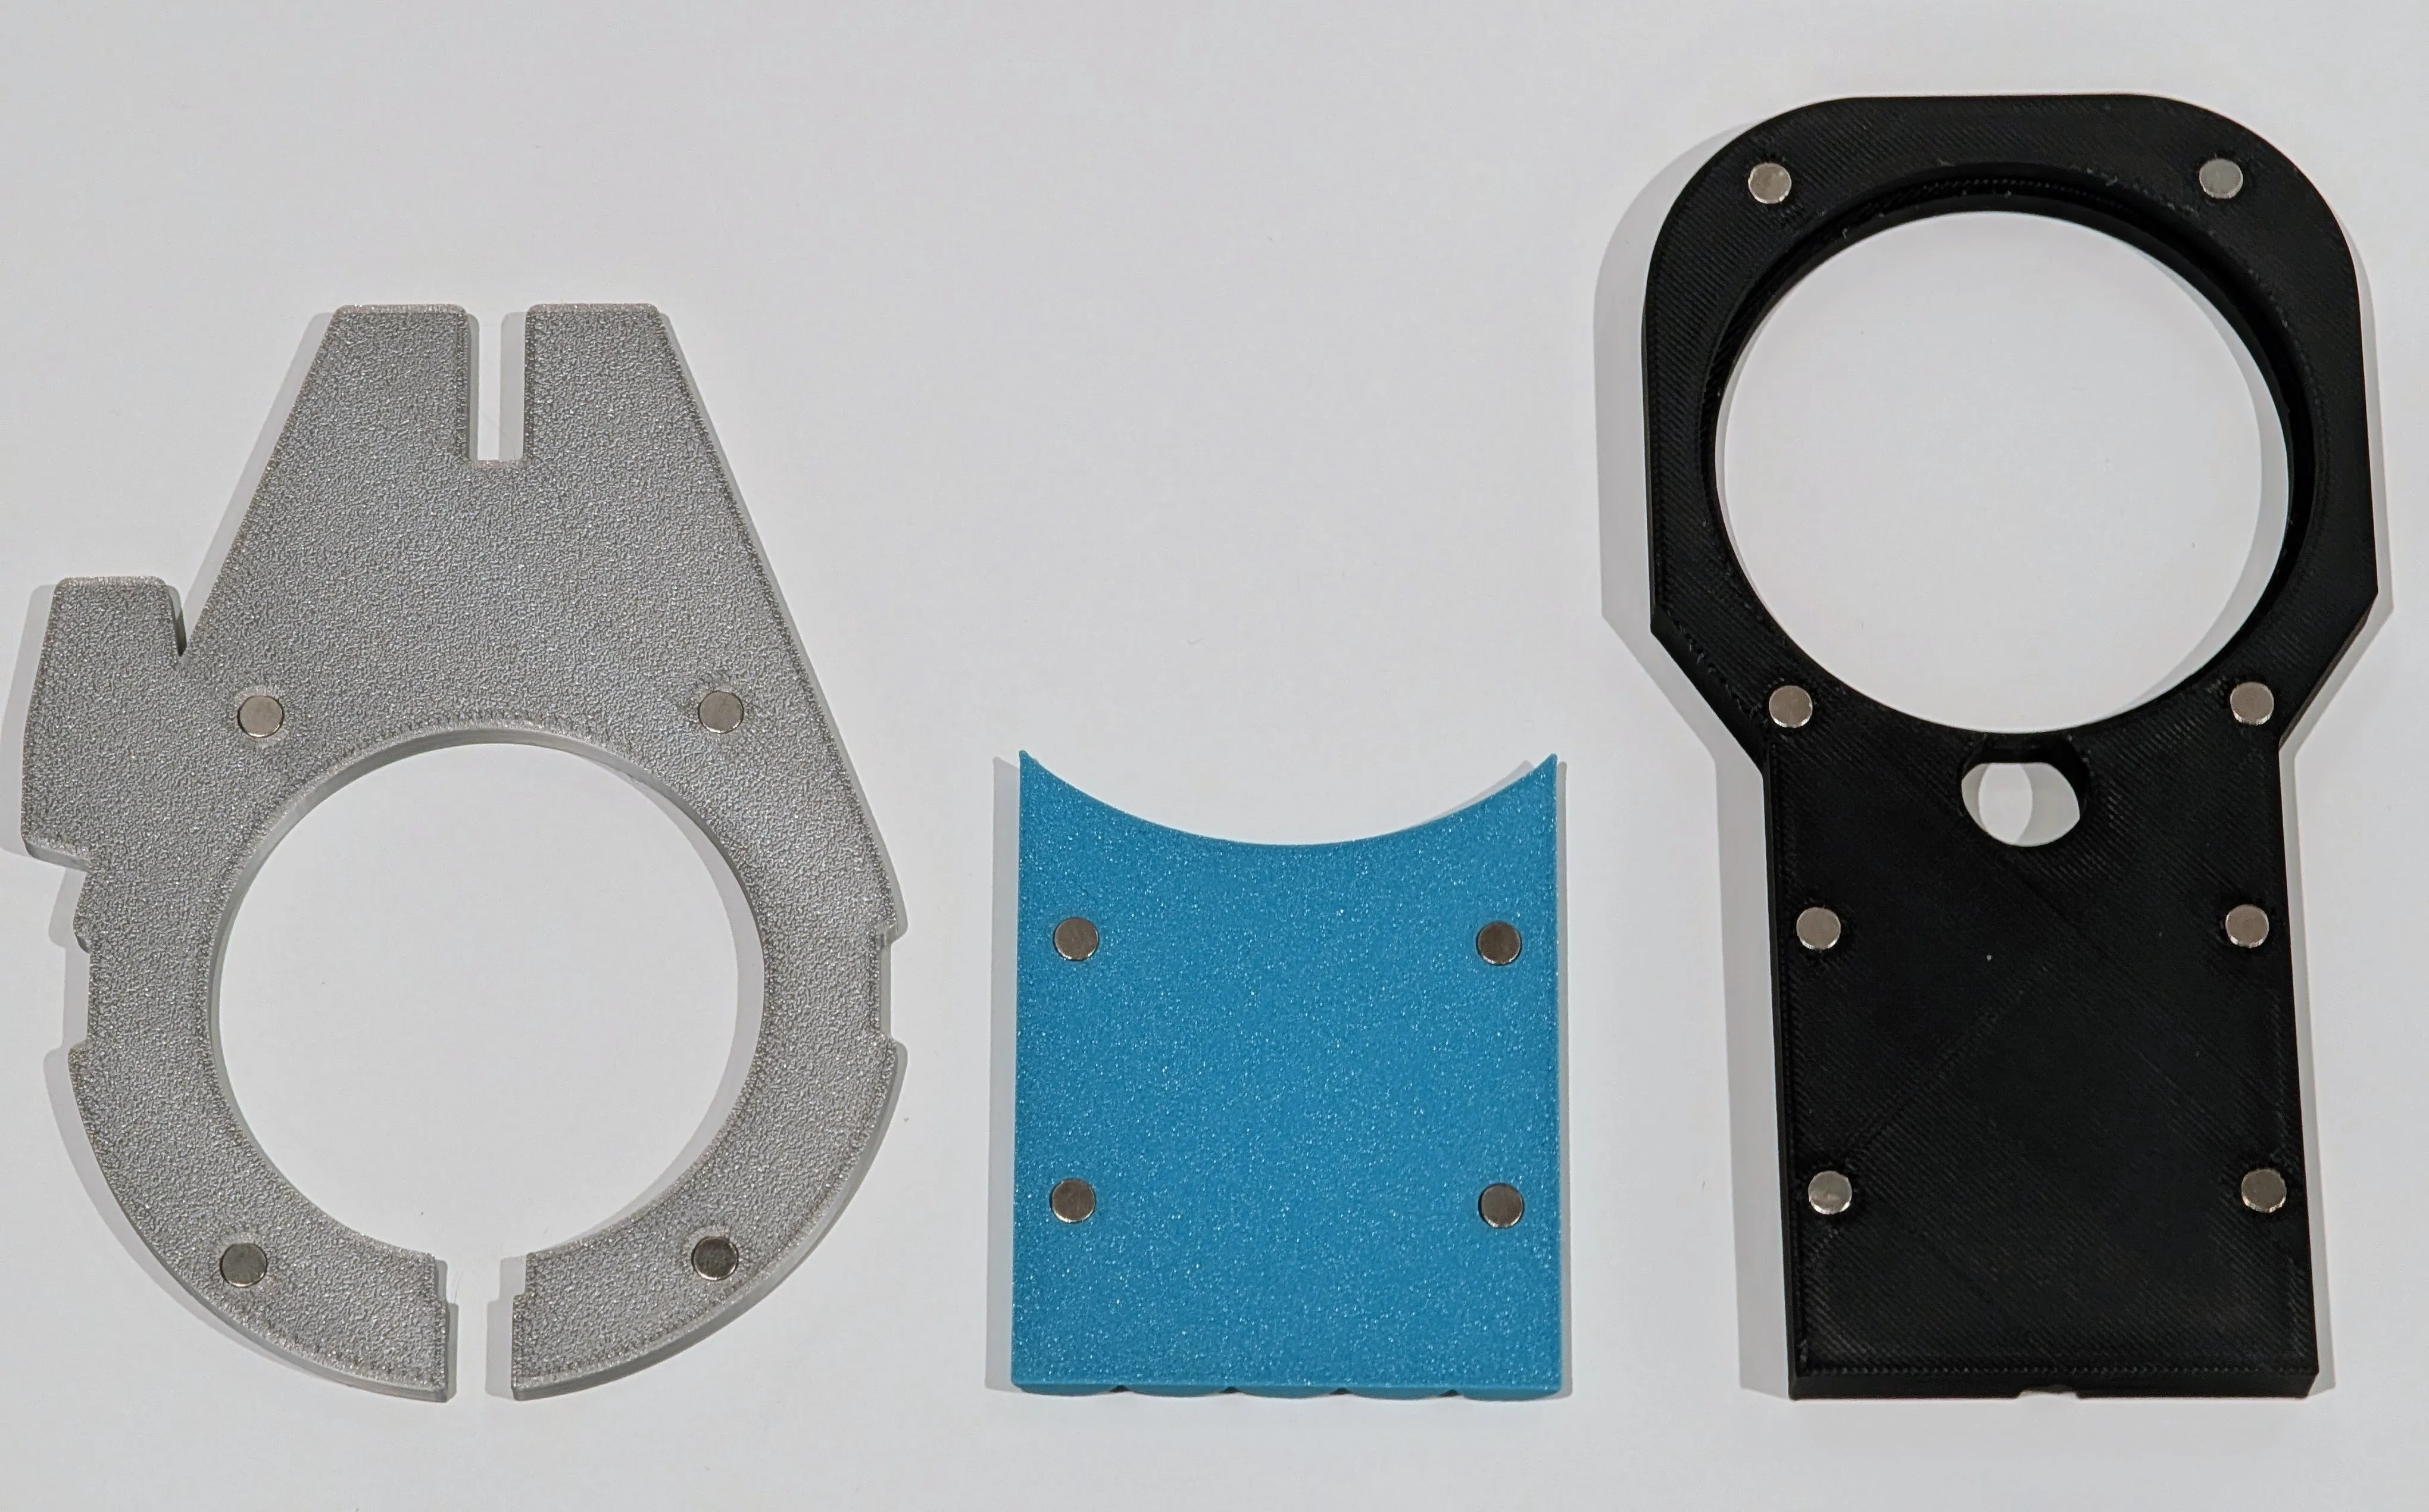
- Press-fit the 5x2mm magnets (16) into the front of the Stand, the back of the MFalcon, and the back of the Lightspeed piece.
- They should fit perfectly w/o need for any glue, but sometimes these inexpensive magnets may vary ever so slightly in size. YMMV.
- Should go without saying, but be mindful of the polarization so the pieces attract one another
- Thread the charging puck USB-C wire through the large hole in the Stand and snap the charging puck into place (it should be very easy, but also may require slight pushing as it is designed to fit just snug enough not to fall out, but still be easy to pop out as needed).
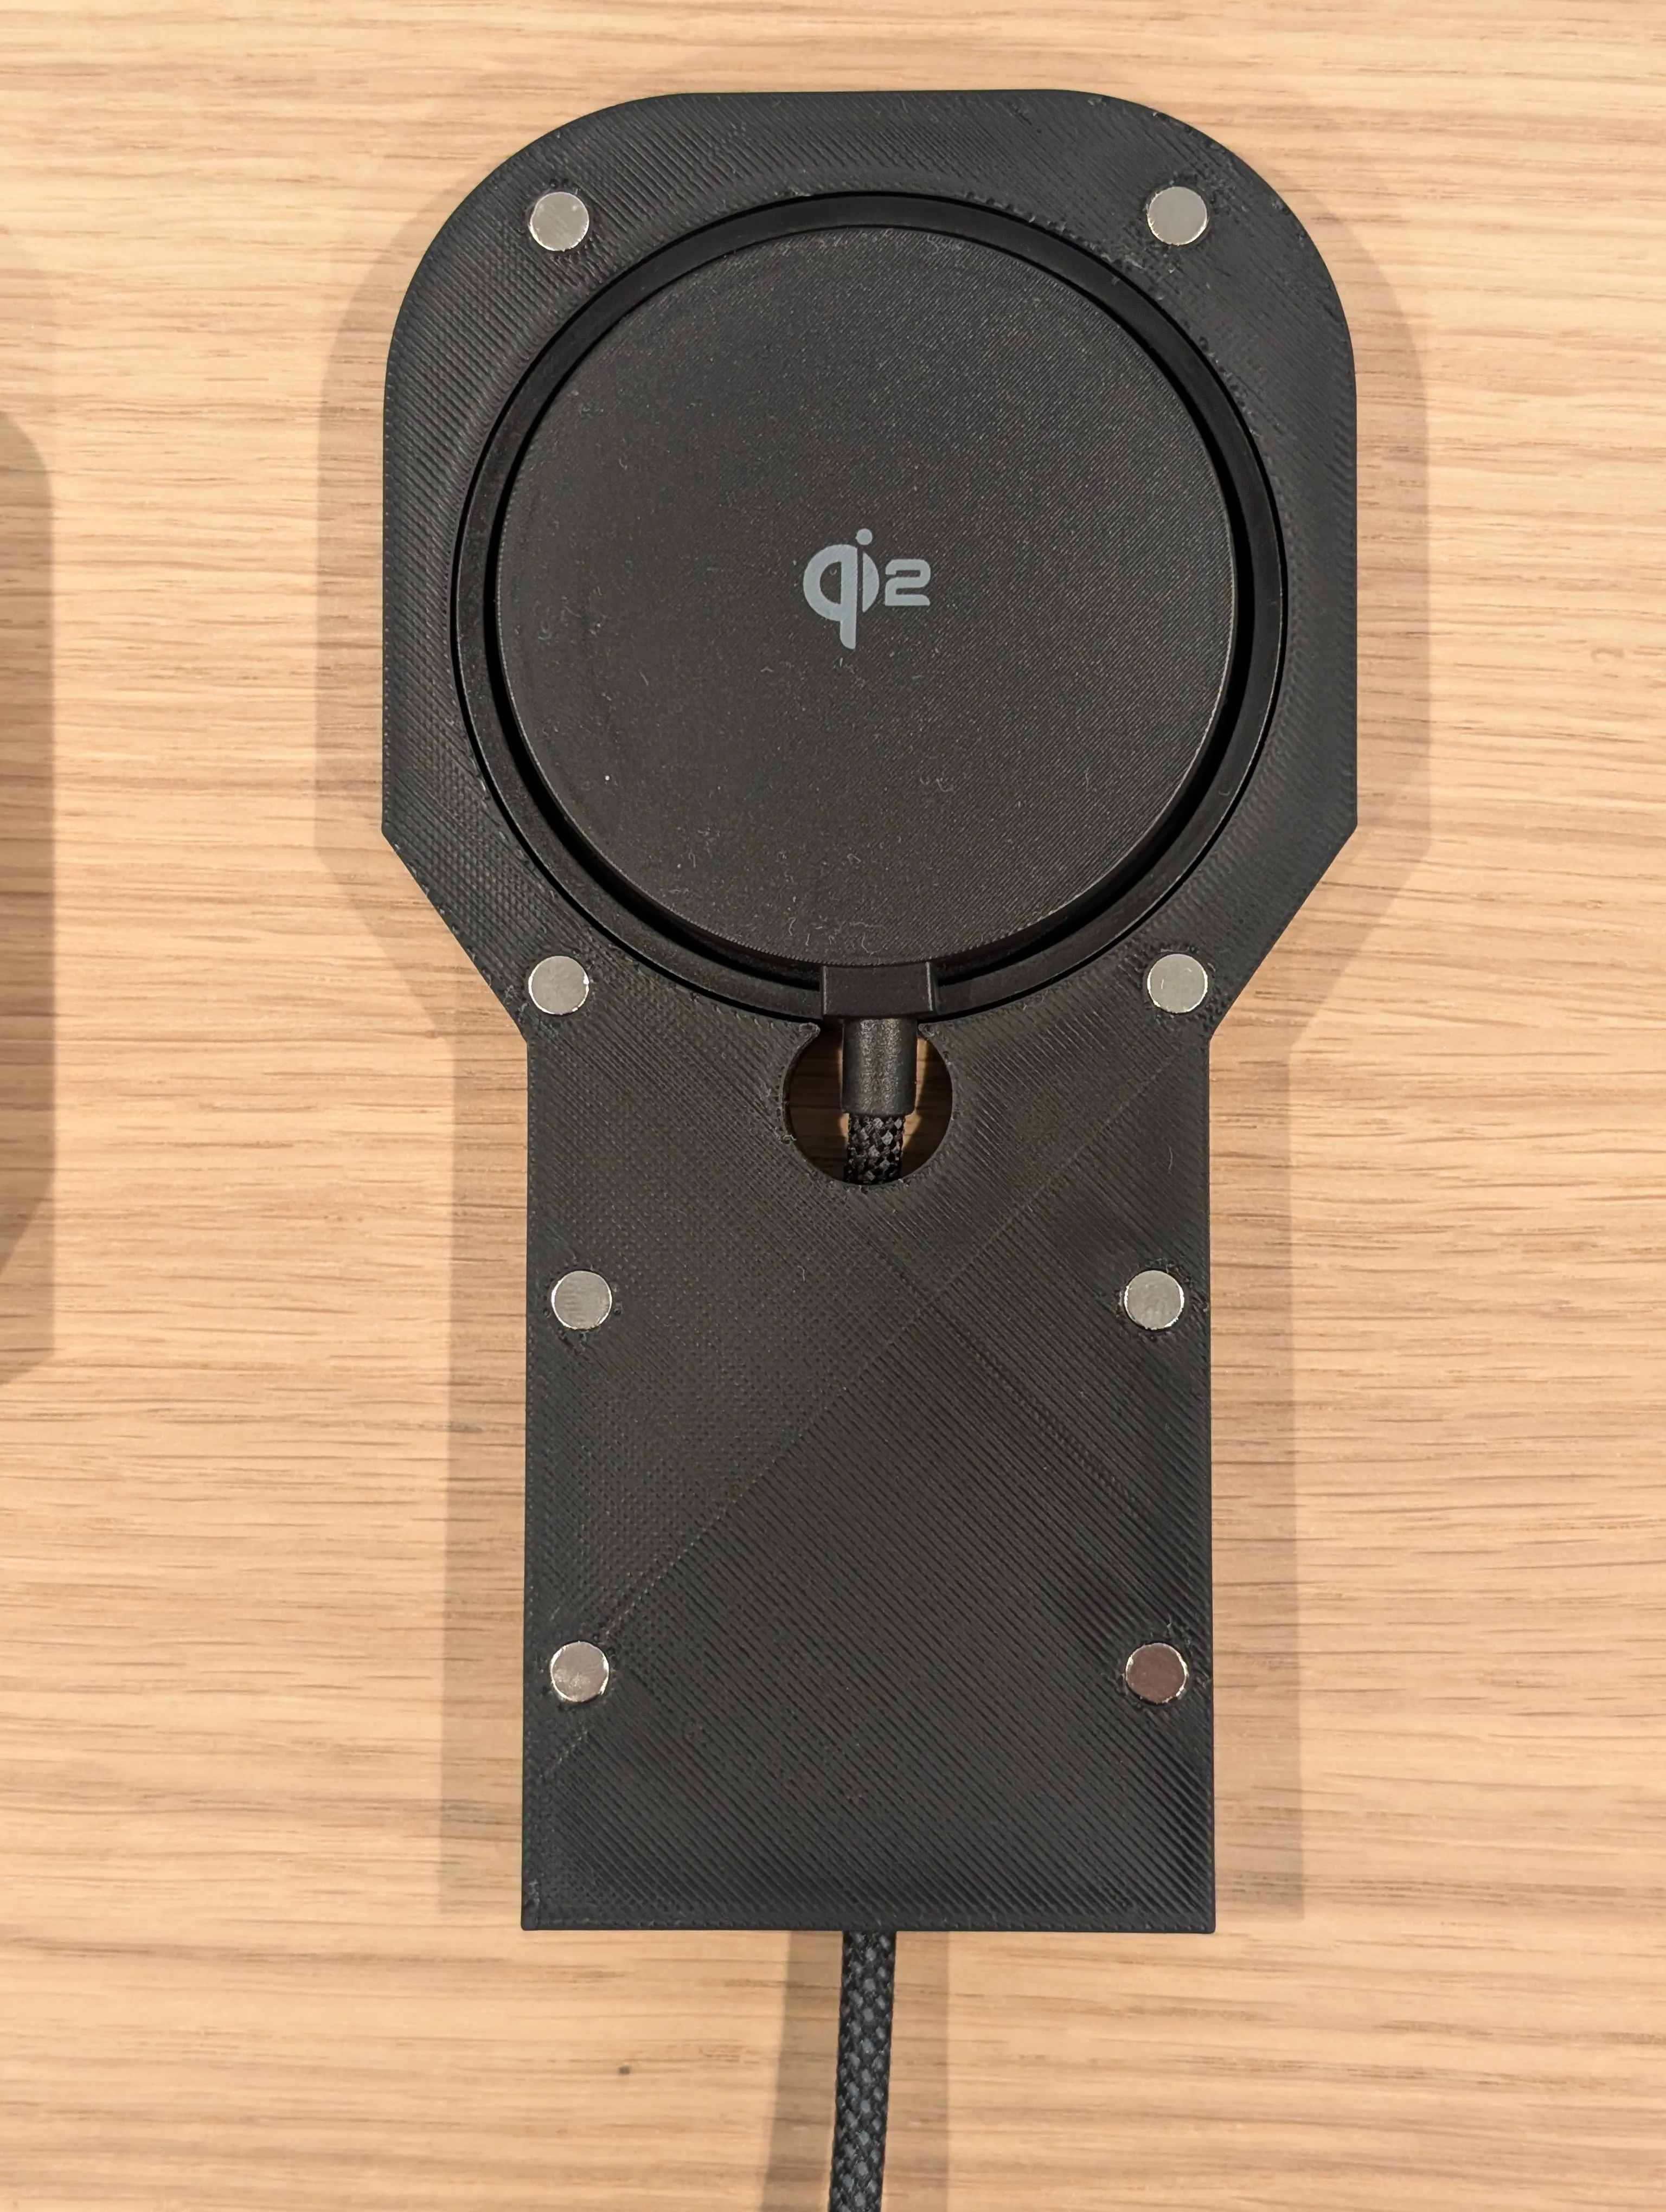
- Route the USB-C cable down the back of the Stand and through the hole in the Base before aligning and snapping the sockets into place (I will likely update the Base in v2 to have enough room to route the cable after connecting to the Stand, but for now this method works fine).
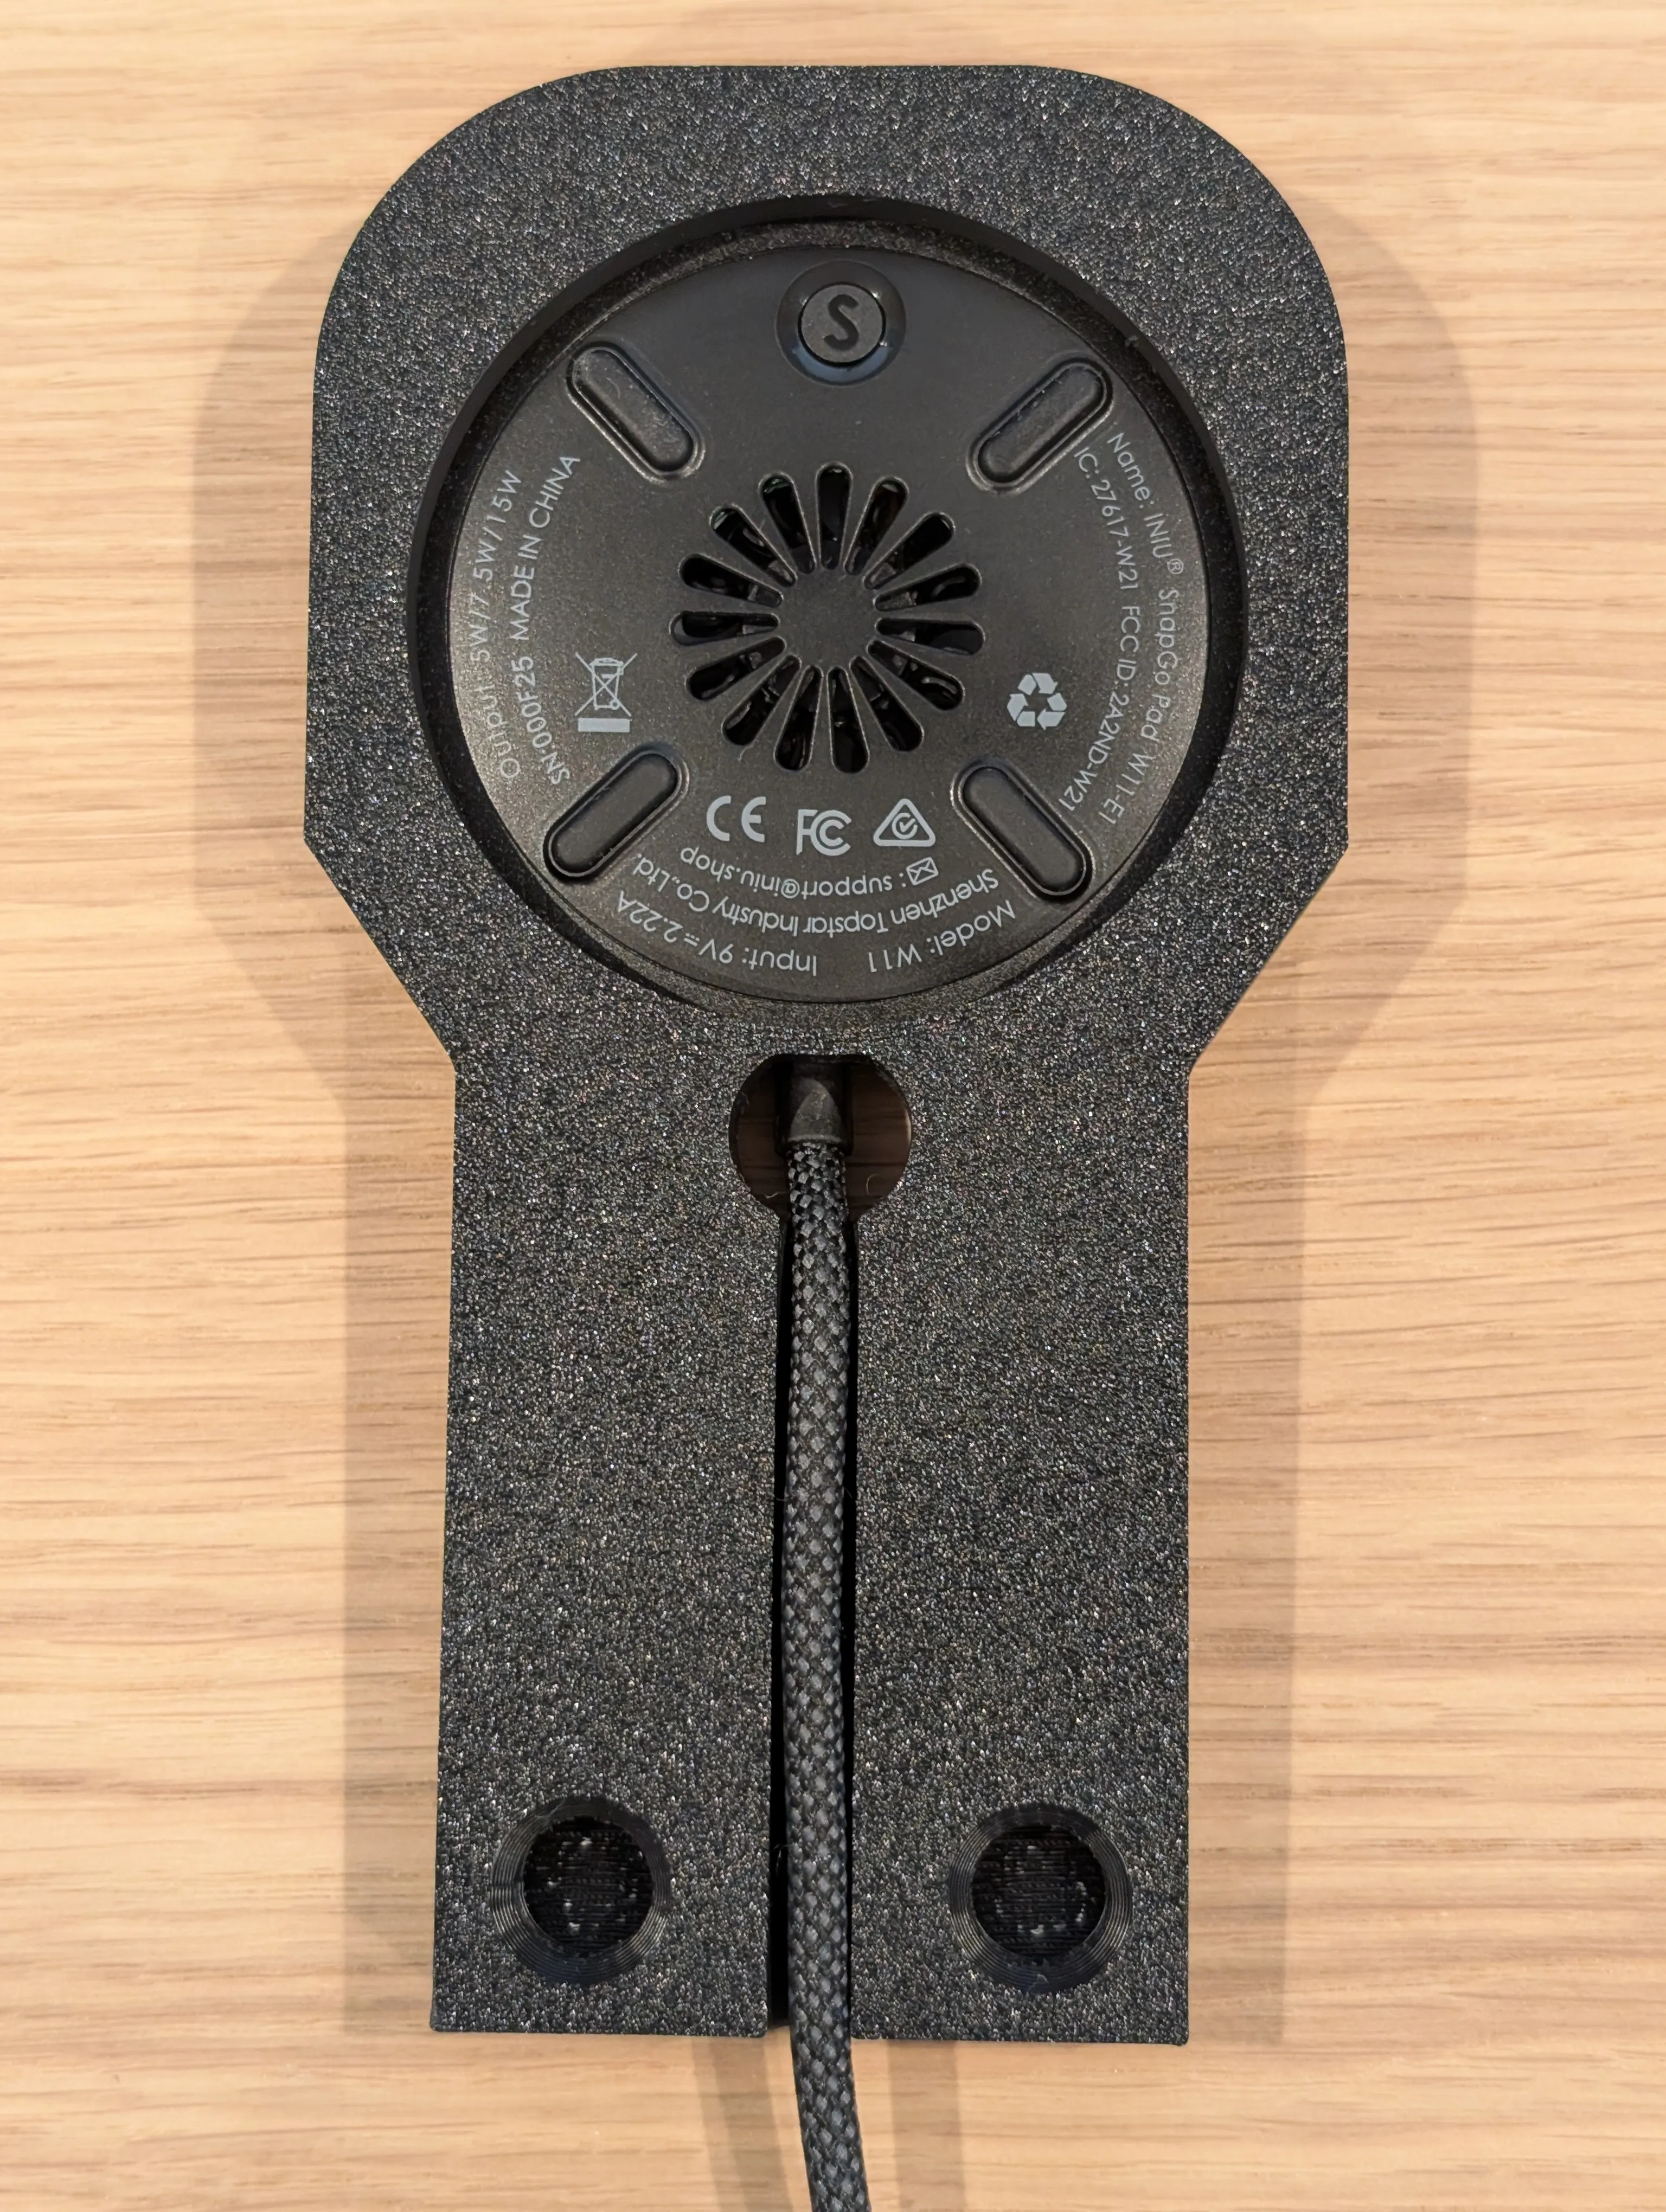
- Snap the Base into the Stand by aligning the socket connections.
- This will take a bit of force depending on the filament you choose. I found it slightly easier to align the side of one of the sockets into its corresponding hole and then push horizontally across to snap the pieces together.
- Then route the cable underneath the Base and it should sit flat on your desk/table etc.
- If it won't sit flat, you may need to put a small book or other object on the back of the base for a bit to help the cable adjust to its new position.
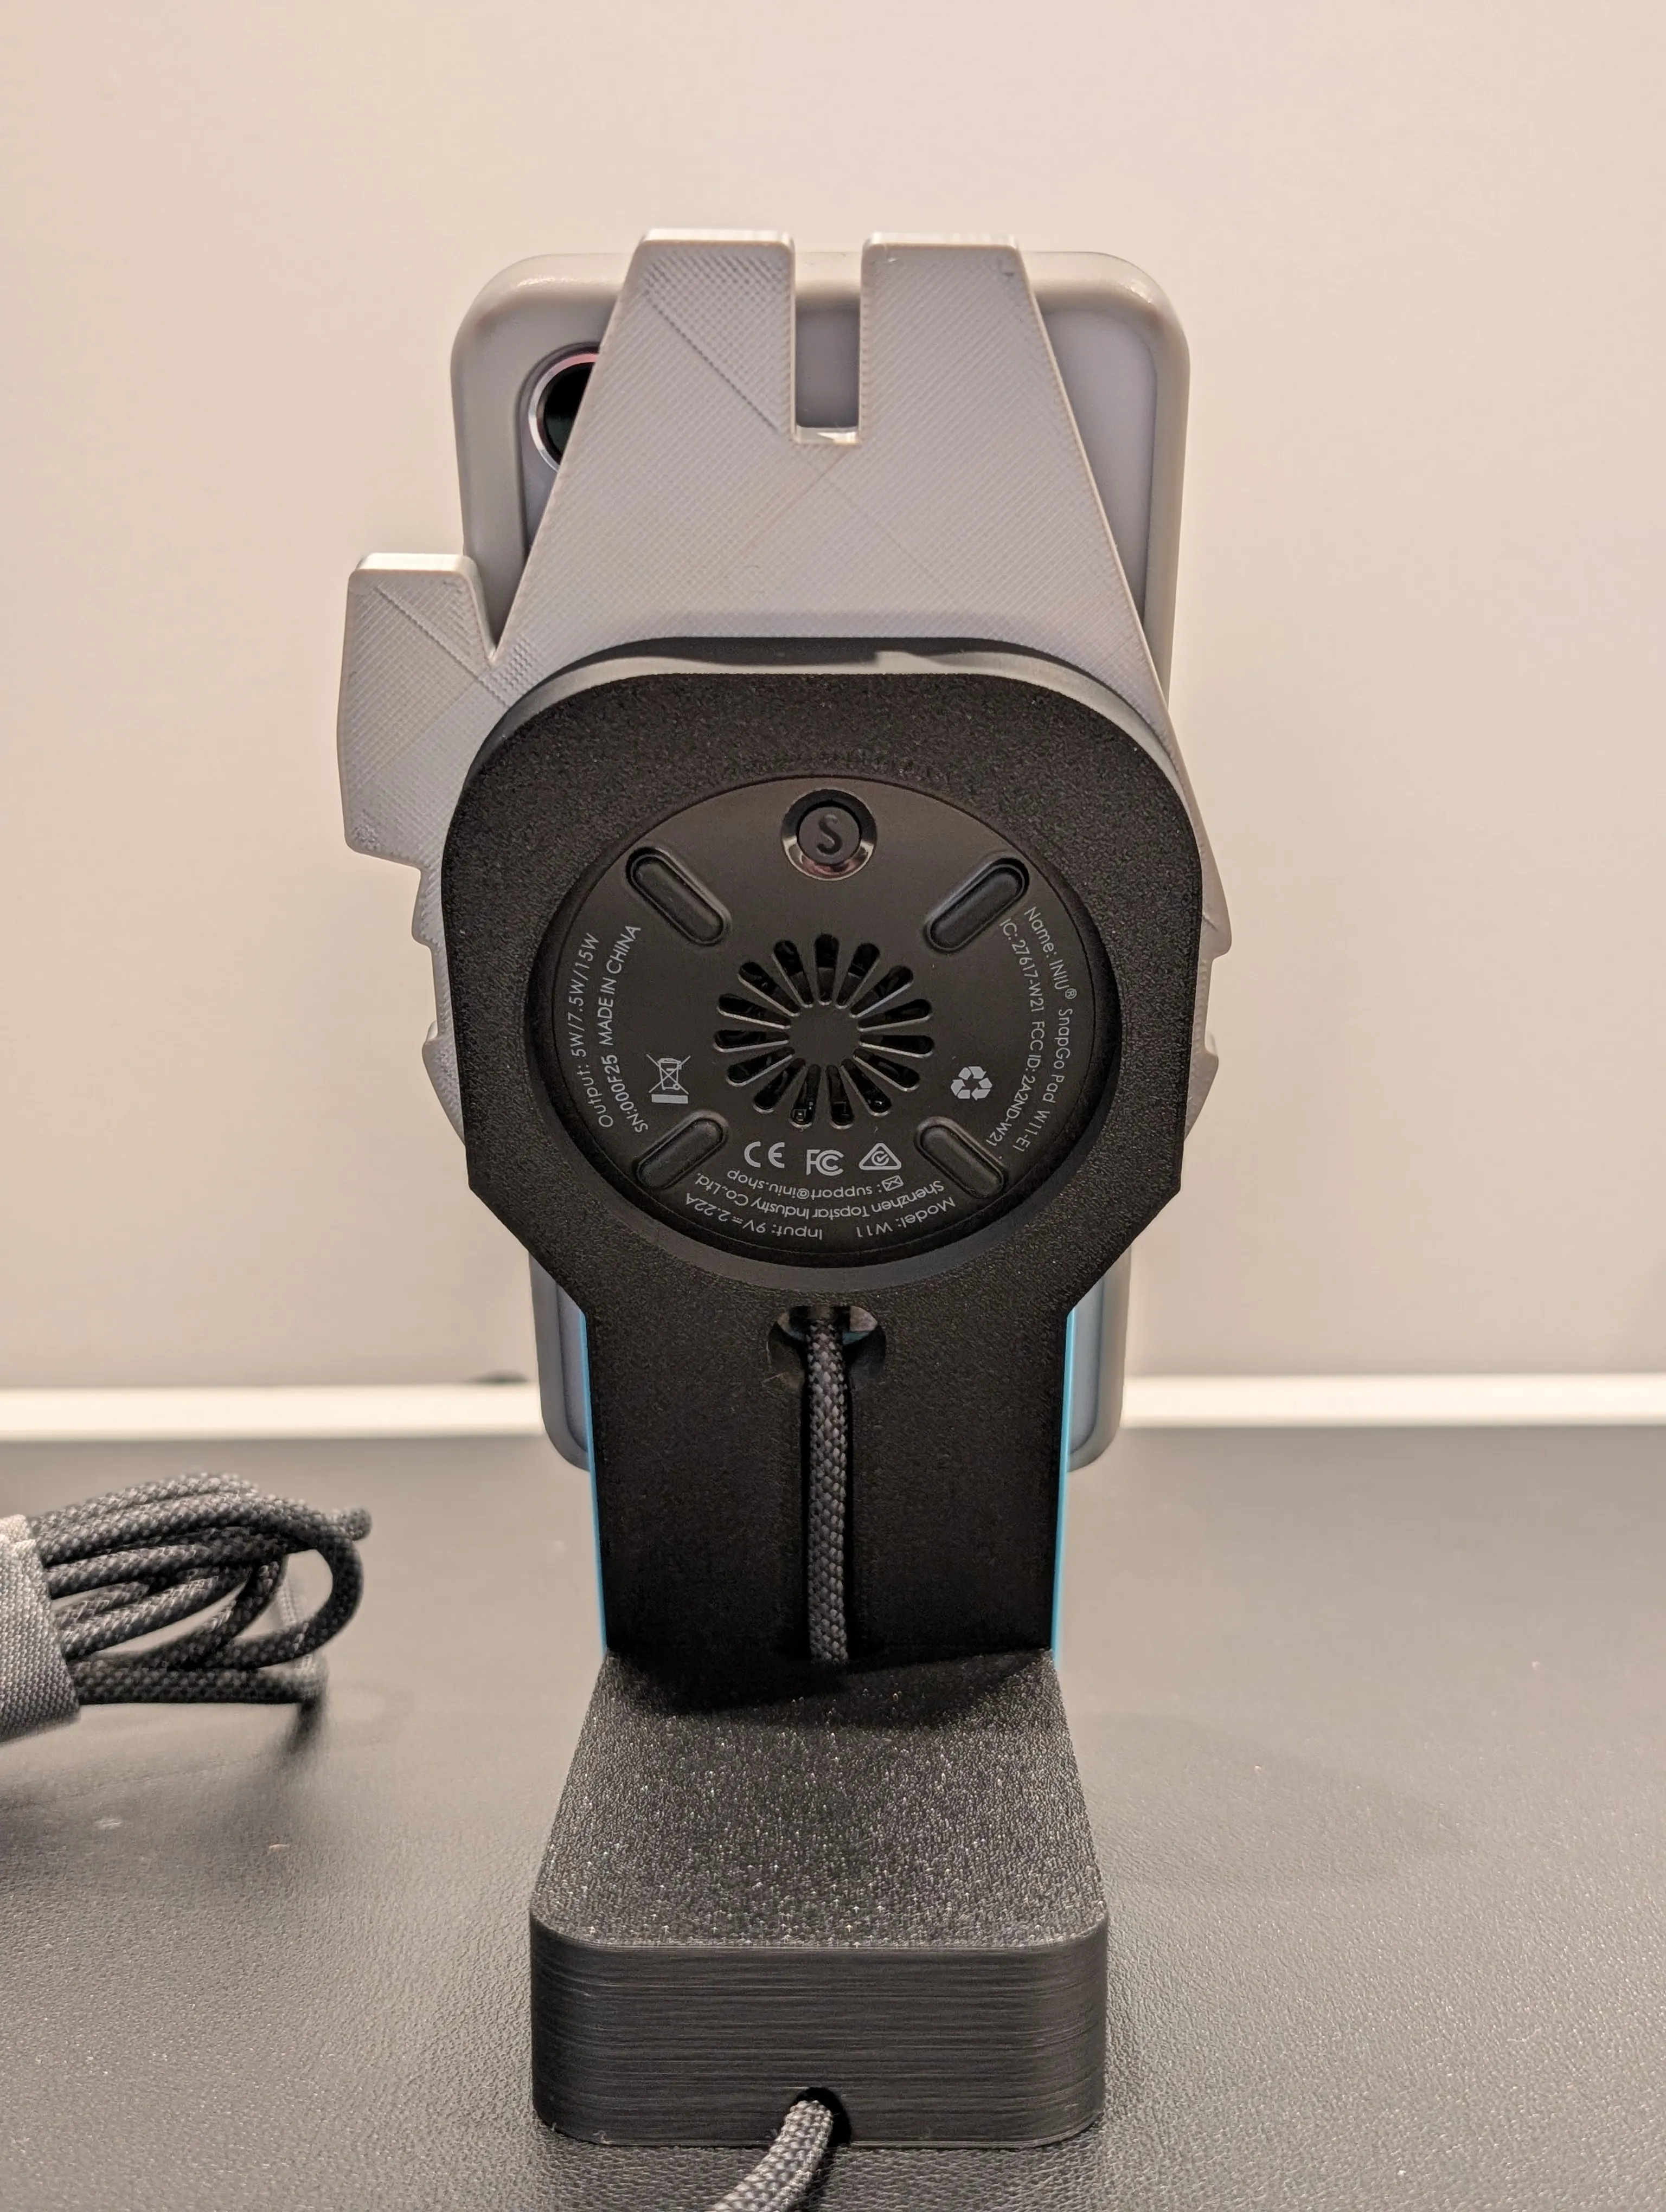
- Attach the MFalcon and Lightspeed to the front.
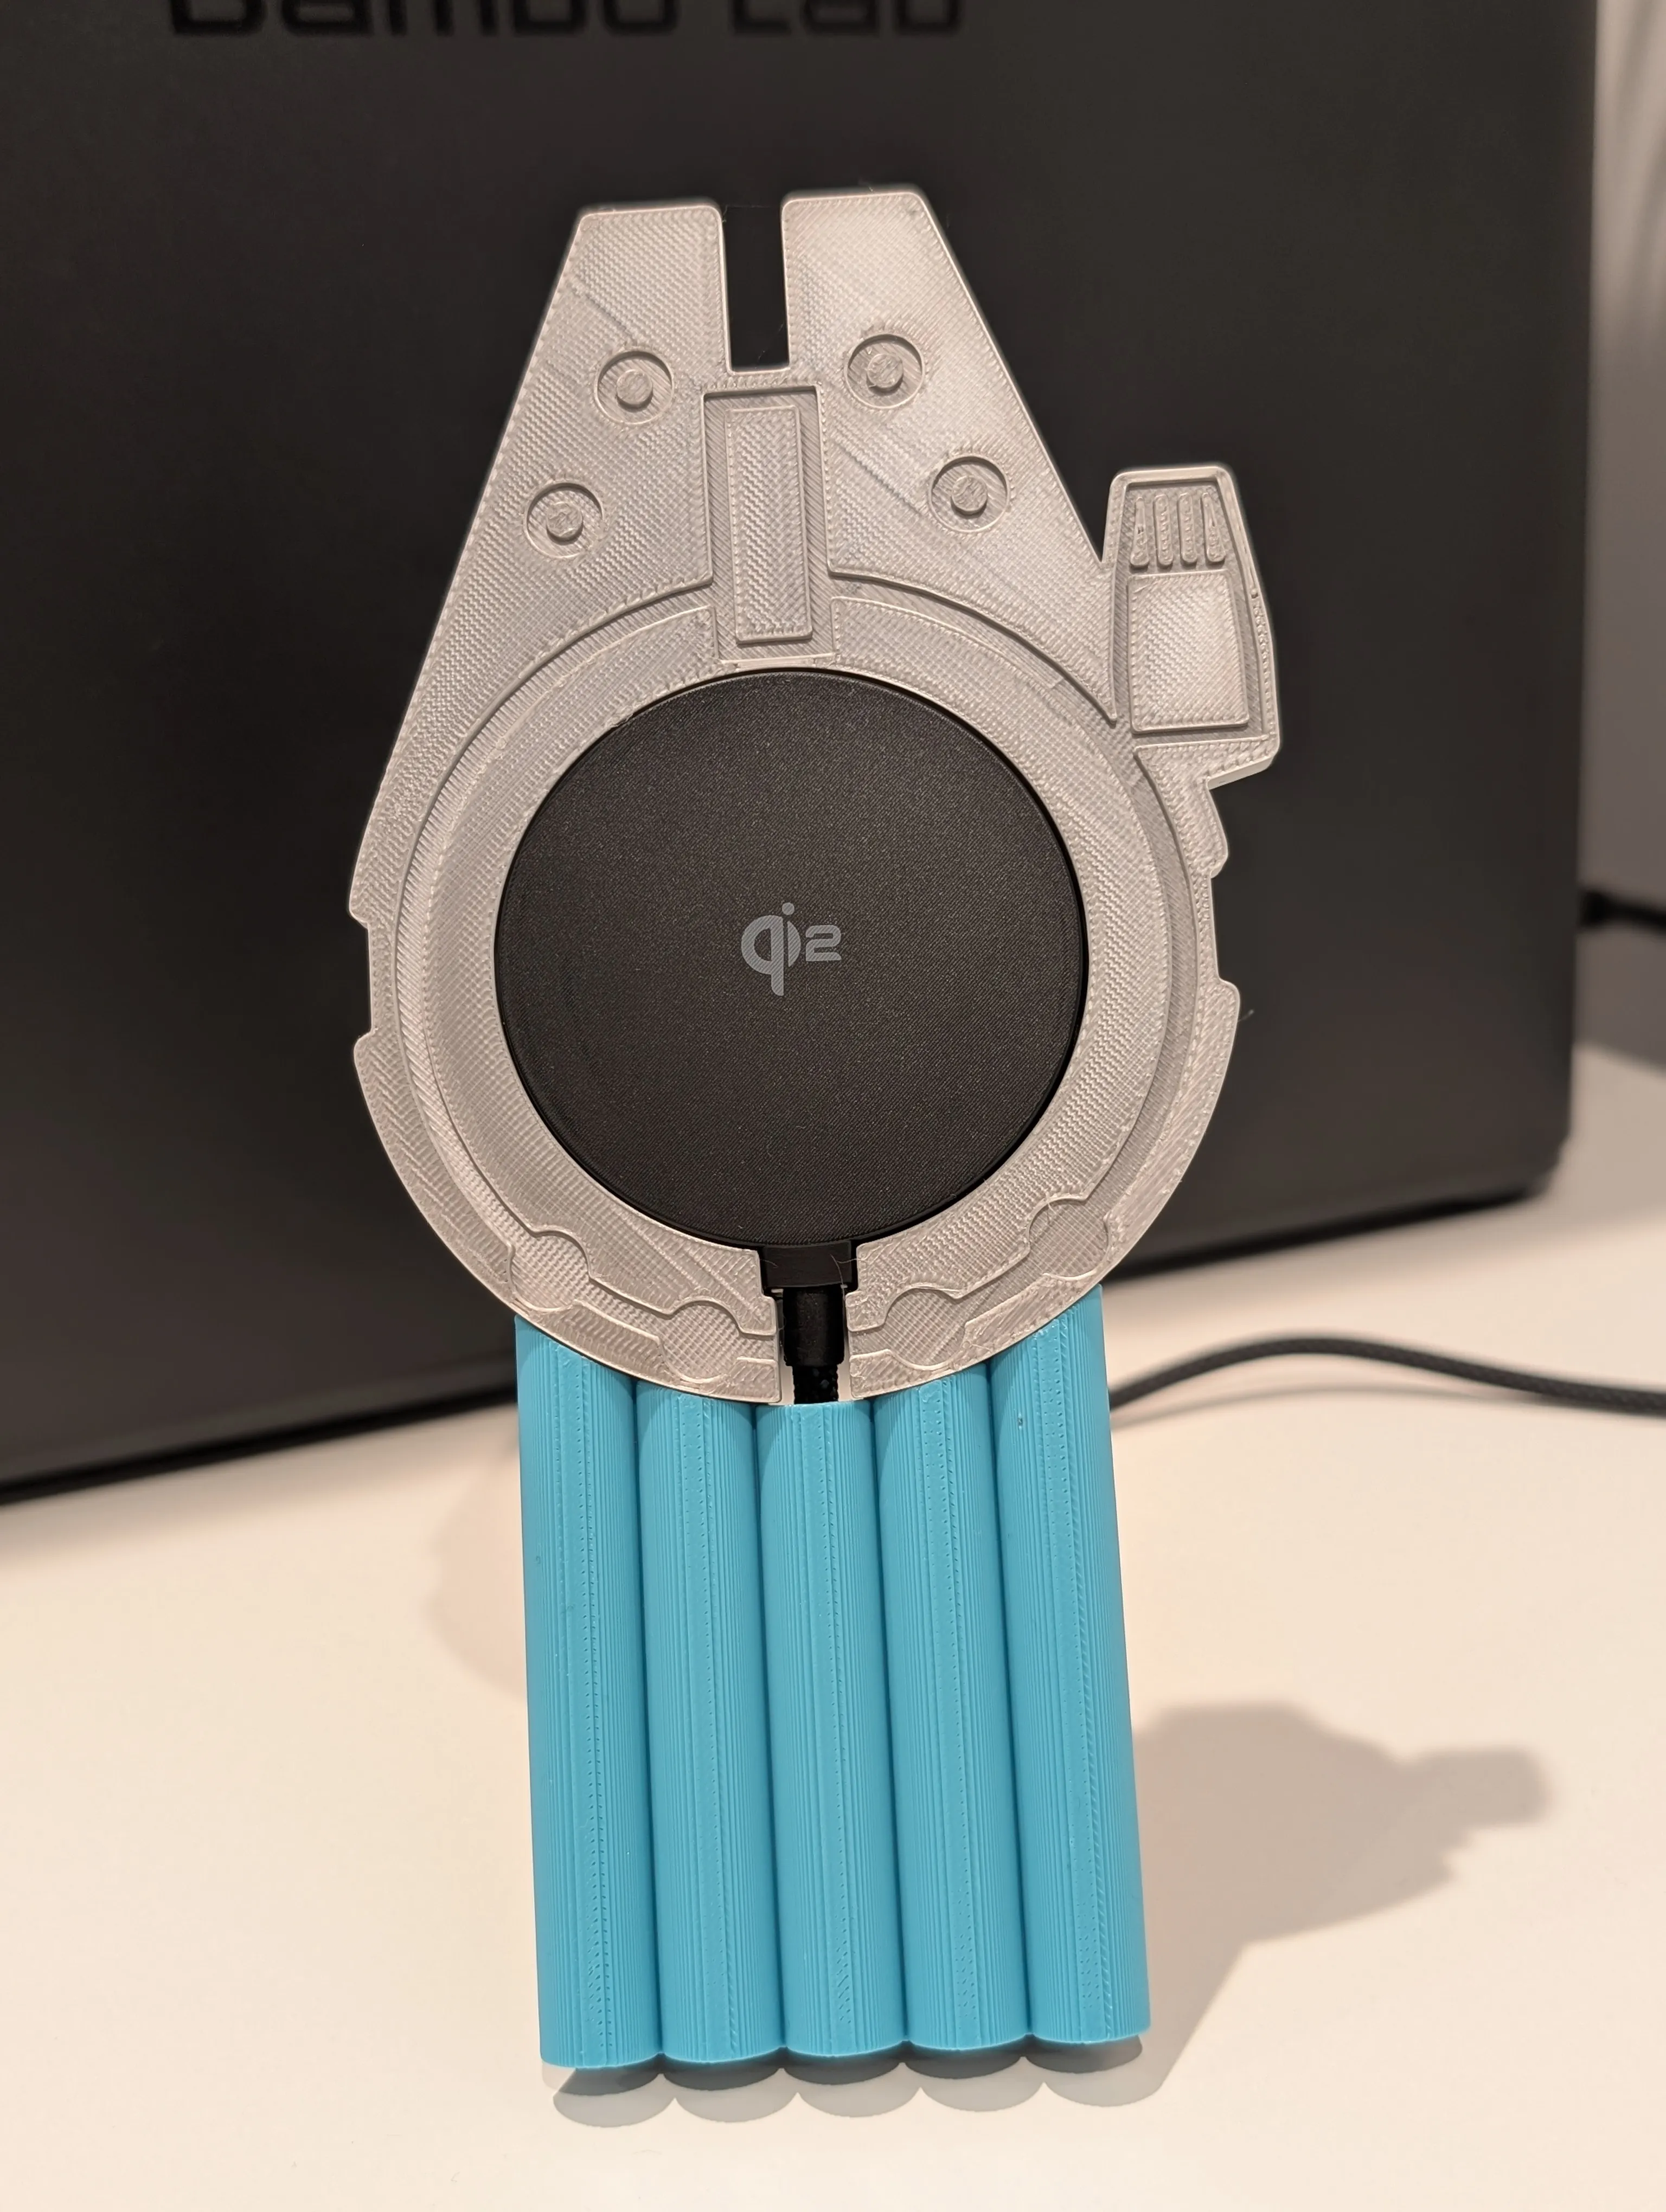
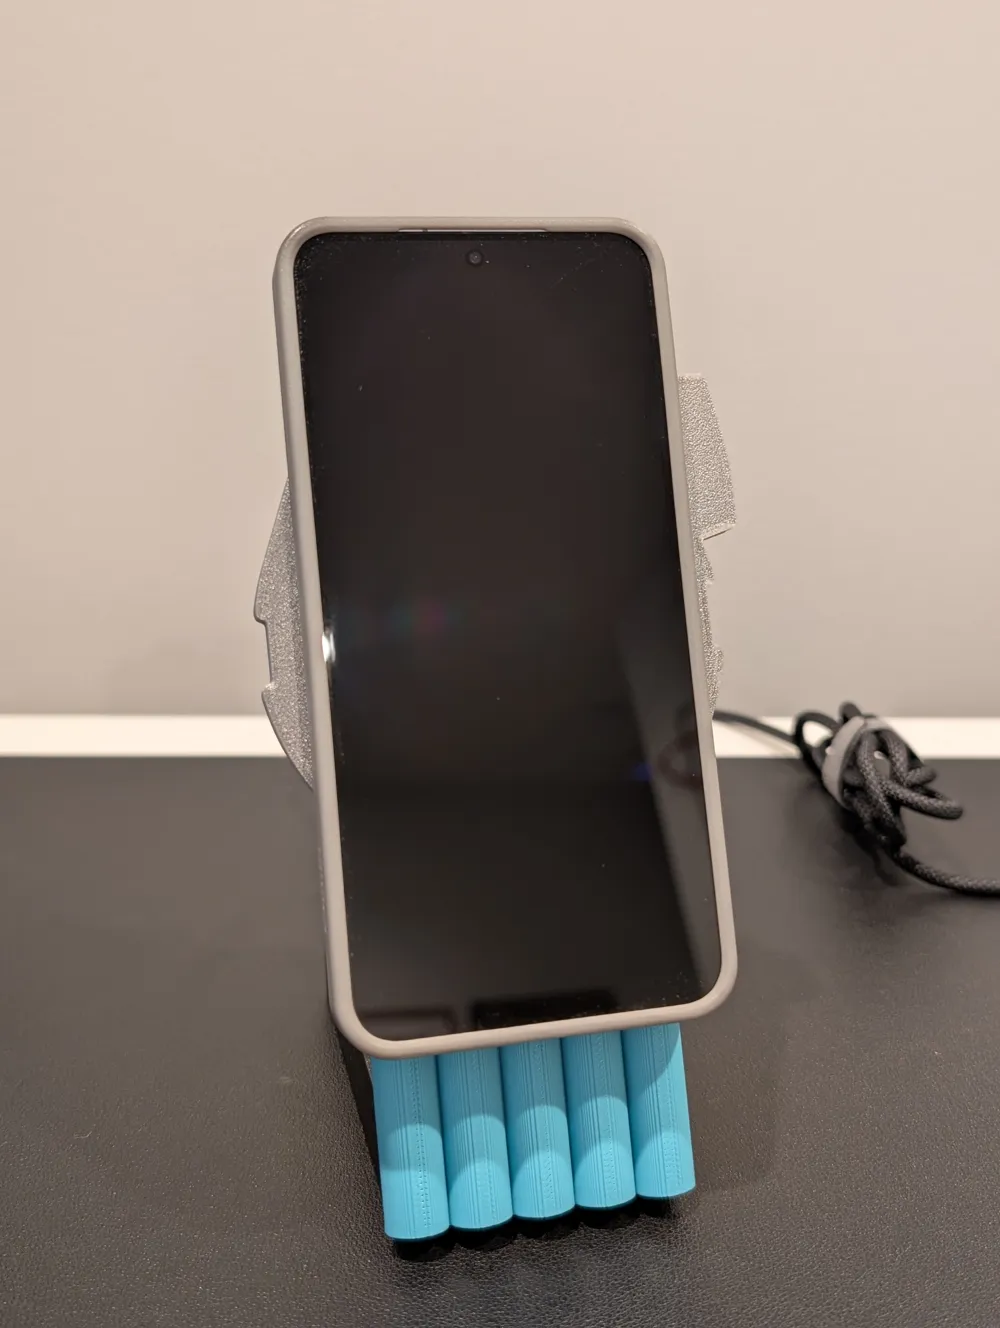
- Enjoy charging your phone on the fastest hunk of junk in the galaxy!
License



Comment & Rating (4)