
Bambu Lab P1S Fill Light
Print Profile(1)

Description
Overview:
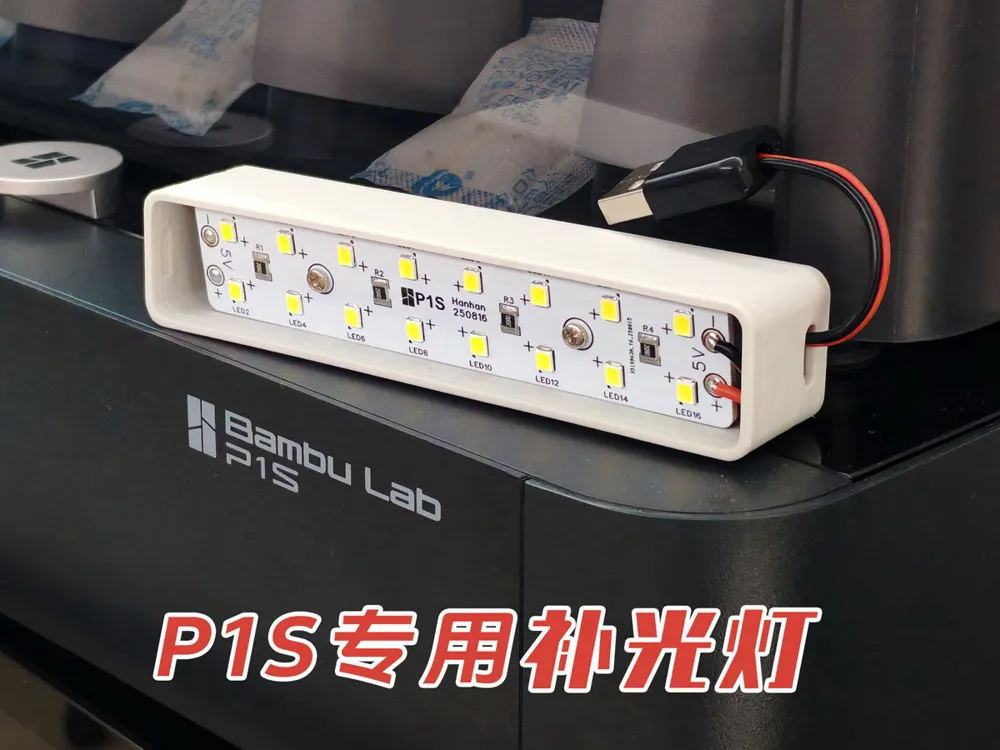
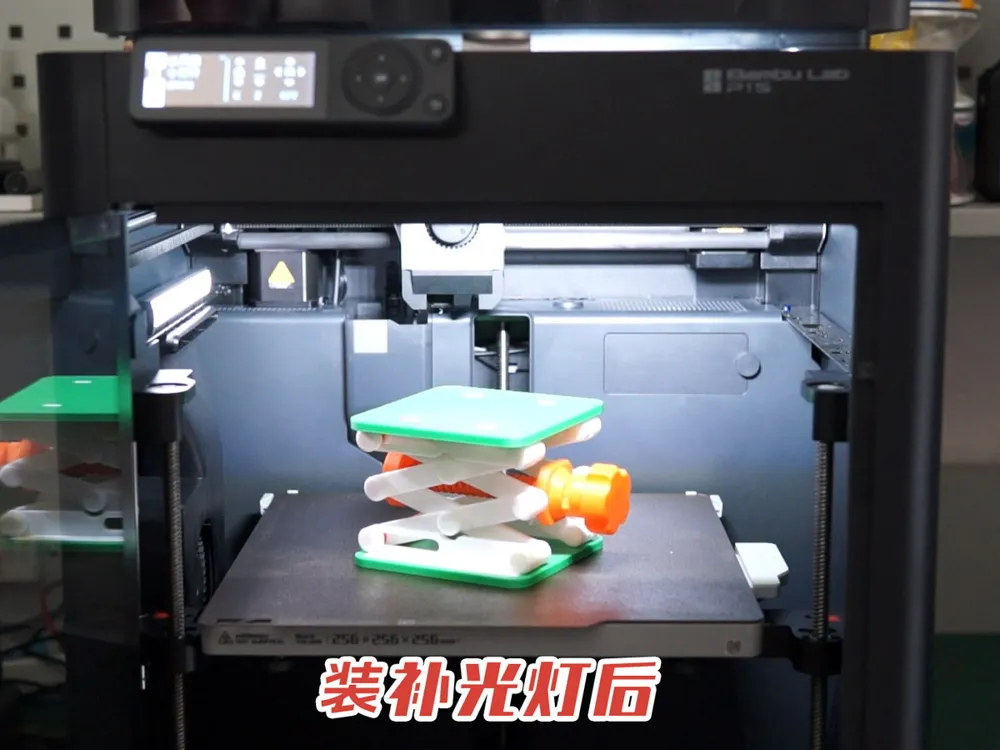
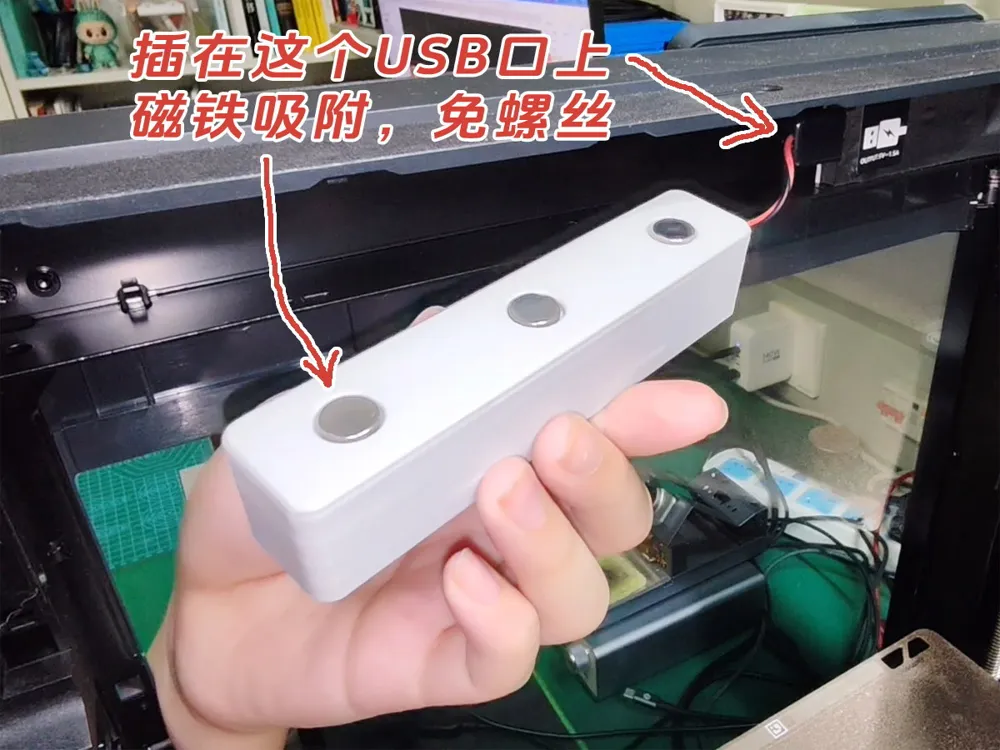
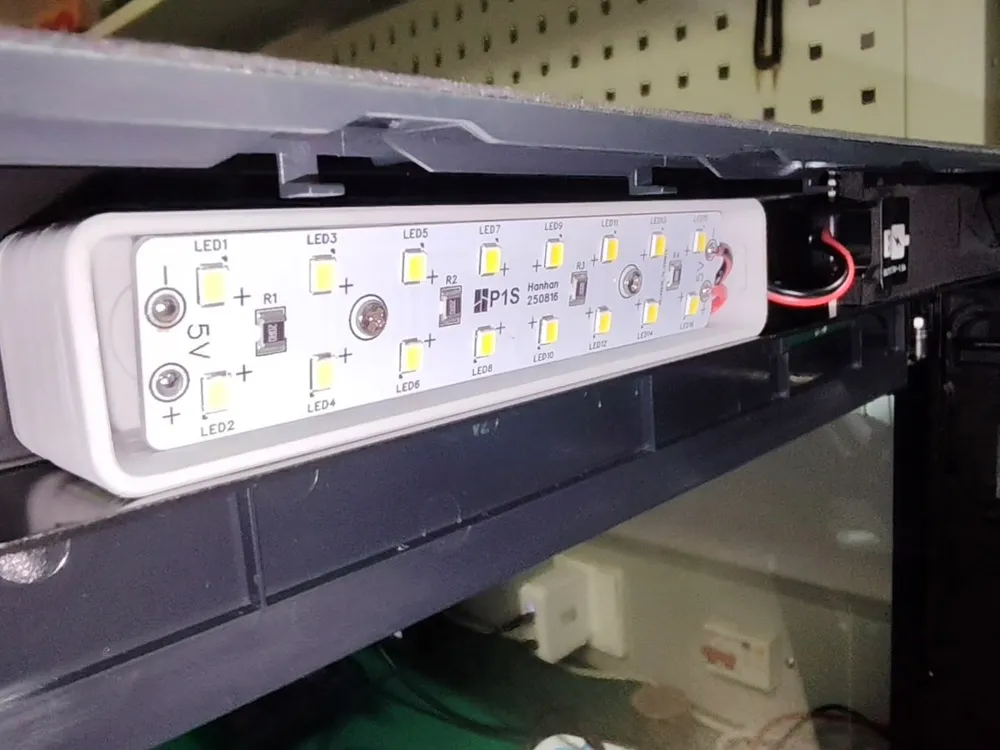
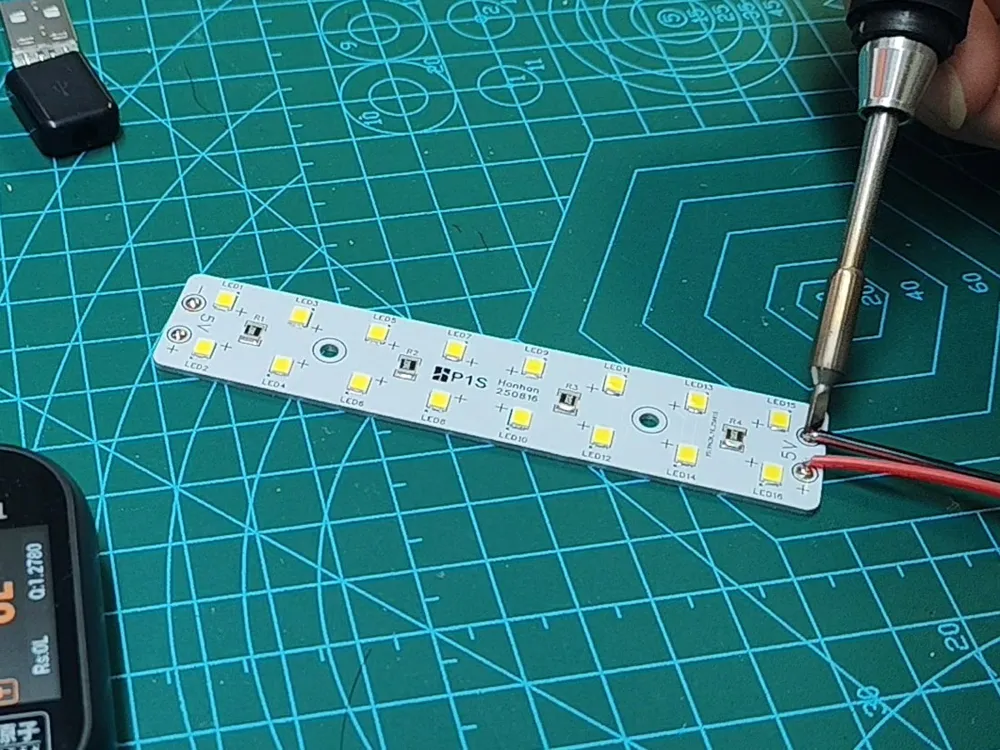
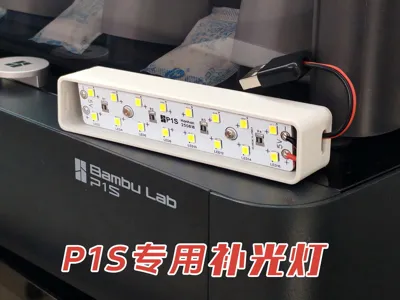
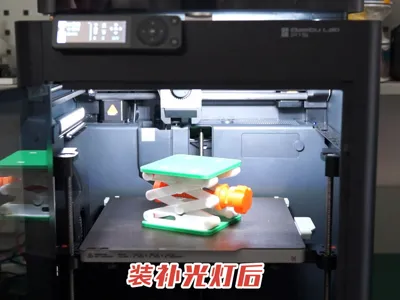
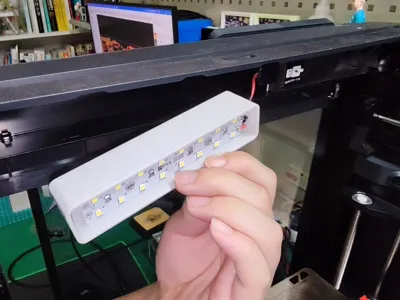
This fill light is designed for the Bambu Lab P1S printer to enhance its internal lighting brightness. It is perfectly compatible with the P1S, and its simple circuit is suitable for DIY
The design of this light is open source, published on the LCSC Open Source Hardware Platform, address:
https://oshwhub.com/cyh2013/works
Even if you don't understand circuits, you can replicate it, and JLC PCB can make the circuit board for free. For detailed steps, please see:
https://www.douyin.com/video/7547714850090093850
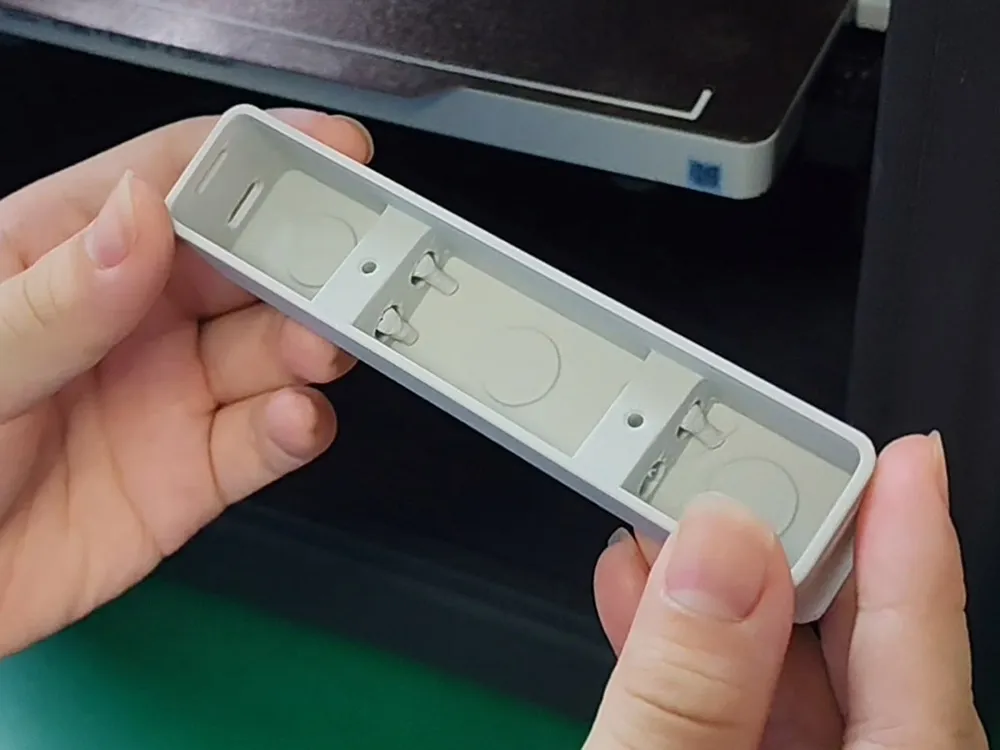
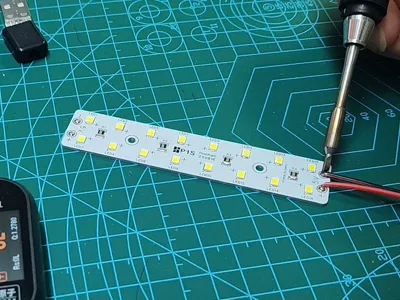
You only need to prepare a few dollars worth of LED beads and resistors, solder them onto the circuit board, and then print a casing
Detailed production and soldering methods are introduced in my Douyin. Please search Douyin ID: deeplore666 and visit my homepage to see, or use this link:
https://www.douyin.com/user/MS4wLjABAAAAcnxirb9uA6kE2tuo92c-I5DOgPHRhmNCtfEBKj2ZCsE
Description:
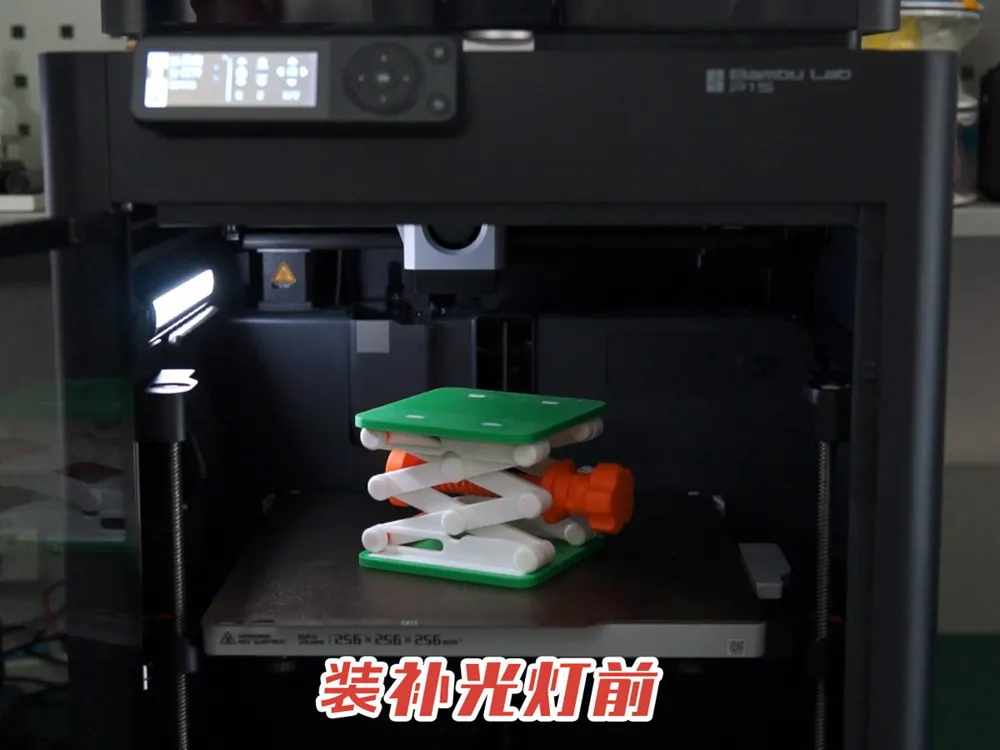
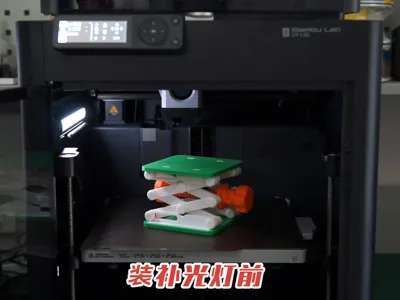
The P1S built-in light is a bit dim; during printing, it always feels insufficient, making it hard to see model details
I have seen some solutions online. One involves attaching a strip light around the upper interior of the enclosure, but I feel the adhesive might peel off easily, leaving double-sided tape residue after removal. Also, the adhesive area has limited space, making it crowded and messy after installation, always worrying about rubbing against the rails. Another solution is to make a separate riser and install the light strip inside the riser. This solves the issue of insufficient space, but the riser is bulky and troublesome to make. Yet another is to remove the original light and replace it with a high-power one, but it's difficult to disassemble and assemble, and the original light's power supply capacity is limited; increasing the power is rumored to damage the motherboard
This fill light is specifically designed for the P1S, with the following features:
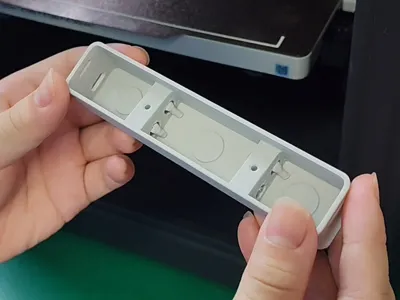
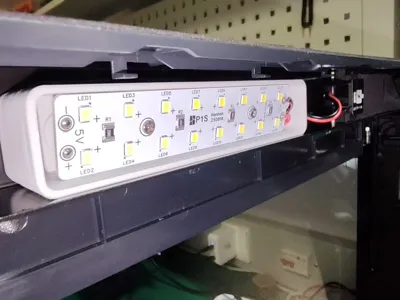
1. Simple structure, easy to make. It consists of a circuit board, a 3D printed casing, and a USB cable
2. Moderate power consumption. The entire unit consumes approximately 2W of power and 0.4A of current, illuminating the enclosure without drawing excessive current
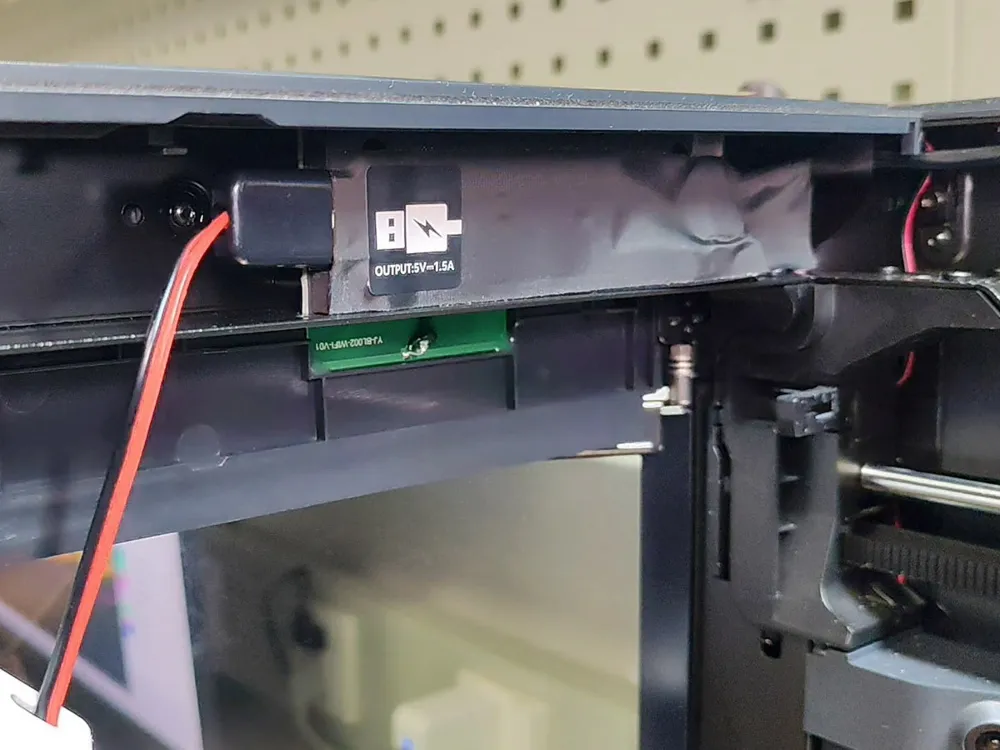
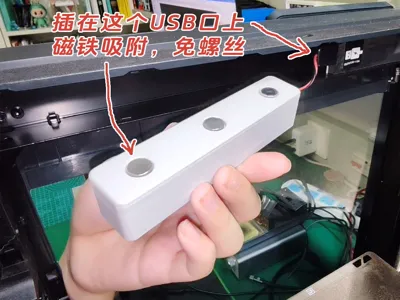
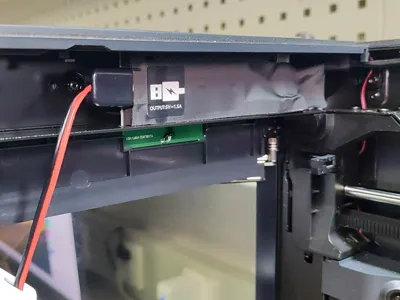
3. Easy power acquisition. It draws power from the machine's built-in USB port; just plug it in. No external power supply is needed
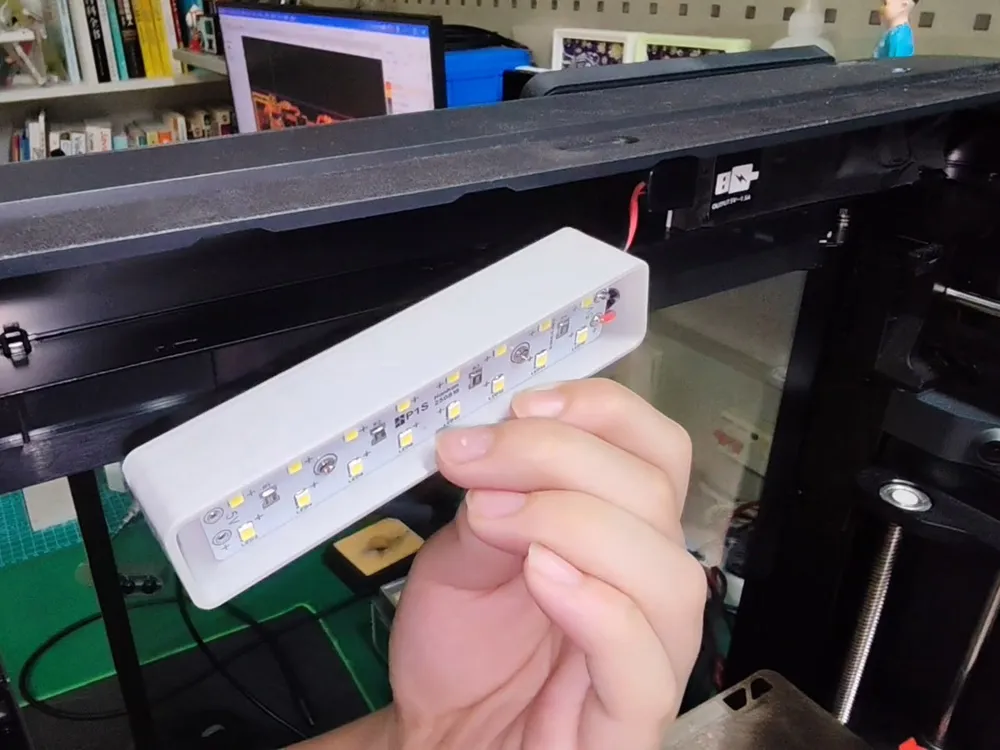
4. Easy installation. It uses small magnets to attach inside the enclosure, requiring no screws or machine disassembly
5. Does not affect machine structure. There's a blank space directly above the door frame where the fill light can be placed with no visible wires. It does not affect the machine's aesthetics or the rail operation
6. Suitable angle. The light is at the top of the machine, and the casing design allows the light panel to illuminate downwards, providing better results than a straight panel light
I hope your DIY project is successful! If you have any questions, you can contact me: WeChat ID: deeplore666, QQ Group ID: 865315788. When joining the group, please note "Bambu Lab"
License



Comment & Rating (1)