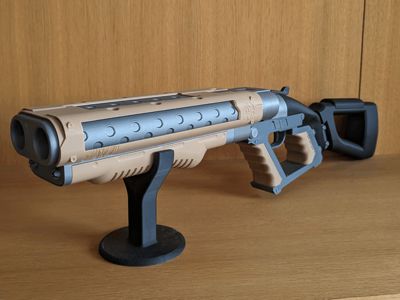
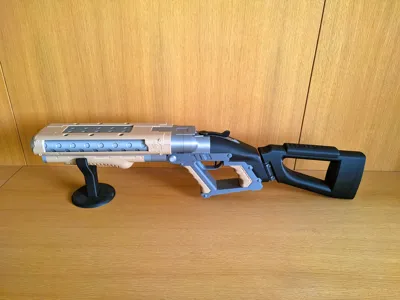
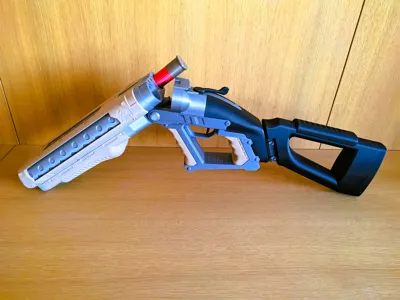
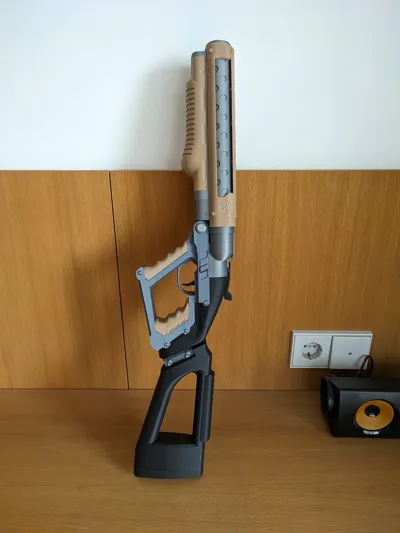
Cyberpunk 2077 DB-2 Testera Shotgun - V2 version


Print Profile(1)

Description
This is a improve version of the DB-2 Testera Shotgun design that i made a time ago, it was my first model with moving parts and i have learned a lot since them, it had some clear issues that now have been addressed and i also added the stock that also was a requested feature.
Even though the model exterior is very similar is a complete redesign of the original model, this was a possible apart from the experience that only one can adquiere with time by the acquisition of a big printer since the original model was designed for a a1mini in mind.
Even thought this model is design for big printers it should be compatible with A1mini still since only no functional parts must be cut in two, if you make this cuts and test it please add the print profile, you will also get free points.

Boost Me (for free)
Boosts are apreciated
Features
- Removable stock with customizable length
- Locking mechanism
- 8 gauge like in the game => You can download the shells files here
- Optional magnets for better locking.
- Functional trigger (needs a small spring like the one from a pen)
- Stand Included
Assembly:
Things you are going to need
- Cyanoacrylate also know as superglue, with acelerant its better but not necessary.
- Small spring like the one from a pen for the trigger but you can always just glue in place
- 14 - 6 x 3mm magnets, this is optional and i included a version without the holes but i highly recommend it.
Lime or sand paper for some specific parts that you might need to adjust the tolerances slightly.
The first step is going to be joining this two parts with the cylinder ,this is going to be a tight fit since the holes are supported and are not going to be perfect circles, you can help your self with the lime clear imperfections in this step.

When we check that it moves correctly we can put the plug, it should stay in place just with friction.

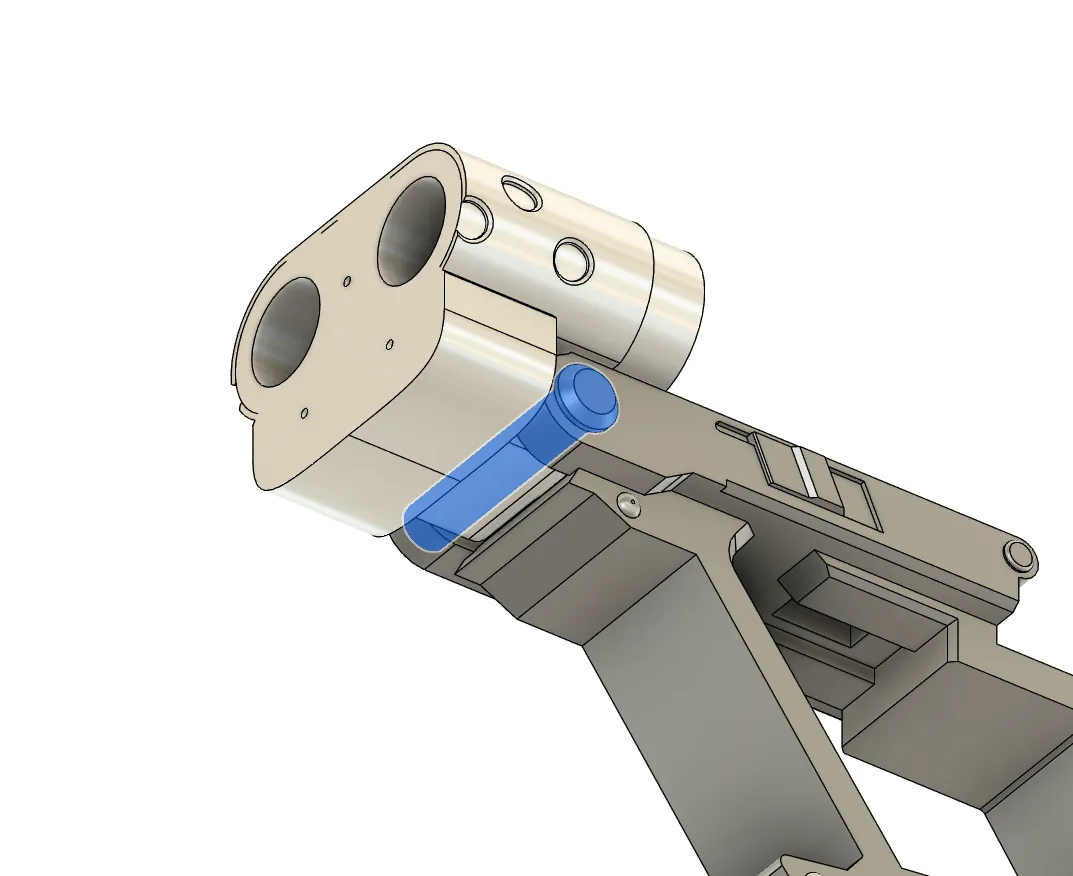
Now we can put the lever inside.

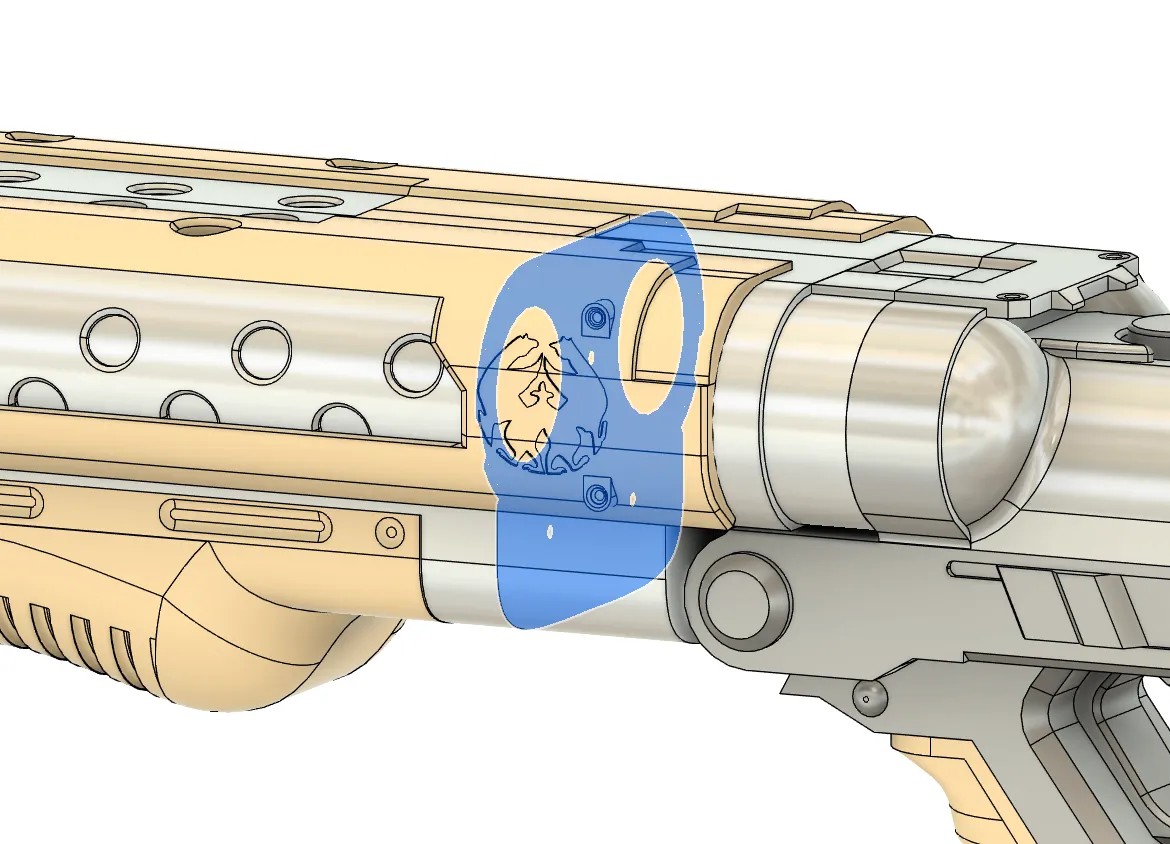
On top of the lever is going to go this other part but before we glue anything together the next part is important.

This is important , now we should ensured that the mechanism closes properly and leaves no gaps, this part the we just put in place might be sitting a bit too forward if this is the case we should lime the surface in blue to ensure that it closes perfectly.

Now we can put the top lever, before gluing anything together i recommend ensuring that the leaver works and that it open and closes without problem.
When we ensured it works properly we can glue the back part and the top lever in place with care no to glue any of the moving parts in place.

If we are going to use the magnet version is a good moment for gluing the magnets in place, i like to first glue half of them in place and then
put the second set of magnets on top of then, after that i colored the face that is going to be facing the inside with a pen and then i glue them one by one, this way i dont make a mistake and get two magnets with the same pole.
Wait a bit of time to the glue to dry before joining the two faces together since they might come loose.

Now we can assemble the trigger, we put this two parts together and the spring goes in the red part.

Now we put this 3 pieces in the hole of the receiver, it can be a bit tricky but its not that hard, it should stay in place just with friction.

Now we can add this 3d parts to the assembly , just use some glue.


Now we can also glue the picatinny for the stock and the trigger guard.

For the next part we are going to glue this to parts together, for the alignment look at the holes in the top.

We can also glue the hand-guard in place.

Now we can glue the front barrel and the back together, there is three small holes for strings of filament but they are not necessary at all, put glue also in the part that goes on the top to ensure this 3 parts are glue together.
If you just wanted the version without the stock that is going to be all, now a will explain how to assemble the stock.

First we are going to add and glue the extension, this ones can be stacked so you can make the stock longer or shorter, in my case i put 2 of them and thats the ones that i include in the files but you can put more or none at all.

Then be can glue the final part of the stock.

Now we can add were the rail is going to attach, there is a hole for it where we can glue it.

When the glue has dried we can slide the stock into the picatinny, now we can use the 2 pins that i have added to secure it in place, thay have to be insrted from then angle and then to one side, if you can do it with hand you might need to help yourself with a plat screw or similar.
Thats about it for the stock, you can remove later the stock if you want removing the pins.
I hope you enjoy this revision of the model, the original version was the first model with moving pieces that i made and with just 2 months of experience with any design software so it had come clear issues but im happy that now hopefully they all have been corrected, like always if you have some feedback to give or any suggestions for other designs you can leave them in the comments.
License
You shall not share, sub-license, sell, rent, host, transfer, or distribute in any way the digital or 3D printed versions of this object, nor any other derivative work of this object in its digital or physical format (including - but not limited to - remixes of this object, and hosting on other digital platforms). The objects may not be used without permission in any way whatsoever in which you charge money, or collect fees.
Comment & Rating (25)