
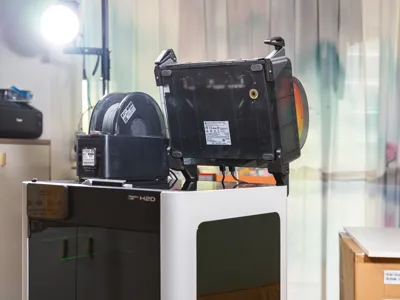
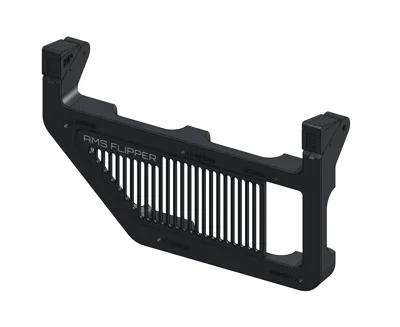
H2D的AMS翻转器!
Print Profile(6)
![[Standard] AMS 2 Pro Dedicated Base (including 75° and 85° Rear Stopper Modules)](https://makerworld.bblmw.com/makerworld/model/US6ad02befca4703/405619486/instance/2025-09-10_cca16b180437c.jpg?x-oss-process=image%2Fresize%2Cw_100%2Fformat%2Cwebp)


Bill of Materials





- Spare filament strand (60~80mm) x 1: Used to lock stopper blocks.
Description
[ English description available, you can turn off auto-translate. ]
Boost Me (for free)
Developing this set of accessories took a long time and involved many printed test pieces If you like this set of accessories you can boost me for free Thank you very much
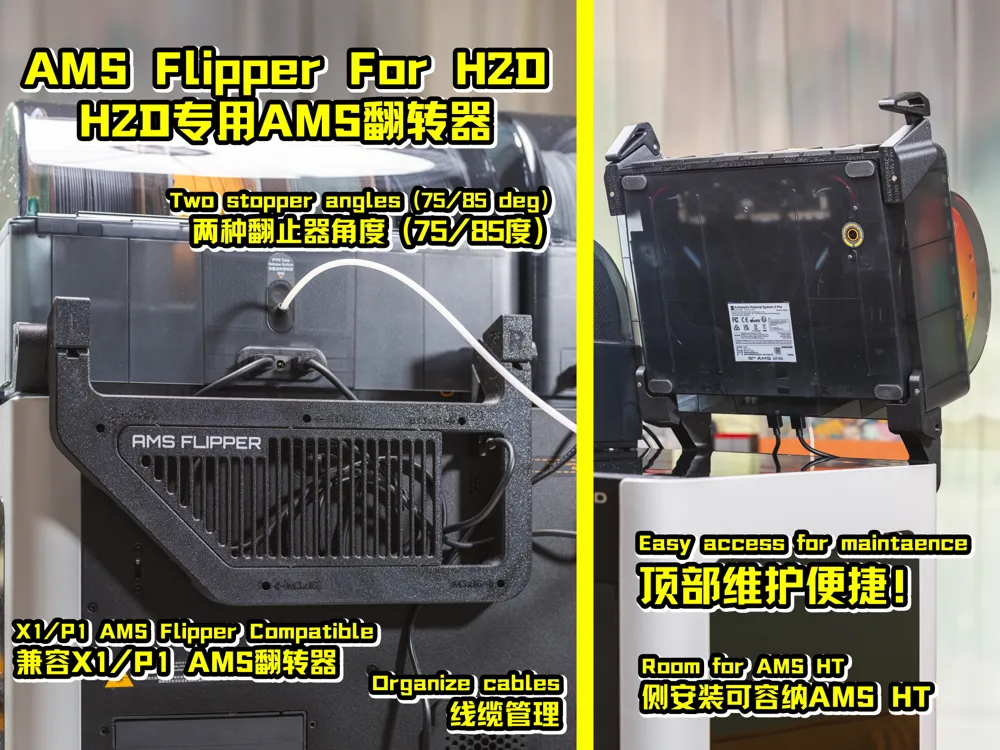
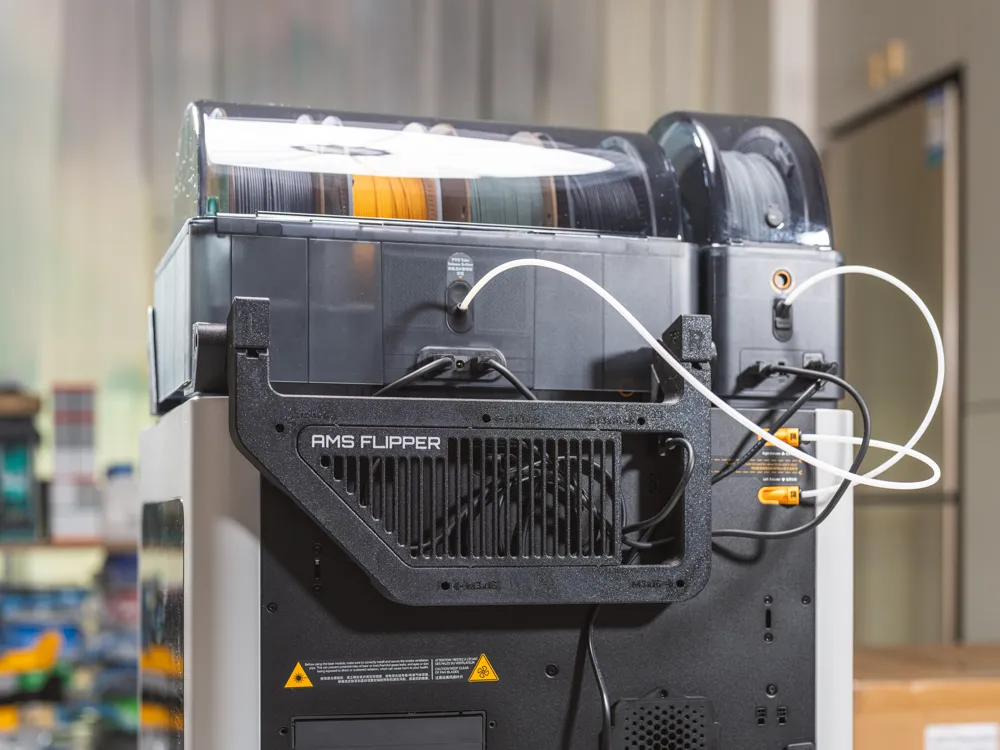
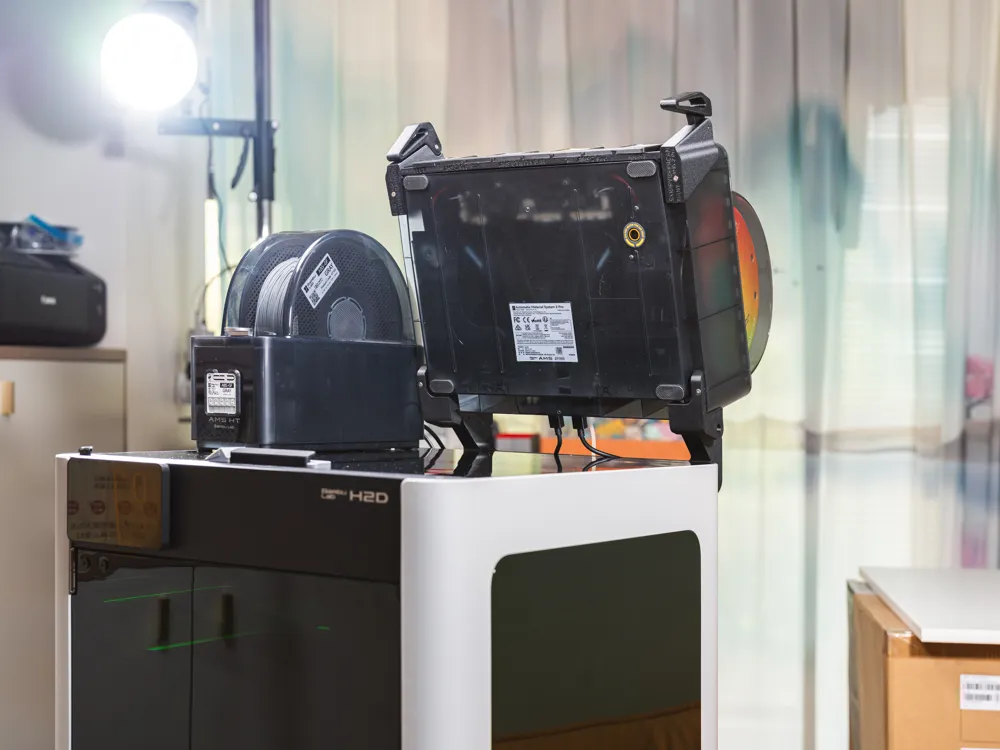
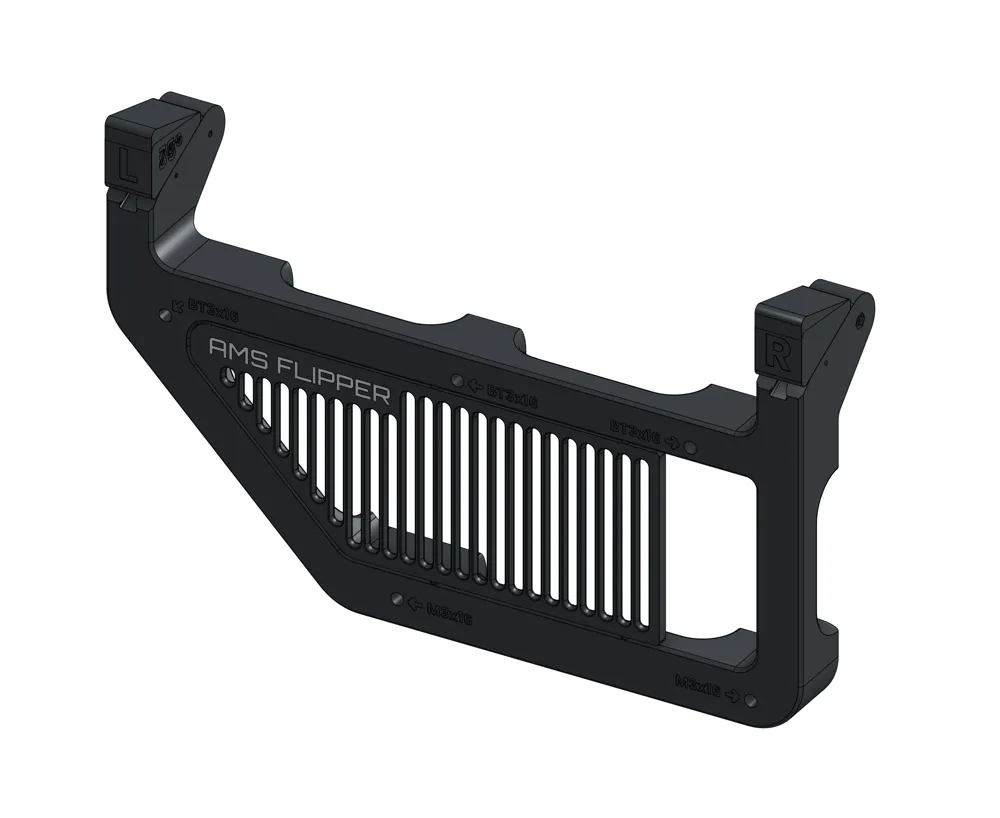
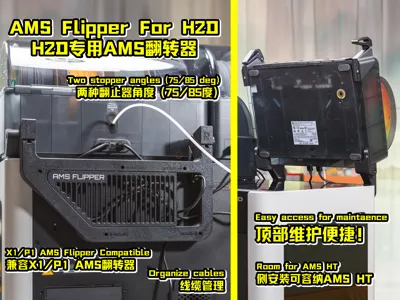
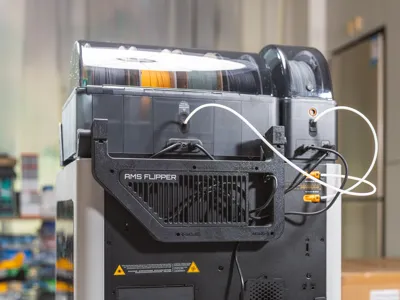
THE ULTIMATE AMS FLIPPER FOR H2 SERIES PRINTERS HAS ARRIVED
THE ULTIMATE AMS FLIPPER FOR H2 SERIES PRINTERS HAS ARRIVED
[ Update | 2025-12-18 ]
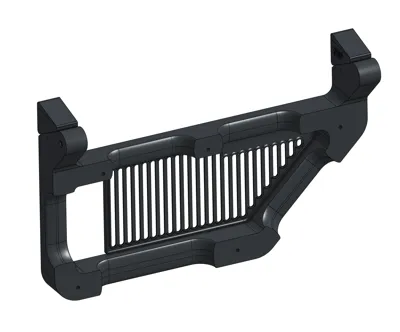
- Based on feedback from community user (@CNCModel), added the flipper bracket model with the pivot moved forward by 40mm and the corresponding rear stopper module If you need to use it, please click "Download STL/CAD files" to download the files After downloading, replace the model and then print
[EN] At community user request (@CNCModel), added files for flipper rack with pivot point extended by 40mm and associated rear stopper blocks If needed, please click on ‘Download STL/CAD files’ to download related files, once downloaded replace models in Bambu Studio then proceed to printing - Thanks to @CNCModel for making and providing the original files for the 40mm pivot extension module download by clicking "Download STL/CAD files" This module can be printed and installed independently
[EN] Shout out to @CNCModel for making and supplying files for 40mm pivot extension adaptors, click on ‘Download STL/CAD files’ to download files These models can be printed independently
⚠️ Warning!
The flipper bracket with the pivot moved forward has not been print tested, please use with caution
When printing this version of the bracket, please adjust the print parameters appropriately (increase wall count, infill percentage) to ensure the bracket is sturdy Due to the forward shift of the center, the force on the two self-tapping screws at the bottom of the bracket increases To avoid damage to the printer and AMS, please regularly check these screws If any abnormality is found, stop using and remove the bracket
⚠️ WARNING!
Pivot extended model has not been print tested, use at your own risk!
To sustain adequate structural strength, please adjust print settings accordingly before printing this rack version (eg. increase wall count, increase fill percentage) Due to shift of centre of mass, pulling force of both bottom bolts will increase, to avoid damage to printer and/or AMS, please perform regular inspection to these bolts Stop using and dismantle the AMS flipper rack if anomaly appears
Many thanks to @CNCModel for the request and for making the extension module Welcome to visit his homepage
[EN] Much appreciations to @CNCModel for making the request and supplying files for 40mm pivot extension adaptors, please also visit his homepage for awesome models
[ Update | 2025-09-29 ]
- Based on user feedback, added a dedicated print profile for H2S H2S users please download the corresponding print profile
[EN] Based on user feedback, added H2S specific print profile H2S users please download corresponding print profile - Updated "Printing tips" content, added "debossed" text description
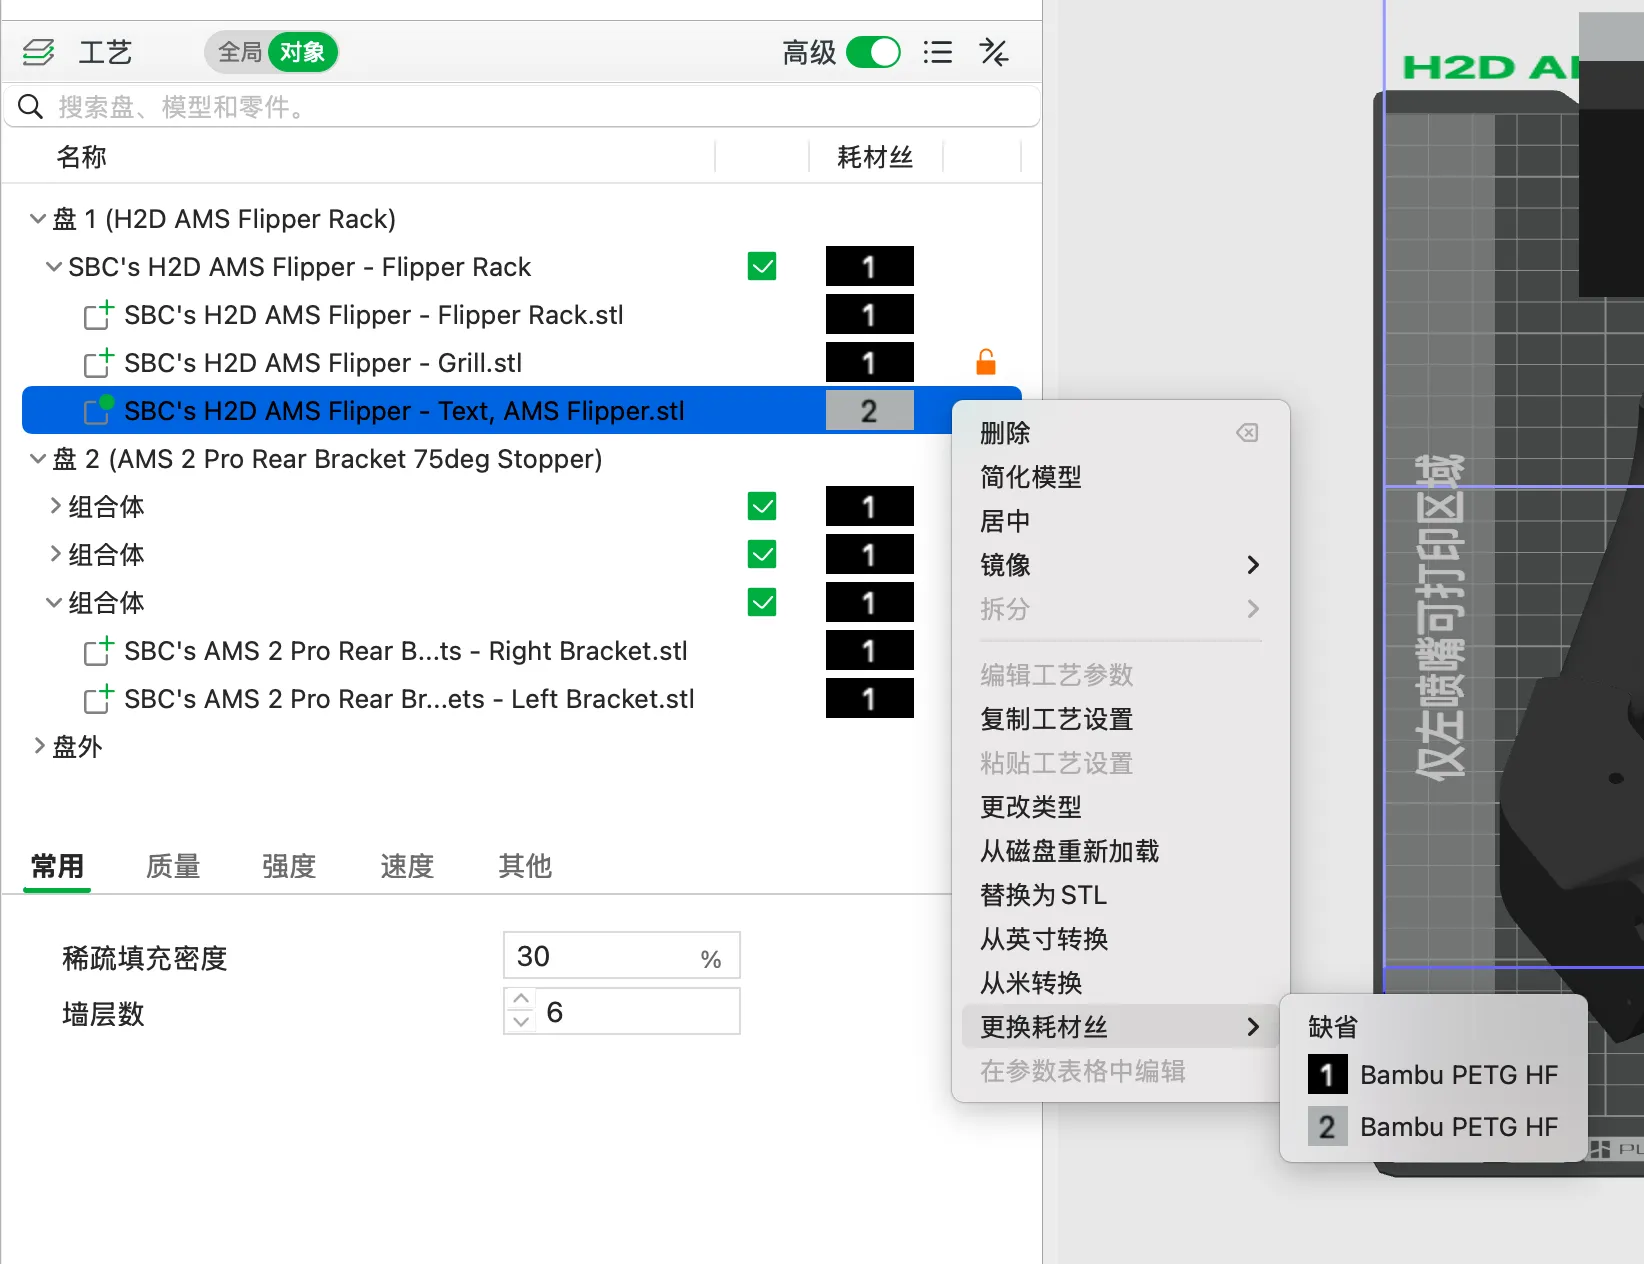
[EN] Updated ‘Printing tips’ content, added descriptions to change text to deboss effect
[ Update | 2025-09-13 ]
- Uploaded AMS Gen.1 Flipper Bracket (Base) files
[EN] Uploaded STL files for AMS Gen.1 Pivot Mounting Brackets - Released AMS Gen.1 Flipper Bracket (Base) print profile
[EN] Posted print setting file (3MF) for AMS Gen.1 Pivot Mounting Brackets
【Inspiration】 | [Inspirations] |
This project was inspired by the X1/P1 series AMS Flipper by global site author @Jakob_K_Design
After repeatedly photographing and measuring the back of the H2D, and after multiple test prints, I successfully created this H2 series AMS Flipper
Many thanks to Jakob_K_Design for the innovative inspiration Unfortunately, the H2 series printers have fewer usable original screw holes on the back, and their positions are not as ideal as those on the X1/P1 series printers, making it impossible to design a minimalist and modern style like Jakob_K_Design's
Nevertheless, I hope you like this model design If you like it, give it a like If you, like me, need a flipper for your H2 printer, please download and print it
Welcome to leave me feedback
P.S. While you're at it, install a good companion for the flipper—the AMS Front Handle Please visit my homepage or click the link below to view it | The inspiration came from the popular and original AMS Flipper for X1/P1 project by @Jakob_K_Design from the international MakerWorld site.
After making numerous photographs and measurements of the back of my H2D printer, not to mention the multiple failed full size test prints, I have finally successfully developed this working AMS Flipper for H2 series printers.
Many thanks to the creative inspiration by Jakob_K_Design! Unfortunately, due to the very limited number of usable mounting holes on the back of the H2 series printers, I am unable to produce an AMS Flipper with such minimalistic contemporary design that is comparable to the original AMS Flipper by Jakob_K_Design.
I hope you will like this design, give a like If you are like me needing a flipper for your H2 printer, print it!
Any feedback are welcome!
P.S. This goes well together with a set of companion AMS Front Handles! It can be found on my homepage or link here. |
【Features】 | [Features] |
|
|
【Hardware】 | [Hardwares List] |
Note: The hardware (screws) used in this model are available at Guwanji Jingdong flagship store, links are below You can search for "Guwanji" or "Fengji" on Taobao/Tmall BH3x16 is the same as BT3x16
[Jingdong Mall Purchase Links] HB3x16: https://item.jd.com/10114749282720.html HM3x15: https://item.jd.com/10152195208158.html |
|
【Printed Parts】 | [Printed Parts] |
|
|
【Tools/Other Materials】 | [Tools / Other materials] |
|
[CAUTION] Please beware, the AMS Flipper is designed using metric measurement system, so are the bolt holes on the back of H2 series printers. Please use metric tools during assembly to avoid failure/damages to printer, AMS and AMS Flipper components. |
[ Assembly/Assembly ]
【Step 1】 | [Step 1] |
[Note] Please safely store the removed screws with the printer accessories |
[Note] Please store removed screws with printer spare parts. |
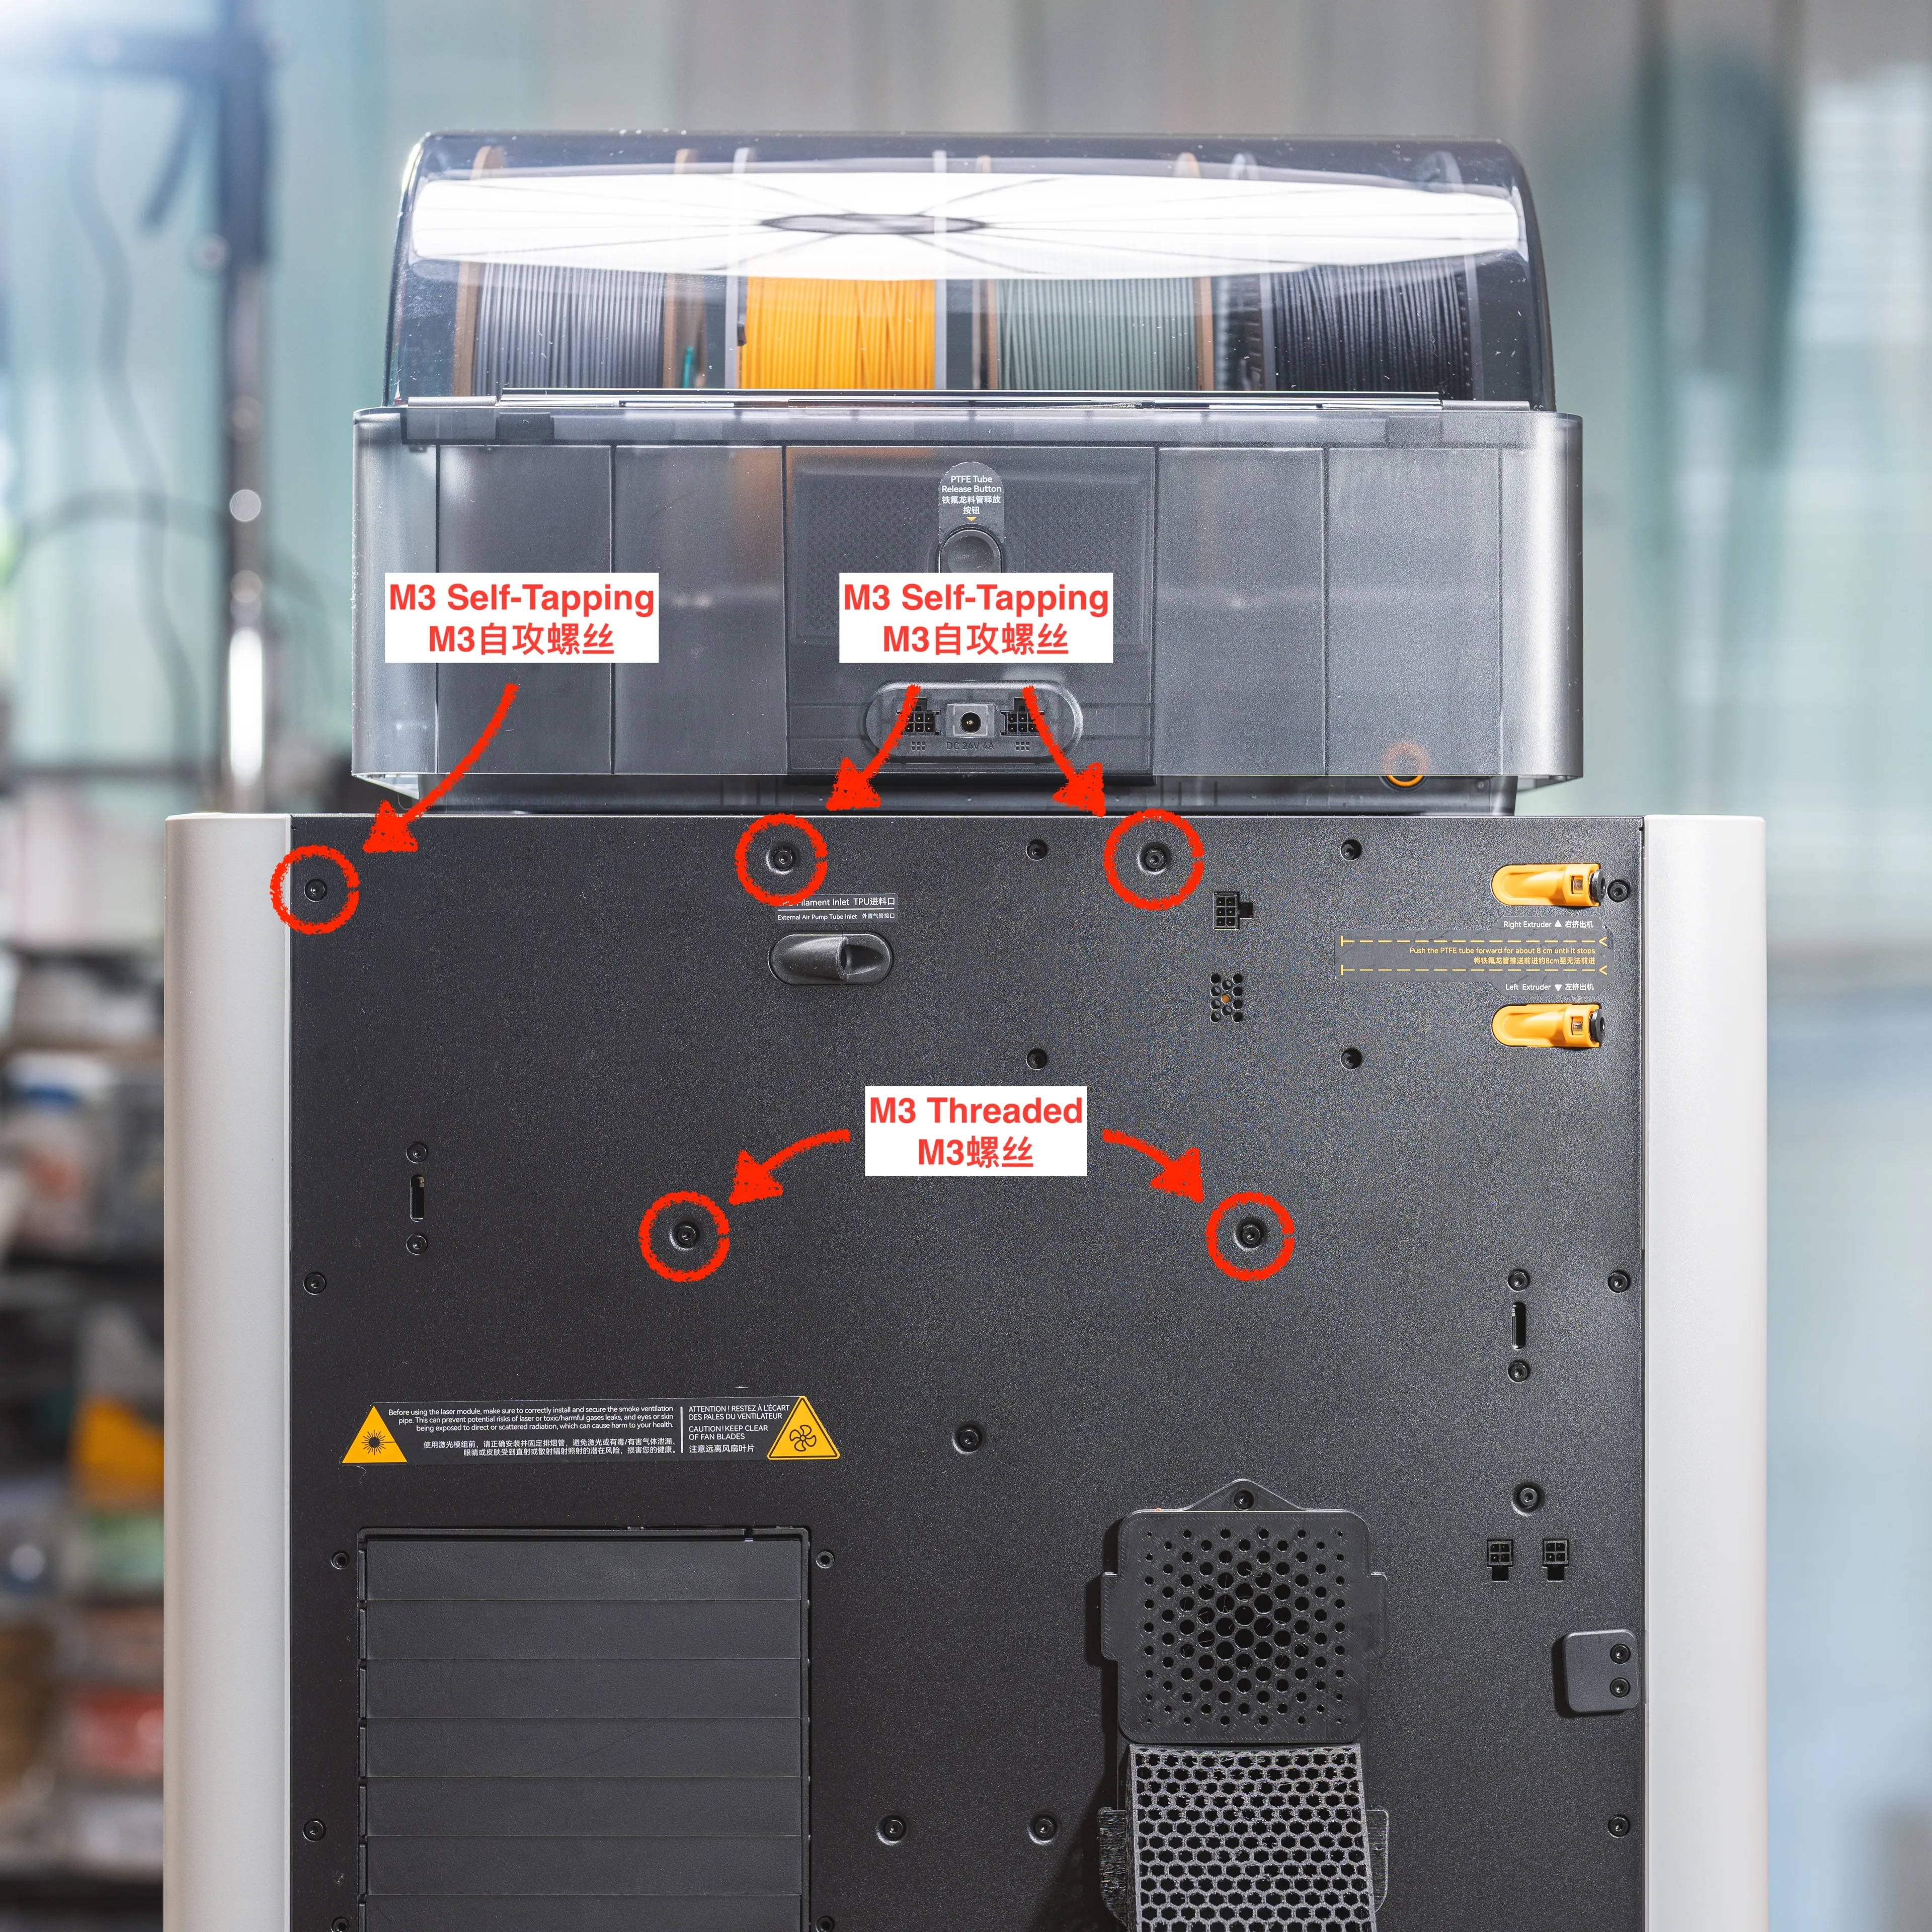
【Step 2】 | [Step 2] |
[Note] BT3x16 is identical to Bambu Lab's original AMS transport screws Do not overtighten BT3x16 is the same as HB3x16 |
[Note] BT3x16 is identical to Bambu Lab's original AMS transport screws. Avoid over tightening! |
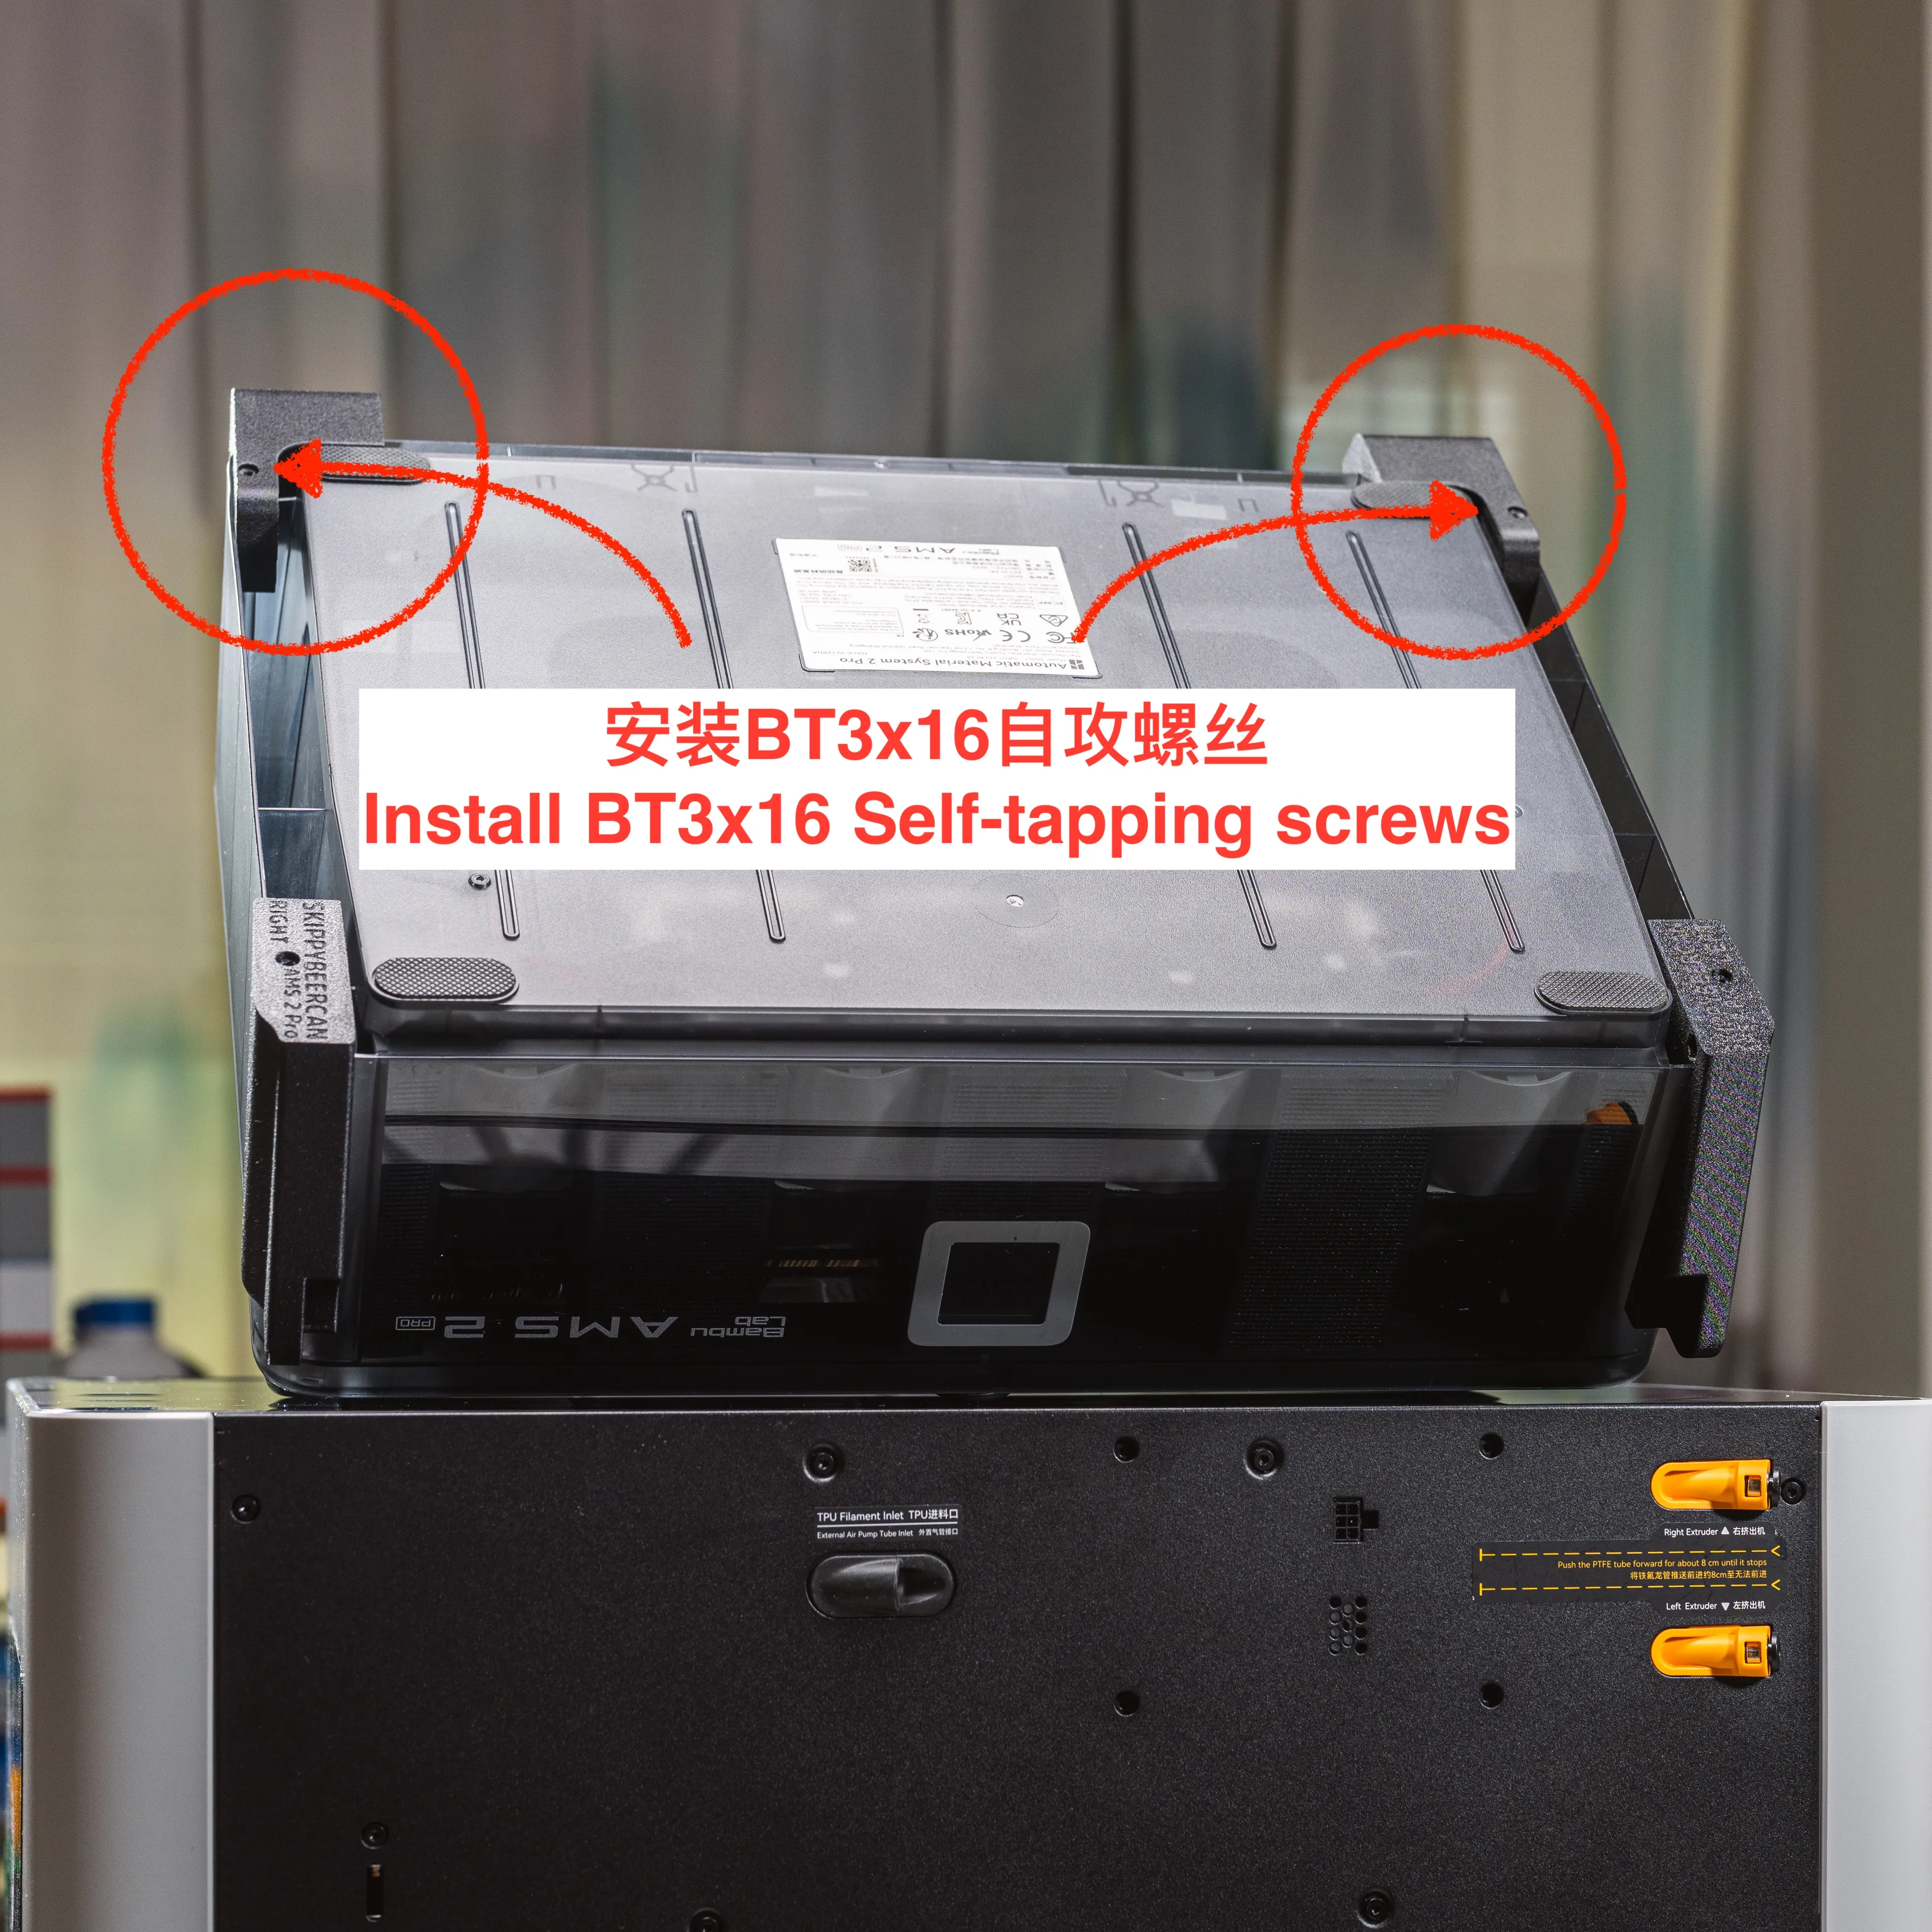
【Step 3】 | [Step 3] |
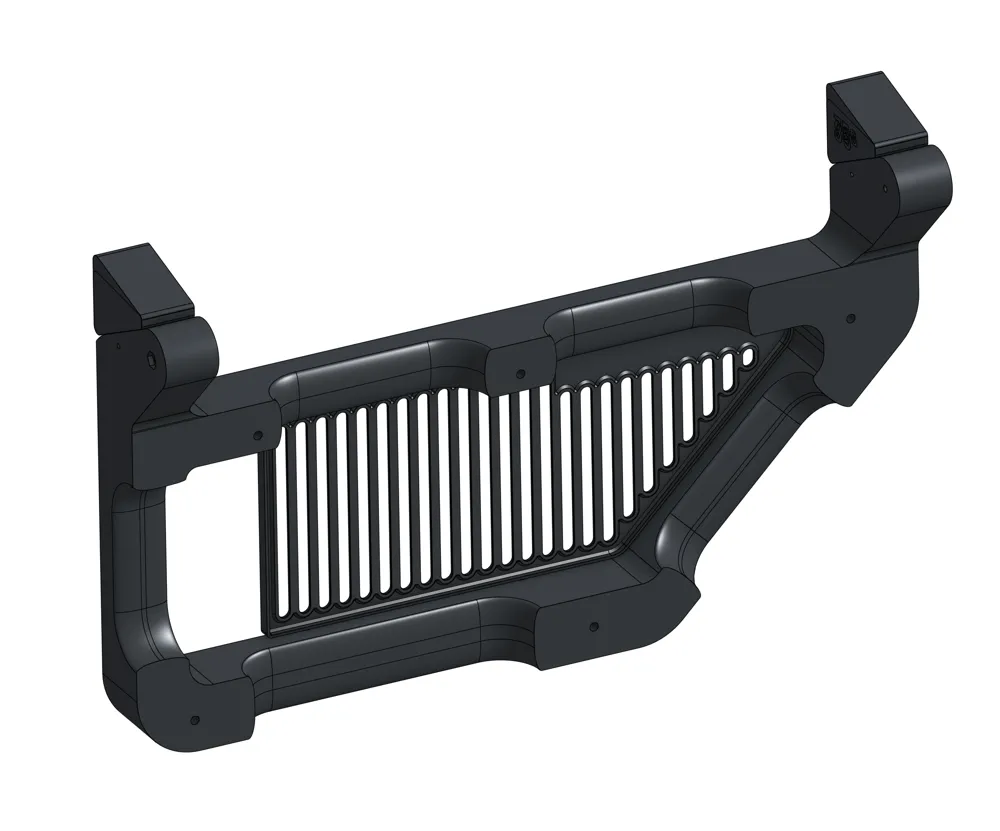
Install the flipper bracket:
[Note] It is recommended to use HM3x15 screws for lower end fastening | Install flipper rack:
[Note] HM3x15 is recommended choice. |
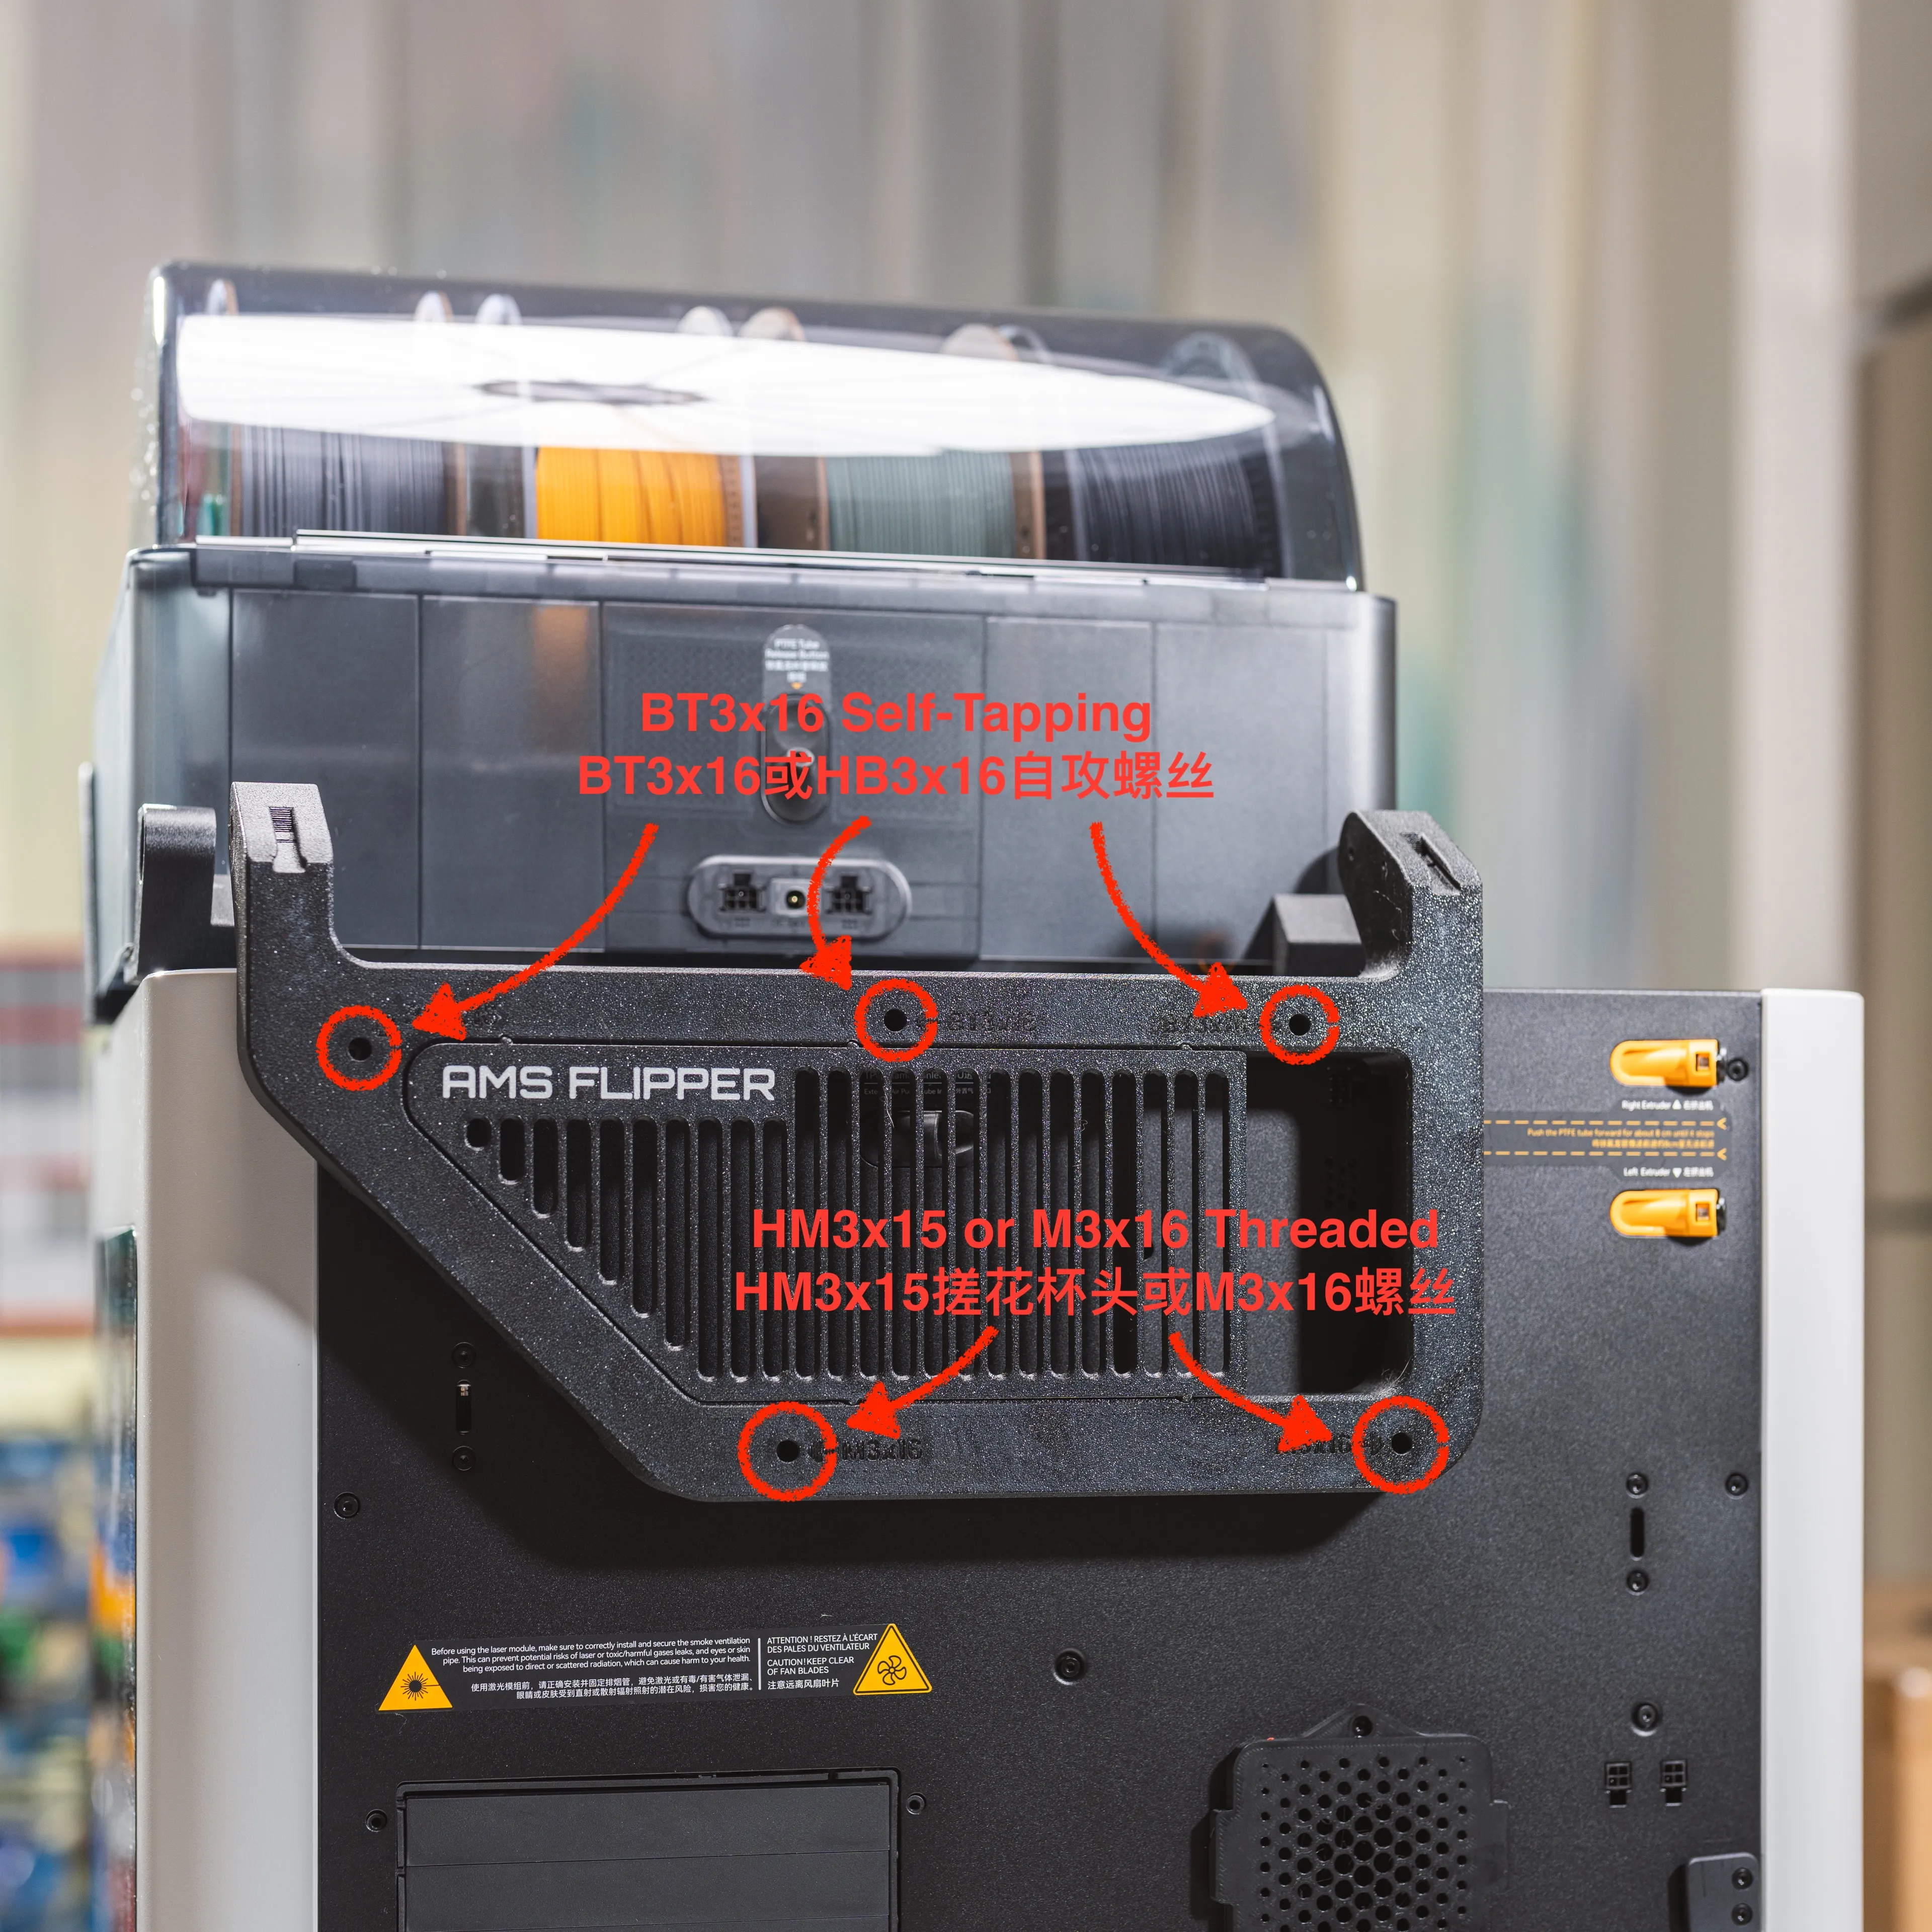
【Step 4】 | [Step 4] |
[Note] Do not overtighten |
[Note] Avoid over tightening! |
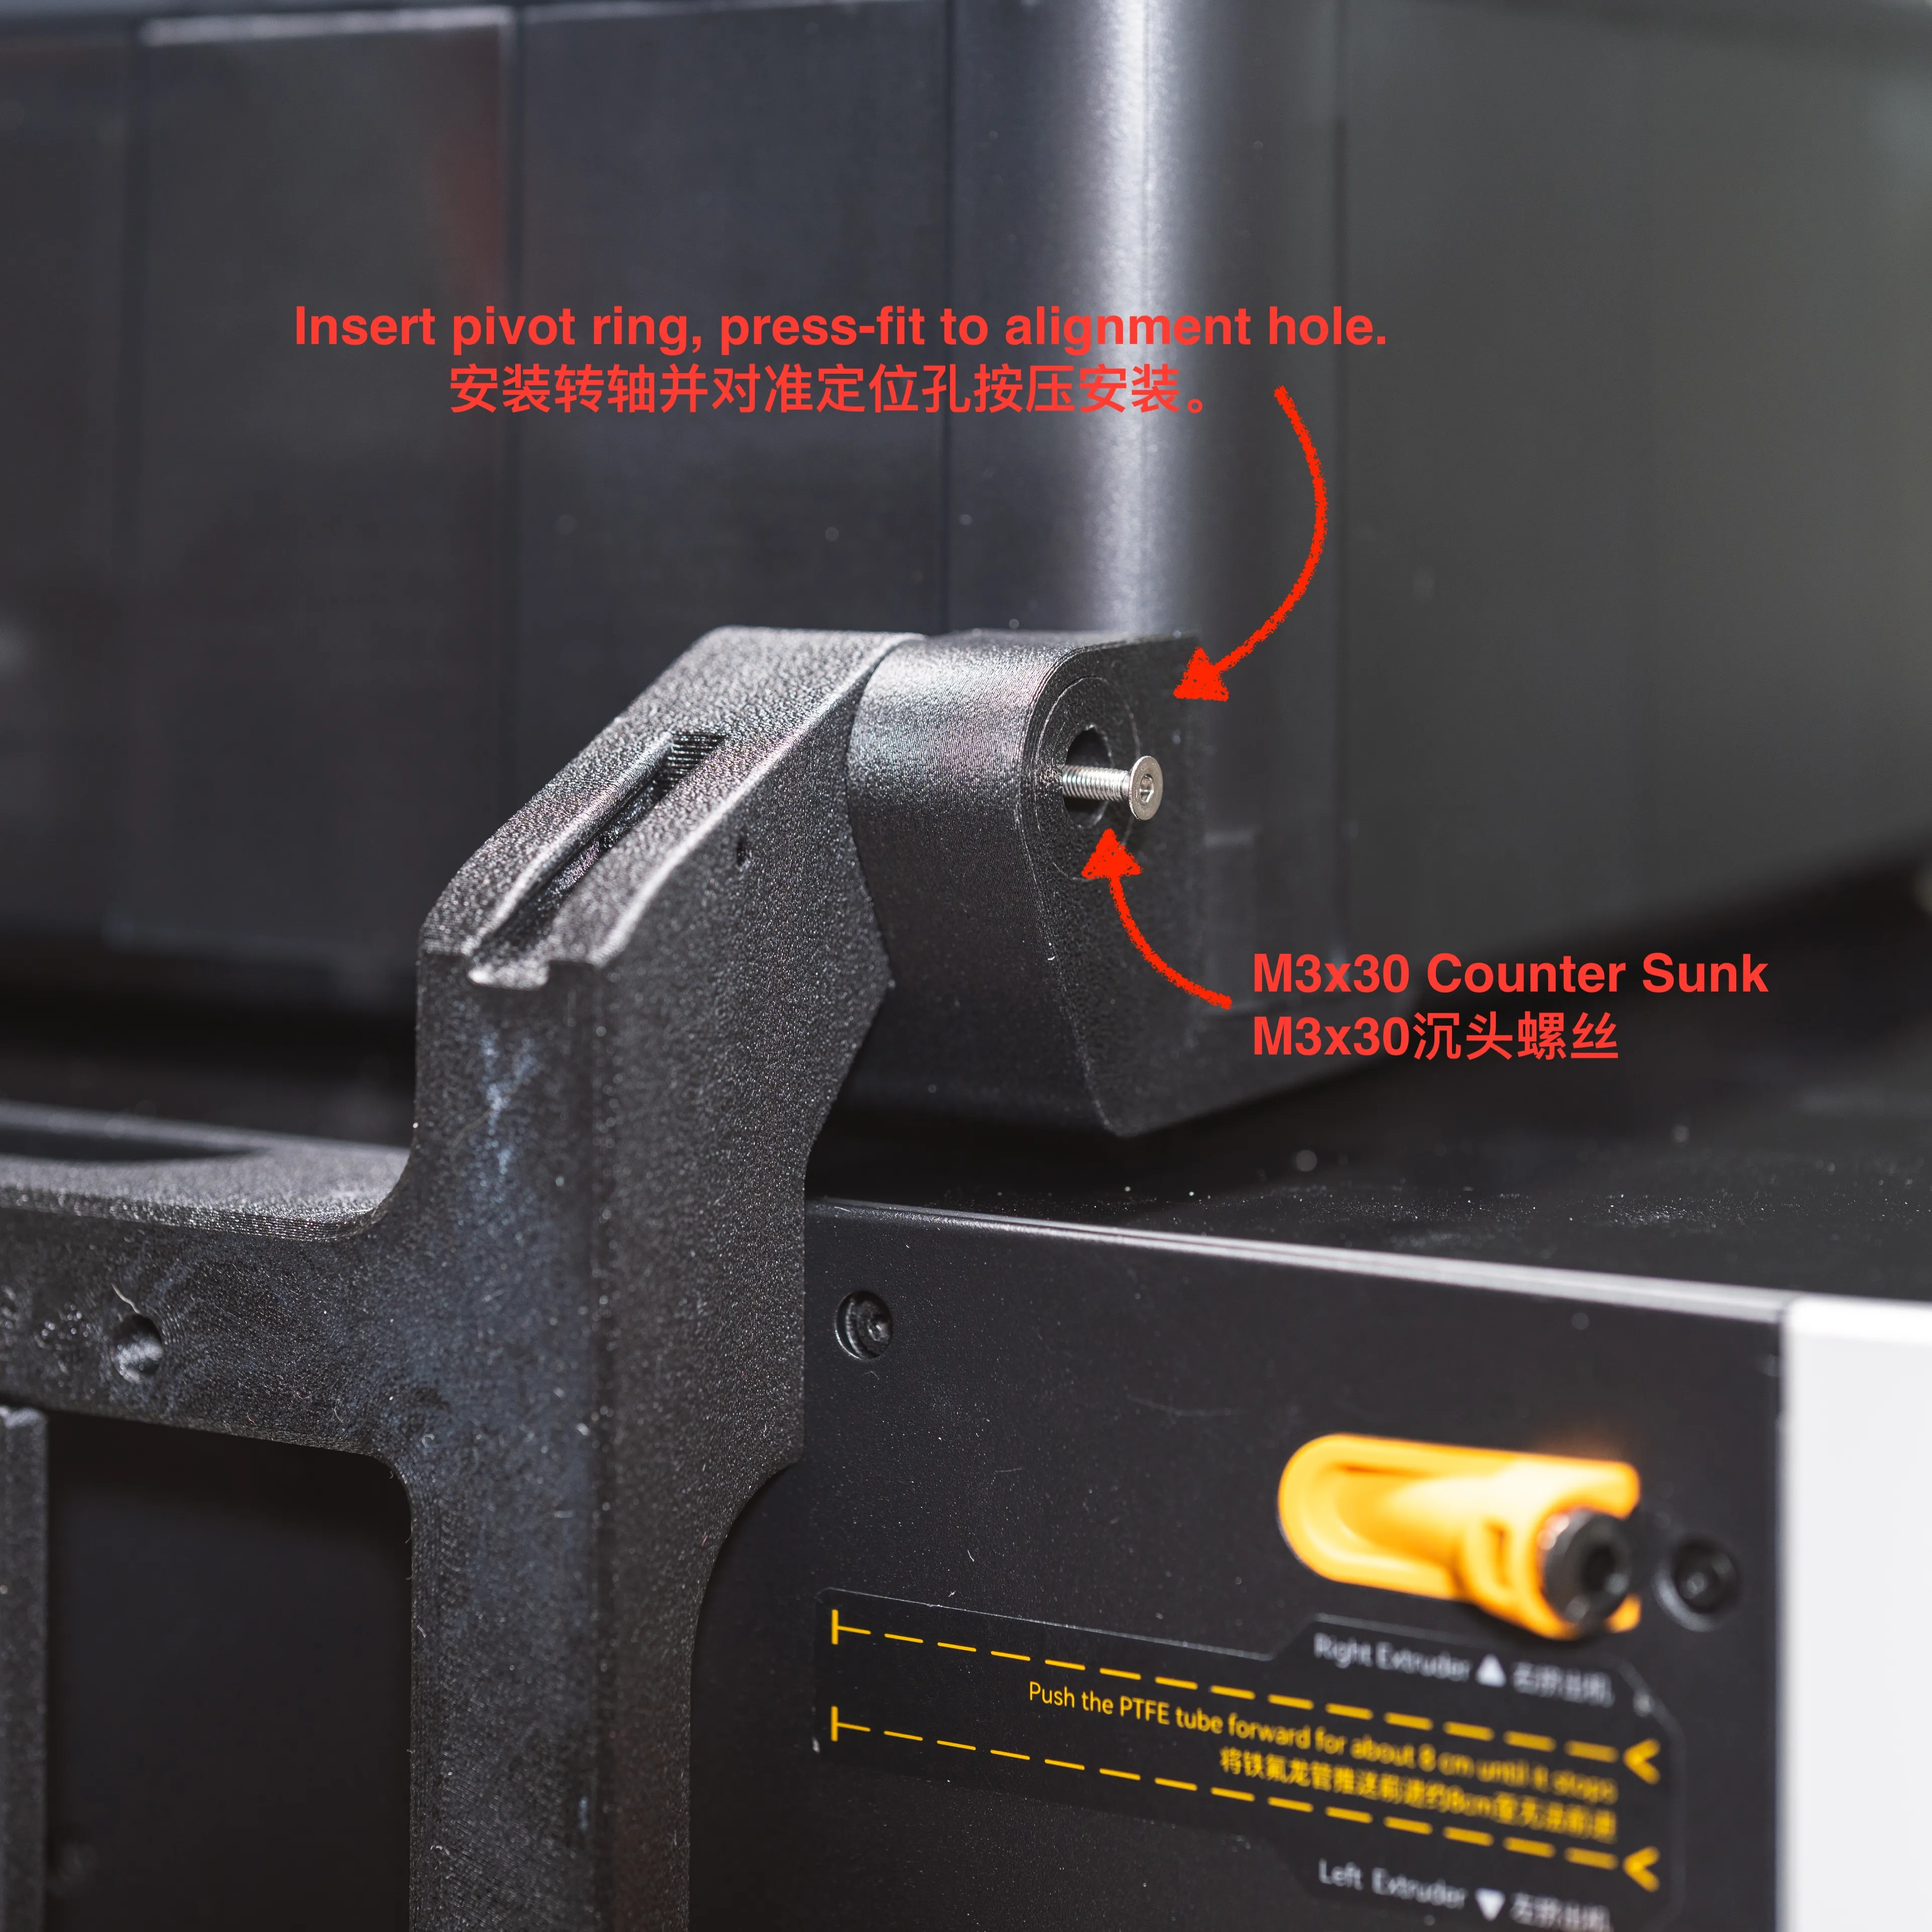
【Step 5】 | [Step 5] |
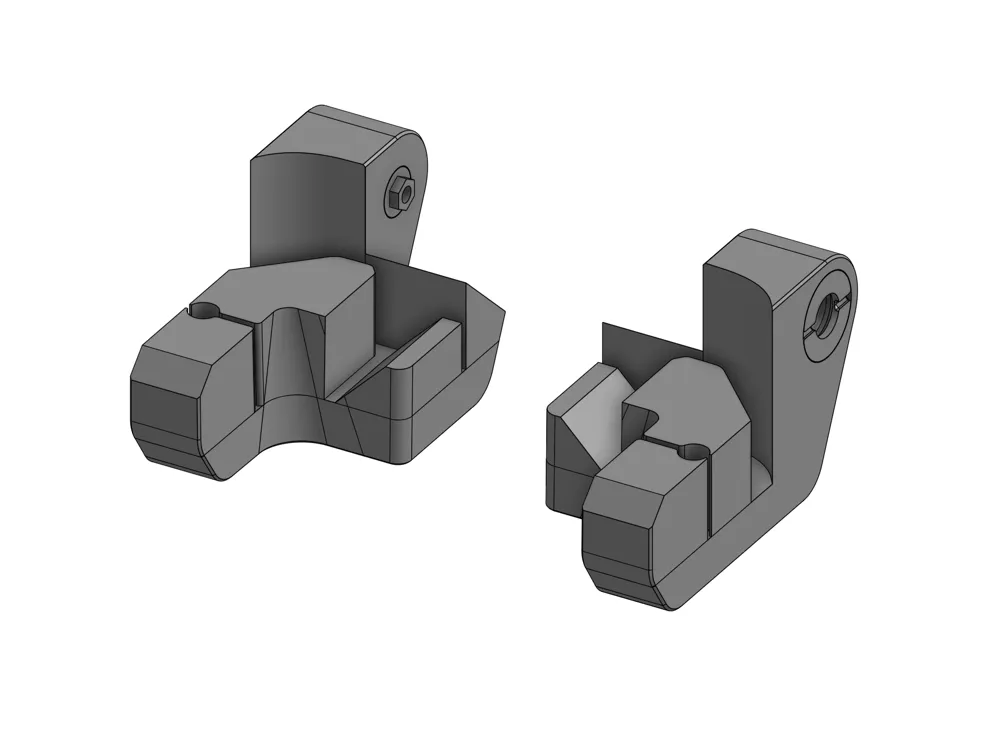
Insert the rear stopper module according to your preference
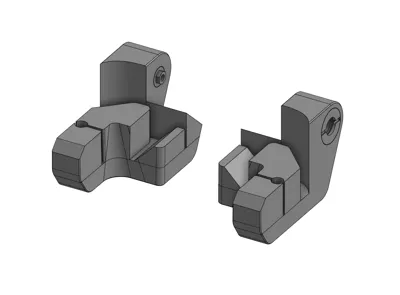
The default is the 75° module If you feel it's not stable enough, you can use the 85° module | Choose according to your preferences, insert Rear Stopper blocks.
75° is the default block. If you do not have confidence in its stability, you can choose to install 85° stopper blocks. |
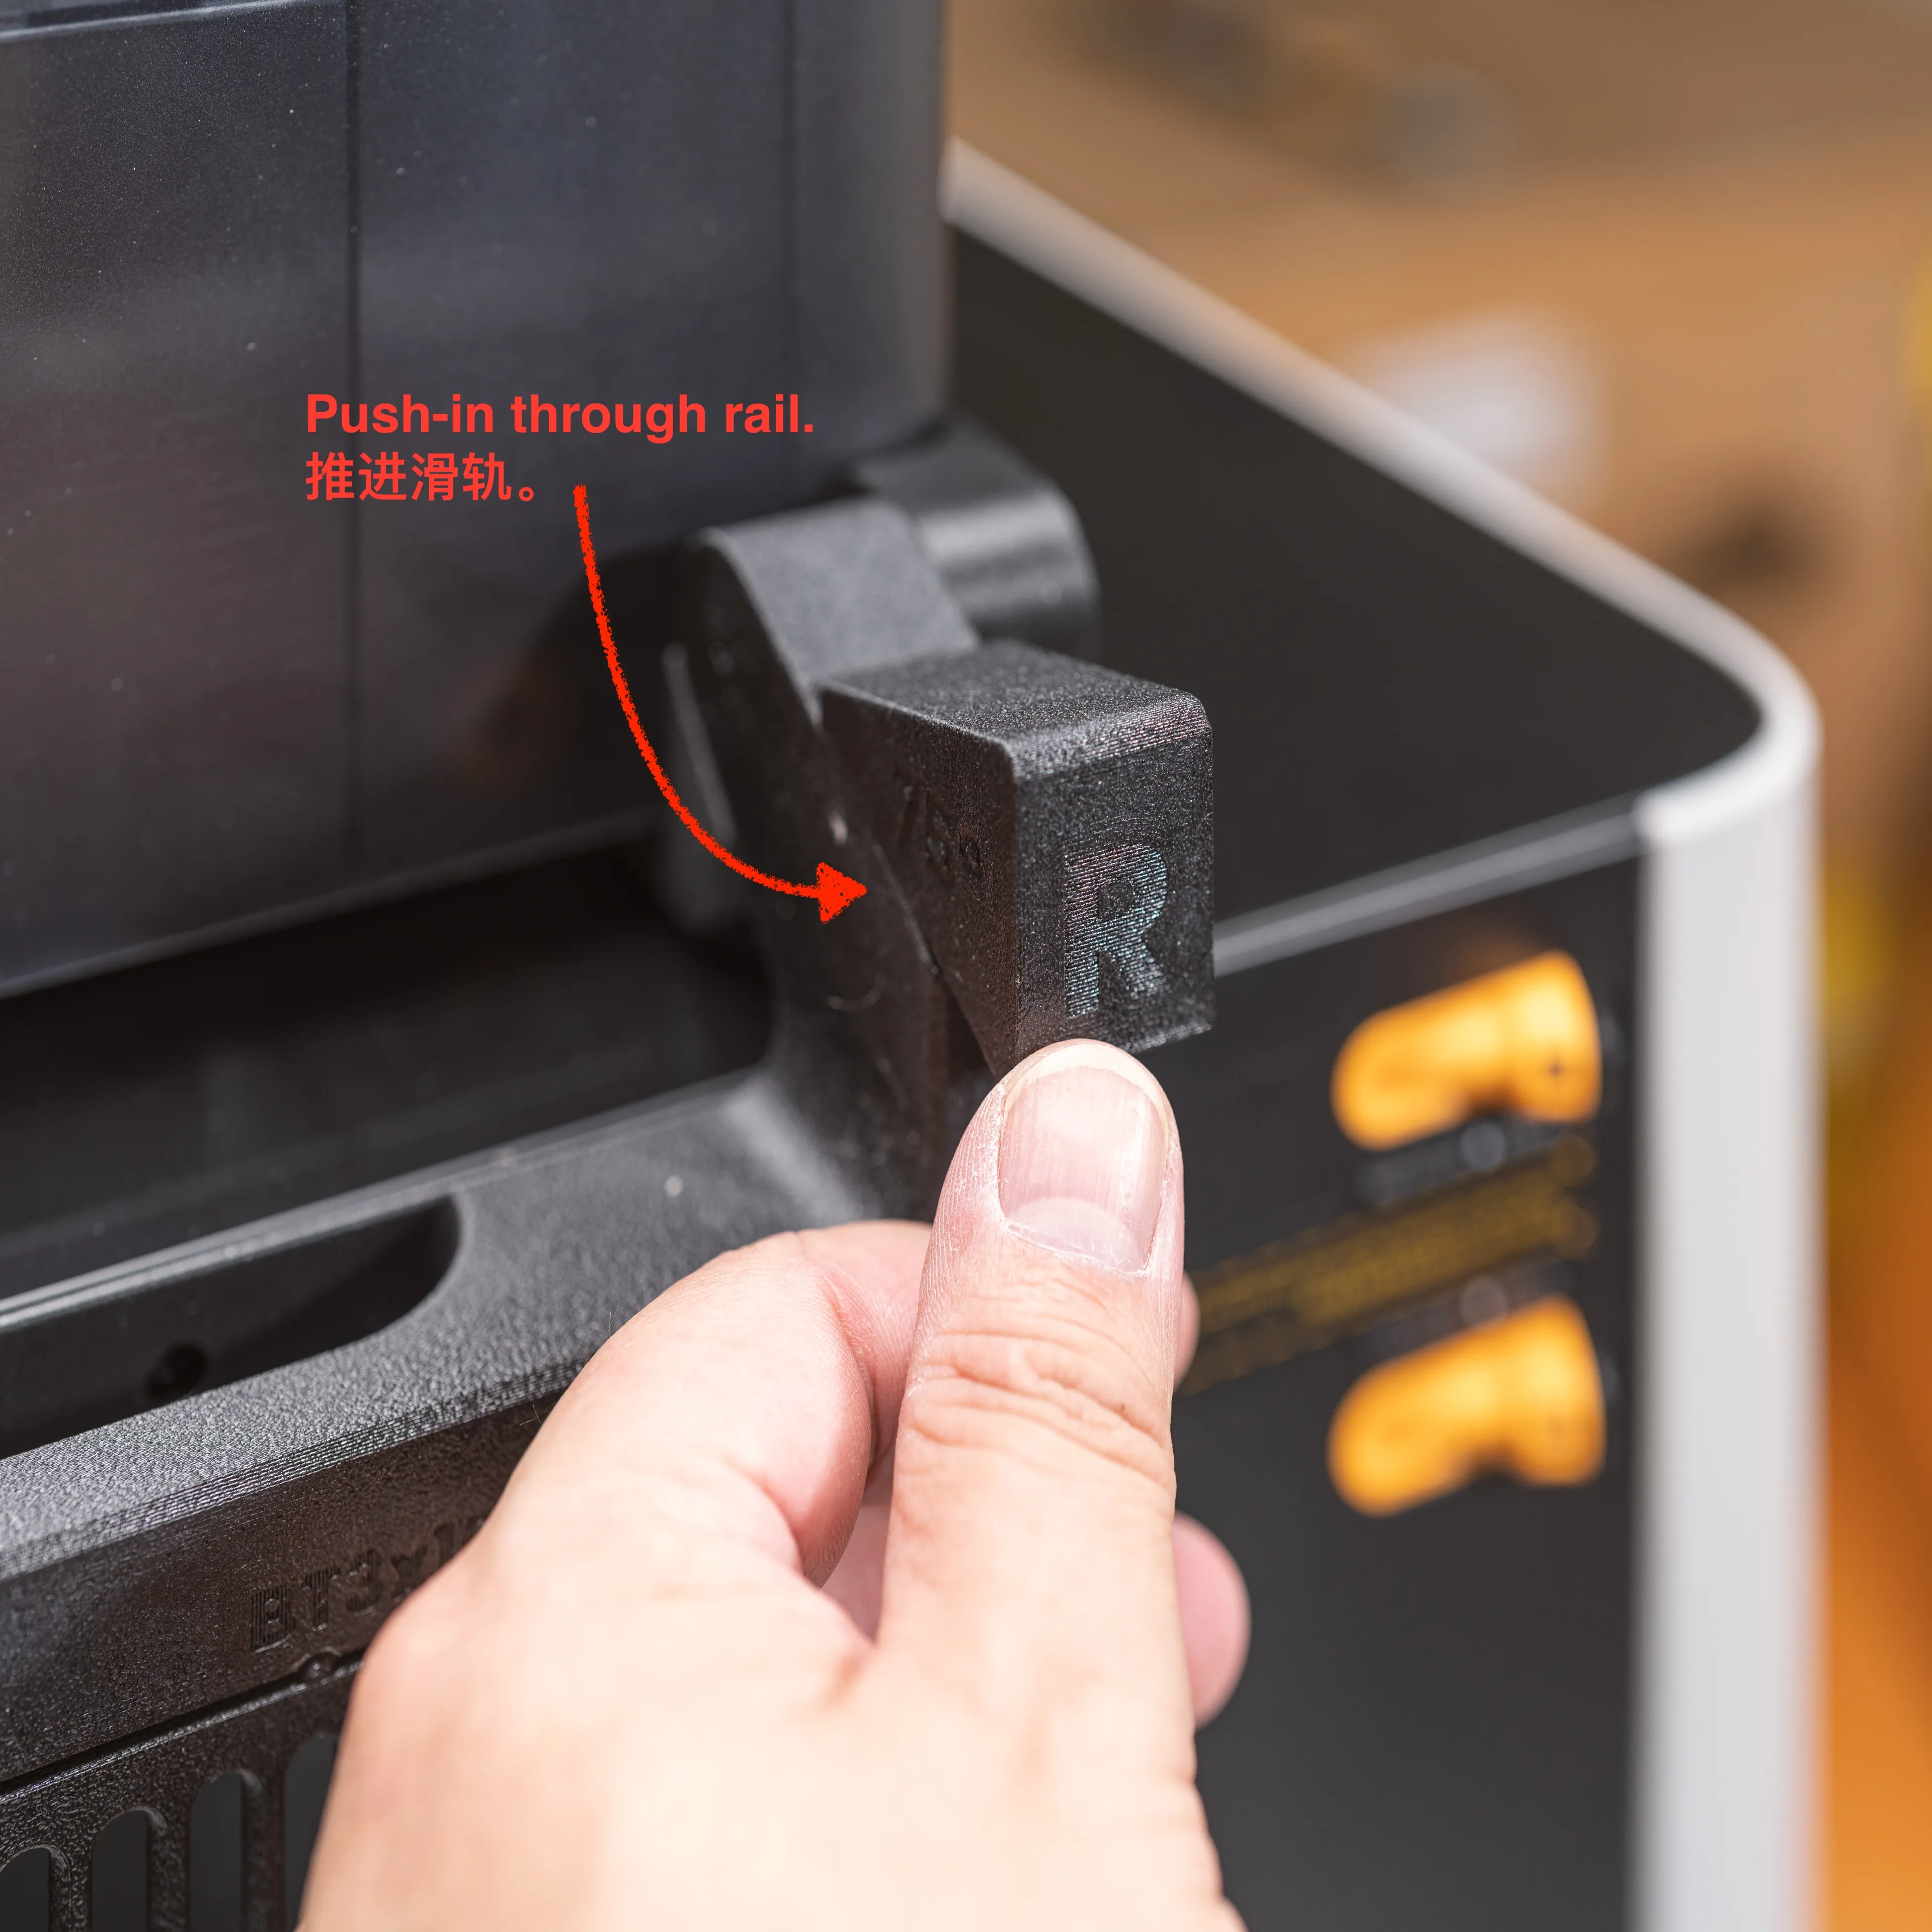
【Step 6】 | [Step 6] |
Push the filament into the locking holes Cut the filament flush | Push filament through locking holes; Cut and trim ends of filaments. |
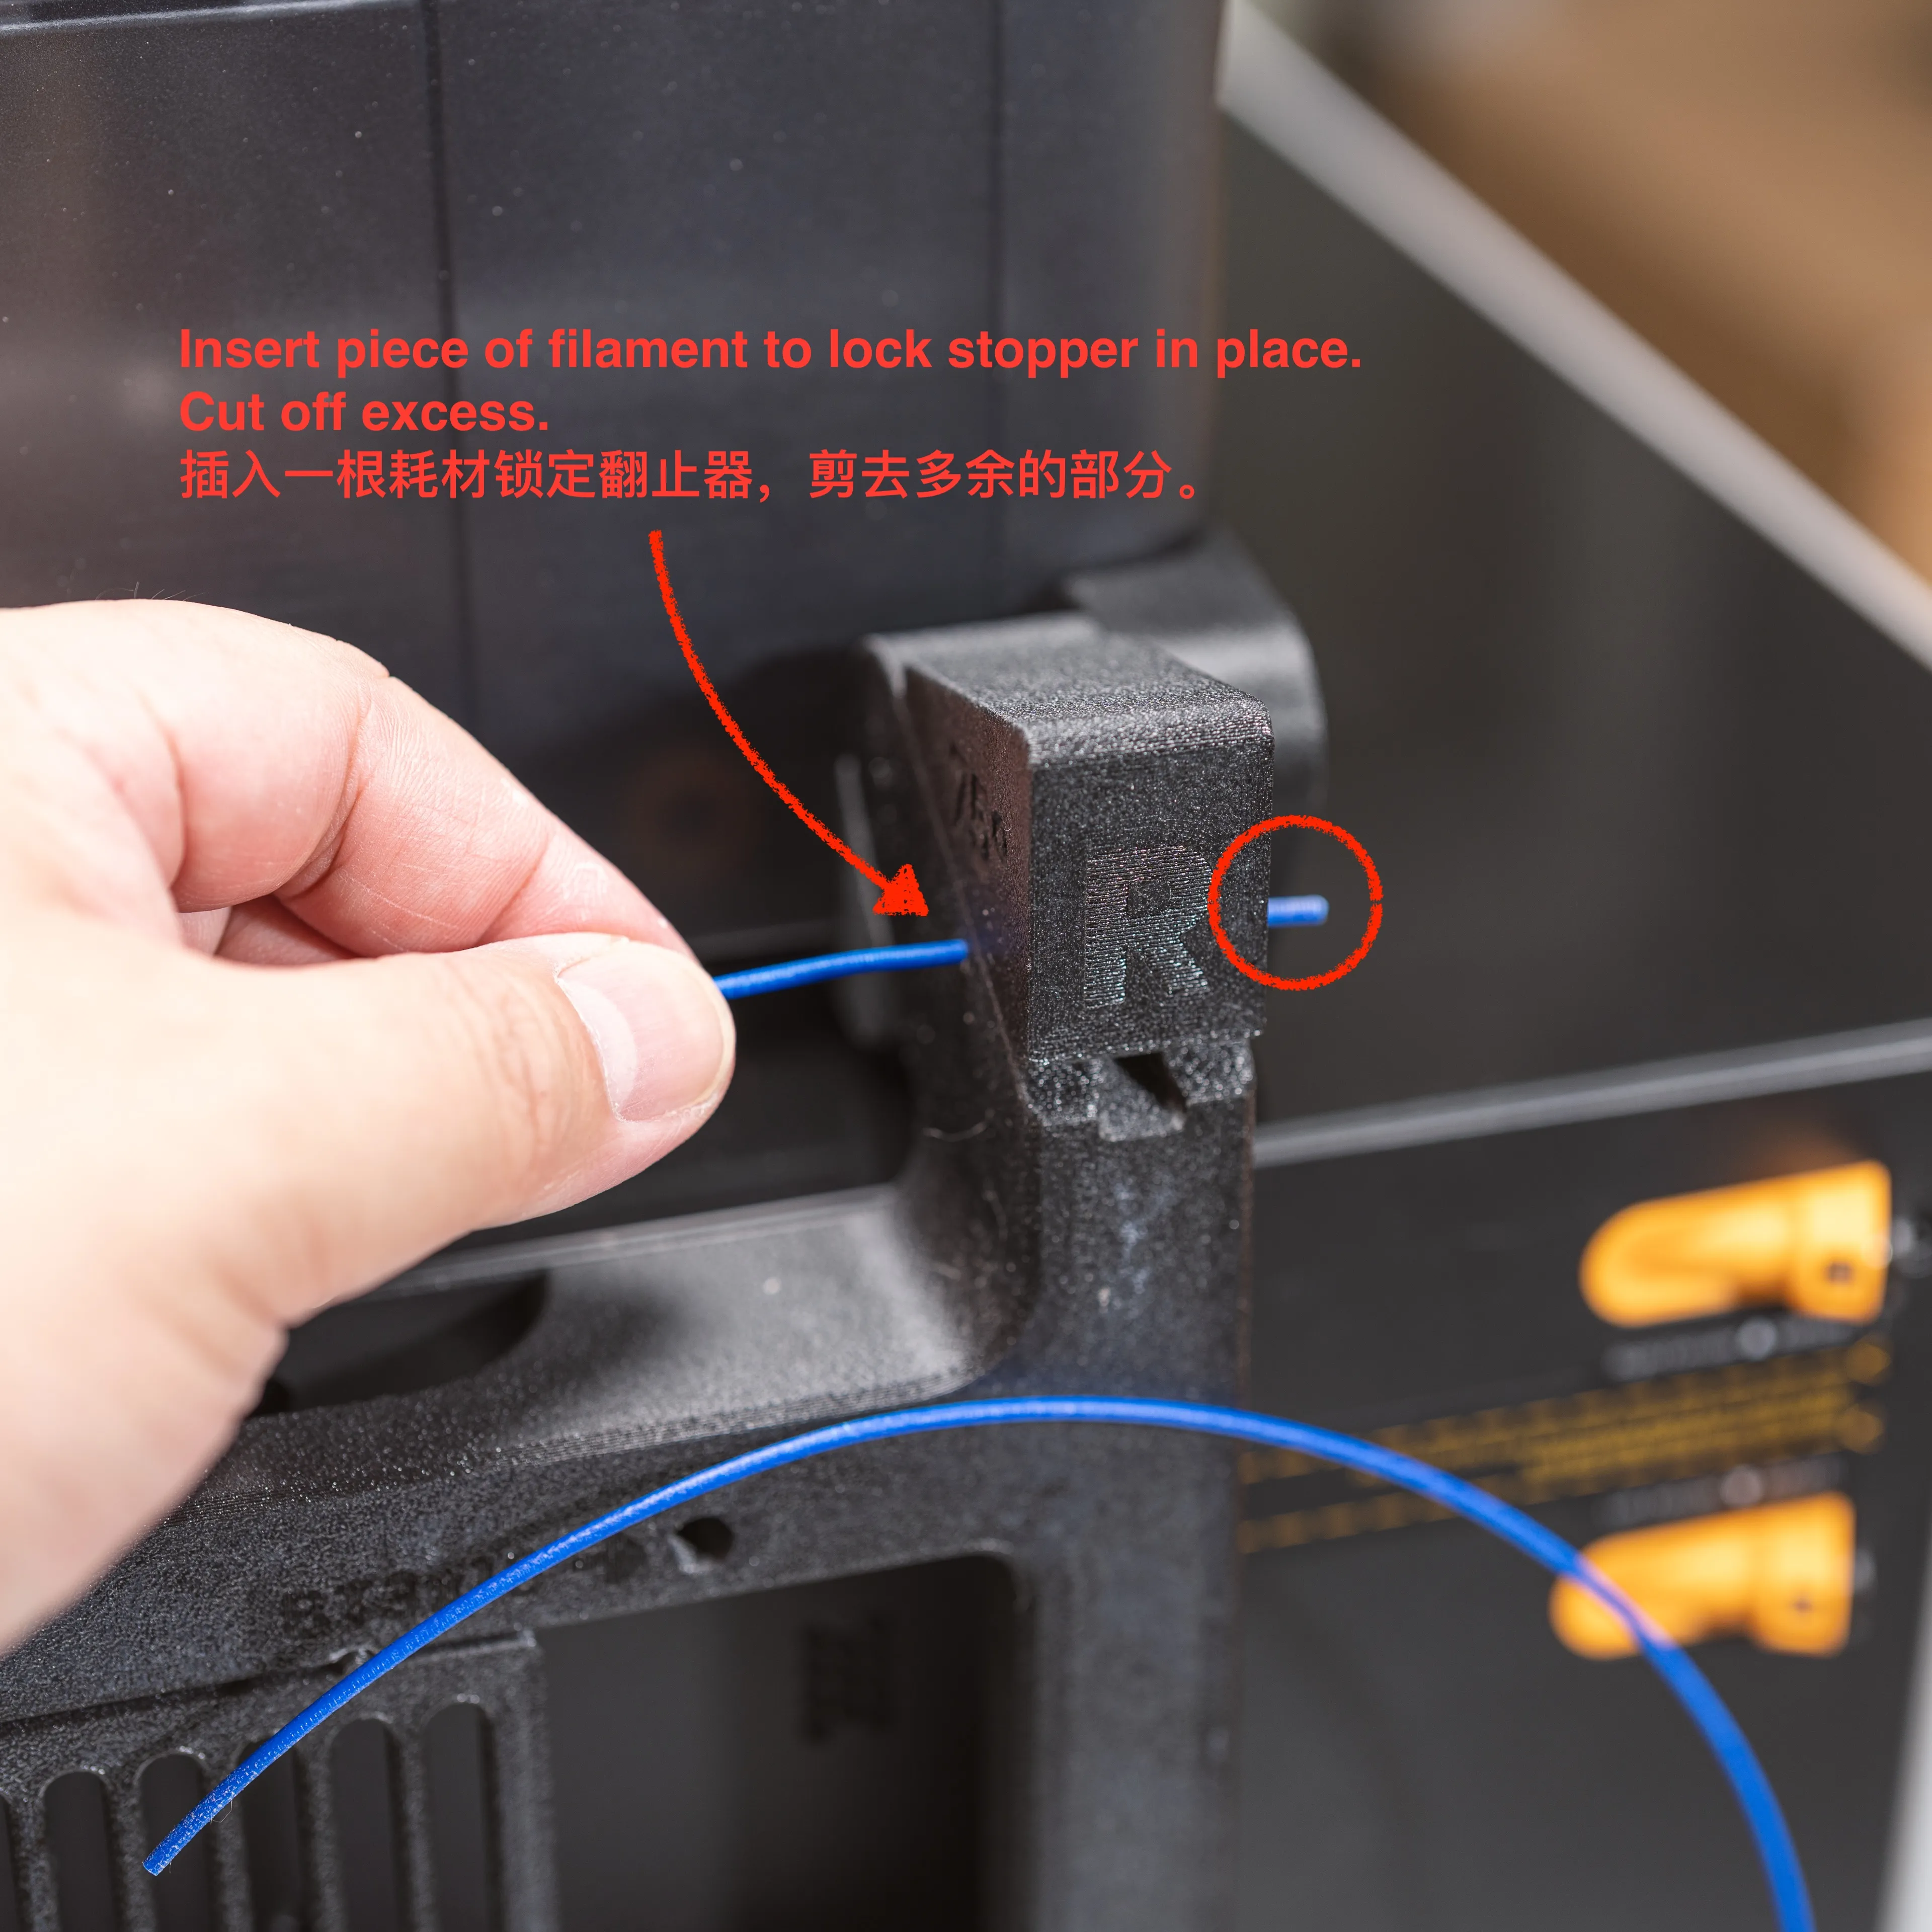
【Step 7】 | [Step 7] |
|
|
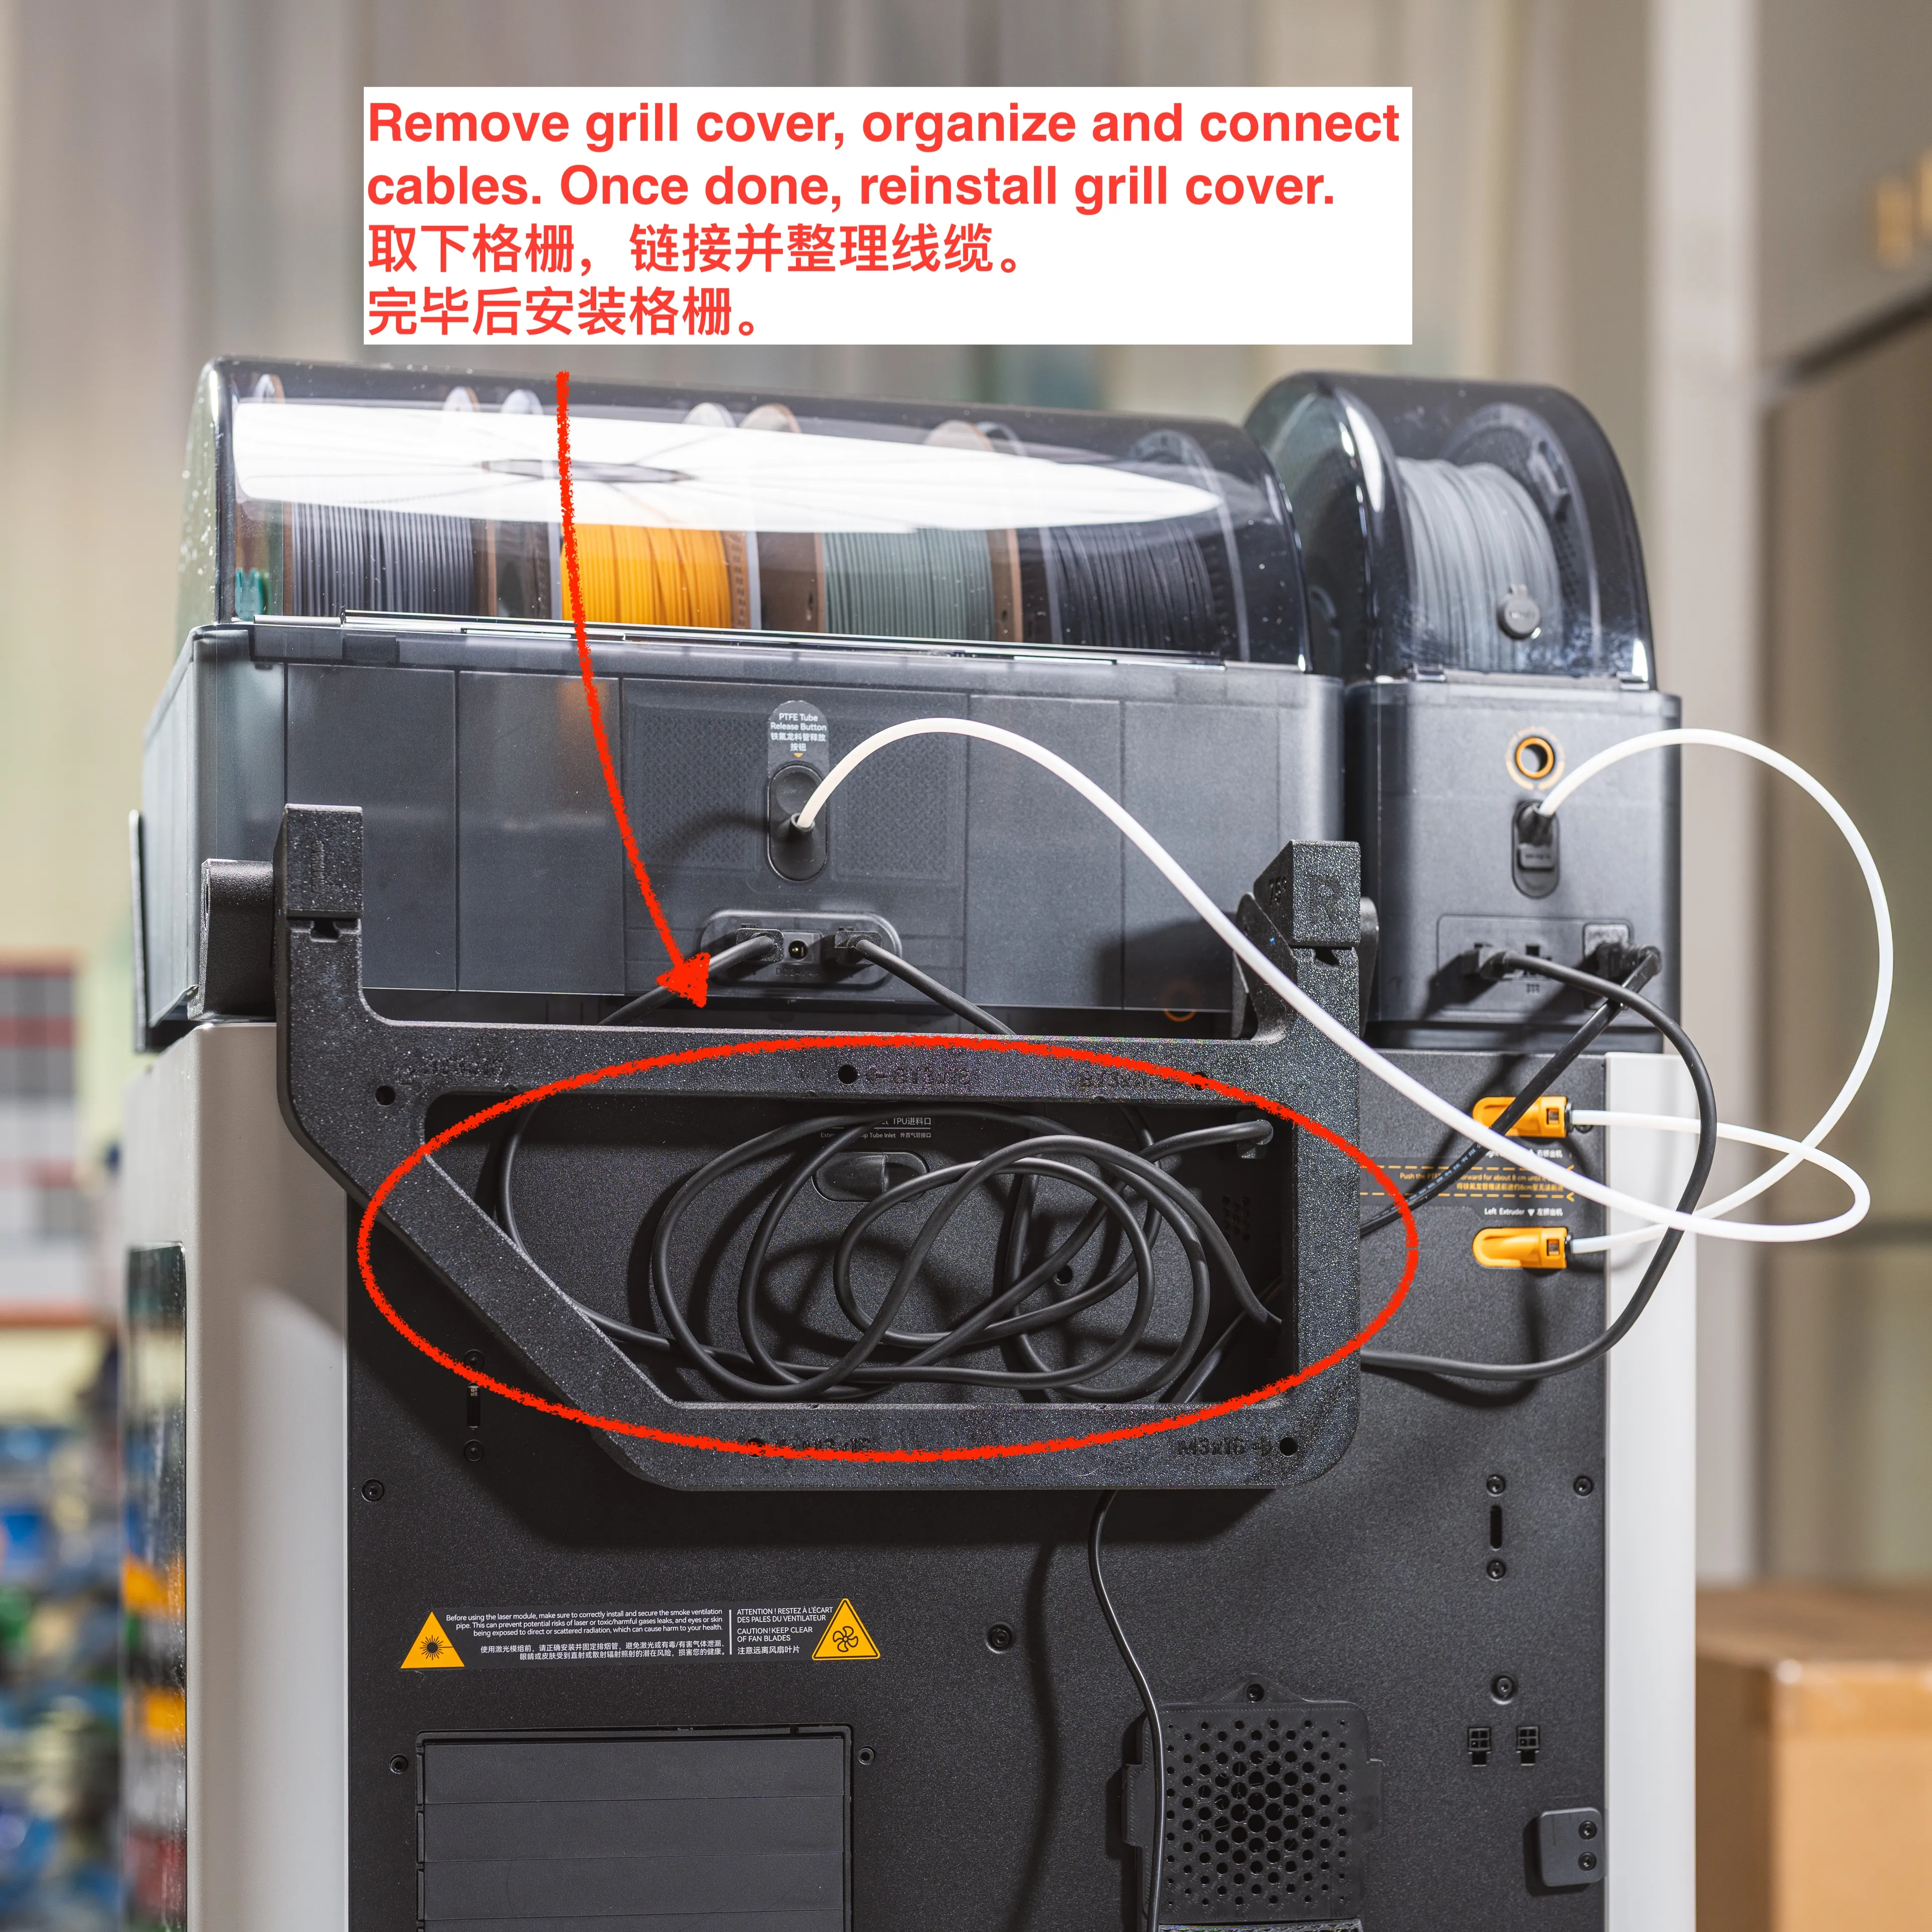
【Step 8】 | [Step 8] |
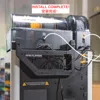
| Snap the grille back on, assembly complete | Snap on rear grill, complete assembly! |
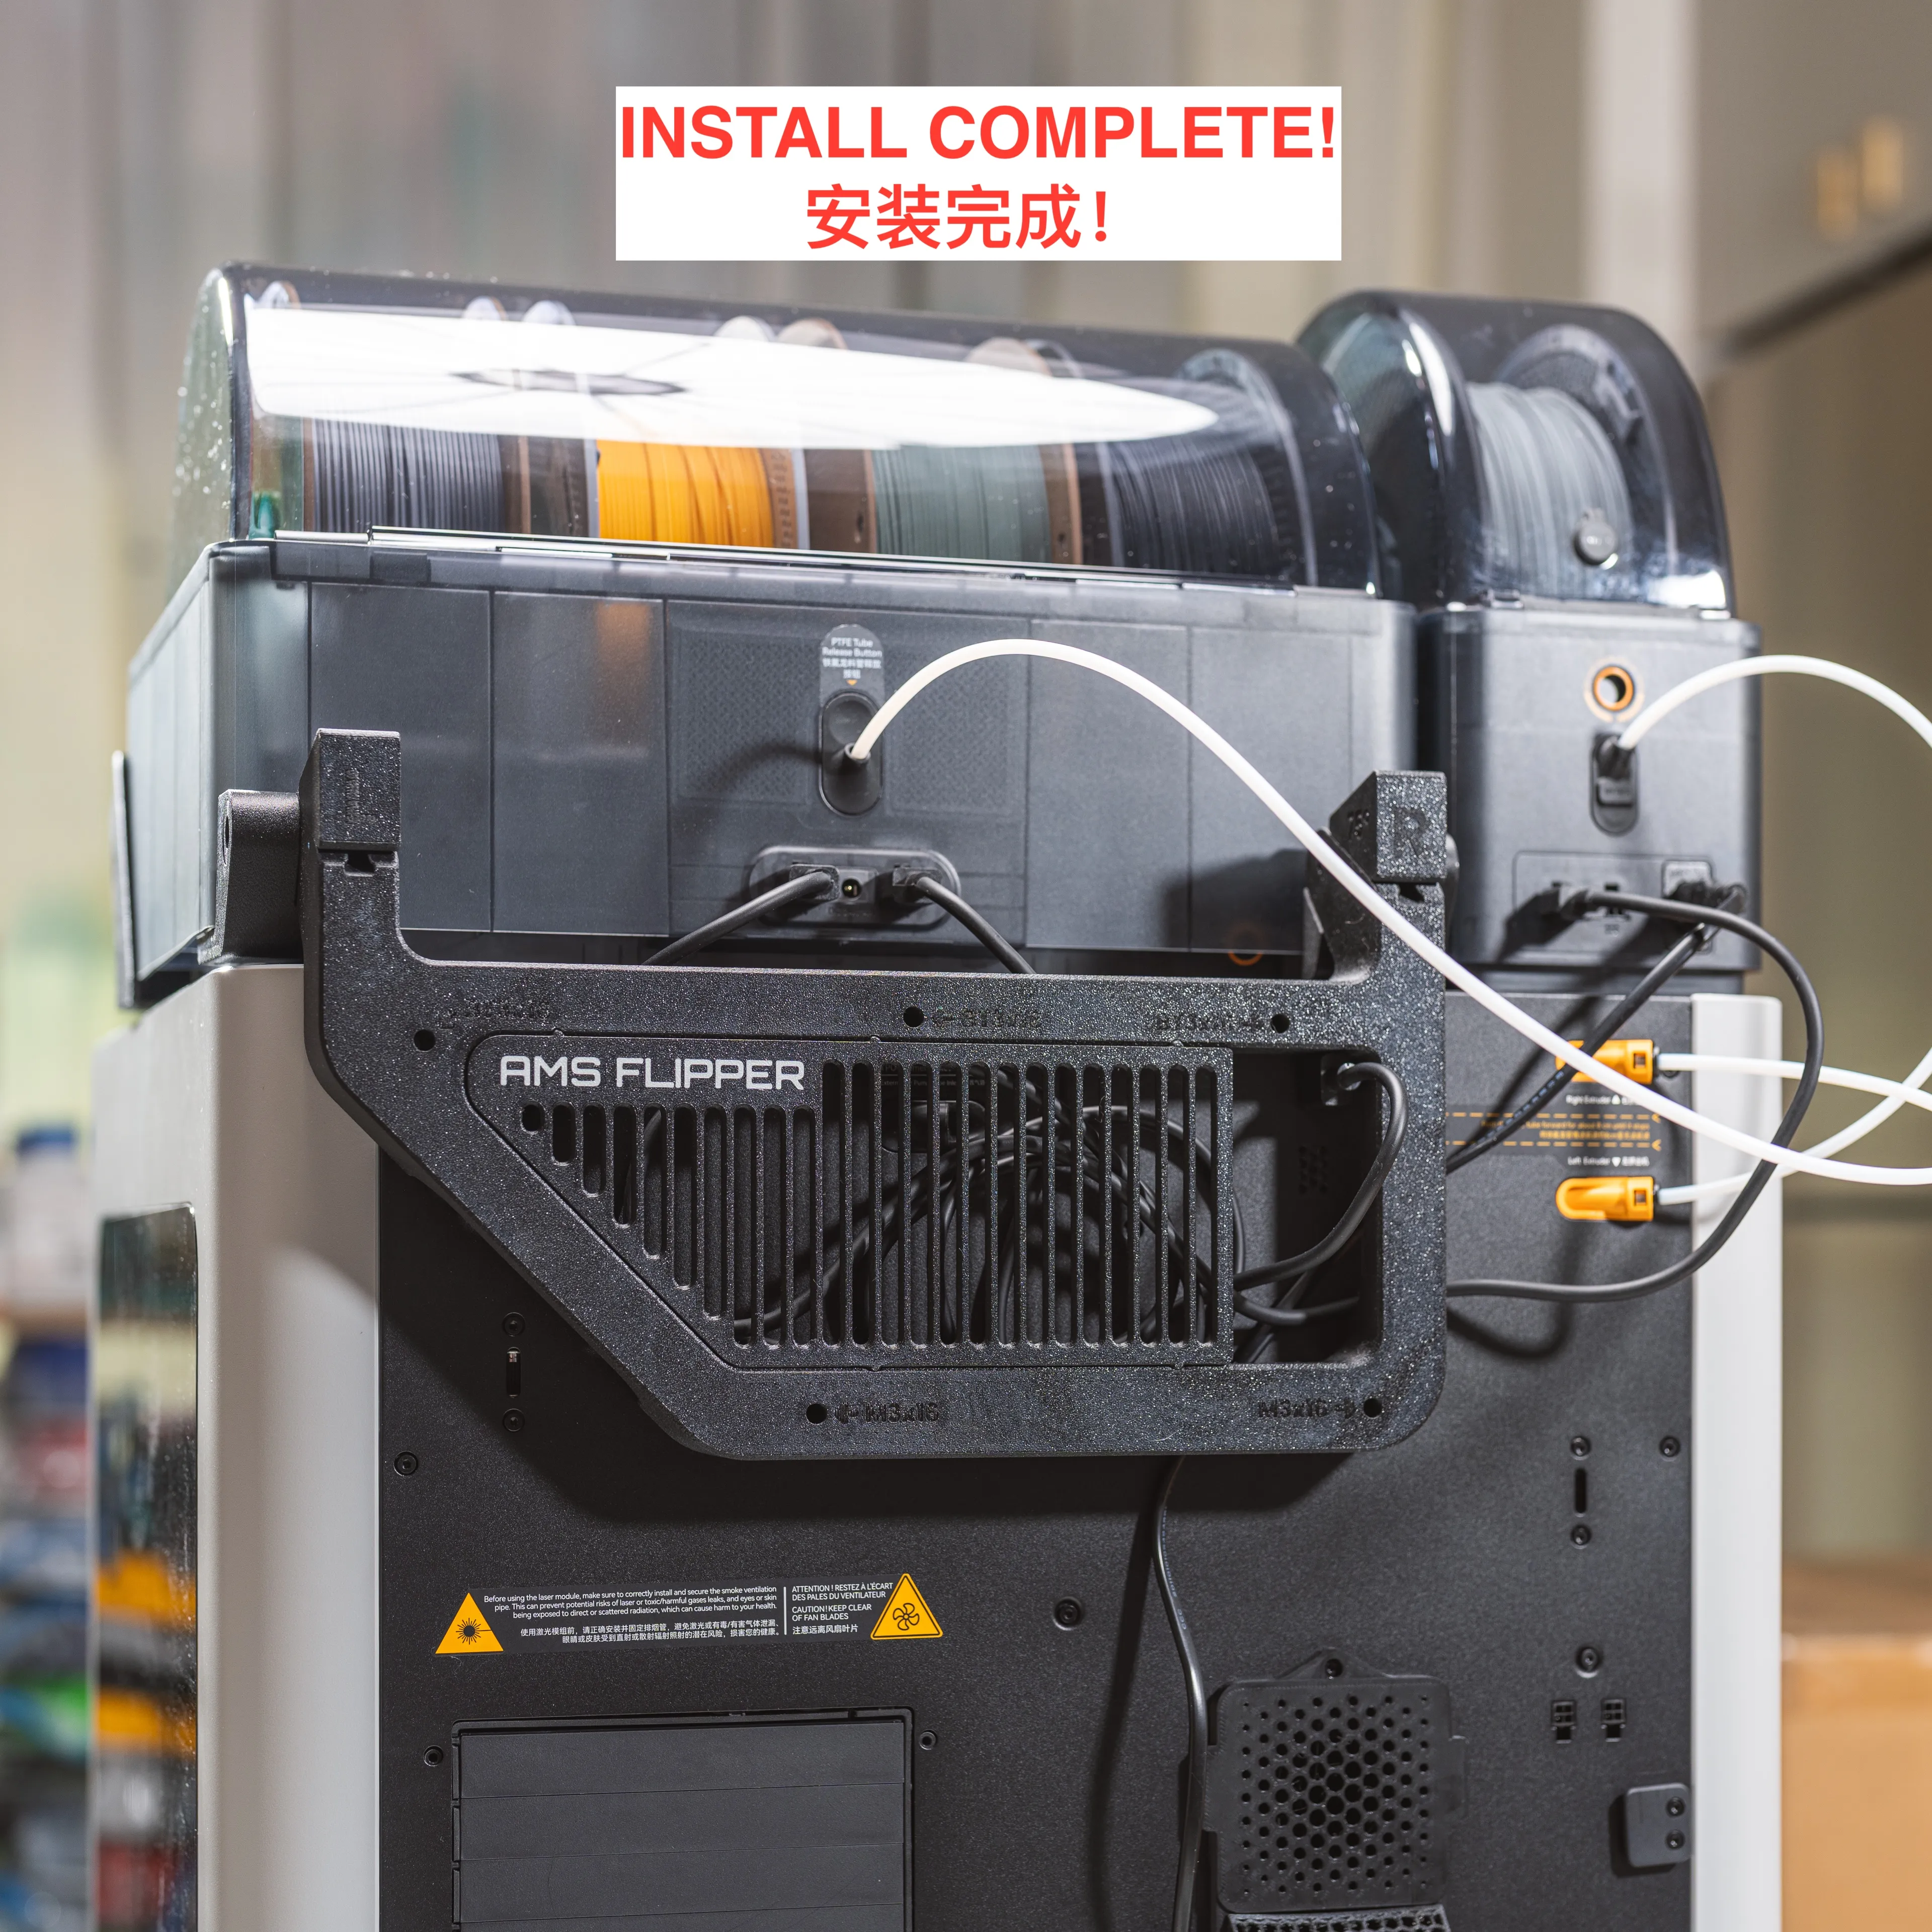
Congratulations You have completed the assembly of the AMS Flipper
Congrats on completing assembly of your AMS Flipper!
Boost Me (for free)
Developing this set of accessories took a long time and involved many printed test pieces If you like this set of accessories you can boost me for free Thank you very much
【Printing Tips】 | [Printing Tips] |
|
|
Boost Me (for free)
Thank you for your support which drives me to create new projects!
Below are some recently published popular models.
Documentation (9)
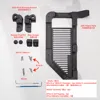
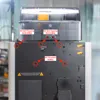
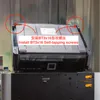
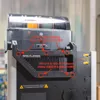
License

You shall not share, sub-license, sell, rent, host, transfer, or distribute in any way the digital or 3D printed versions of this object, nor any other derivative work of this object in its digital or physical format (including - but not limited to - remixes of this object, and hosting on other digital platforms). The objects may not be used without permission in any way whatsoever in which you charge money, or collect fees.


Comment & Rating (56)