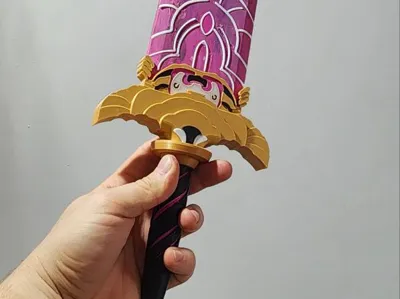
Epic 70 cm Rumi Sword – 3D Printed


Print Profile(6)


Description
Not a joke – I 3D printed a giant Rumi Sword from K-pop, 70 cm long! ⚔️🔥 An epic project showing how far you can go with 3D printing. Should I try even bigger K-pop gadgets in 3D? 🎶 👉 Subscribe to see the next epic projects! 👉 Comment your ideas for what I should print next ⚡ #3Dprinting #Kpop #DIY #shorts #rumi #epic
Note: the sword has a lot of parts, make sure you have the patience to assemble it :) GOOD LUCK!
Boost Me (for free)
NOTE : 17.09.2025
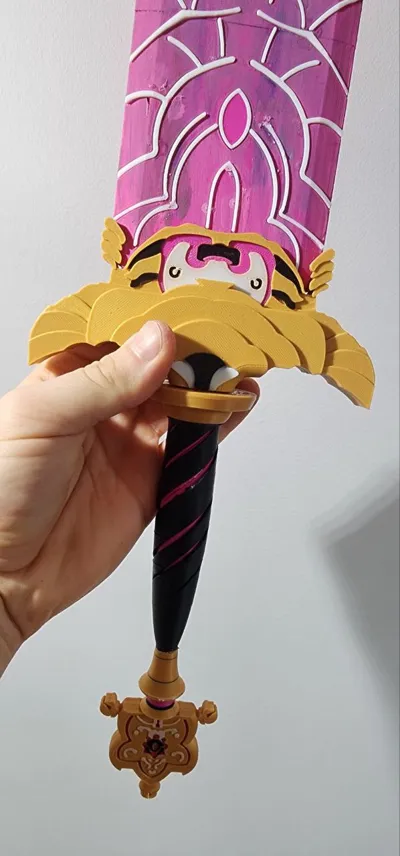
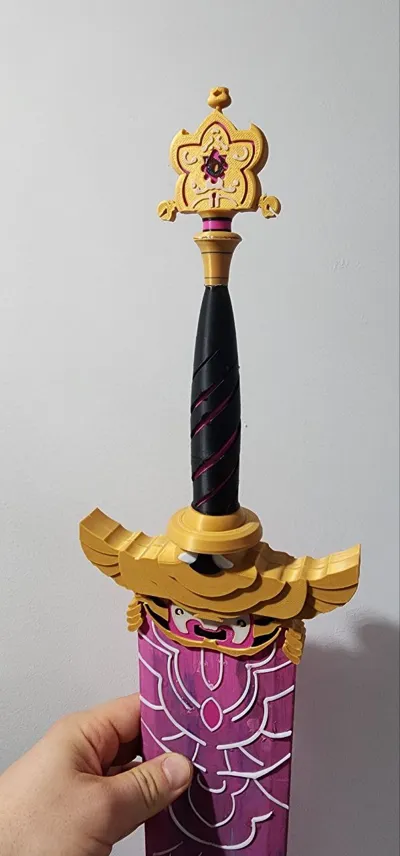
Some of you have reported problems with the supports separating from the handle. I apologize in advance for the inconvenience. Unfortunately, there's only one solution. It couldn't be made any thicker, so I joined the two parts together. Now you can choose between a full black handle or a black and pink one, but the AMS is essential (despite the risk, previously they were two separate pieces due to the amount of waste and the desire for two colors, like in my video with the sword – I did it myself on my first try, so I thought that wouldn't be a problem).
If you've already printed these elements using the old version, I've included a video showing how I removed the supports (maybe it will help someone remove them properly without breaking the part).
If you'd like, you can simply print a new one in one color and, for example, paint the spiral by hand if you don't want to use too much filament.Please choose one handle version, either with or without color. Don't print both; it's pointless!

NOTE : 02.10.2025
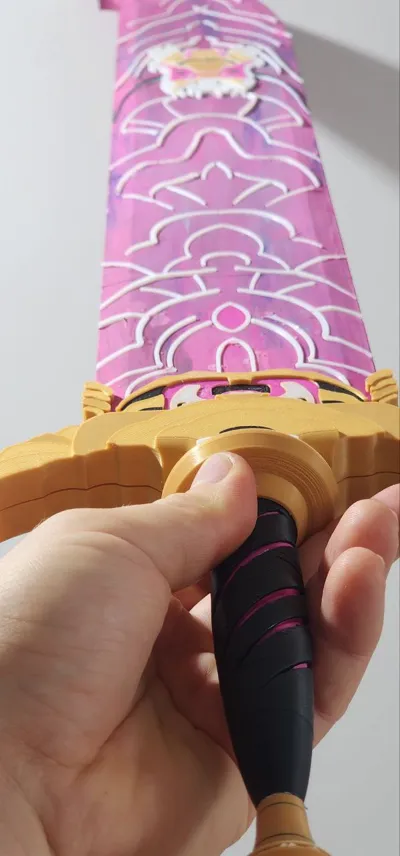
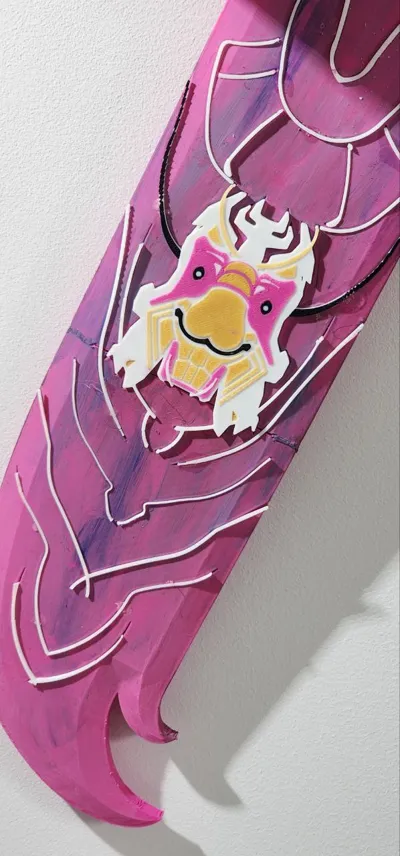
Some of you had trouble inserting the embellishments into the blade itself. Here's my advice.
1. Insert the left side into the hole so that the shiny side is visible after gluing. Why? Because the right side is always slightly wider. (The left side is the one from the back of the print – the right side is the one that's adjacent to the PEI sheet.)
2. Thoroughly clean the blade pockets.
3. Lay the blade on a flat surface.
4. Insert the element left side out, with one end in the pocket, or simply align it more or less evenly.
5. Press firmly – use the cleaning tower from the printout for this. I show this process in detail in the video around the eighth minute. Please look closely. It's really easy. (The cleaning tower doesn't have to be from this printout, as long as it feels comfortable to hold.)

If you still have any problems, feel free to contact me, I'd be happy to help! Take care!
Chceck my other Kpop models Here :
https://makerworld.com/pl/collections/9833789-kpop

License
You shall not share, sub-license, sell, rent, host, transfer, or distribute in any way the digital or 3D printed versions of this object, nor any other derivative work of this object in its digital or physical format (including - but not limited to - remixes of this object, and hosting on other digital platforms). The objects may not be used without permission in any way whatsoever in which you charge money, or collect fees.
Comment & Rating (45)