
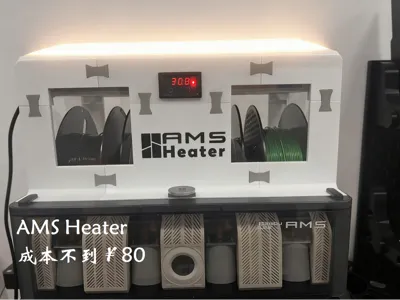
AMS Heater
Print Profile(2)


Description
Boost Me (for free)
2025.10.12 Supplementary Instructions Update
Added wiring diagram
2025.09.30 Supplementary Instructions Update
For friends who want to combine BMCU to create AMS2, or who don't want to modify the original AMS and want to fully DIY it, you can download the AMS model (Click here)
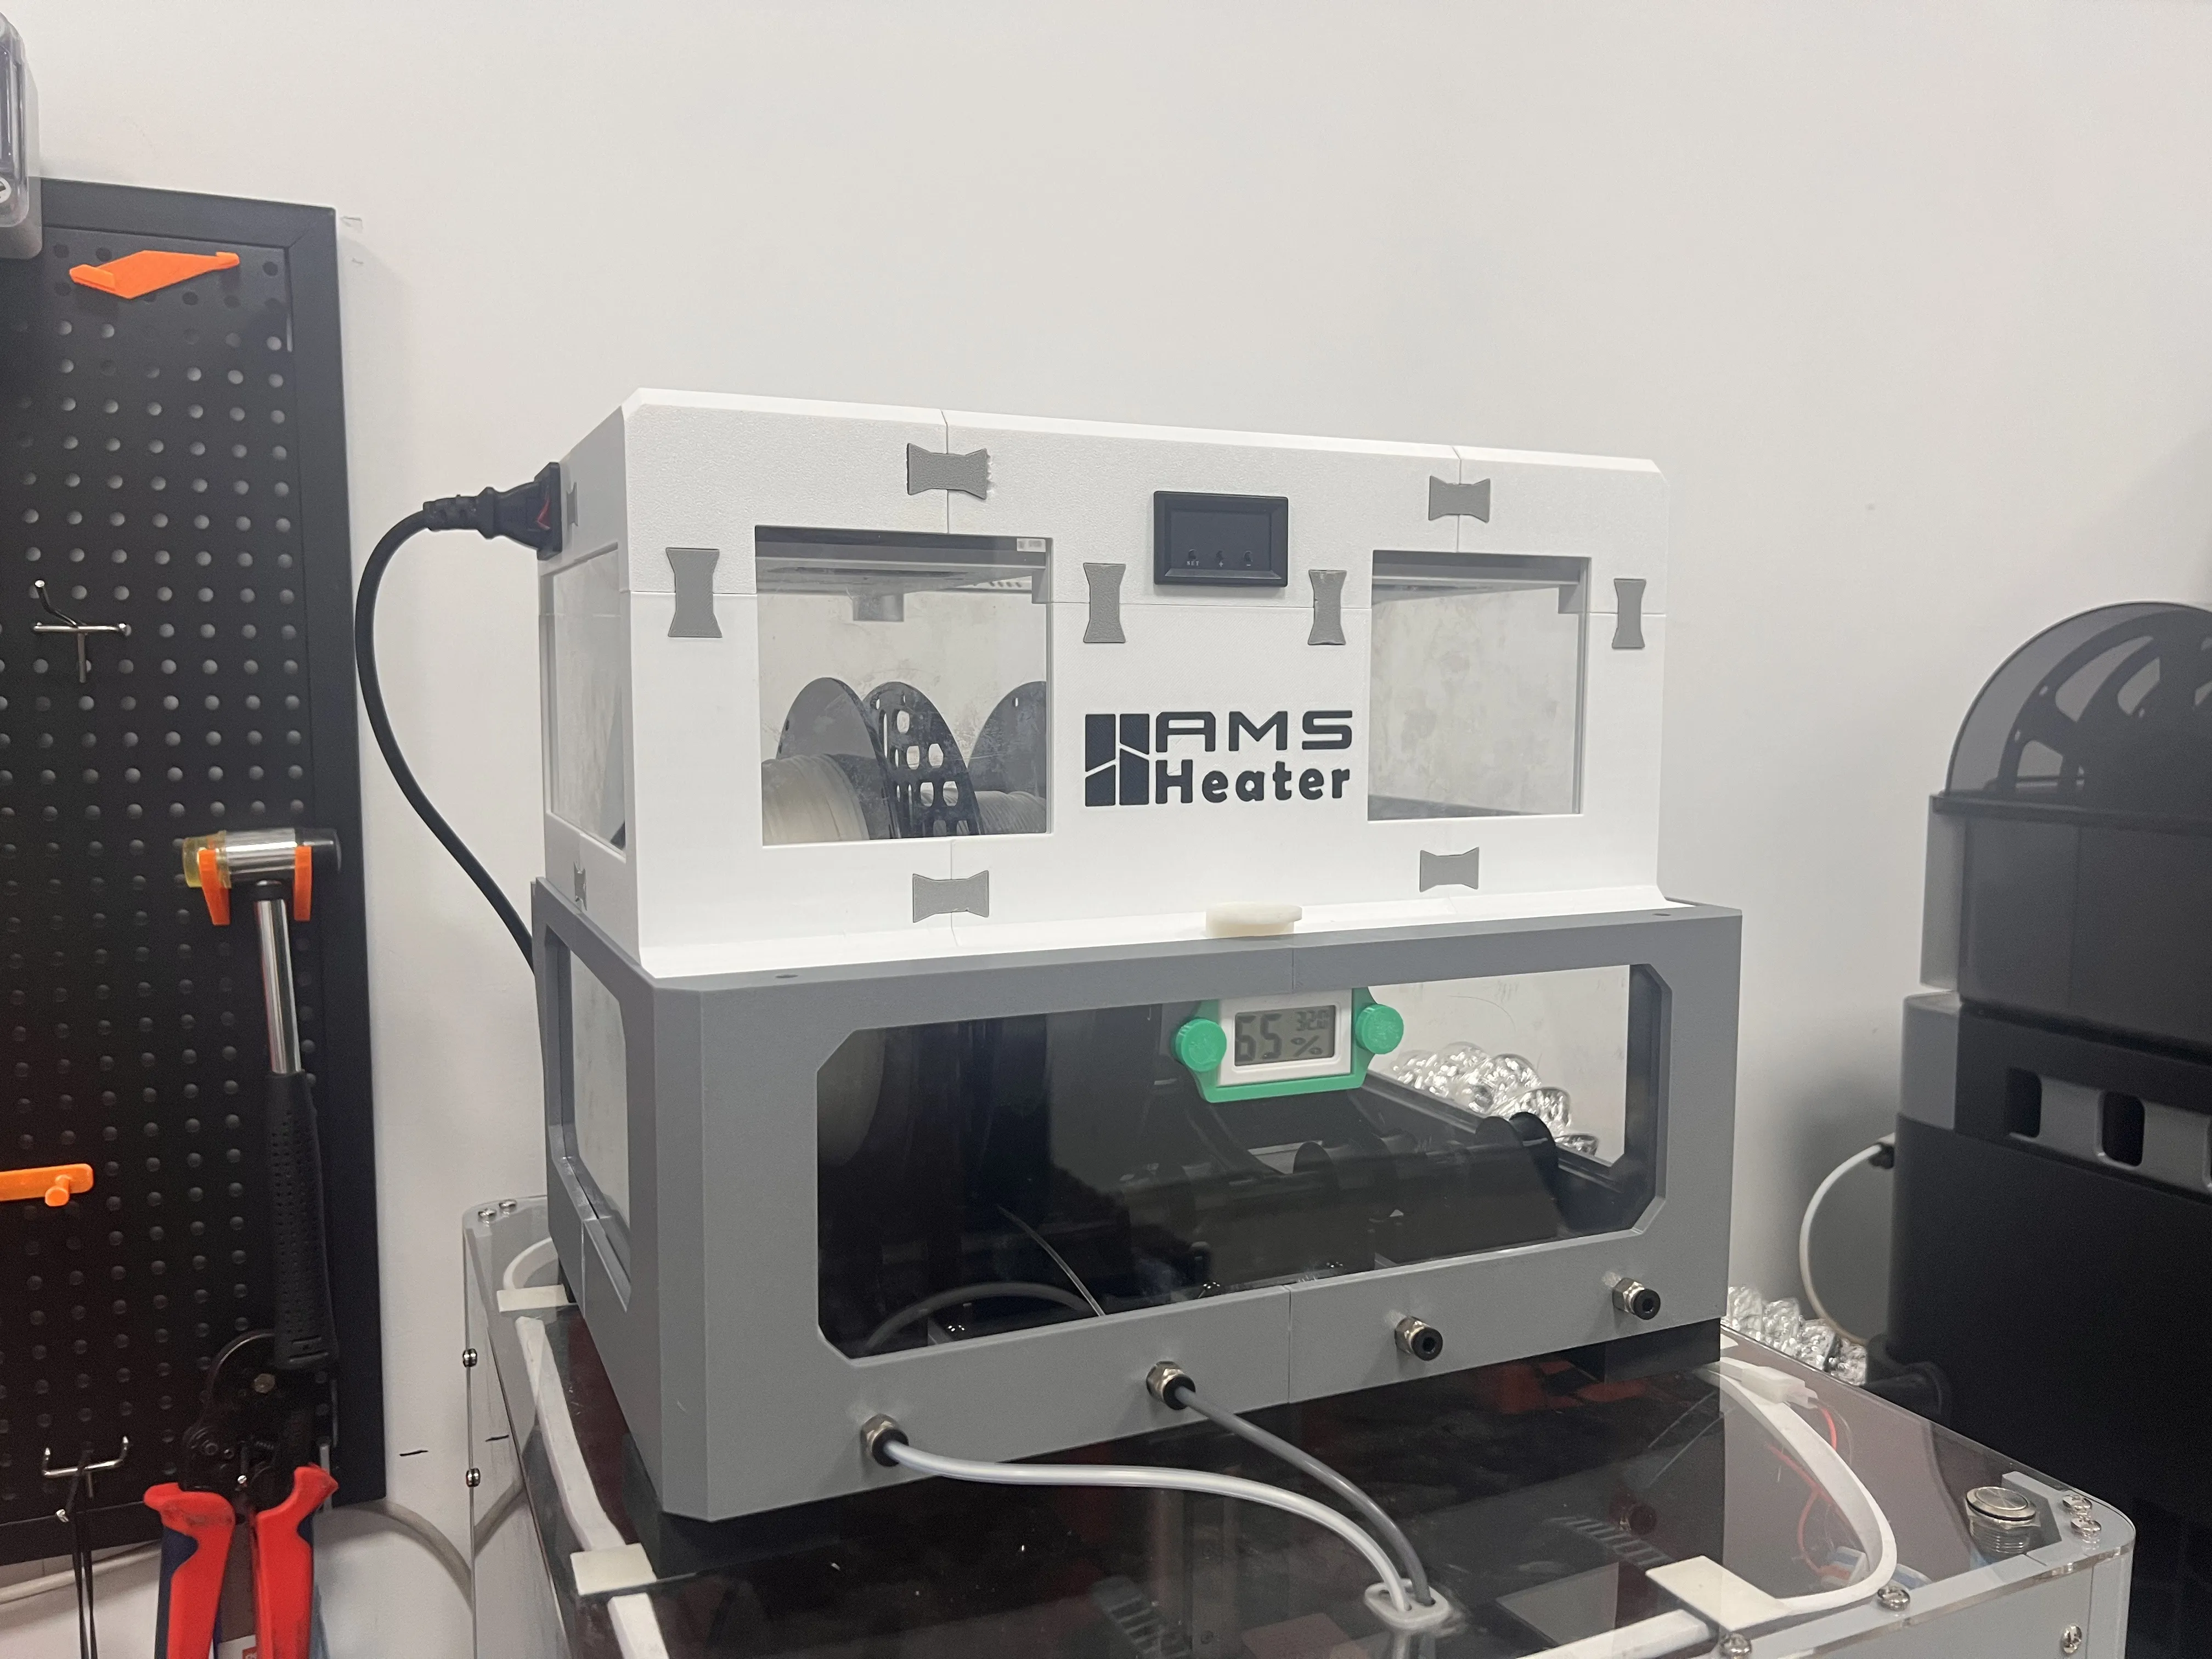
2025.09.17 Supplementary Instructions Update
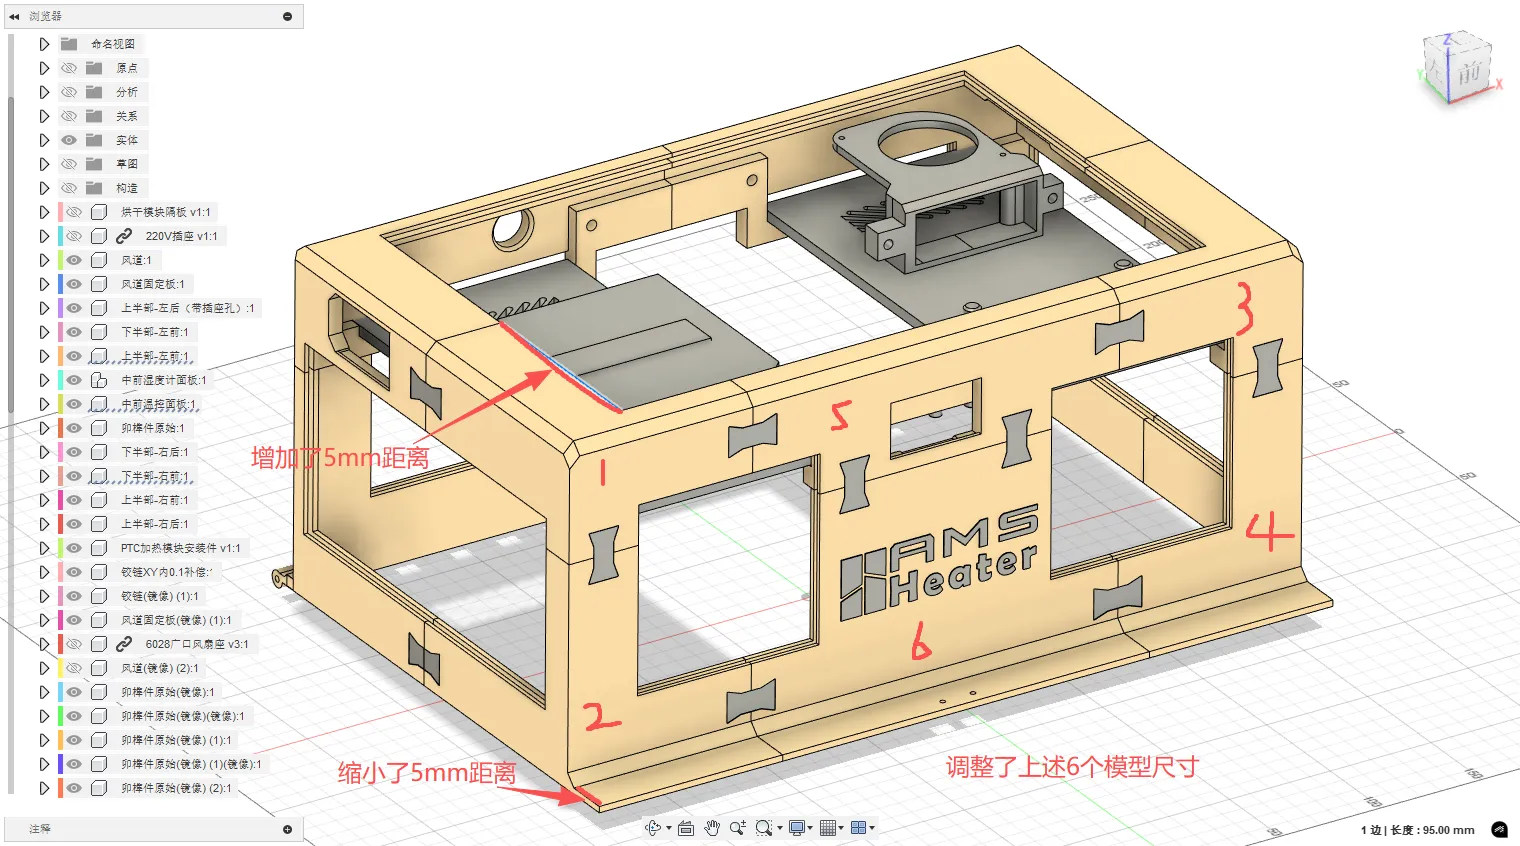
Special reminder: Friends who downloaded the drawings before September 15th, if you have already printed, please be sure to re-print the following 6 parts. If you haven't printed yet, please re-download the latest drawings. The drawings were updated yesterday, in case anyone didn't notice or see them. Remember, remember, remember! I have already been the guinea pig in advance
===============Divider==================
2025.09.16 Supplementary Instructions Update
Content: I was in a hurry before, and there were omissions in the material list, so I am supplementing it here
1. 5 dowel pins, specifications: 3mm outer diameter * 30mm length
2. Acrylic sheet thickness 2mm
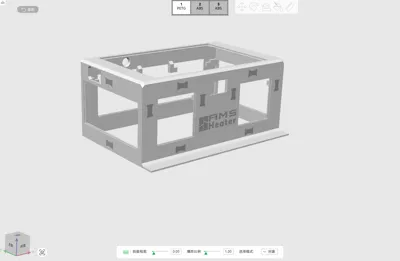
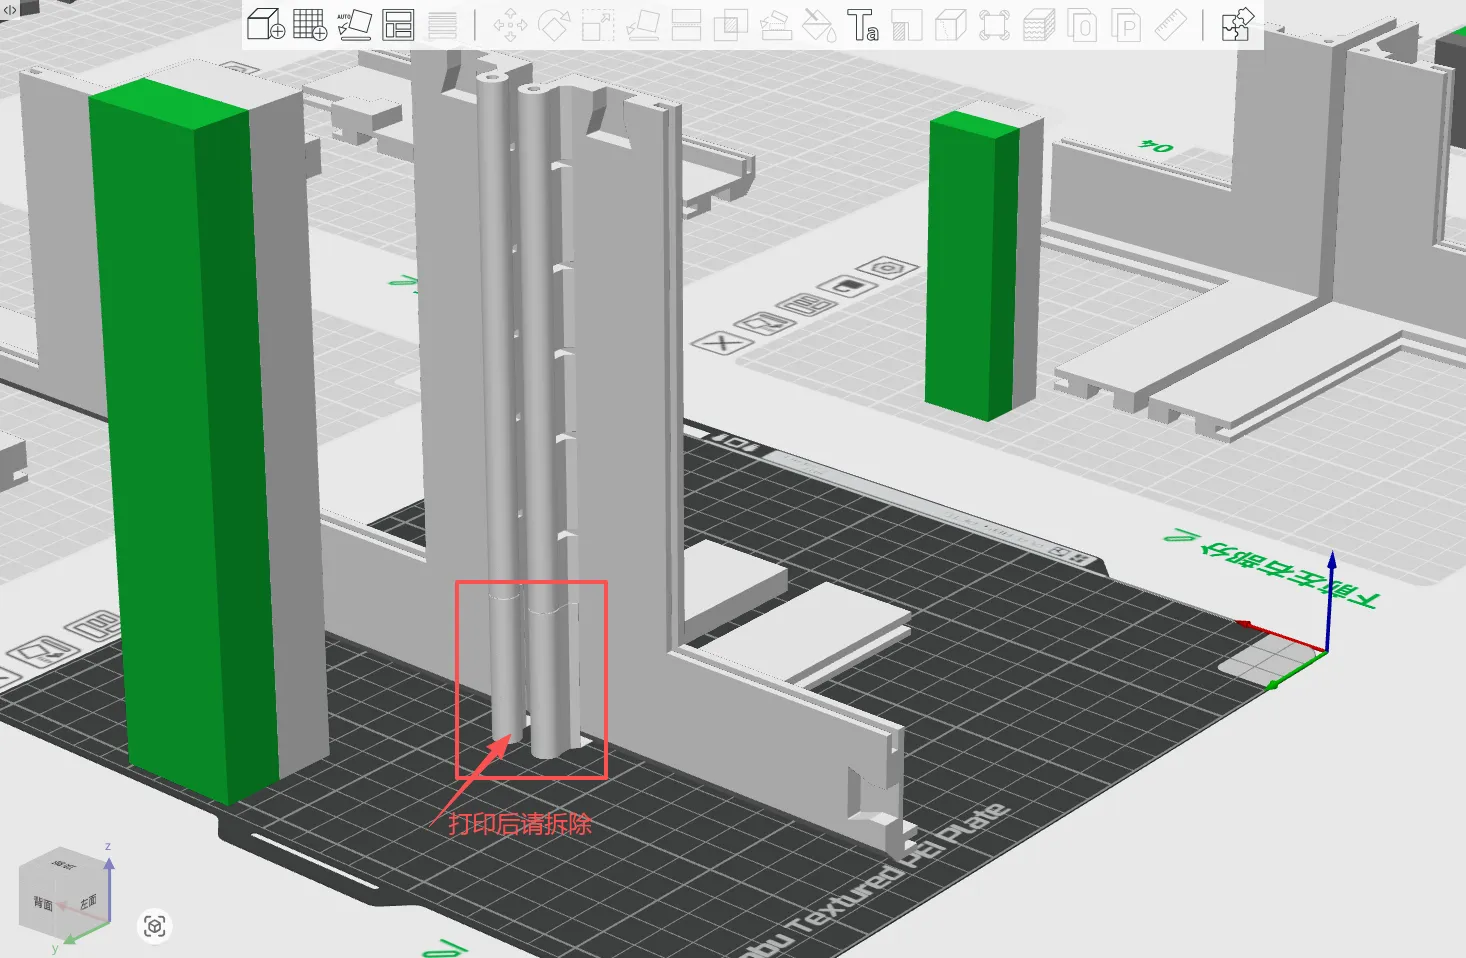
After printing, the left and right models, at the pin insertion points, need to be removed during assembly. They are used as supports in the model. As shown in the figure
========================Divider=========================
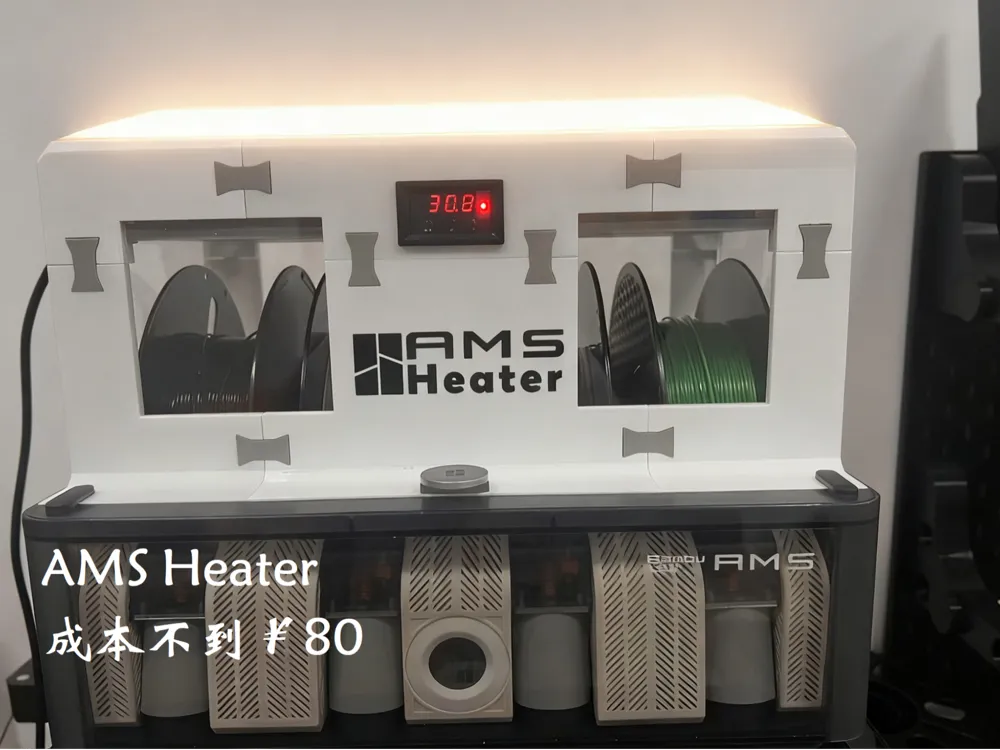
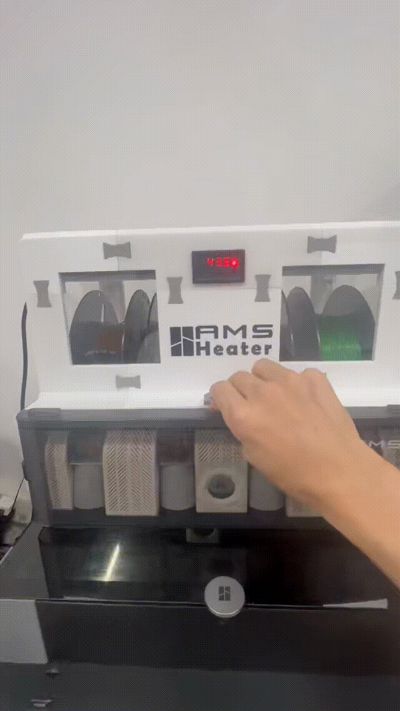
Actually, the idea of making a dryer came to me as early as last year. I've made quite a few before, some 3D Printed, some directly from rice buckets, including AMS. However, I put aside the AMS lid solution, always feeling it was too complex and cumbersome. From a user's perspective, I personally still recommend the previous early version (Click here), which solved the drying problem by adding an extra AMS bracket. When not in use, it can be directly removed. The drying module can also be used independently for rice bucket drying or for chamber temperature control developed by other players

Coincidentally, a certain manufacturer recently adopted a lid solution. As a 3D enthusiast, I am naturally more inclined to DIY. Therefore, I continued to improve and complete the original lid replacement solution. I also hope to provide an alternative choice for players who need this solution
The assembly process is divided into two steps:
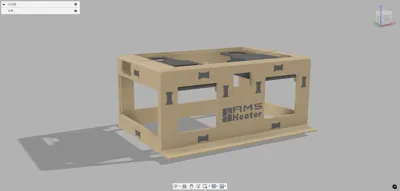
- Lid shell assembly
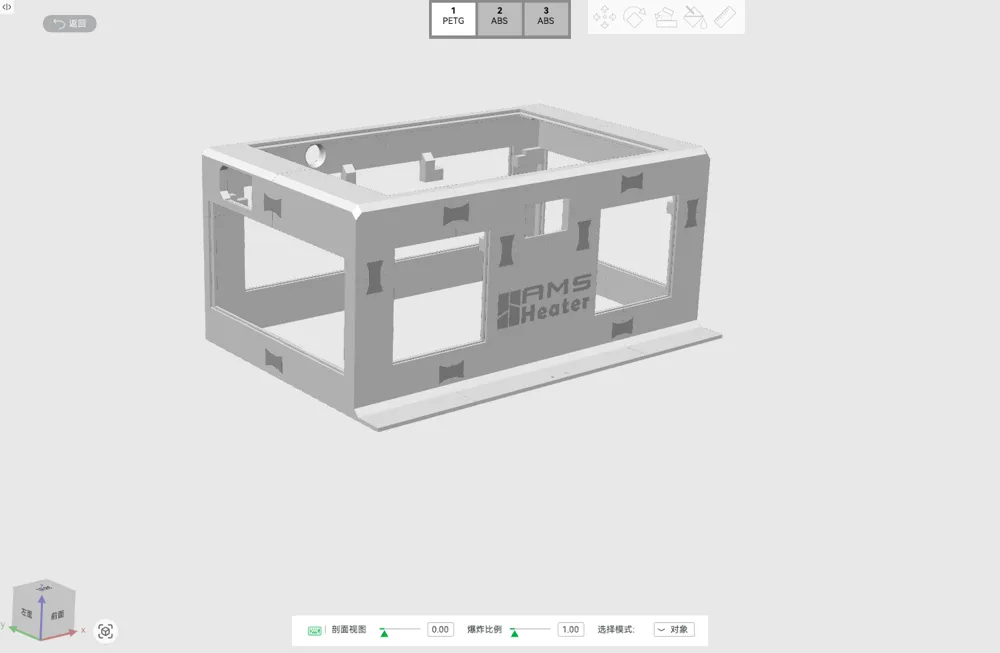
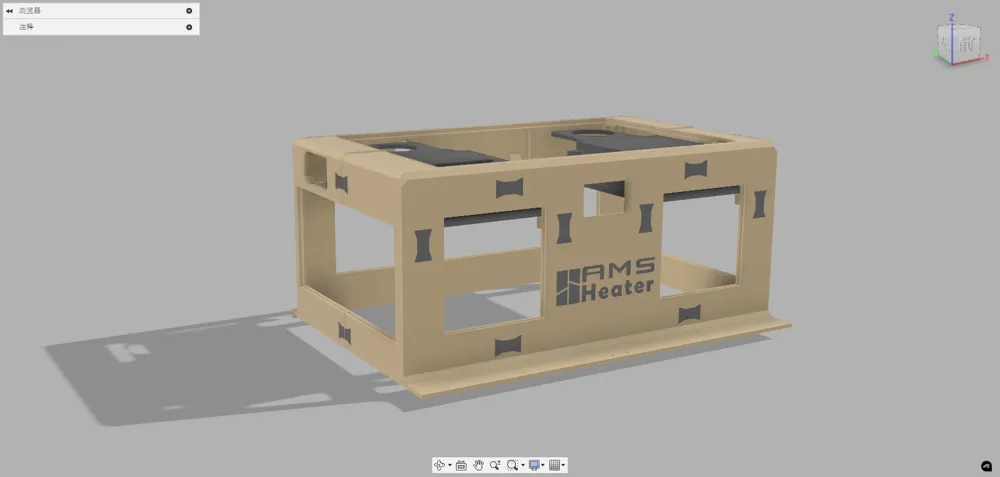
Just print directly according to the print files. Dual material supports are used in the files, with PLA as the support surface material. If you want to save printing time or reduce filament consumption, you can change it to print with the same material as the main body
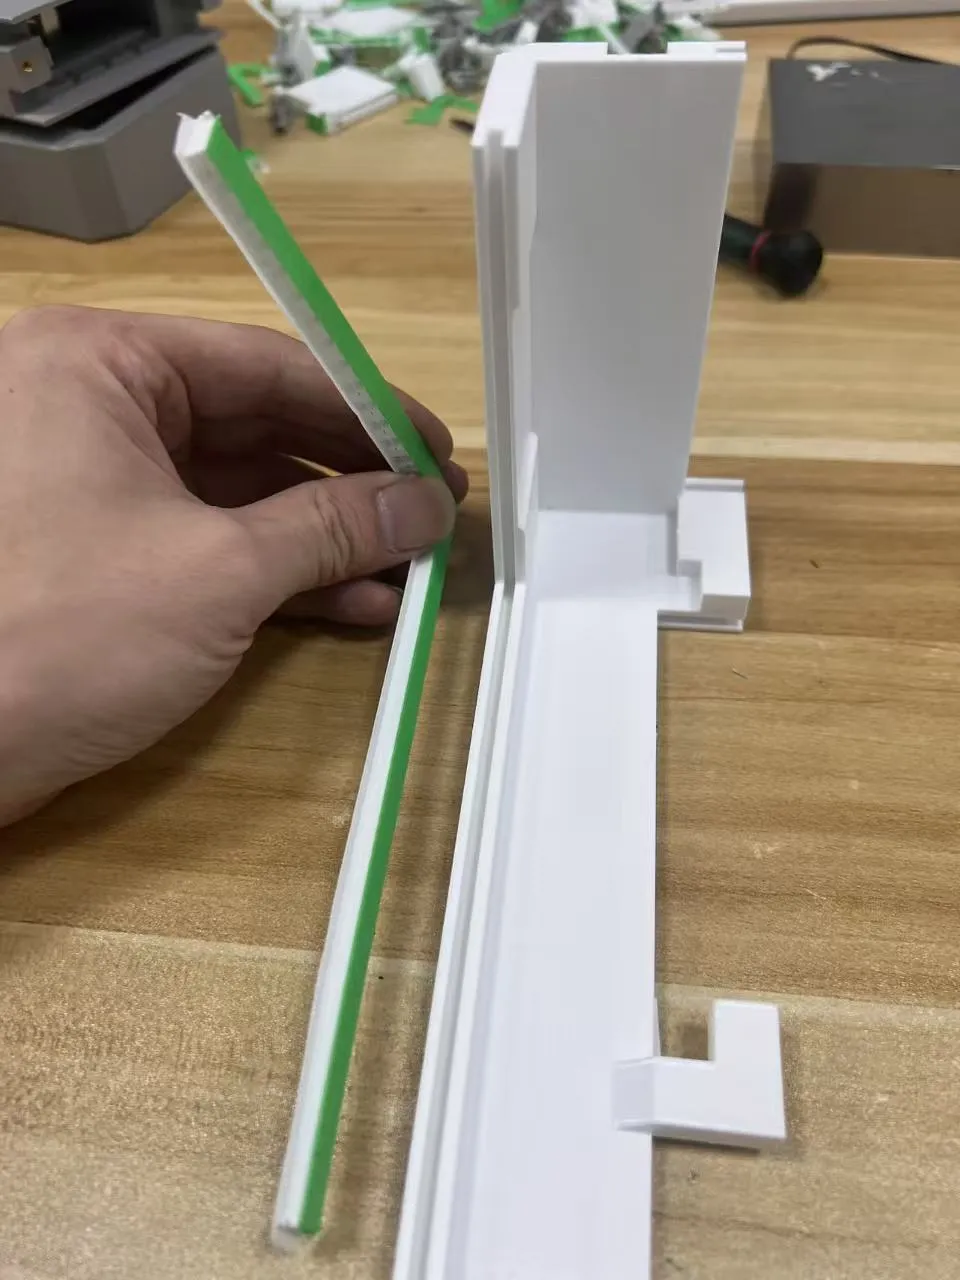
- Tolerances have already been applied to the model. If there are still fitment issues after printing, especially for holes where pins need to be inserted, please make appropriate XY hole compensation. This part only needs it in 2 places, so even if there are problems, it's not too much trouble to deal with
- Acrylic sheet or PC sheet: if your AMS is placed in a sunny spot, you can choose brown or other dark colors. Of course, you can also print it yourself according to the actual size to replace it
- Assembly is like building with bricks, not very difficult. Mortise and tenon joints are used for connection and fixing. If the fit gap is too large or loose, you can use glue to fix it, including the gaps between each component, to improve the overall sealing effect. (Off-topic, in fact, for solutions that can dry while printing, overall sealing is not a necessary condition. Personal choice)
- Drying module assembly
- For specific installation instructions, please refer to previous installation videos of the 5.8L rice bucket. It's almost the same, just with an additional set of heating and a fan. It needs to be connected in parallel to the original circuit diagram
- The accessories have slightly changed, please check the manifest file
- The only somewhat troublesome part is wiring management; it may require some patience. For aesthetics, try to bundle the cables as much as possible. You can use 3M tape, zip ties, or any other method you can think of
- For this part, be sure to print with ABS or higher temperature resistant materials to prevent the air duct or mounting plate from softening and deforming over time
Special reminder regarding assembly order: The upper and lower parts are assembled separately. The upper part is combined with the lower part to form a complete unit after the drying module is assembled. The image below is for your reference
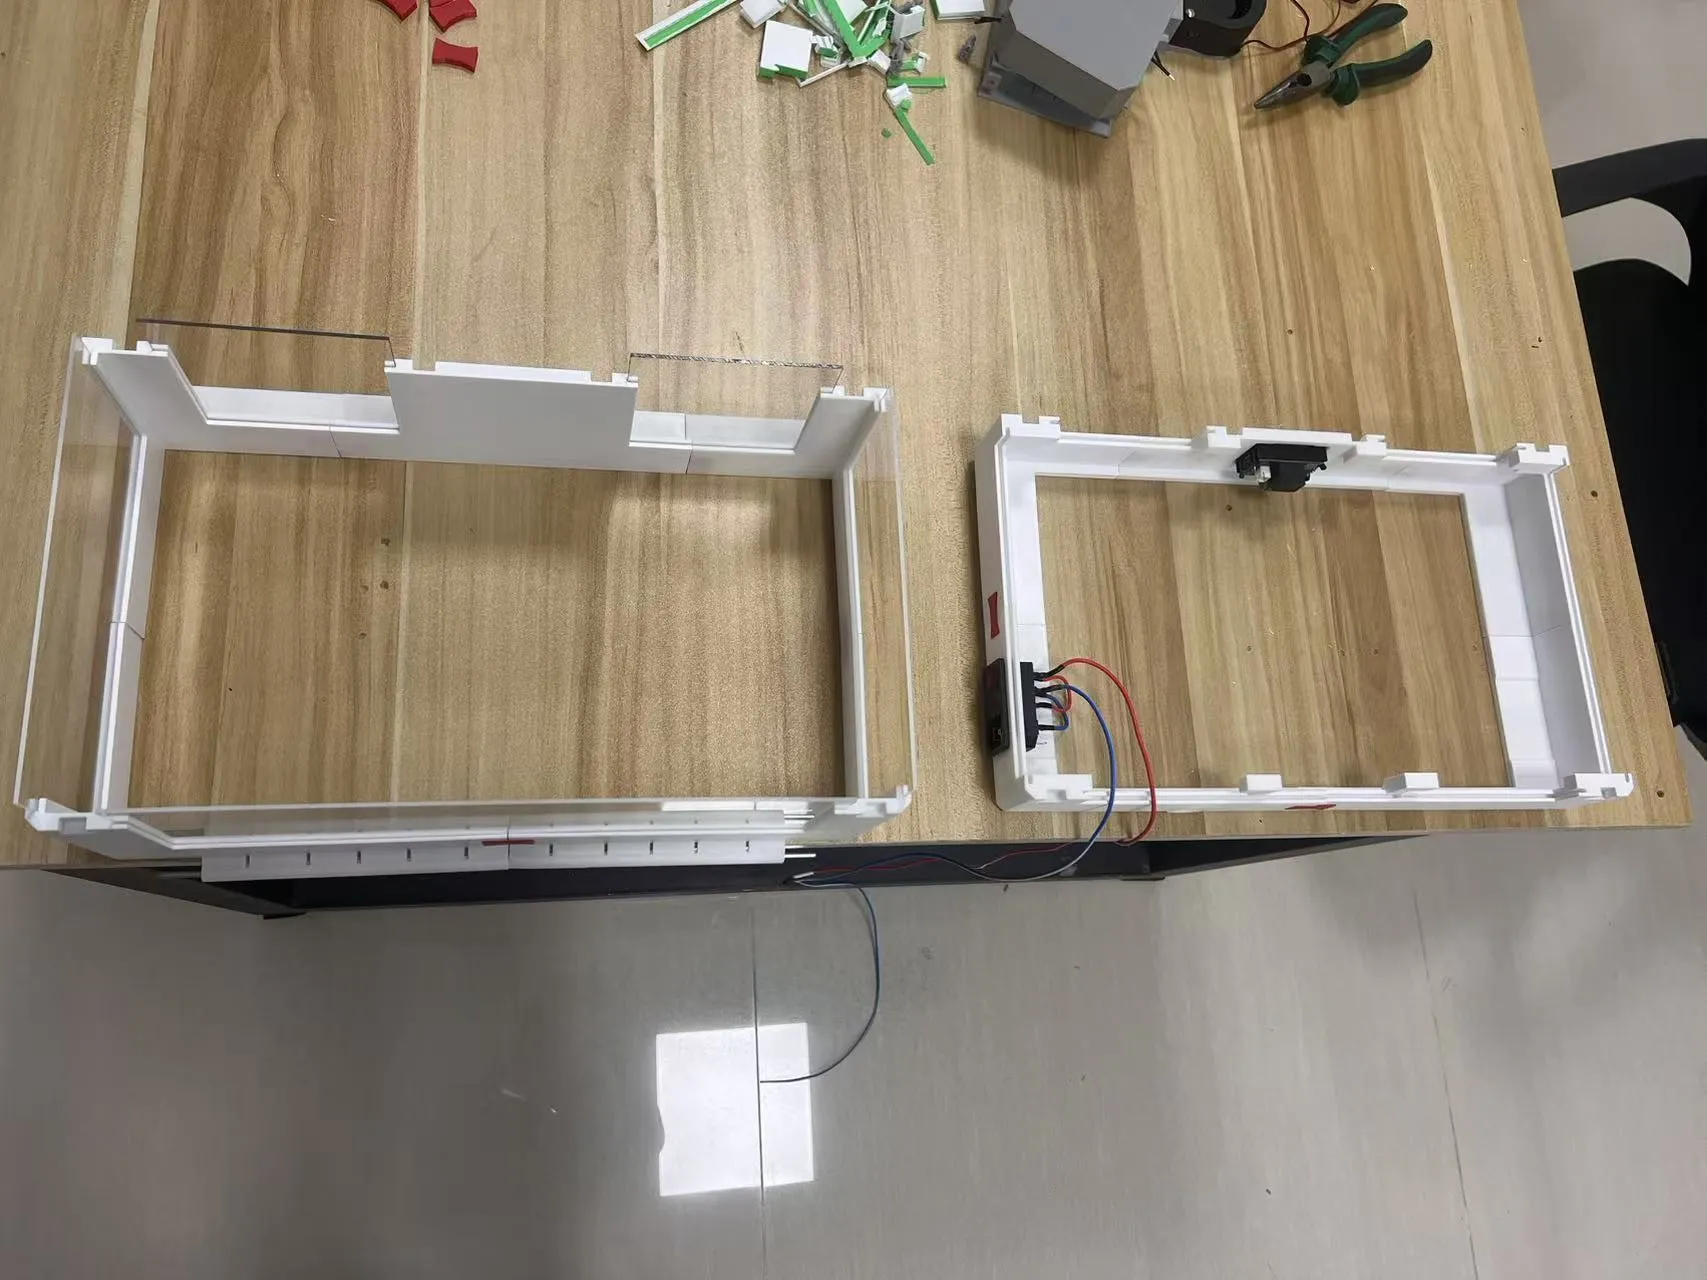
If you have any wiring questions, please leave a comment
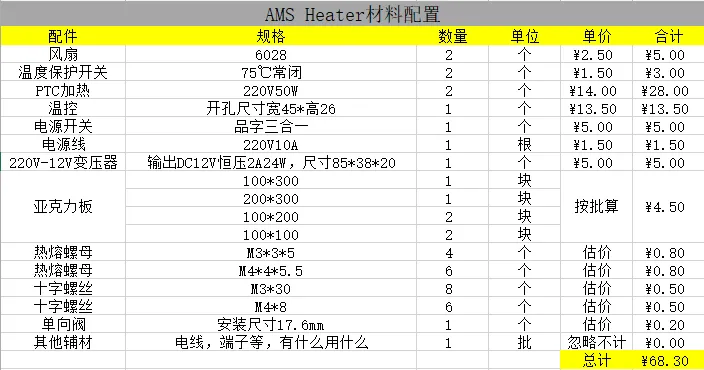
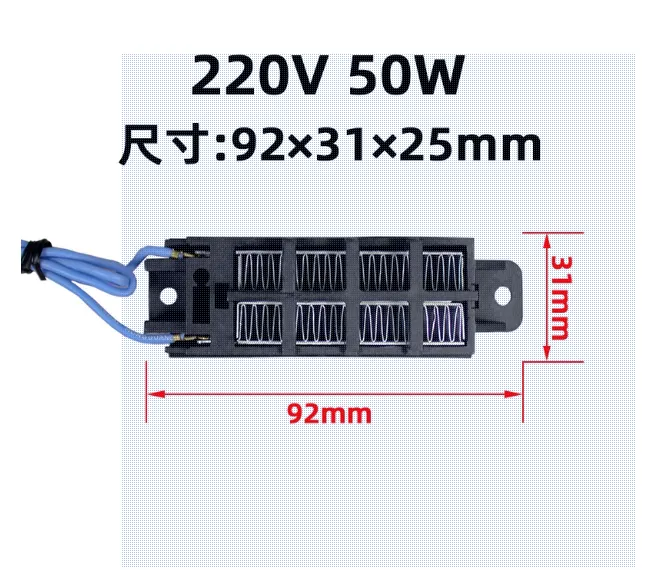
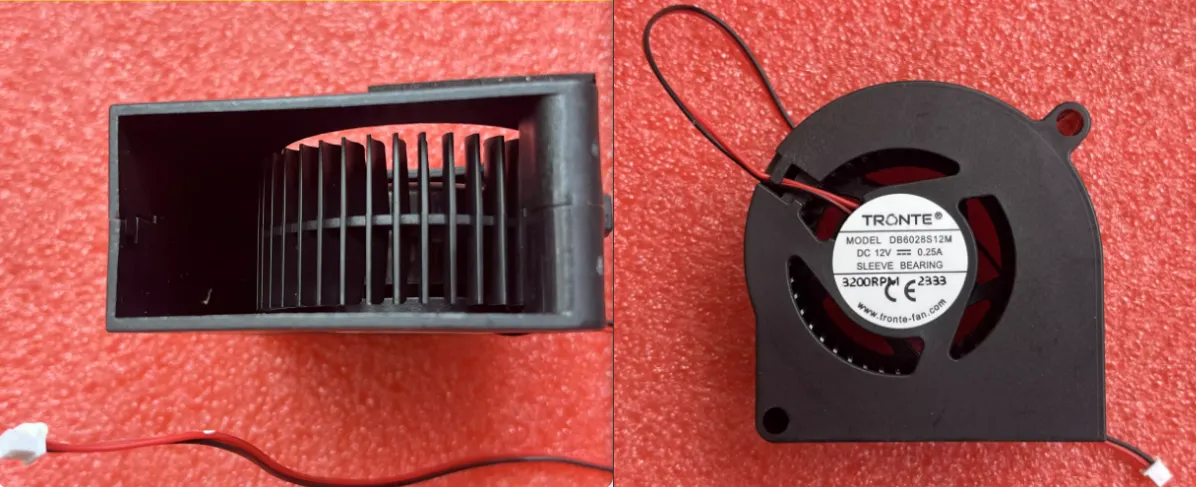
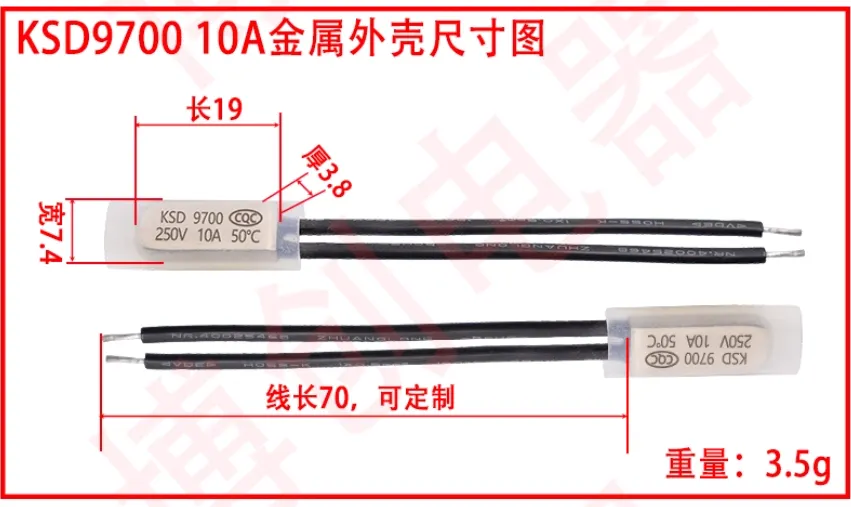
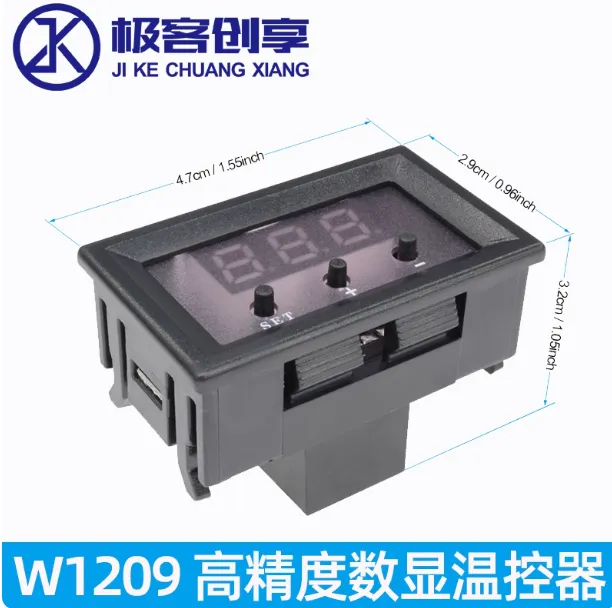
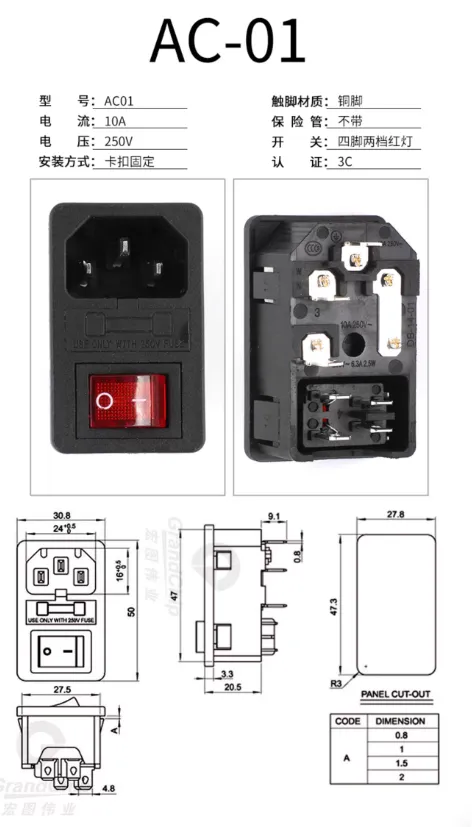
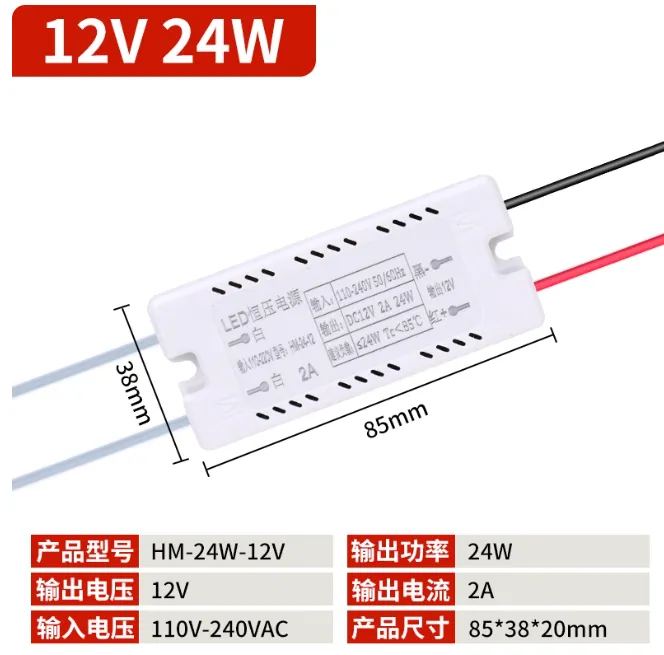
Here are some main component diagrams:
Documentation (3)
License

You shall not share, sub-license, sell, rent, host, transfer, or distribute in any way the digital or 3D printed versions of this object, nor any other derivative work of this object in its digital or physical format (including - but not limited to - remixes of this object, and hosting on other digital platforms). The objects may not be used without permission in any way whatsoever in which you charge money, or collect fees.


Comment & Rating (1)