
OMNIBOT – The CyberBrick All-Direction Explorer


Print Profile(2)



Bill of Materials


.png)



Description
DESCRIPTION:
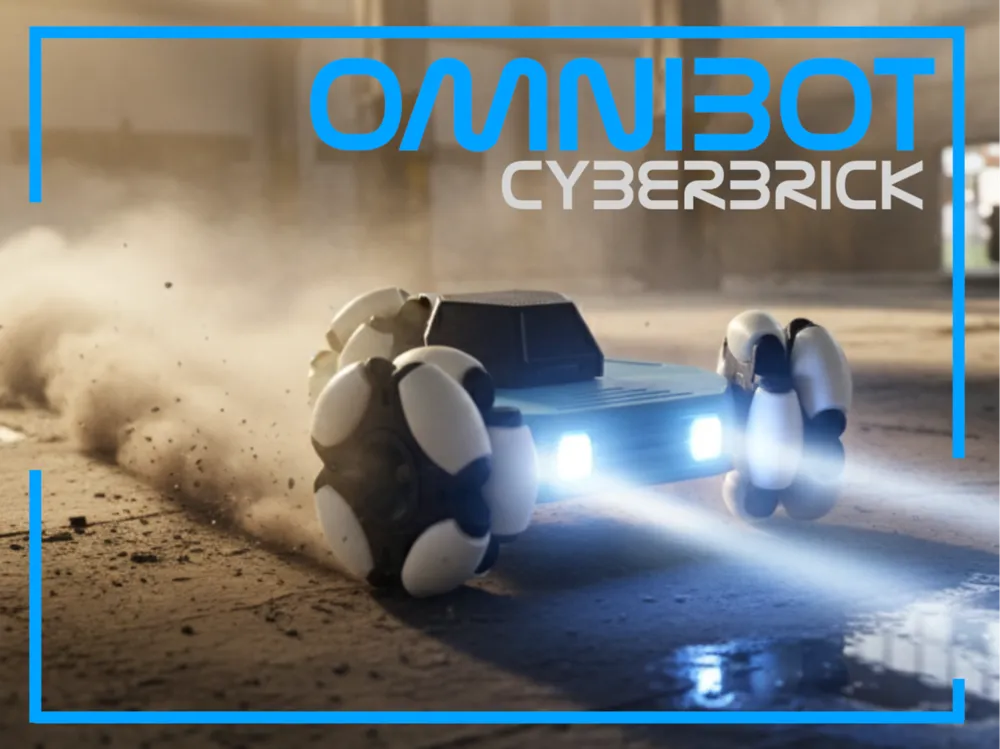

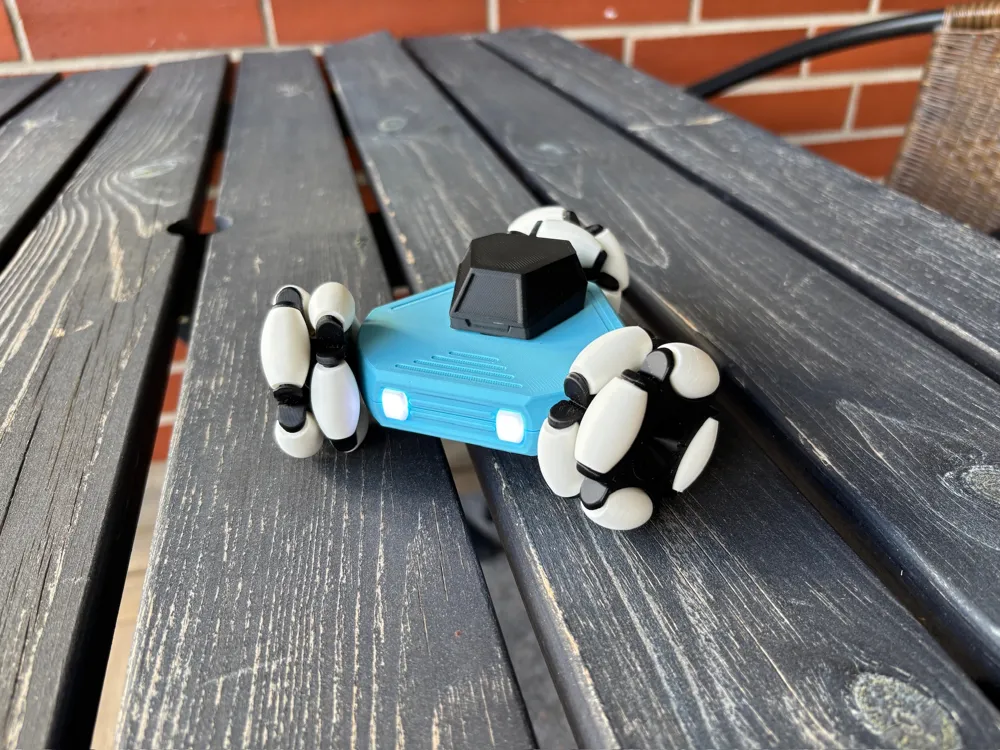
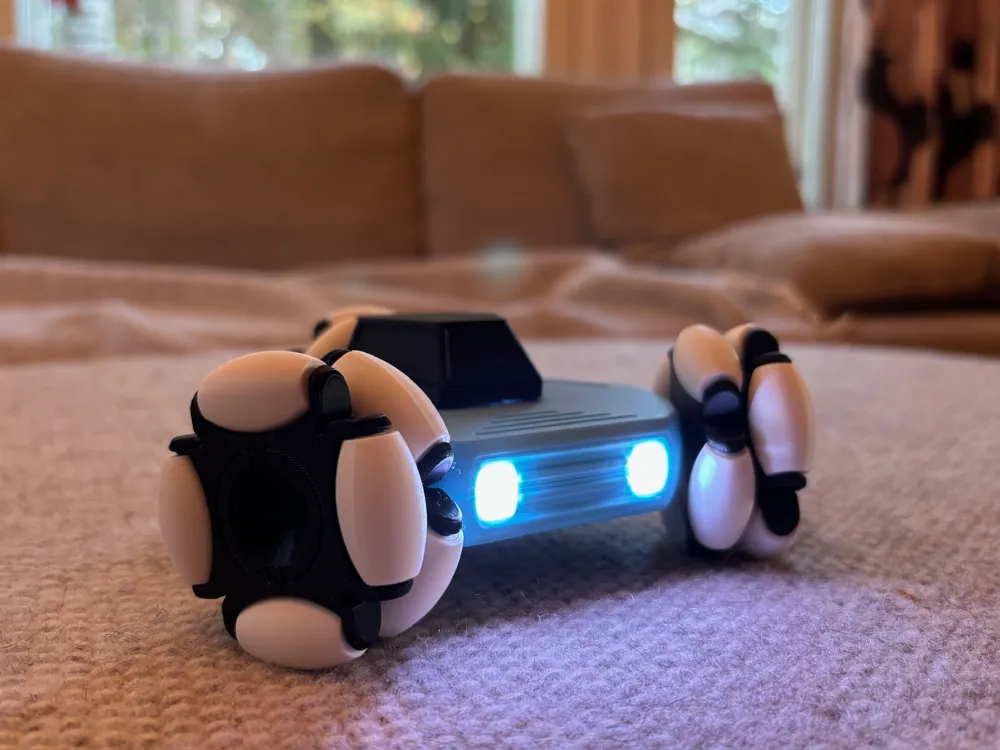
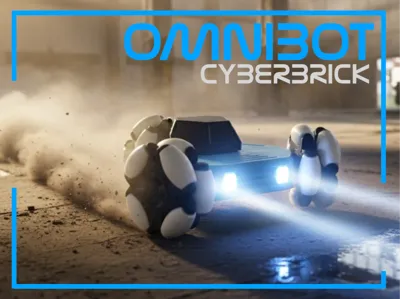
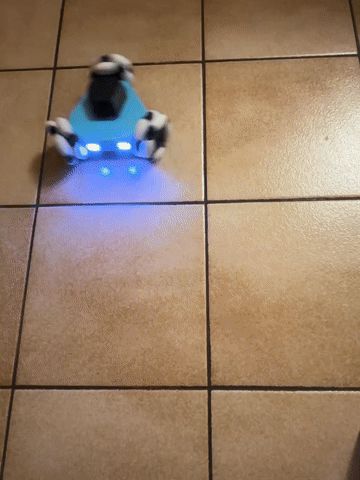
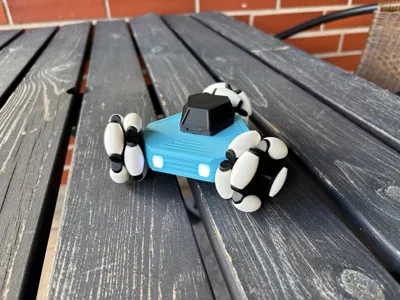
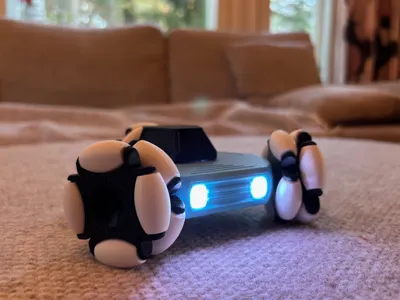
OMNIBOT is a fun three-wheeled robot that can drive forward, backward, sideways, diagonally, and even spin in place — all with smooth, precise control. Its secret is the three omni-wheels, which have rollers around their edges. These special wheels let OMNIBOT slide in any direction without needing to turn first, making it super agile and exciting to drive.
Built with CyberBrick parts, OMNIBOT is a great way to explore robotics and learn how omnidirectional drive systems work. It includes two control modes that swap strafe and turn joysticks so you can pick the driving style you like best. (I prefer Mode 2)
Please note that the control logic is done with the micropython code snippets so editing the code is not as straightforward as most CyberBrick projects.
Boost Me (for free)
This was a passion project for myself and for my kids, but I hope it finds love here as well. Please consider leaving a Boost if you think the model deserves it.
ASSEMBLY:
Print all parts and follow the attached assembly instructions. Rollers on plates 3 and 4 need to be printed multiple times to total 24 rollers. They are printed in smaller batches to reduce print failures.
The 5th plate includes full PLA rollers for those who don't have TPU. I recommend coating them with grippy rubber paint and eventually swap them for TPU rollers.
CHARGING THE BATTERY:
The battery cover is designed to be opened with a fingernail. Because of differences in material stiffness and printer accuracy, the lid may be difficult to open. In this case open the lid with a dull tool such as a butter knife. I suggest you don't sand down the locking feature as this will also make the lid open more easily when driving down small steps or bumps.
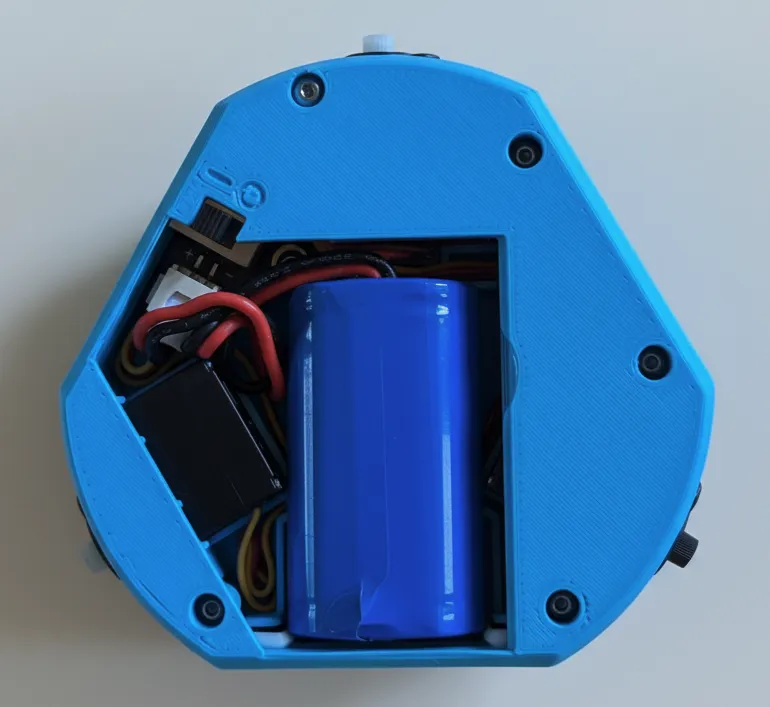
Remove the battery for charging. When re-installing after charge, use tweezers or pre-bend the cable near the connector to make plugging in easier. Arrange the cable such that it doesn't interfere with the lid, such as shown below.
CONTROL:
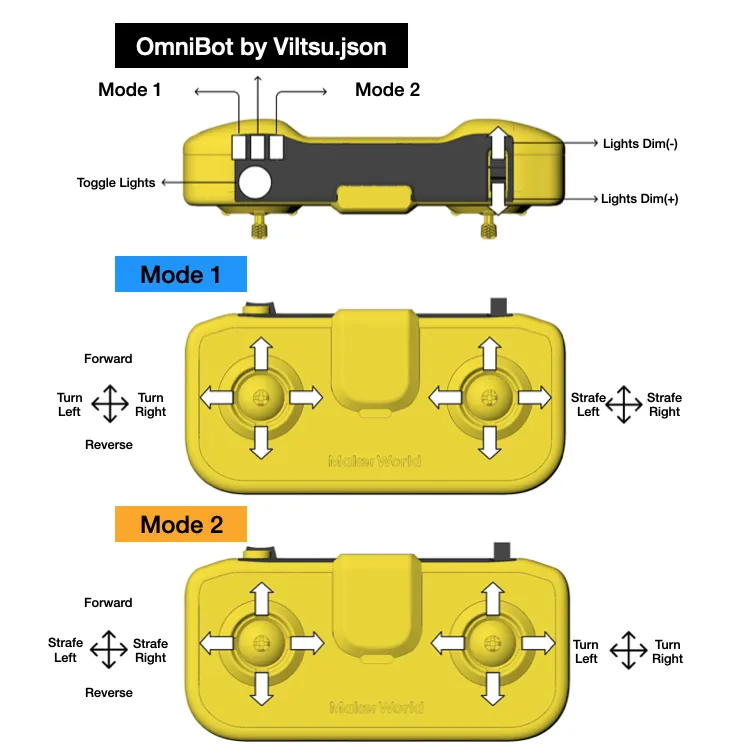
The control modes (presented in image below) are selected with the 3-way switch. Start with switch in middle position after turning on the robot. The mode can be switched freely back and forth but there is a delay as the code initializes again. I suggest using mode 2 but please comment which mode you prefer!
OMNIBOT has three driving light schemes - Dynamic, static white and off - toggles with left shoulder button. In dynamic mode the lights change according to driving direction. The right shoulder joystick can be used to adjust the brightness of the lights.
Additional Notes
Tools needed:
- Small Phillips head screw driver (for servo screws)
- 1.5mm hex screw driver (for BHCS screws, comes with Bambu machines)
- Super glue or similar adhesive
About Bill of Materials:
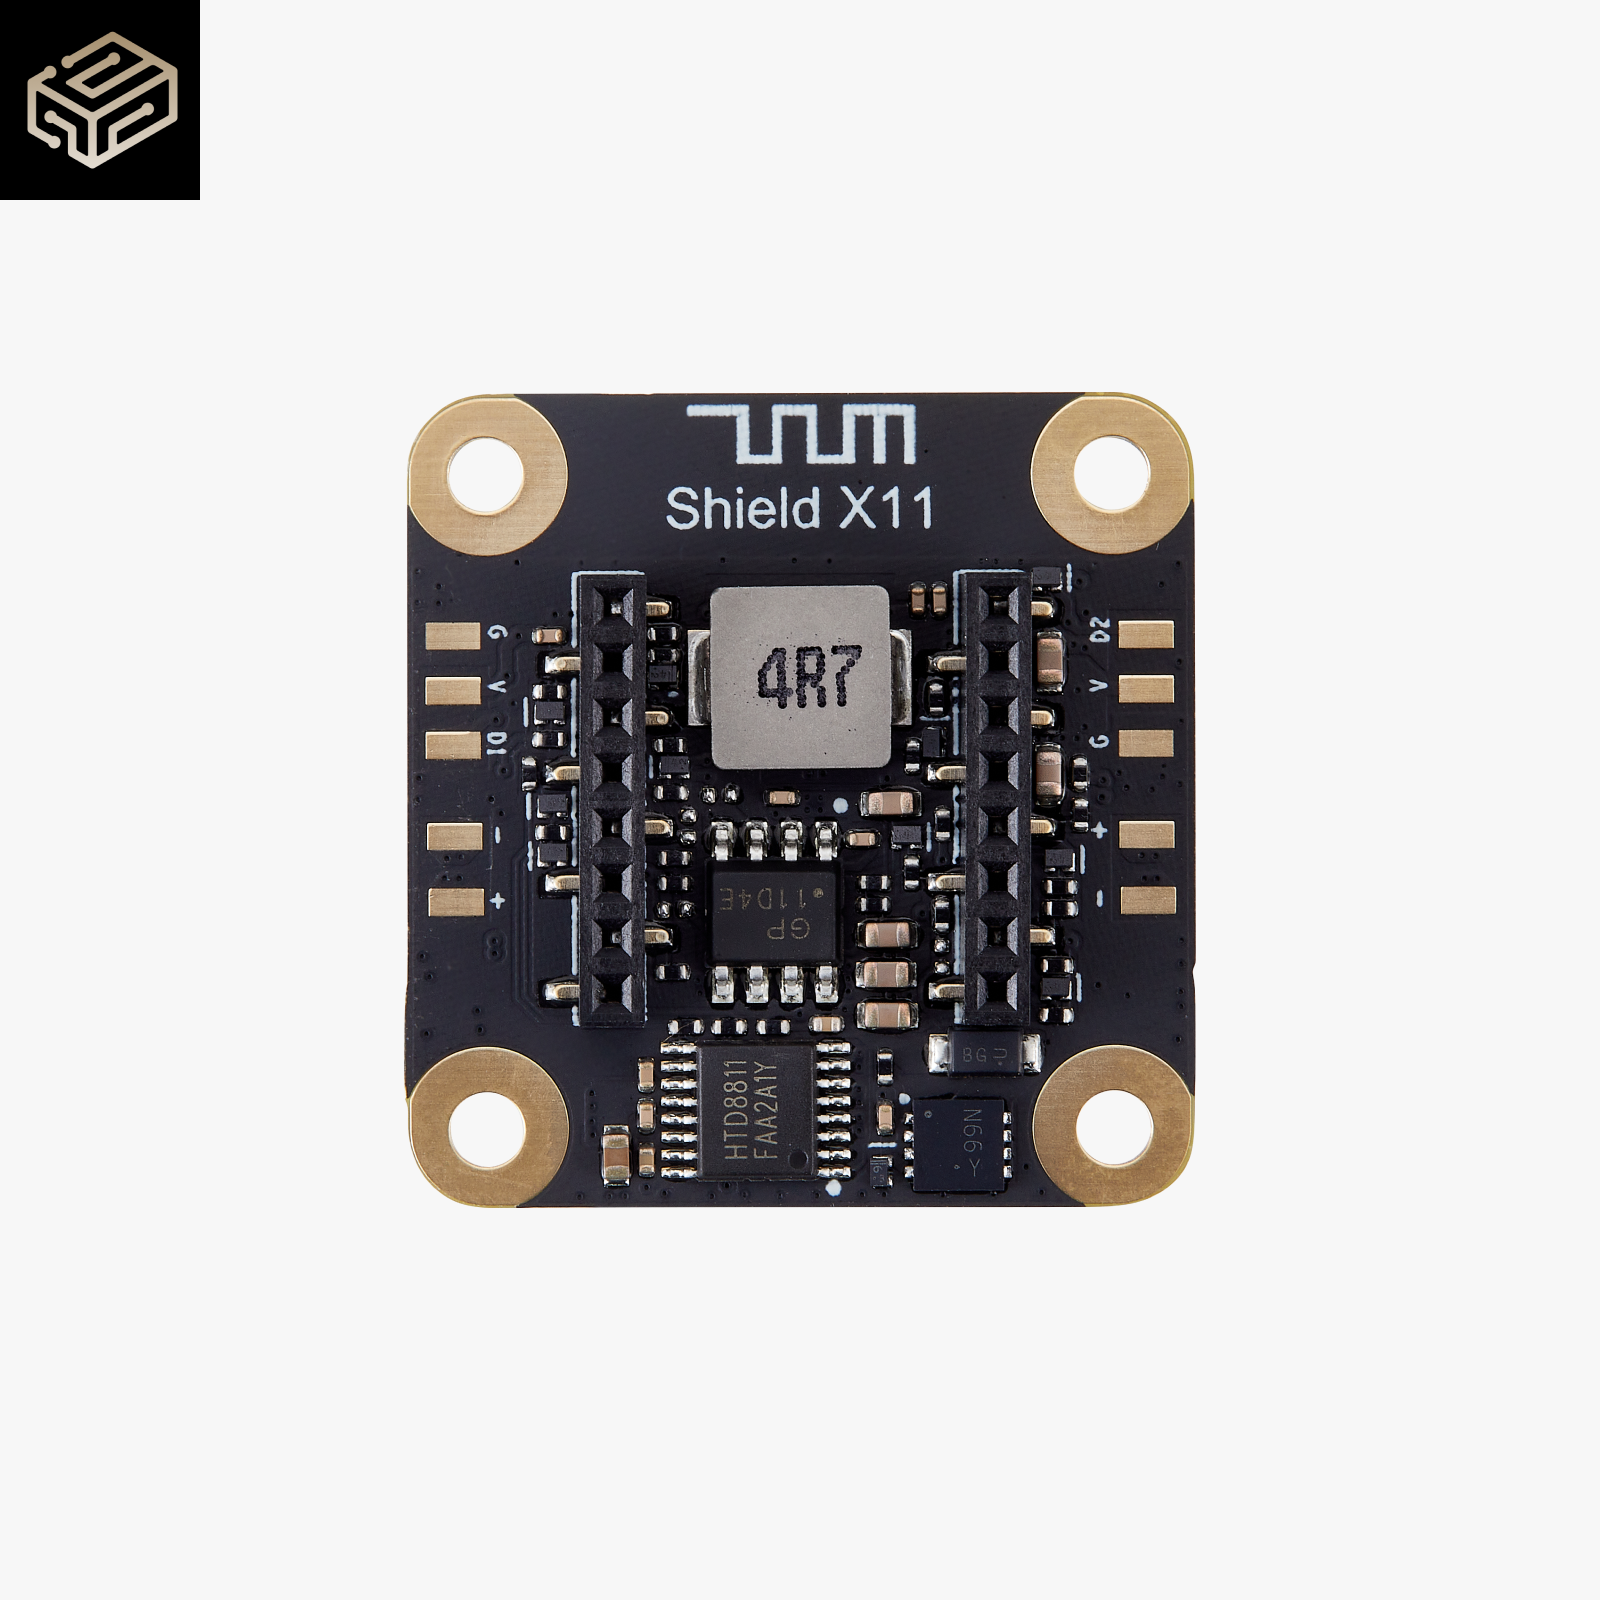
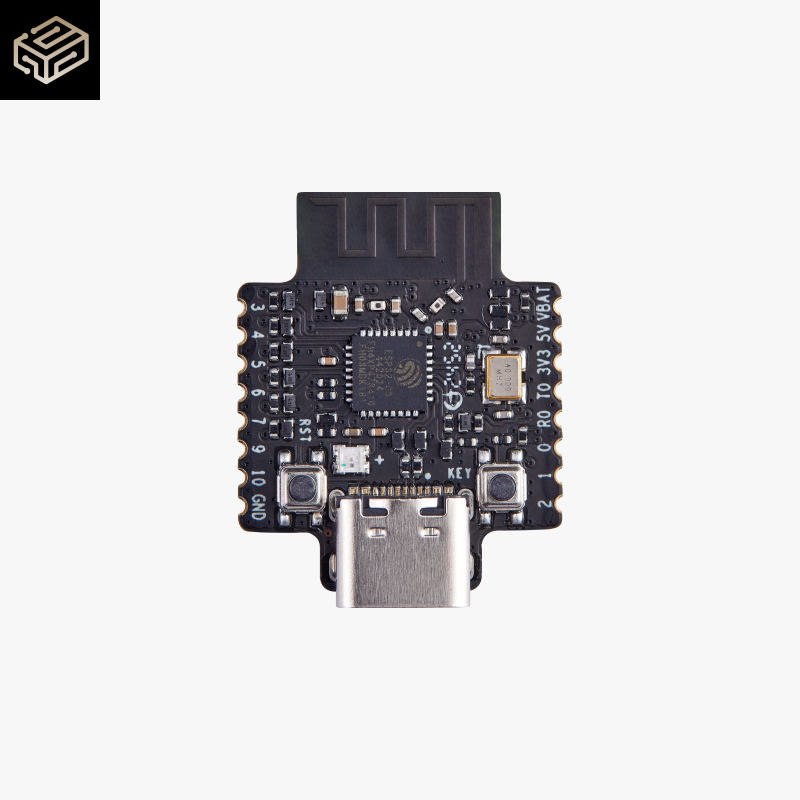
All the needed materials with links are listed in the dedicated “Bill of Materials” section.
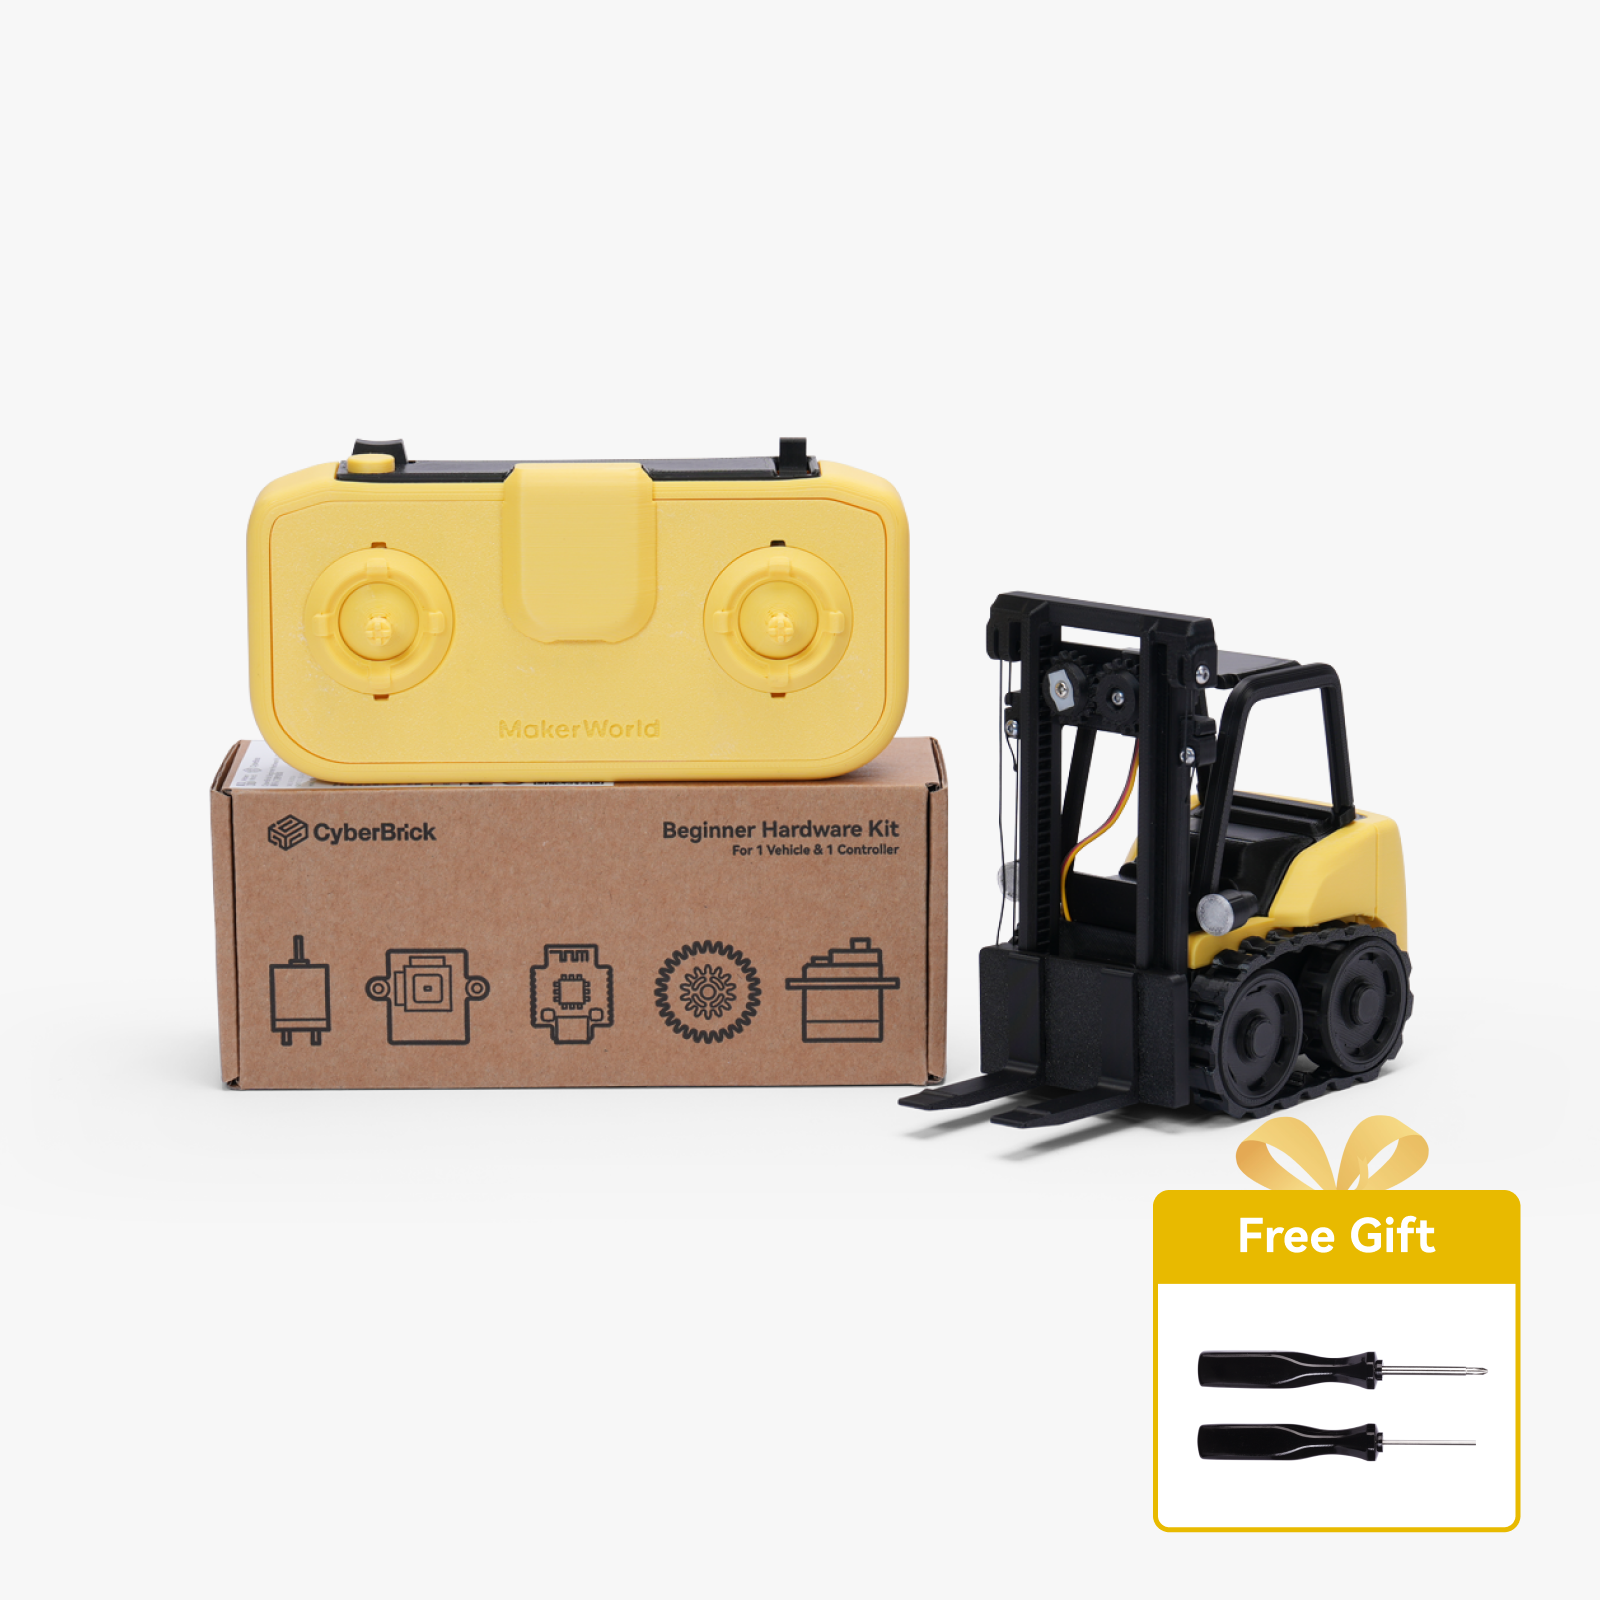
I advice you purchase the "CyberBrick Beginner Hardware Kit - ZK004" AND “2x 9g Servo Motor 360° - PG002”. This get's you all you need AND parts for a controller with the same price as purchasing only the necessary components separately.
If the Kit is not available, you can purchase the items individually and exclude the Kit ZK004. In this case you need 3x 9g Servo Motor 360° - PG002.
Disclaimer: This model is compatible with the Cyberbrick Kit. The kit includes various non-printed parts to accommodate multiple popular models. As a result, some parts may not be necessary for this specific model. If you only need to purchase the non-printed parts required for this model, please uncheck the Kit option when making your purchase.
Controller:
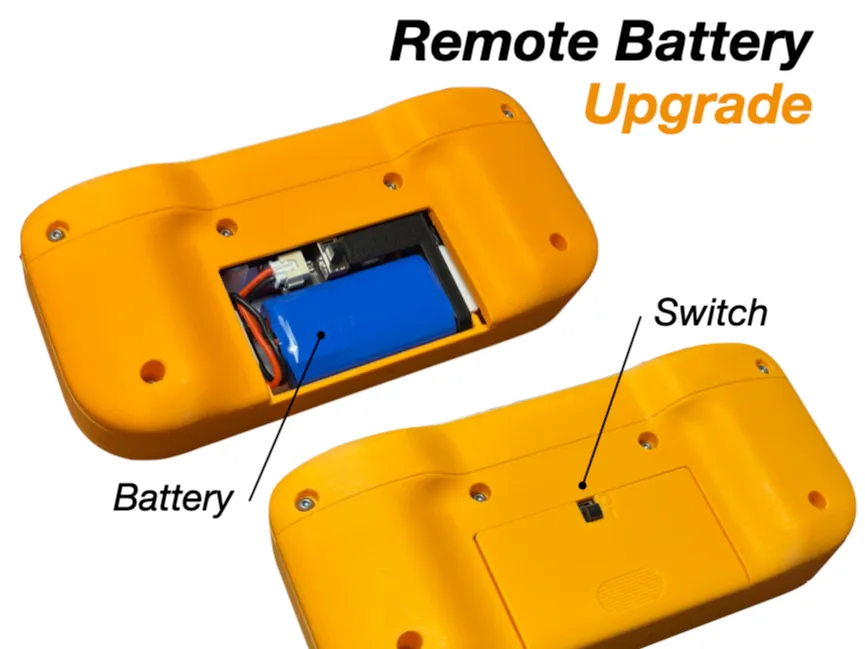
This model is compatible with the CyberBrick Standard Remote. I recommend updating the controller to use the rechargeable battery with this easy mod. The battery life will be increased significantly and there's no need to run through disposable batteries.
Updates:
16.6.2026: Original .json program works again - “B” version is left as a backup in case a future firmware update breaks the functionality again. For now there is no reason to use “B” version of the json.
10/2025: Recent firmware update broke the original config. As a quick fix I implemented a simpler config “OMNIBOT_B” that doesn't rely on code snippets and thus doesn't use proper omnidirectional calculations. It is still very much functional and fun to drive, but does need a bit of yaw correction with right stick when strafing. For older builds the original config works as long as you on't update the core firmware, which happens automatically with latest software. I am working on getting a new proper config running. The text below concerns the original code.
Documentation (1)

License

You shall not share, sub-license, sell, rent, host, transfer, or distribute in any way the digital or 3D printed versions of this object, nor any other derivative work of this object in its digital or physical format (including - but not limited to - remixes of this object, and hosting on other digital platforms). The objects may not be used without permission in any way whatsoever in which you charge money, or collect fees.


Comment & Rating (70)