
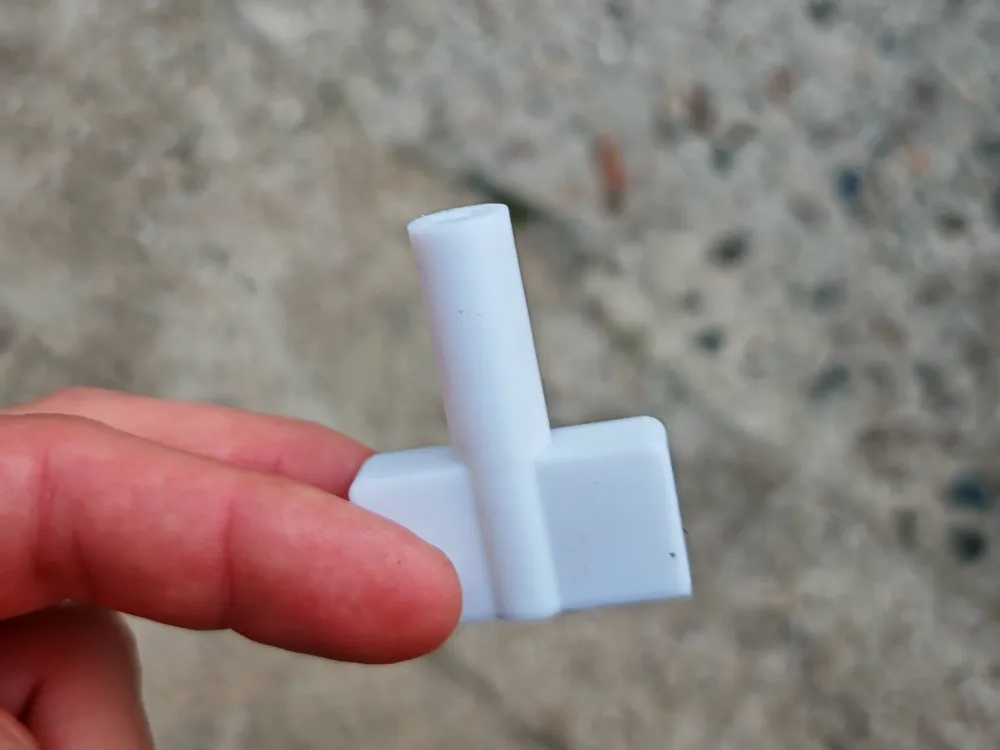
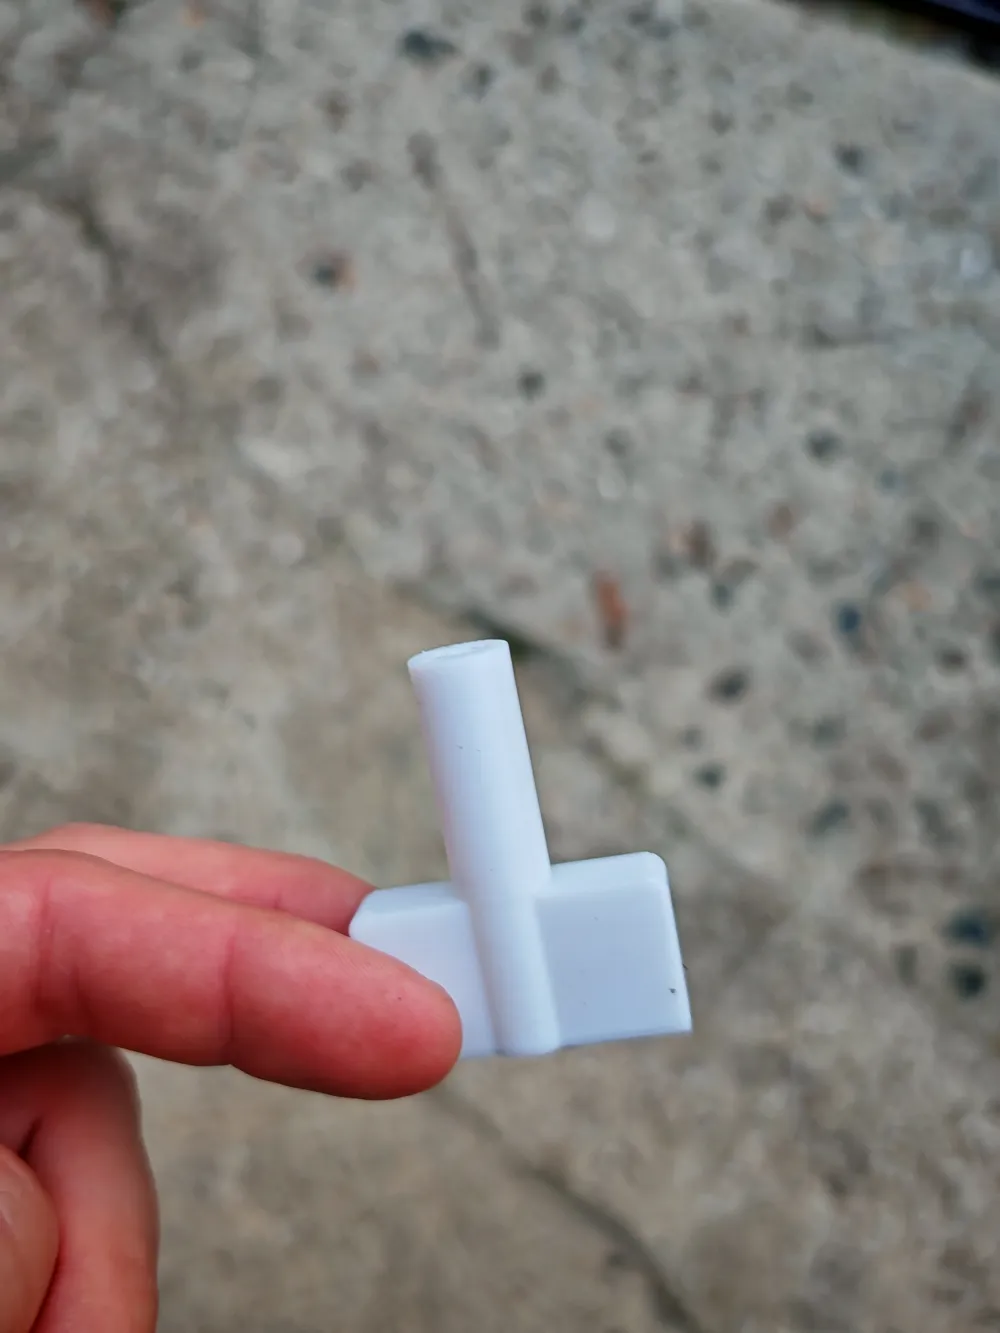
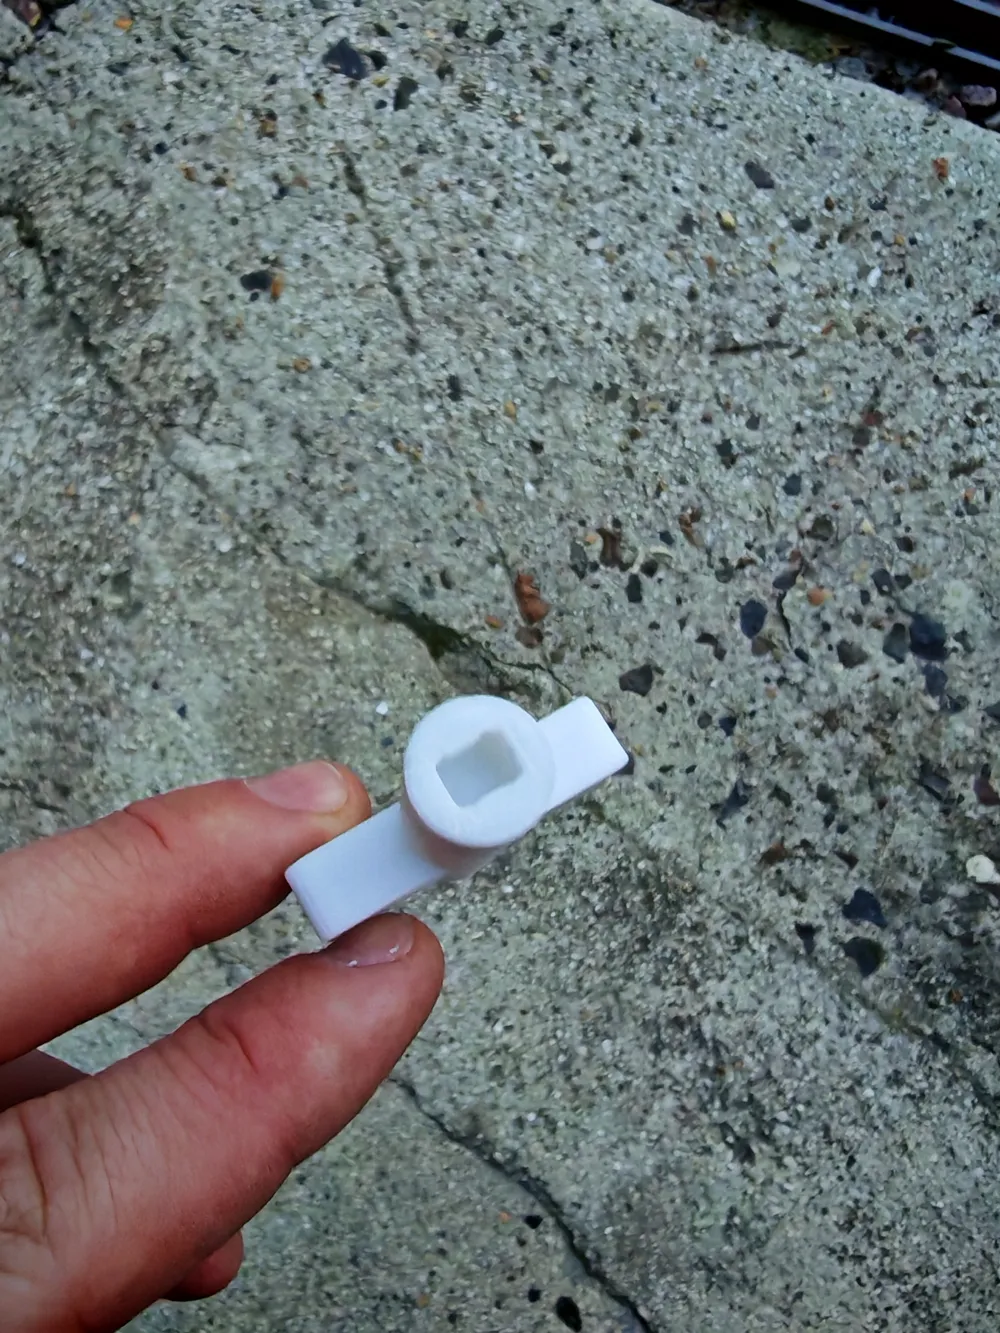
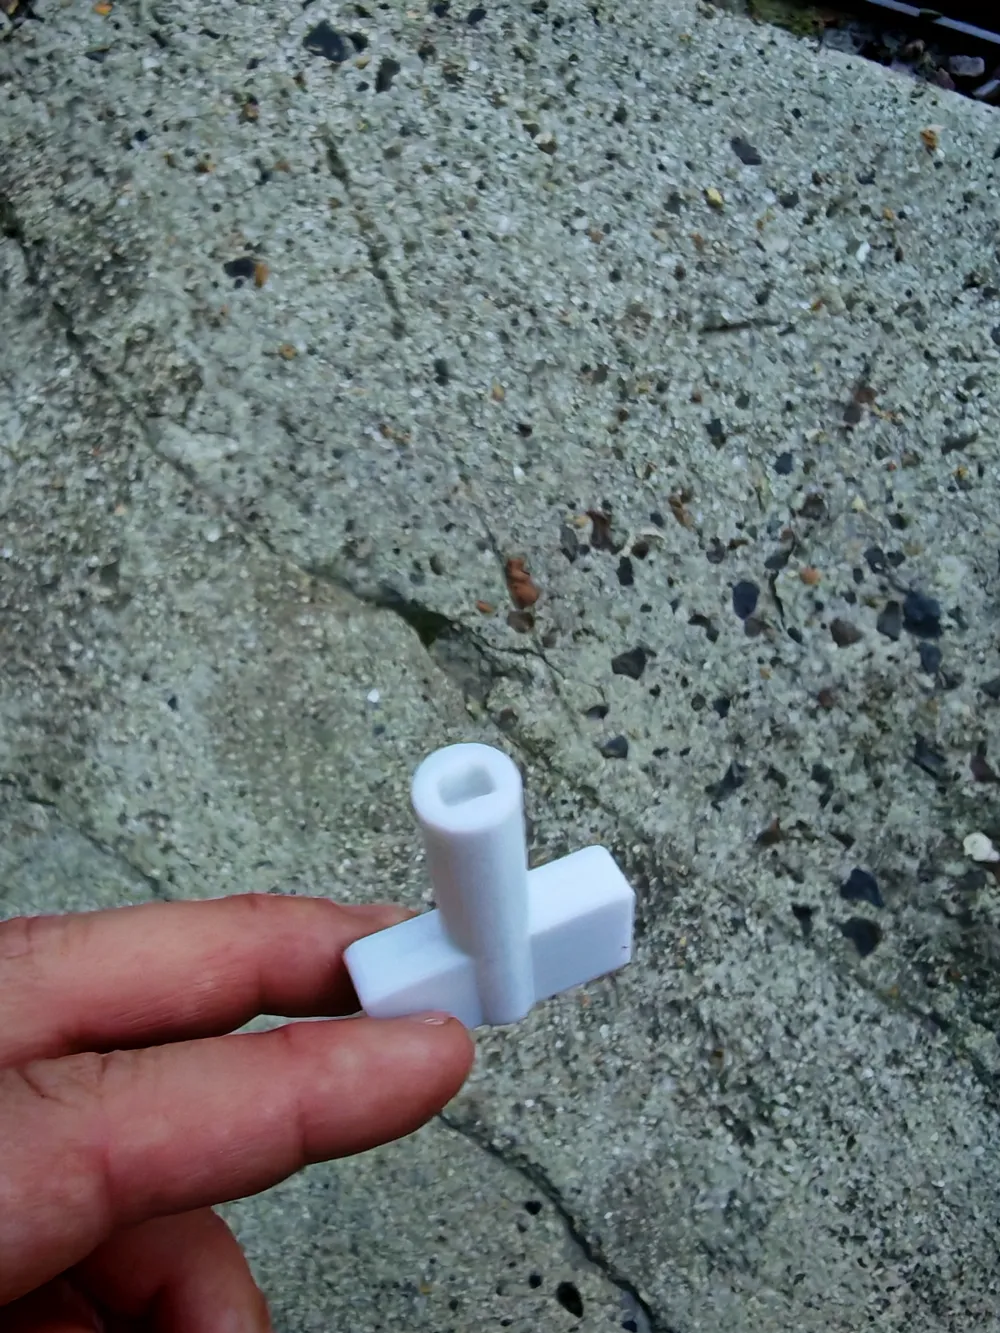
ryobi disassembly wrench
Print Profile(1)

Description
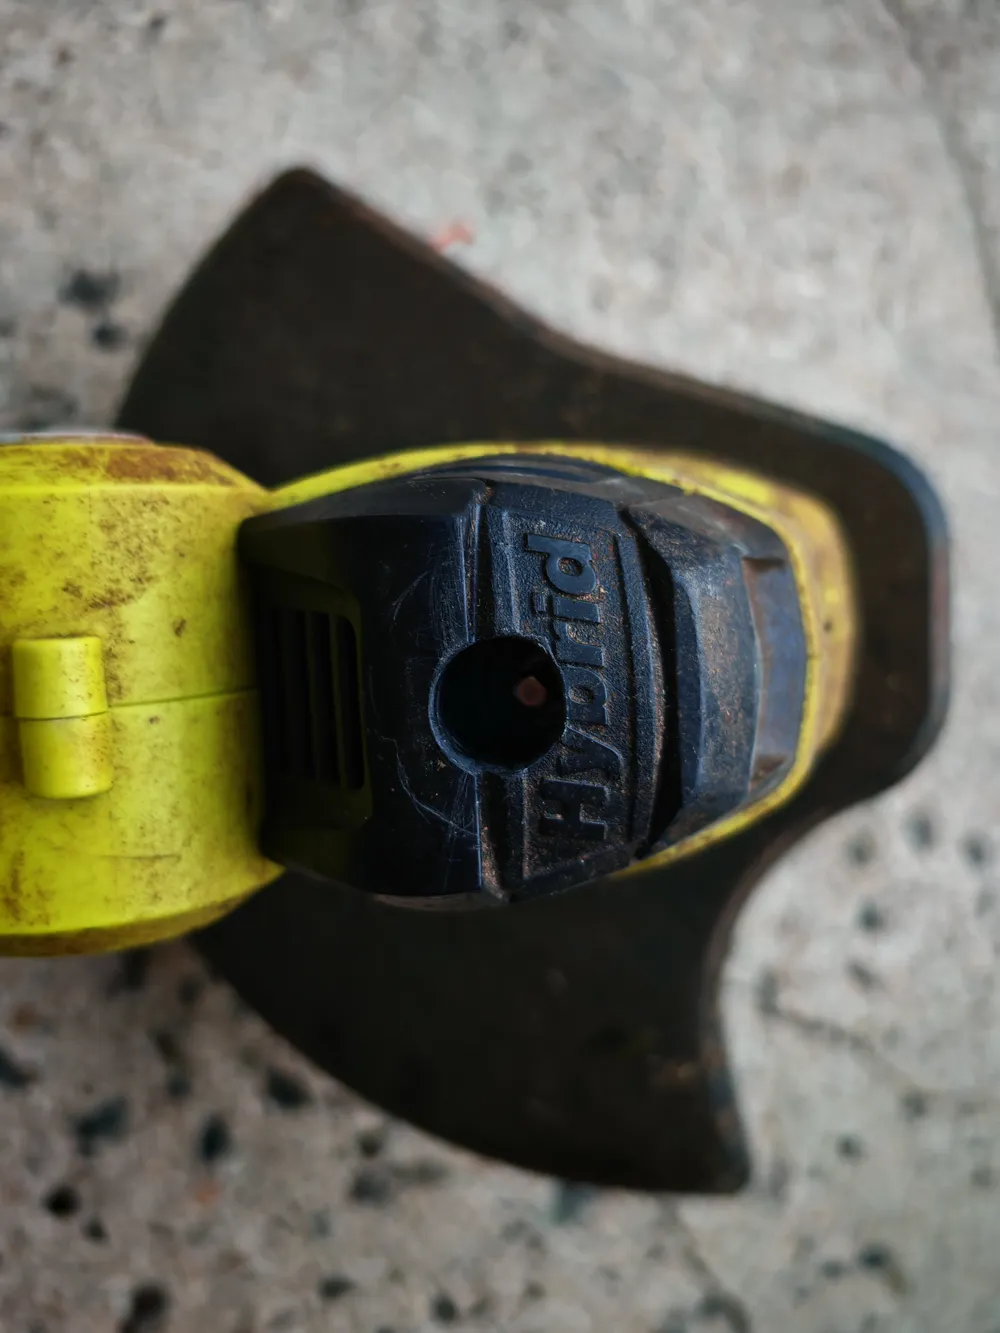
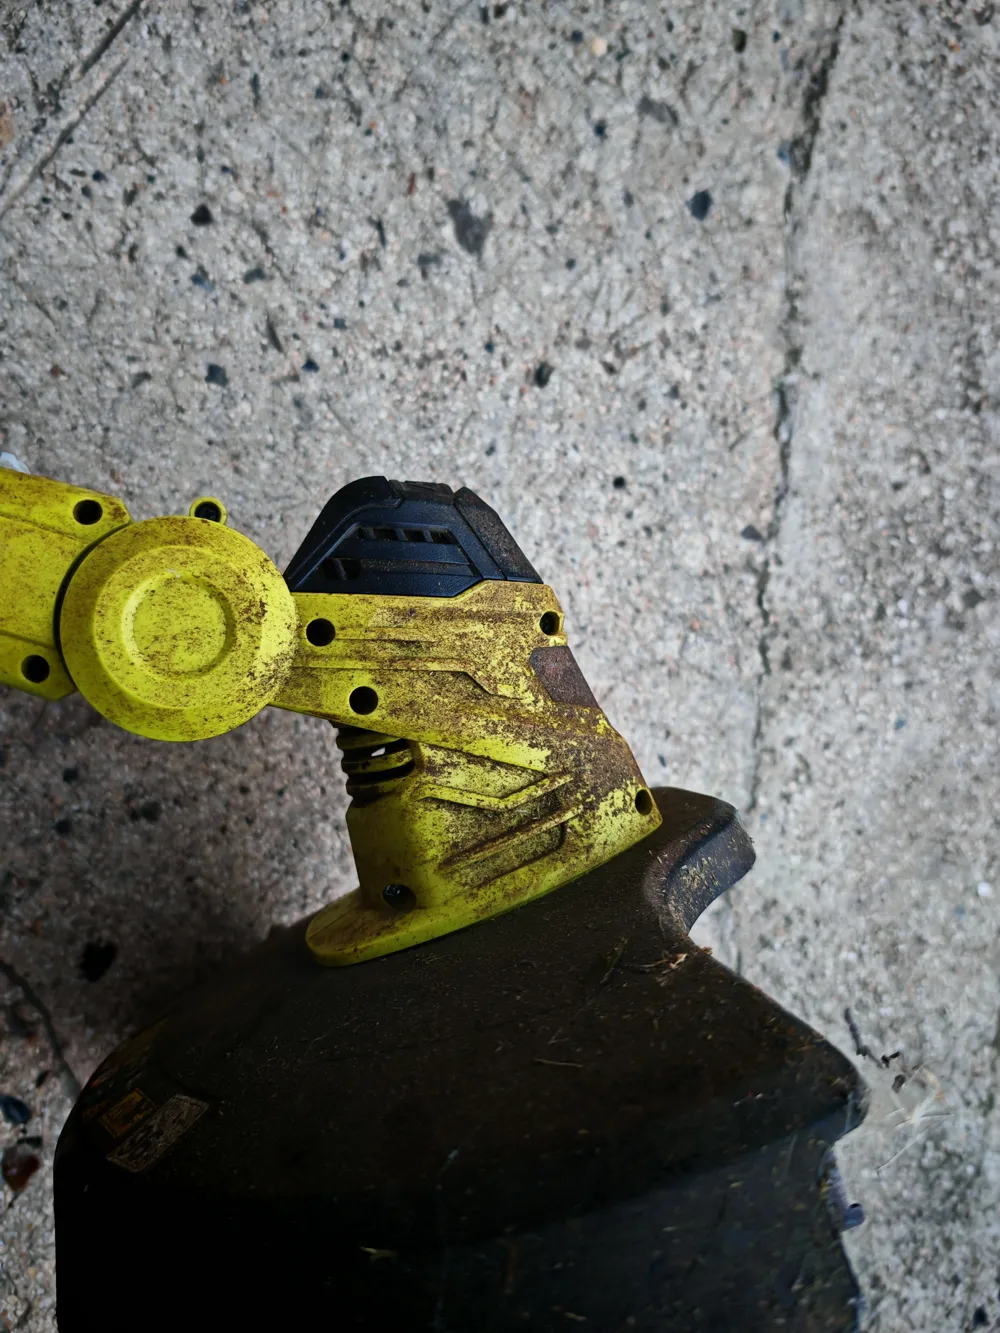
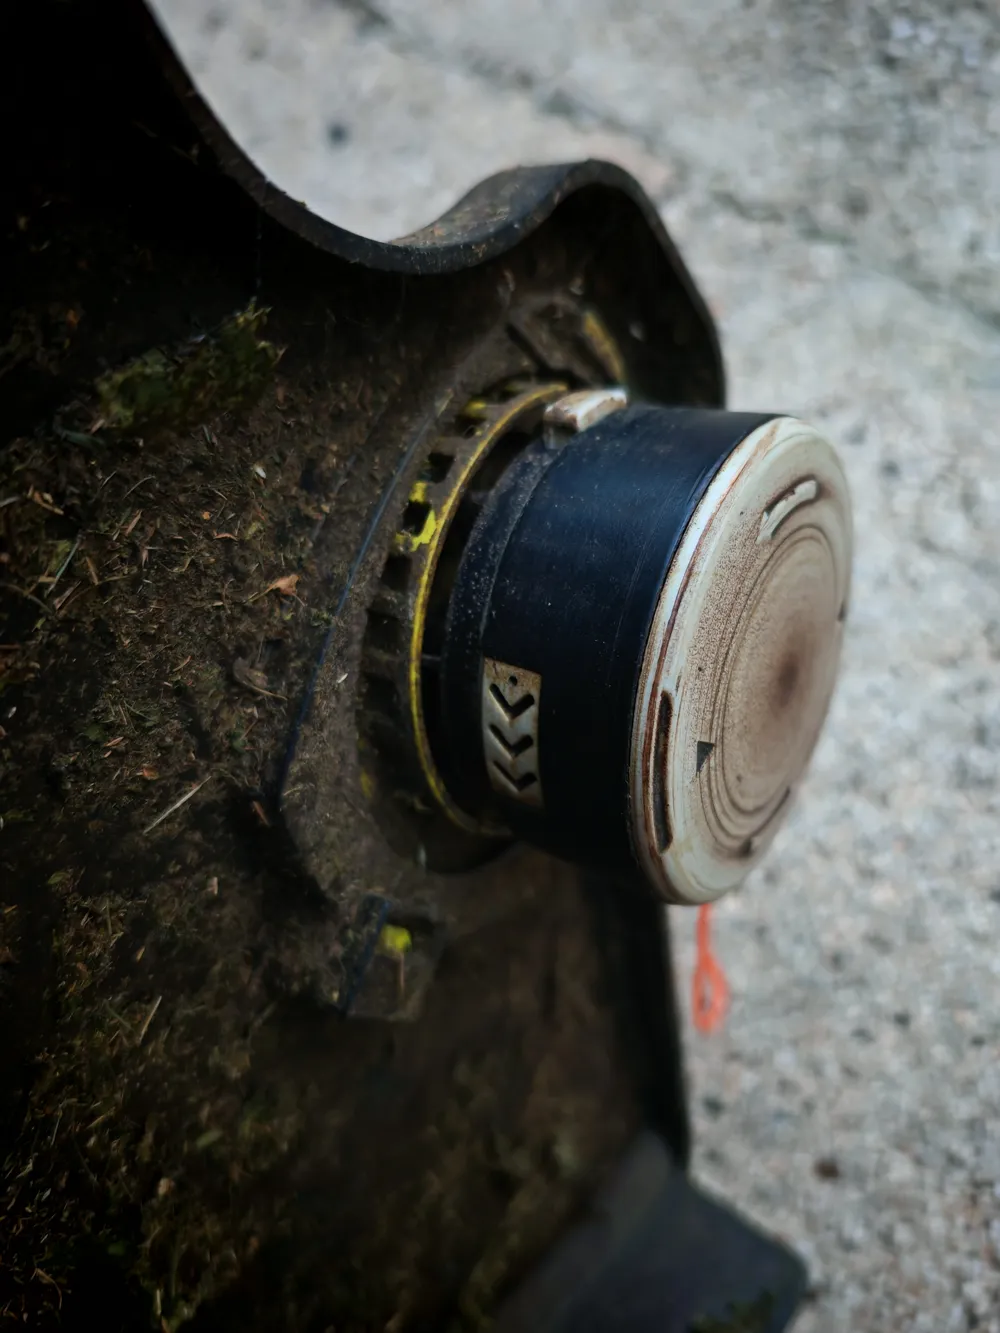
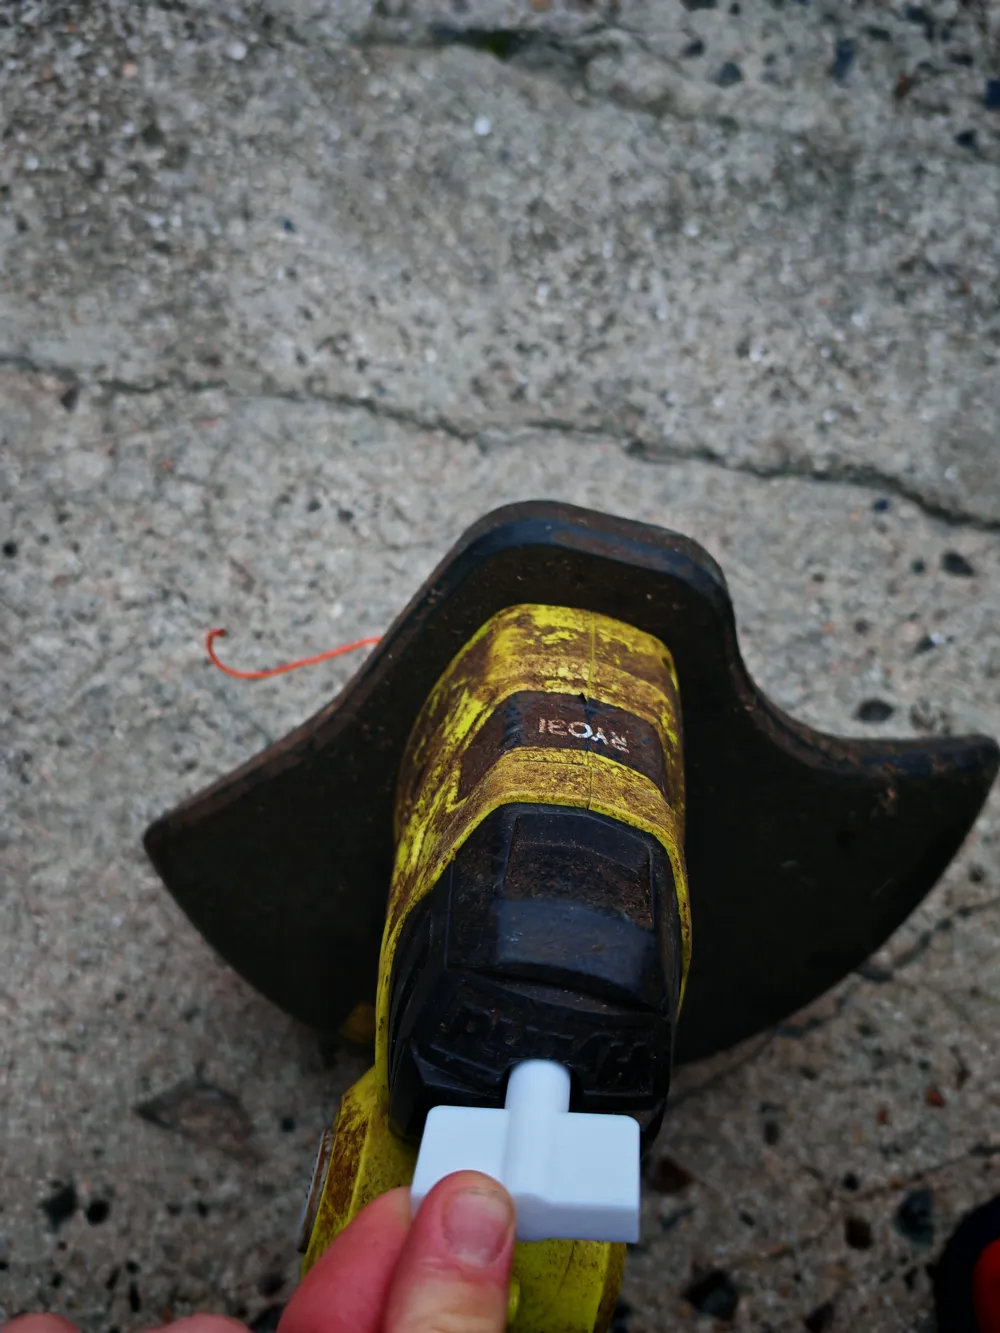
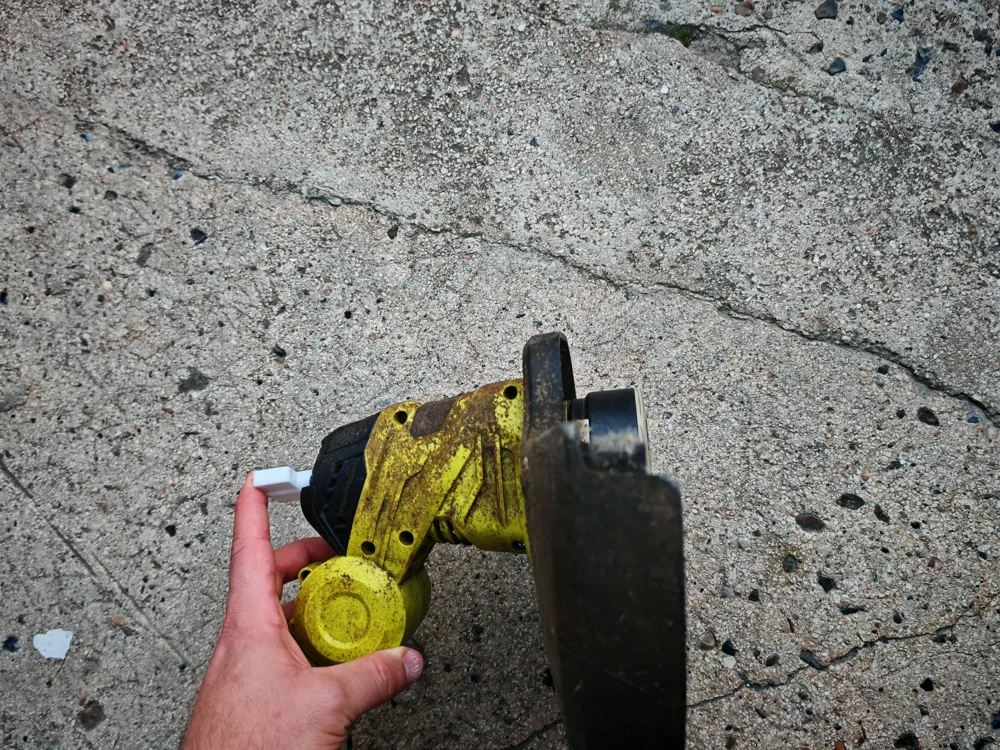
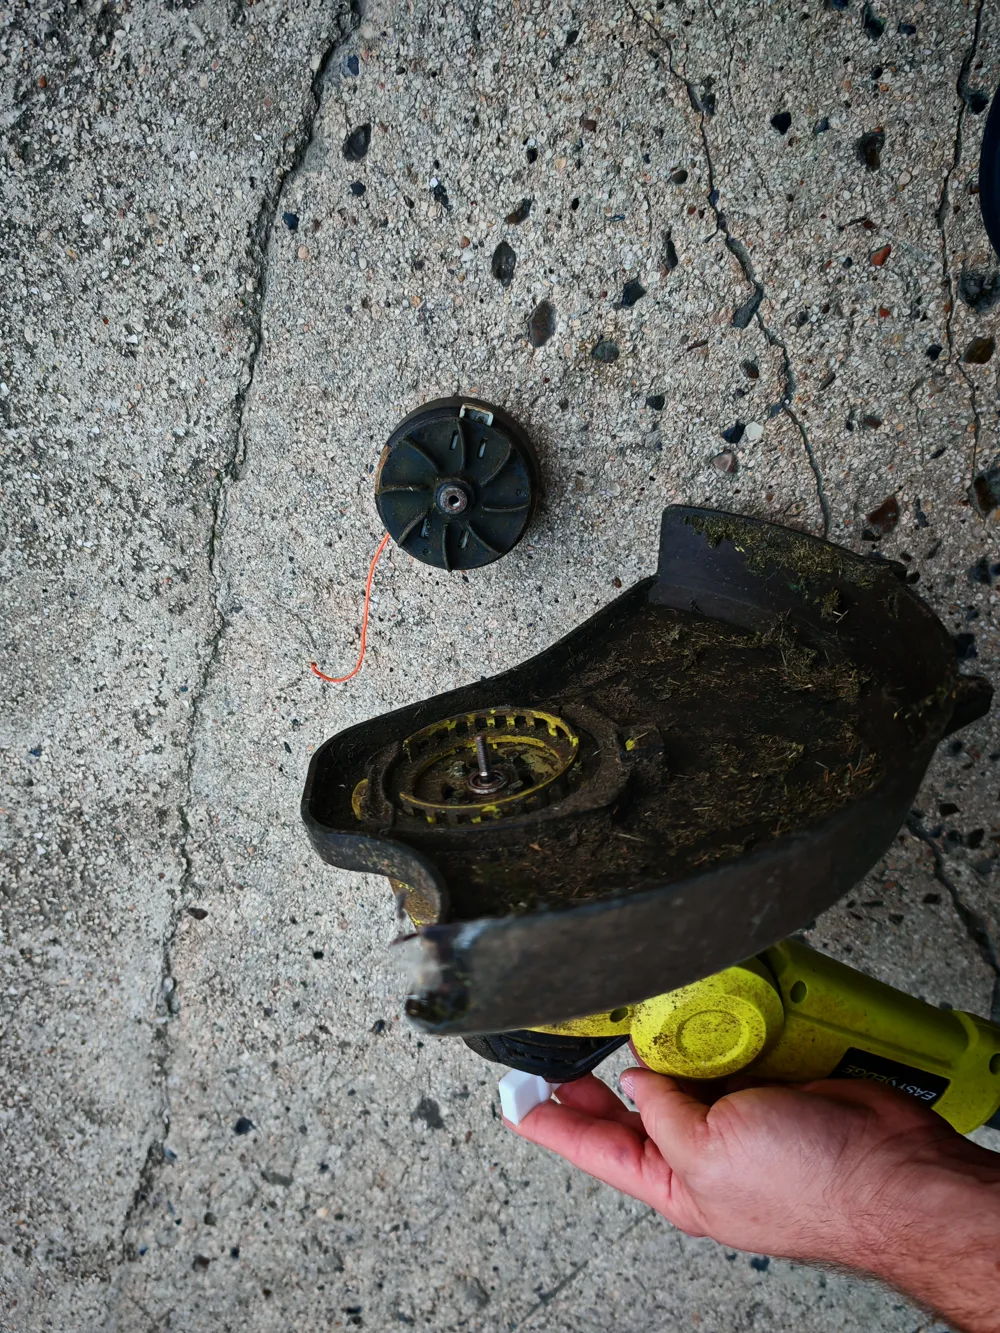
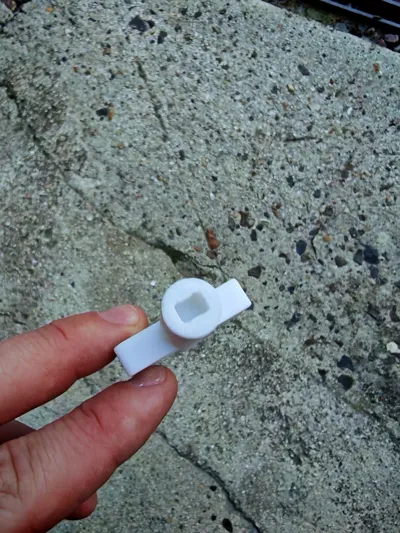
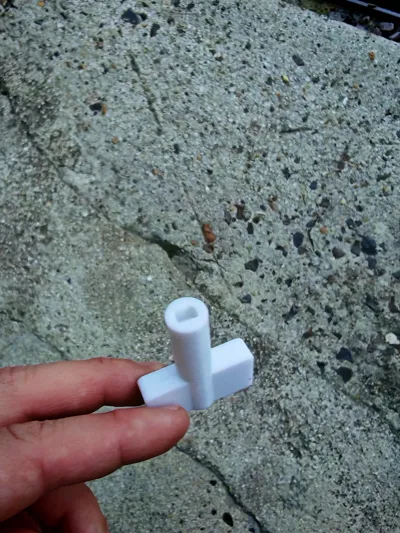
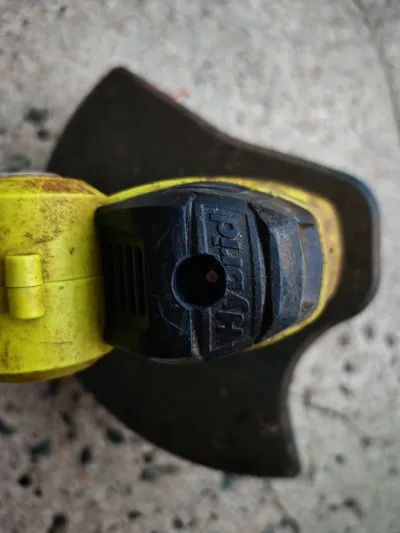
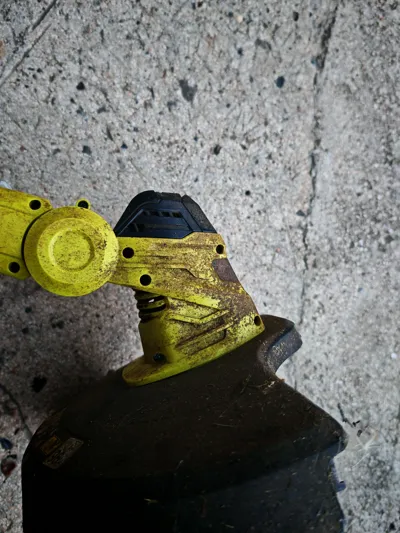
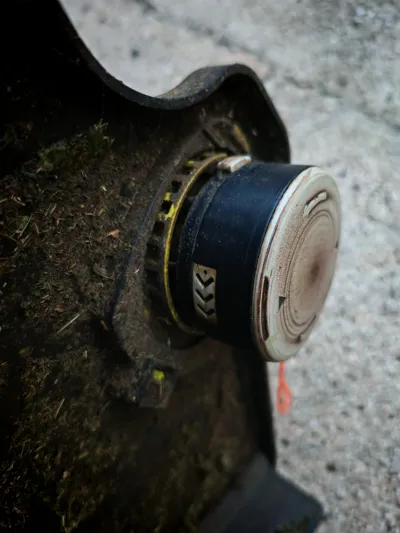
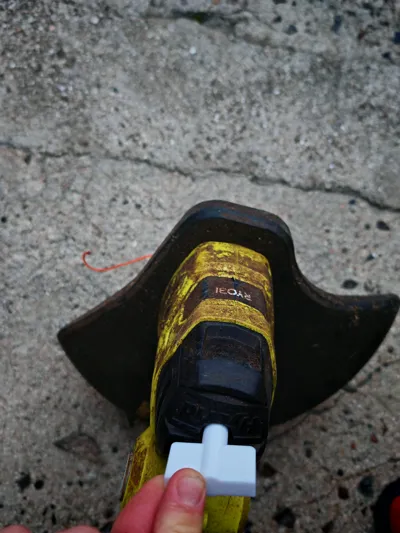
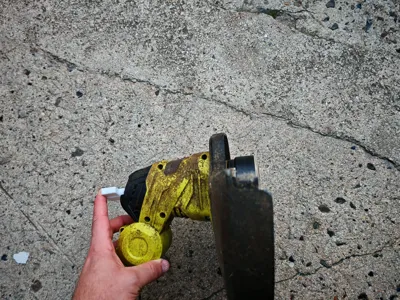
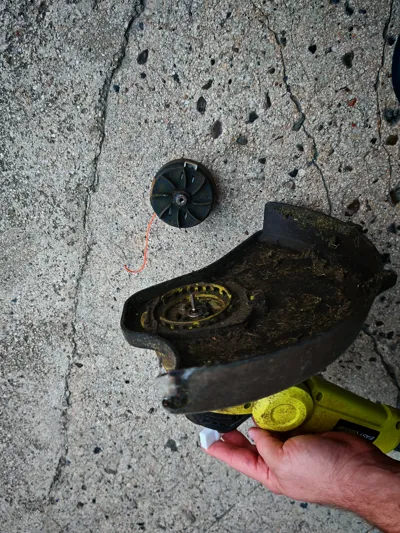
As an owner of a Ryobi OLT1831H, which operates with a cord or battery, I was very annoyed when after 1 hour of cutting, I had to stop to remove the grass that had gotten between the head and the motor, normally protected by a small grille. When I cut fairly tall nettles, it creates threads that wrap around the shaft, causing it to heat up and lose power even when corded. After contacting customer service, I was told that I had to unscrew the plastic screws surrounding the motor to hold the shaft with pliers and then unscrew the head. So it's quite tedious to have to do that every hour, especially since it heats up, so you don't burn your fingers, and I've already lost a screw. After repeatedly disassembling it, I noticed that on the black cover above the shaft there was nothing, and that the shaft could be accessed directly with a small tool, which saves a phenomenal amount of time. I started by drilling with a small drill bit and then up to the maximum size of the hole, because there is a circle inside the black cover that is about 15mm. Once everything is reassembled, you just have to push the wrench until it blocks the shaft and then you can calmly unscrew the spool underneath by hand in the opposite direction.
I didn't go to the maximum size of the hole for the tool; I found that 12mm was sufficient, because originally I just had to make a 12mm hole but I wasn't straight, and that's why I enlarged it to the size of the mark.
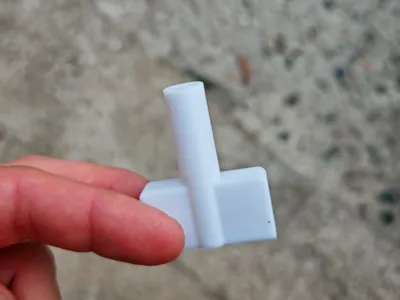
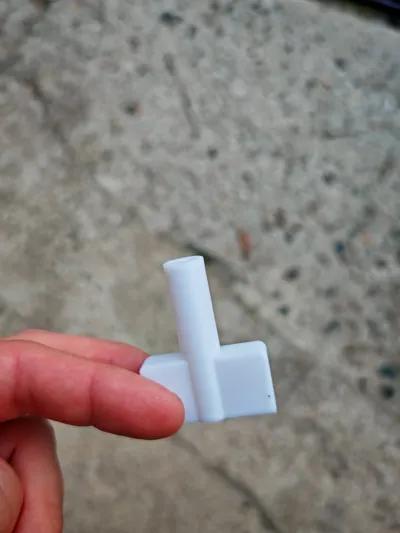
Printed in PETG with 3 walls and 15% gyroid infill, it does the job, but nothing prevents you from making it stronger. Feel free to improve the design if you wish and if you have encountered the same difficulties as me.
Don't forget to make a small plug the size of your hole to prevent dust and water from entering when you use your string trimmer.
License



Comment & Rating (0)