
Universal Cable Management Adapter Base Box
Print Profile(2)


Description
Boost Me (for free)
If you have extra boost coupons, please support me, thank you
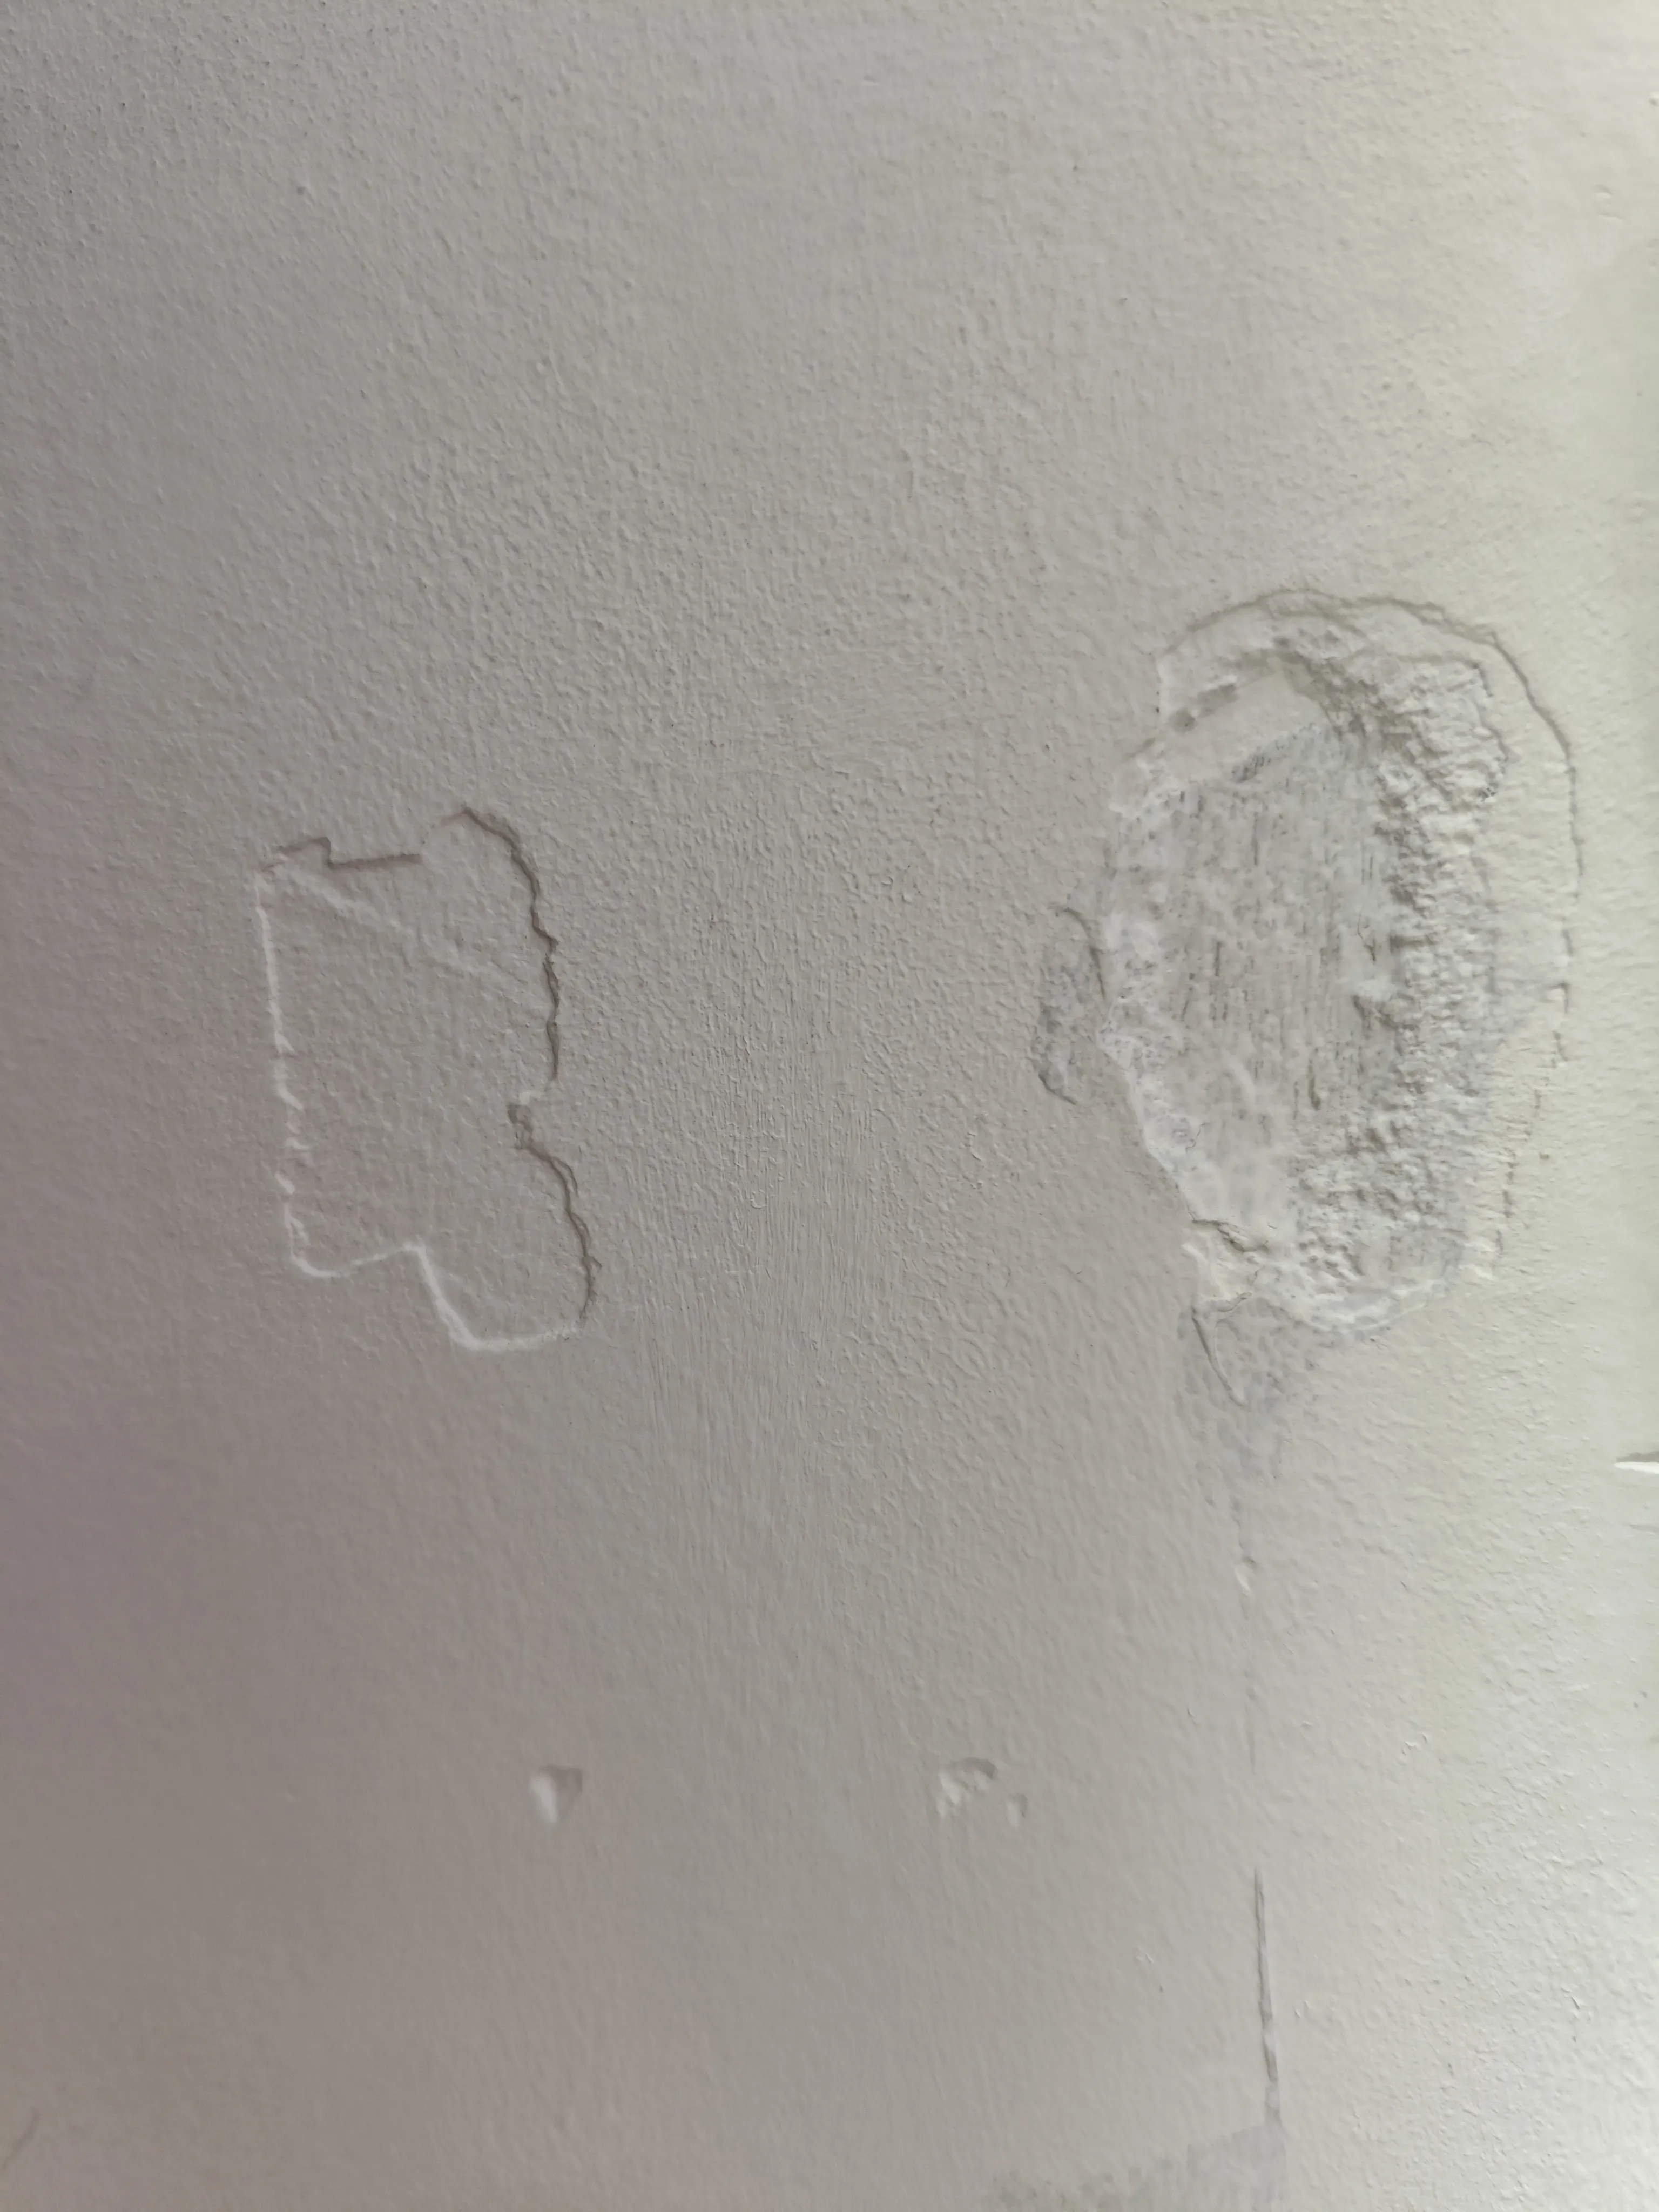
In my daily life, I encounter the following problems, which lead to damaged walls or peeling latex paint:
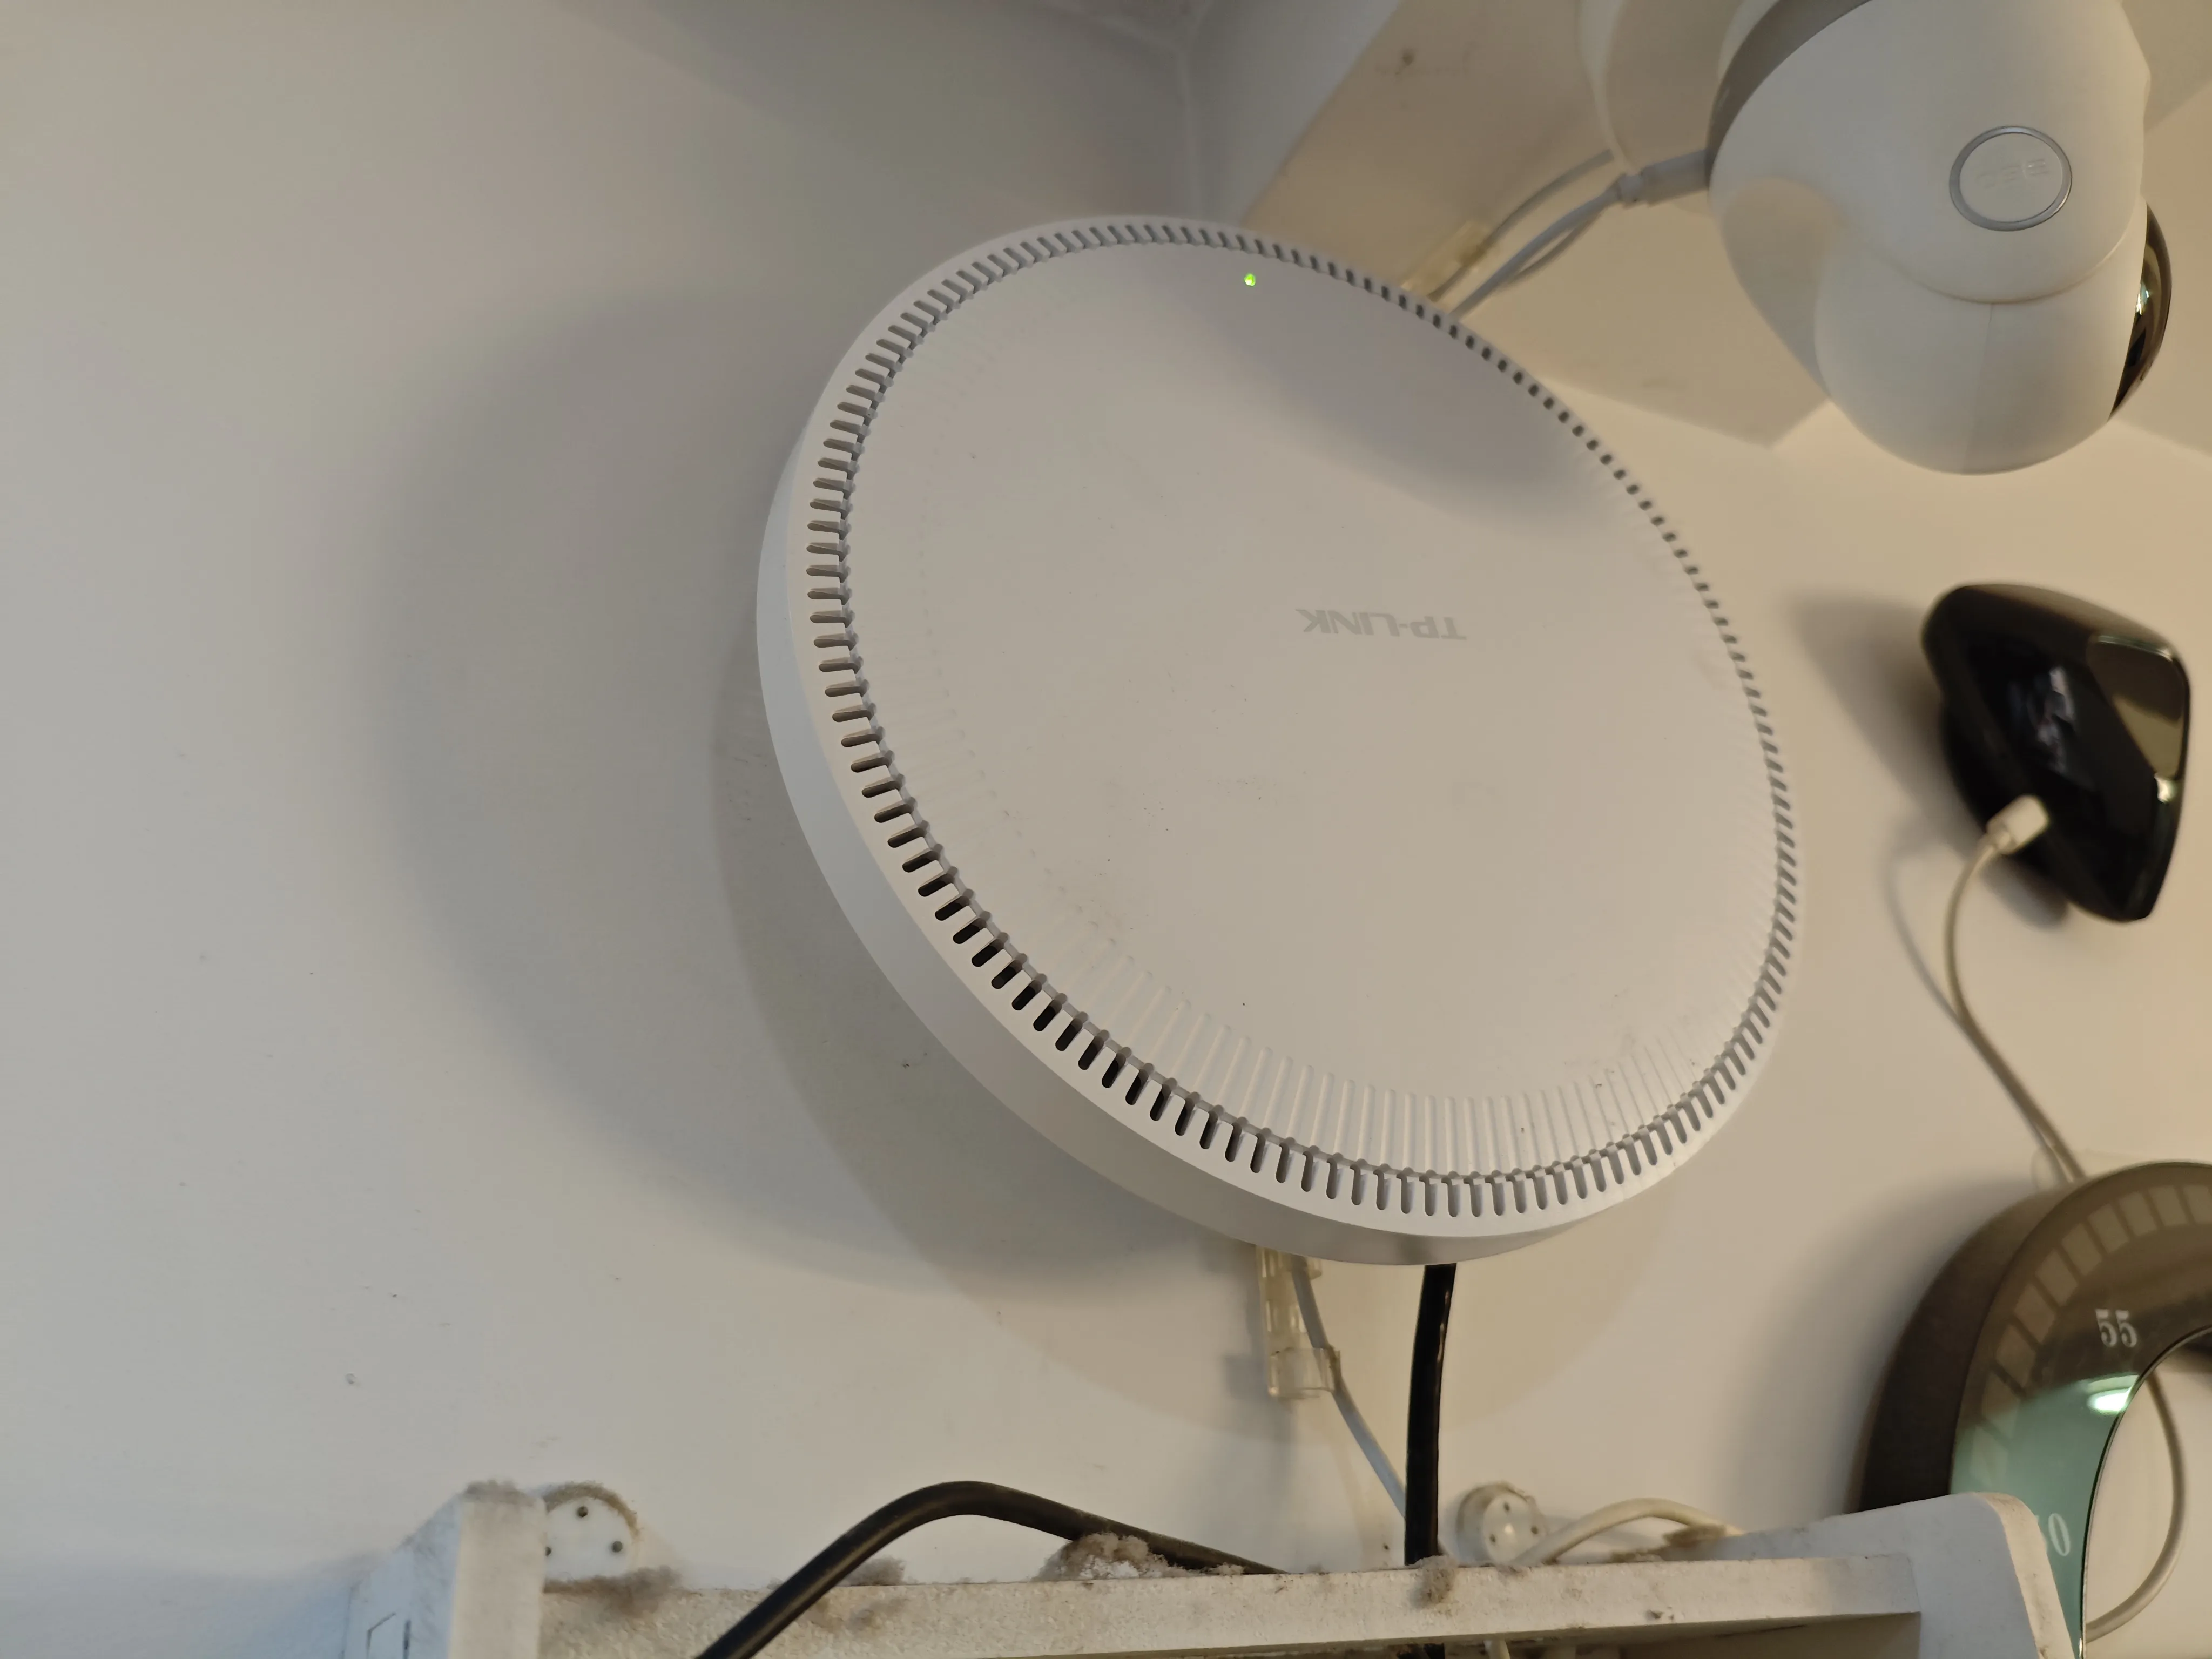
1. The old AP broke, and when I replaced it with a new AP, the base was incompatible, requiring new holes to be drilled
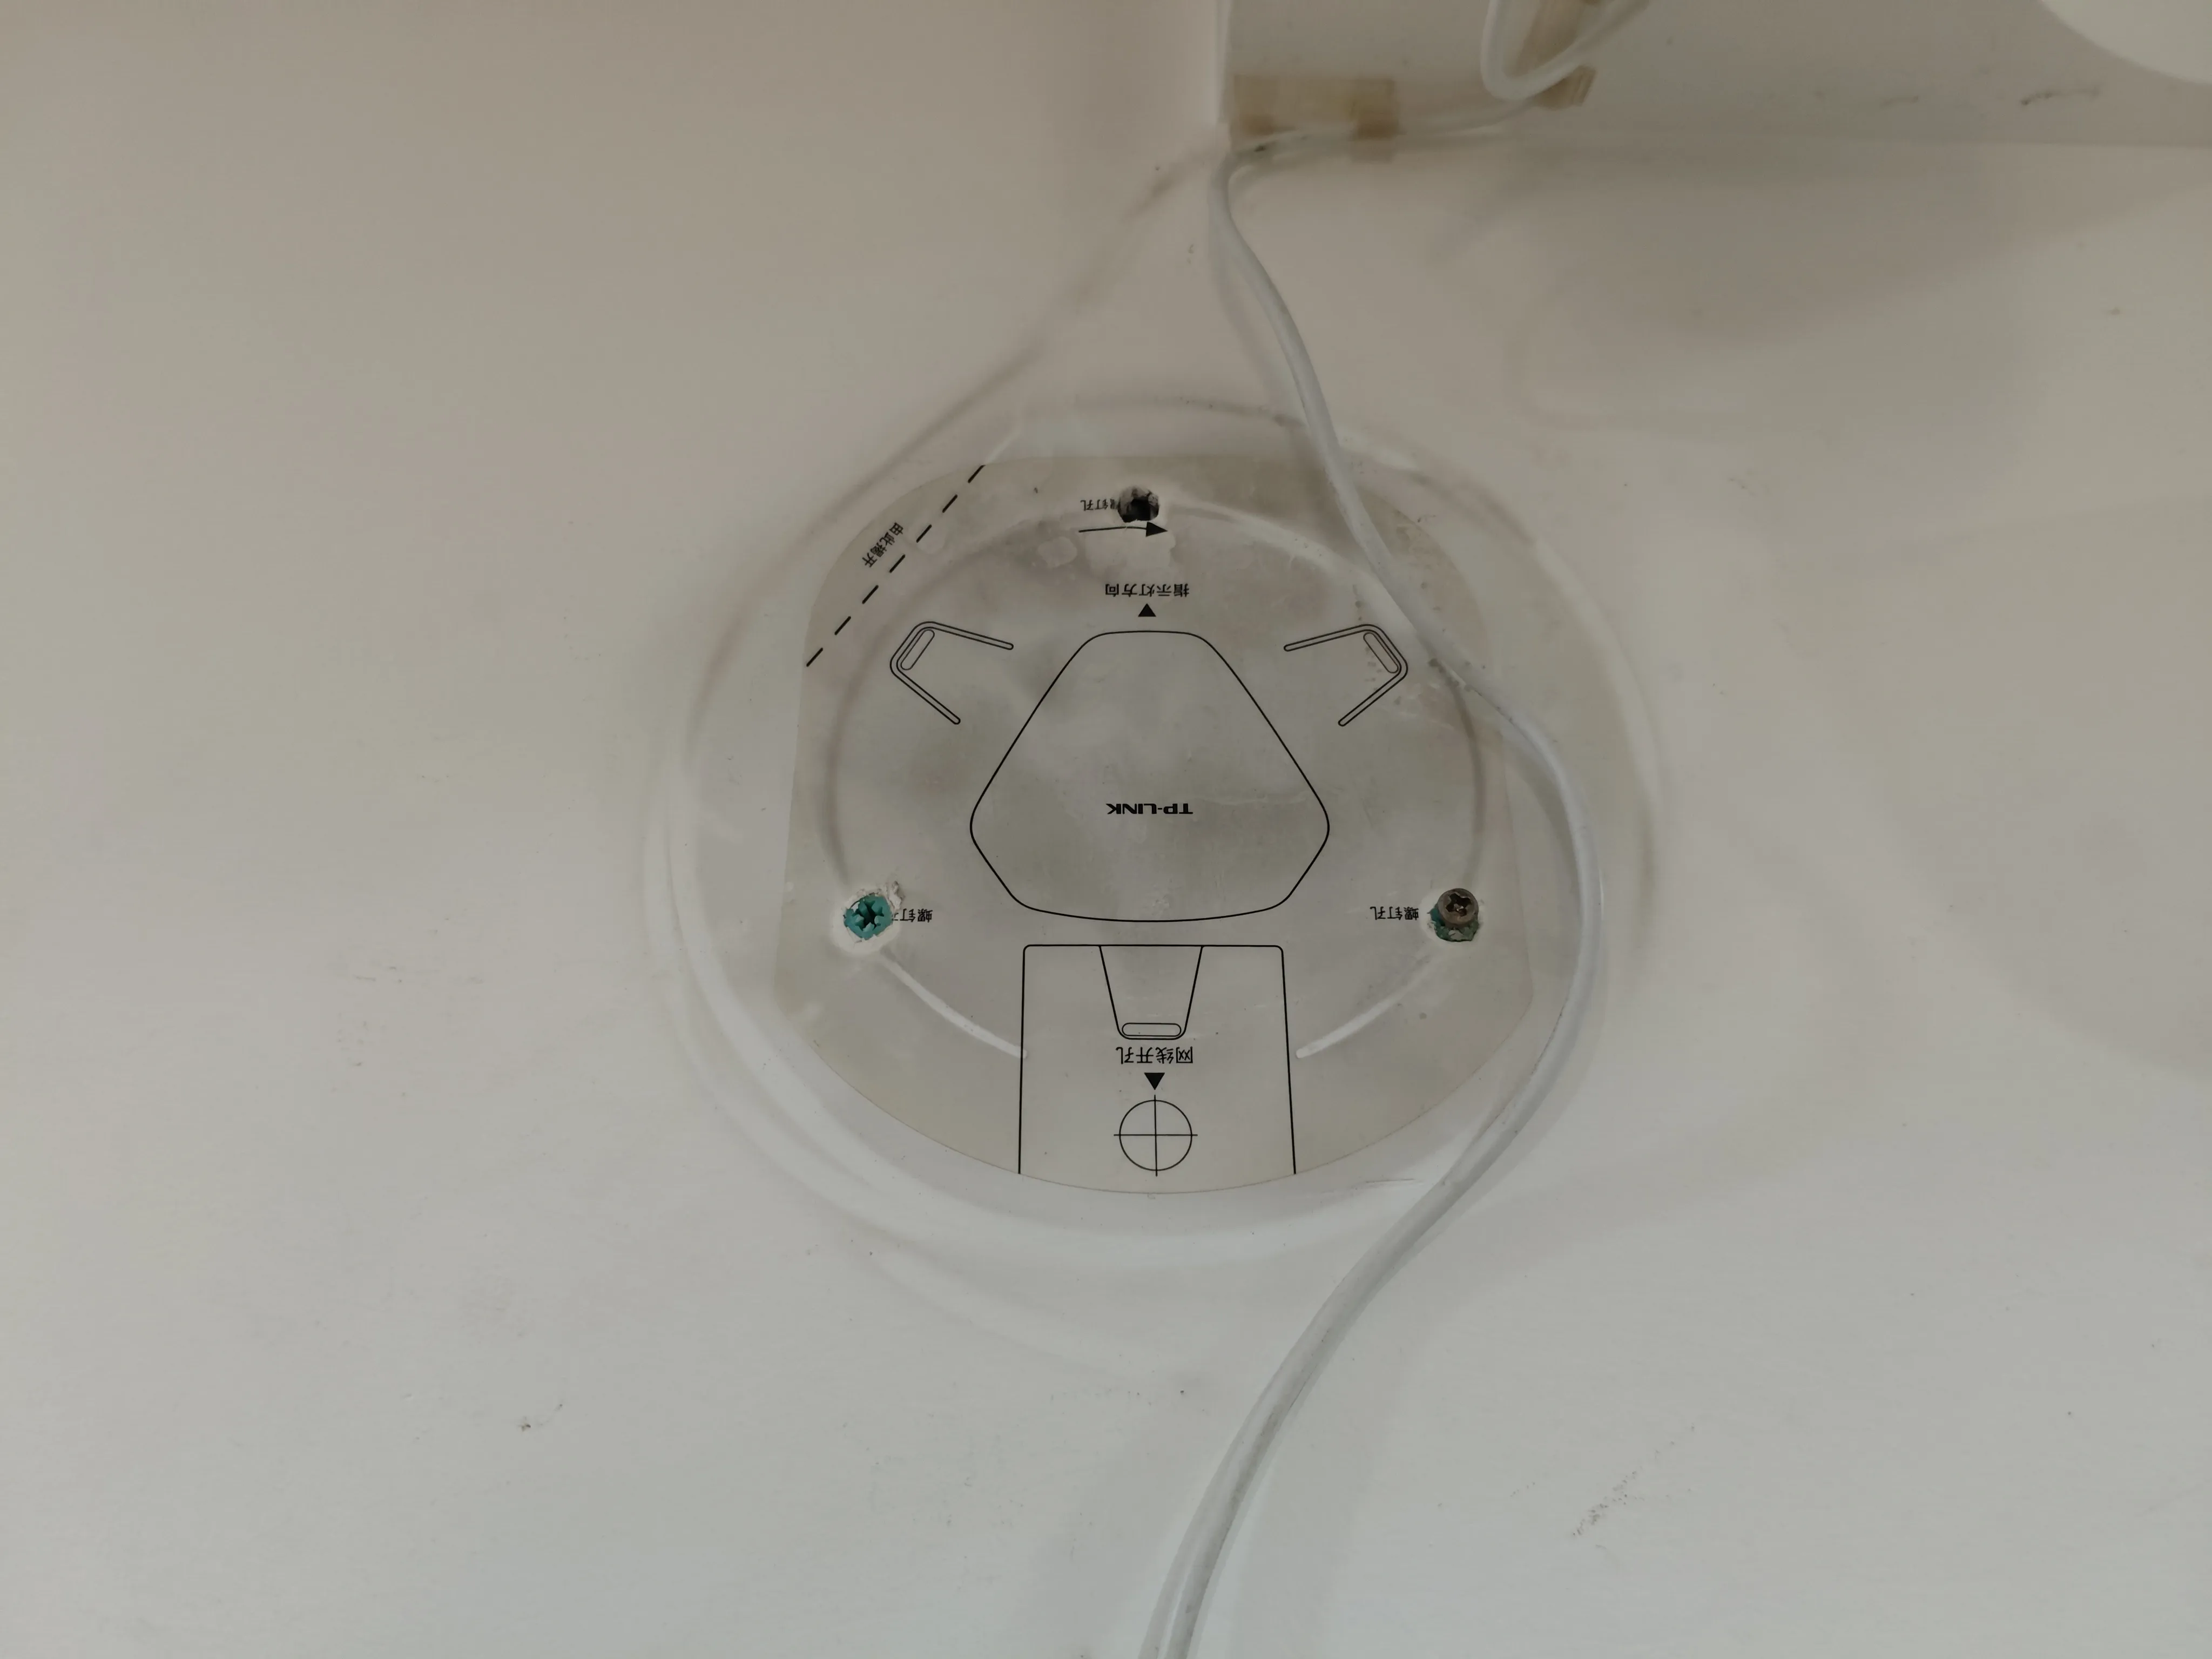
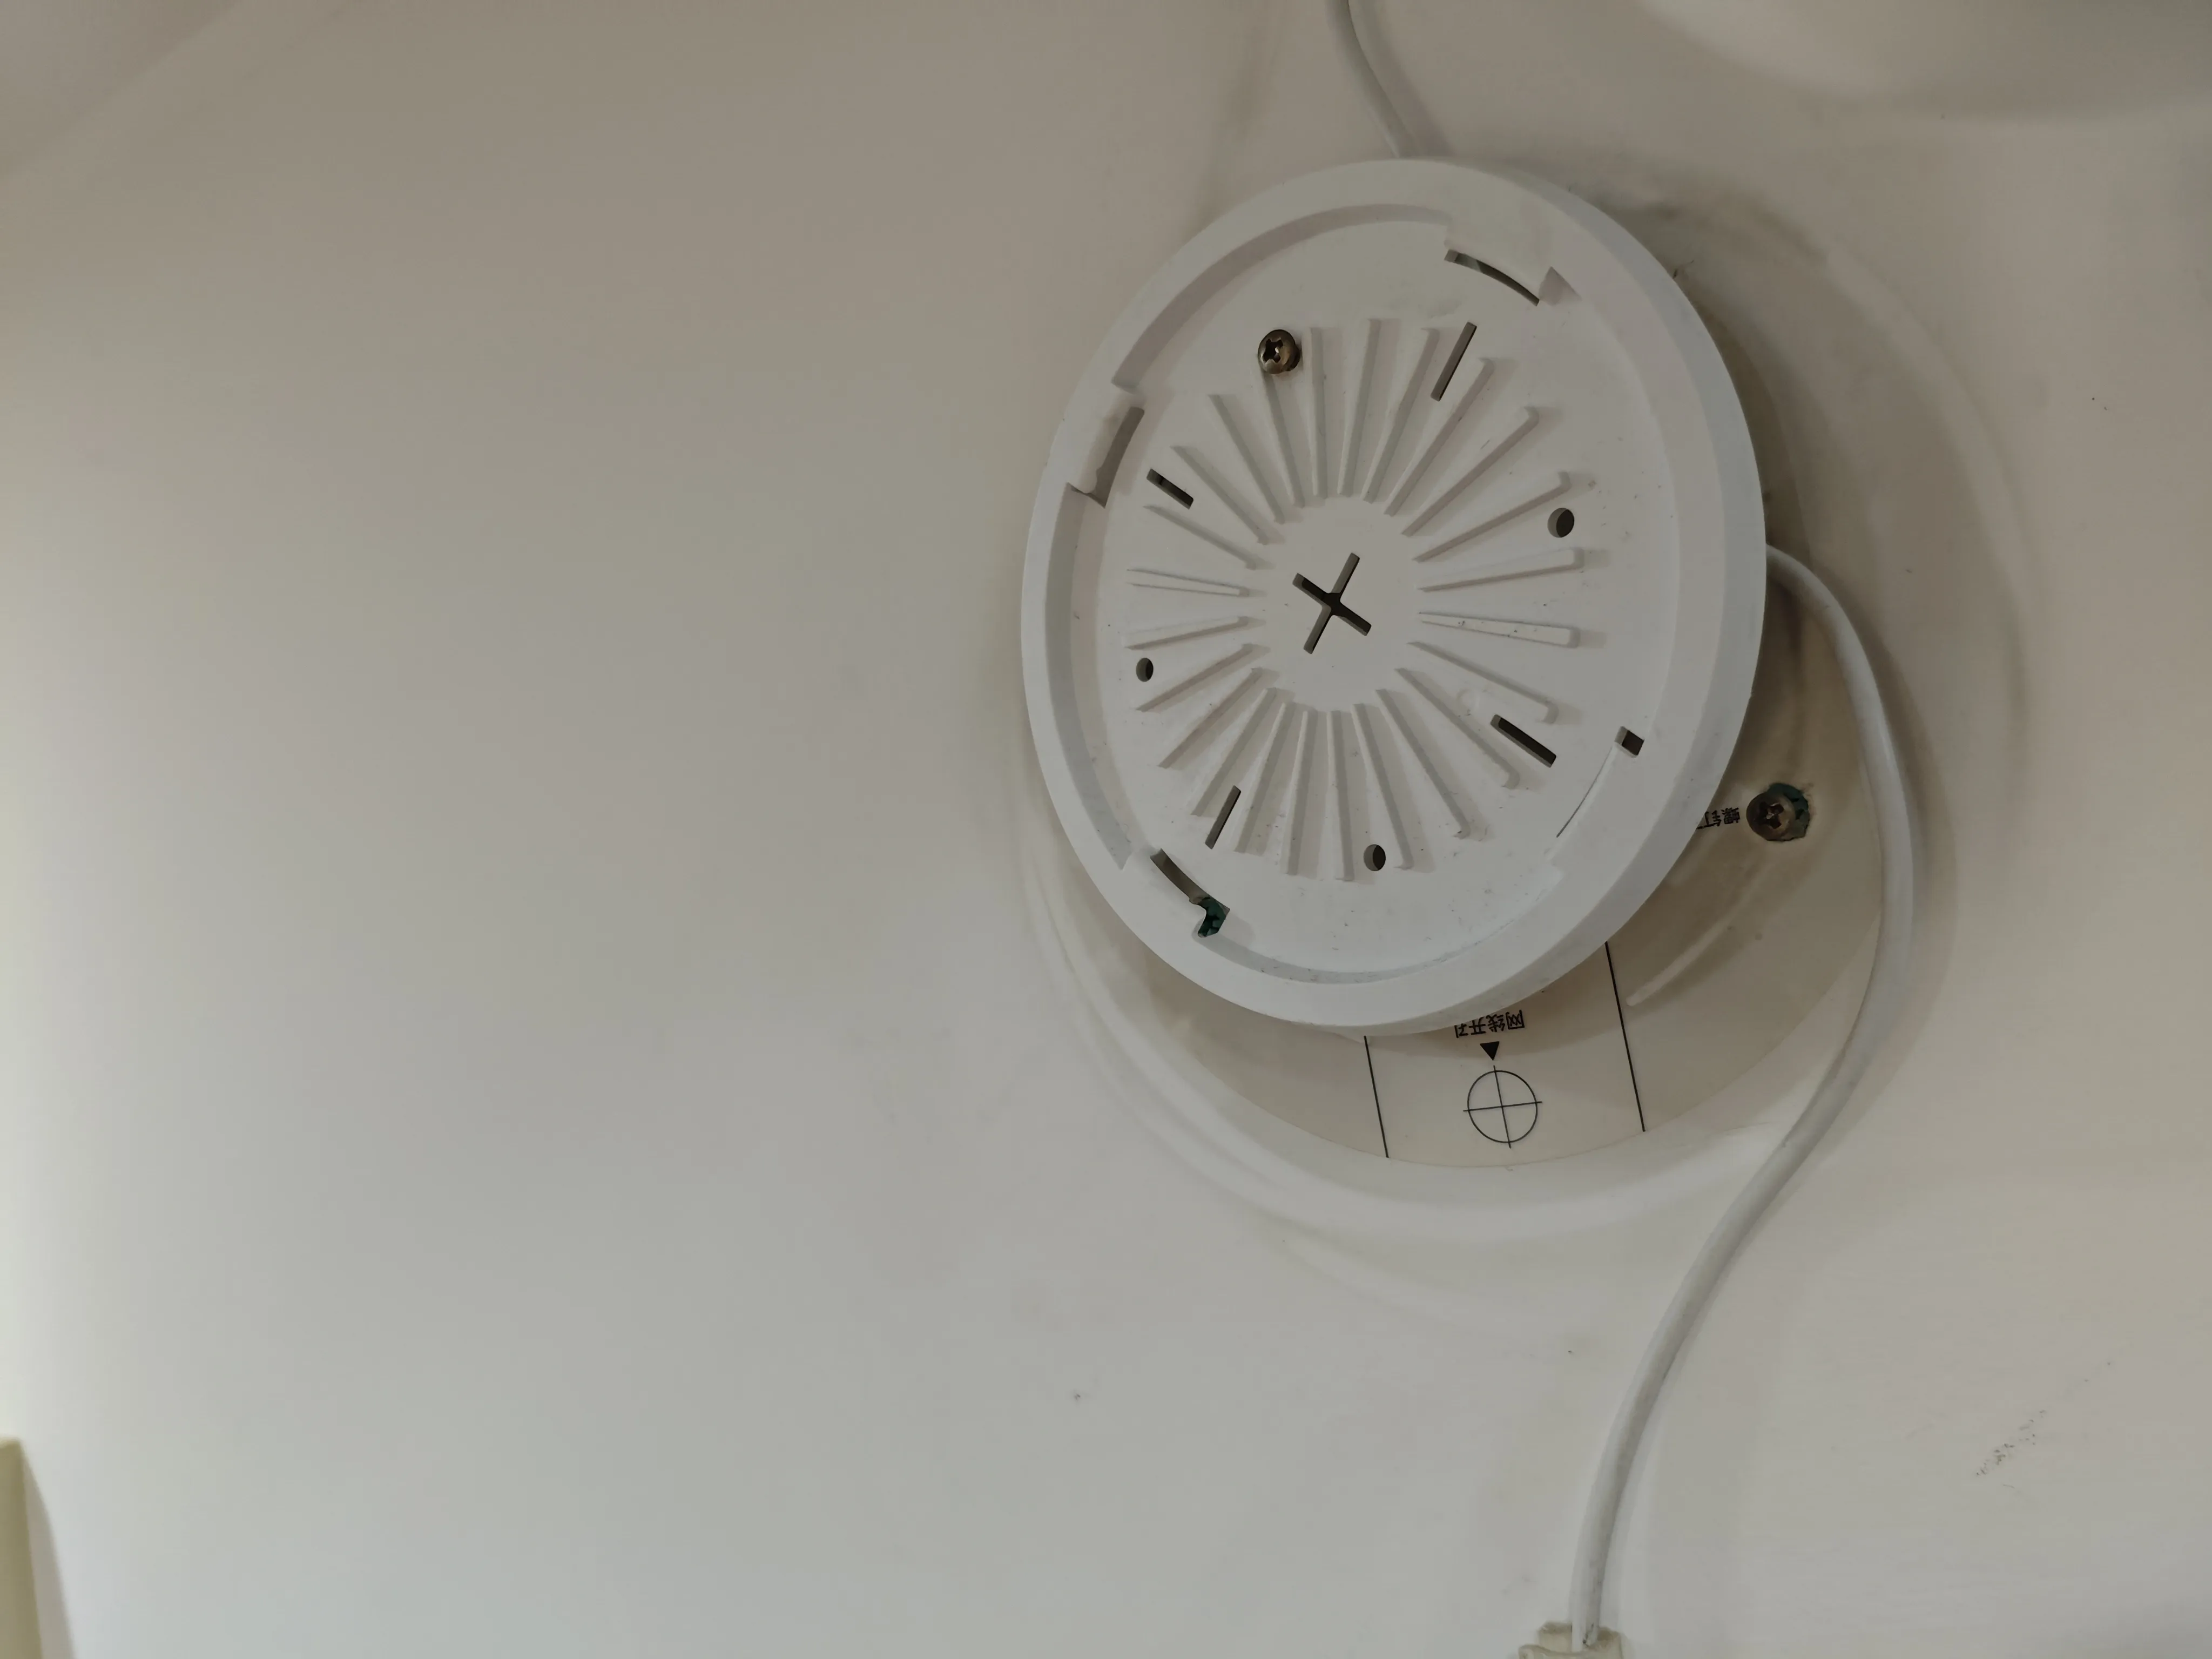
2. The camera broke and was replaced with a new one. I previously thought of avoiding drilling holes, so I used double-sided tape, but when I took it off, the latex paint peeled off
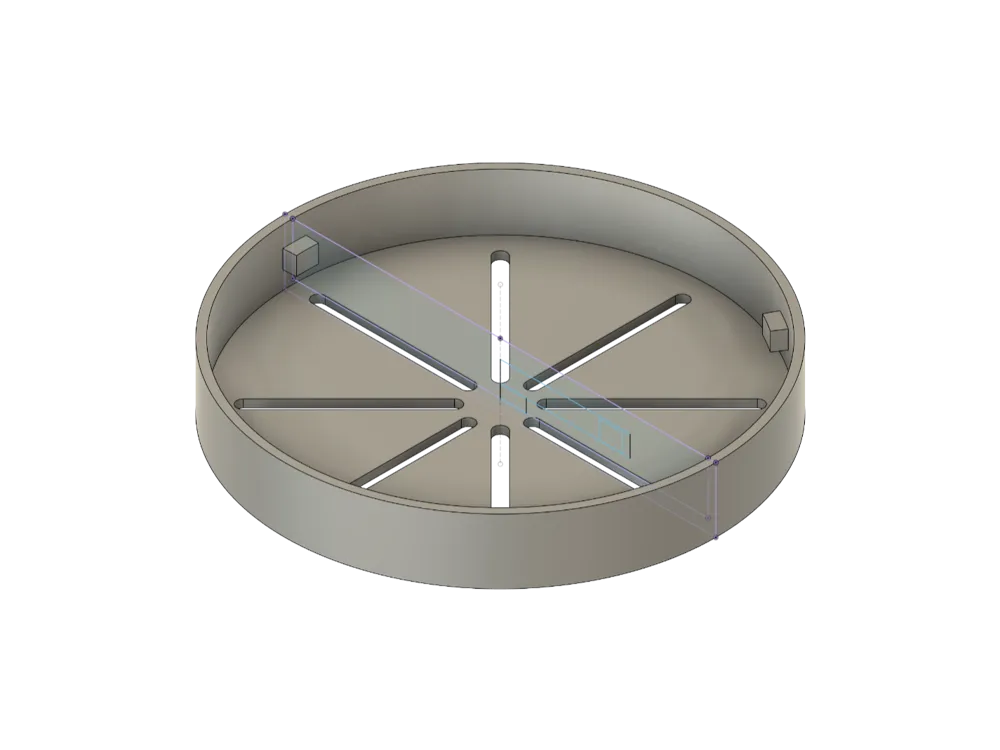
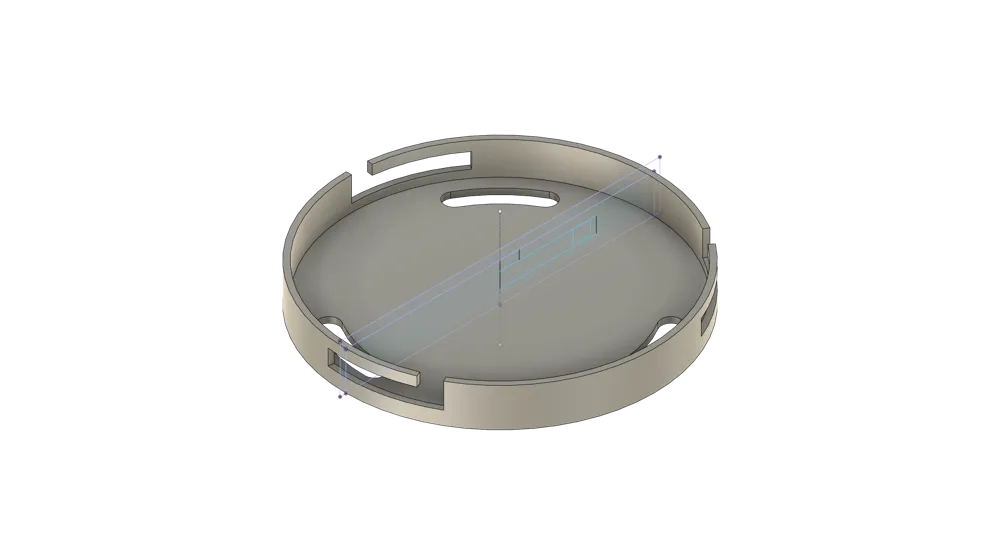
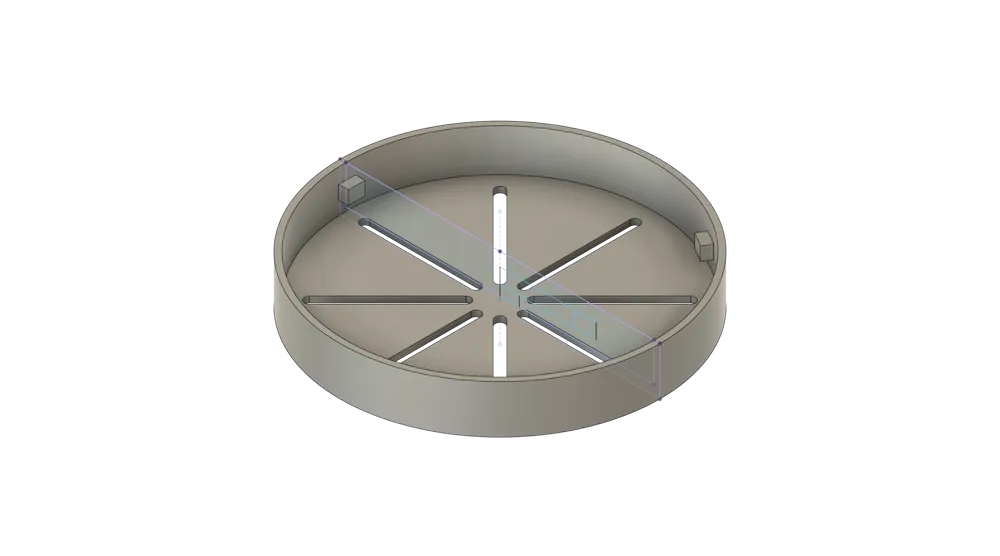
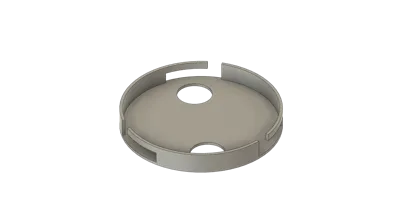
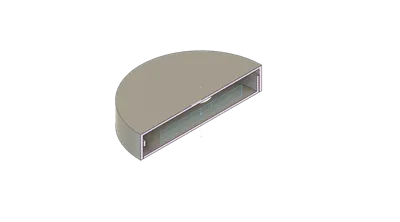
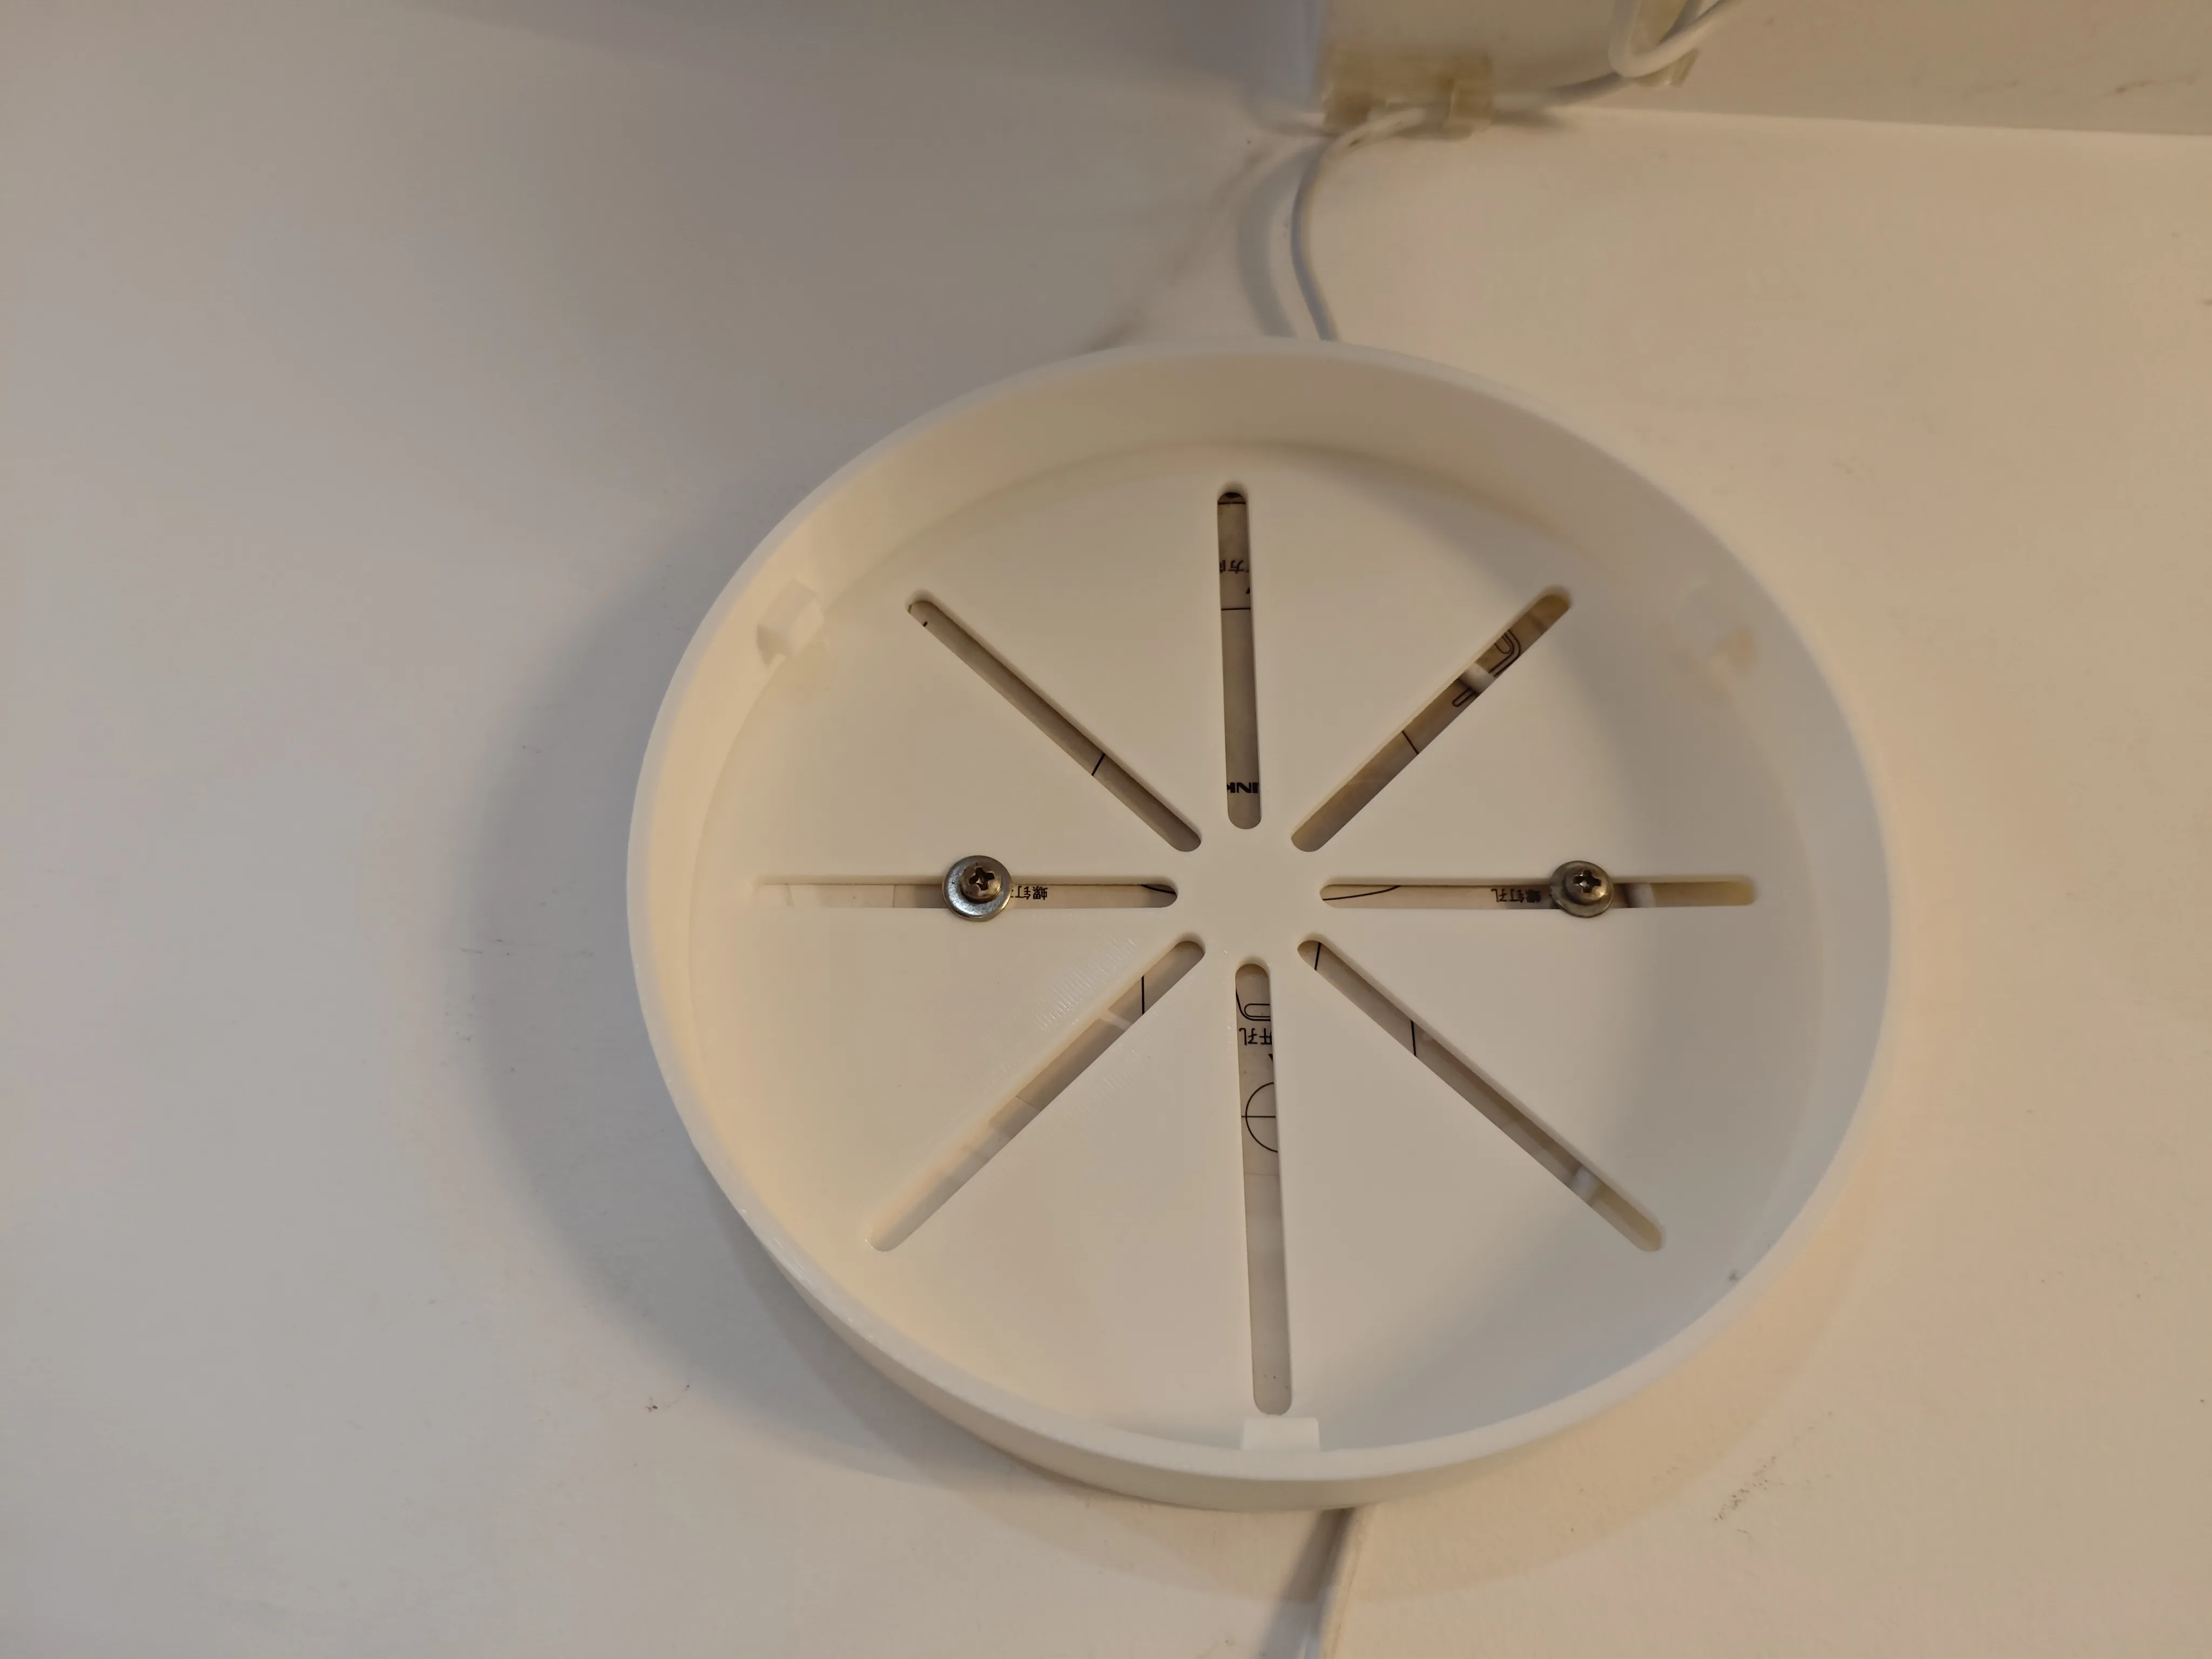
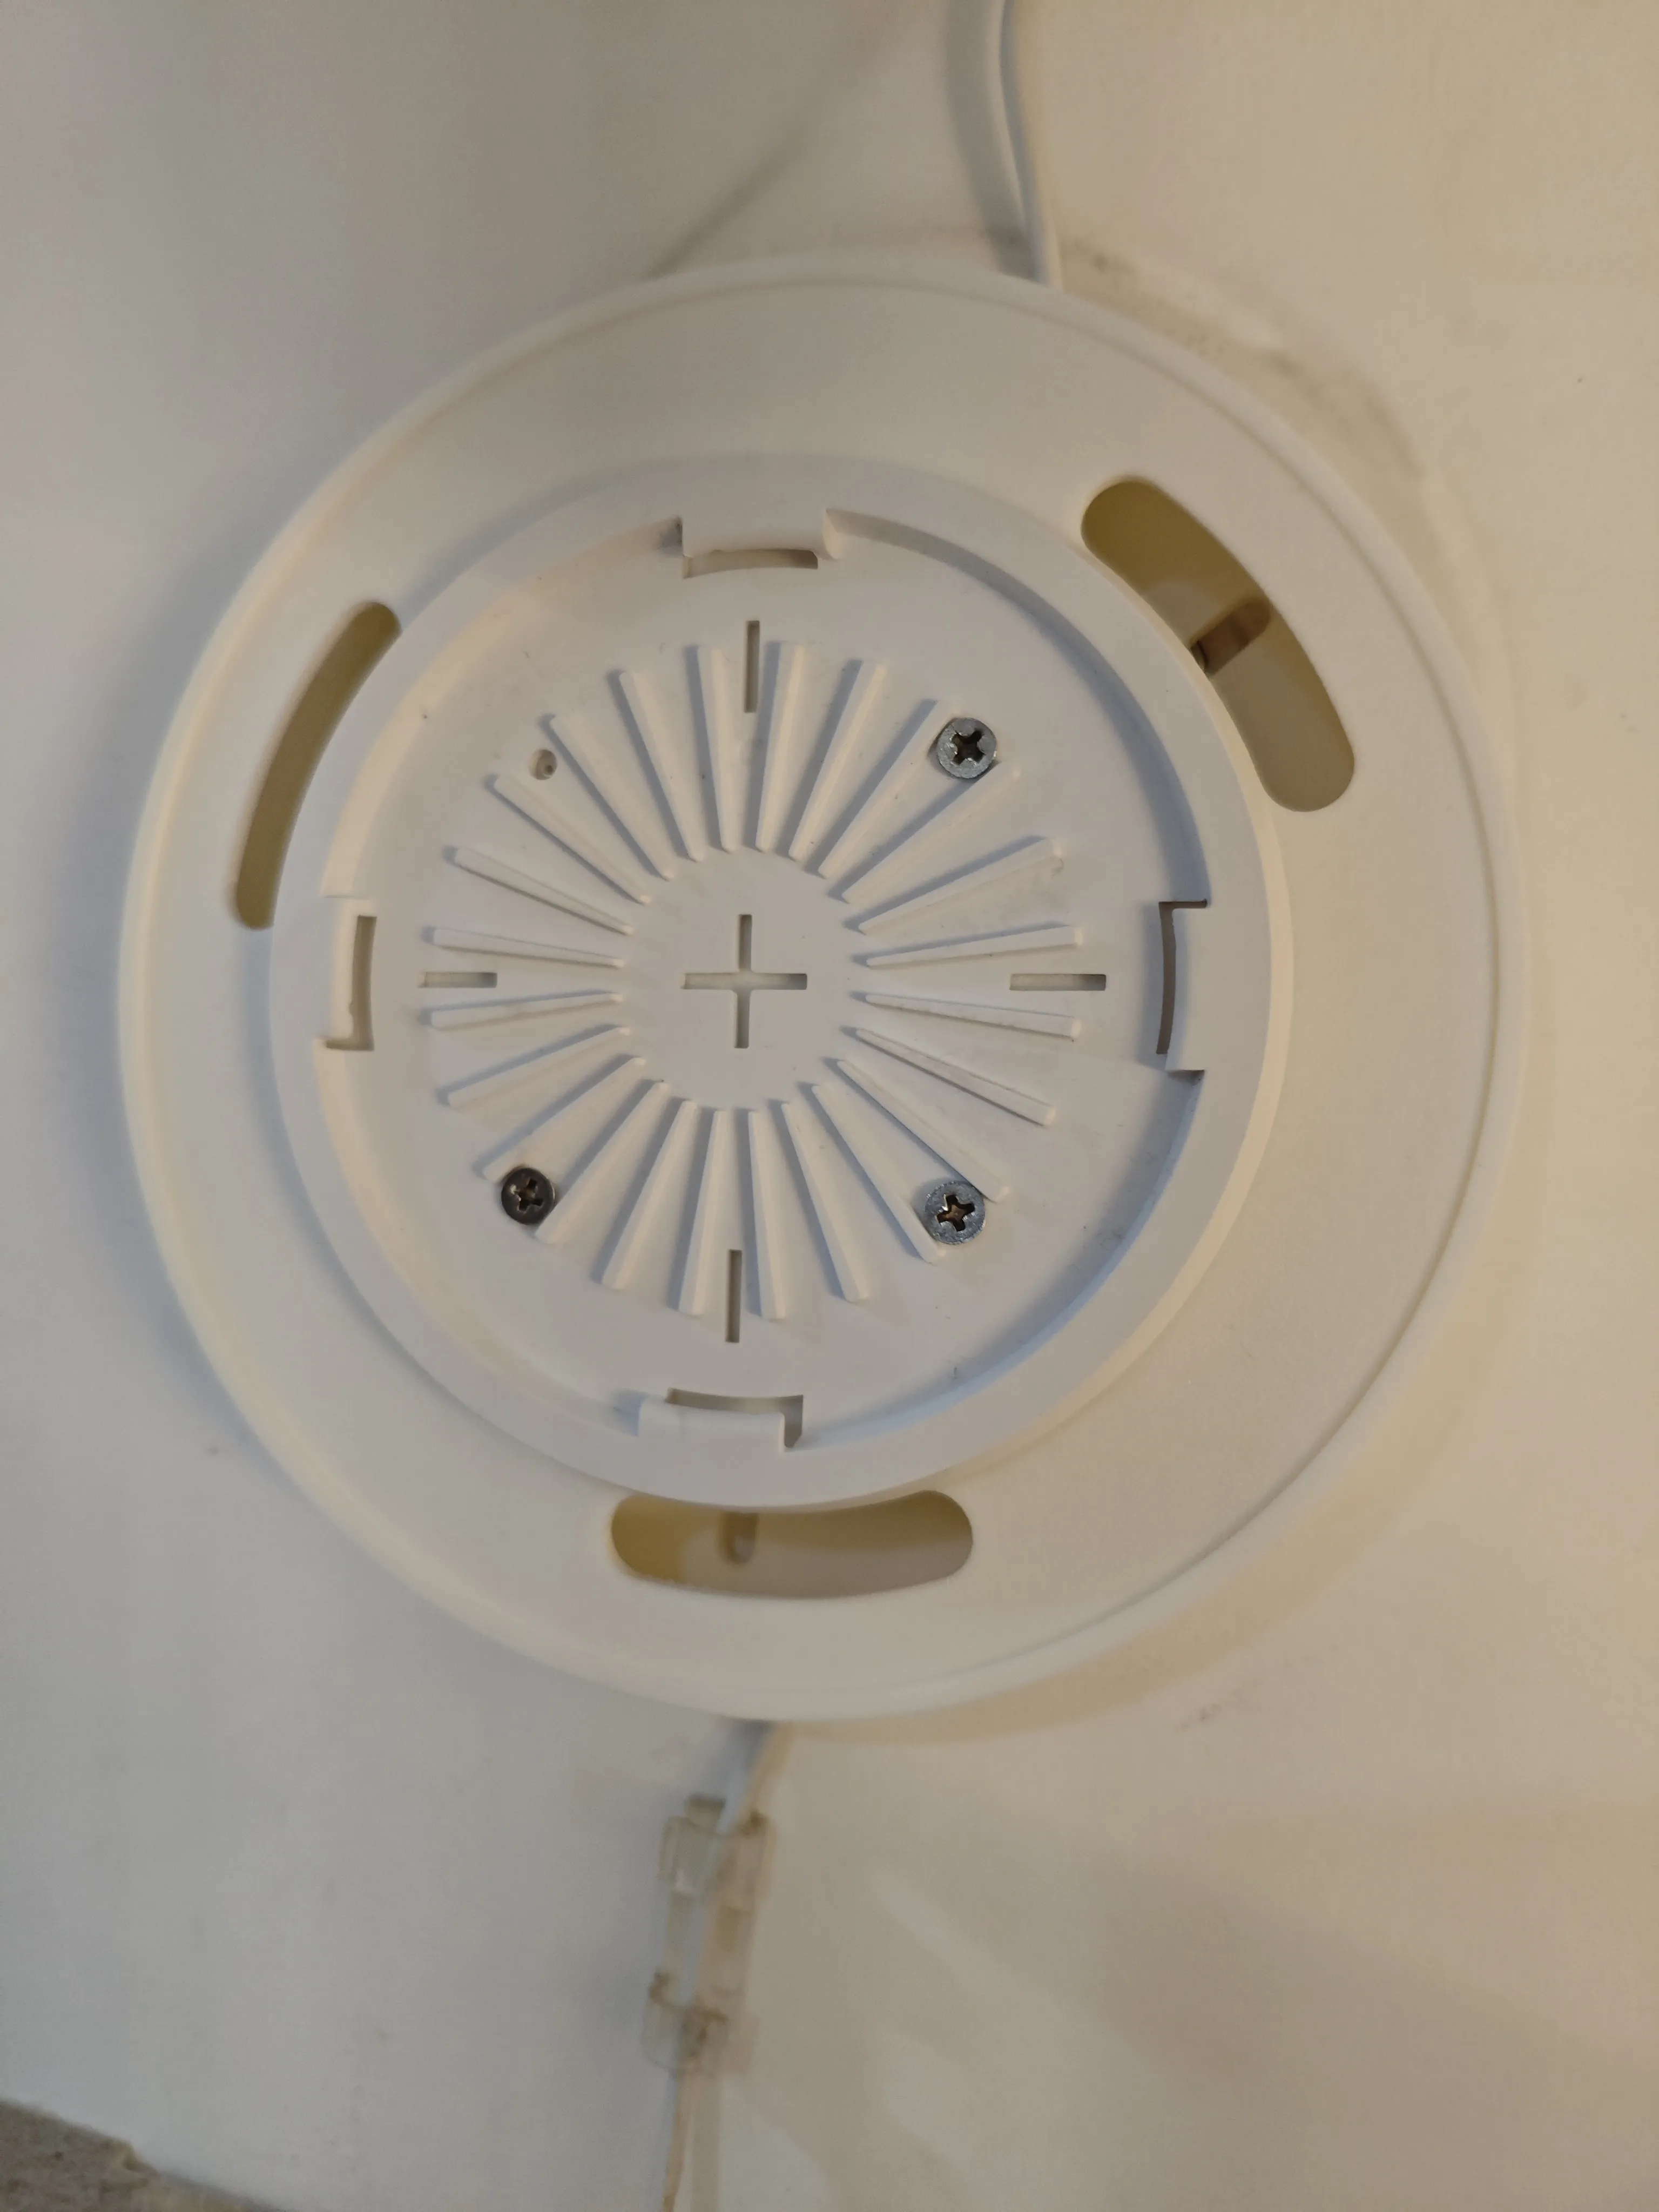
To avoid such problems in the future, I made a universal bayonet base box. Now, only one side needs to be fixed, and the other side can be secured by a short rotation
This way, the active end can be drilled arbitrarily to accommodate new devices, and the wall will never be damaged again
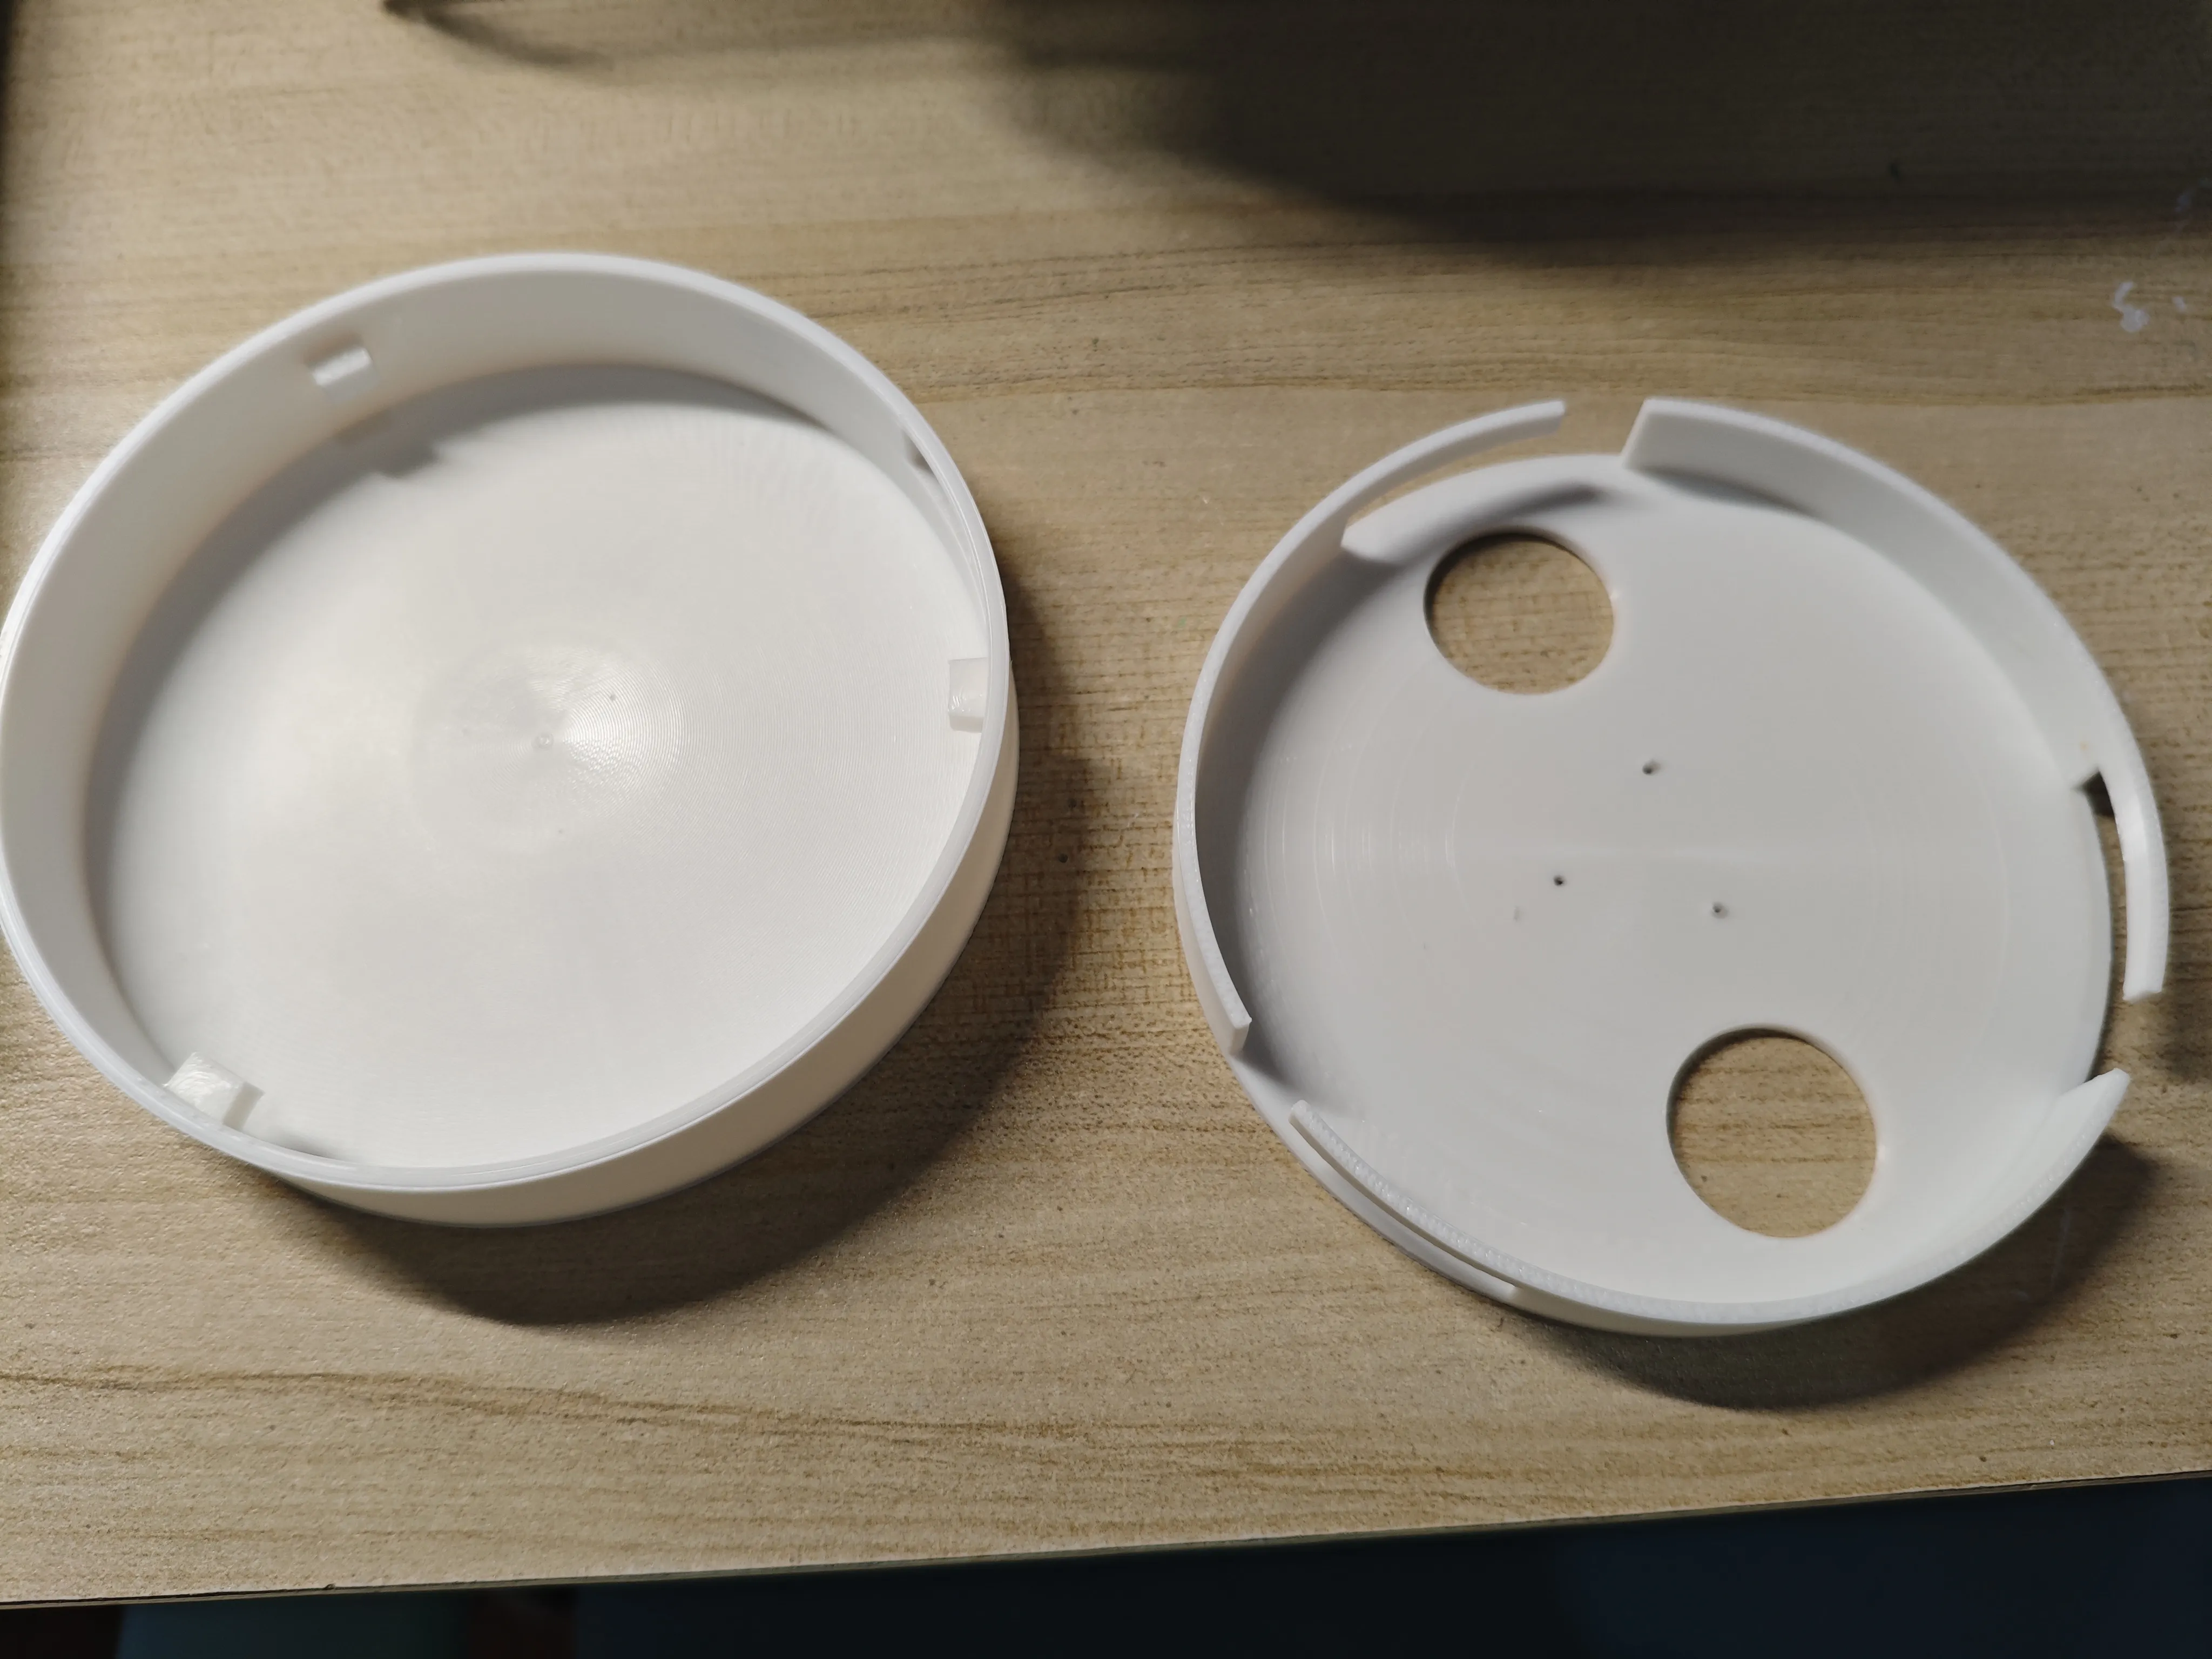
For example, to install a camera, simply remove the old camera base, drill holes for the new base, and tighten it. Only the active end of the universal base is affected, while the fixed end remains the same, eliminating the need to drill more holes in the wall
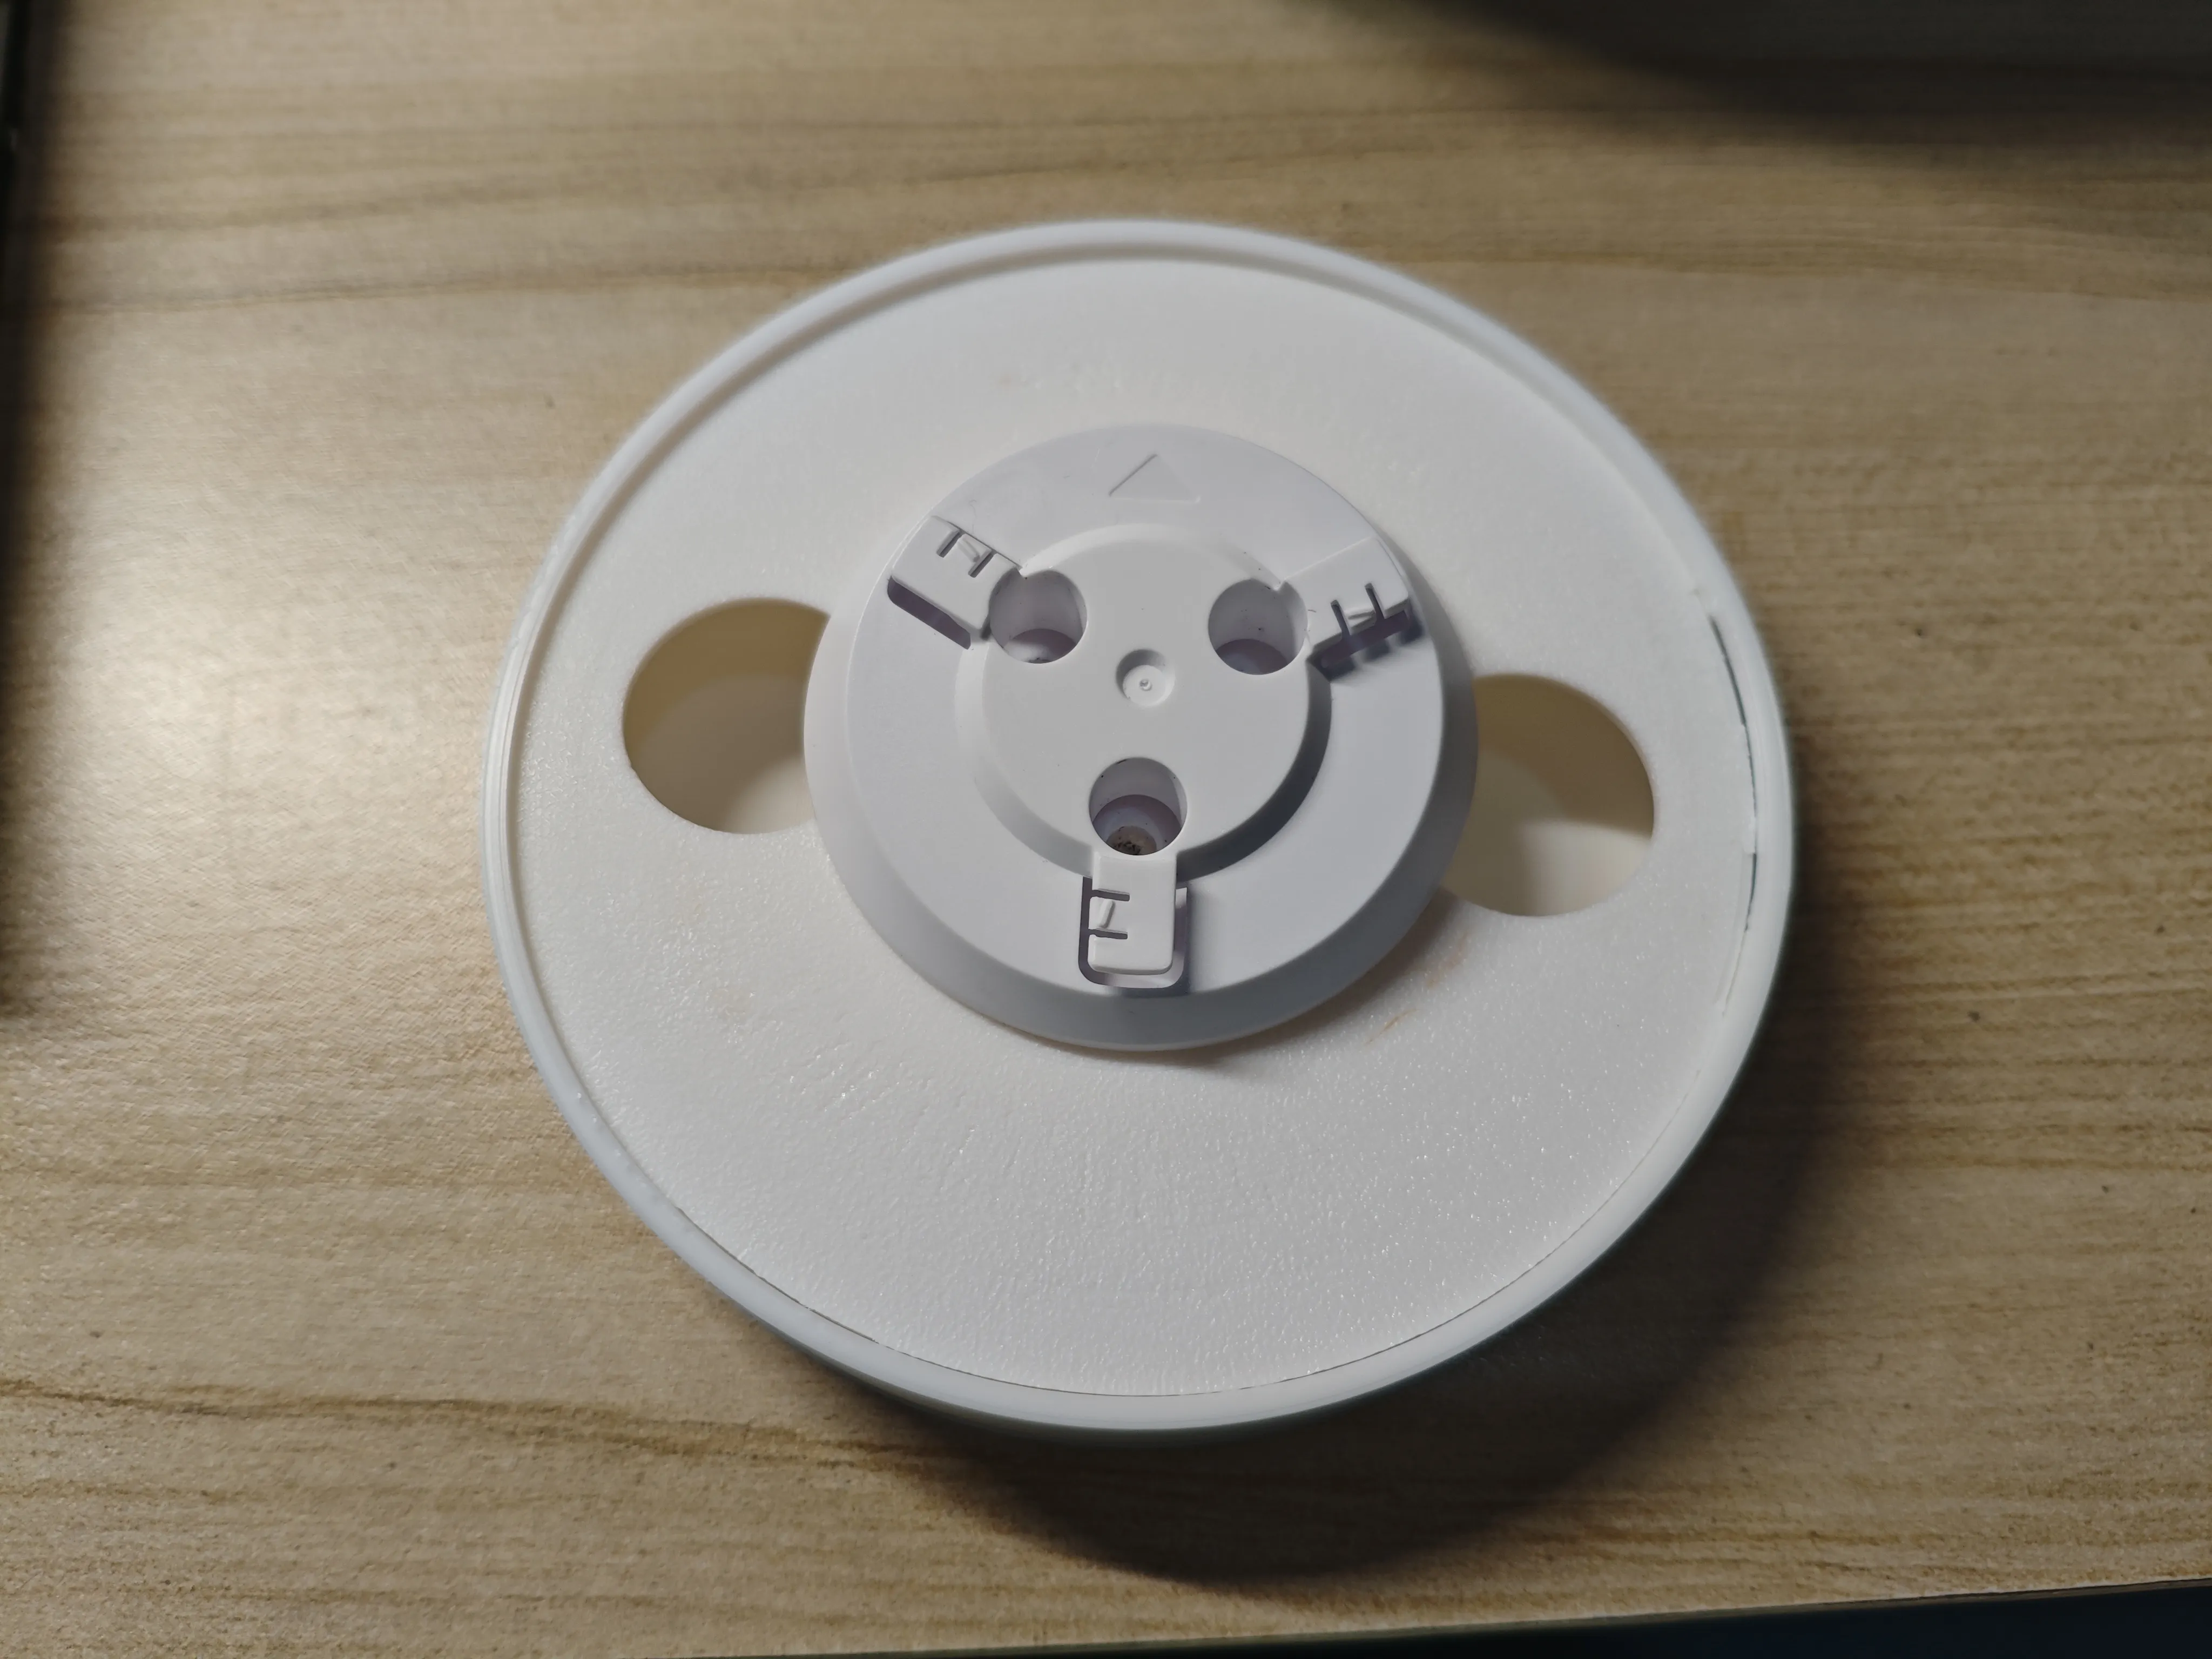
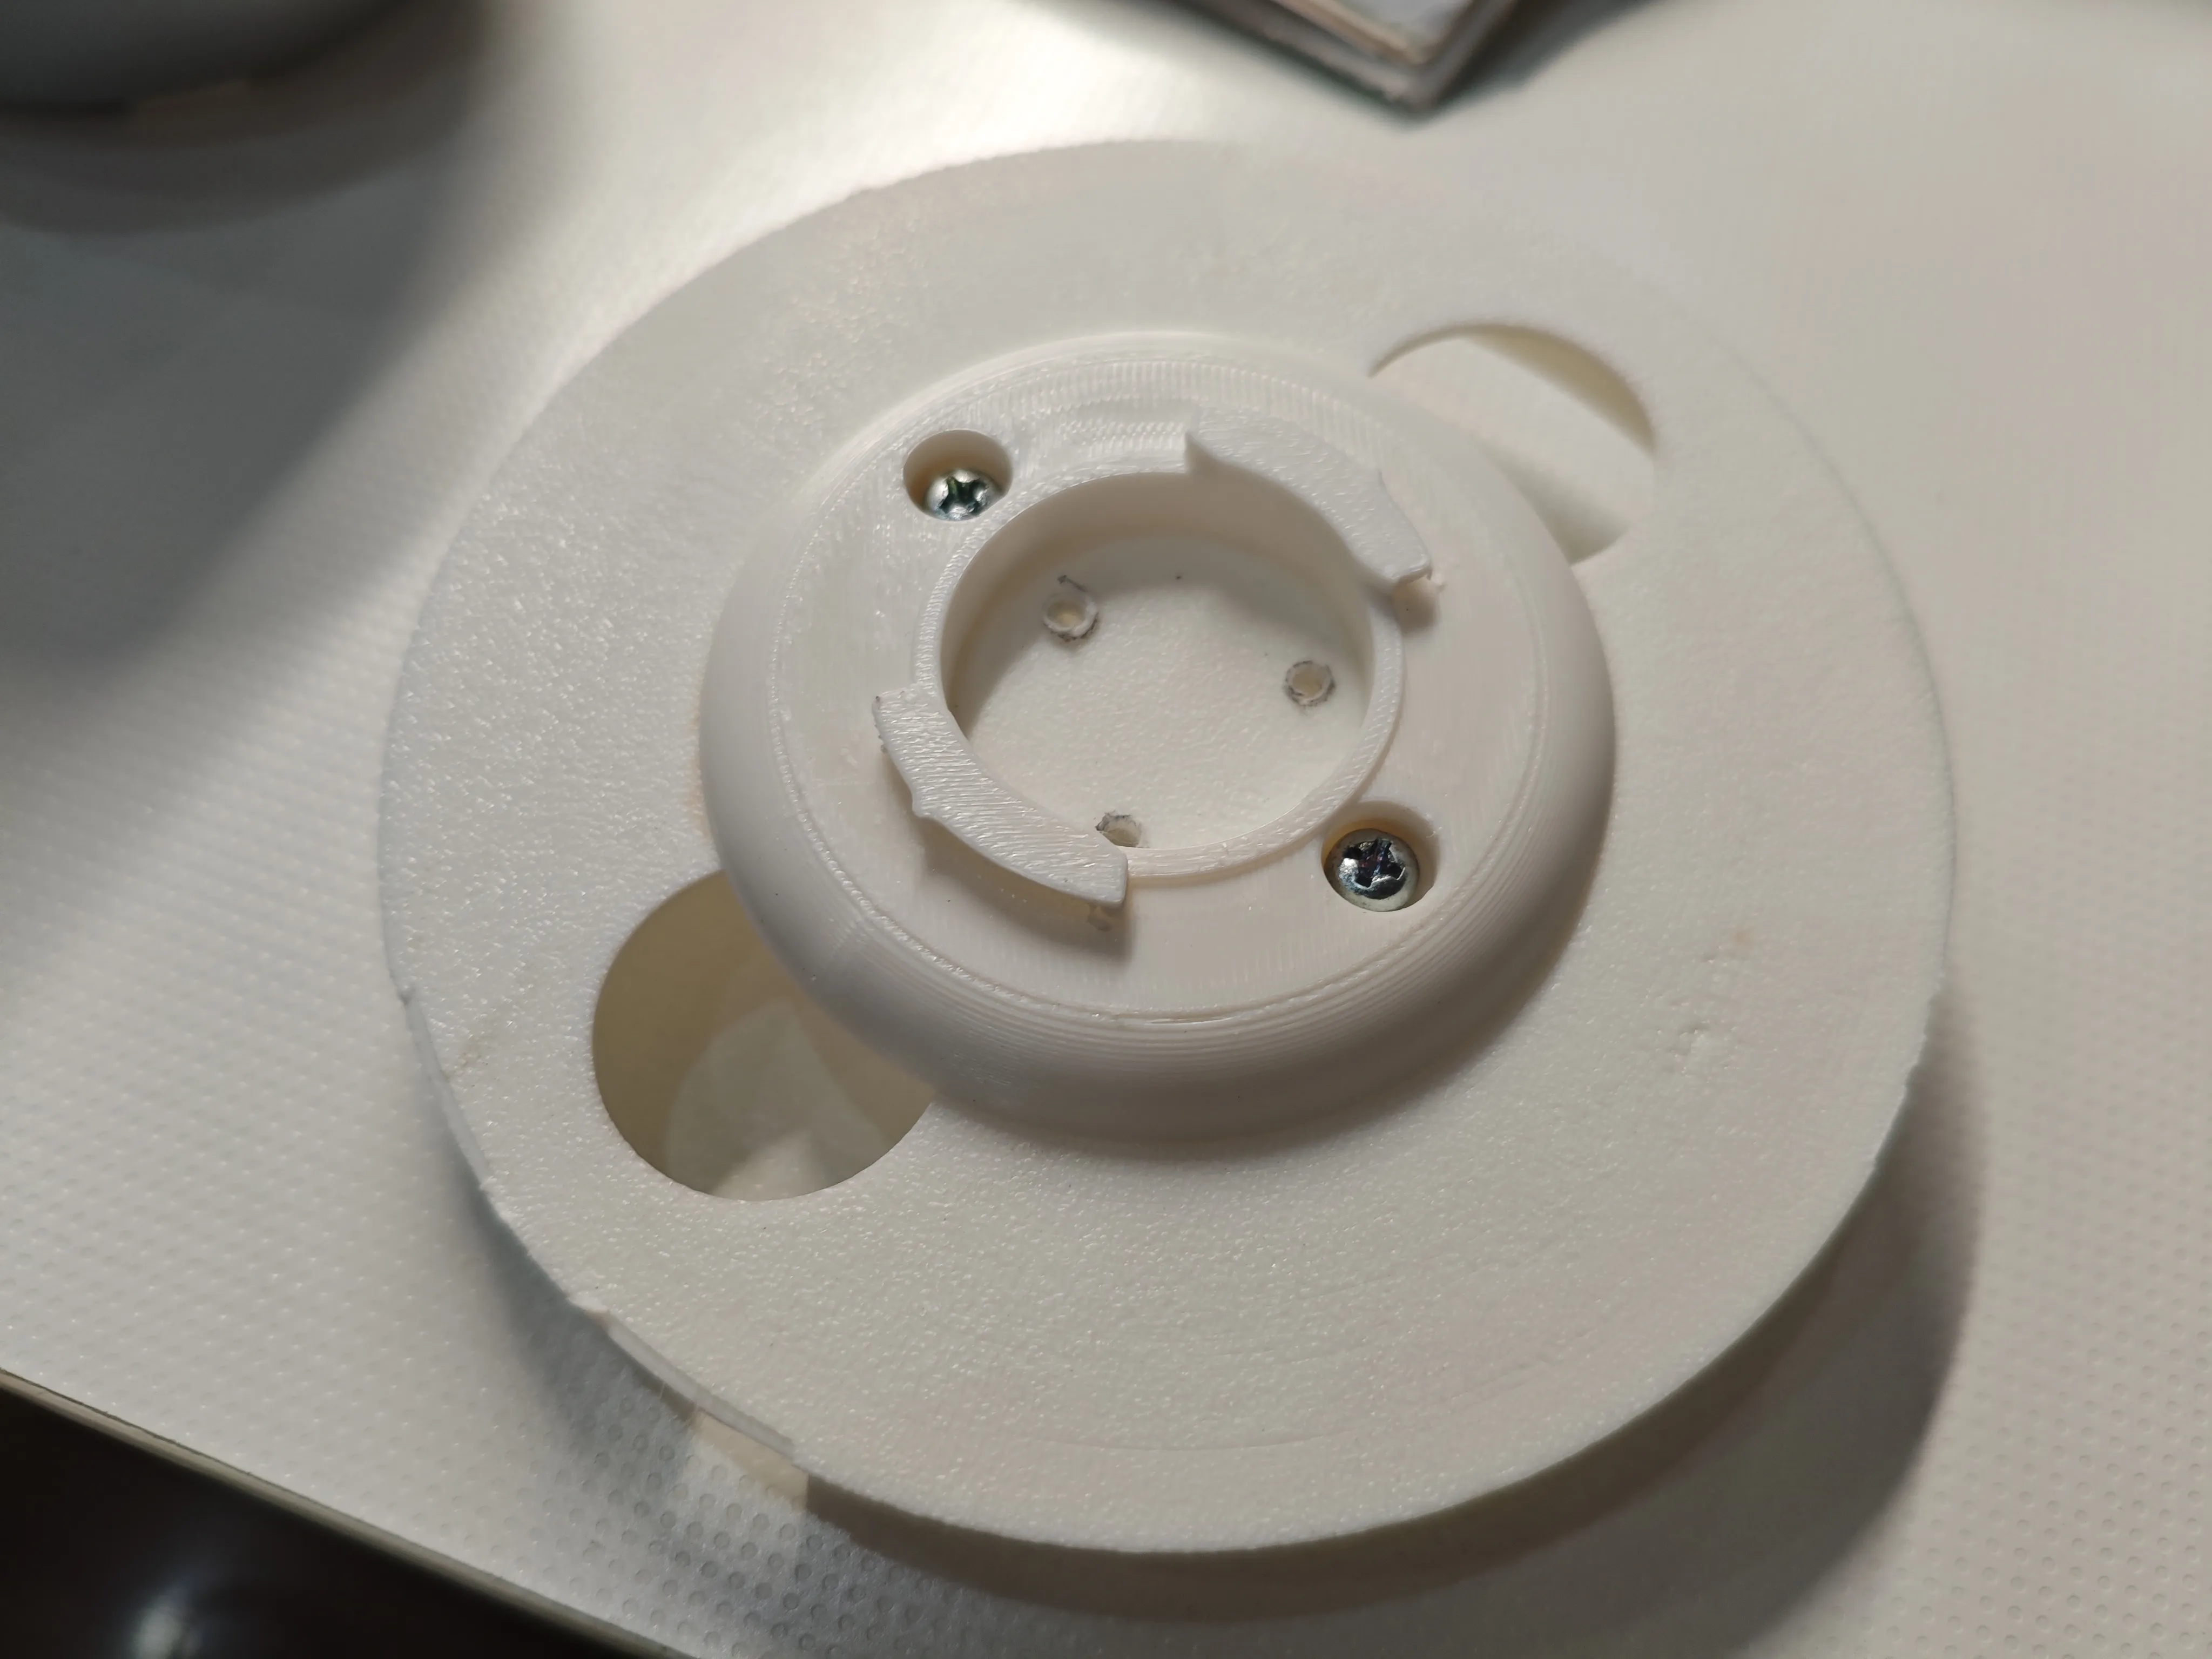
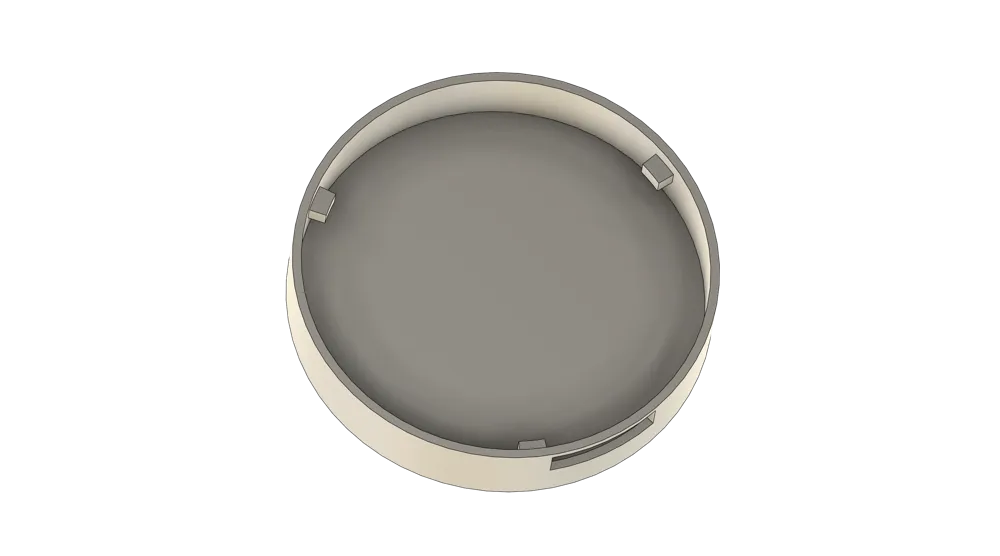
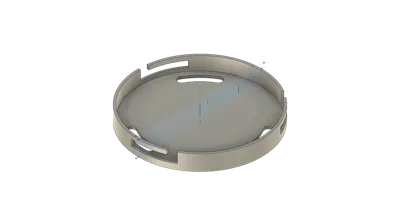
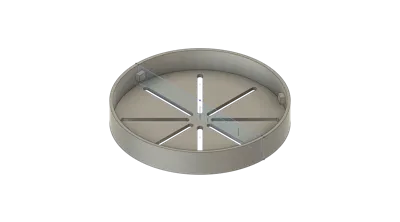
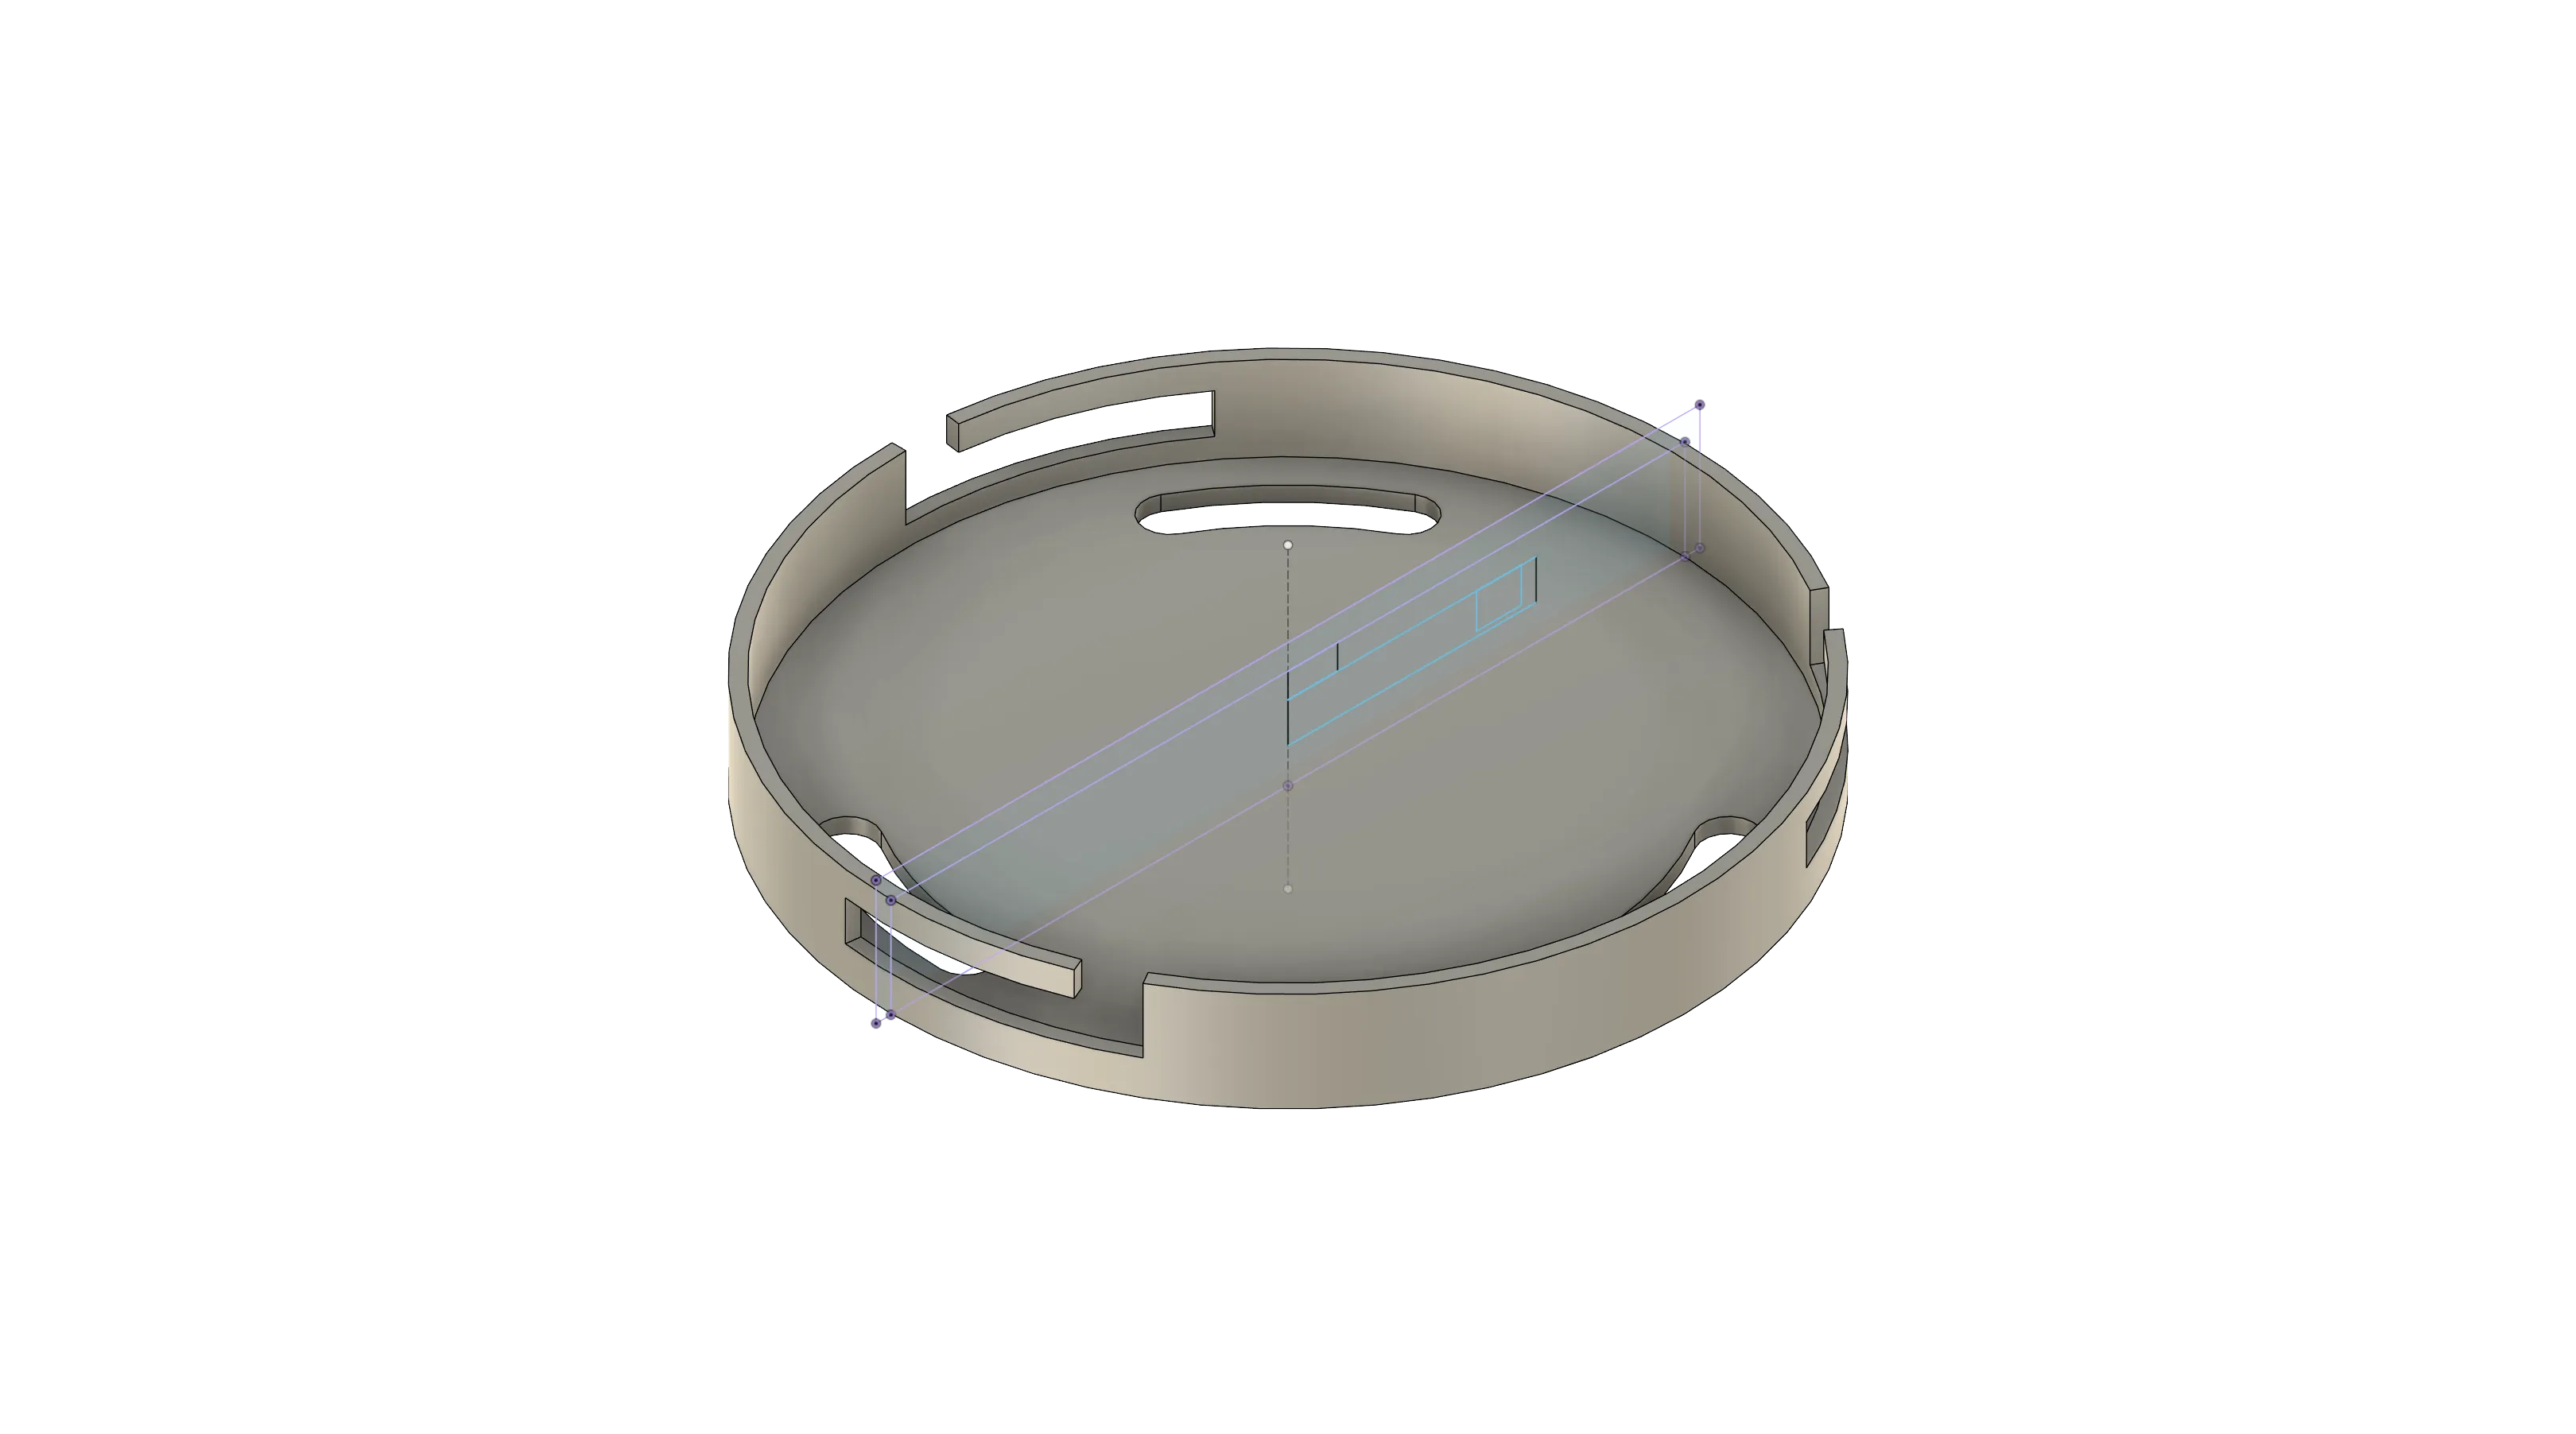
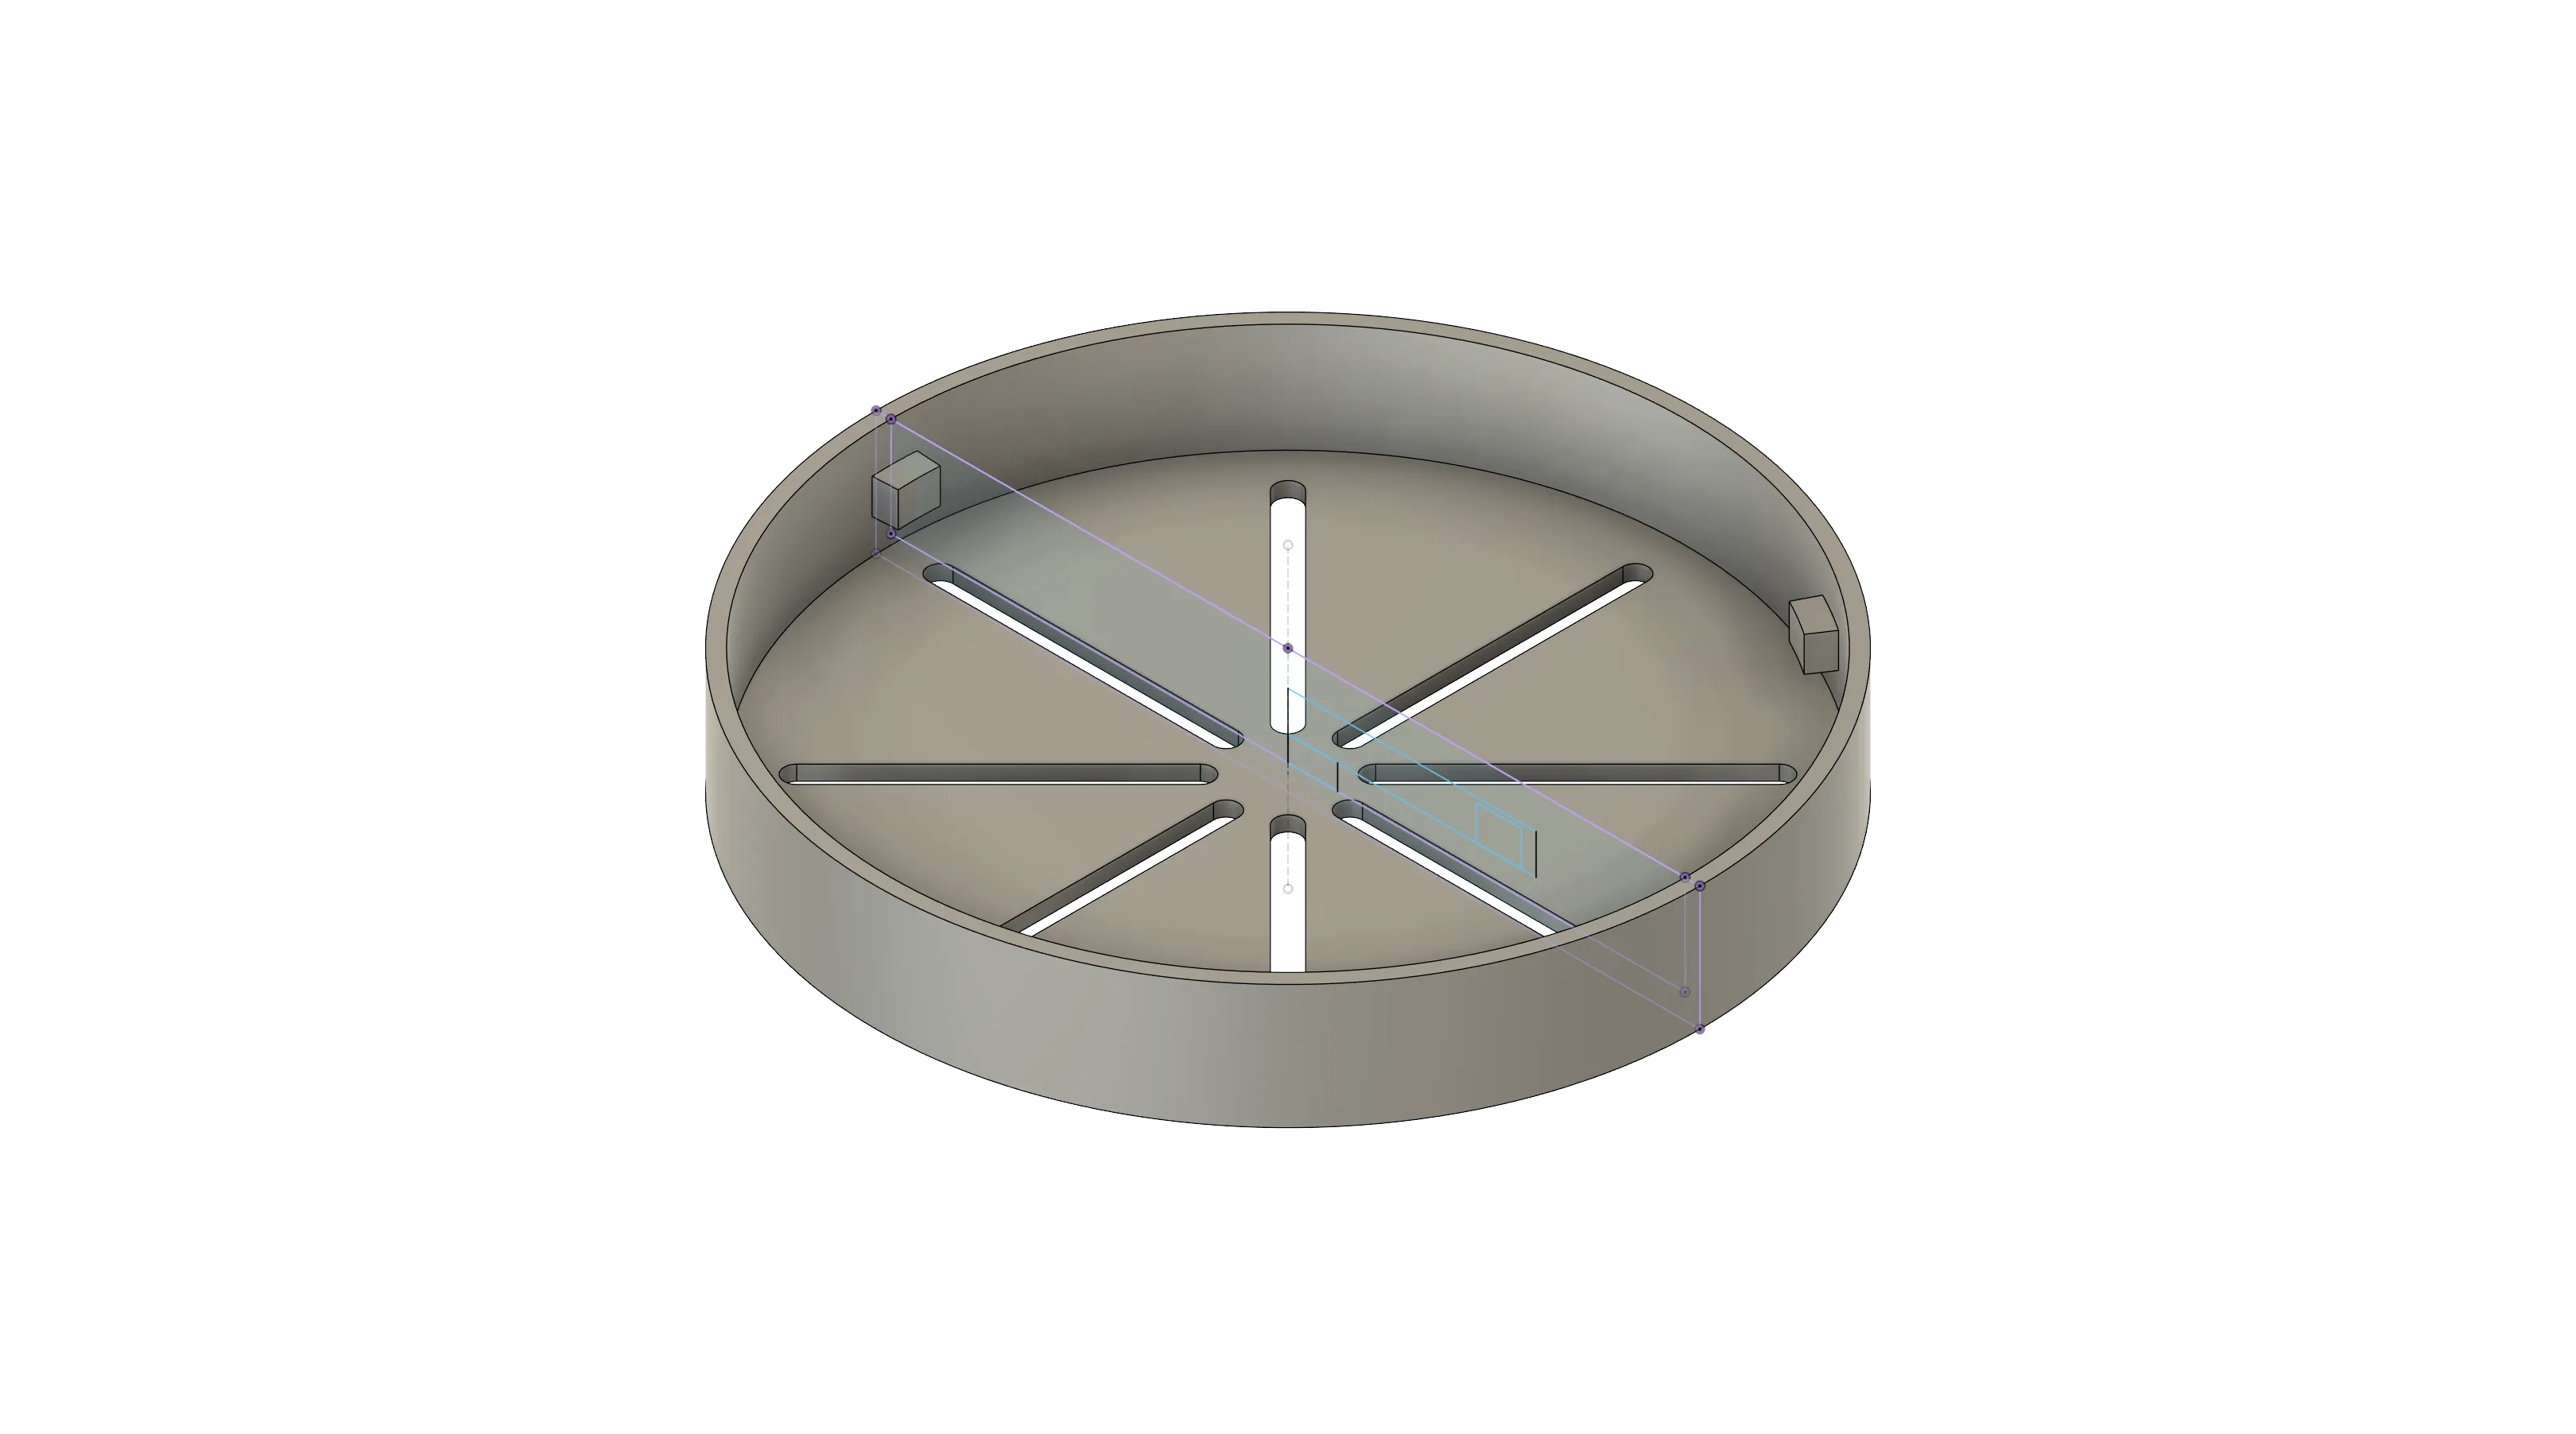
Fixed end: For permanent installation on ceilings or walls (can be affixed, new holes drilled, or old holes utilized)
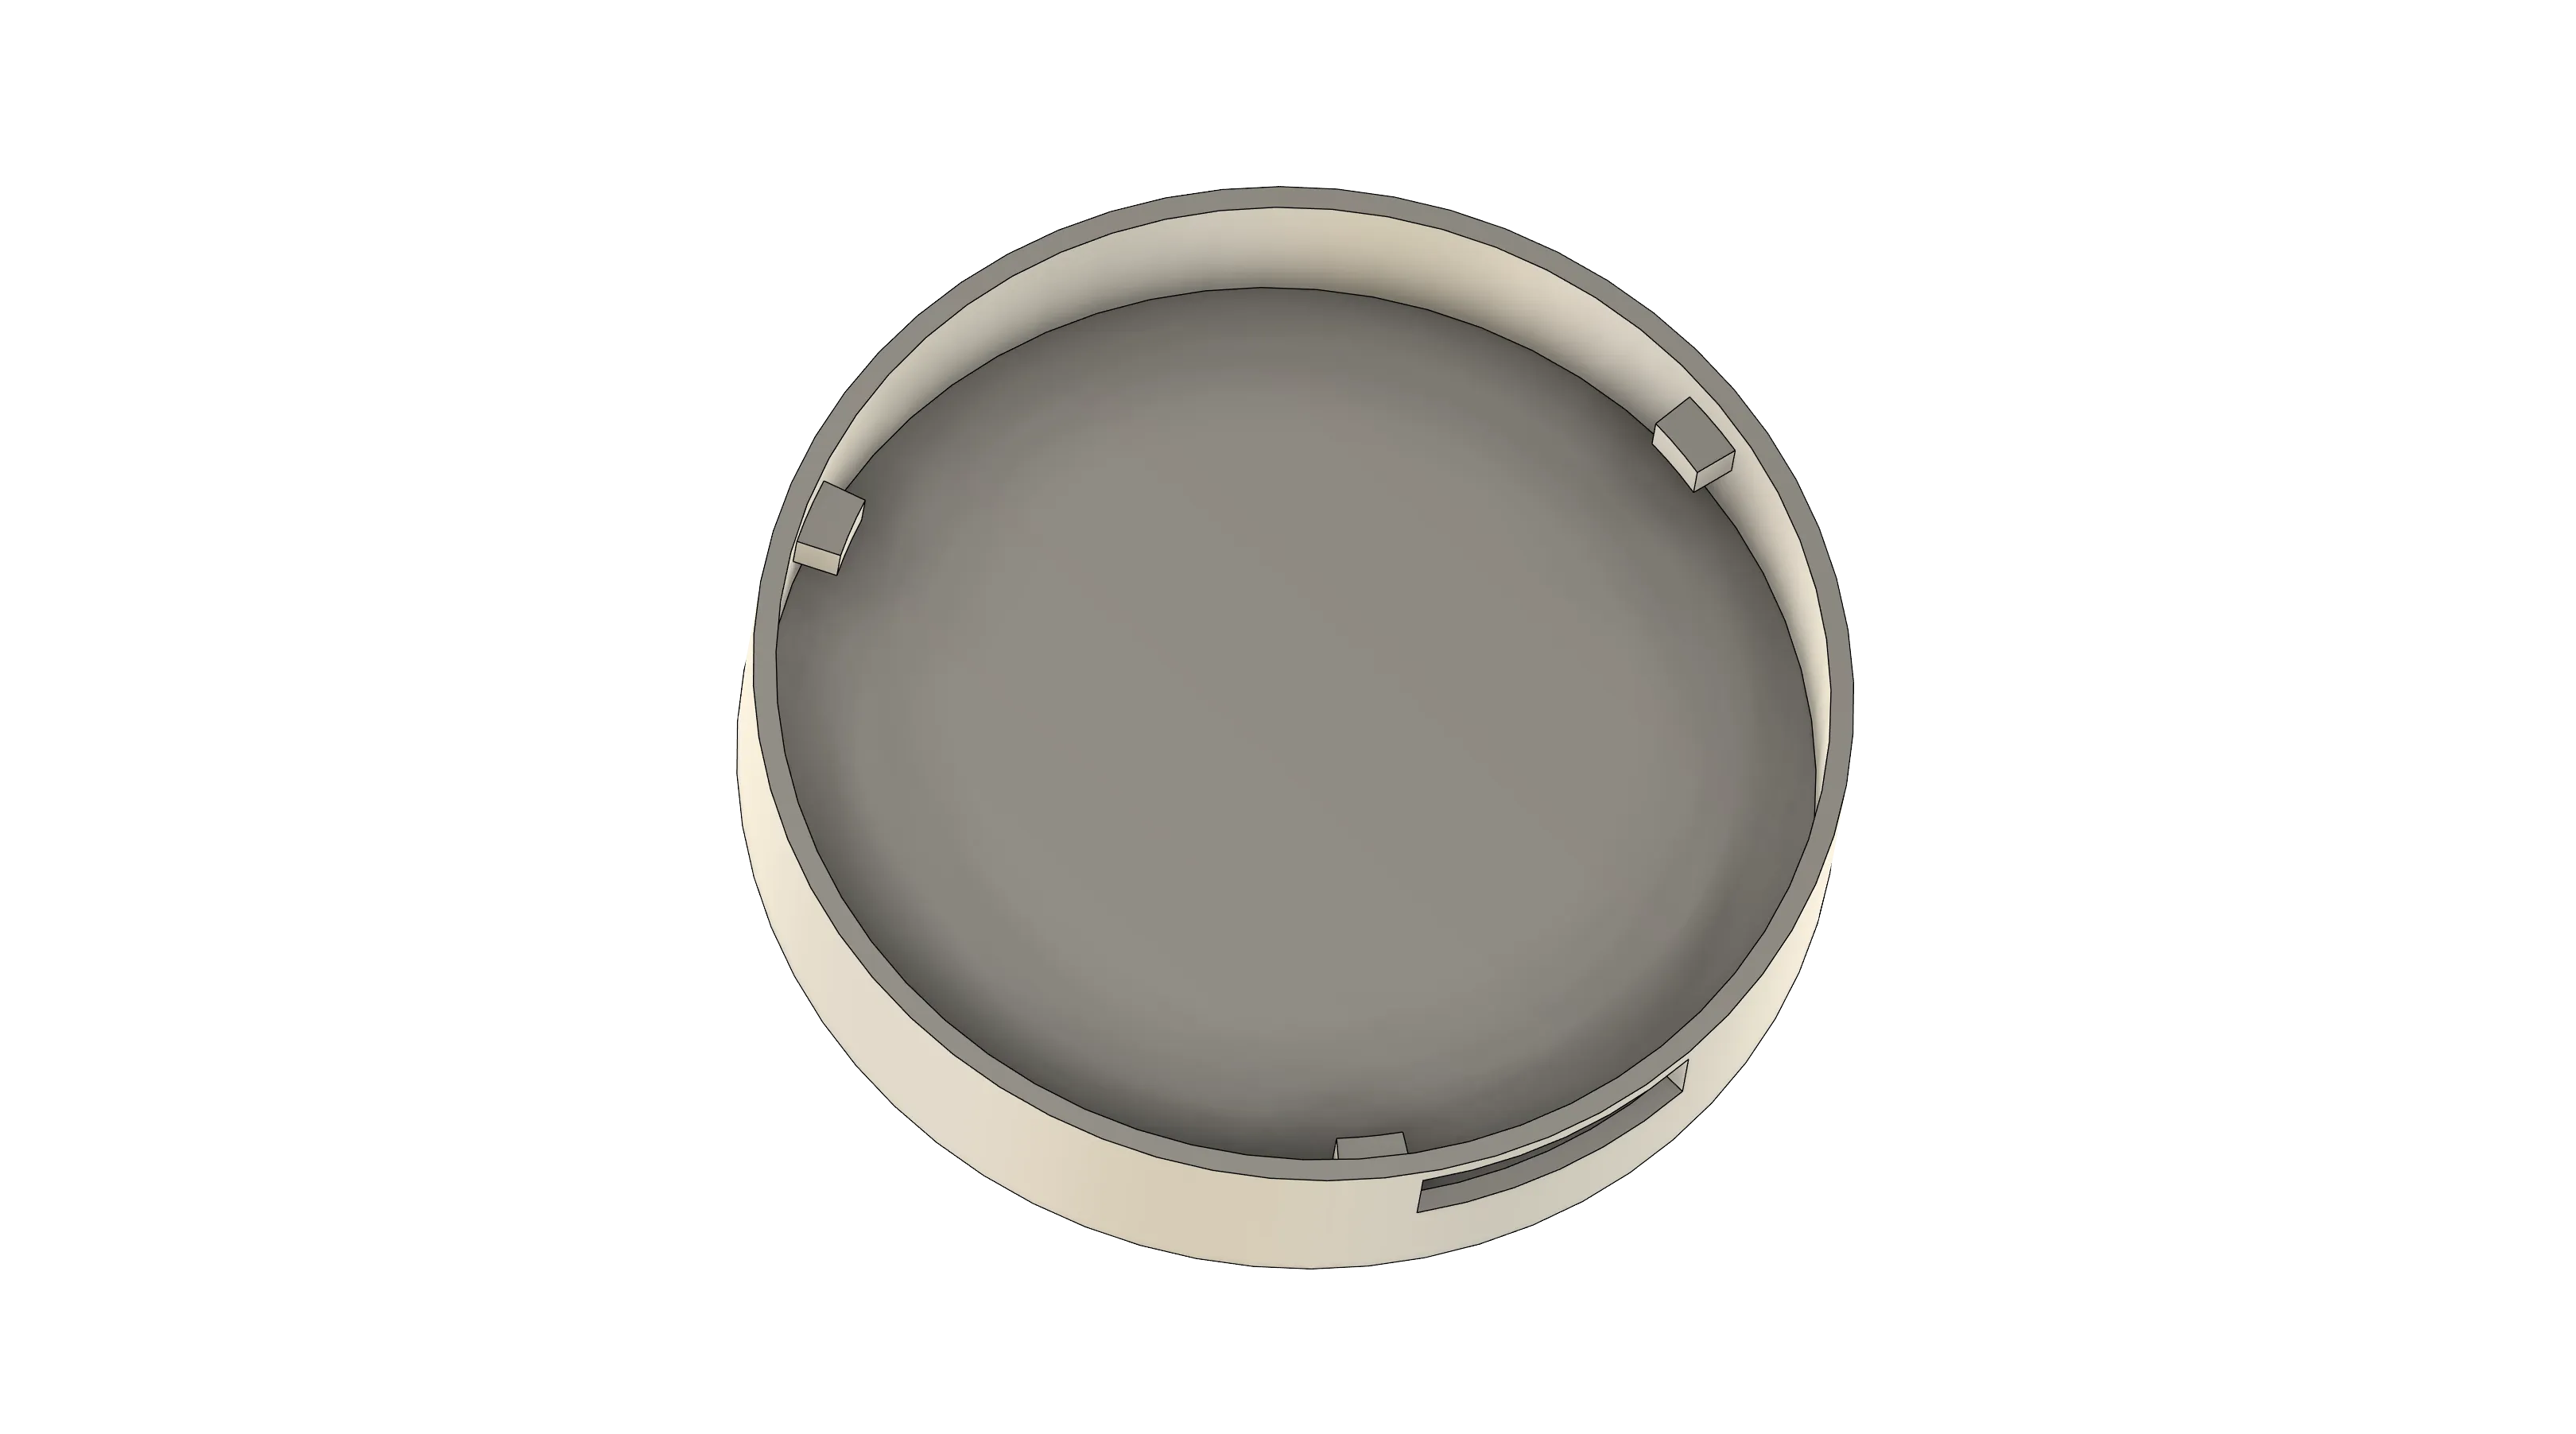
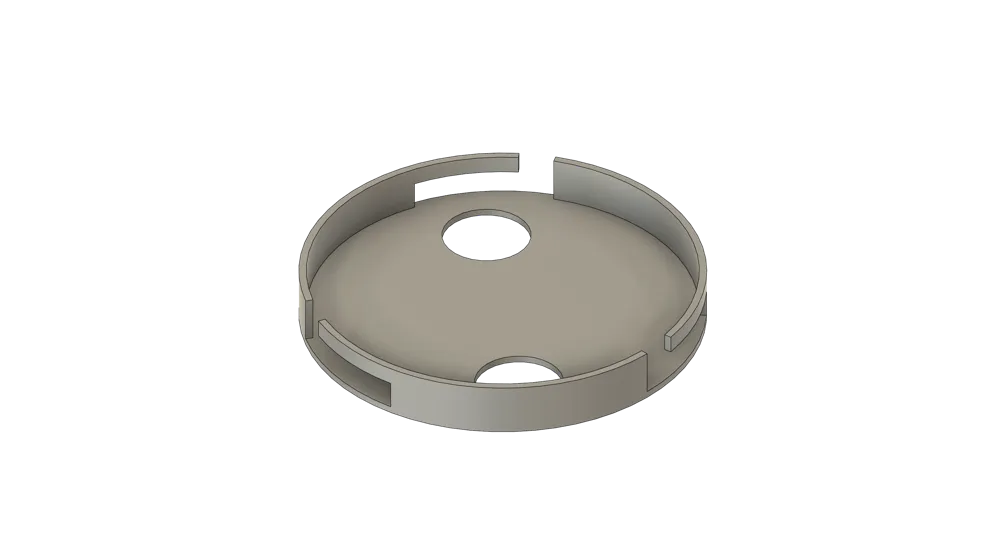
Active end: For connecting device bases, it can be drilled arbitrarily or directly reprinted
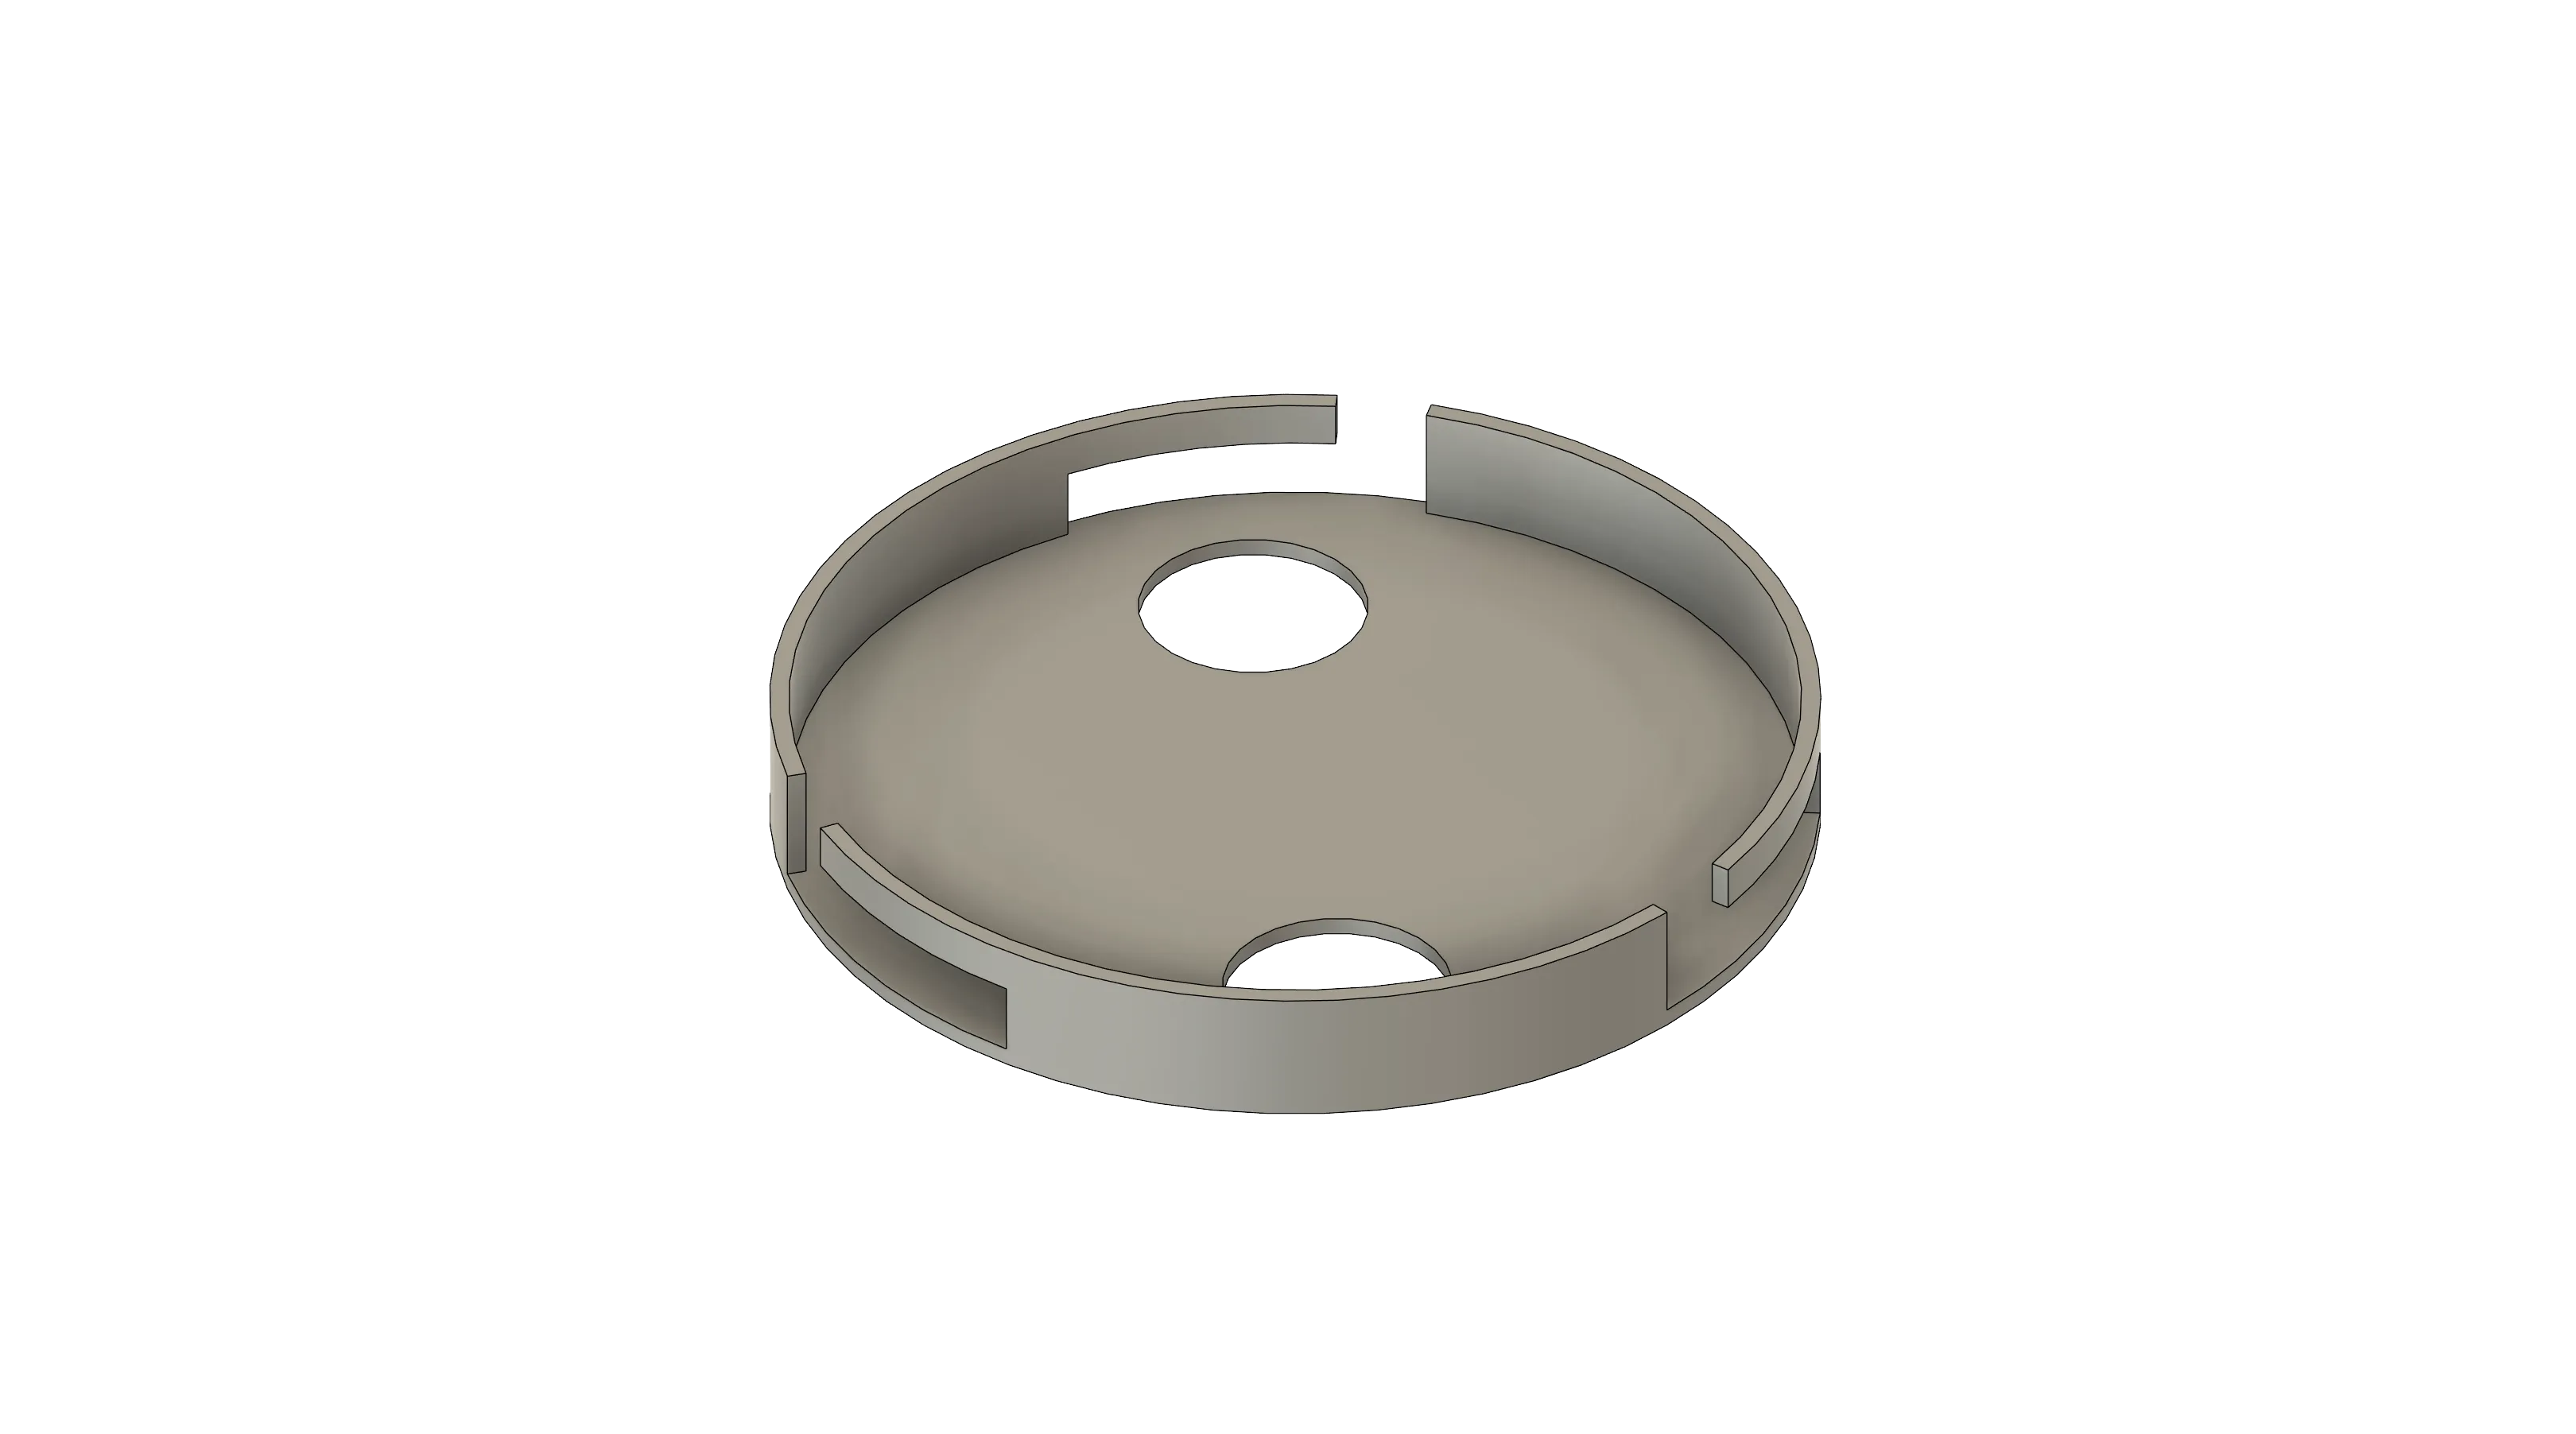
Instructions for use:
1. Install the fixed end in the desired position on a wall or ceiling
2. Install the device's original base onto the active end
3. Align the protrusion on the fixed end with the groove on the active end, then rotate left to secure
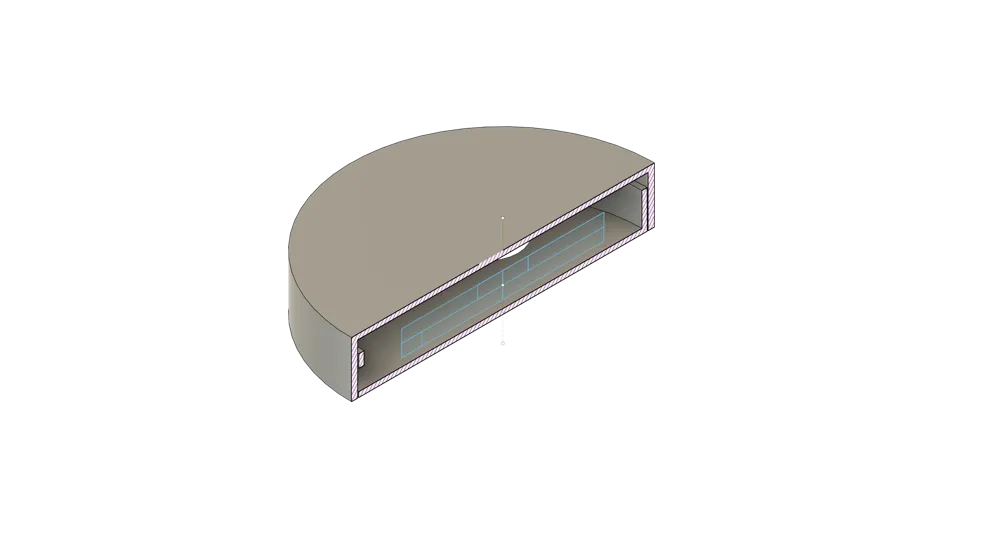
4. Tuck any excess cable into the cavity, this cable will also act as a lock for the active end
(Principle: The cable passes through the grooves of both the fixed and active ends, occupying the right groove, preventing the protrusion from easily sliding into the notch, thus avoiding accidental rotation and detachment)
5. To remove, reverse the steps: first pull out the cable, then rotate to the right
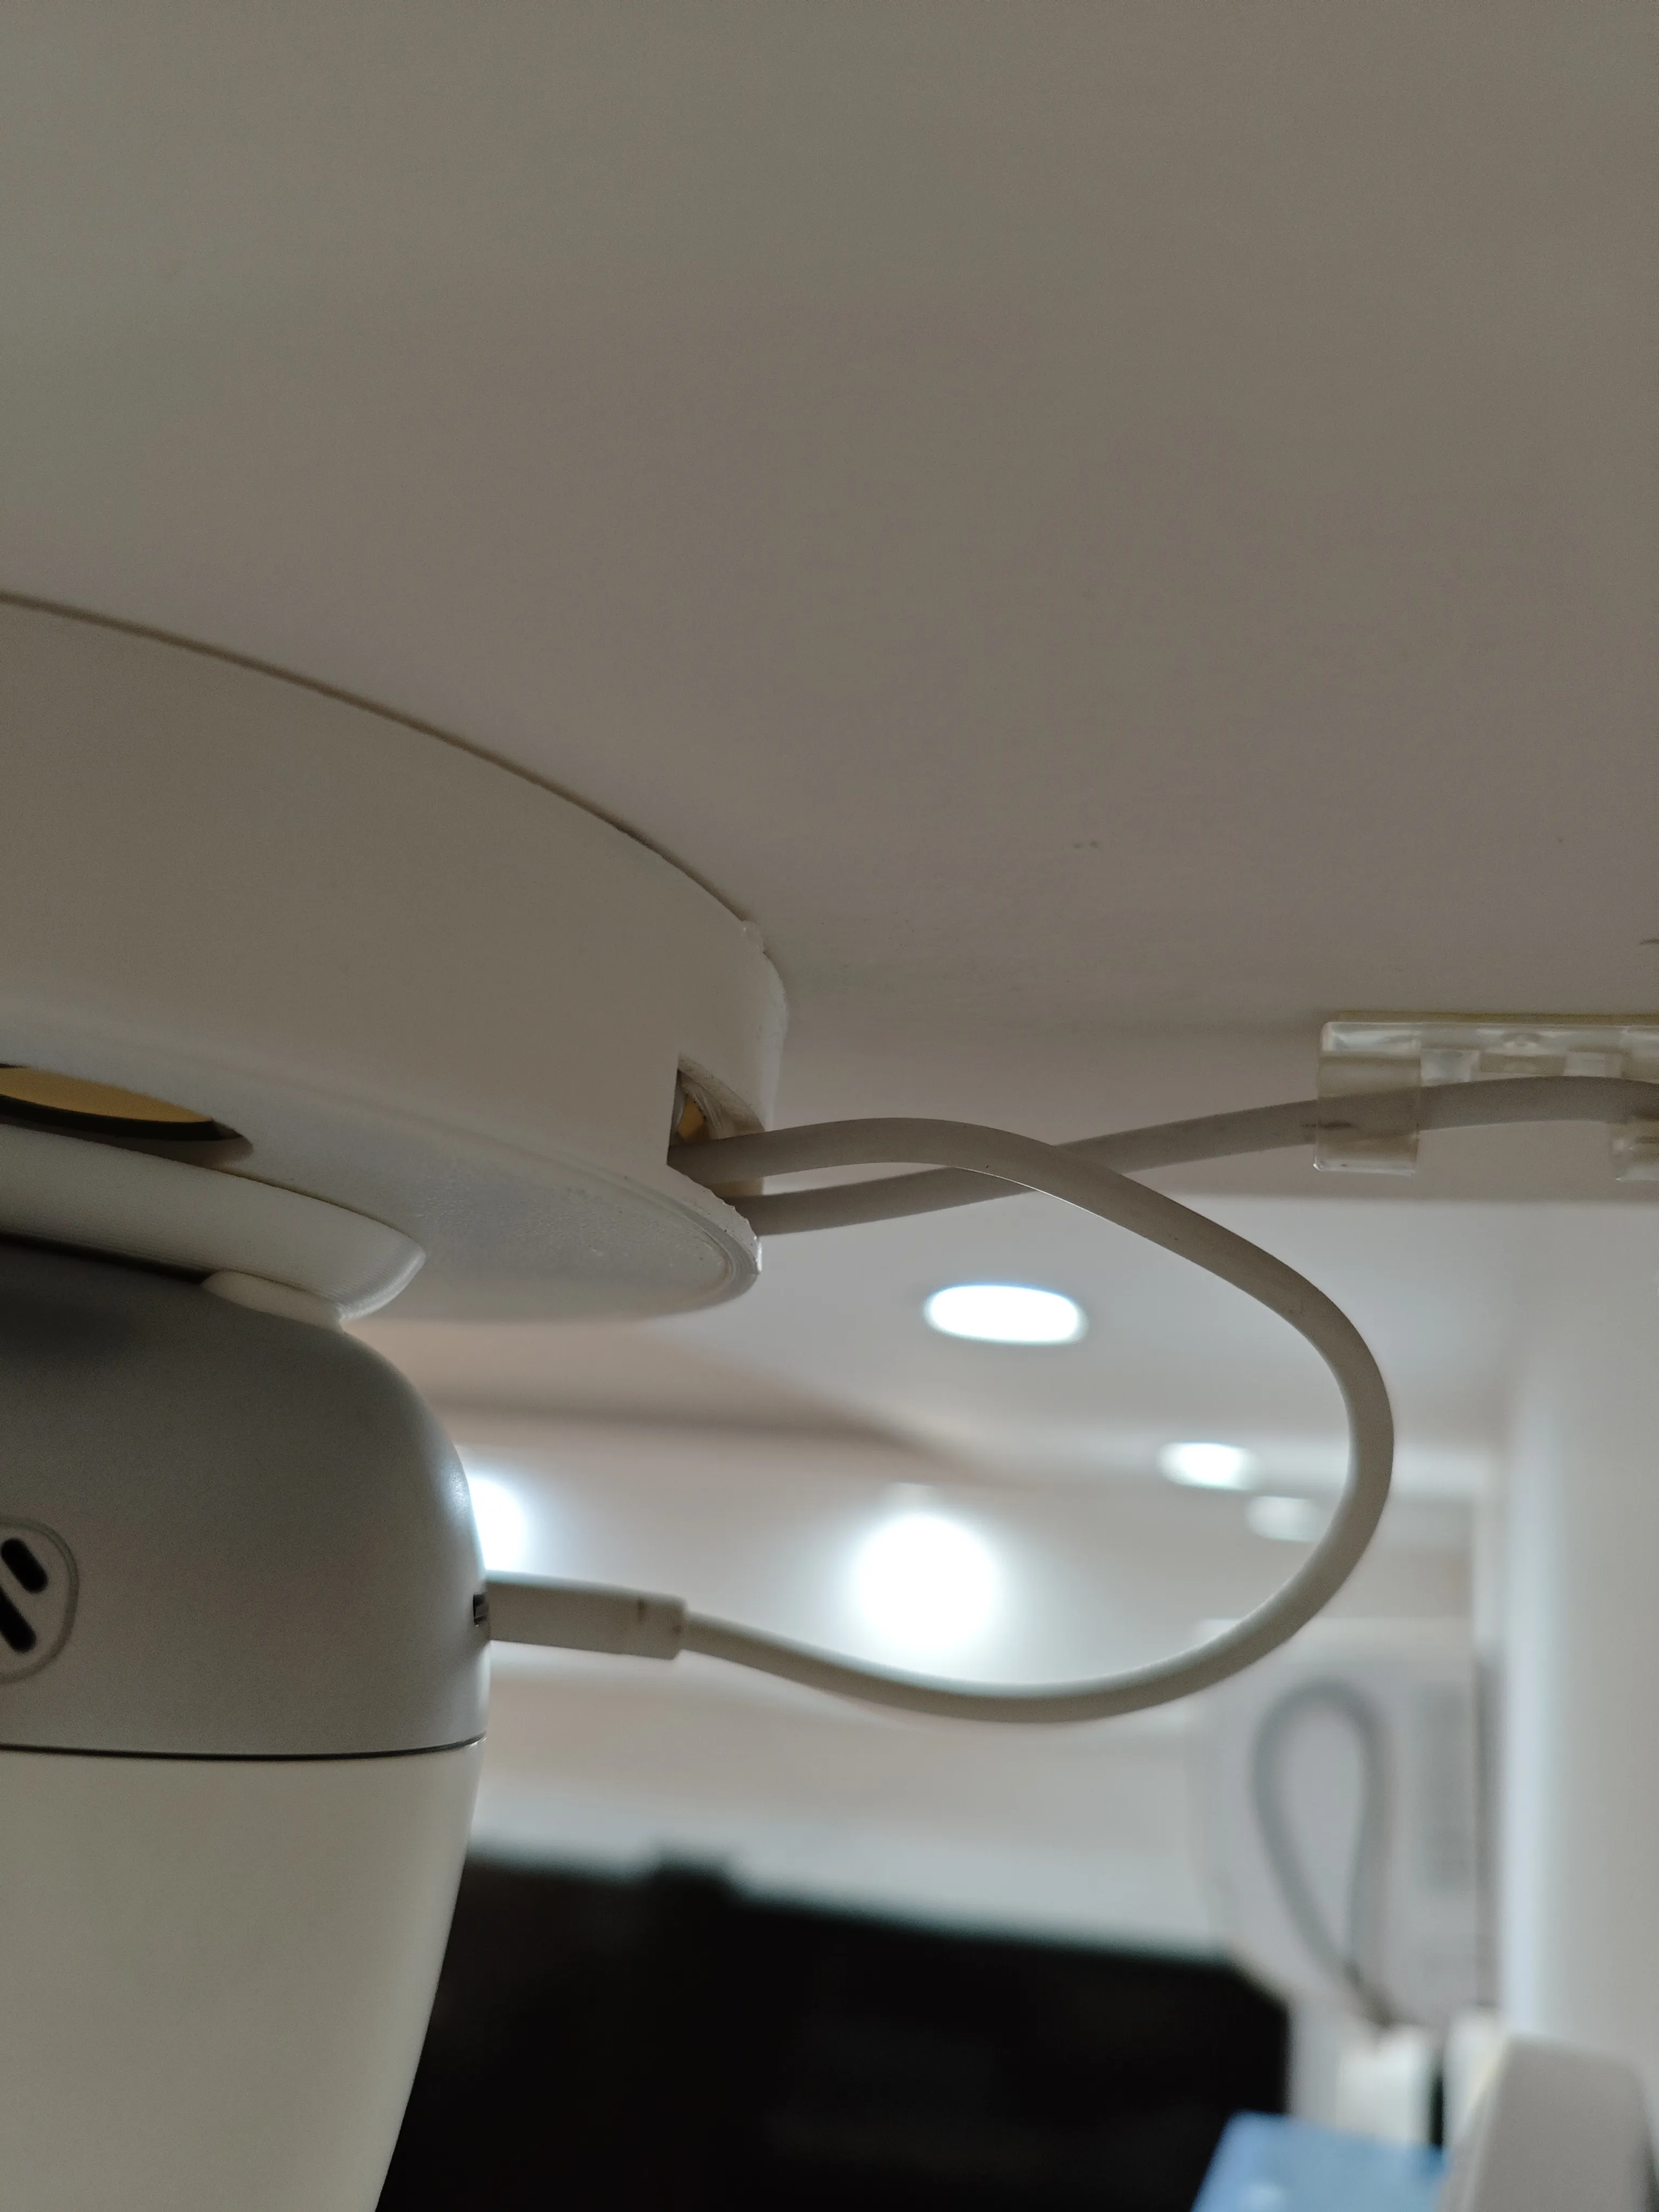
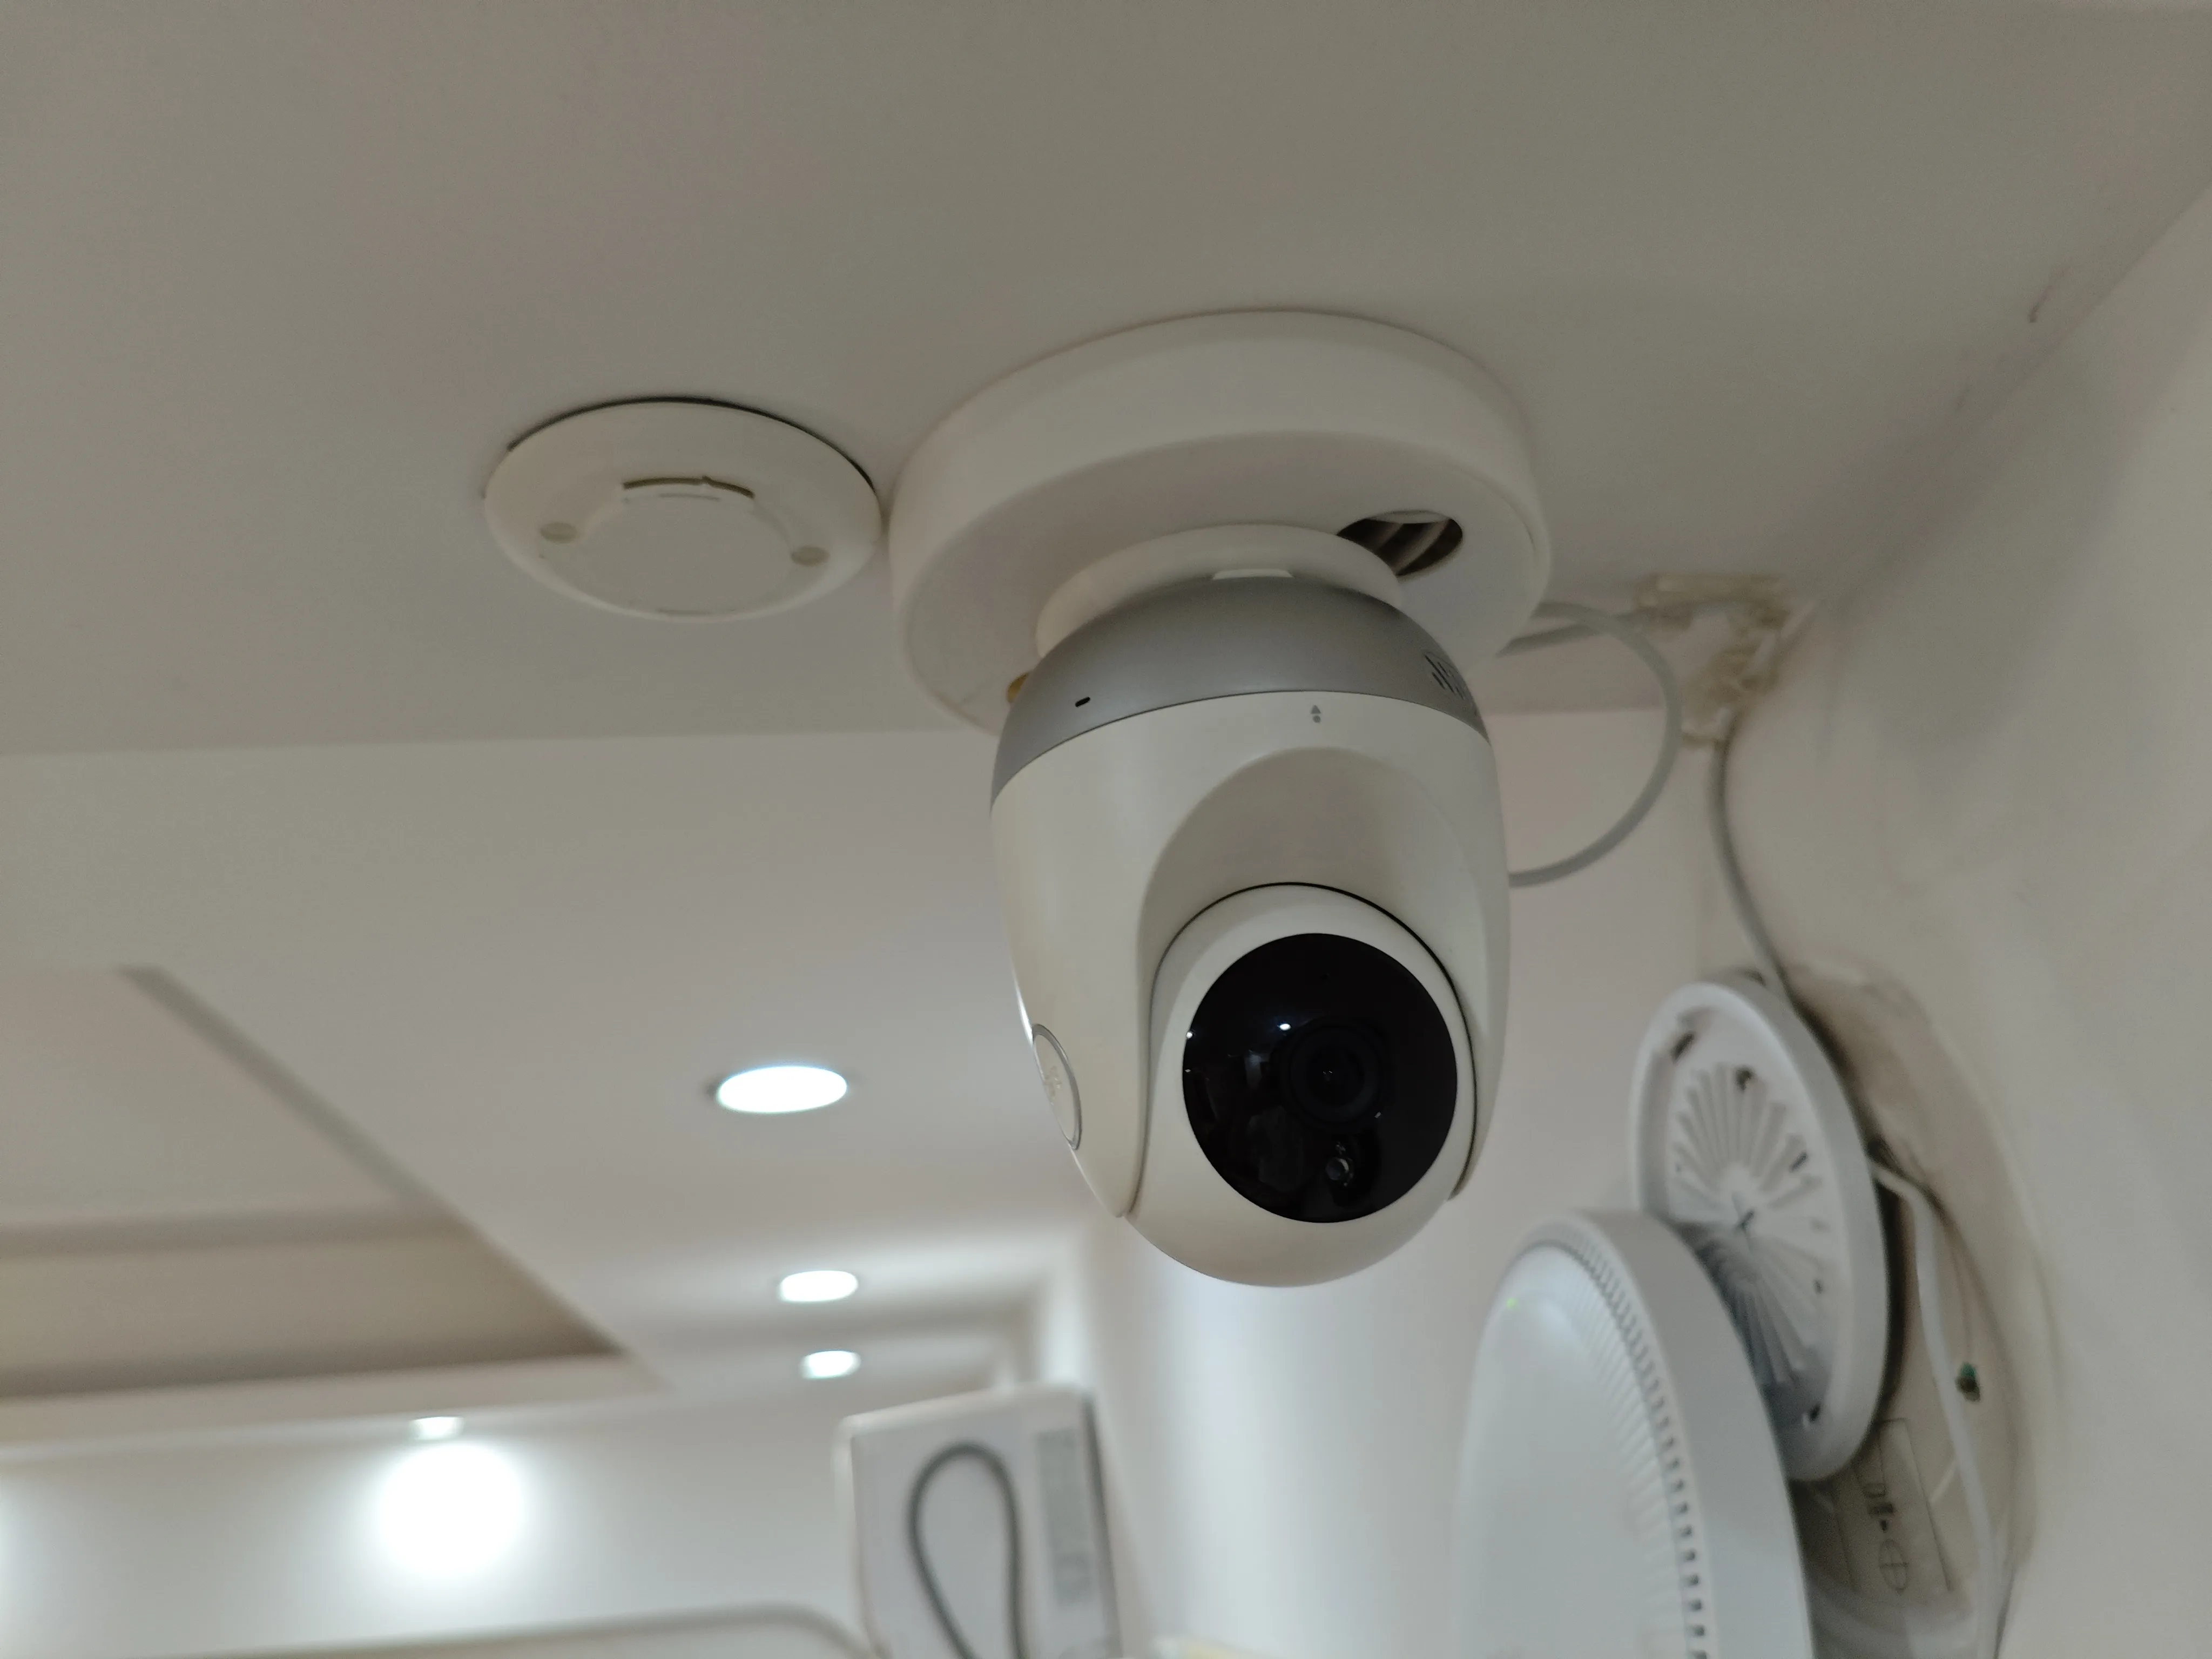
Configuration two is a universal adapter plate with a diameter of 16cm, suitable for devices with large bases such as APs
License



Comment & Rating (0)