Vacuum Clamping for Festool & Makita Guide Rails


Print Profile(3)


Description
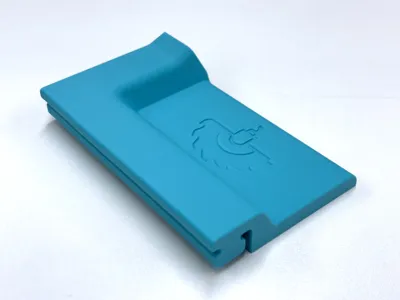
Vacuum Clamping System for Festool, Makita & Triton Guide Rails
Update Jan 6, 2026:
- Bambu Studio bug is fixed and Locked Zag infill is working as expected. Make sure you have the latest version of Bambu Studio (workaround: use gyroid infill in case of missing top layer)
- Added new version with separate, screw mounted slider as new print profile
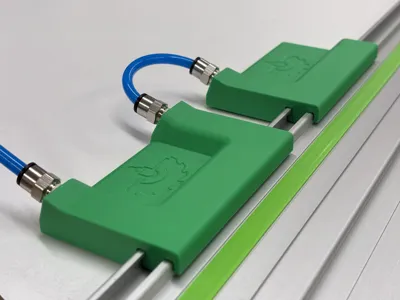
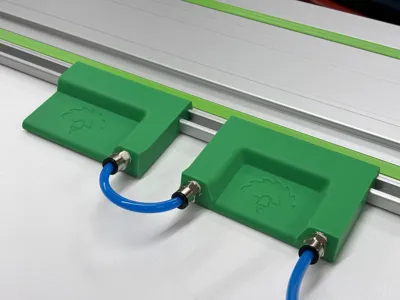
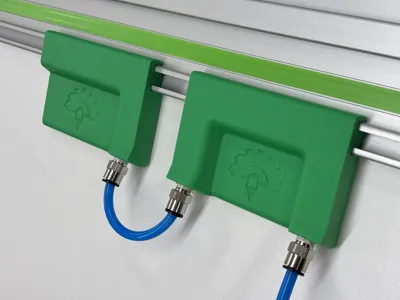
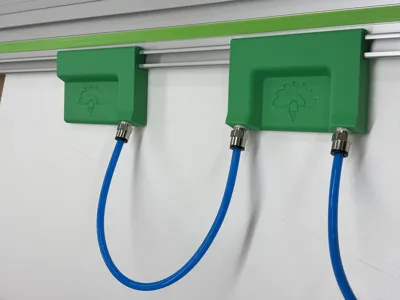
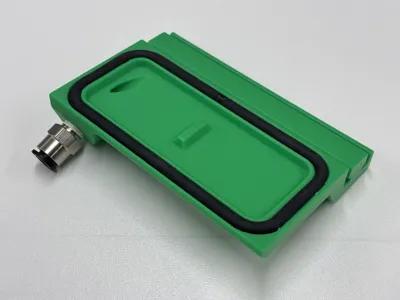
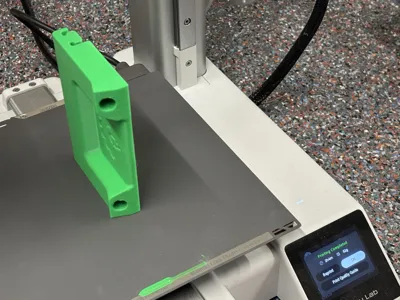
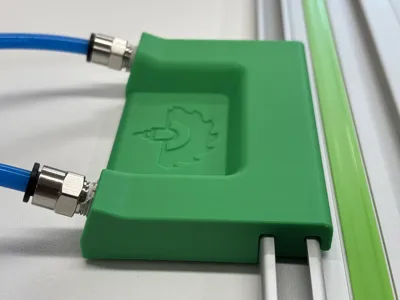
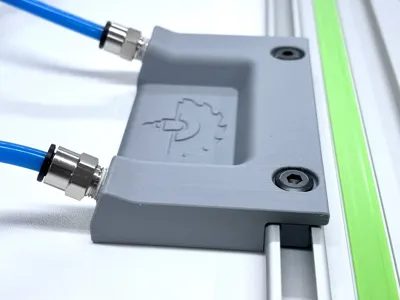
This vacuum clamp slides into the Festool guide rail and fixes it in place once vacuum is applied. It eliminates the need for mechanical clamps and makes it easy to use if your workshop is already equipped with a vacuum pump (which I can highly recommend as there are so many different applications).
Key benefits
- Highest safety by designing for vertical printing. Similar clamps are often printed horizontally which creates weak points in the most critical areas (z-layer separation). This design is from the ground up designed for this print orientation.
- Ease of use: Just slide it in and apply vacuum - no screws needed
- Efficient, low material usage: The vertical print orientation allows to put material where it is really needed, e.g., no need to fill up the vacuum chamber. One clamp is only around 50 grams
- Ergonomic fitting orientation tilted towards the side (vs. parallel to the rail) for easier distance adjustment between 2 clamps using a fixed pneumatic tube length
- Tested print profile and real life testing, designed for high strength and printability
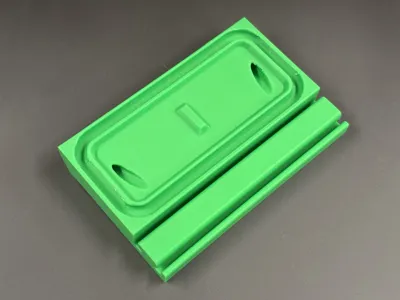
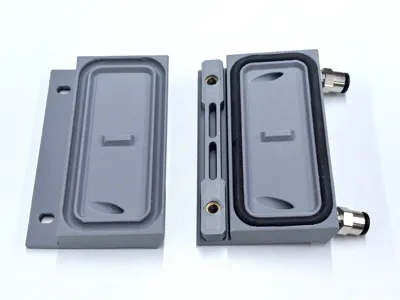
- 2 versions depending on your needs
- Single port version: Typically used as end piece in a 2-pcs configuration together with the dual port version. Reduces the need and cost for plugging the 2nd port.
- Dual port version: Use directly for daisy-chaining if you use 2 pcs or more connected to the same vacuum pump
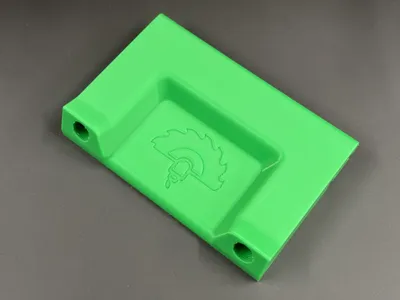
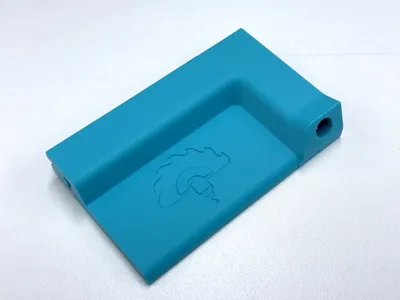
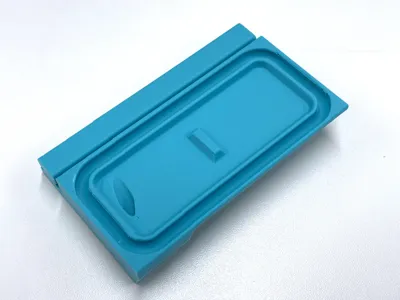
- 3 variants
- Festool only (originally released version, single piece unibody design)
- Festool / Makita / Triton (single piece unibody design)
- Festool / Makita / Triton (assembled 2-piece design with separate slider for better rail tolerance adjustment))
Boost Me (for free)
If you like the work I am doing, please leave a boost. I really appreciate your support. Thank you very much!
Usage instructions
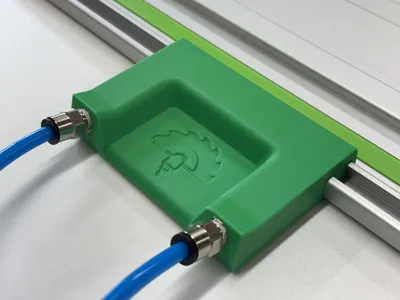
- Connect the pneumatic tubes to the vacuum clamps and the vacuum pump
- Slide in the vacuum clamps onto the guide rail
- Position the guide rail for the cut of the workpiece
- Potentially required: reposition the vacuum clamps so they are on a sealed, clean & flat surface
- Turn on the vacuum
- Check the secure fit
- Do the cut with the track saw (considering all standard safety measures and requirements)
- Turn off the vacuum and remove the guide rail
- Remove the vacuum clamps from the rail (or keep it there and just disconnect the tube connection to the pump)
Assembly instructions
- Print using the supplied profile (choose Festool or Makita version). Don't change the vertical orientation as the print will not work! I recommend printing the 2-pcs set:
- Dual port version
- Single port version
- Additional step only for the 2-pcs assembled version
Heat press 2 standard brass inserts (M5, diameter 6 mm, length 7 mm) per slider. Press in from the bottom (opposite side of the screw head) to minimize risk of pulling out the insert. For optimum positioning, press in about 1 mm below the surface (see picture)

- Parts list (2 per slider needed):
- Screw in the pneumatic fittings
- Be gentle, no need for extra force, not needed to screw in entirely, ideally use an Allen key instead of a wrench to for better alignment
- Optionally soften the material with a heat gun or torch prior to screwing in the fitting to reduce the risk of layer separation. Using a thread cutter or a modified pneumatic fitting (with cut grooves to act as a thread cutter) is also a good idea.
- Mount the seal (cut to length and glue with PA glue; I recommend cutting in 45°)
- Attach a vacuum pump and you are ready to go
Collection
All my vacuum related designs can be found in this collection
Additional hardware required
- 5 mm foam seal, e.g.,
- https://amzn.eu/d/dGv3wjv as a cost efficient version (works perfectly well but a bit harder to mount)
- https://amzn.eu/d/6fLlTmm a bit more expensive but easier to mount
- PC6-01 pneumatic fittings (e.g., https://amzn.eu/d/fOVNi5r)
- Useful starter set including pneumatic fittings and tubes (e.g., https://amzn.eu/d/br2hIfl)
- CA glue for closing the foam seal
- Vacuum pump
- I would recommend a strong version with 500+ Watts if you are planning serious work like clamping for sanding or routing. I am the using this one.
- If you want to try it out and have a fun project, you can build the smaller Filament Vacuum Pump (I would not recommend it for this use case as it might be too weak but is great to create a filament vacuum for storage)
Have fun printing and using this small gadget!
License
You shall not share, sub-license, sell, rent, host, transfer, or distribute in any way the digital or 3D printed versions of this object, nor any other derivative work of this object in its digital or physical format (including - but not limited to - remixes of this object, and hosting on other digital platforms). The objects may not be used without permission in any way whatsoever in which you charge money, or collect fees.
Comment & Rating (53)