
Gravitrax base plate original compatible FIXED
Print Profile(1)

Description
Recently, I decided to print “Gravitrax light base plate original compatible” by @ninjds to test its compatibility. Unfortunately, after only printing ¼ of a full 30x30cm build plate, I found some flaws in the design, especially with the connectors, which I then left a 4-star at first, but quickly updated to 3 stars after discovering another problem, and almost wanted to update it to 1-2 stars after discovering ANOTHER problem in Fusion 360. I found 3 problems:
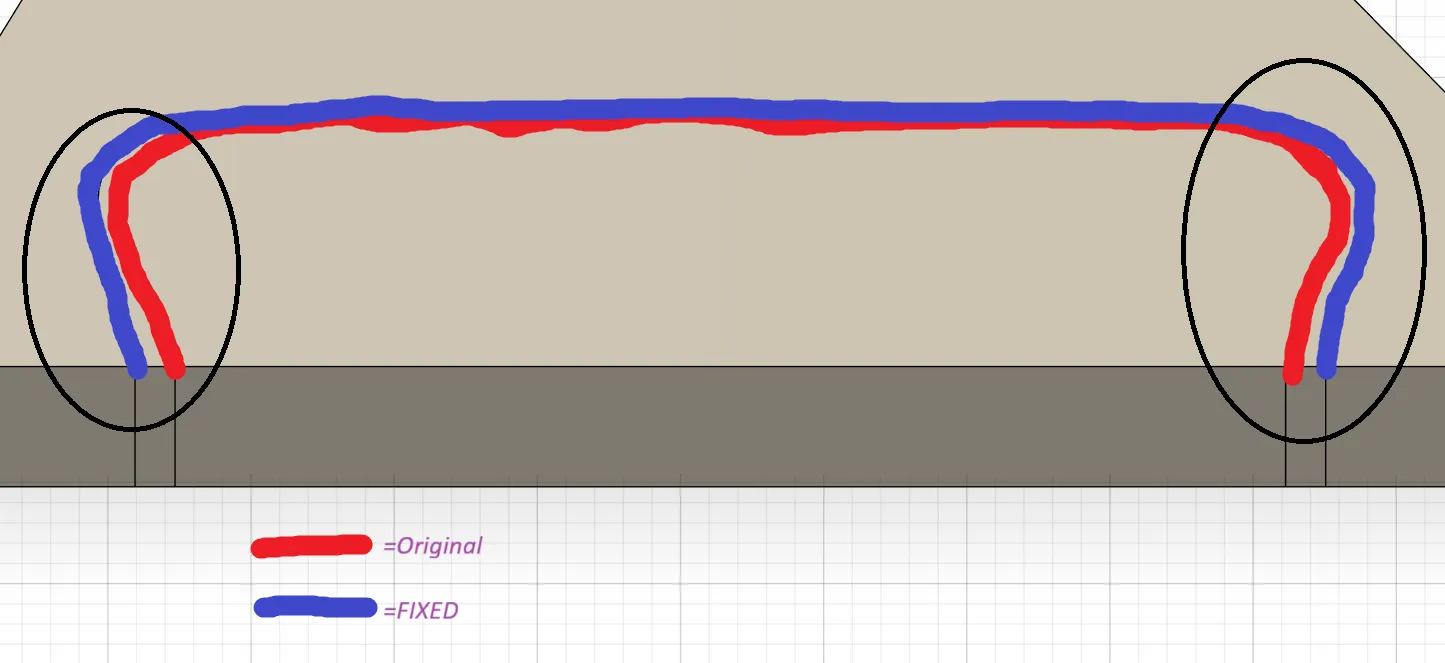
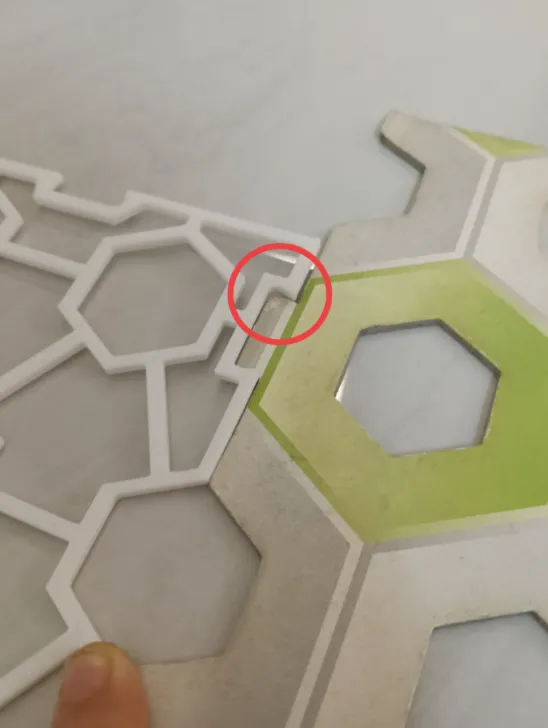
Firstly, the connections used in the Thingiverse model that was also used in @ninjds original model is poorly designed. The inner connections do not fit into the original build plates. I have found out why. There is a difference between the original and the connector based on Schleifi123's (Thingiverse) GraviPlateConnector (100% (or 99% to be honest) compatible). See picture below for reference.
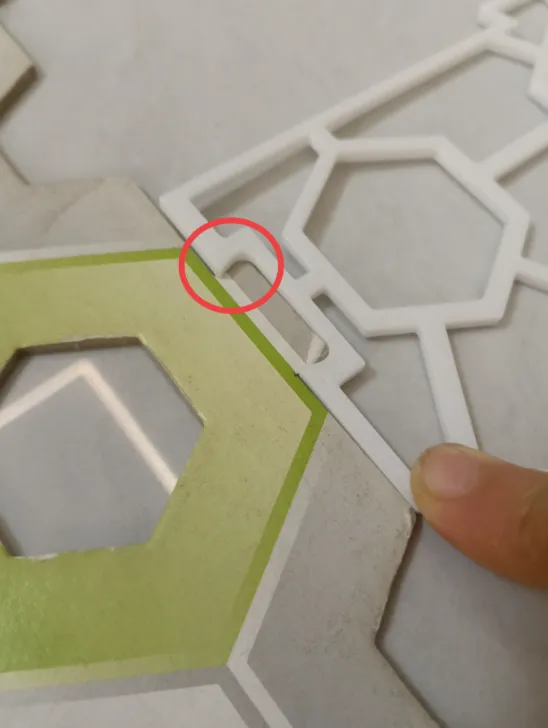
2. The outer connections fits too loosely.
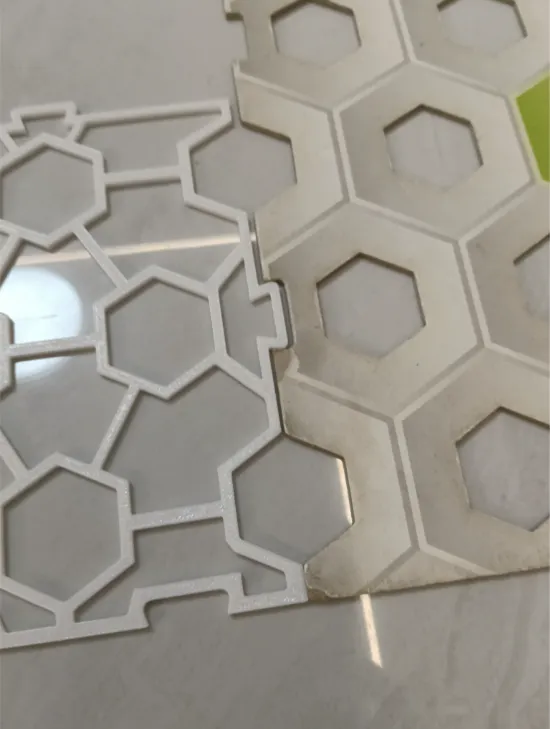
This proves that even a slight mistake in the sketch makes it impossible to connect the original build plates to the original model properly.
3. The height of base plate should be 3mm, not 2.7.
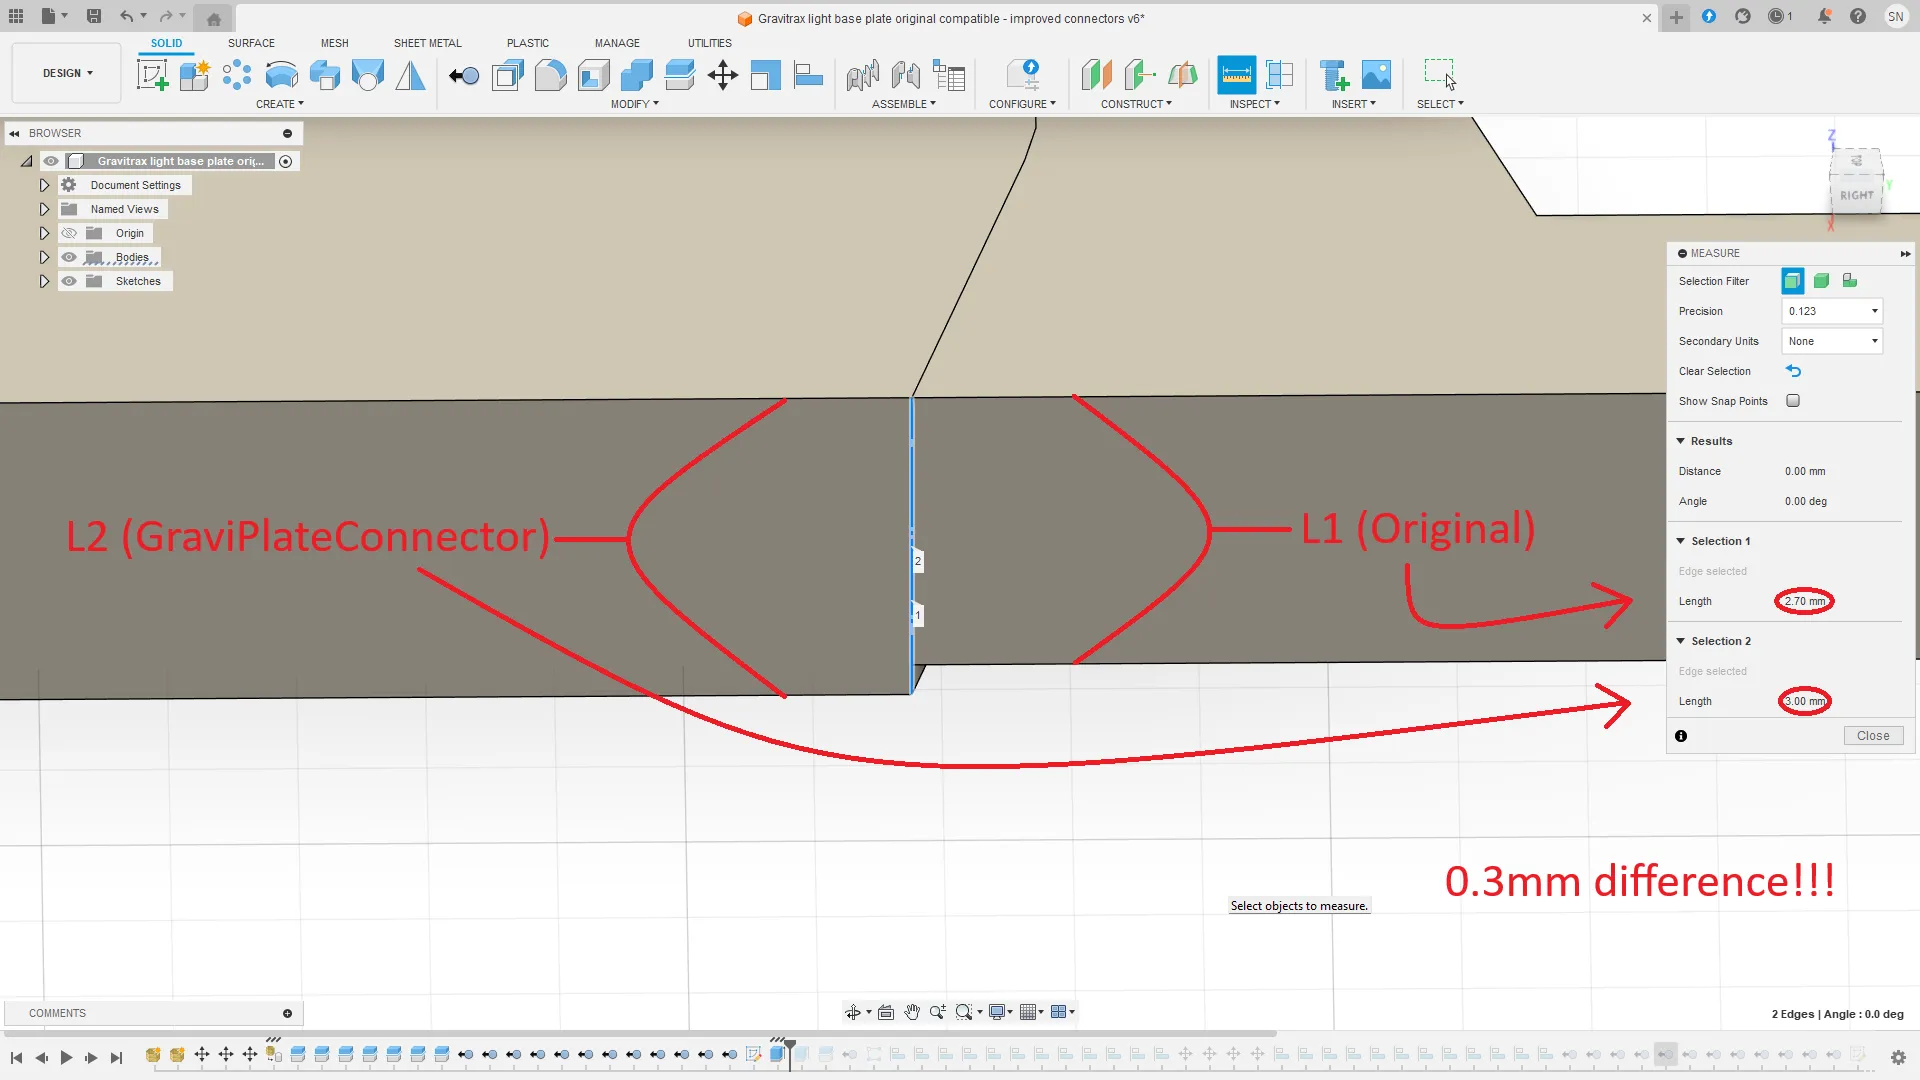
To fix this, I came up with an idea. I had so much trust on the GraviPlateConnector on Thingiverse that I got use of it in my designs that connects with original build plates e.g. https://makerworld.com/en/models/1797114-gravitrax-compatible-base-v2-2?from=search#profileId-1916046. I did that by splitting out the connector on the GraviPlateConnector, left a 0.1mm tolerance and filleted some edges by 0.4mm.
I also extruded the base plates by another 0.3mm, since 3 - 2.7 = 0.3mm, to match the height of the original build plates.
However, the pieces fit a little loose to me. Feel free to adjust the x - y hole/contour conpensation on Bambu Studio on the Quality section or use glue, just like what I did.
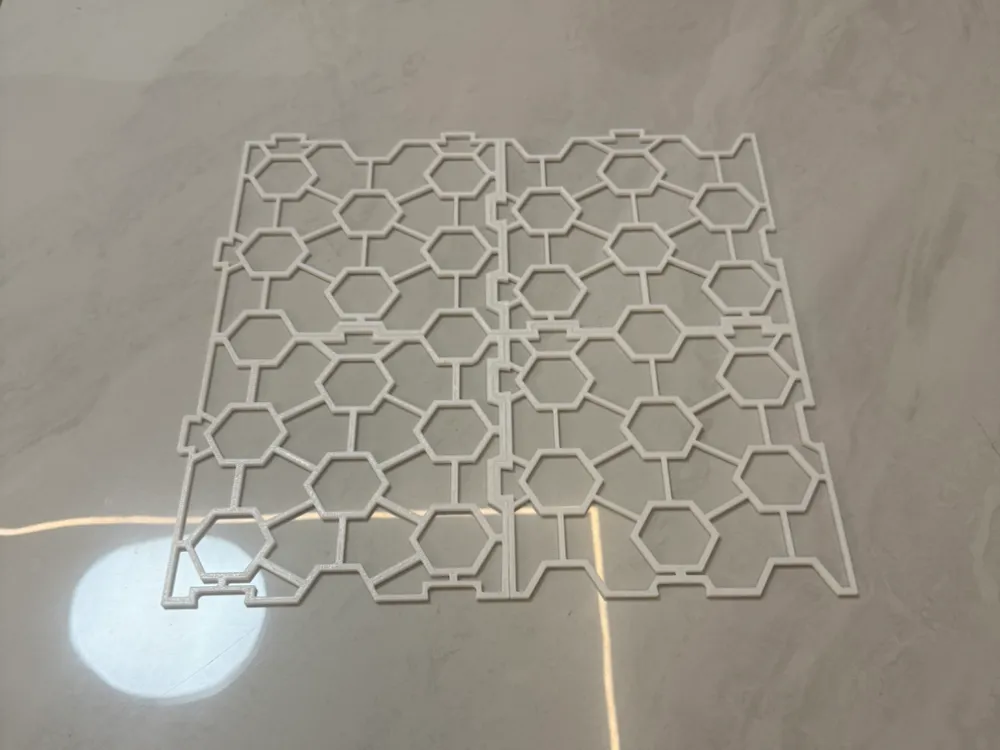
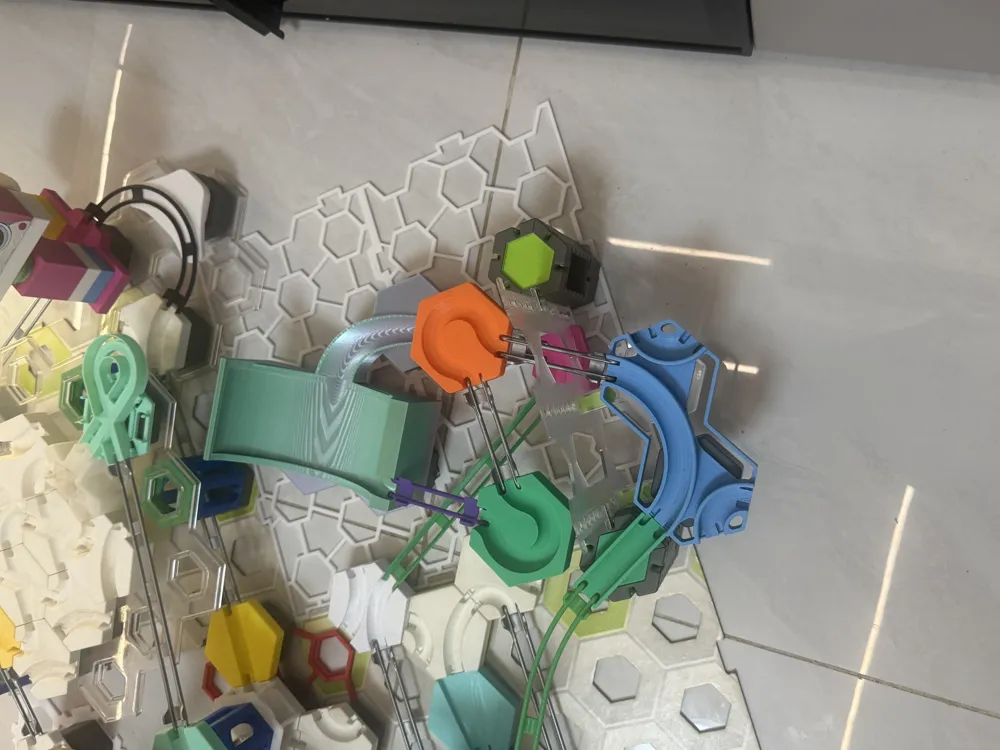
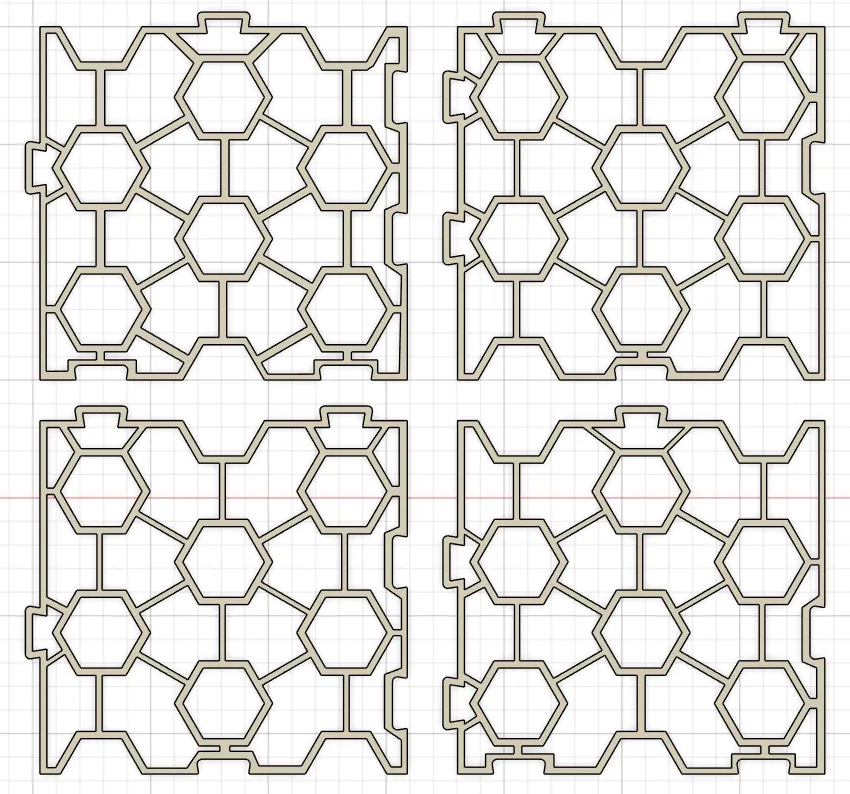
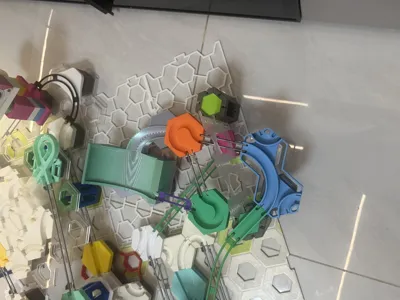
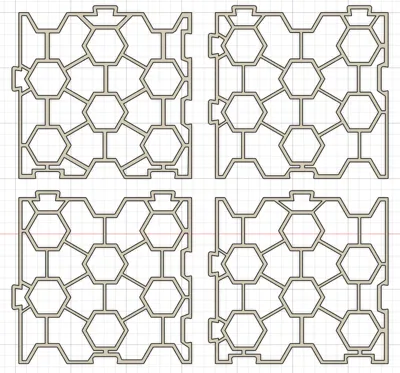
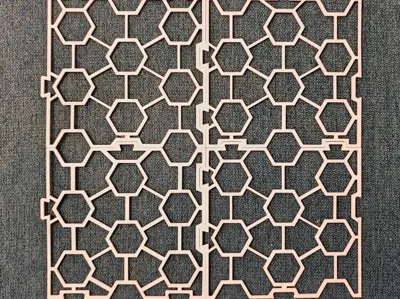
The first 2 pictures are the real-life print images of my remix and the last one shows how I designed this.
Hope you enjoy this remix model ;)
Tip: If you download the STL's and load it into your slicer other than Bambu Studio, for a 0.4mm nozzle please set the layer height to 0.25mm. Using the original model's profile (0.27mm), it is accurate when the base plate is extruded by 2.7mm (2.7 / 0.27 = 10 layers), but the extrusion must be 3mm, and 0.27mm layers just leaves a difference of 0.03mm, so I wanted it to be perfect by using 0.25mm layers. 0.2mm is also possible, but the slicer slices it into 15 layers, while with 0.25mm layers it slices only 12 layers, making printing time slightly faster. Otherwise, if you have Bambu Handy/Bambu Studio + at least 1 Bambu Lab printer, then just use the provided print profile on this model.
This remix is based on

License



Comment & Rating (24)