Search models, users, collections, and posts

Print Profile(1)

0.2mm layer, 3 walls, 10% infill
Designer
22 h
5 plates
Open in Bambu Studio
Boost
72
184
3
2
93
24
Released
Description
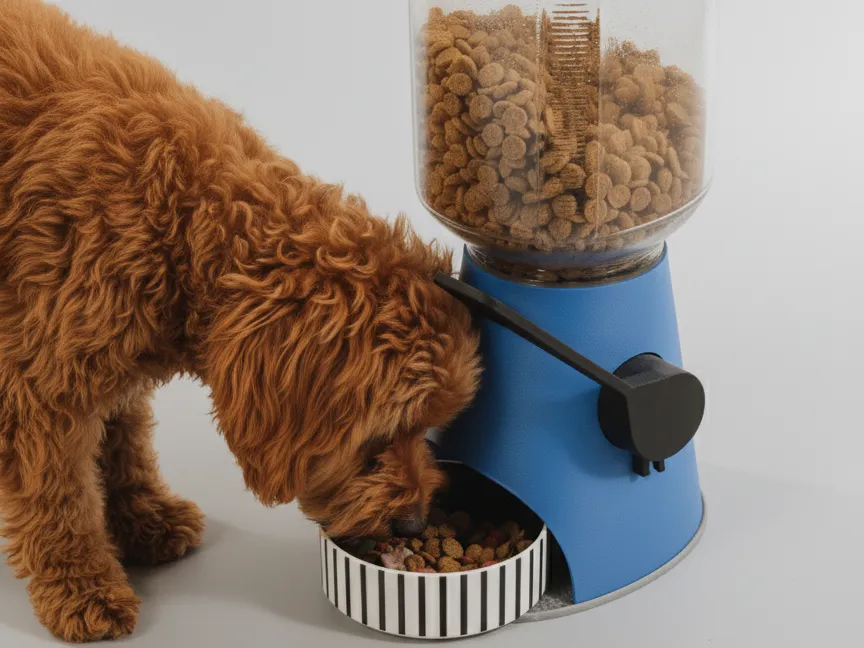
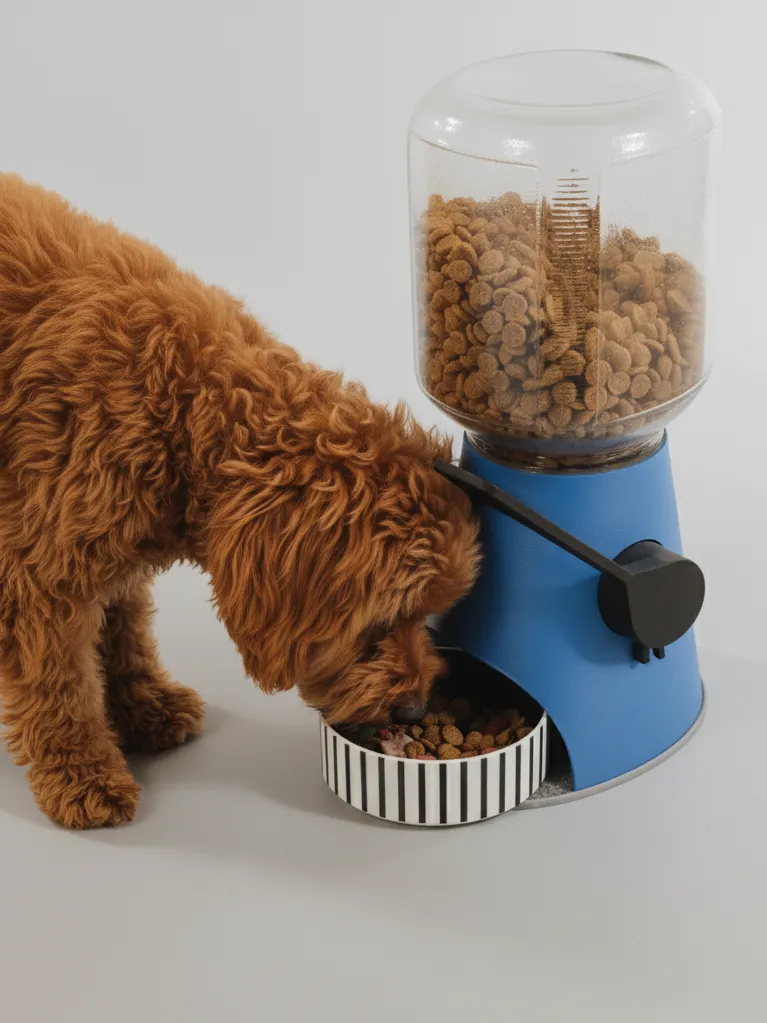
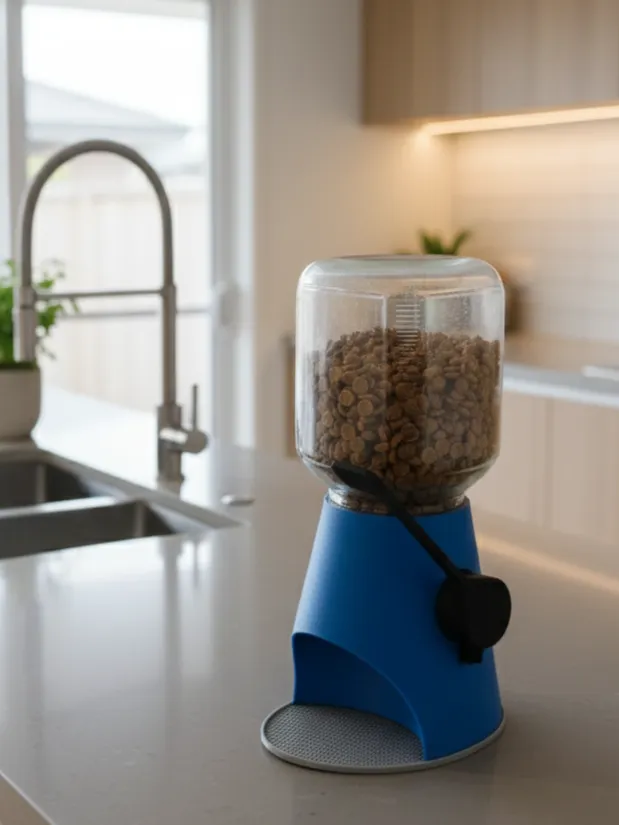
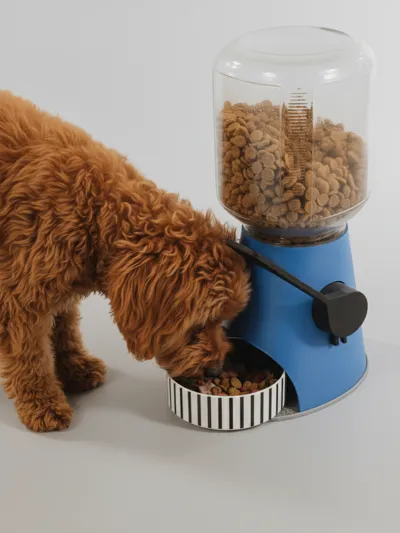
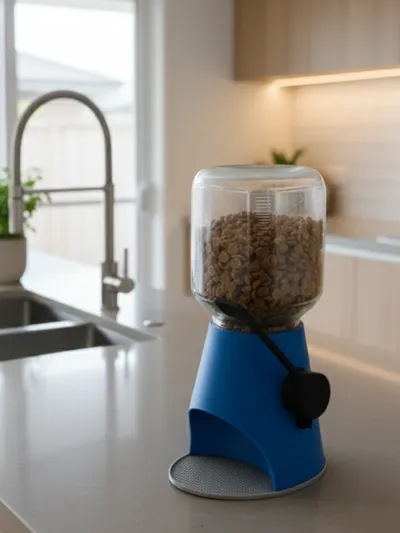
Rotary Cup Kibble Dispenser
A modular kibble dispenser that works similarly to a candy dispenser. Designed to screw directly onto a compatible glass jar or container, it allows you to portion out kibble or treats easily using a rotary cup mechanism.
Features
- Glass Jar Compatibility: Fits jars/containers with an 11.5 cm outer diameter top.
👉 Important: Print the included Fit Tester Ring first to ensure it matches your jar before printing the full model. This saves both time and filament. - Two Portion Options: Includes two dispensing cups (small and large) so you can select the portion size best suited for your pet.
- Optional Drip Tray: Comes with an optional TPU drip tray to catch spilled kibble and fine kibble dust, helping keep the feeding area clean.
- Food-Safe Printing: Should only be printed with food-safe filaments such as PETG. Ensure your printer is well calibrated to achieve smooth surfaces and minimize kibble dust buildup.
- Surface Finish: The model uses Fuzzy Skin on the exterior for a better visual appearance.
- You can turn it off in slicer settings, but it’s highly recommended to keep it enabled, as it helps hide common surface defects (especially in large prints).
- Stick to the included print settings/profile for best results, since they’re tuned specifically for this design.
- Interchangeable Design: Modular parts allow easy swapping of cups and straightforward cleaning.
Attribution
The dispensing mechanism is based on the excellent Cat Treat Dispenser with Interactive Lever (https://makerworld.com/en/models/634652-cat-treat-dispenser-with-interactive-lever#profileId-559904) by BlainLeVilain (https://makerworld.com/en/@BlainLeVilain).
Assembly Guide
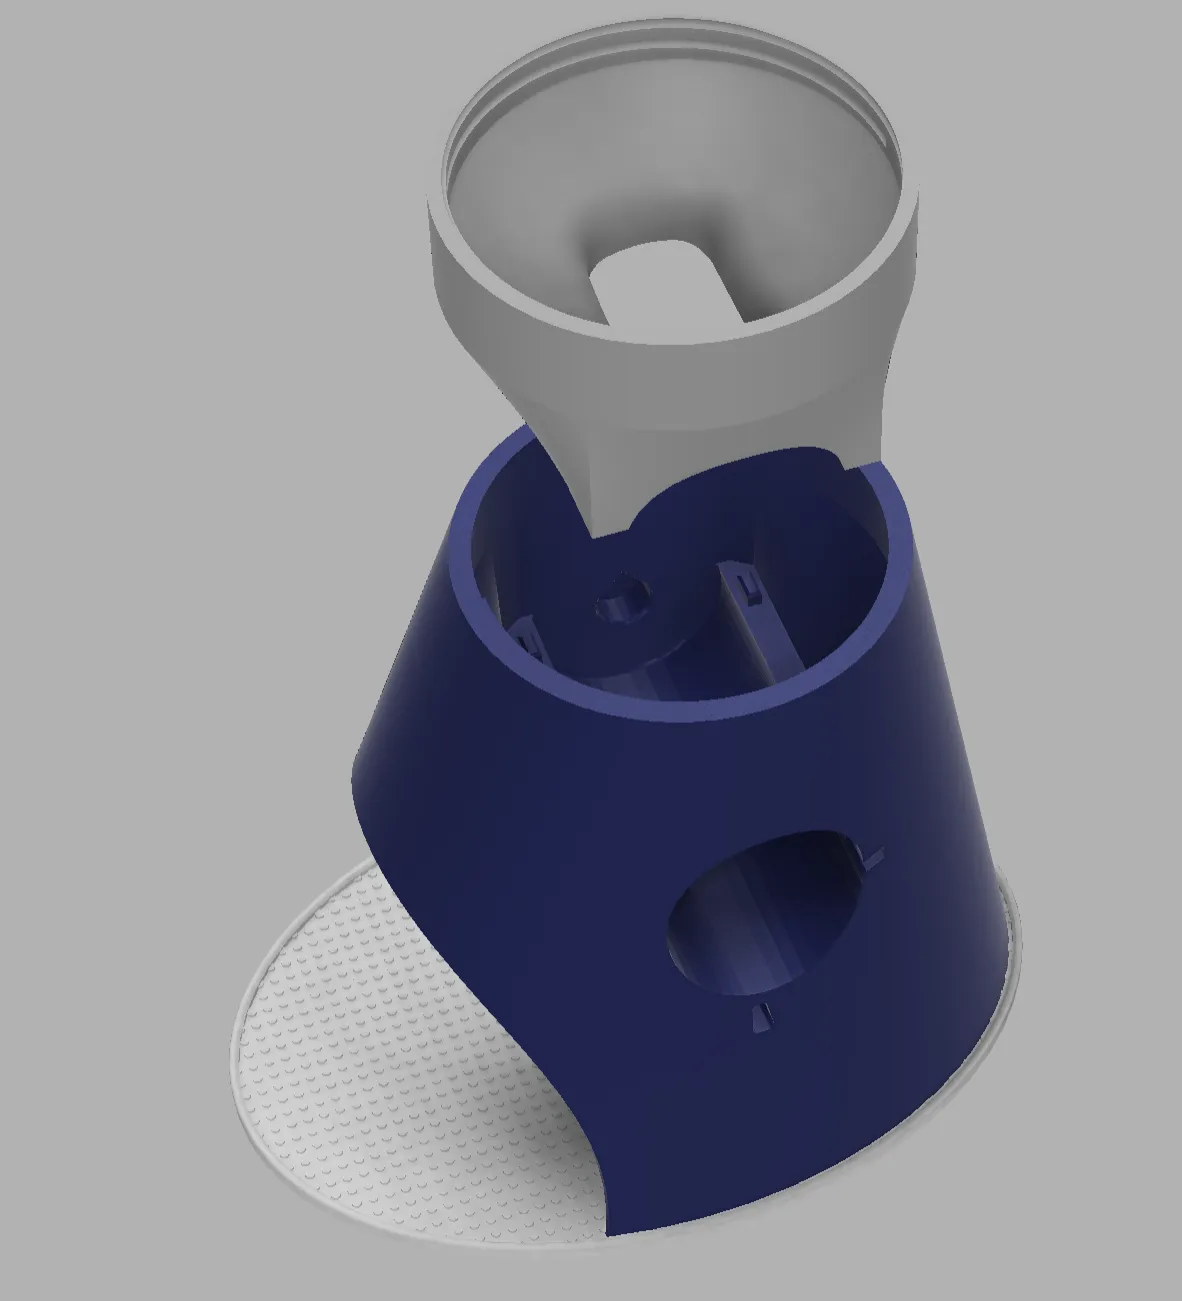
Step 1: Insert Hopper
Insert the hopper into the base.
- The hopper has two types of legs: flat legs and curved legs with an extra edge.
- Align the flat legs with the side of the base that has the round opening.
- Push the hopper down until it sits flush inside the base.
Step 2: Assemble the Handle and Cup
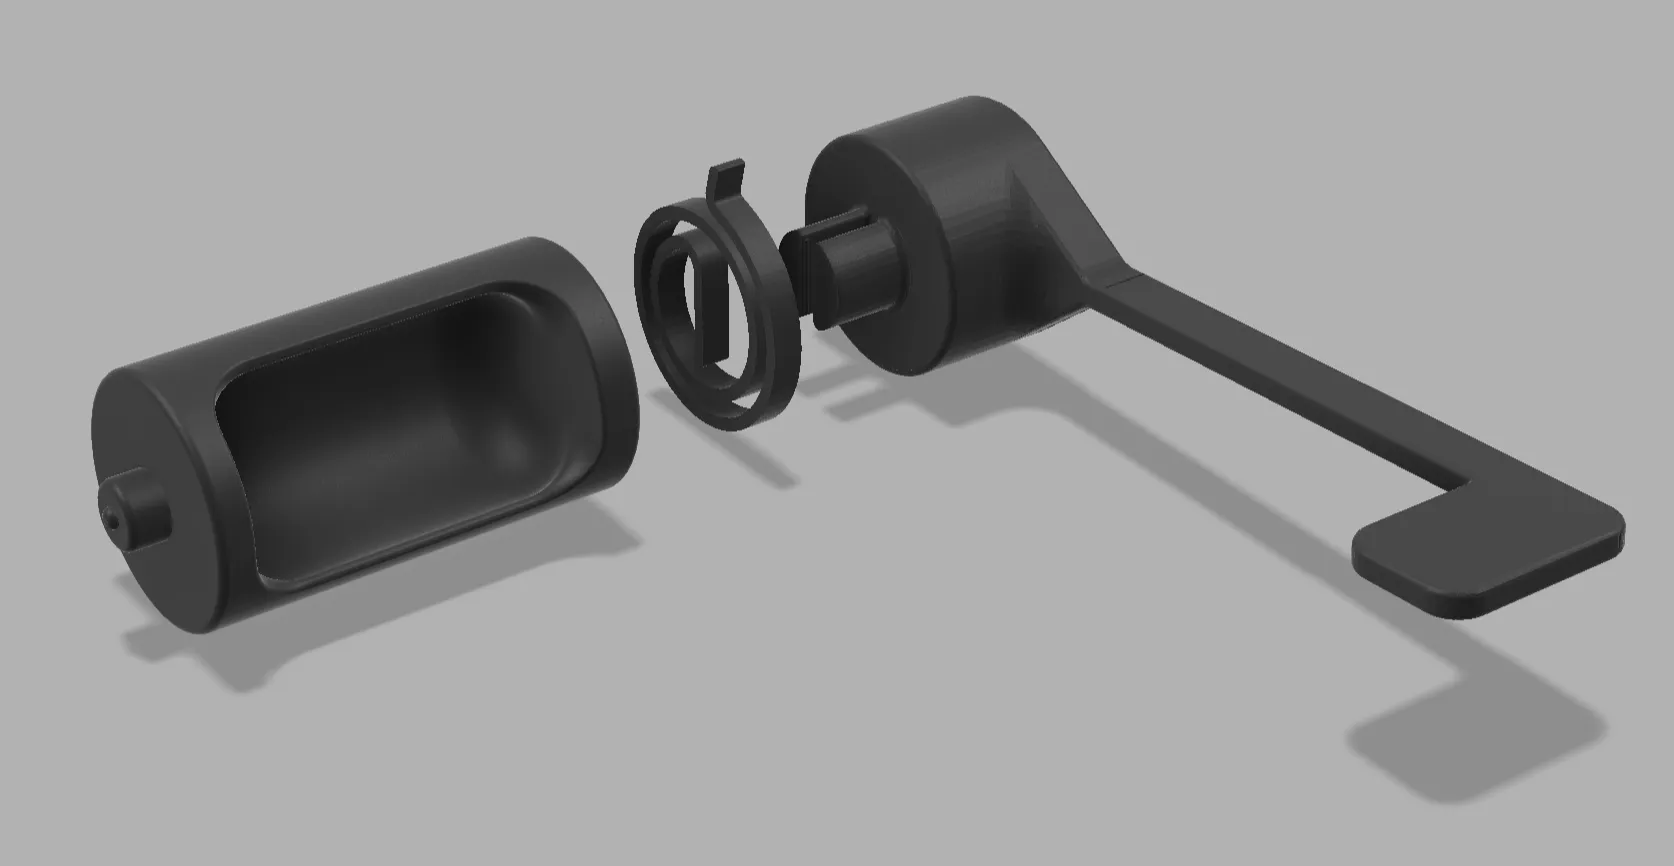
Assemble the handle, spring, and dispensing cup.
- Place the spring onto the handle shaft.
- Ensure the spring orientation matches the illustration: one end should catch against the base later.
- Attach the dispensing cup to the shaft, making sure it locks in place.
Step 3: Insert the Handle Assembly
Insert the entire handle assembly into the main body.
- Insert it at the angled position shown in the illustration.
- Gently push until it seats into the hopper and base slots.
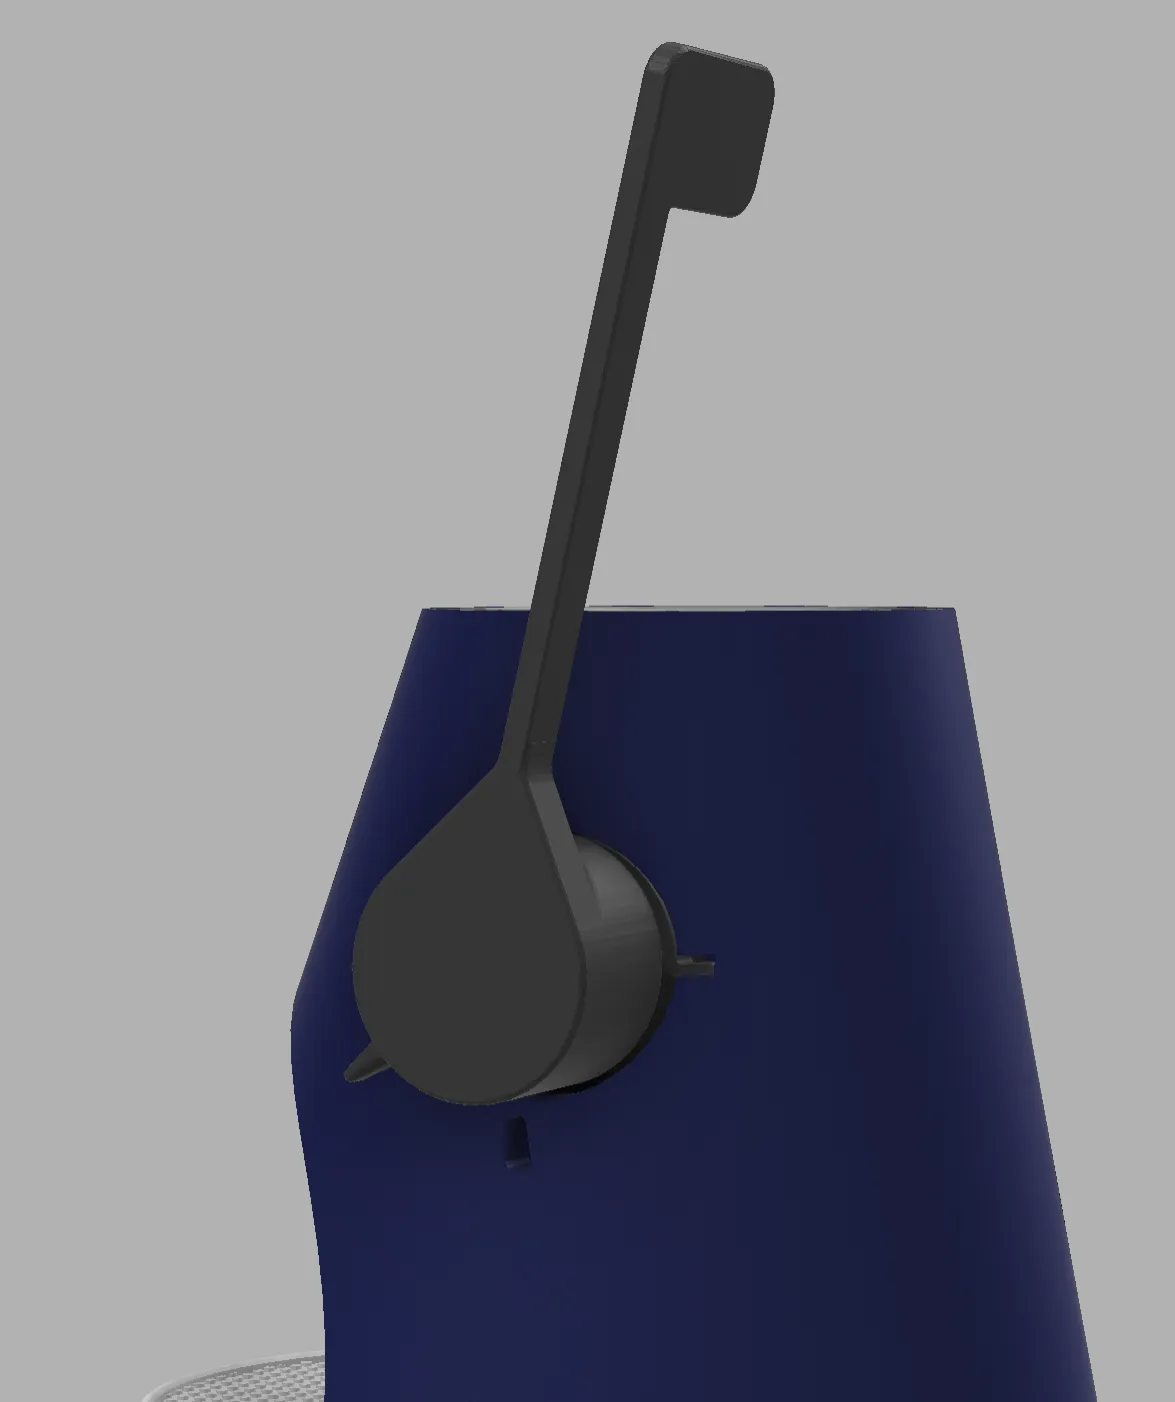
Step 4: Lock the Spring
Rotate the handle to the left until it reaches the illustrated position.
- You may need to turn the handle back and forth a few times to help the spring click into its proper slot.
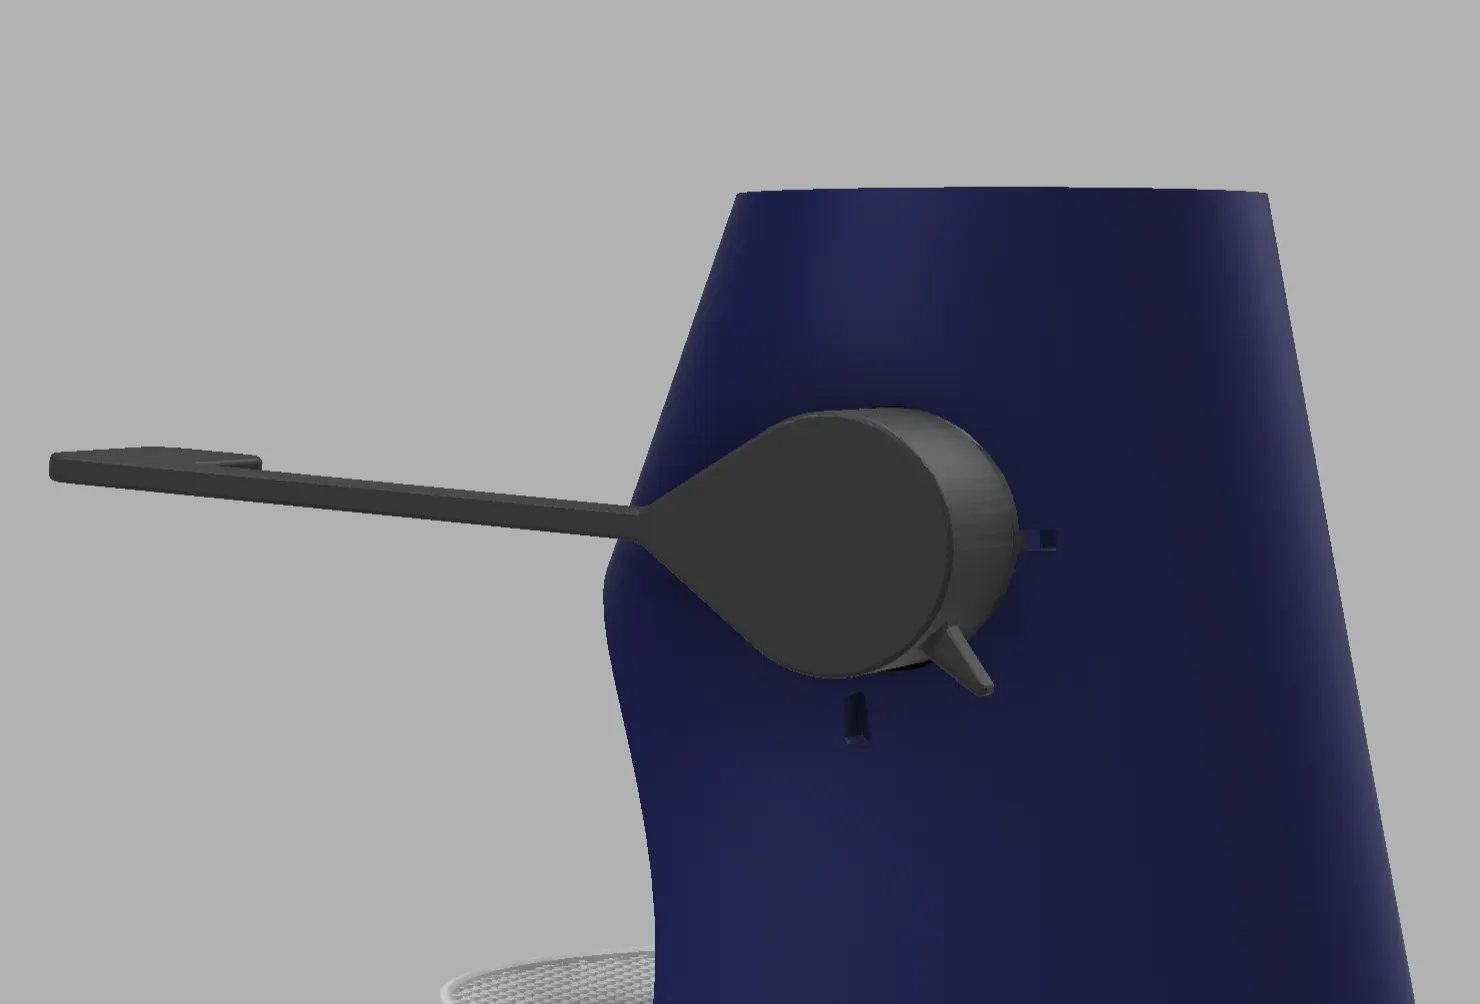
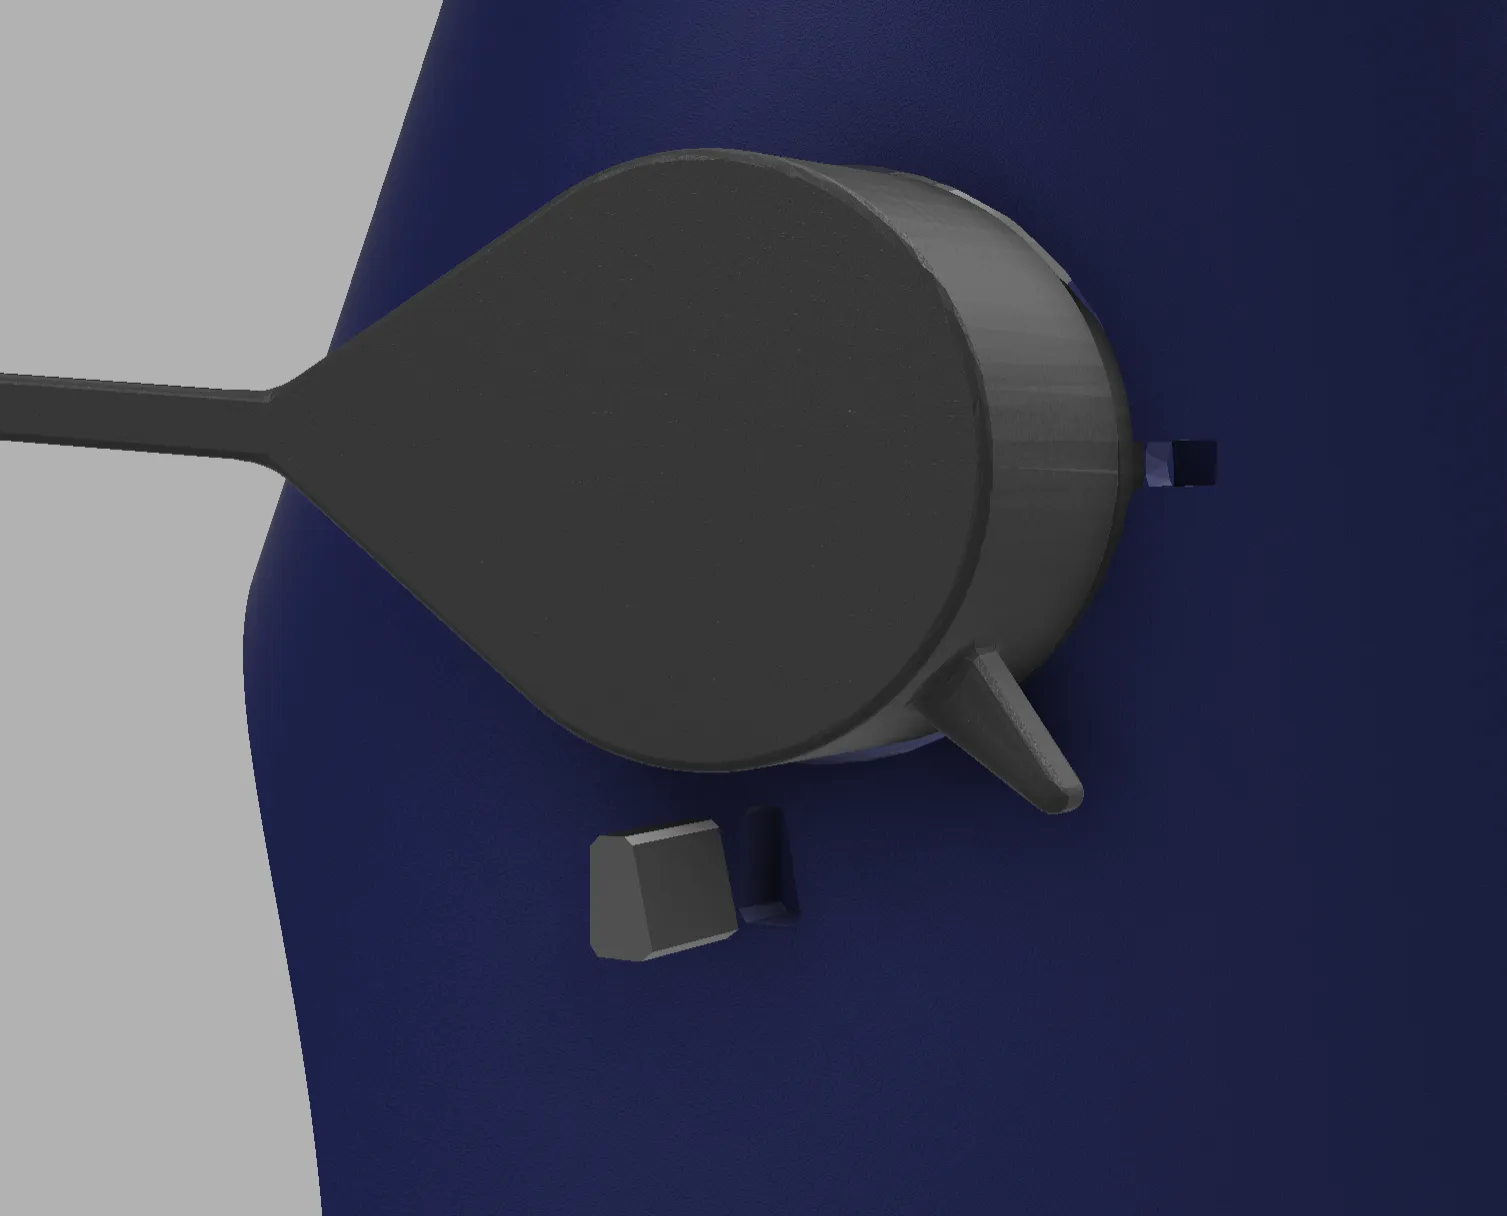
Step 5: Insert Stop Block
Insert the stop block into its slot on the base.
License

This user content is licensed under a
Creative Commons Attribution-Noncommercial


Comment & Rating (3)