Gun&Cheers V2- Can Opener V2


Print Profile(18)


Description
Membership
Boost Me (for free)
If you like the idea and want to, leave a boost here!! 🚀
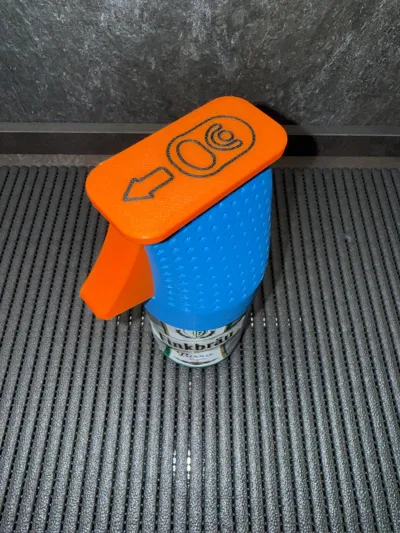
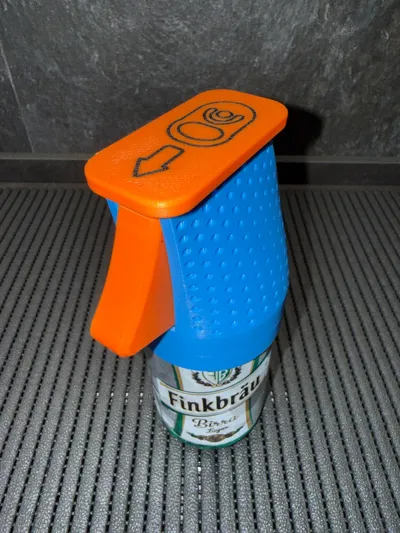
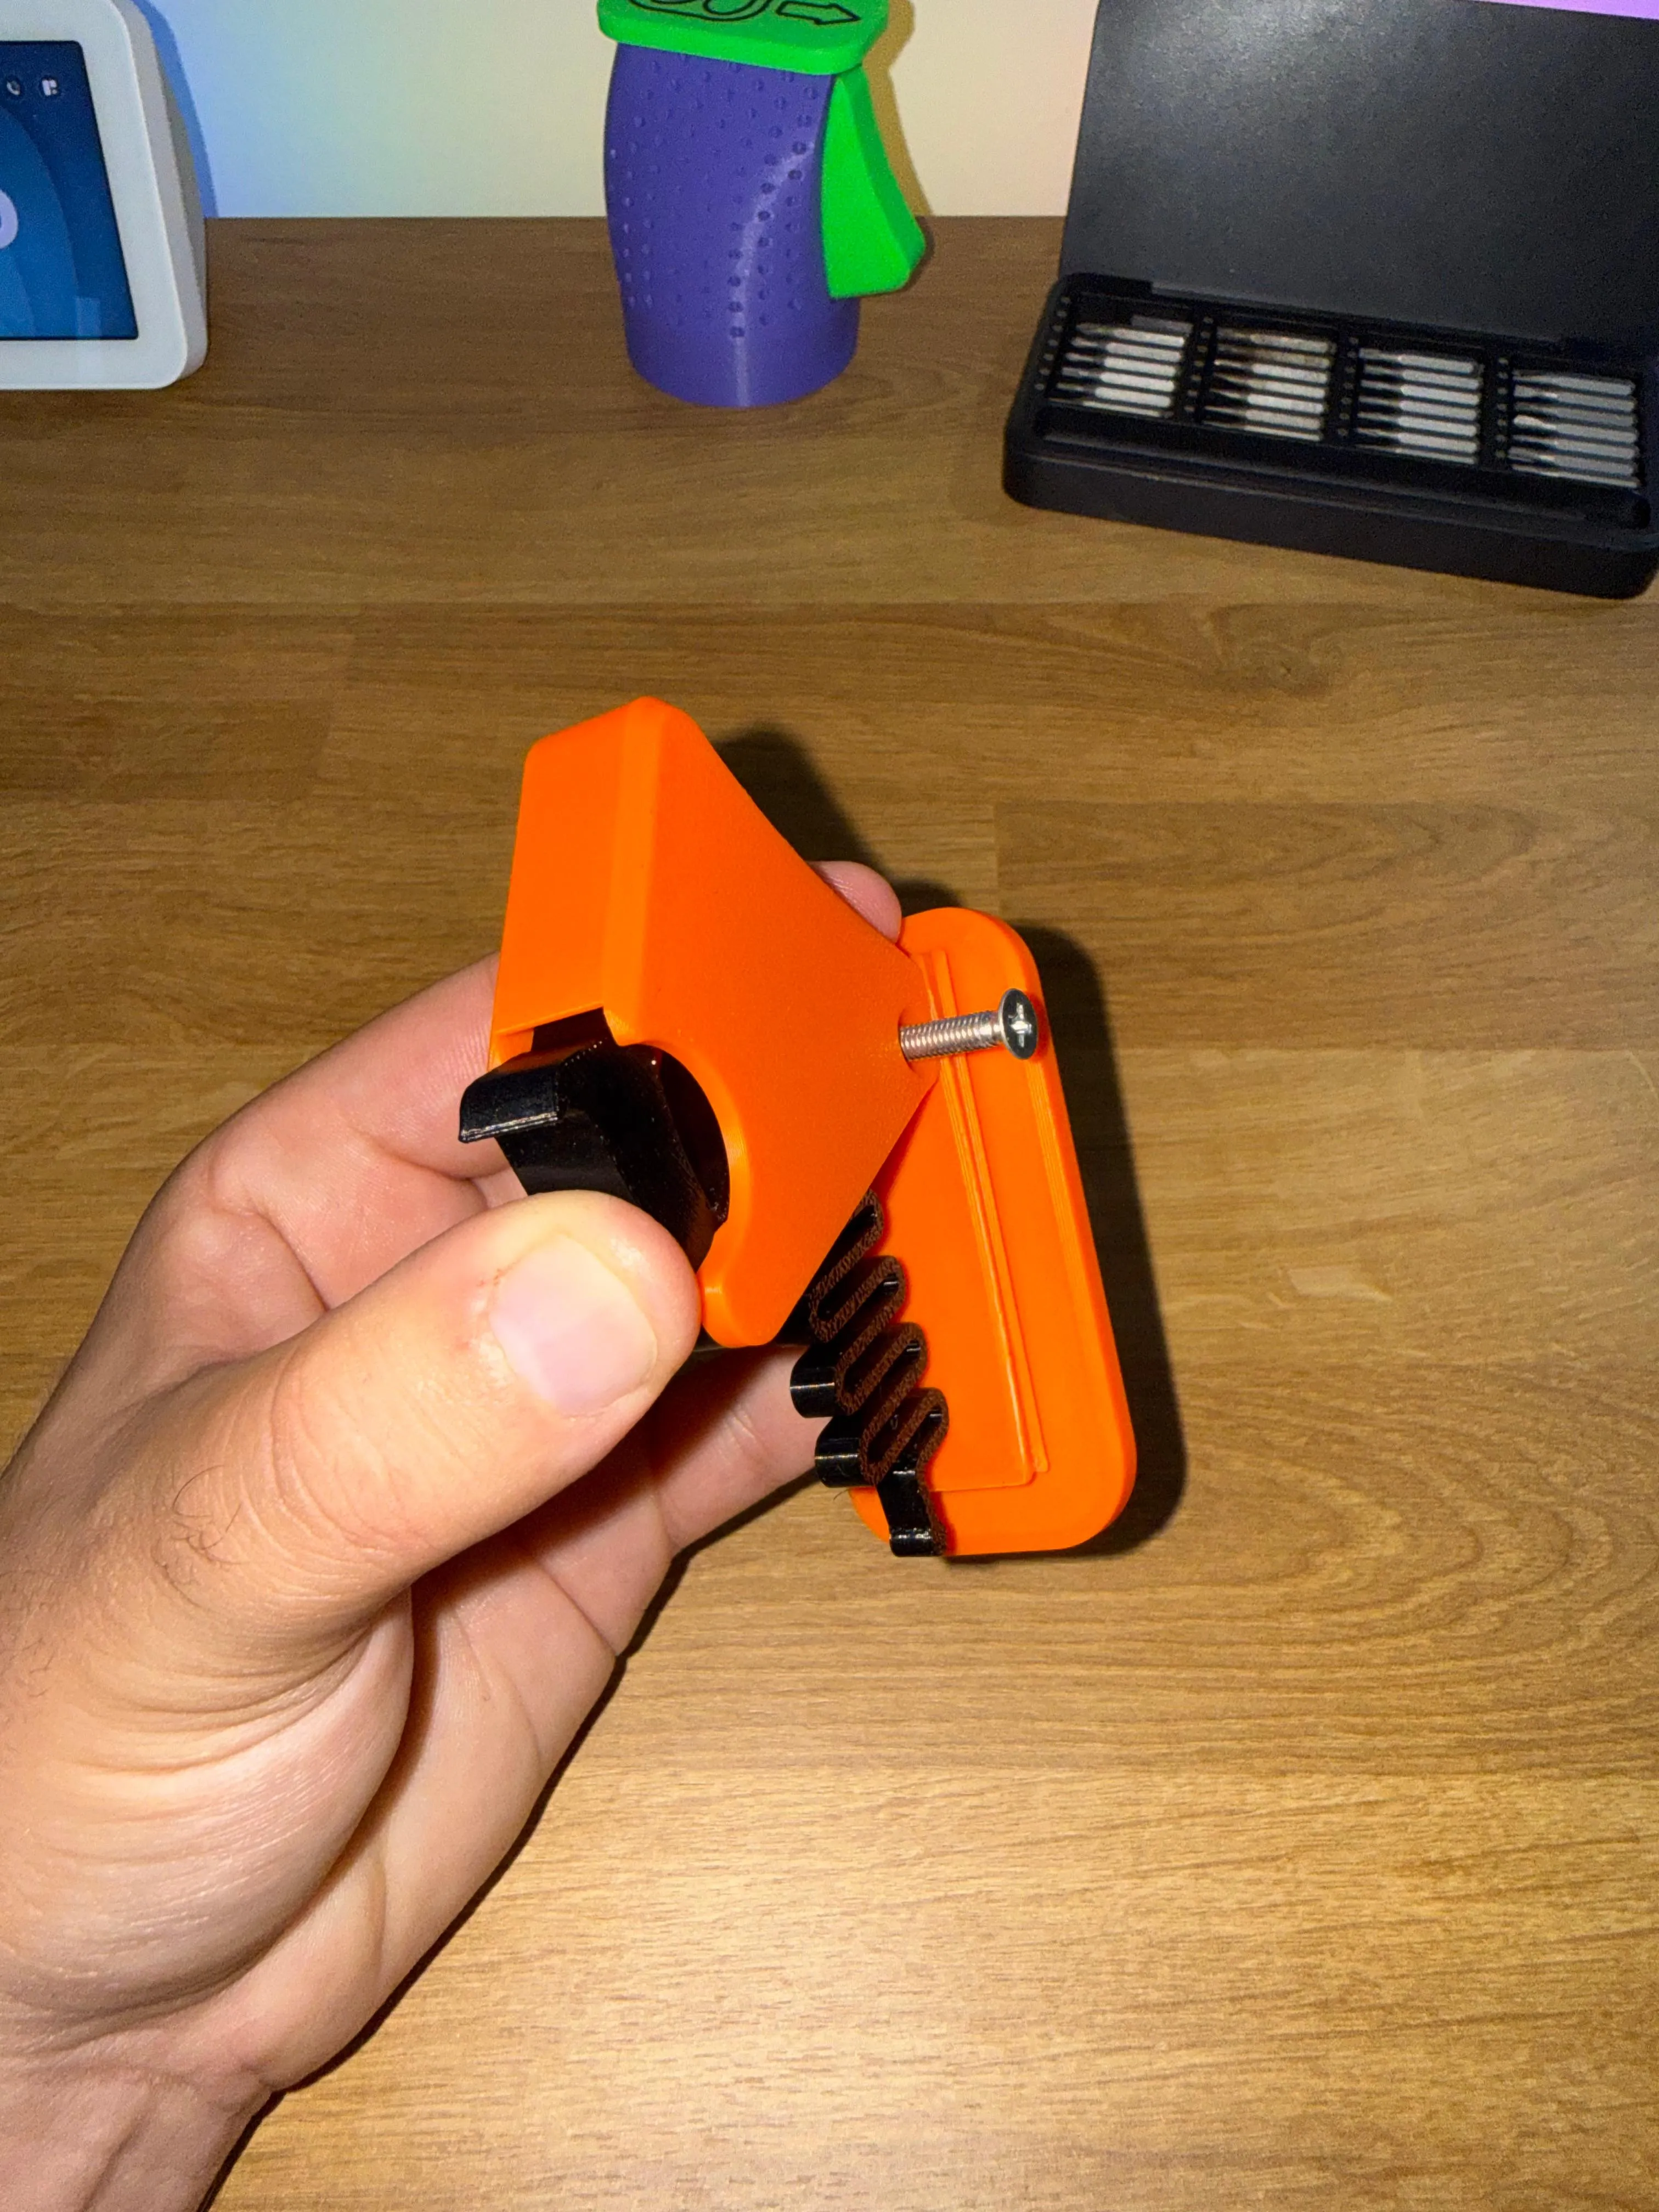
Gun stock-shaped can opener: shoot and the tab lifts in an instant! It assembles easily without glue, only an M4 16mm countersunk screw is needed. For strength and smoothness, the spring and hook should be printed in PETG (preferably not matte)
Compatible with standard 33cl cans with 66mm diameter, if you wish or need it, on my MakerWorld profile, the version for 330ml cans with 58mm diameter is available. 👇
[link](https://makerworld.com/it/models/1801280-gun-cheers-can-opener#profileId-1920877)


NOTE: For those who wish, the body of the object without a pattern has been added
ASSEMBLY:

STEP1:
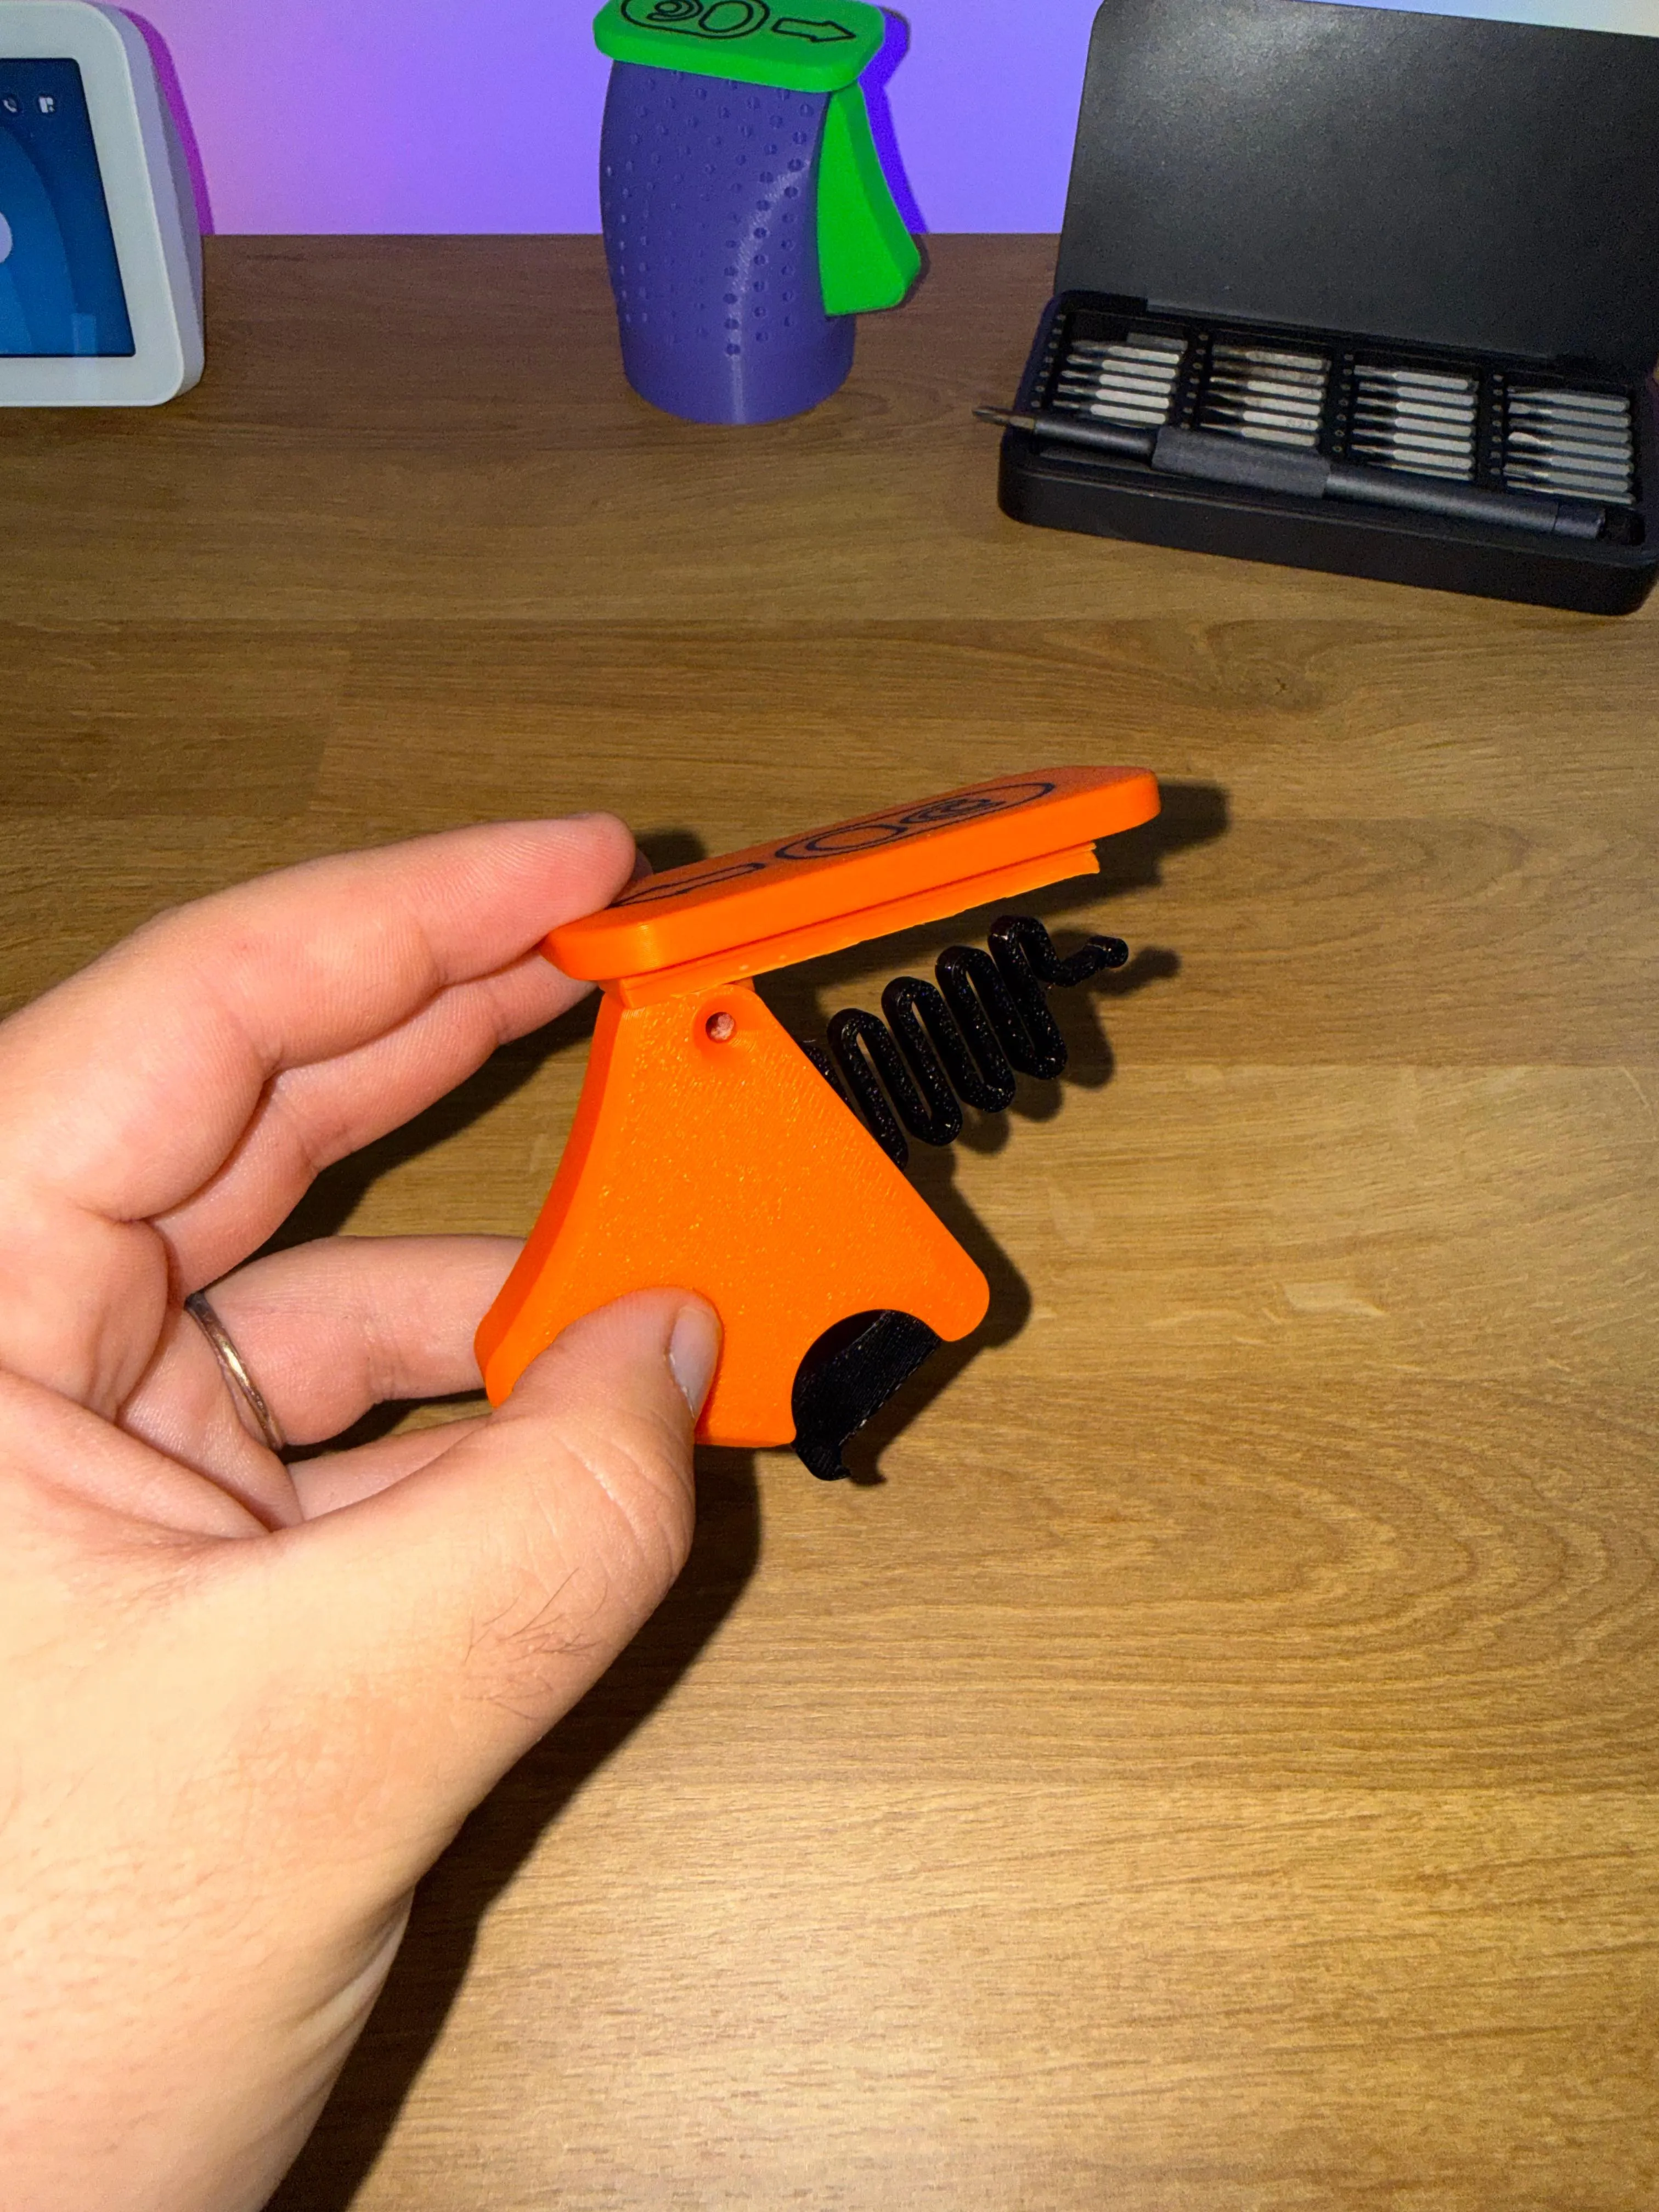
Insert the snake-shaped spring and the hook into their respective slots

STEP2:
Join the two halves containing the components

STEP 3:
Position the cover according to the orientation shown in the photo

STEP 4:
Insert the M4 nut into its designated slot

STEP 5:
Insert the M4X16mm screw and tighten. Adjust the tightness so that the mechanism moves smoothly
STEP 6:
Insert the block into the body, making sure the spring faces the bottom of the object


STEP 7:
Ensure the spring fits into the designated slot shown in the photo indicated by the arrow


STEP 8:
CHEERS

License
You shall not share, sub-license, sell, rent, host, transfer, or distribute in any way the digital or 3D printed versions of this object, nor any other derivative work of this object in its digital or physical format (including - but not limited to - remixes of this object, and hosting on other digital platforms). The objects may not be used without permission in any way whatsoever in which you charge money, or collect fees.
Comment & Rating (1357)