
Nano drone frame V2
Print Profile(3)

Bill of Materials

Description
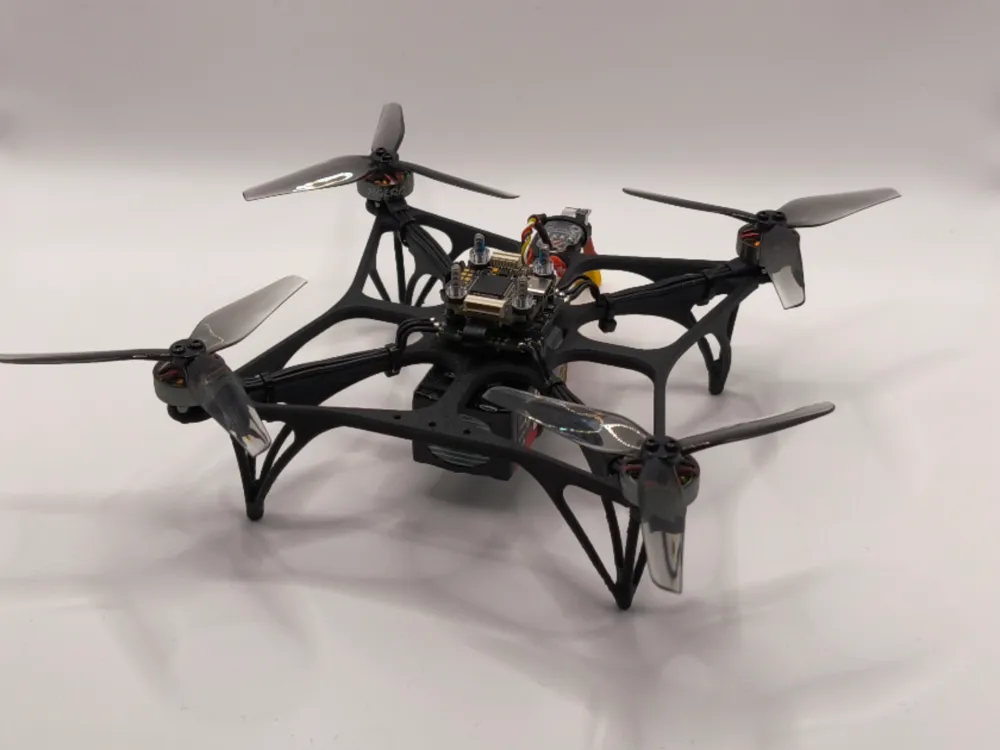
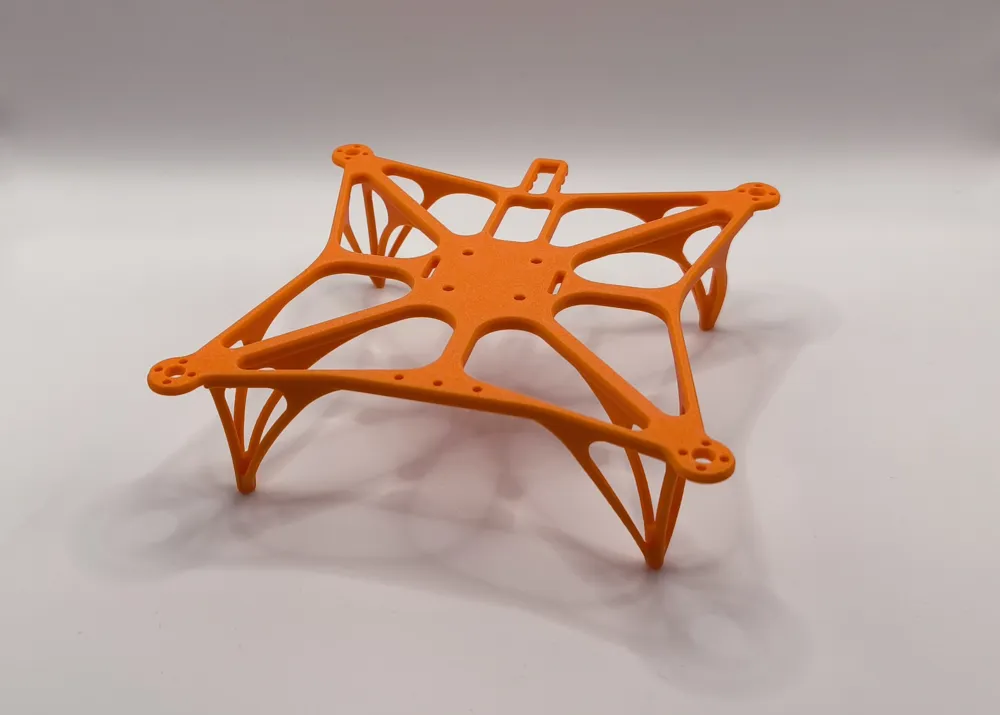
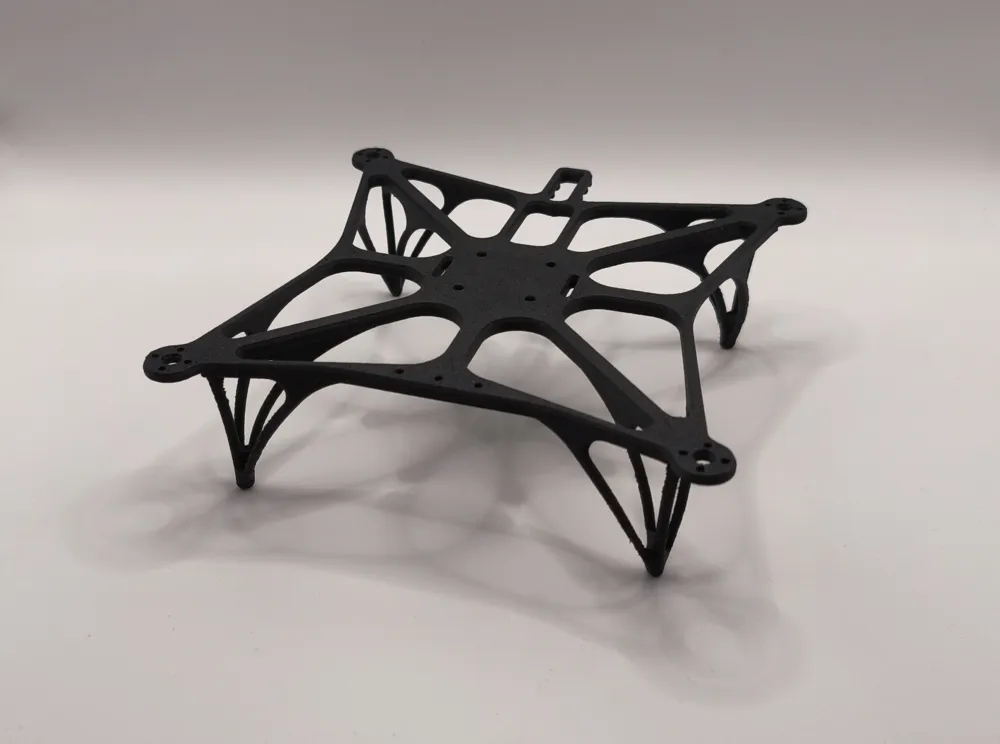
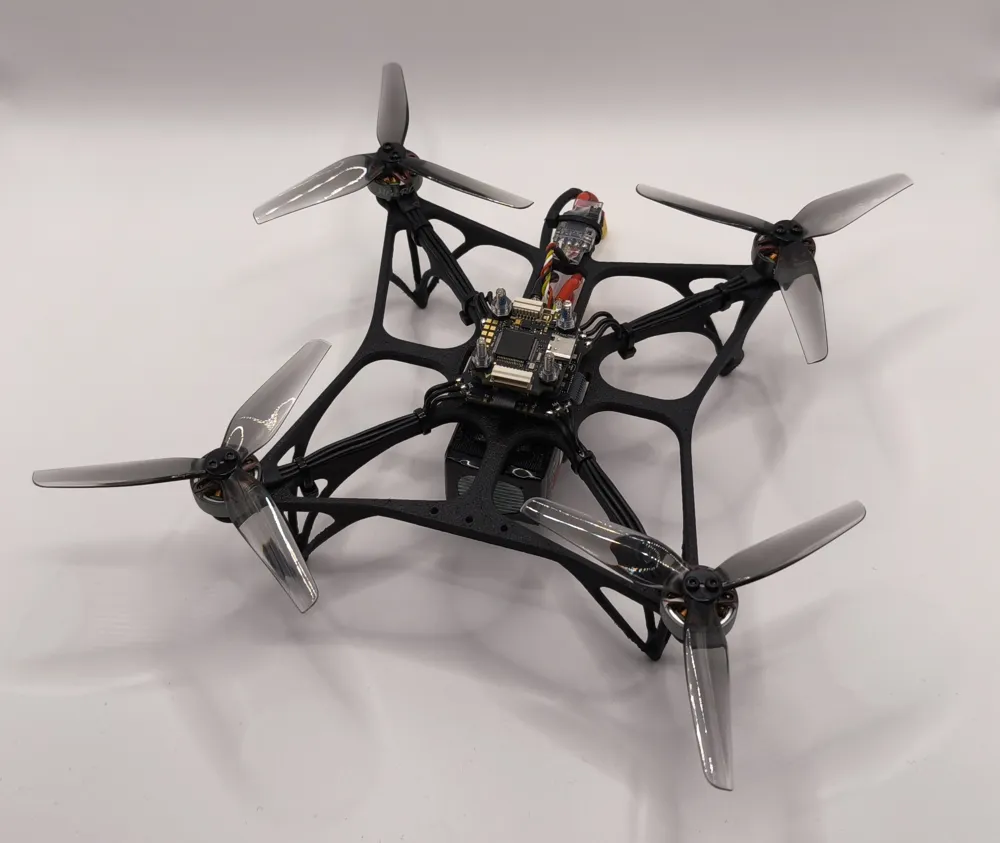
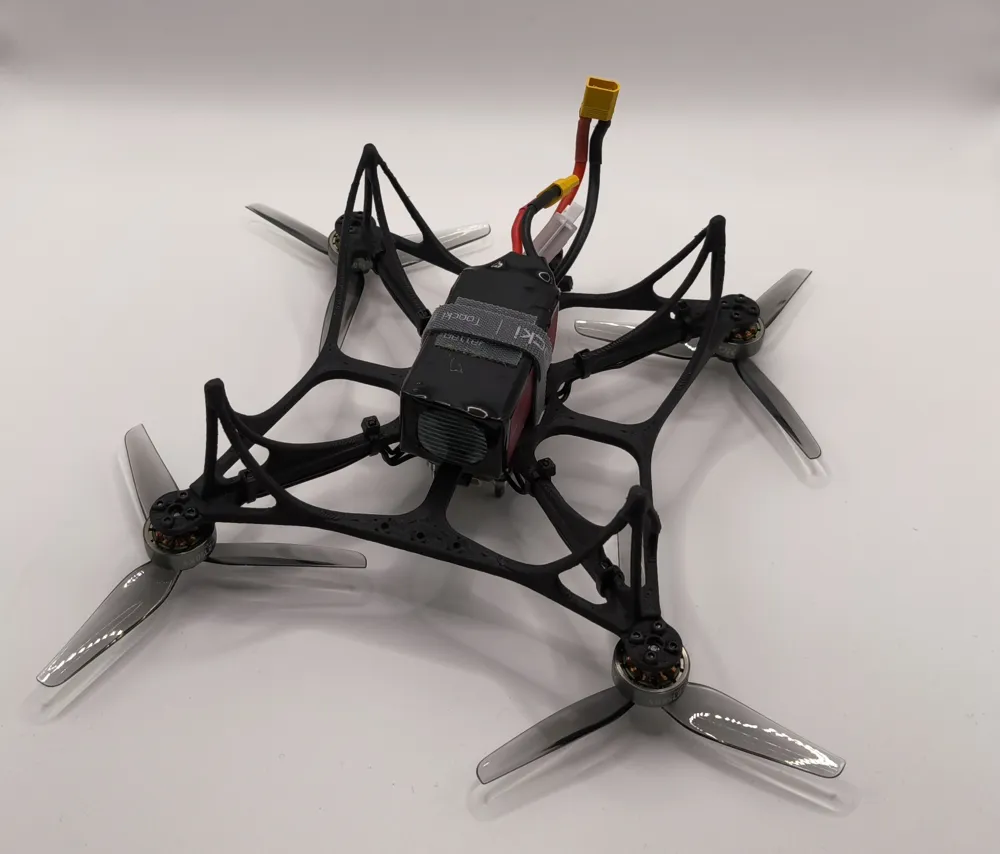
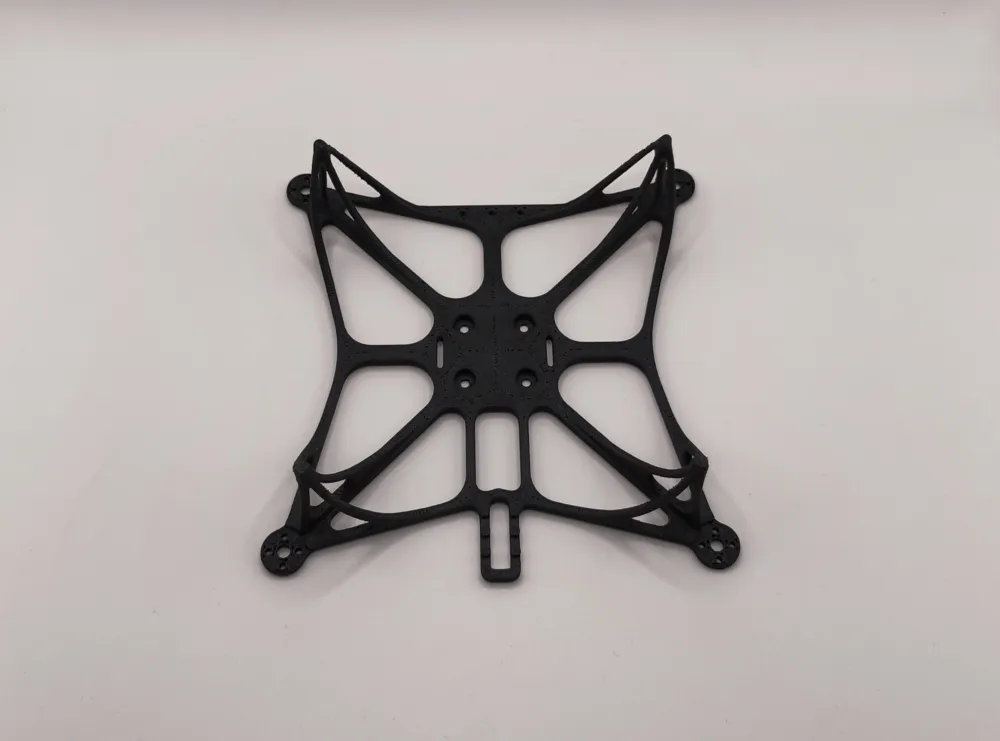
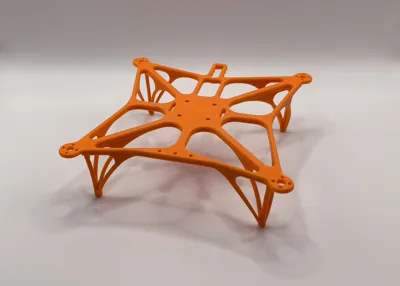
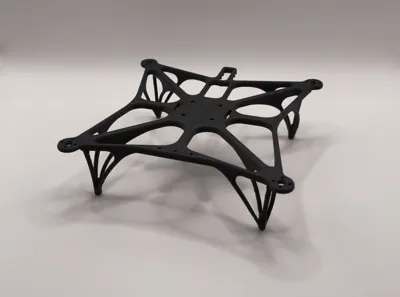
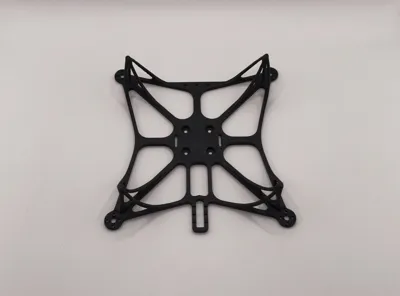
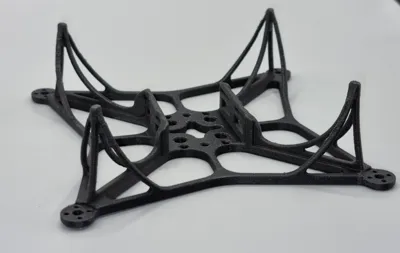
A nano drone frame weighing at just 32g (*depends on material and slicer settings). Prefect for making your sub 250g drone.
A new, improved V2 version is now available.
V2 update
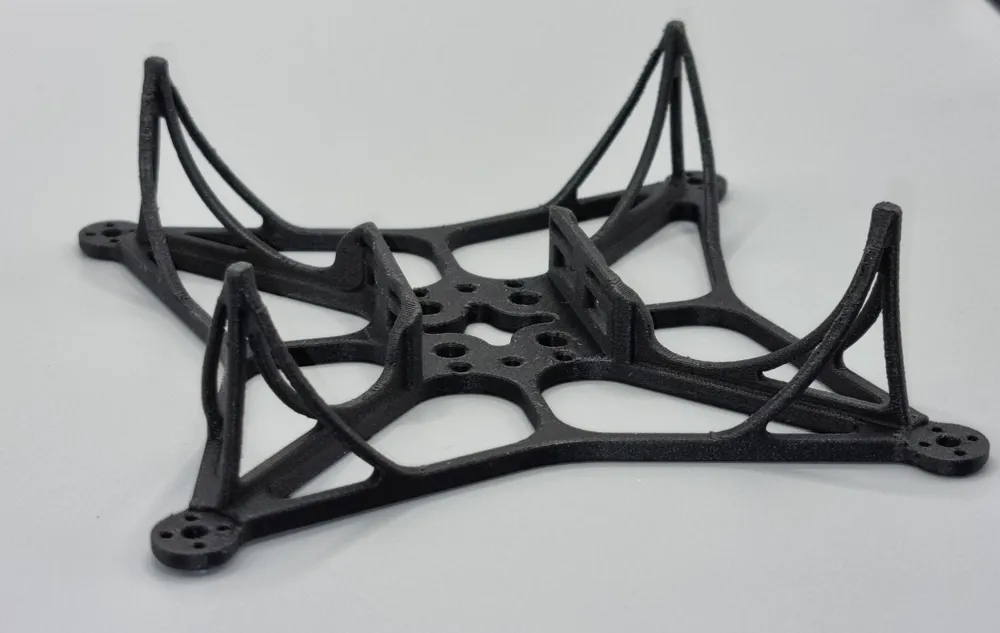
- Stronger landing feet.
- Thickened frame.
- Removed battery side walls.
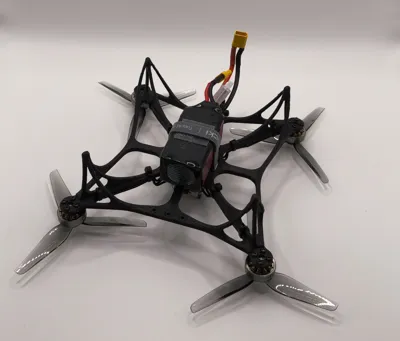
- Added slits for a battery strap.
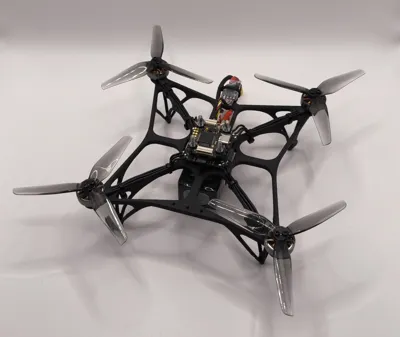
- Added mounting for the receiver at the back.
- Added mounting holes in the front for an optional camera mount.
- Overall, V2 is even lighter by 2g with the same slicer settings.
The new V2 is an improved version of the original model. It allows for better mounting of the electronics and doesn't constrain the battery size.
The electronics are now mounted with M3 screws, which are inserted from the bottom.
Battery side walls were removed, and I now use velcro with an additional strap to hold it securely in place.
Features
- Motor mounting holes spaced at a 9mm diameter and made for M2 screws.
- Controller mounting points on a 20x20mm grid
- V1 - holes made for low-profile M4 heat set inserts.
- V2 - holes made for M3 screws inserted from the bottom.
- Weighing at only 32g (depends on material).
- Battery compartment width at 36mm.
- Removed in V2 and added slits for a strap.
- Neighboring propeller gap at 20mm with 4" propellers.
- Additional mounting holes for M3 screws.
- V1 - M3 screws around electronics mounting
- V2 - 3x M2 in the front
- An additional mounting option for the receiver with zip ties at the back - V2.
Printing
V2 doesn't have any overhangs, so it is much easier to print.
It is relatively easy to print, but I recommend going slow due to the thin, long pieces for the legs. My speeds range from 50mm/s for external perimeters up to 100mm/s for the rest. You may want to go even slower.
There are a few bridges you need to be aware of.
I recommend you use a Nylon based filament so you can use ASA for support interface material at 0mm Z spacing. This requires the AMS system to print effectively. ASA sticks poorly to Nylon and has a similar print temperature. It works similarly to PLA / PETG combination.
Regarding material selection, I recommend using PA6-GF filament or any other glass fiber reinforced filament. Carbon fibers may interfere with radio transmission. While you can use them, I suggest extensive testing in this case.
Boost Me (for free)
Thank you for supporting me.
License

You shall not share, sub-license, sell, rent, host, transfer, or distribute in any way the digital or 3D printed versions of this object, nor any other derivative work of this object in its digital or physical format (including - but not limited to - remixes of this object, and hosting on other digital platforms). The objects may not be used without permission in any way whatsoever in which you charge money, or collect fees.


Comment & Rating (2)