
Off-road camper like Maturi - 1:64 scale
Print Profile(2)


Description
Hello everyone!
Before you start printing, please note:
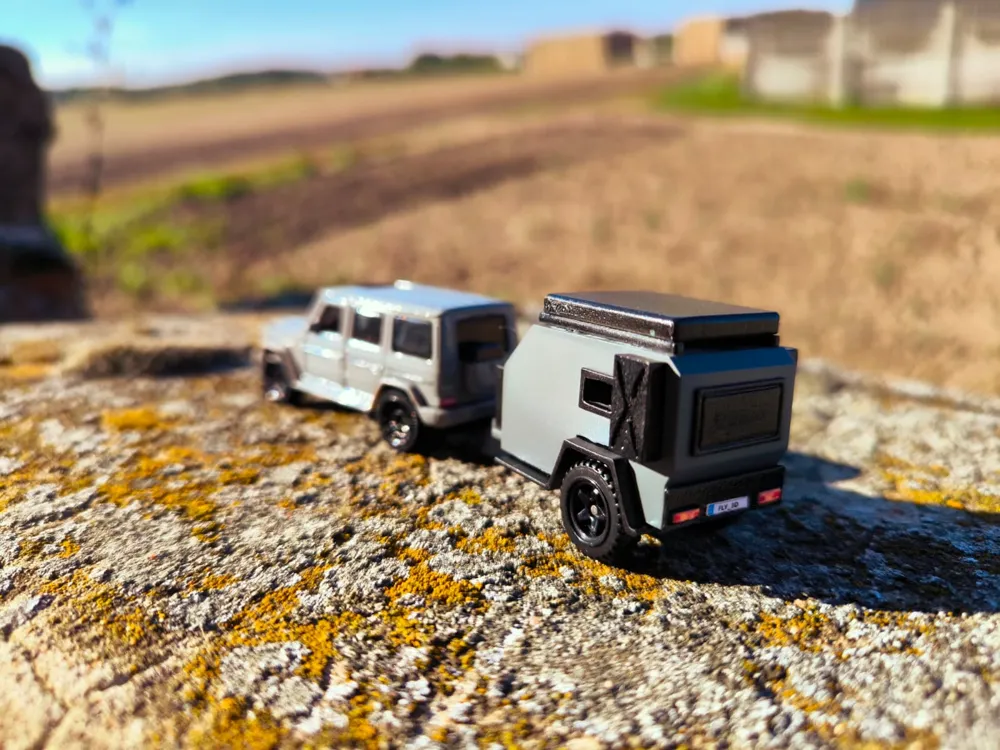
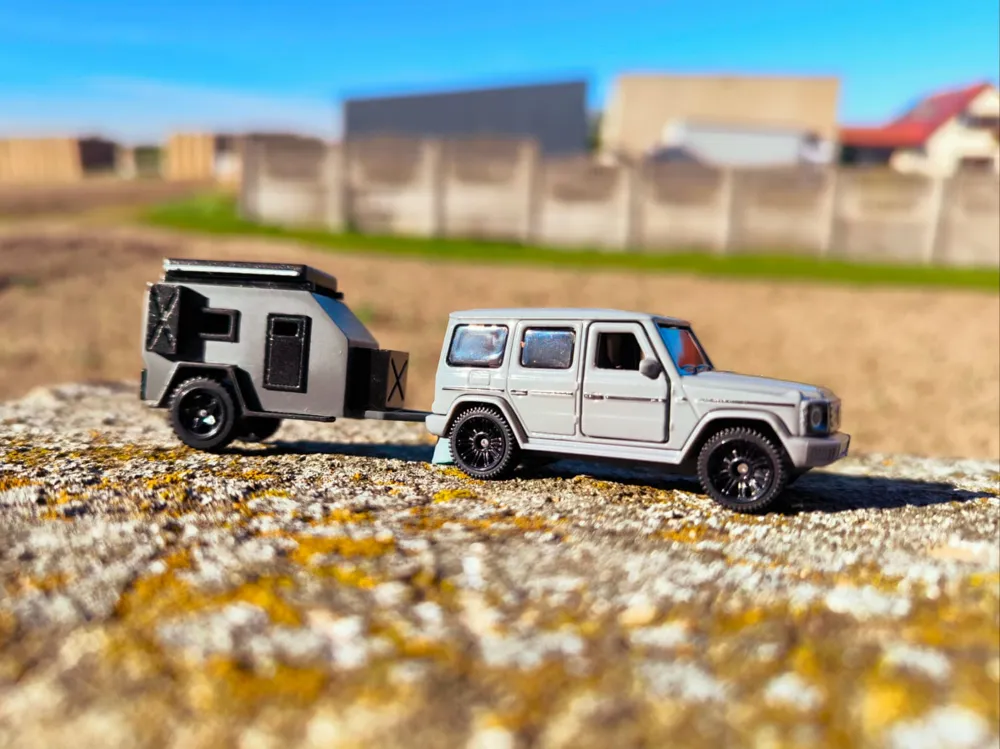
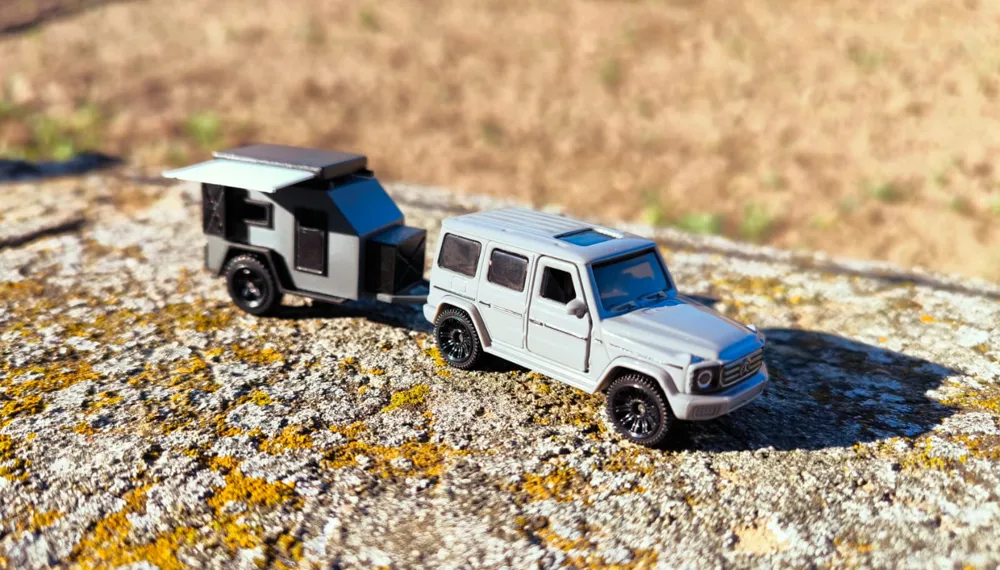
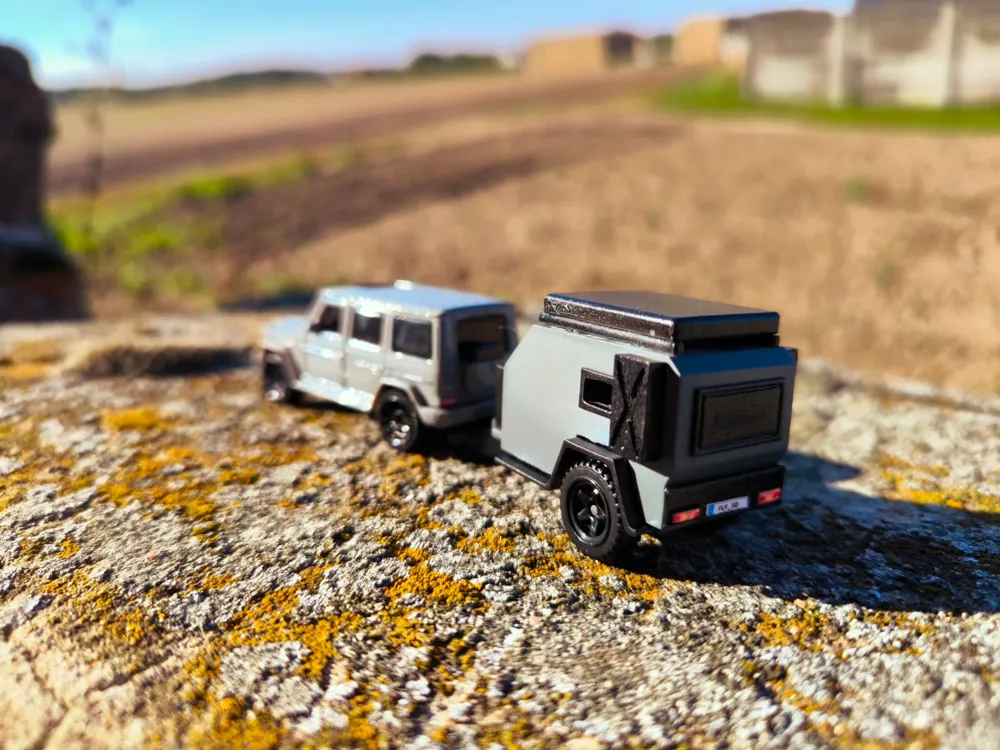
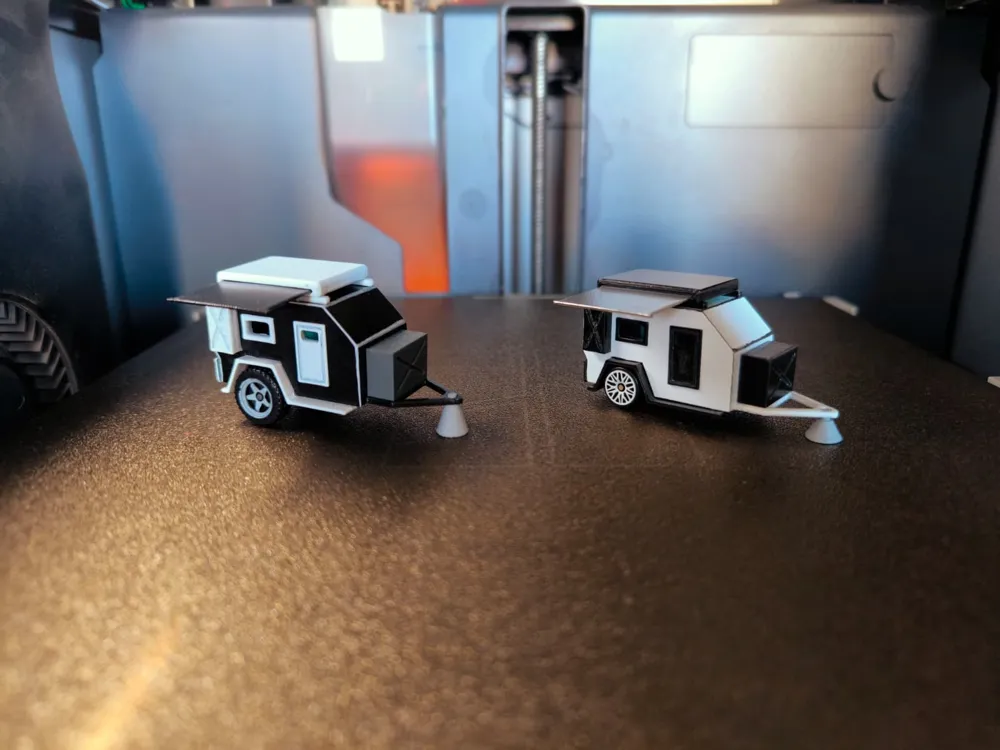
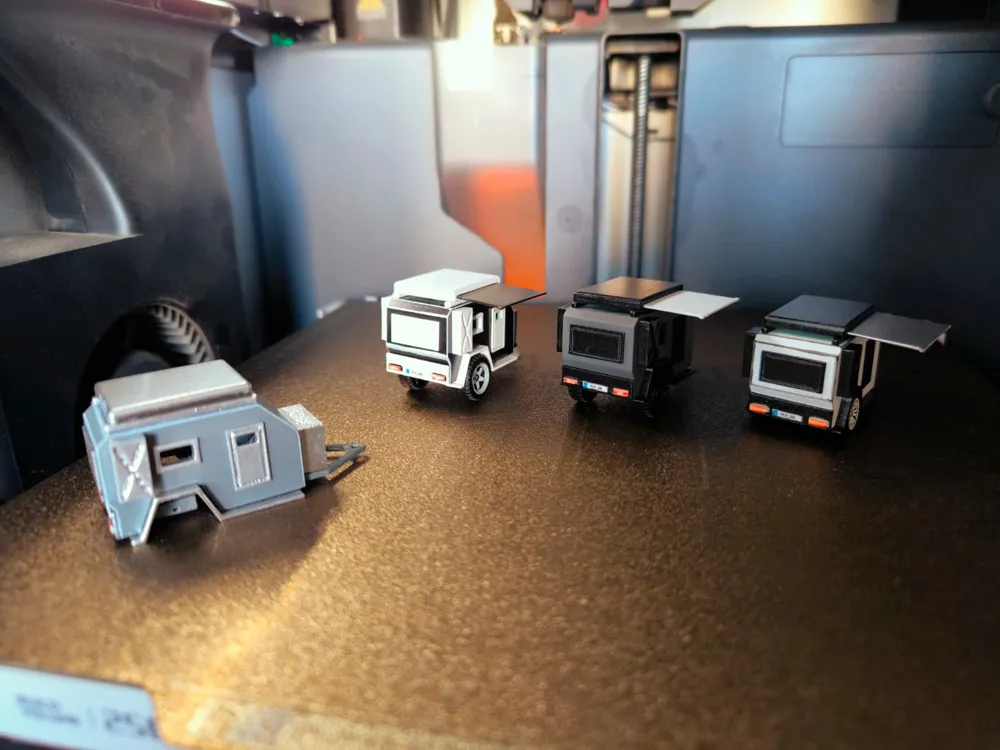
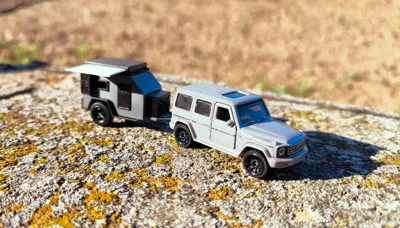
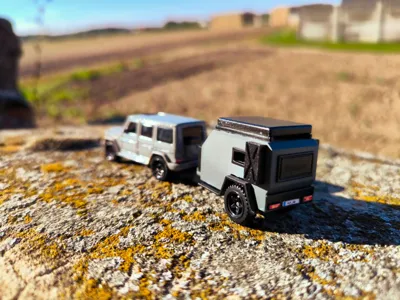
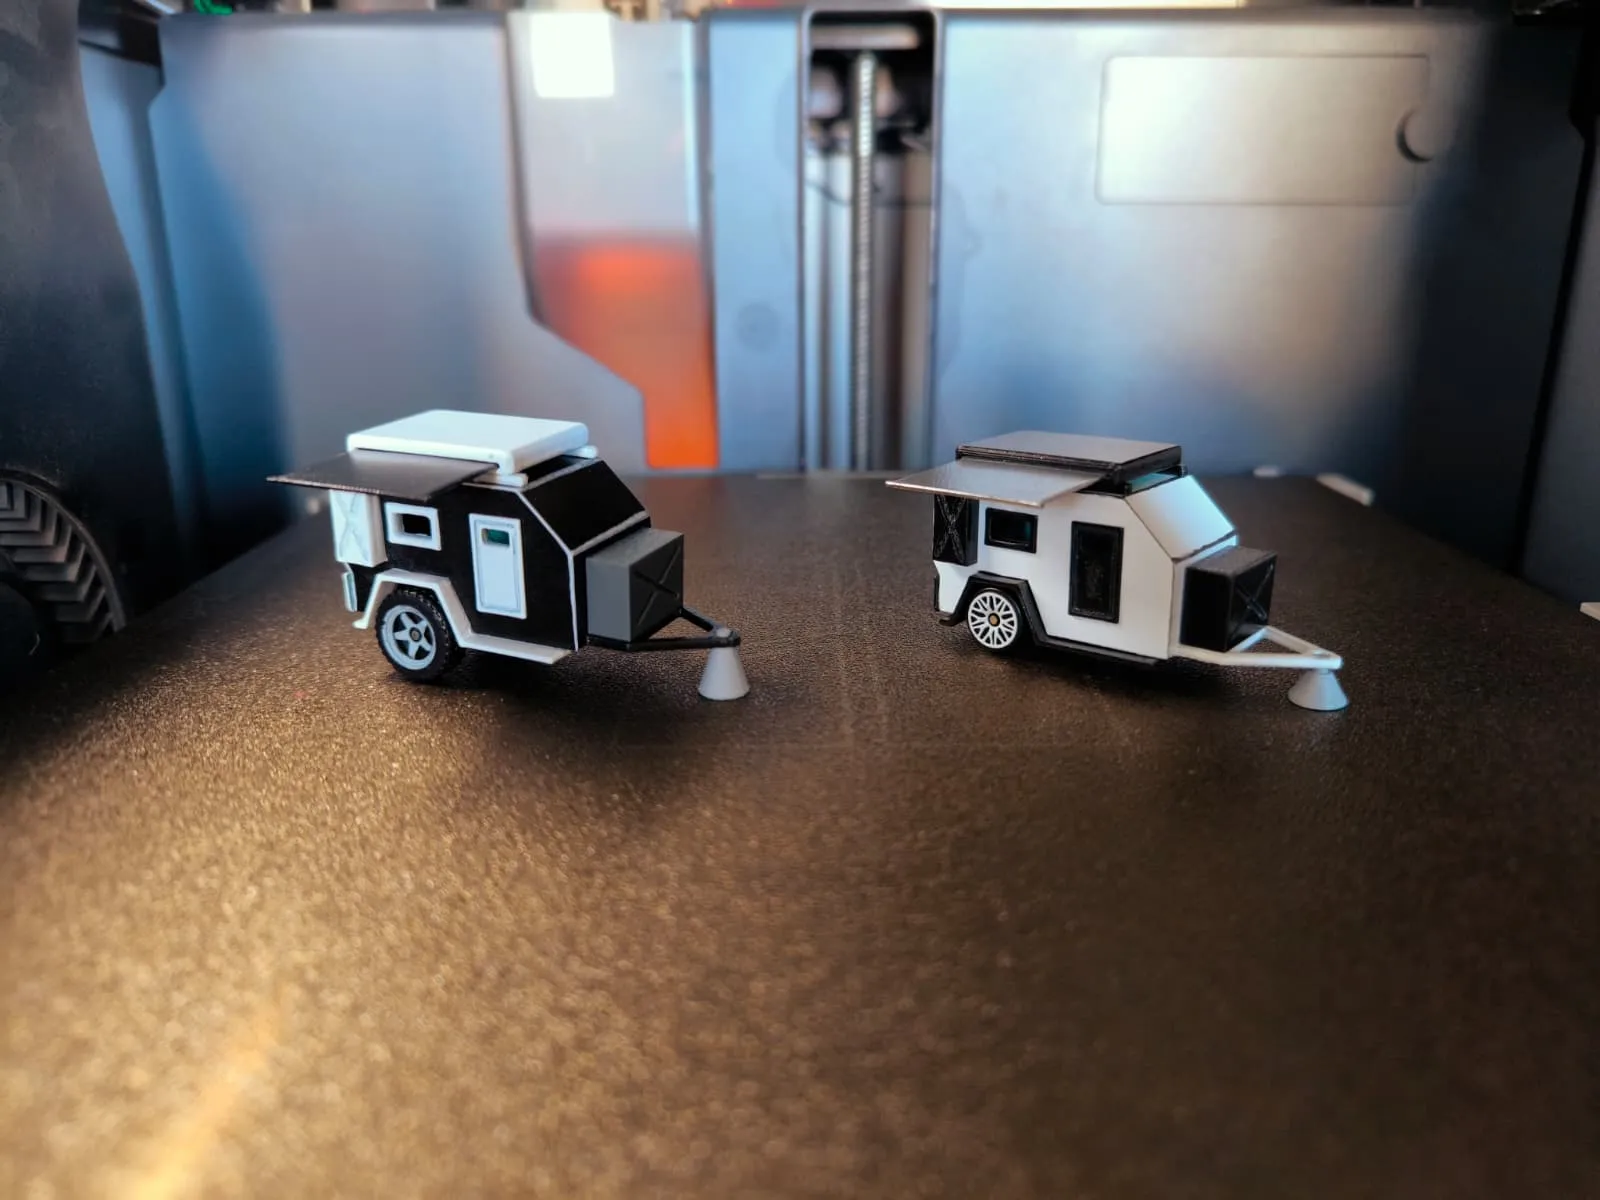
I drew the model myself. It was intended to complement my diorama. The parts are delicate (it's 1:64 scale!!!) It's designed for people who have used glue before ;))
The effect, as you can see in the photos, is wonderful ;)
The model is similar to the Maturi trailer which I fell in love with and I hope it will be mine someday ;)
Now… you can print.... ;)
Comments and tutorial :
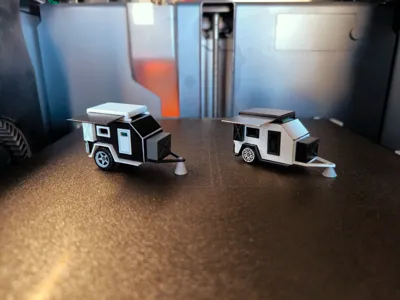
The model comes in two wheel sizes (used by Hot Wheels and Matchbox).
One fits standard passenger car wheels (9.5-11mm), the other is for slightly more off-road-oriented wheels (13-14mm).
You'll need to cut the axle yourself, which is incredibly easy ;) (before gluing the axle together, make sure it fits inside!)
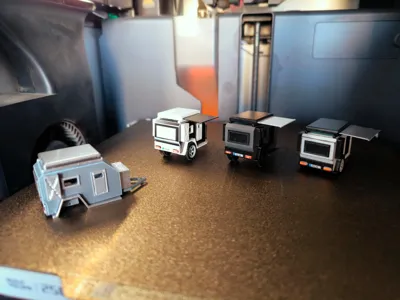
These are the parts that will come out of the printer:
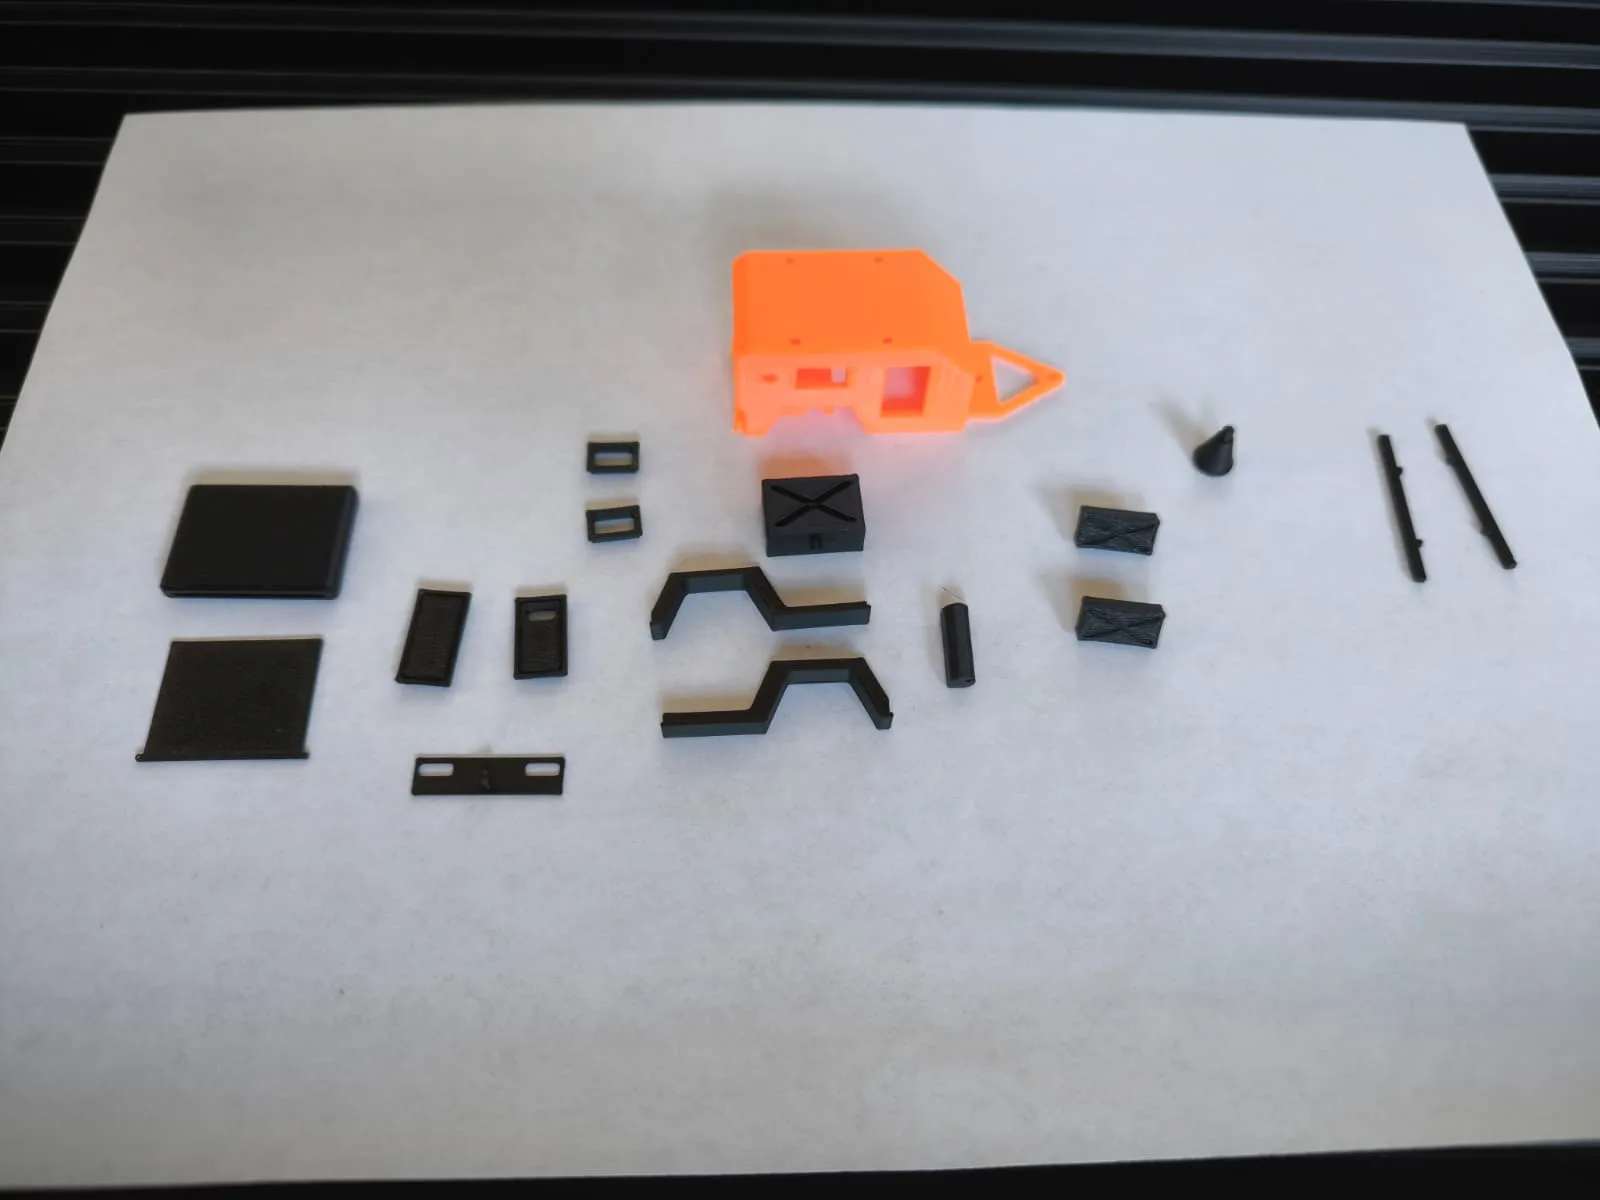
Note that I've set this to a 0.4 nozzle; even a bad flow can change the dimensions.
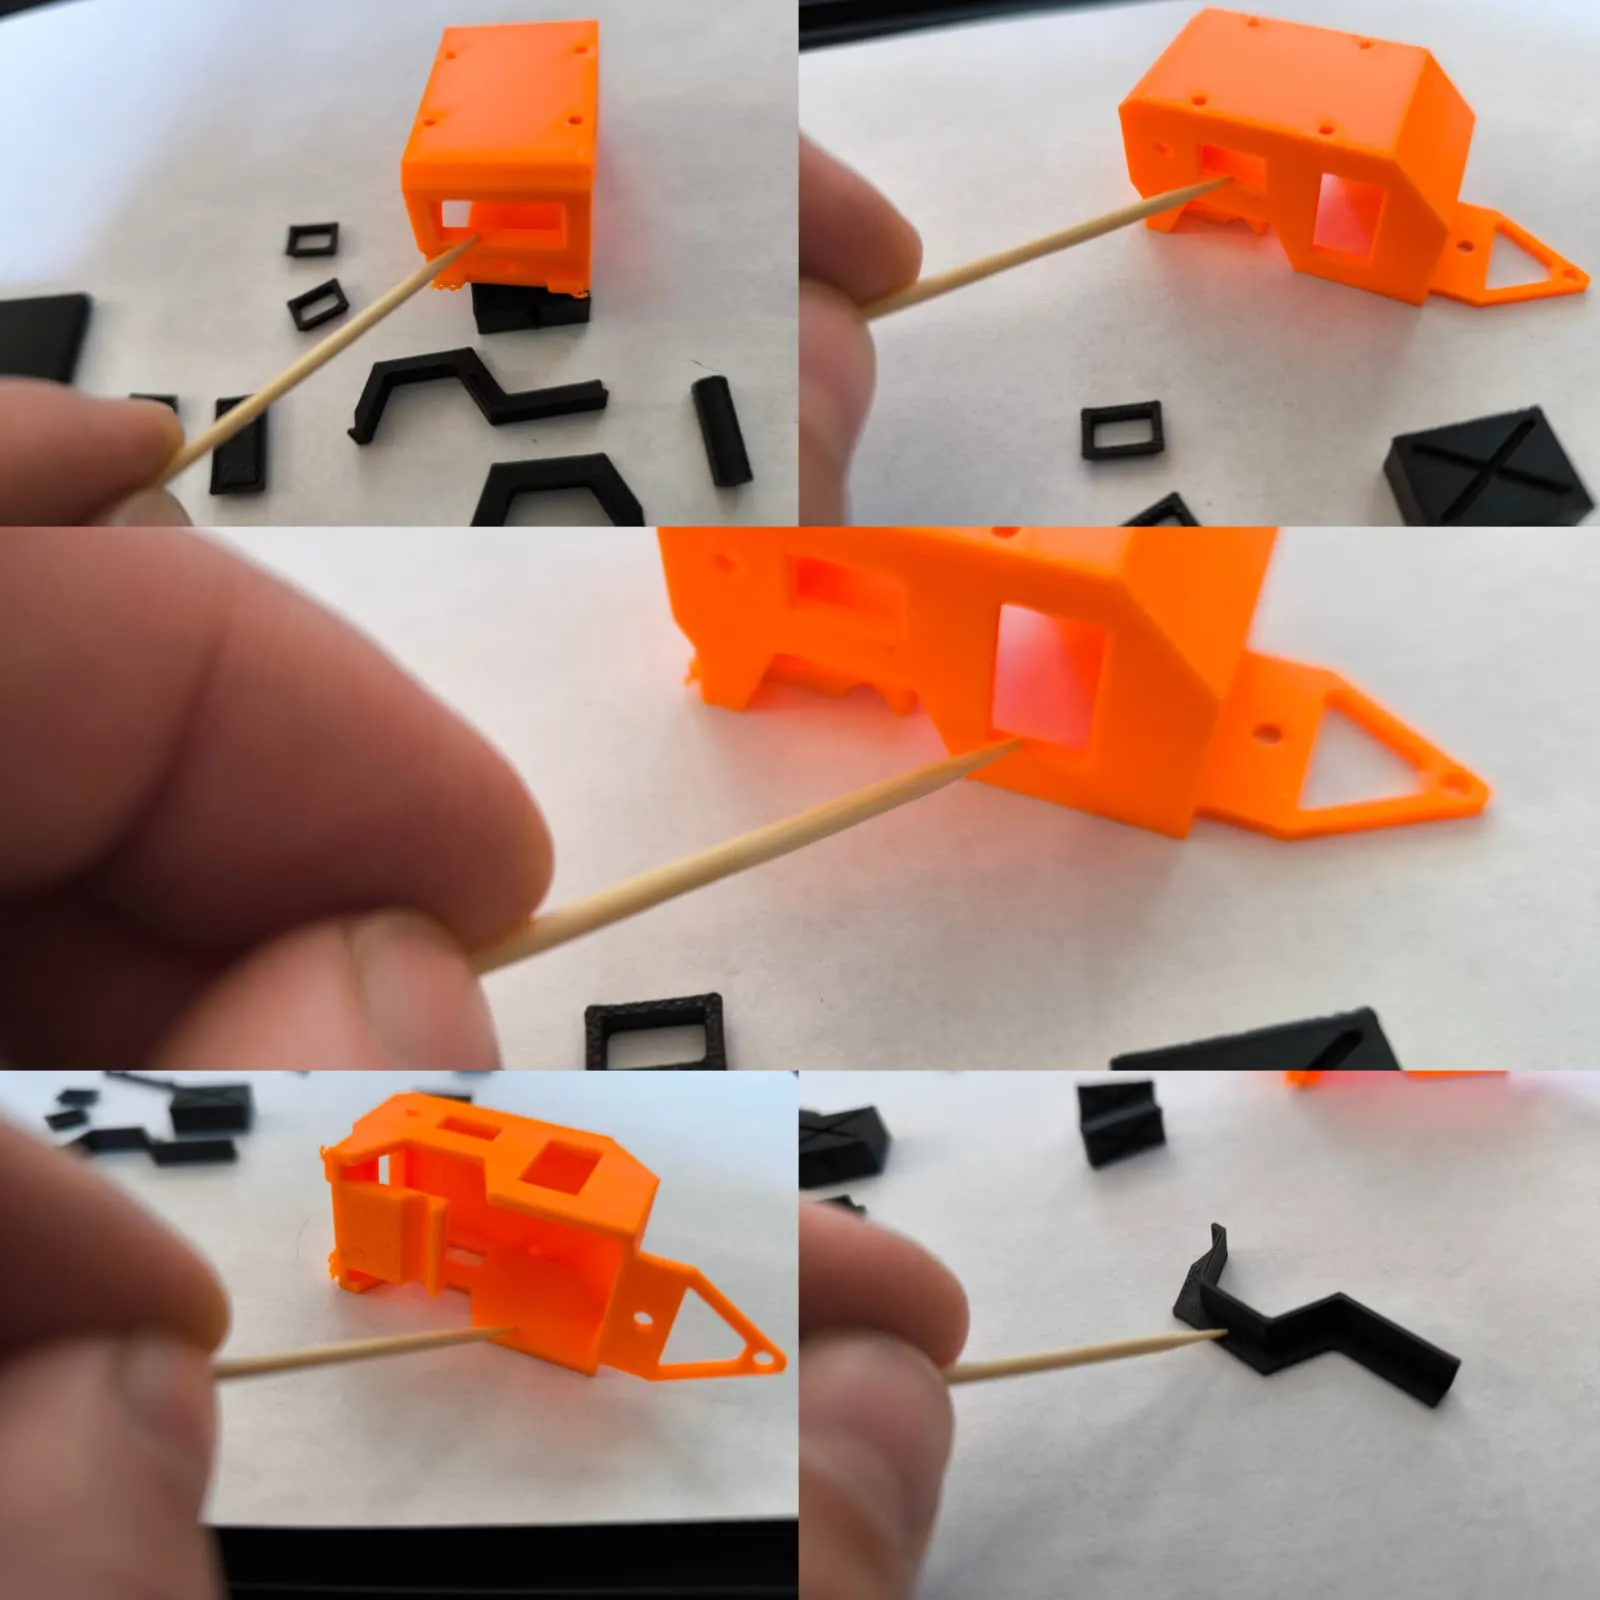
Please check the part compensation before gluing ;)
I add glue in these places so that it doesn't cause any damage to the model ;)
Places that are not in the photos should not be a problem ;)
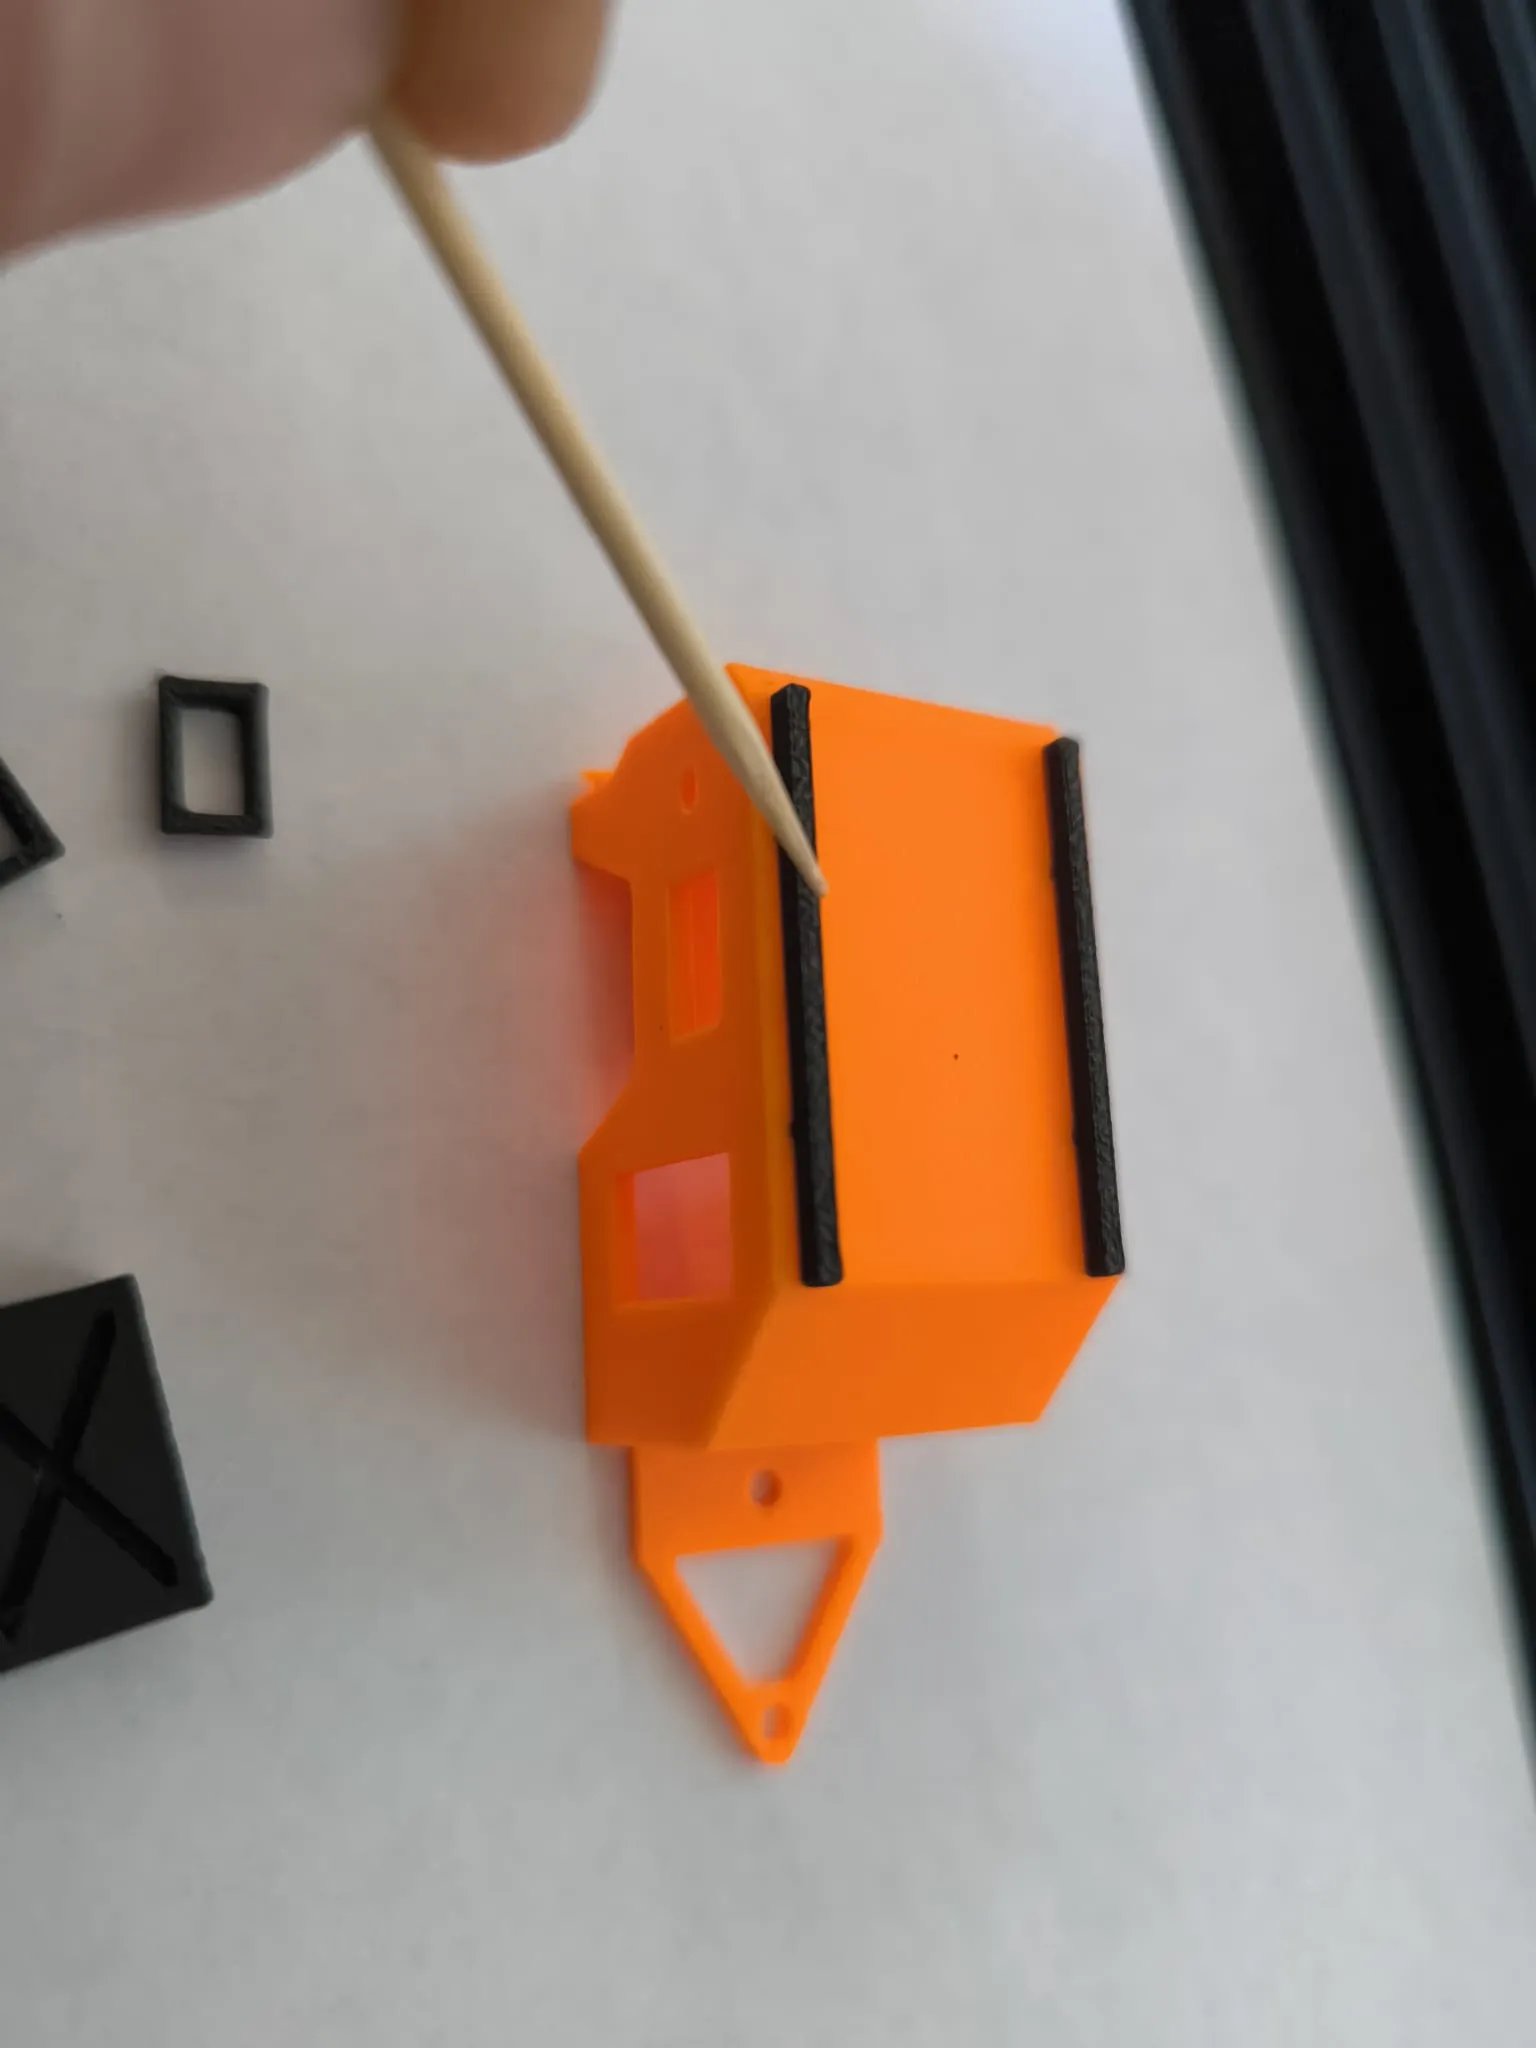
The set includes a trailer stand and a folding canopy. It's best to apply the glue to the rails.
However, you can do whatever you like.
And there you have it! The model is ready ;)
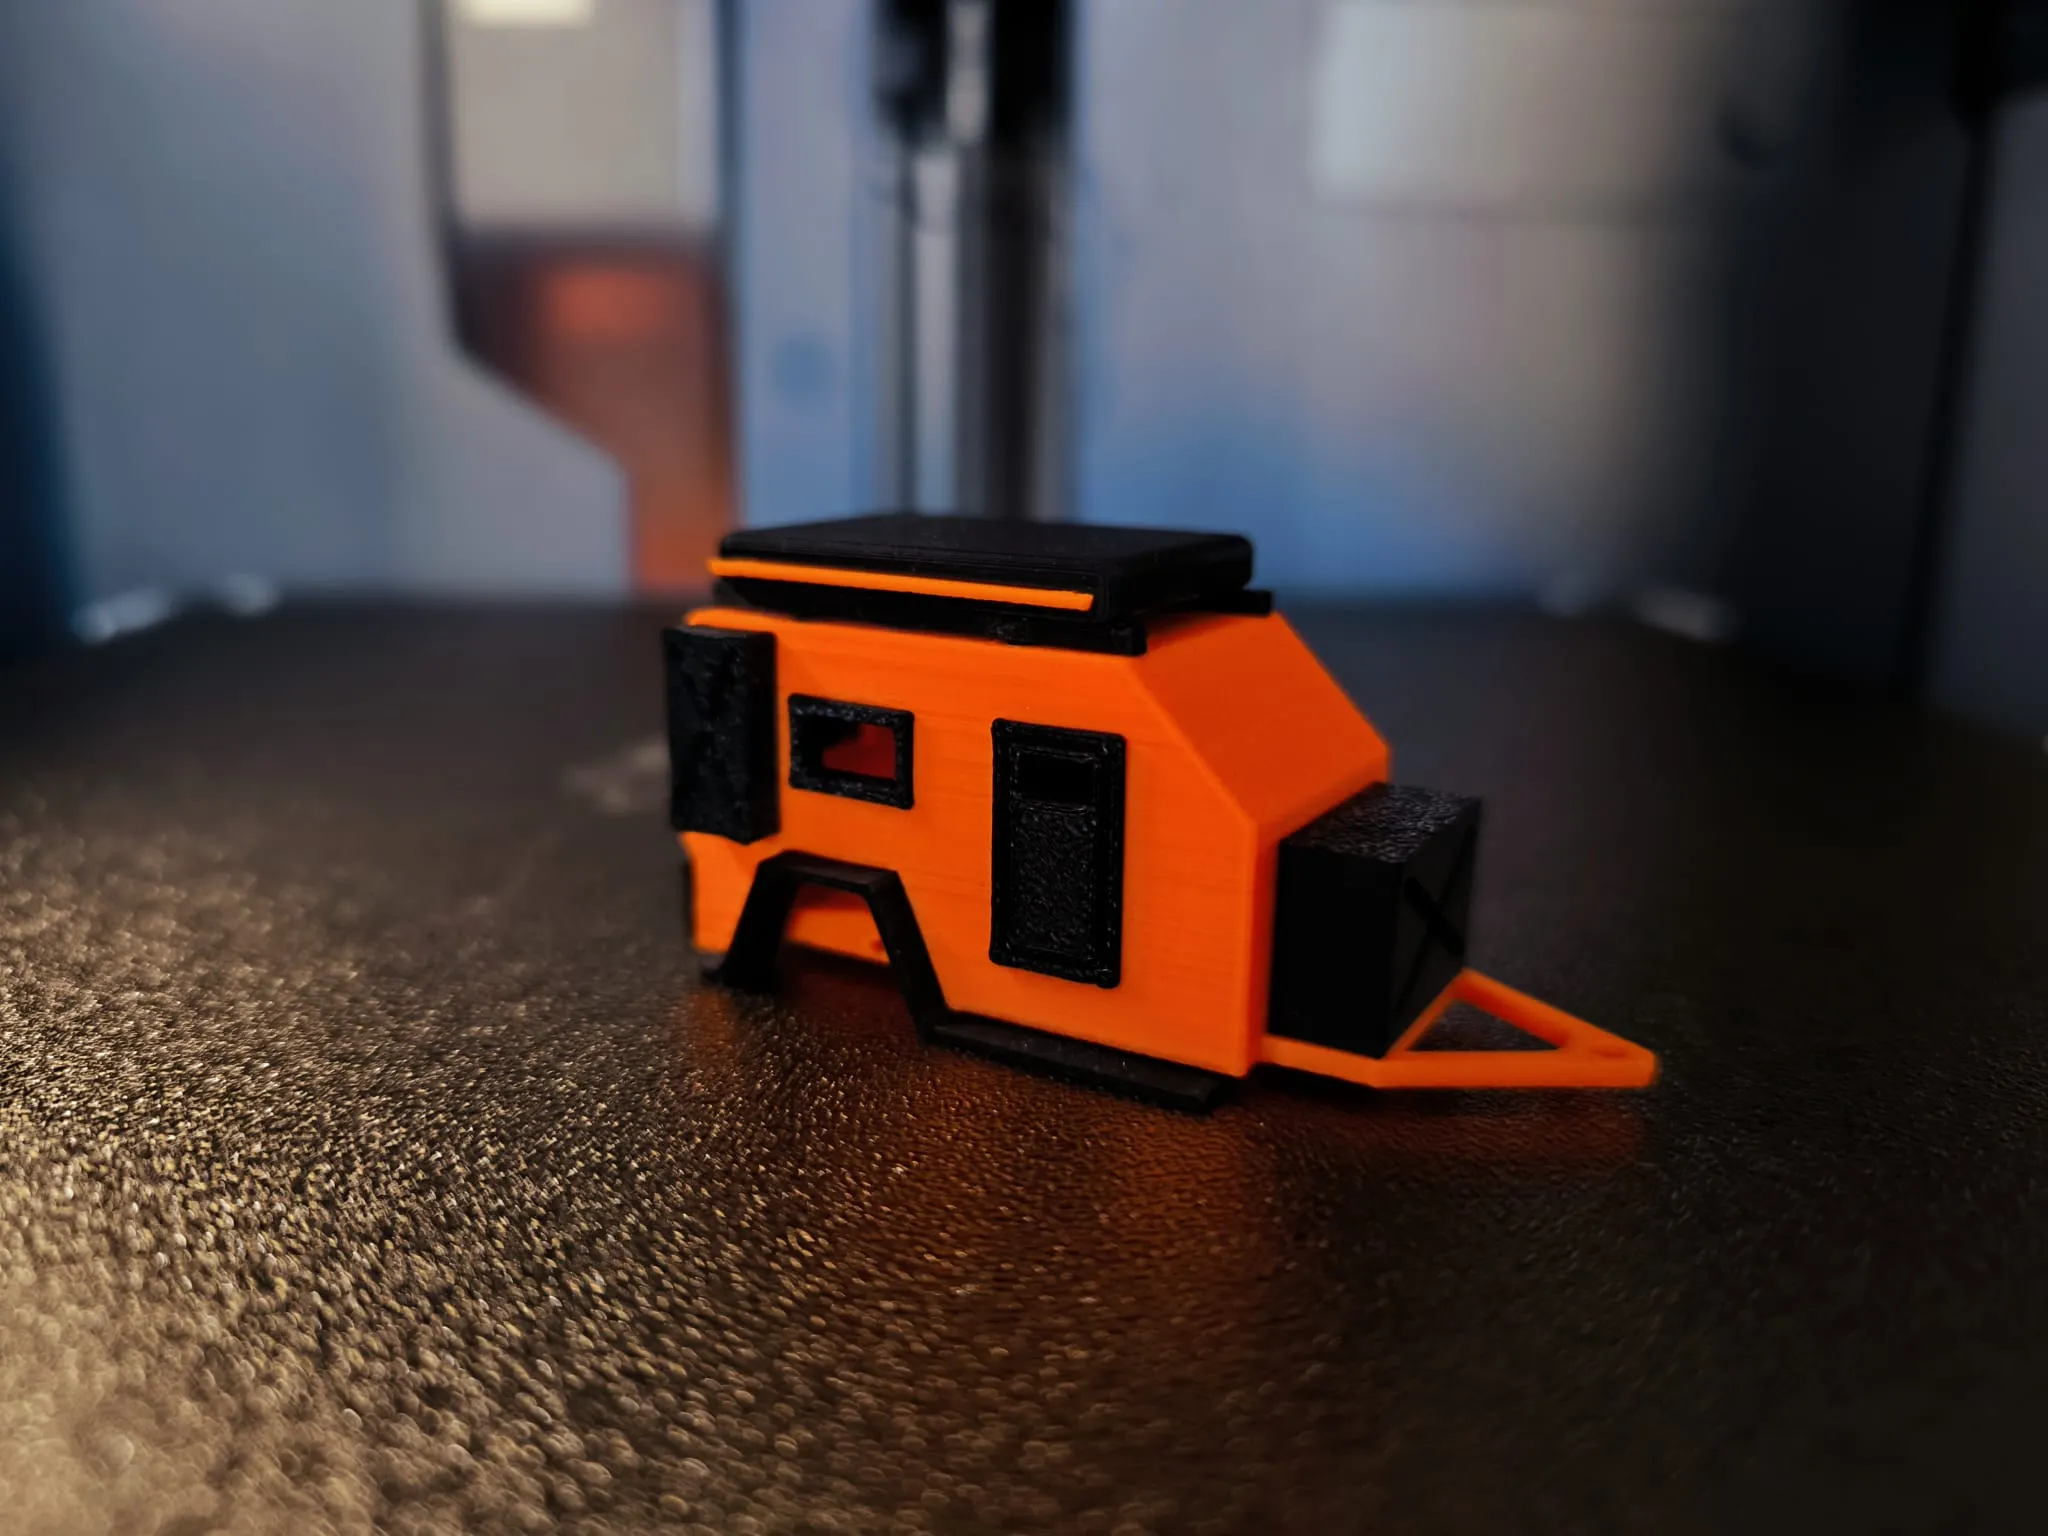
In my opinion, the hardest part was gluing the fenders together, but at this scale, any attachments were difficult.
You can try painting it, although I'm no expert, I even managed to do it ;)
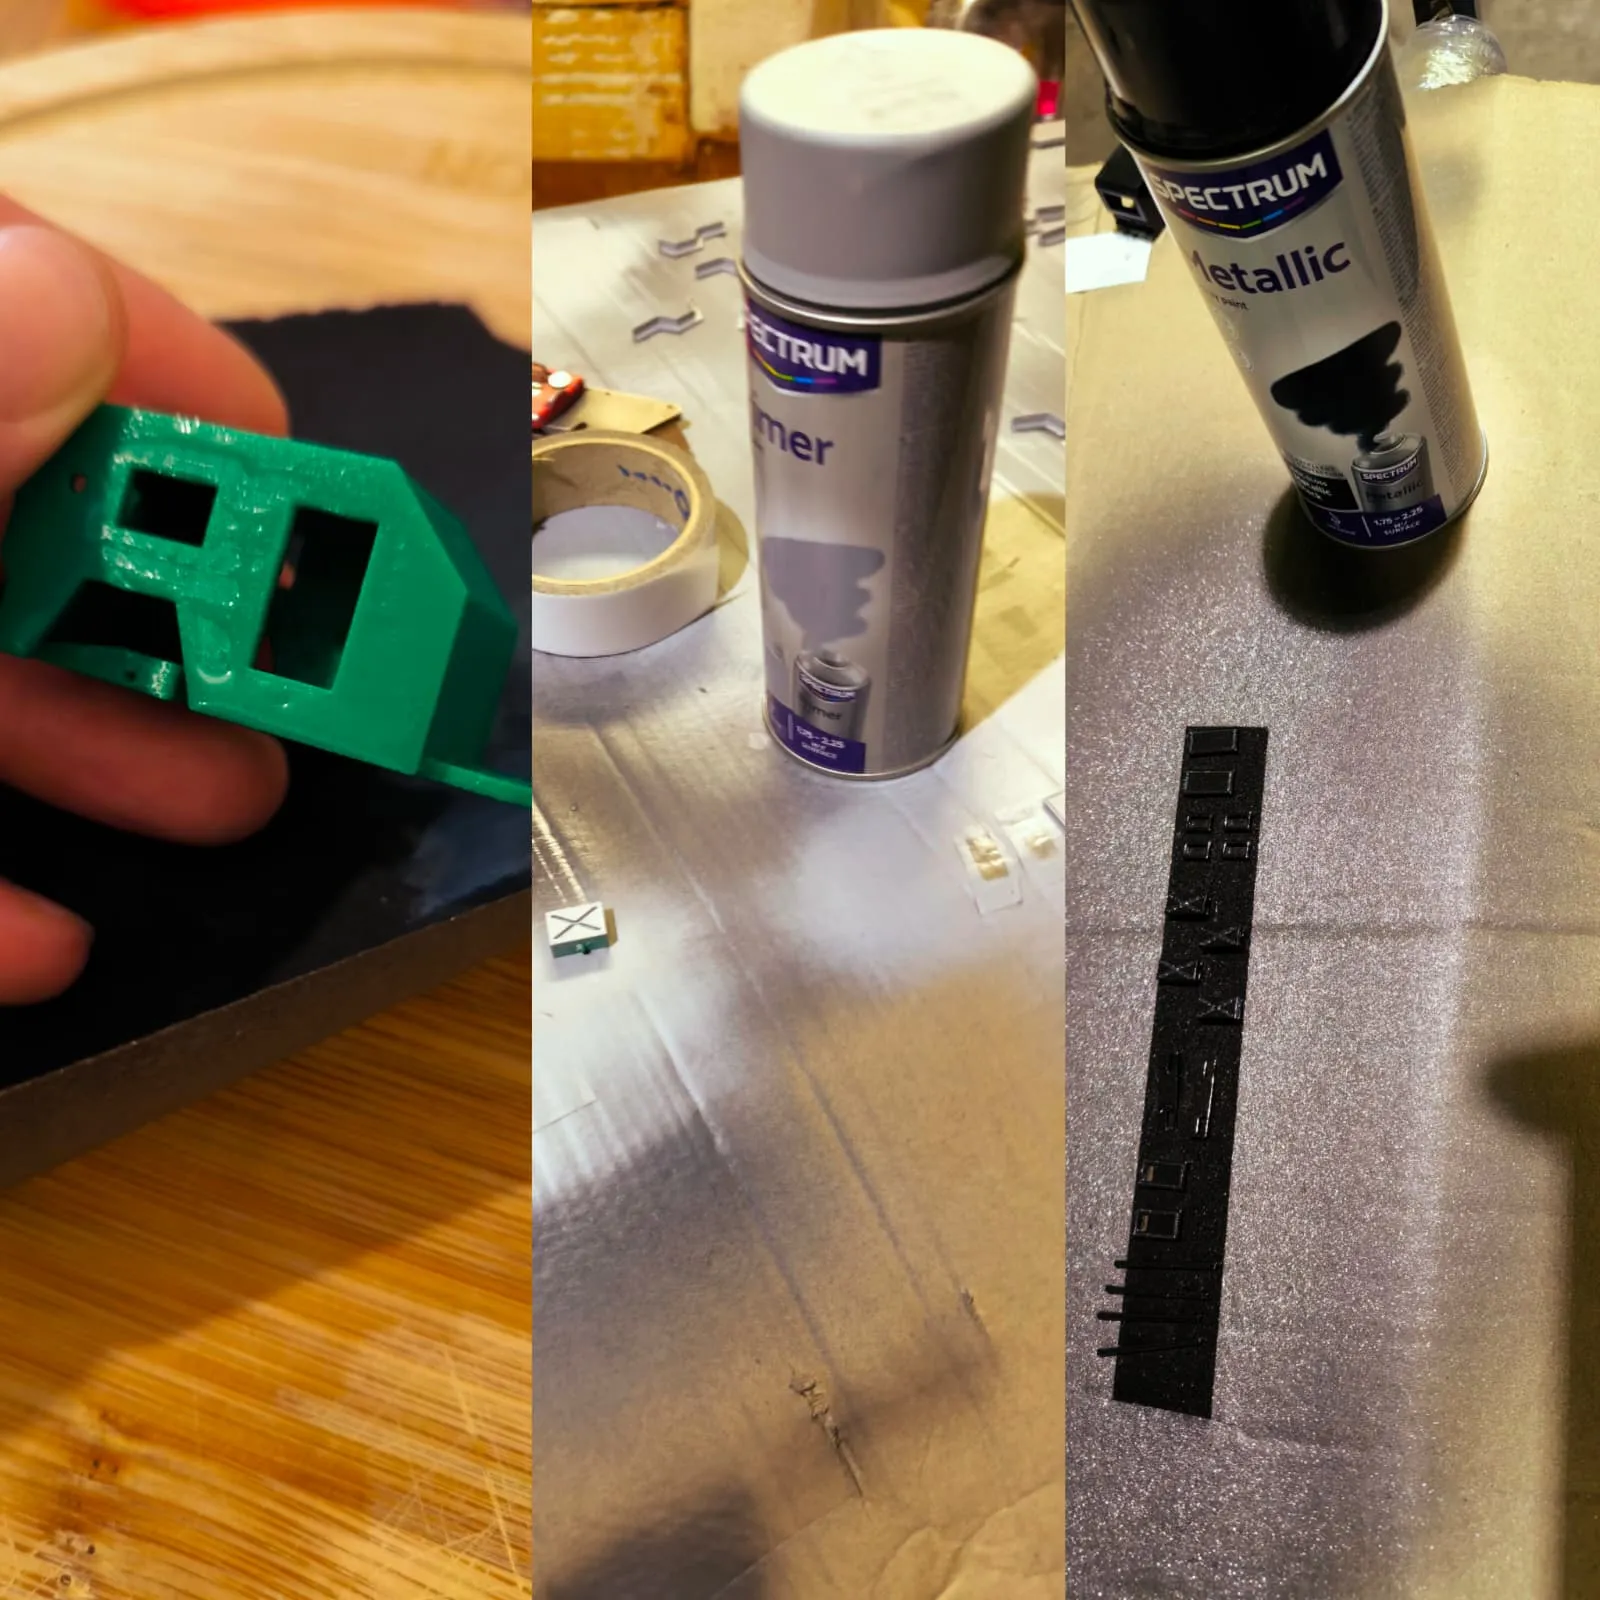
I used:
- 280-400 grit water-based sandpaper
- acrylic primer (you can use the primer first, then the sandpaper ;) )
- then painting, and finally putting it all together! (Don't forget about the compensation; for painting, I reduced it by 1%; paint also changes the dimensions ;) )
It doesn't add a hook to the model! I only did it for display! However, I saw on other accounts that someone has them for a specific car model ;)
You can change the scale, have fun, experiment, my work ends there! I'm happy to take your feedback; I can always change something, but I hope you like it! Best regards, and happy printing!
Boost Me (for free)
THX !!!! :)))
License

You shall not share, sub-license, sell, rent, host, transfer, or distribute in any way the digital or 3D printed versions of this object, nor any other derivative work of this object in its digital or physical format (including - but not limited to - remixes of this object, and hosting on other digital platforms). The objects may not be used without permission in any way whatsoever in which you charge money, or collect fees.


Comment & Rating (32)