
Print Profile(2)


Description
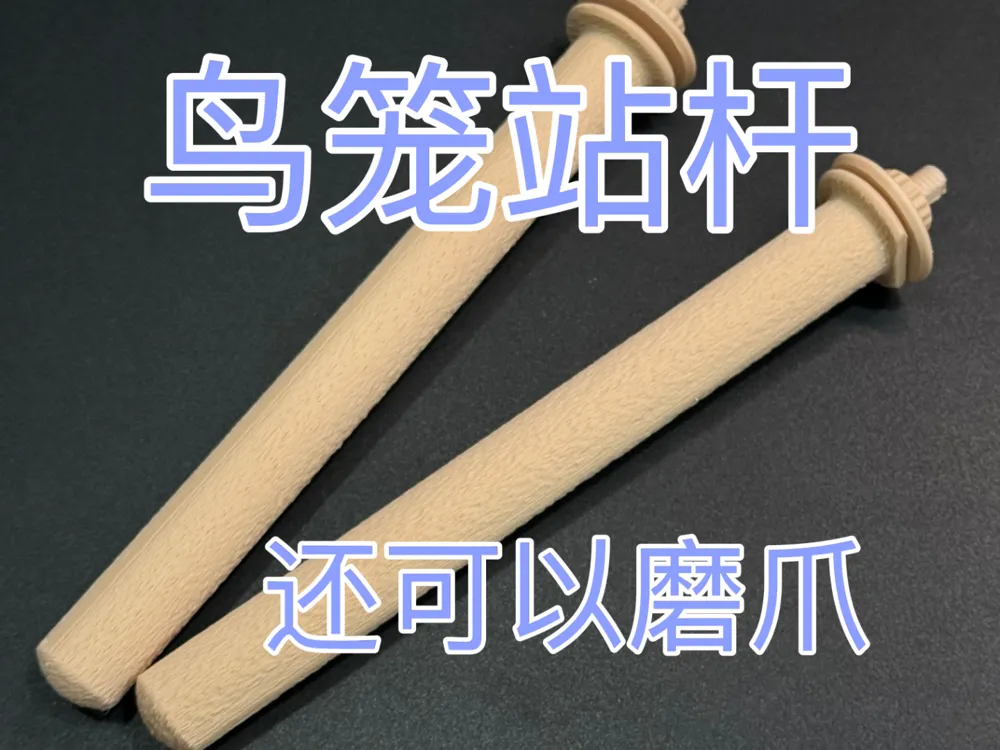
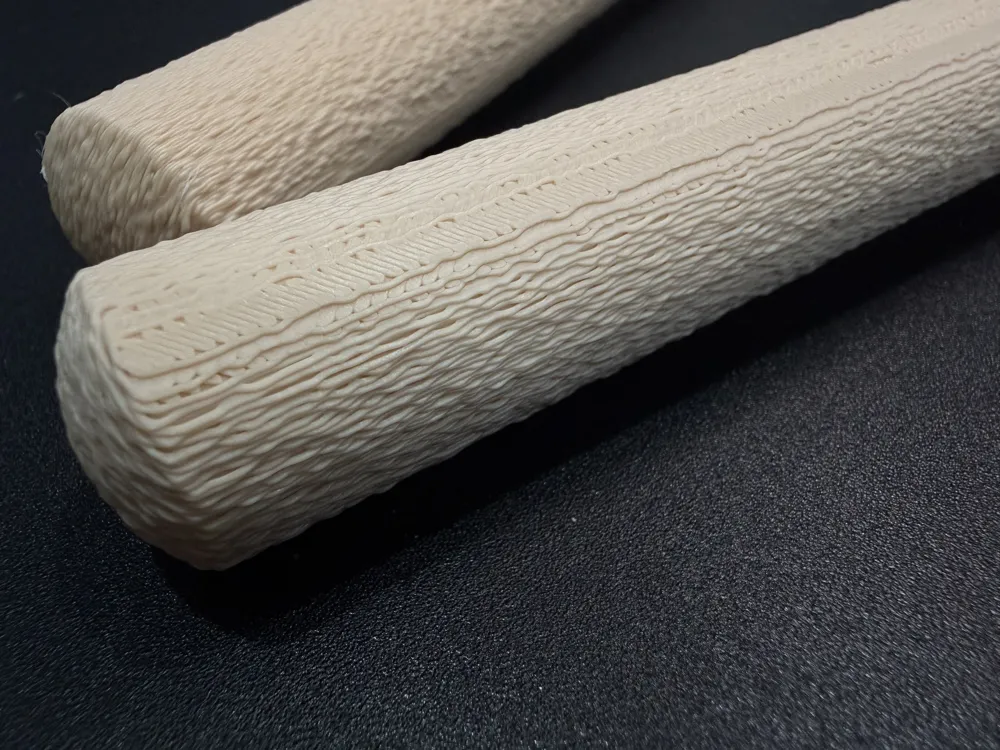
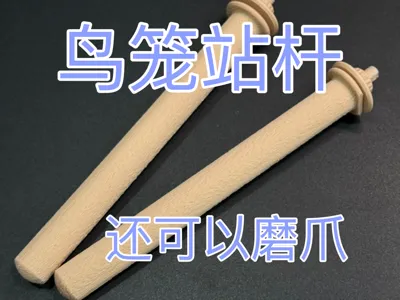
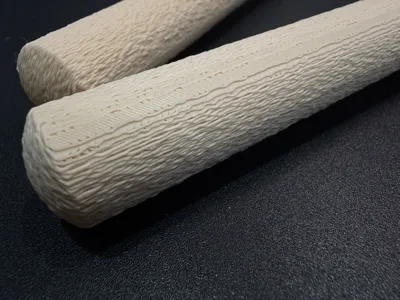
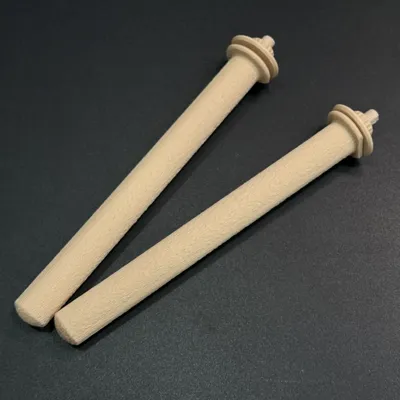
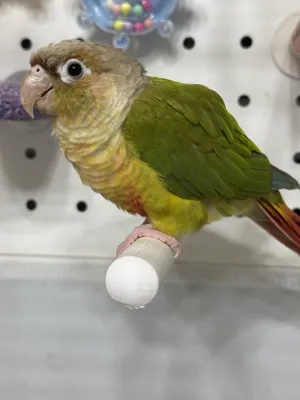
A simple universal bird perch was designed, using the fuzzy skin texture feature of the slicer software, to give the perch a claw-grinding function This also helps prevent warping when printing objects of this length The perch not being directly on the build plate was a consideration for this, aiming to make the bottom surface as rough as possible and to minimize height, thereby reducing the need for supports
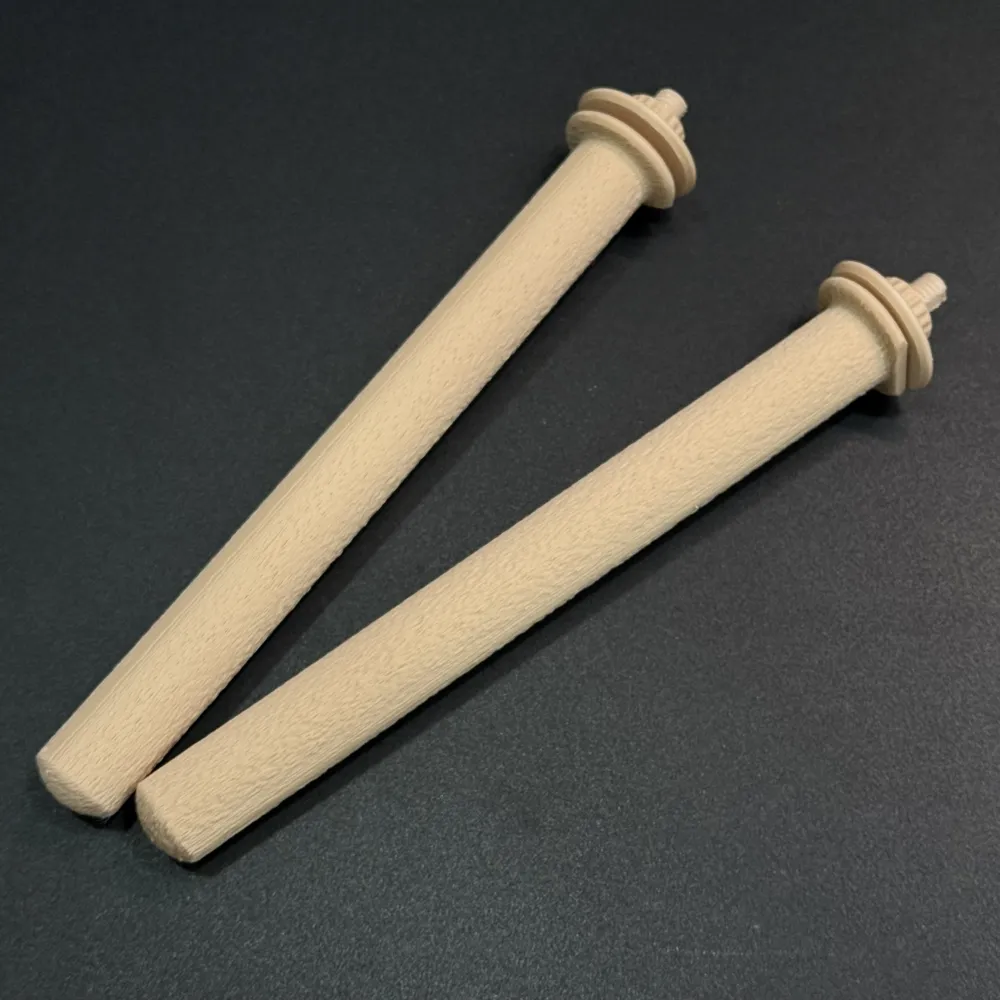
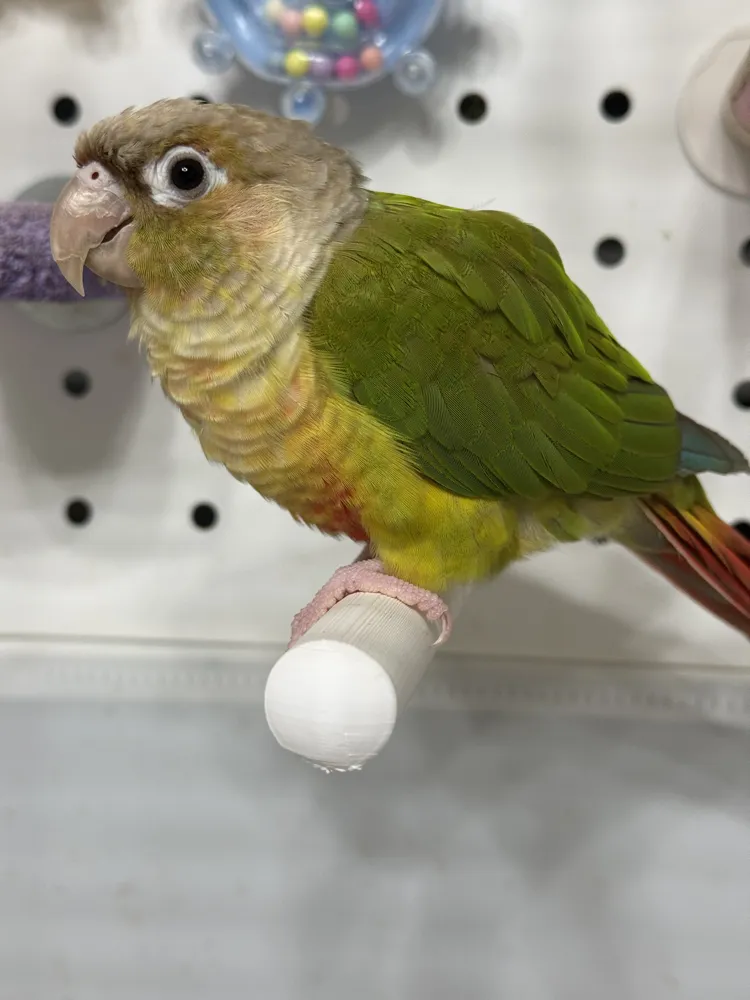
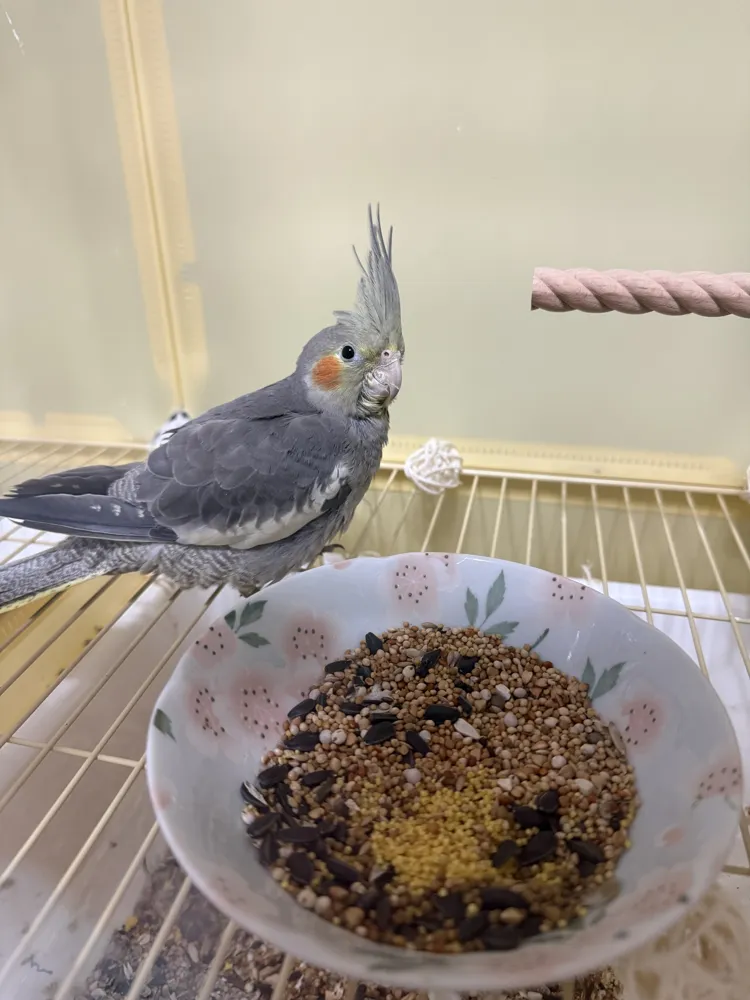
Designed to fit cages with 8-20mm bar spacing The perch's strength allows for much greater length, but it felt unnecessary Each one uses approximately 31g of filament If your filament costs around 40 yuan per roll, then printing one costs about 1.5 yuan The money spent on one perch online could print many of these And if you are confident in your 3D Printer, you can try printing the hollow version, which saves 4g of filament There is almost no difference in strength between the two, only an increase in printing difficulty For the sake of other people's printing experience, I uploaded the default filled version, which should basically not fail But I personally use the hollow version, so if saving money is your primary goal, you might as well try the hollow version
Please note during installation, the part of the perch with a missing corner should be installed facing downwards, so the roughest texture is at the bottom for better claw grinding
The screw tightness has been adjusted The first installation after printing might be difficult to screw in because the screw diameter is too small for 3D printing For the first time, make sure to align it correctly before screwing it in, otherwise, the threads might be damaged After that, it will be much easier to screw in If there's a significant difference between your material and mine, and it's still too tight, you can try scaling the nut by 2% on the XY axis, making sure not to change the Z axis The same applies if it's too loose
License

You may create derivative works based on this object, provided that all such derivative works are published exclusively on the MakerWorld platform and include proper attribution to the original creator. You may not share, upload, host, distribute, or publish this object—or any derivative work of this object—on any other digital platform, marketplace, or distribution channel. Commercial use of this object and any derivative works is strictly prohibited. This includes, but is not limited to, selling, renting, sublicensing, or using the object in any context in which you receive monetary compensation or other financial benefits.


Comment & Rating (7)