
Fully 3D-Printed Torque Meter With Dial Indicator
Print Profile(4)


Bill of Materials


Description
Before you proceed to assemble the model, please read the assembly and printing guide, also read the information here in the description of the model.
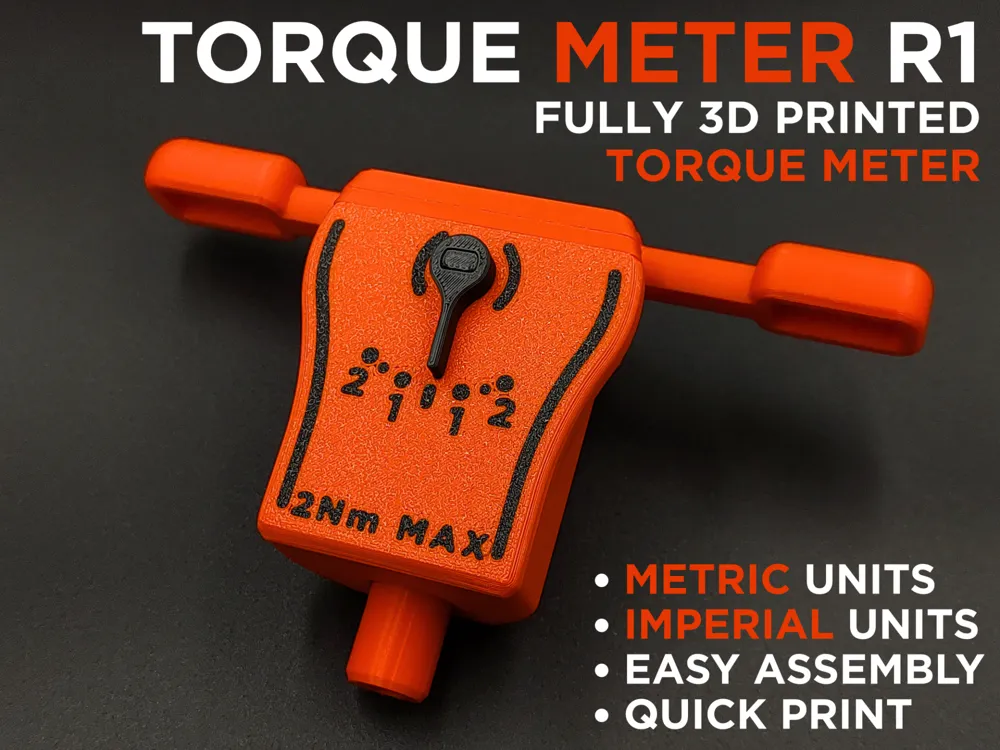
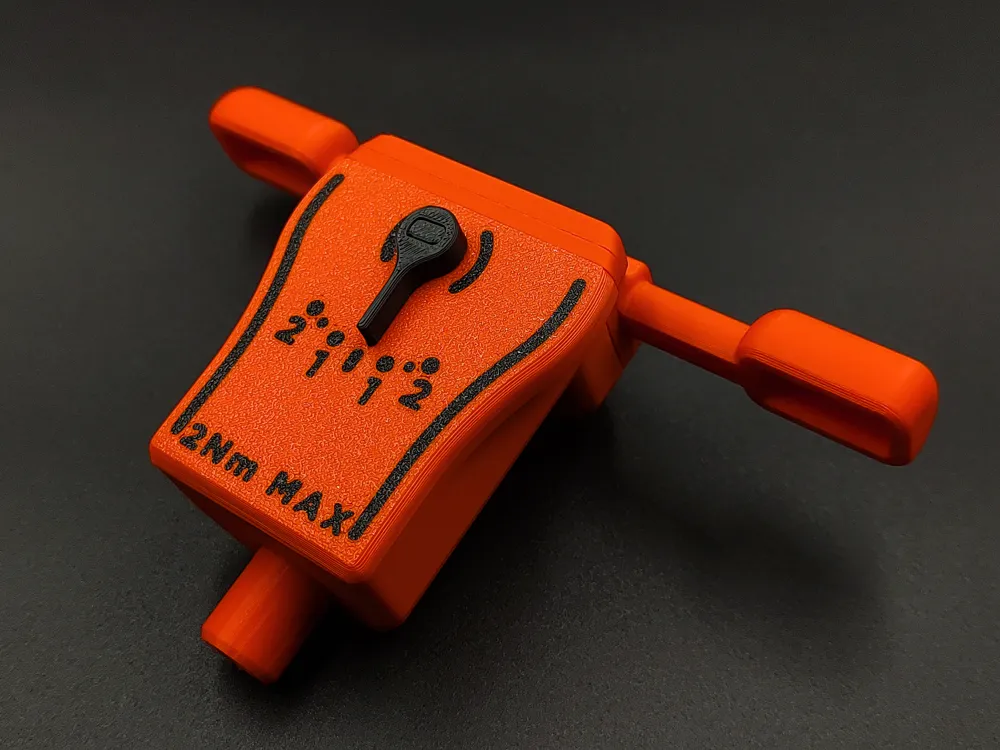
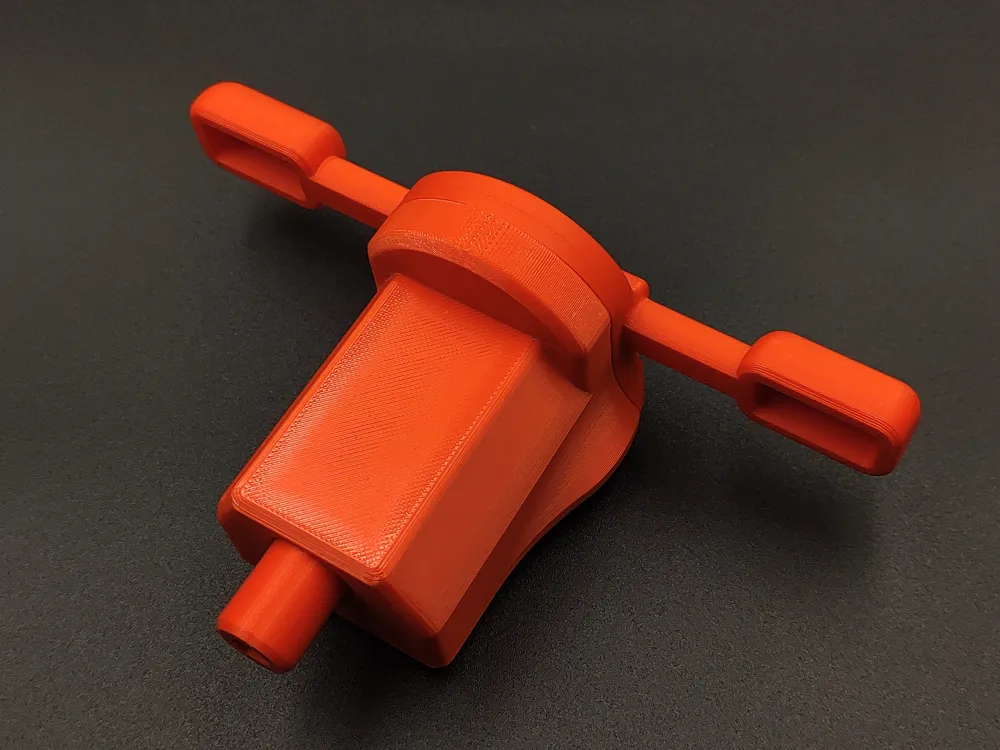
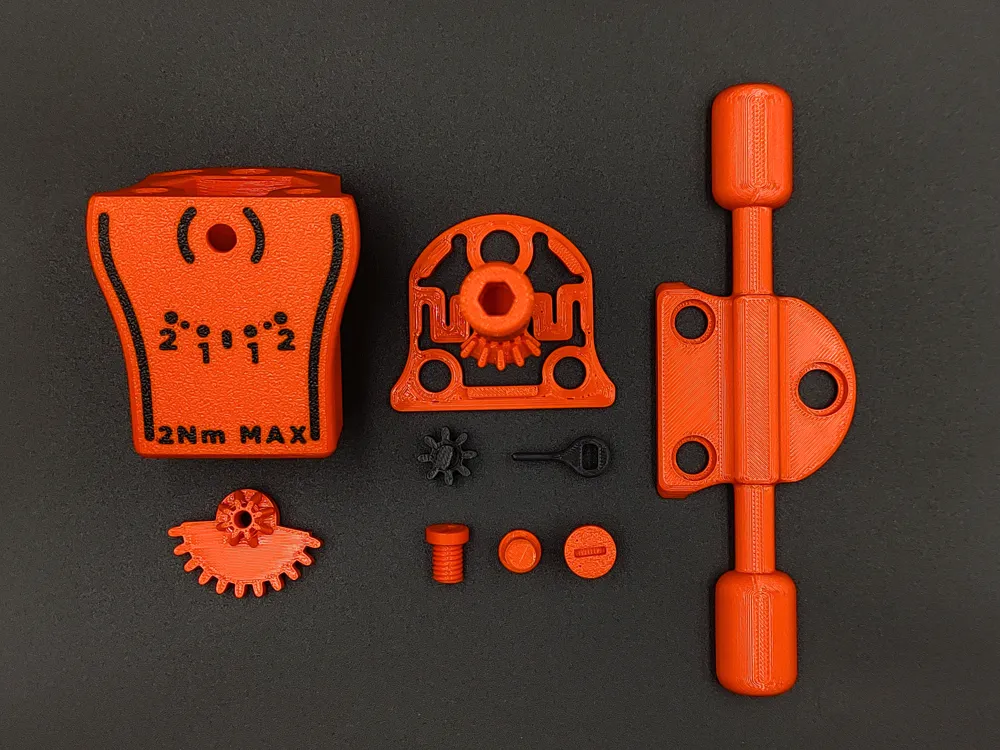
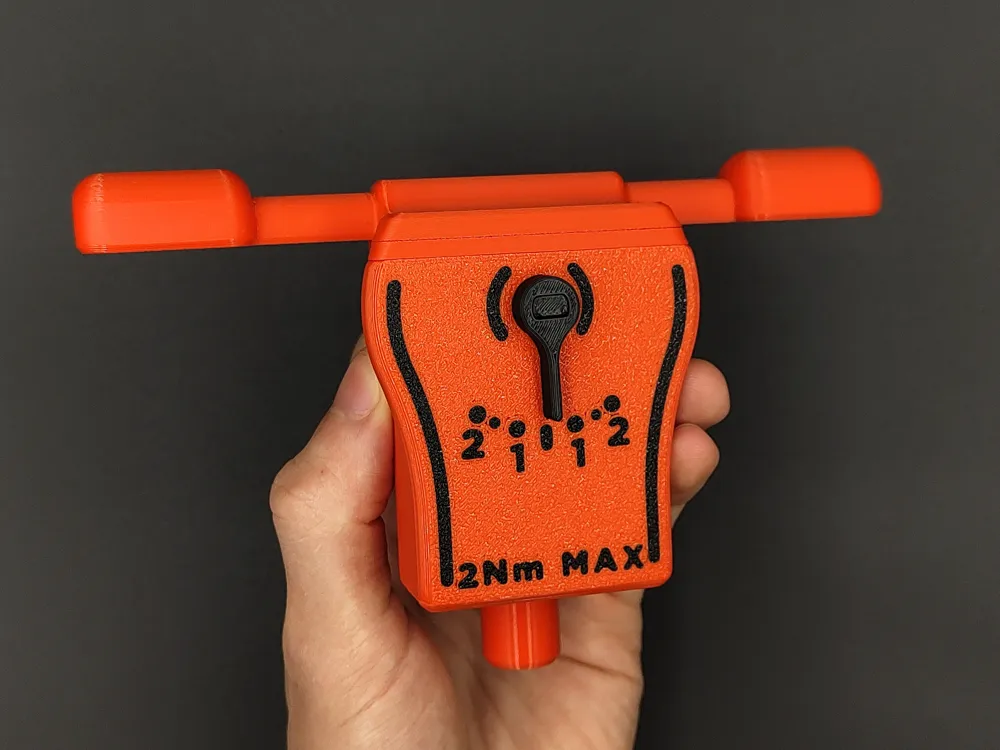
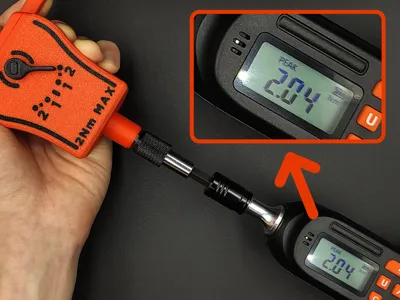
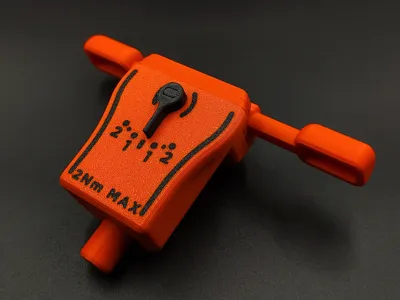
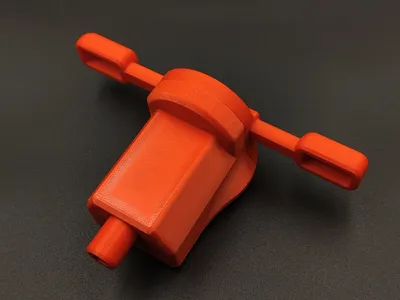
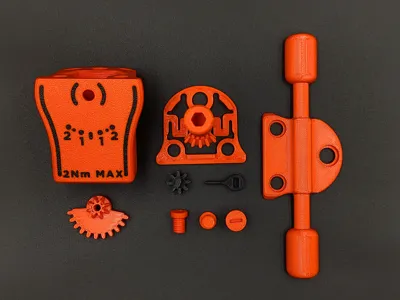
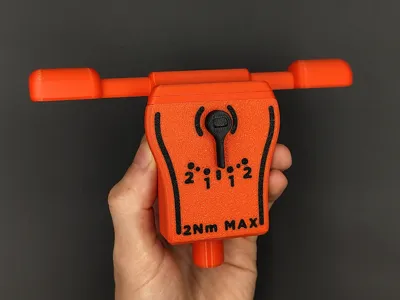
I was curious if you could make a fully 3D printable torque meter, so I tried to design one and this is what I came up with. It can be used to measure smaller torques, good if you don't want to spend $70 on a digital off-the-shelf one when you know that you're going to rarely use it.
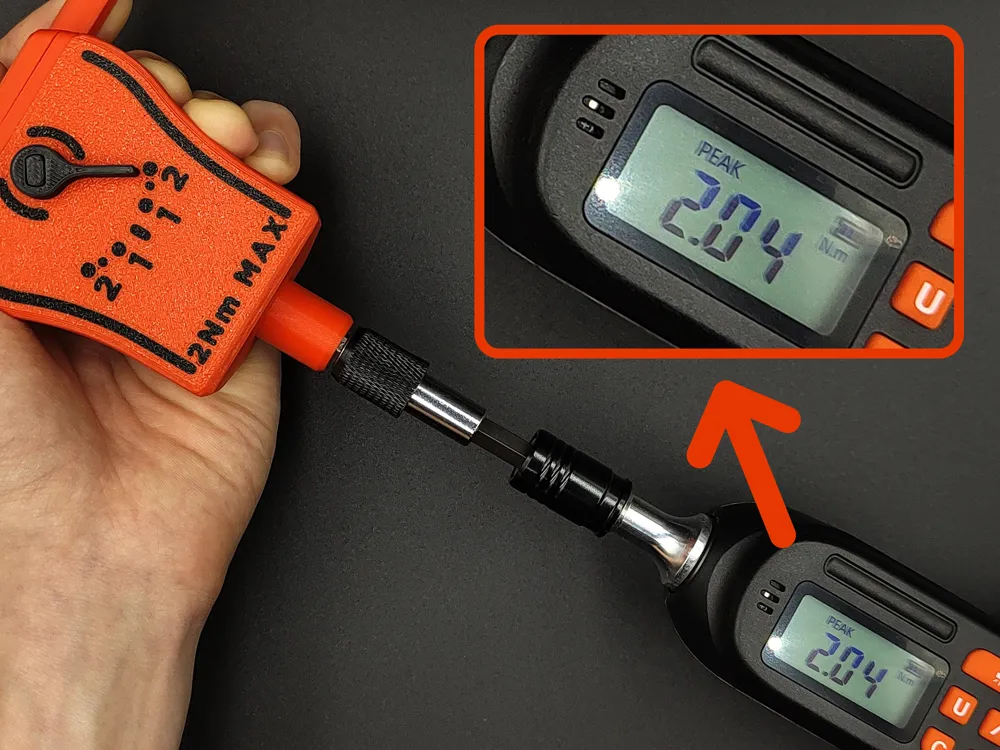
It can measure torque up to around 2Nm in both directions (when printed in PLA). The measurement error when printed in Bambu Lab PLA Basic is ~0.045Nm for torque under 1.5Nm and ~0.1Nm for torque over 1.5Nm - you can tune the max torque and accuracy by changing the material that you use to print the “torque shaft” part. I've made the labels of the scale editable in Bambu Studio, so if you use different materials, you can change them according to your needs.
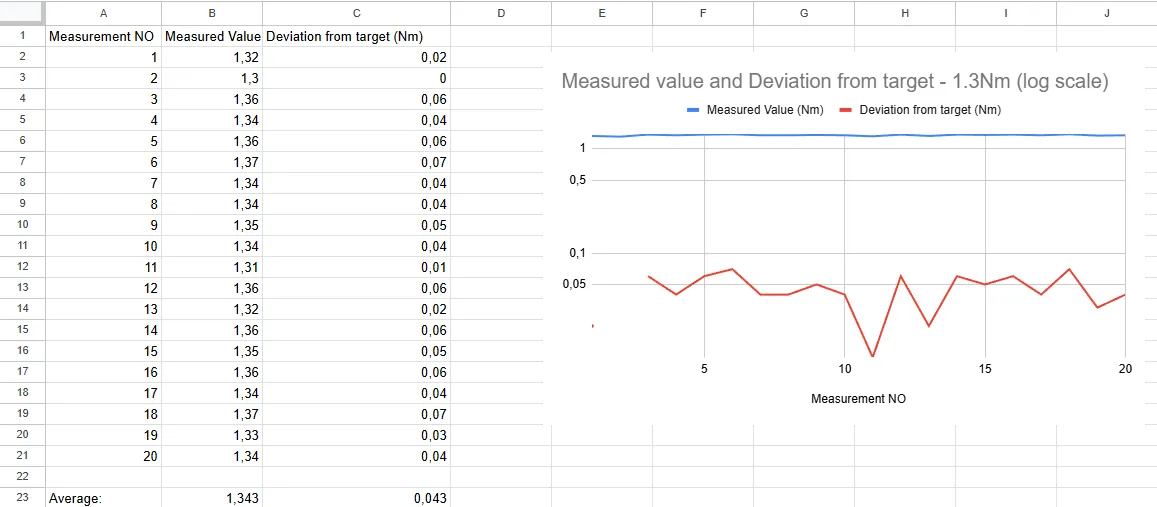
All reference and test measurements have been done using Vevor DSM1-100008B Digital Torque Wrench (0.3Nm-8Nm +-2%). Here's a graph showcasing the accuracy of the “Torque Meter R1 by Kwiatens”.
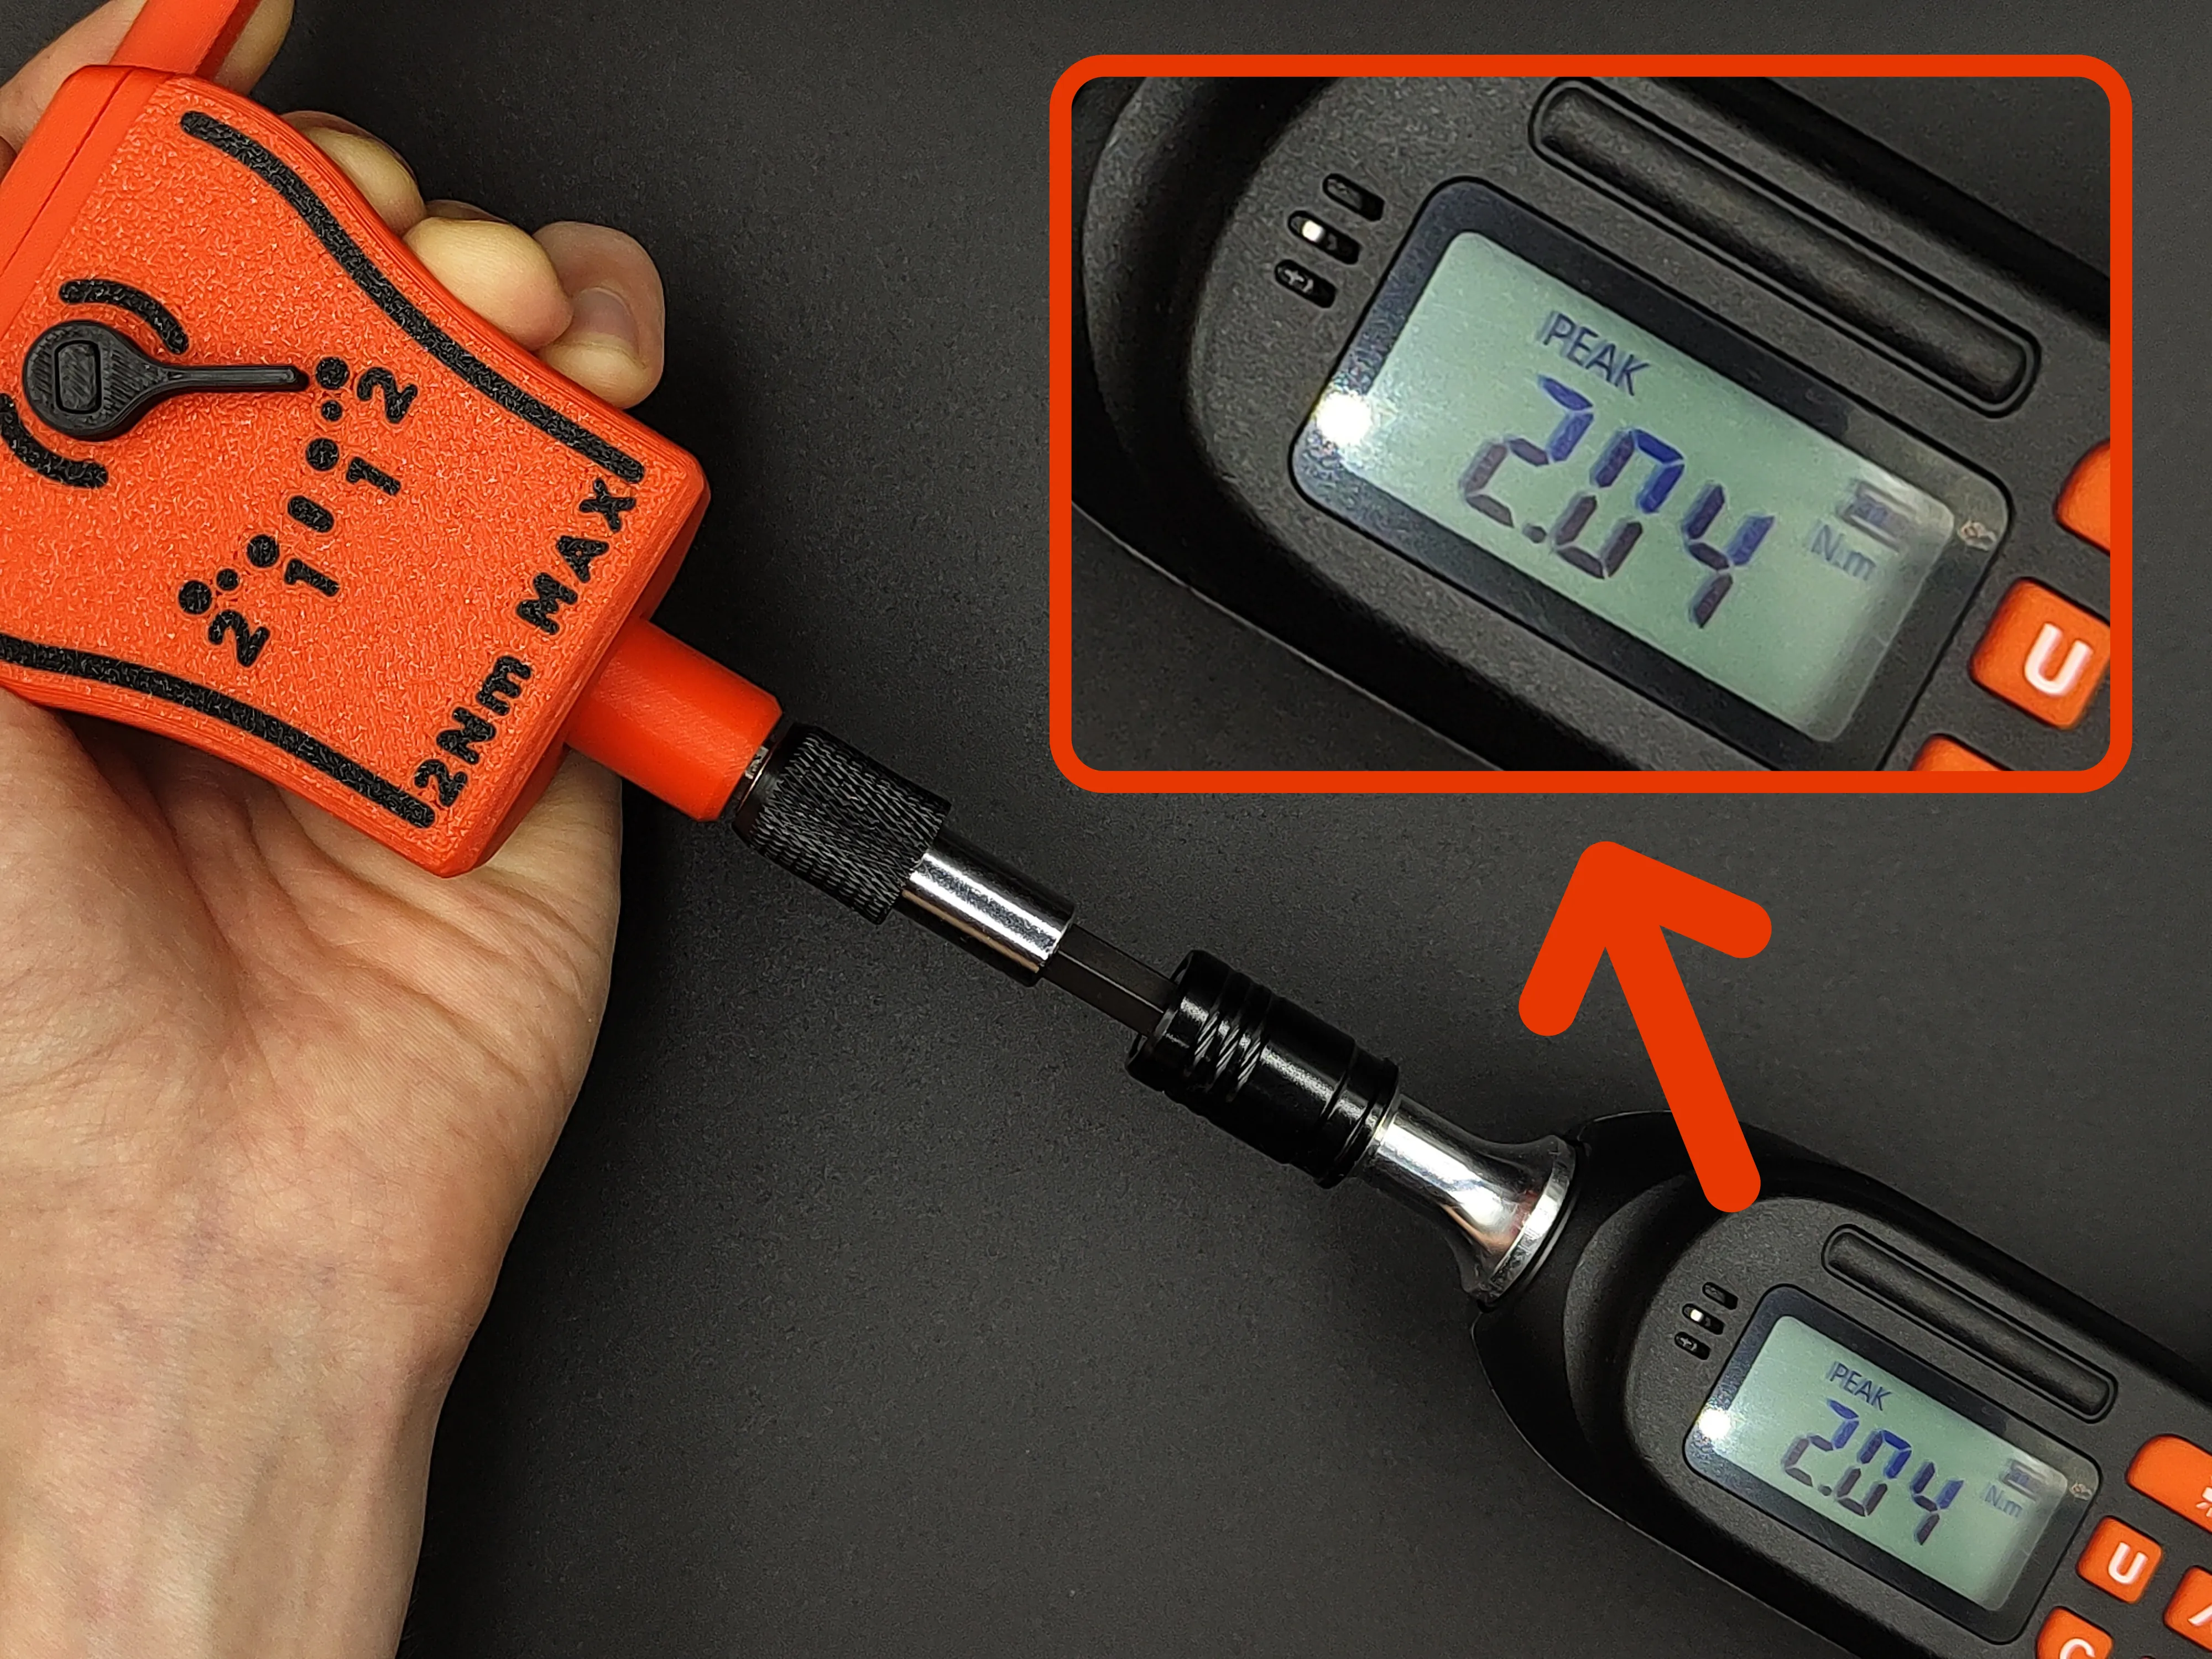
Printing Guide:
| Material | Max Torque | Measurement error |
| Bambu PLA Basic | 2Nm (1.475ft-lb) | +-0.045Nm < 1.5Nm, +-0.1Nm > 1.5Nm |
- The default scale values are calibrated for Bambu Lab PLA Basic filament. If you use PLA from other brands, the torque value might be slightly off - but it still should work.
- For accurate measurements, cycle the meter through its full range 3–5 times first. This lets the material settle into a semi-stable state so the bending force remains consistent.
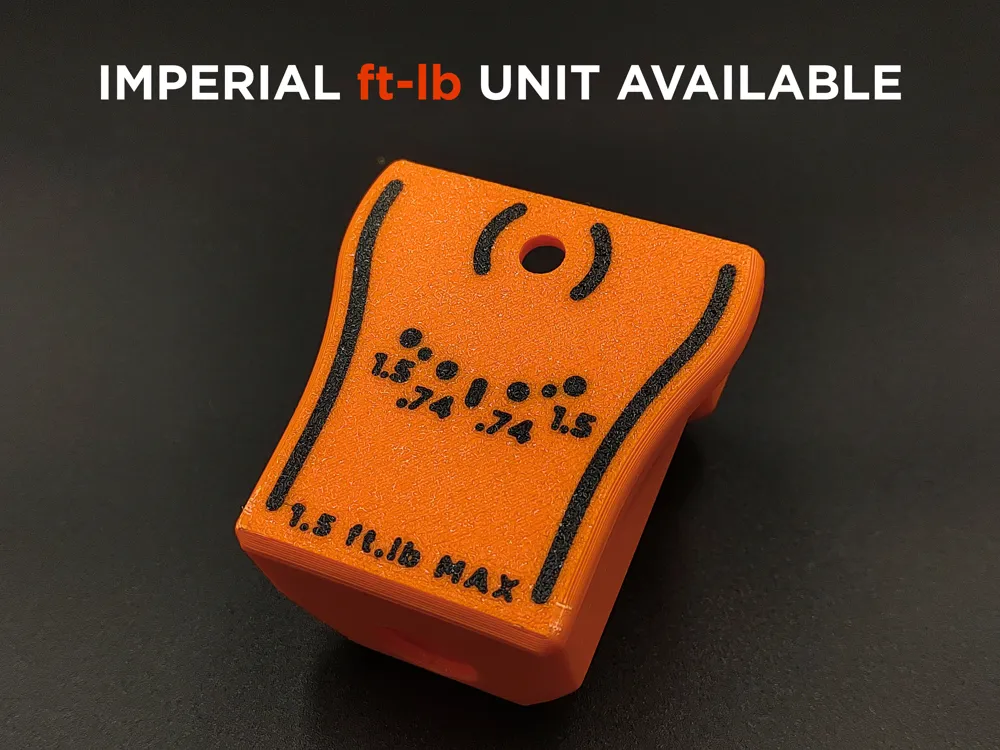
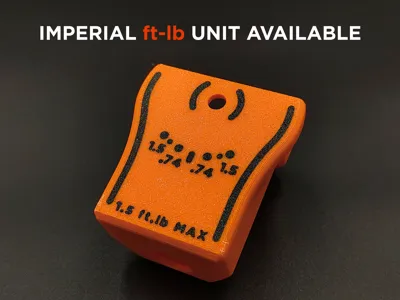
- Turn on Flow calibration (or calibrate manually). You can select between newton-meters and feet-pound units by picking a correct print profile.
- Pick a "No AMS" print profile if you don't have an AMS unit - if so, I recommend Smooth PEI plate or Cool Plate Supertack as Textured PEI makes the scale hardly visible due to the reflections of light.
- Do not change anything in the print profile except the labels (it will throw the measurements off the scale).
- If you want it to measure higher torques, print in a material that's stiffer than PLA Basic (PLA-CF, PET-CF or PA6-CF as an example).
Assembly guide and demonstration video:
If your torque meter reads high, I recommend applying some lubricant where gears touch the walls and where the pin that holds the “Main gear” part. You can also add a 6x3mm magnet to the shaft to hold a bit for example.
Here are all the prototypes it took to make the thing work:
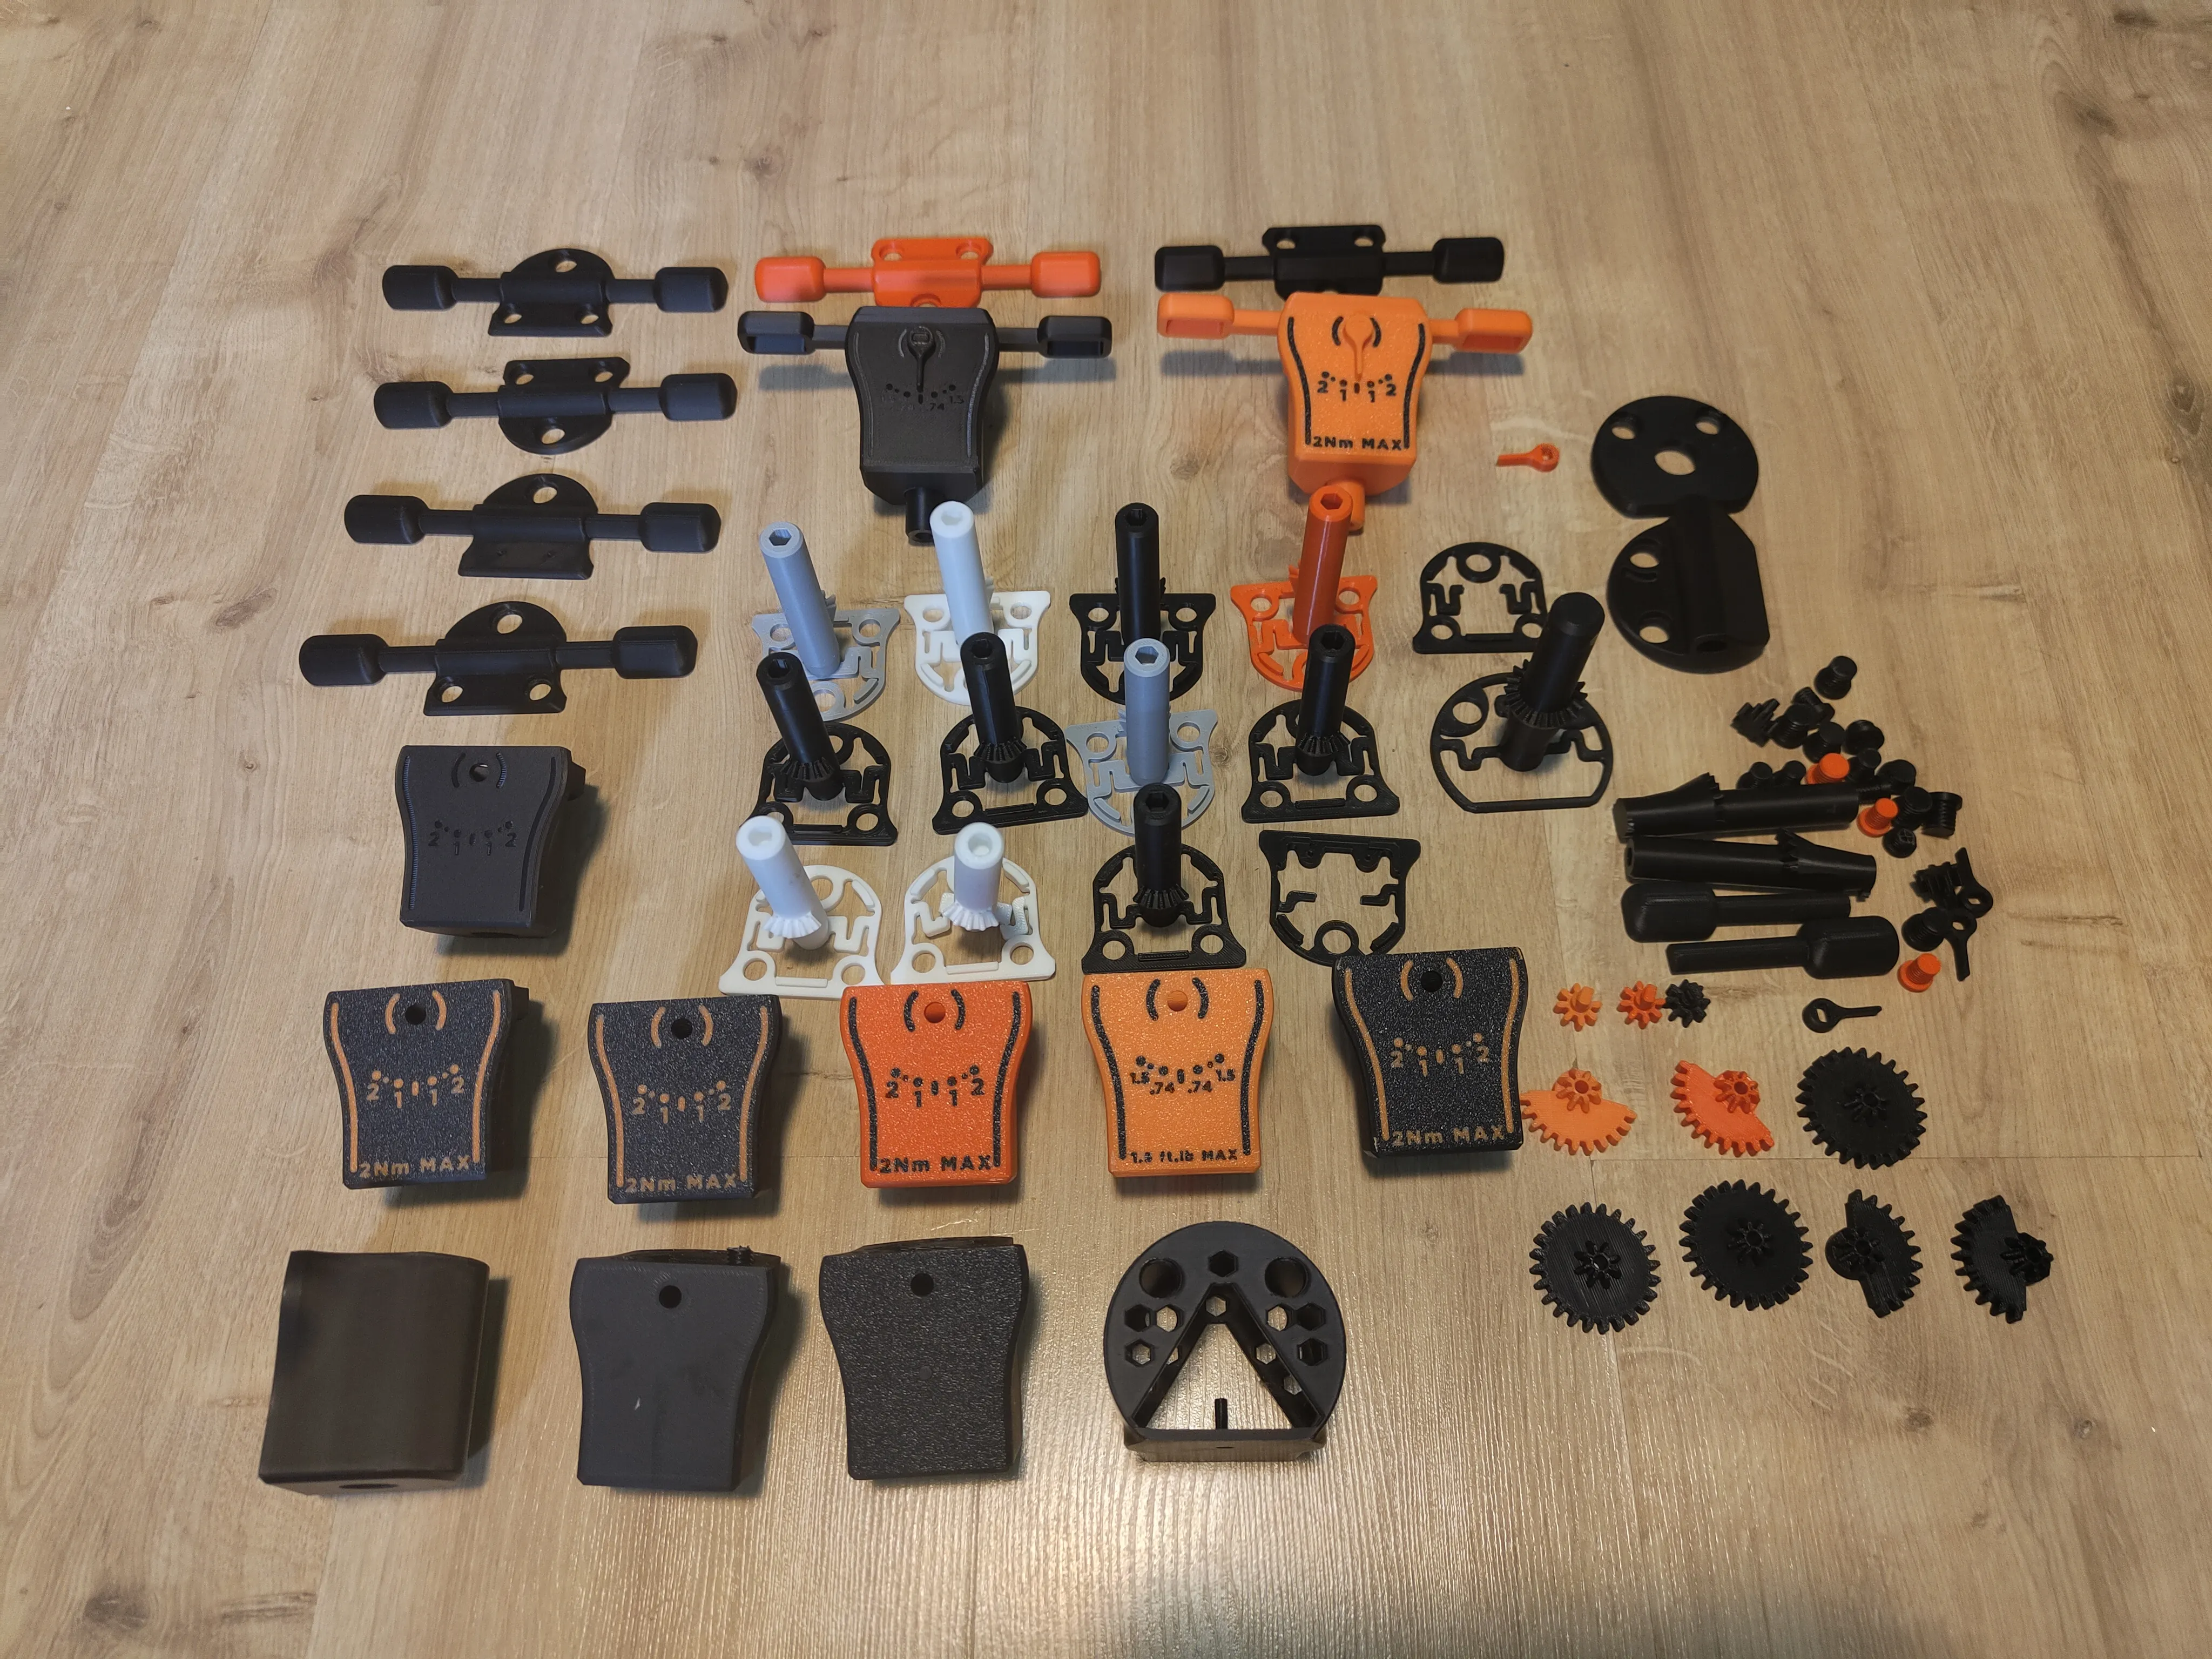
Disclaimer: This 3D-printed torque meter is for hobby and experimental use only. It has not been certified or tested for safety-critical applications. Do not rely on it where equipment failure, injury, or regulatory compliance is a concern.
As always, I'm looking forward to some feedback! This is my first revision of the model and there's certainly a lot of room for improvement :)
Special thanks to JLCCNC for supporting my project work!
 | 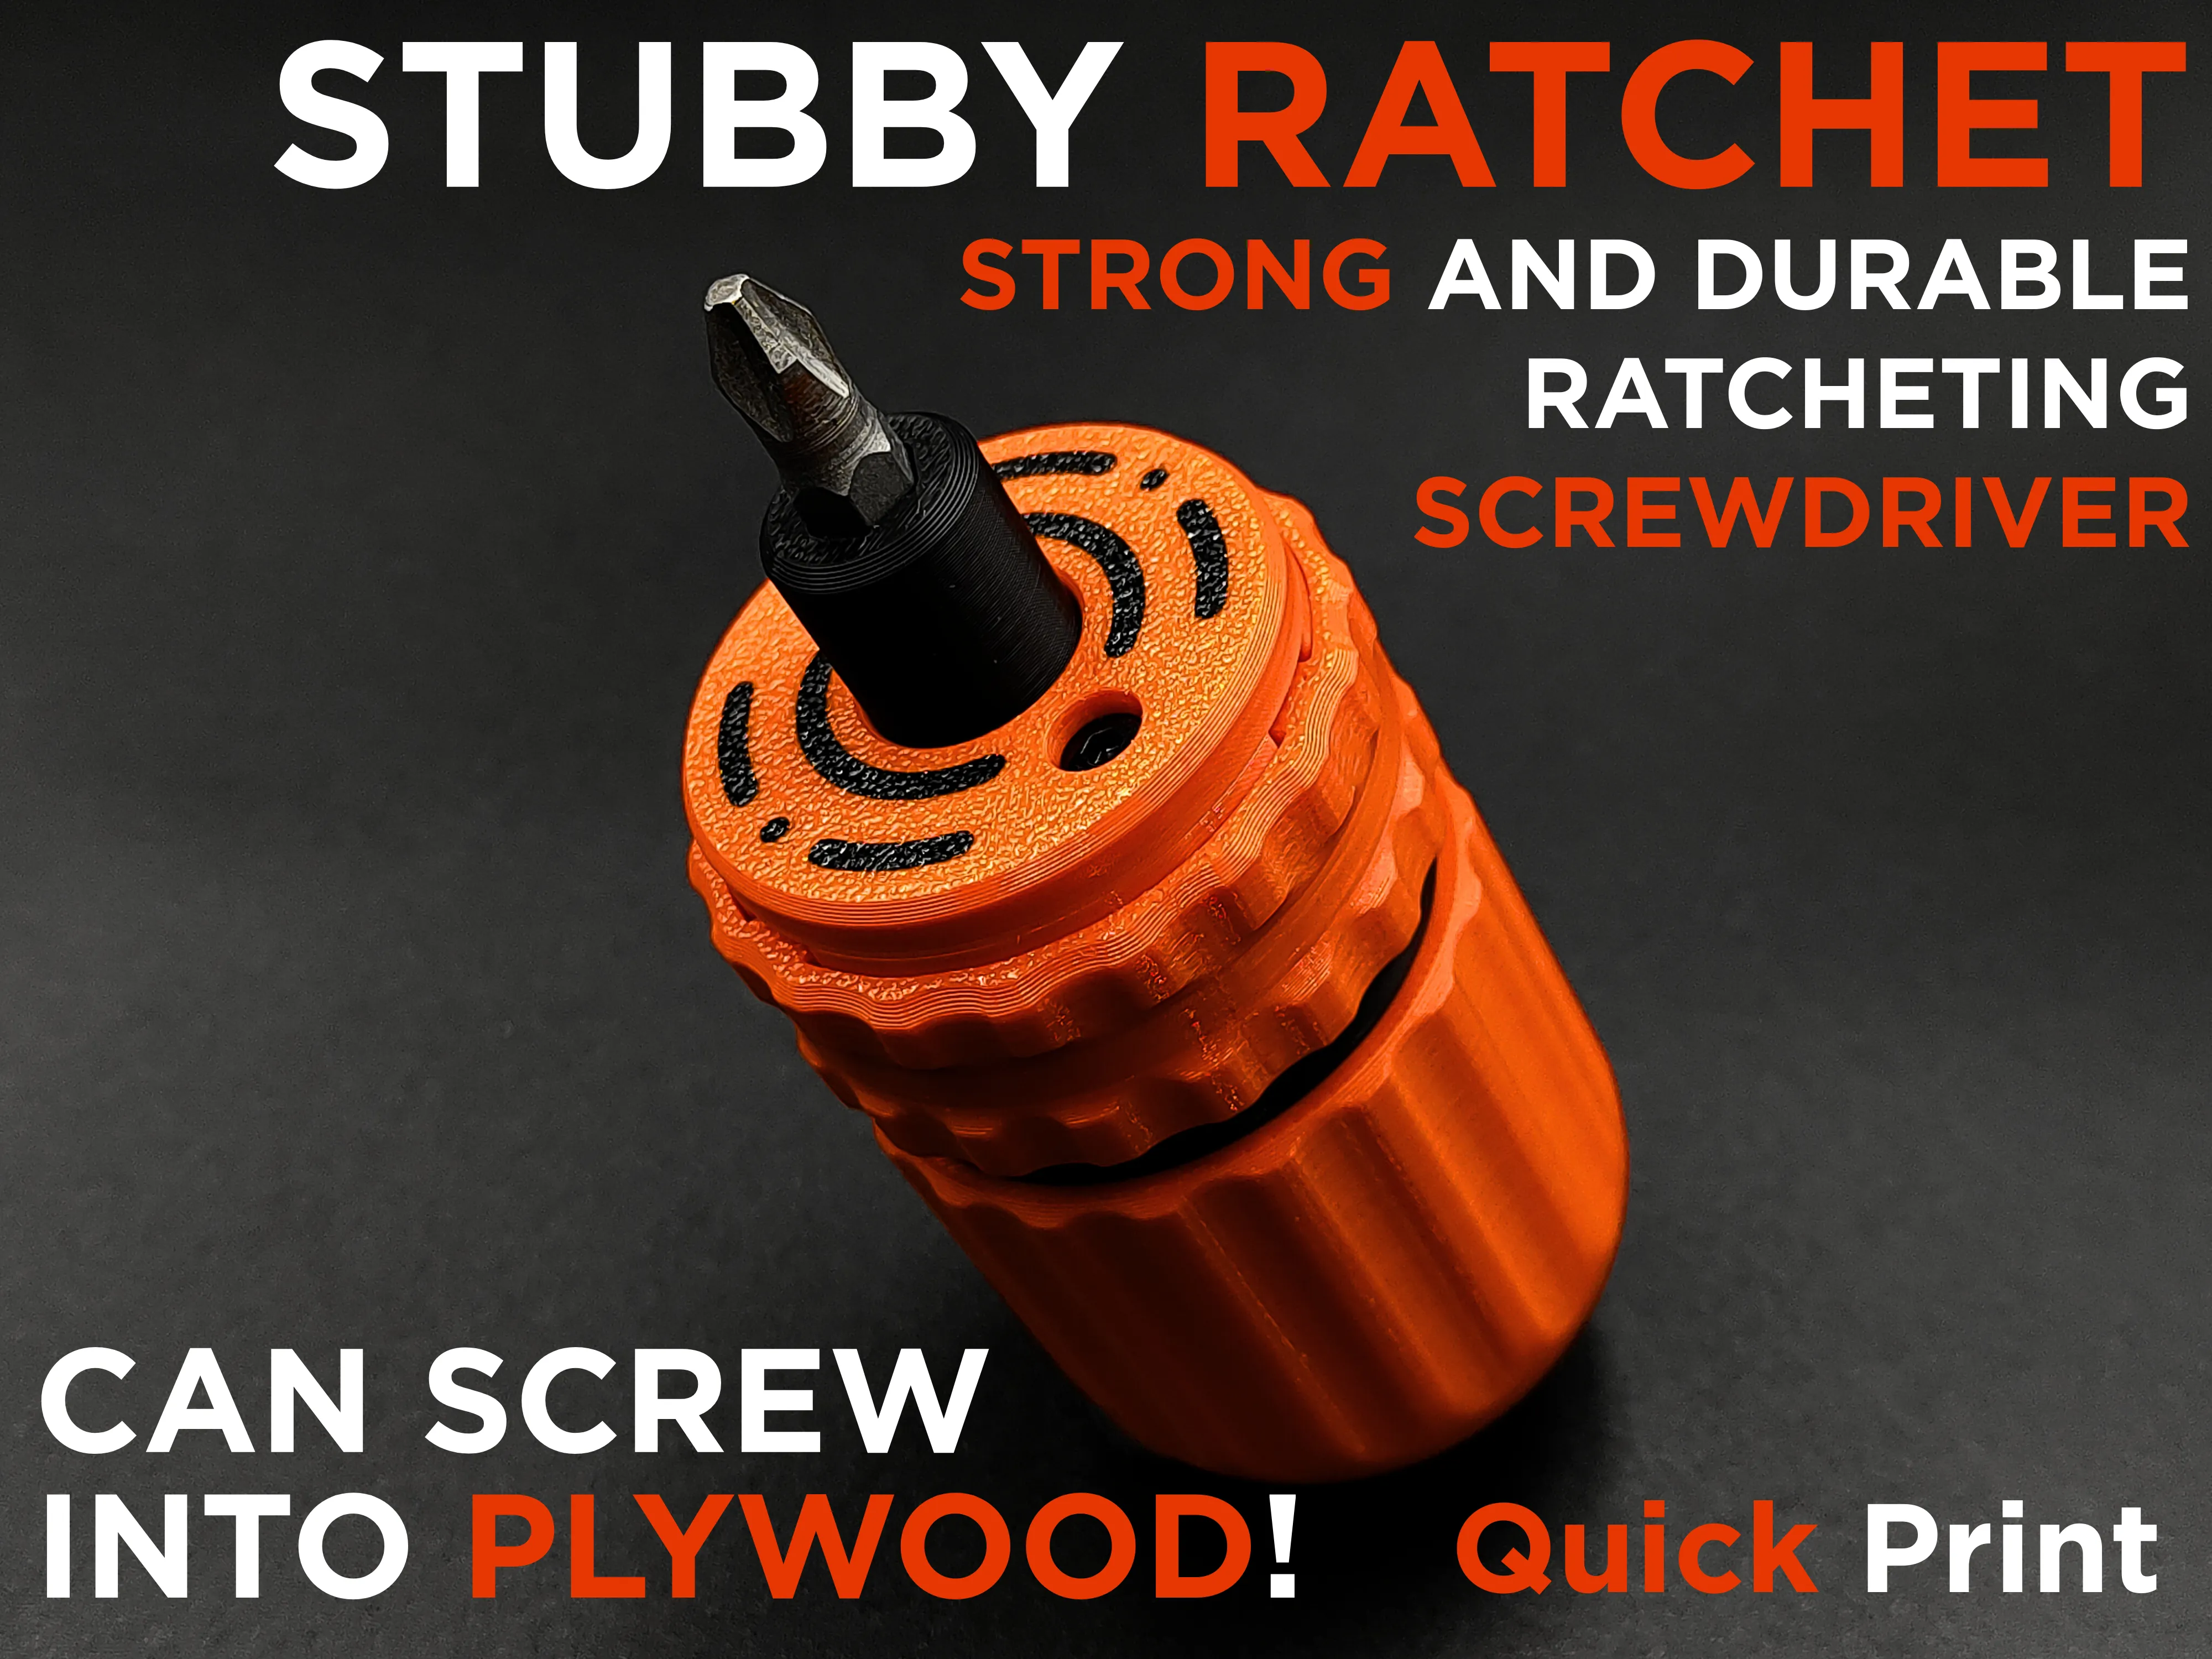 | 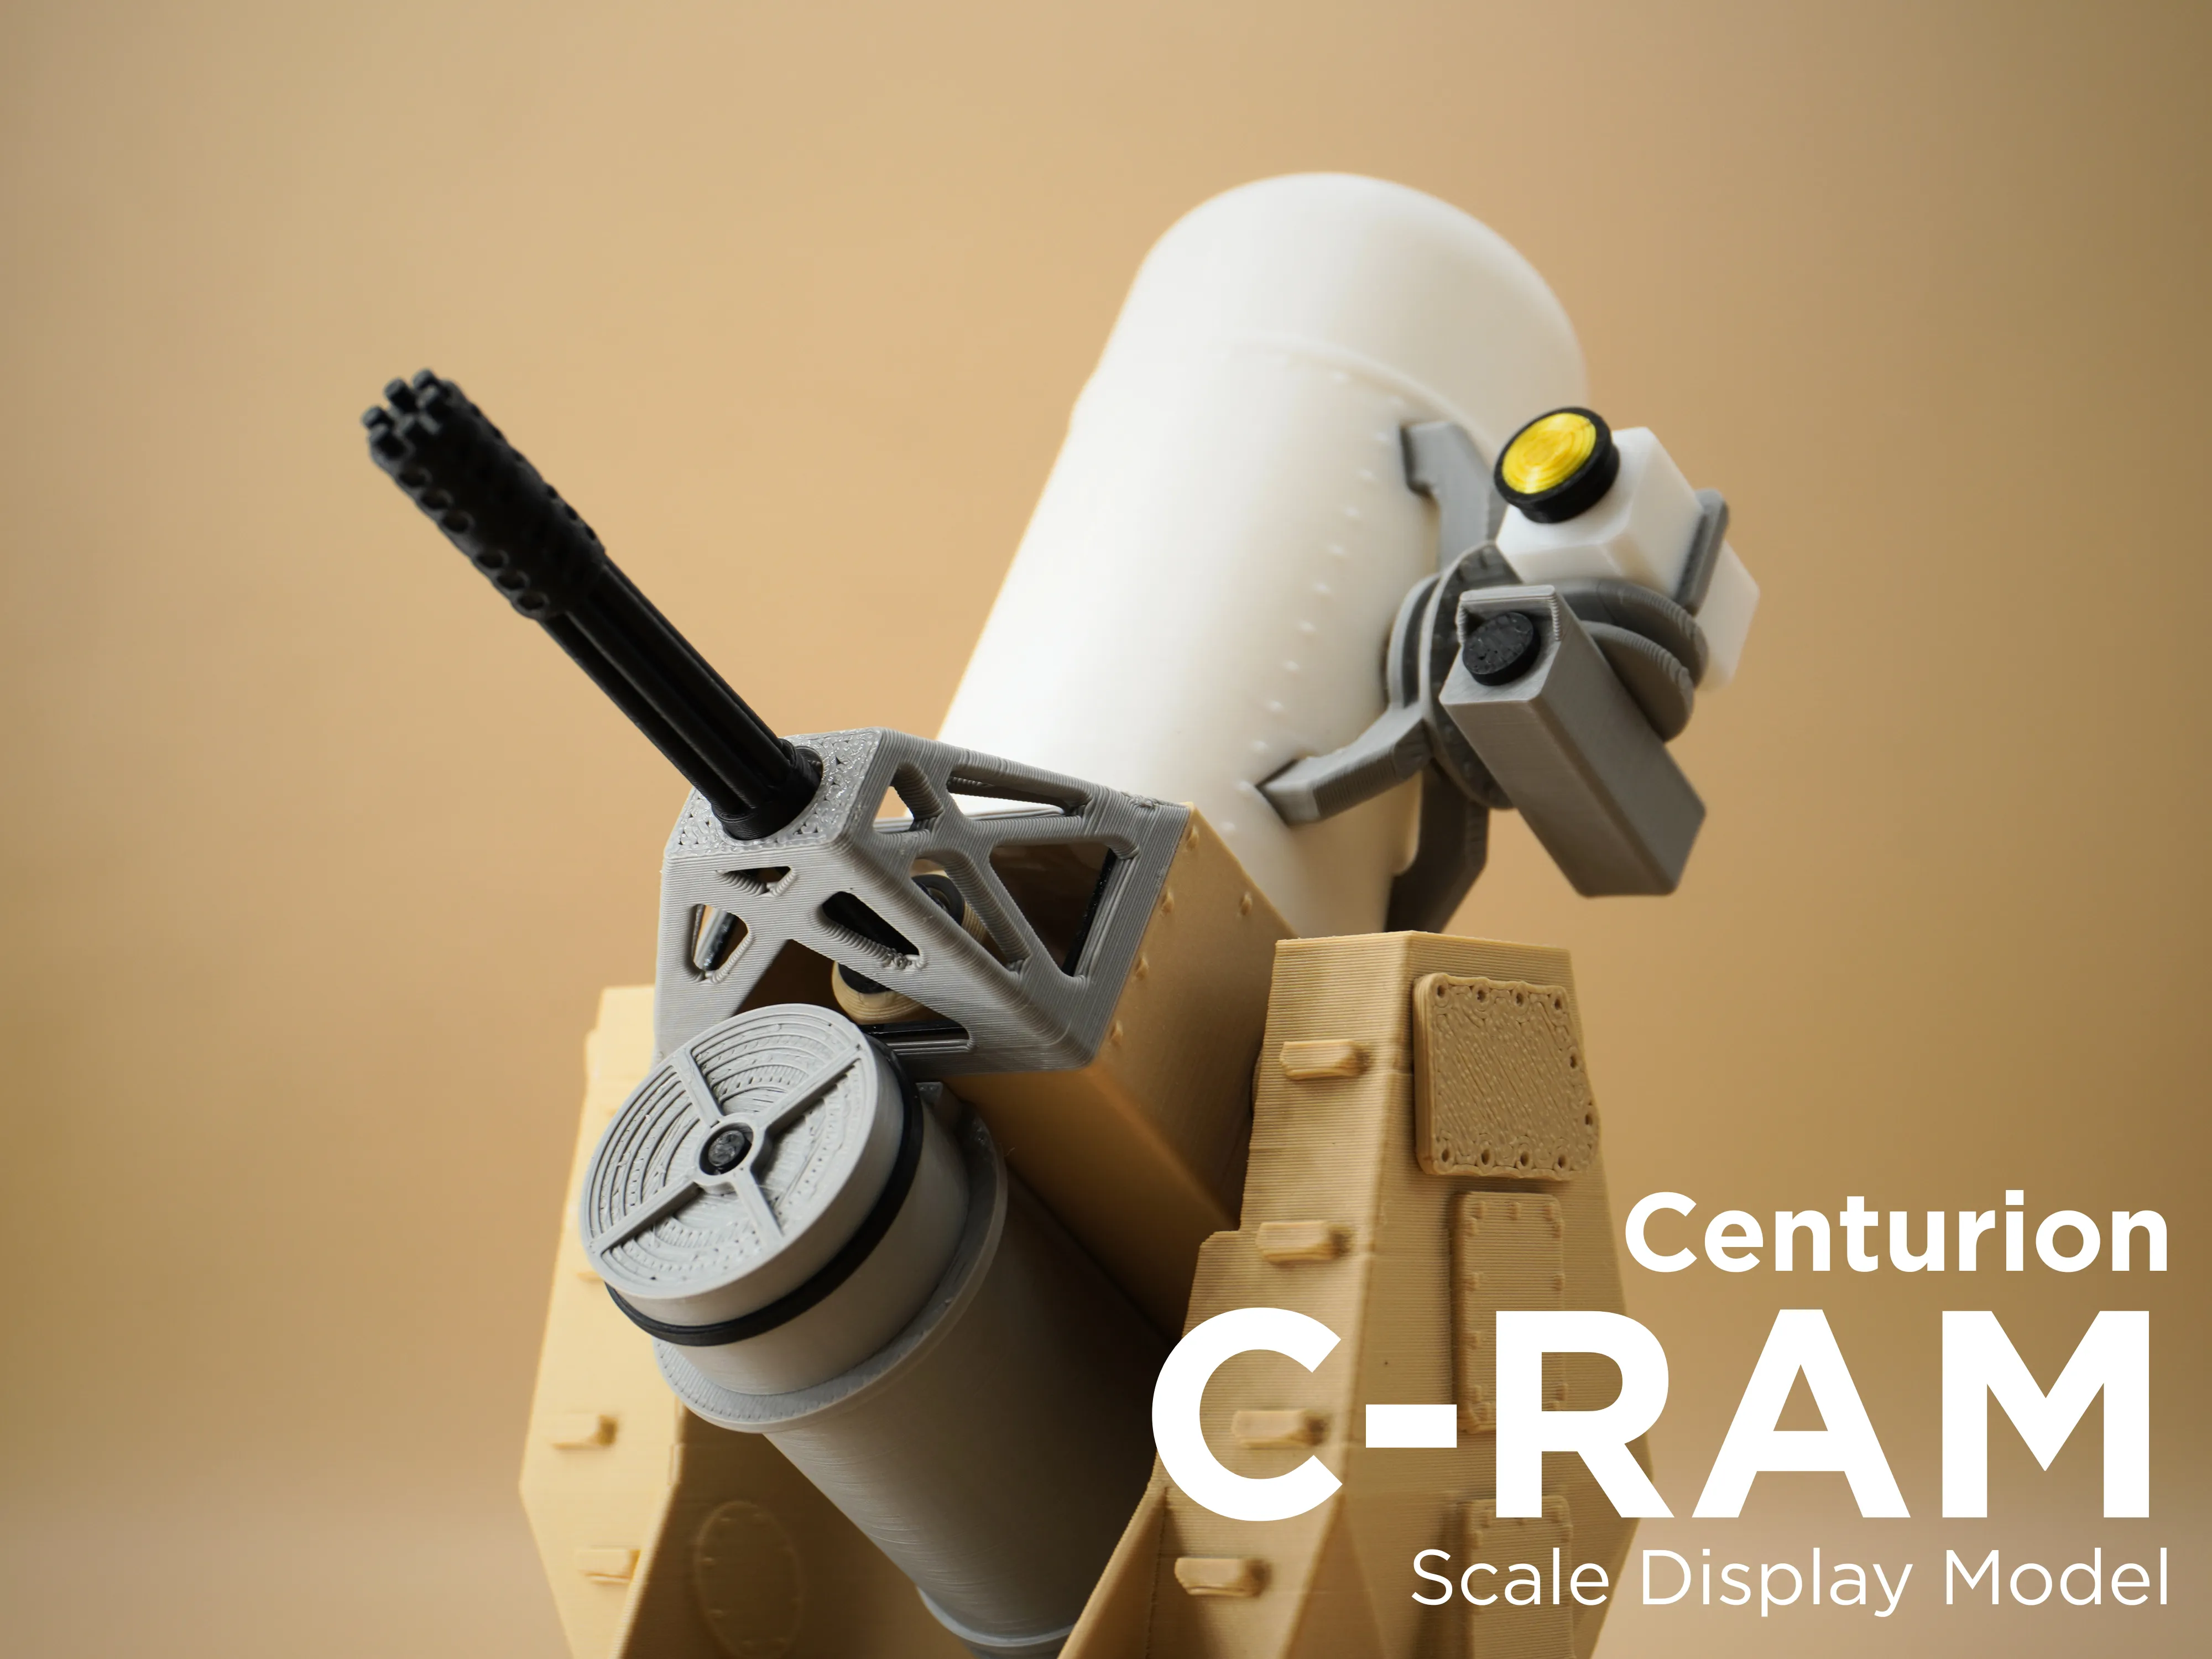 |
Ratchet Core - Modular Reversible Ratchet Driver | Stubby Ratchet R1 - Ratcheting Screwdriver | Centurion C-RAM Scale Display Model |
License

You shall not share, sub-license, sell, rent, host, transfer, or distribute in any way the digital or 3D printed versions of this object, nor any other derivative work of this object in its digital or physical format (including - but not limited to - remixes of this object, and hosting on other digital platforms). The objects may not be used without permission in any way whatsoever in which you charge money, or collect fees.


Comment & Rating (24)