
Motor stand with electronics for engine model 005
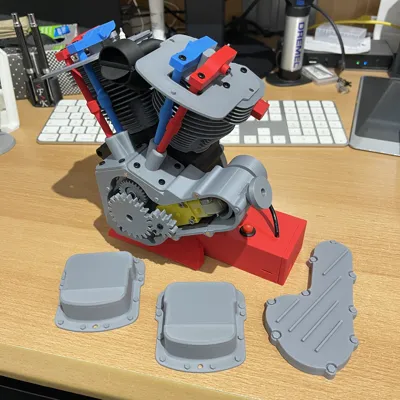
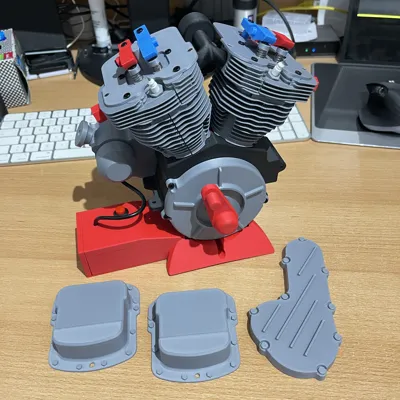
Print Profile(1)

Description



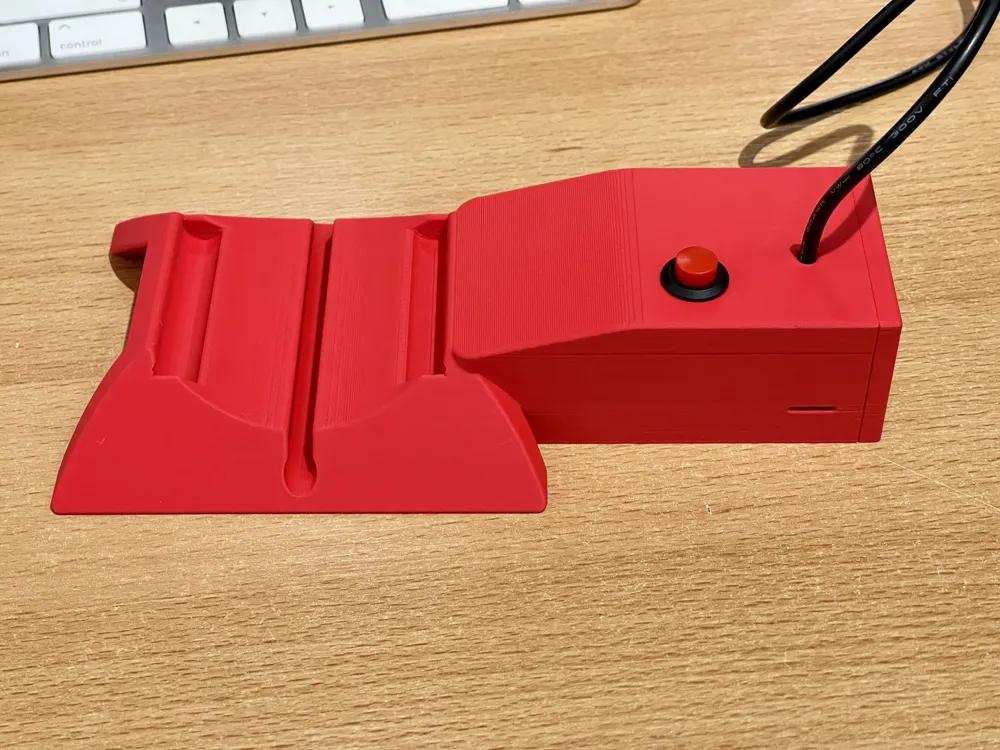
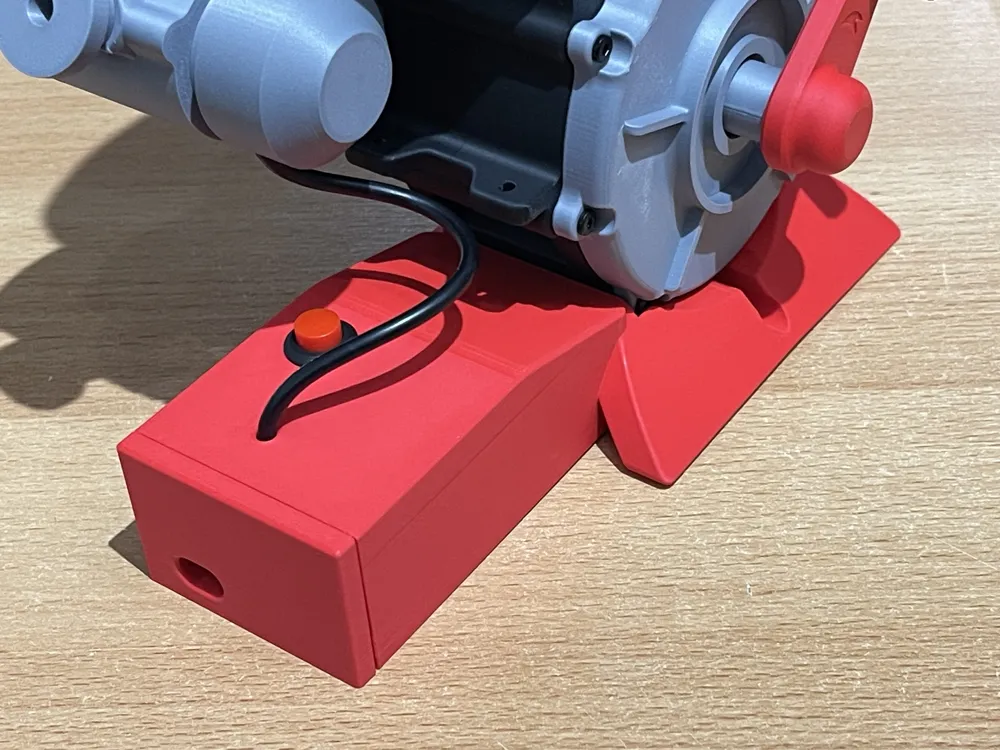
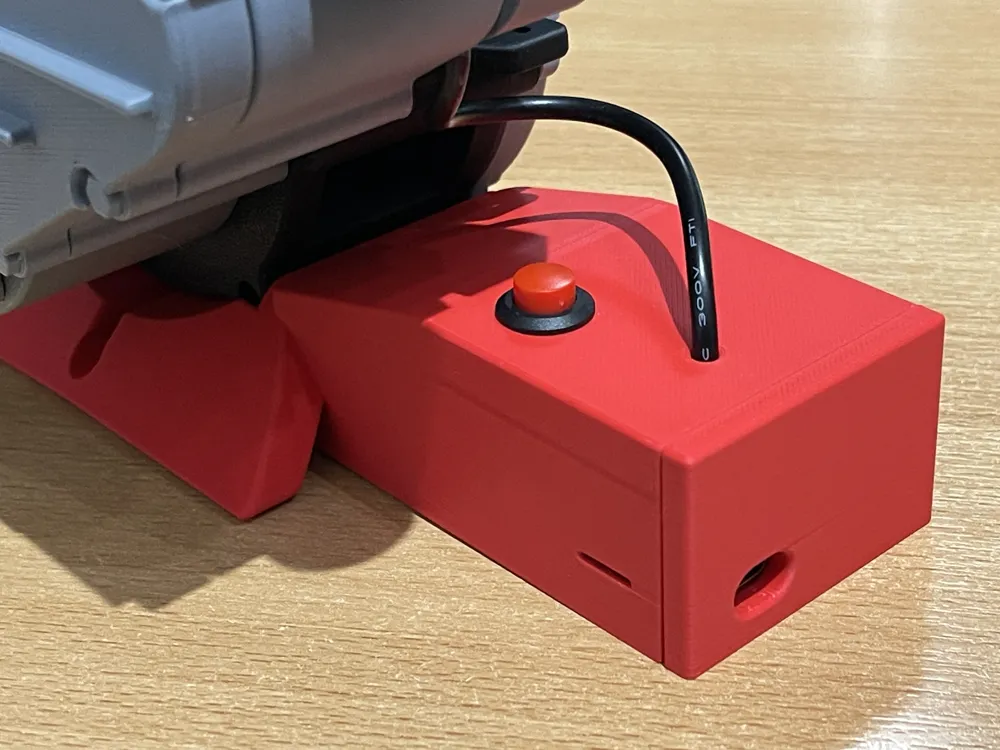
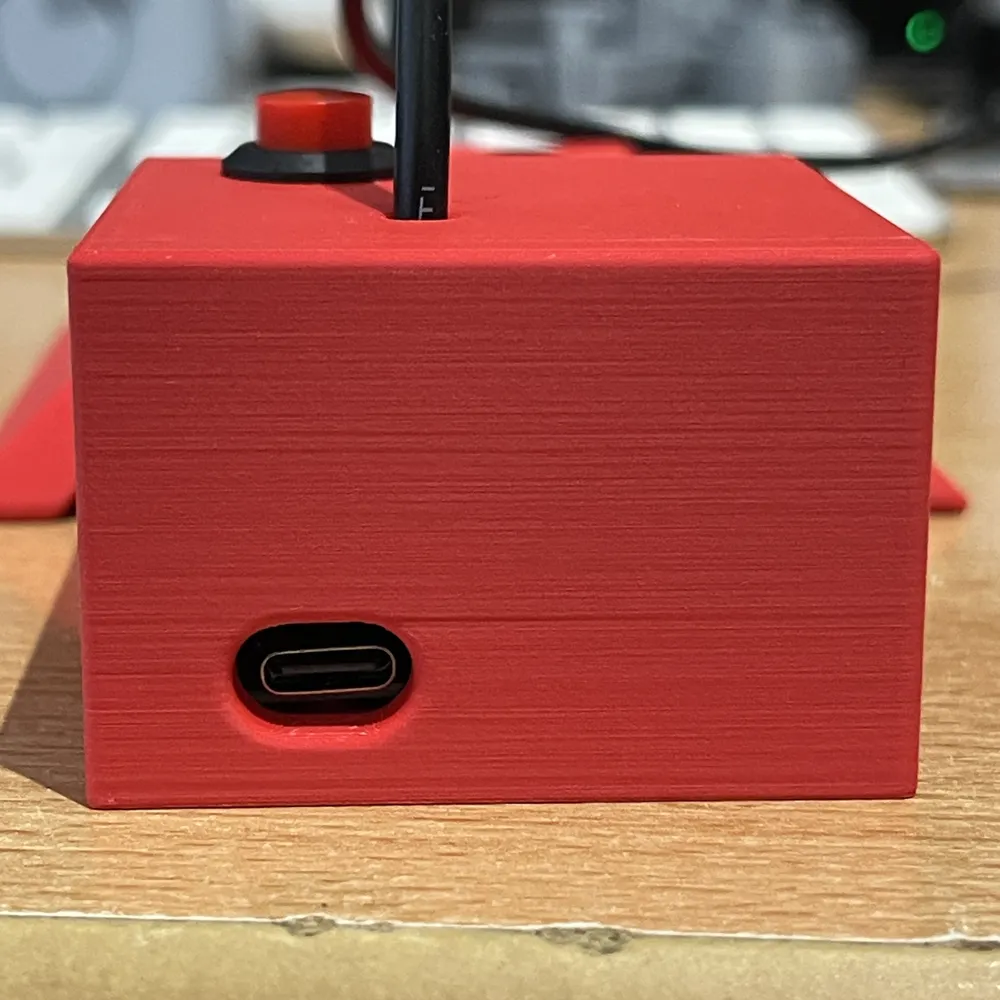
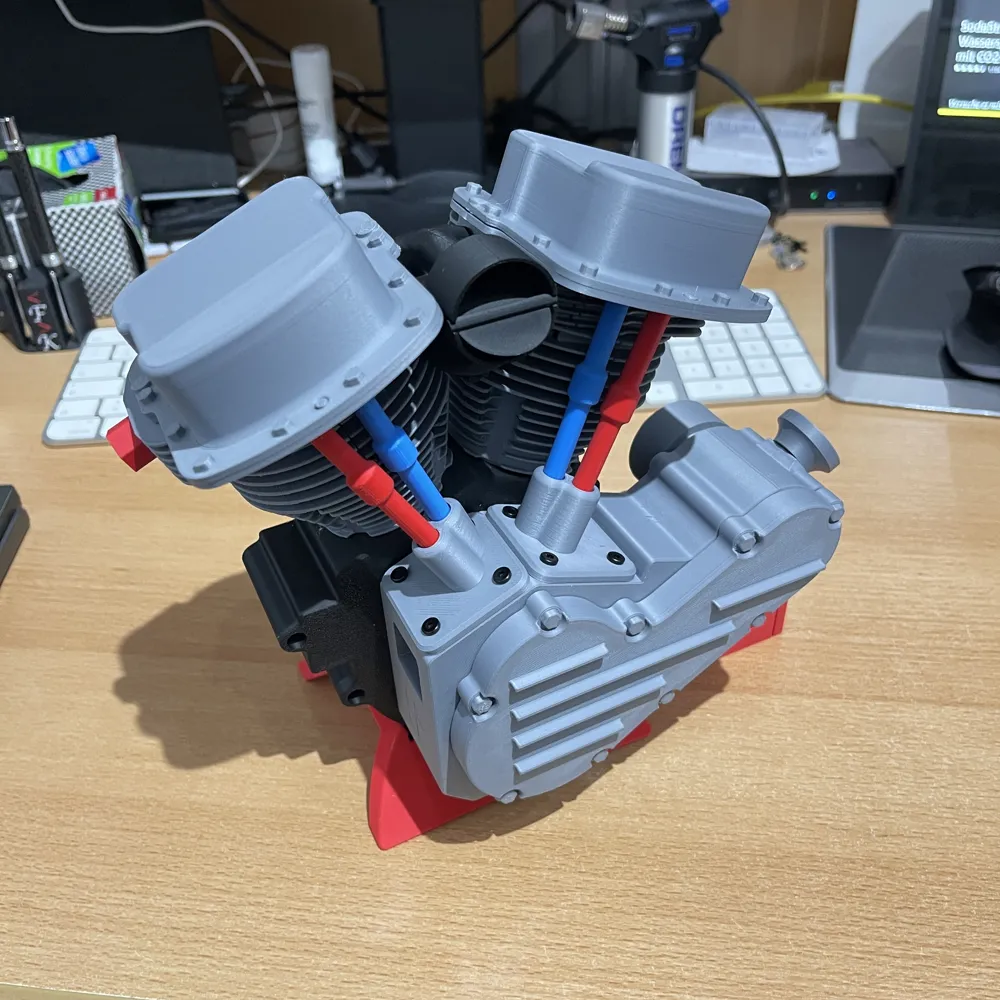
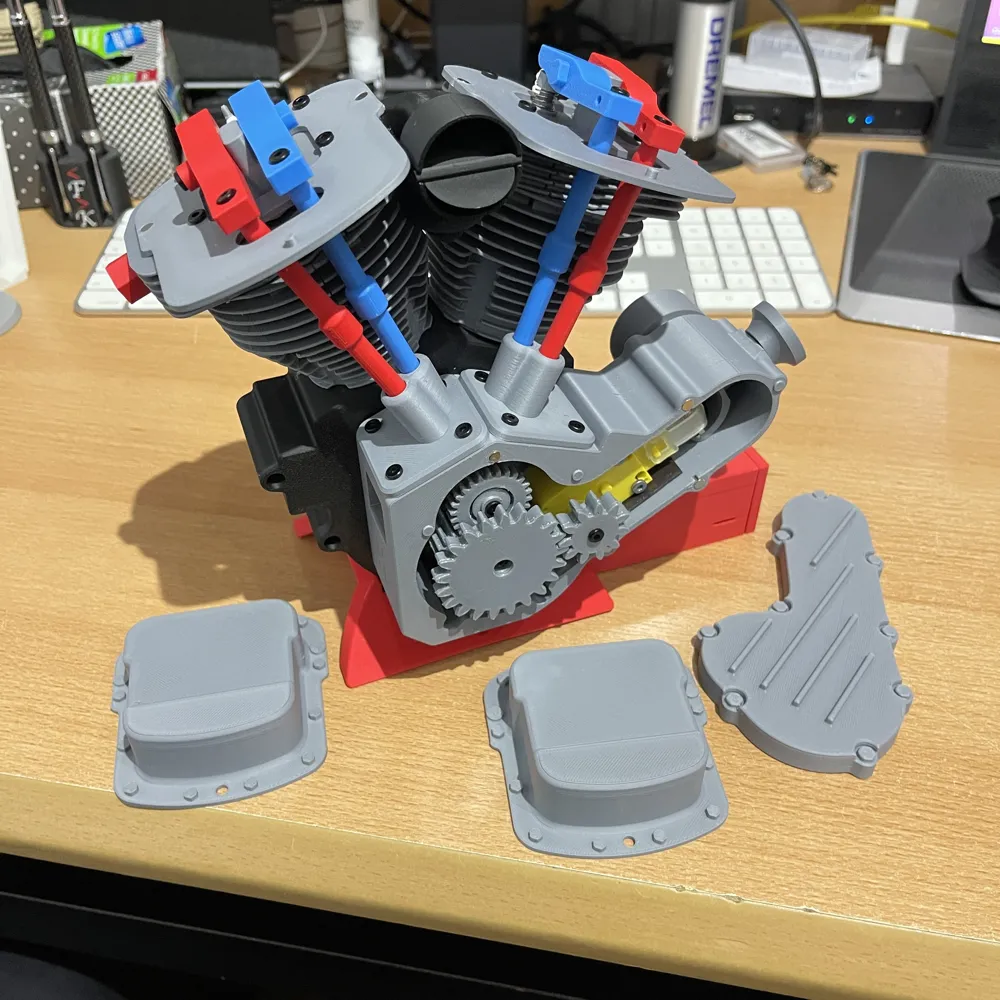
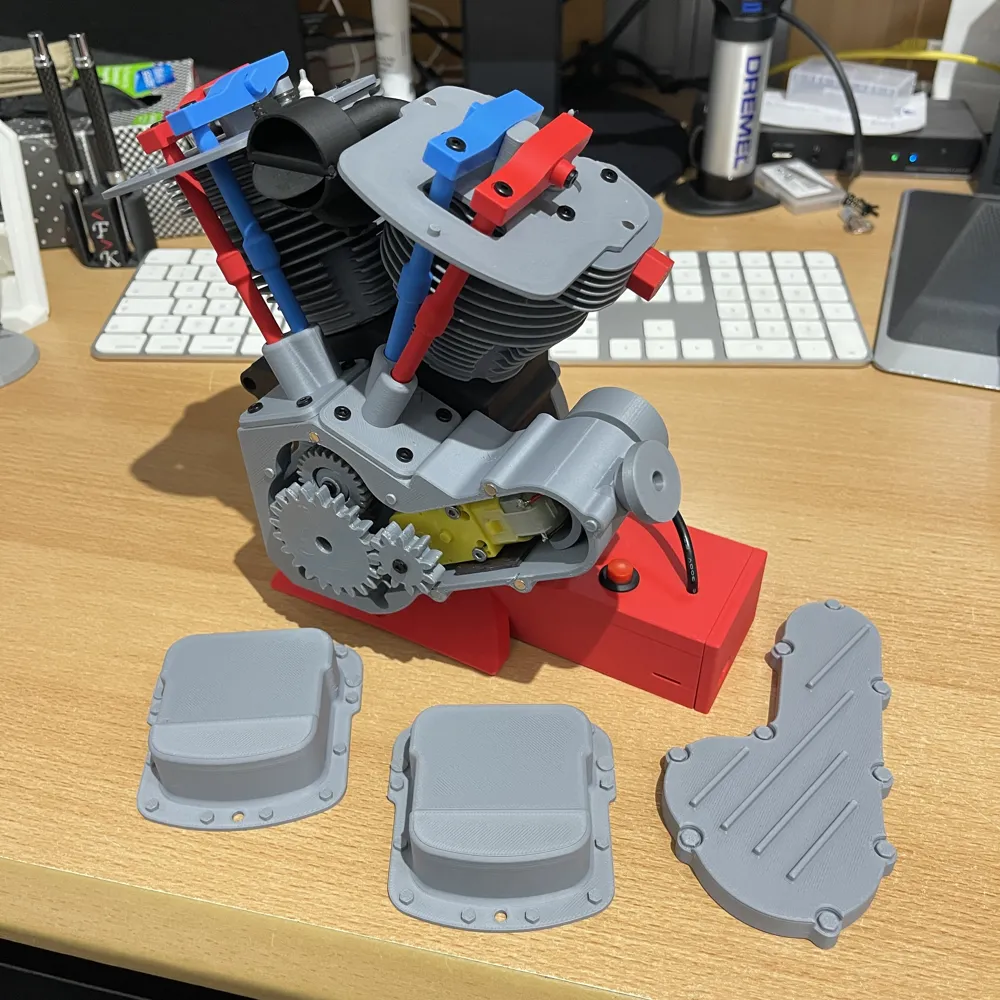
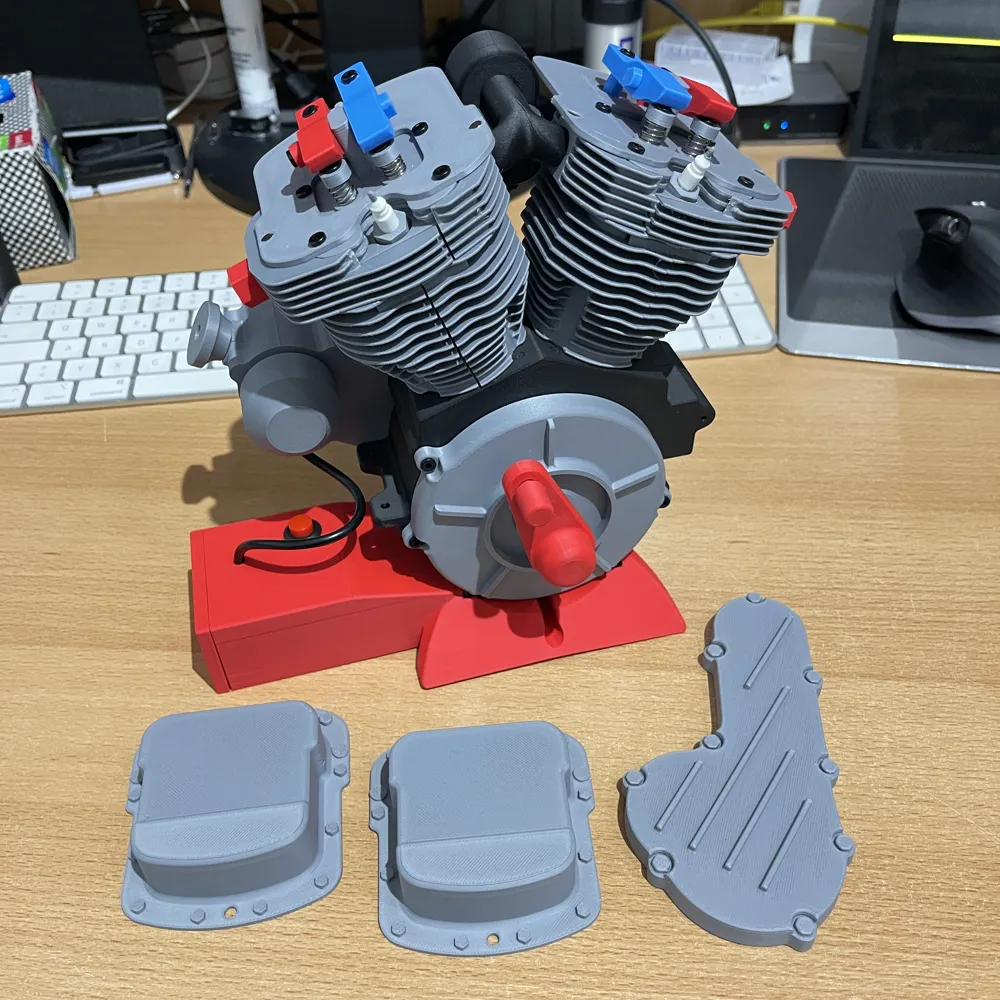
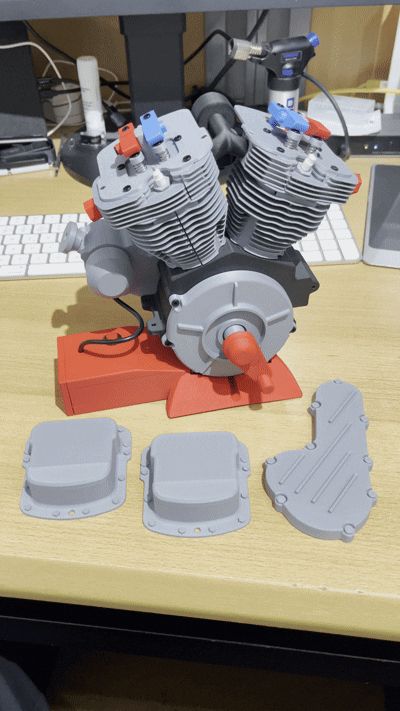
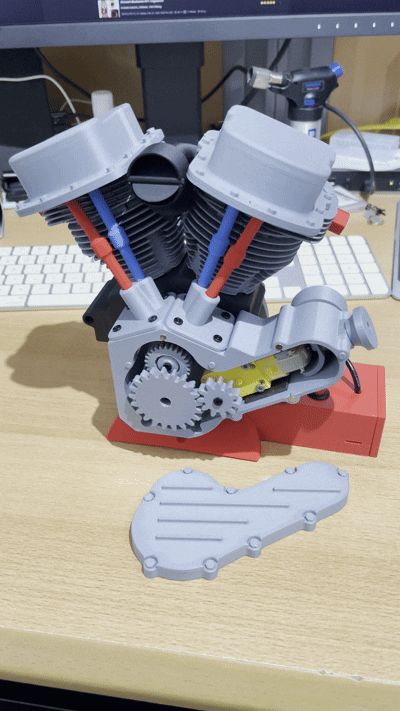
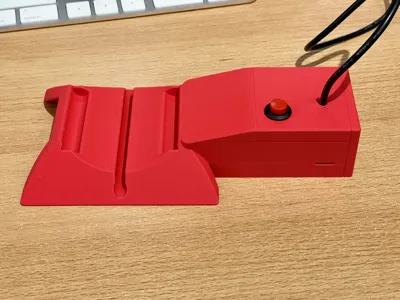
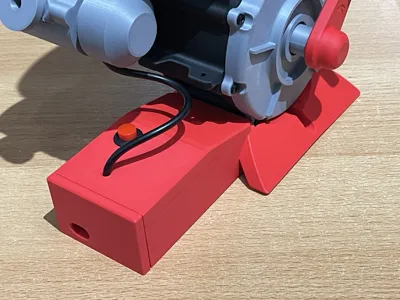
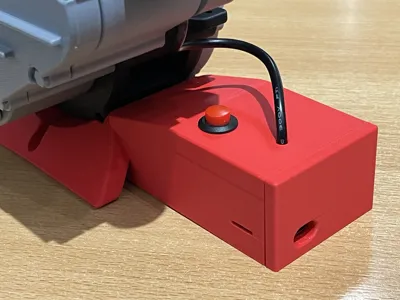
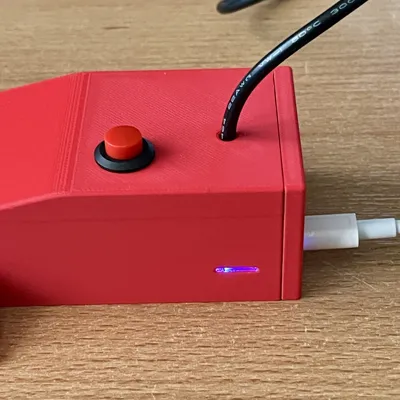
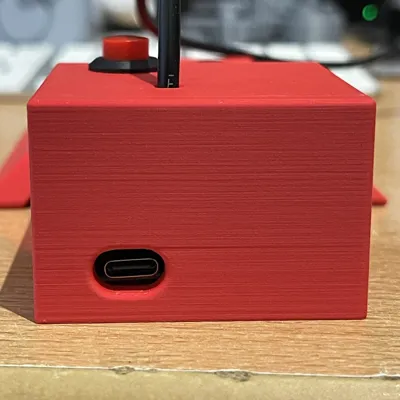
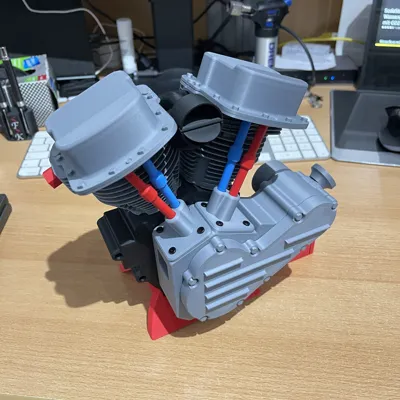
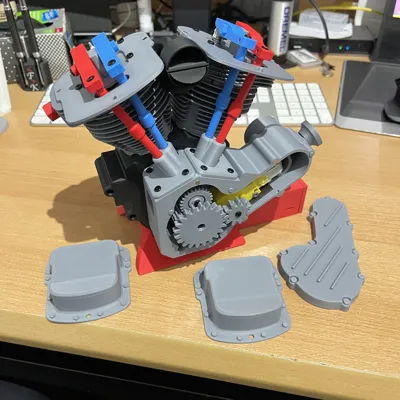
Because I like to automate my models, I have added an electronics housing to the motor stand for engine model 005.
This housing contains a battery, a push-button switch, and a charge controller.
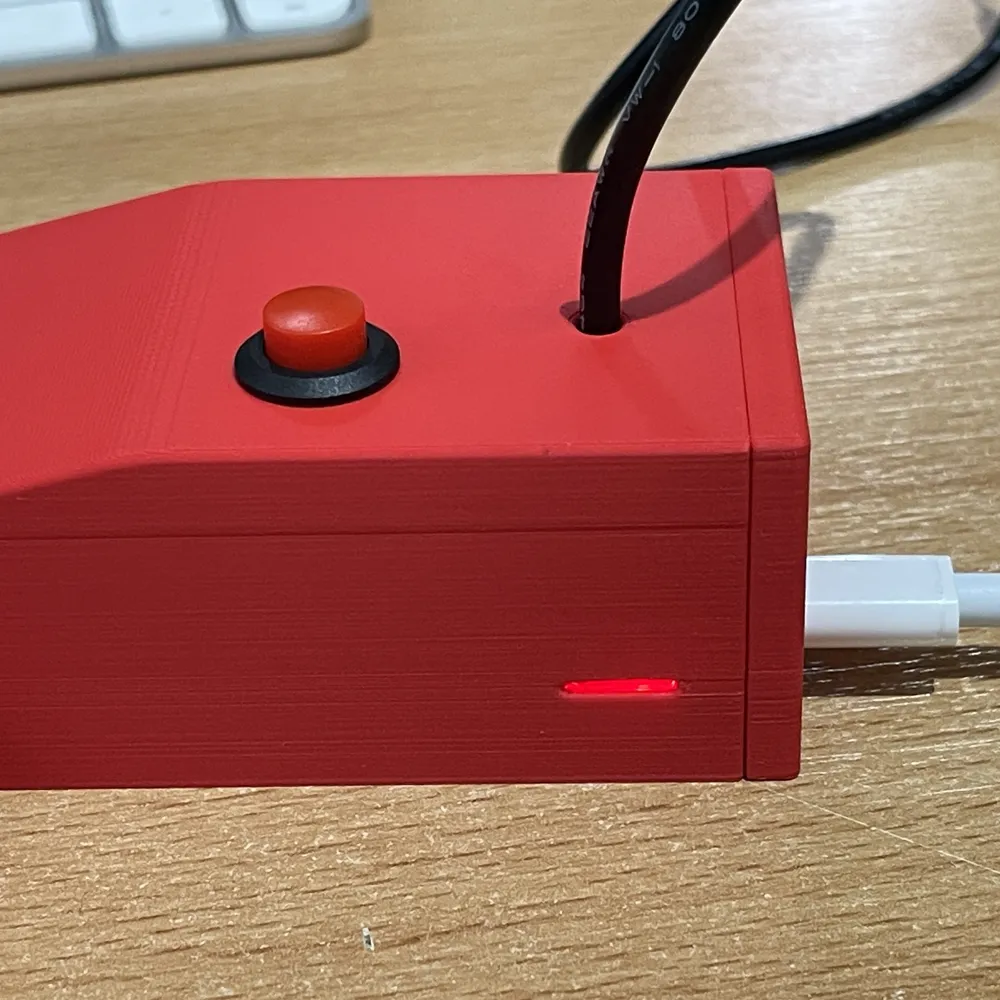
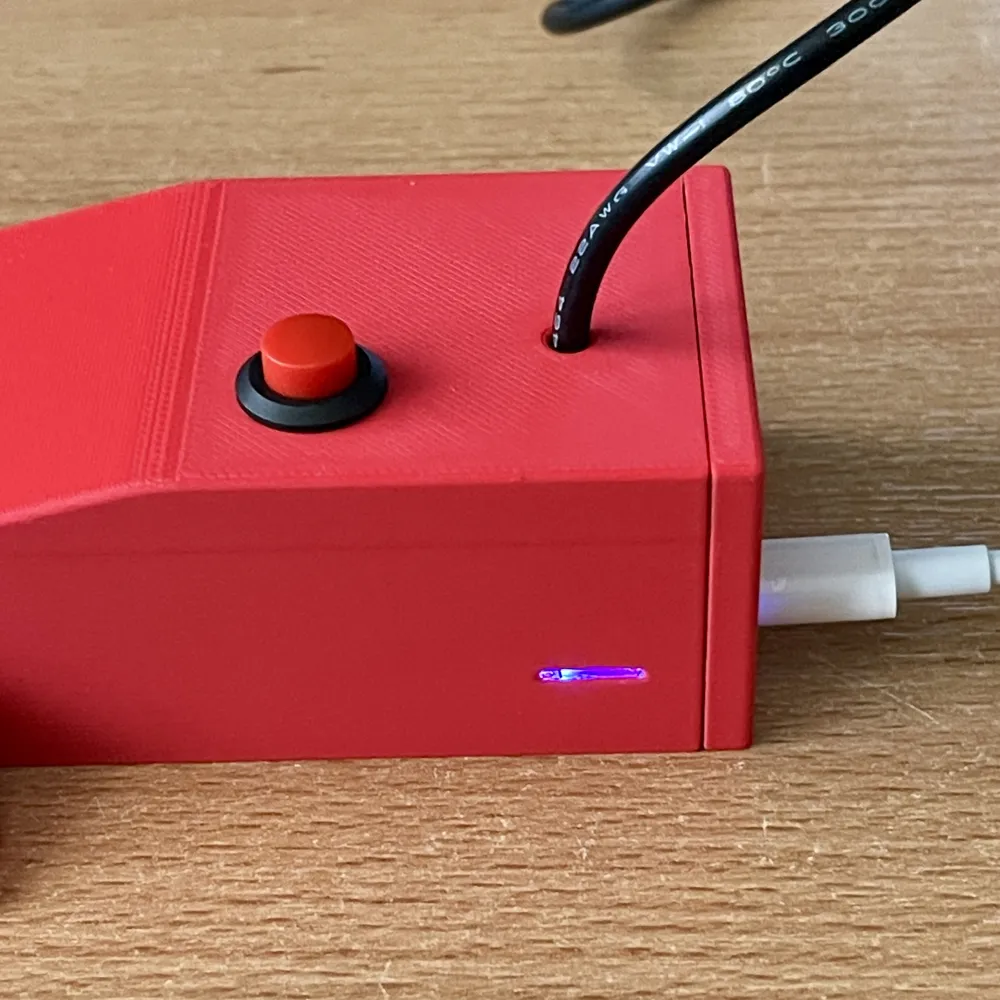
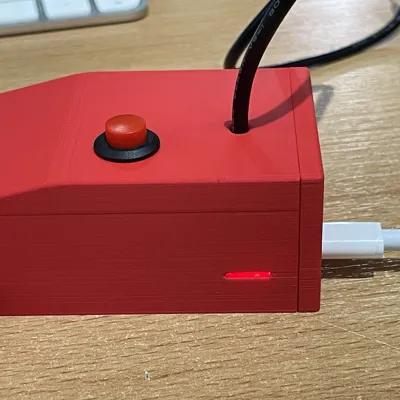
This makes it possible to use the model wirelessly and without a crank. Only a USB-C cable is connected to charge the battery.
A charging indicator is also present.
Unfortunately, I am not a good solderer, and there is no proper order in the housing regarding cable routing. I ask for your understanding. Perhaps you can teach me something in this regard.
For me, the important thing is that it works.
I have included assembly instructions. These are very simple but explain every processing step.
I have used the following additional components:
Charge controller
Li-ion battery 3.6V - 9.36Wh - 2600mAh
https://www.amazon.de/dp/B0DZD4834R?ref=ppx_yo2ov_dt_b_fed_asin_title&th=1
Push-button switch
Dowel pins D2x8mm
https://www.amazon.de/dp/B0BHNV3V59?ref=ppx_yo2ov_dt_b_fed_asin_title
Magnets diameter 5mm x 3mm
https://www.amazon.de/dp/B0CPHXZ8YJ?ref=ppx_yo2ov_dt_b_fed_asin_title&th=1
Have fun printing and assembling.
If I can do it, so can you.
Documentation (1)
This remix is based on


License



Comment & Rating (6)