
Elder Wand inspired by Harry Potter
Print Profile(2)



Description
The Unbeatable Elder Wand (Engineered for Strength)
Calling all Harry Potter fans and 3D printing enthusiasts! Inspired by the lore of the Deathly Hallows, I designed this Elder Wand to be both beautiful and exceptionally durable.
Engineered for Durability: Say goodbye to weak joints! The core of this wand is printed with a unique perpendicular grain direction. When you glue the parts together, the cross-hatch pattern dramatically increases the structural integrity, making it far more robust than standard prints.
Master the Finish: Achieve a professional, high-contrast look with this simple painting technique:
- Print the inscribed center piece in white filament.
- Paint the entire section matte black.
- Once dry, gently sand the area to reveal the dark symbols underneath.
It’s the perfect project for Halloween, conventions, or just adding the ultimate artifact to your collection.
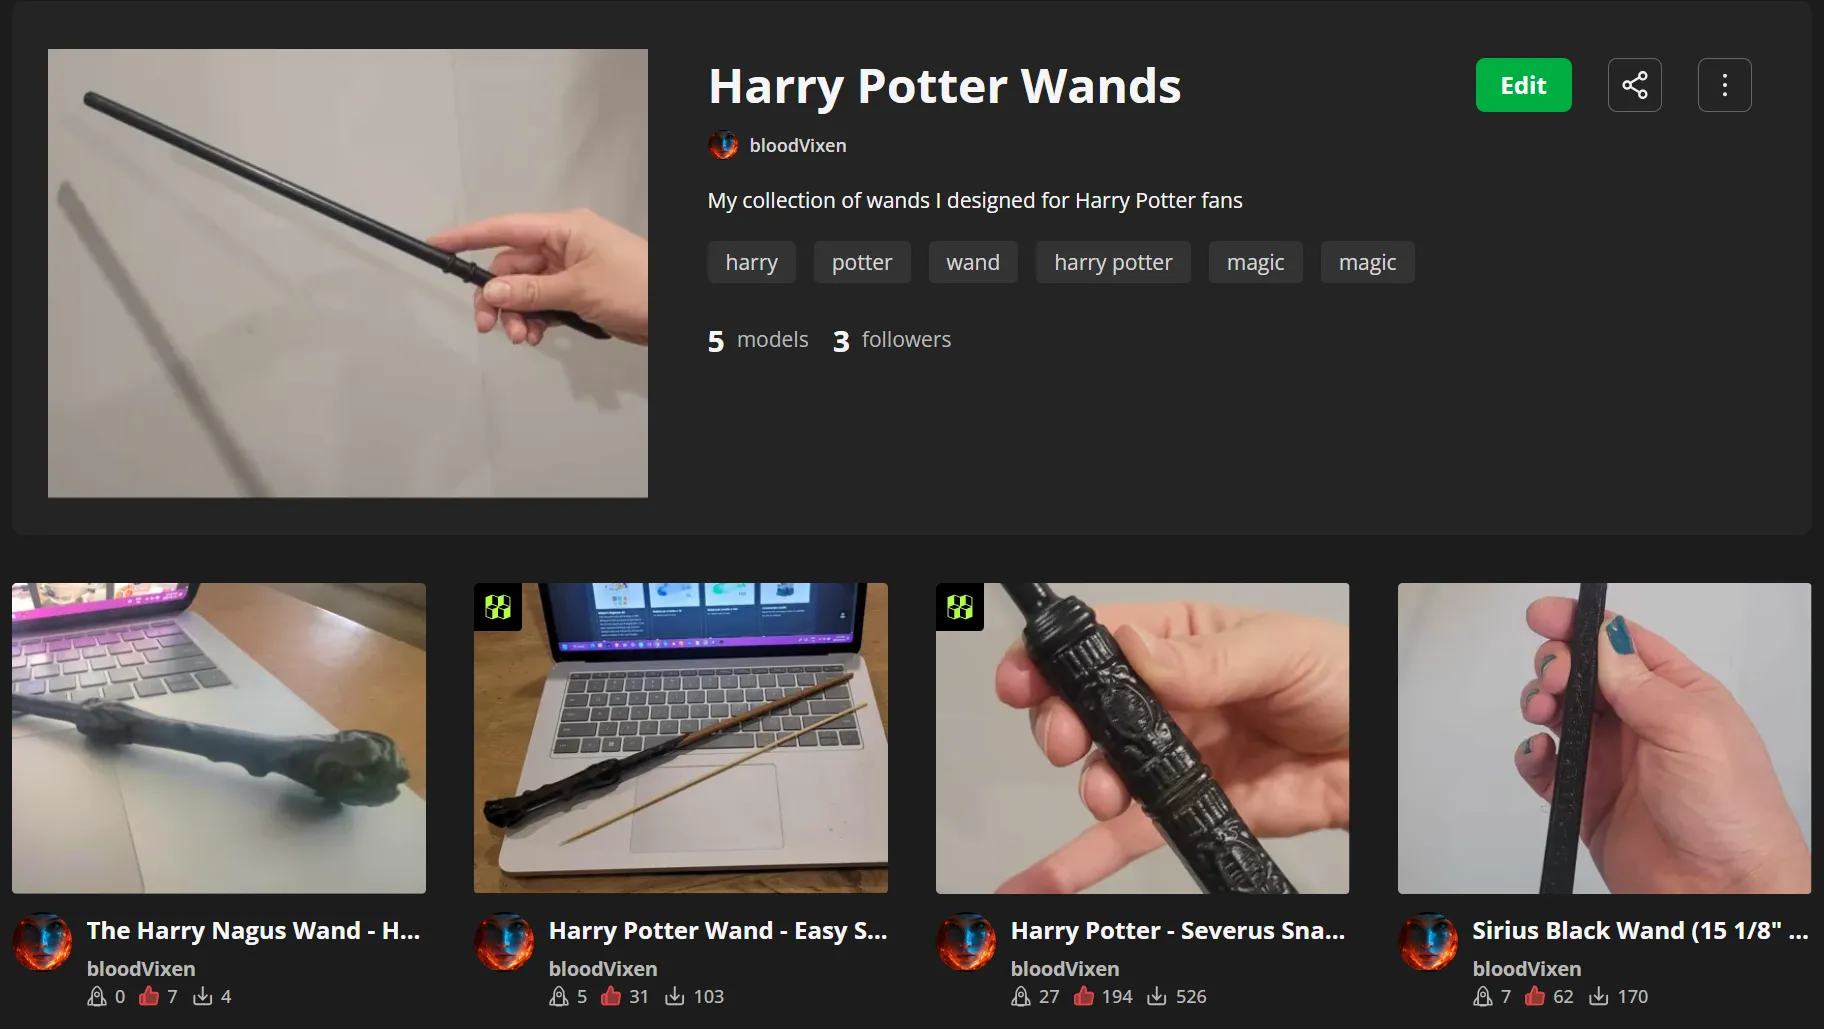
Want more magic? Head over to my profile—I've got a whole collection of expertly designed wands for you to discover!
https://makerworld.com/collections/4159506
I start by masking off the white part of the wand
Then add a few coats of black spray paint
I let the paint dry for a bit and then give it a wipe with a paper towel that has a little acetone. This takes off the upper black paint while leaving the Runes :)
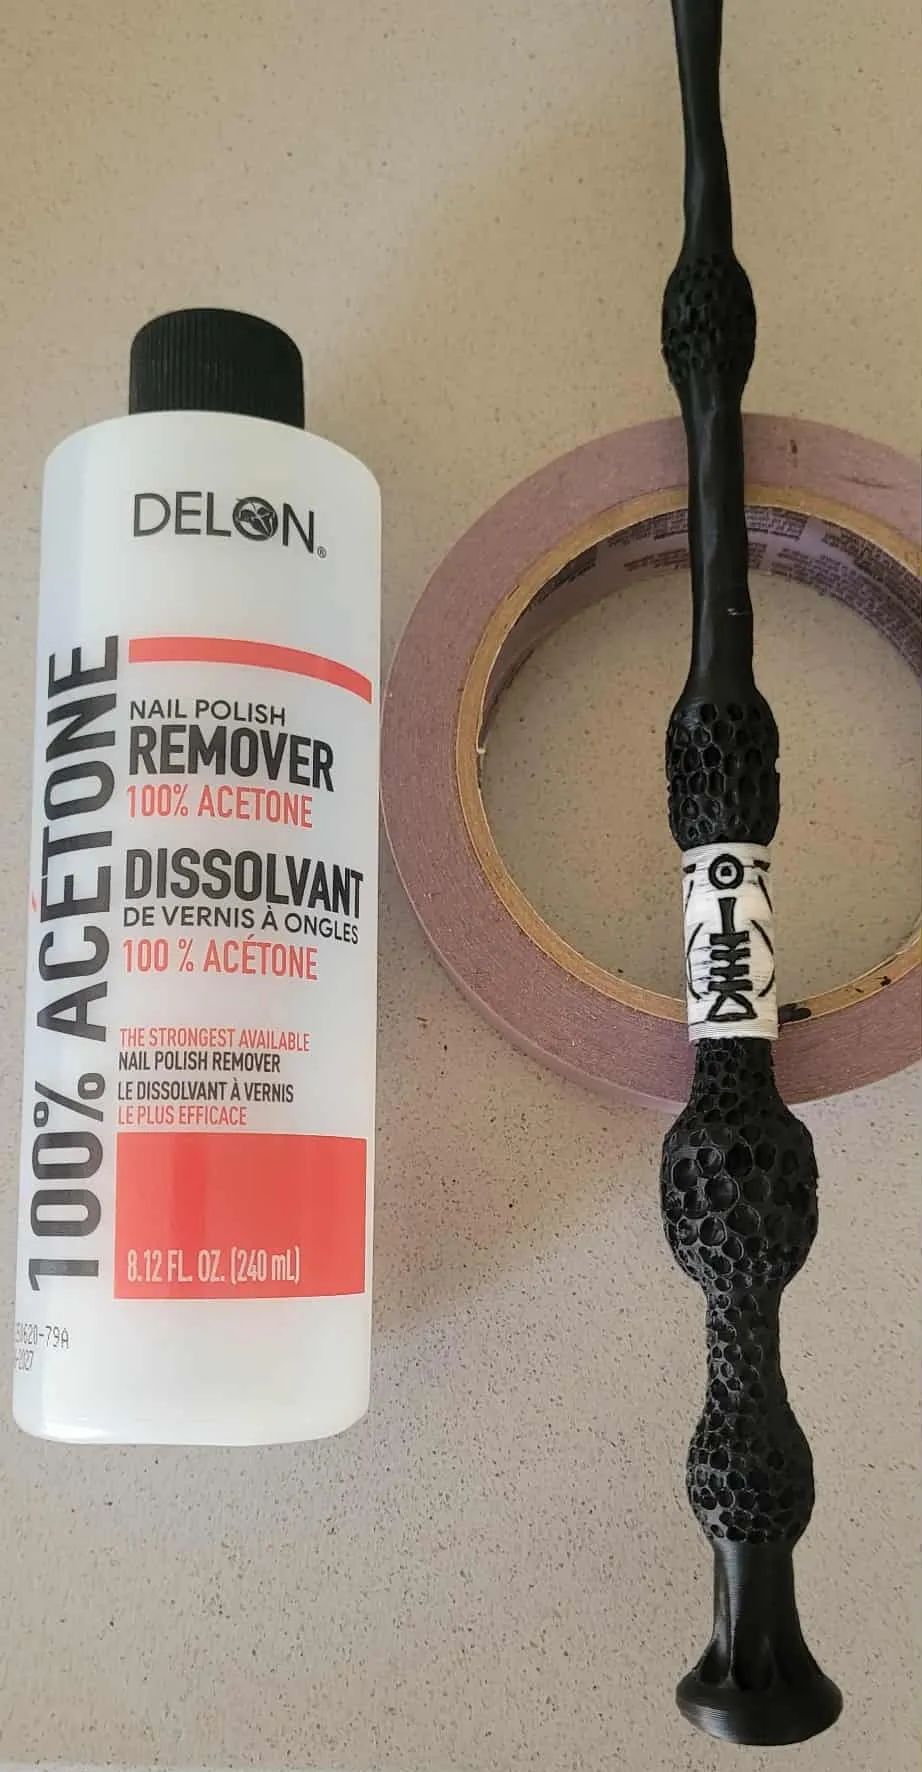
I give it time to dry and then sand it down with 320 grit to clean it up!
Next I super glue the core into the base:
Then add each section and check for fit, then add glue to the core and the surfaces that touch and smoosh them together.
For my super nice versions I sand all the pieces for smoothness , build the wand and then coat it all with matt black spray paint, then sand off the white area. After that I give it a matt clear coat.
License

You shall not share, sub-license, sell, rent, host, transfer, or distribute in any way the digital or 3D printed versions of this object, nor any other derivative work of this object in its digital or physical format (including - but not limited to - remixes of this object, and hosting on other digital platforms). The objects may not be used without permission in any way whatsoever in which you charge money, or collect fees.


Comment & Rating (13)