
CardputerLLM - Cardputer && Module LLM Case
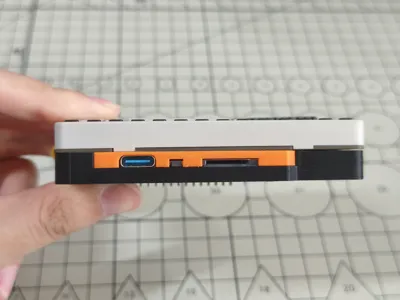
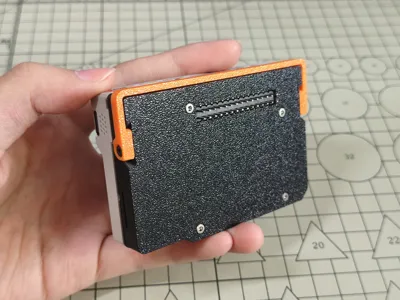
Print Profile(1)

Description
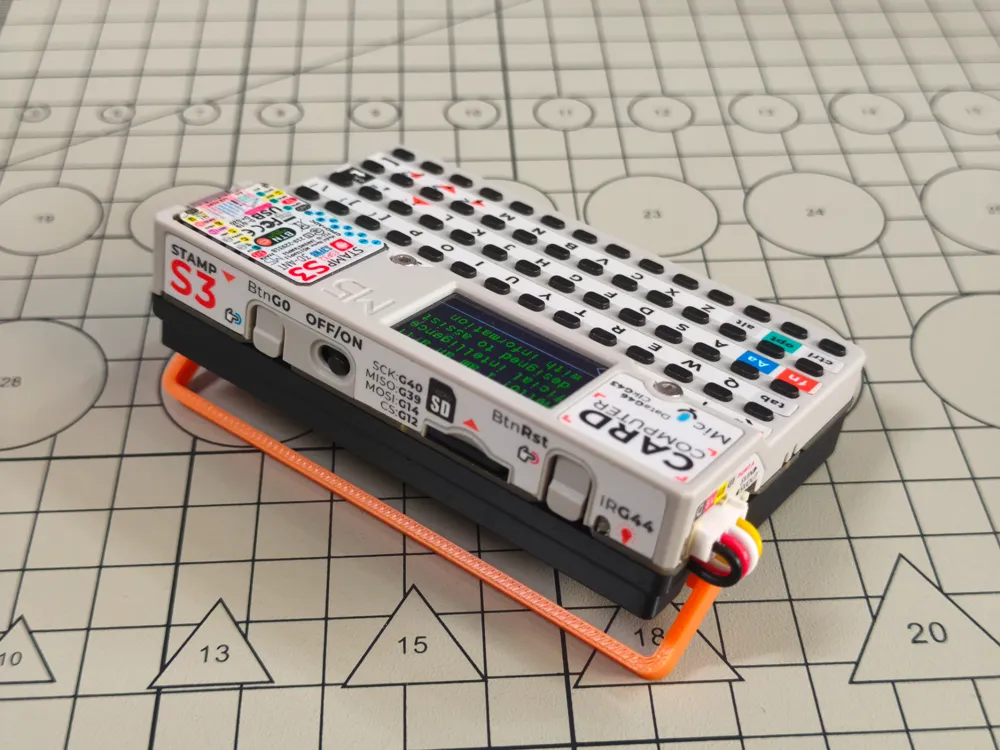
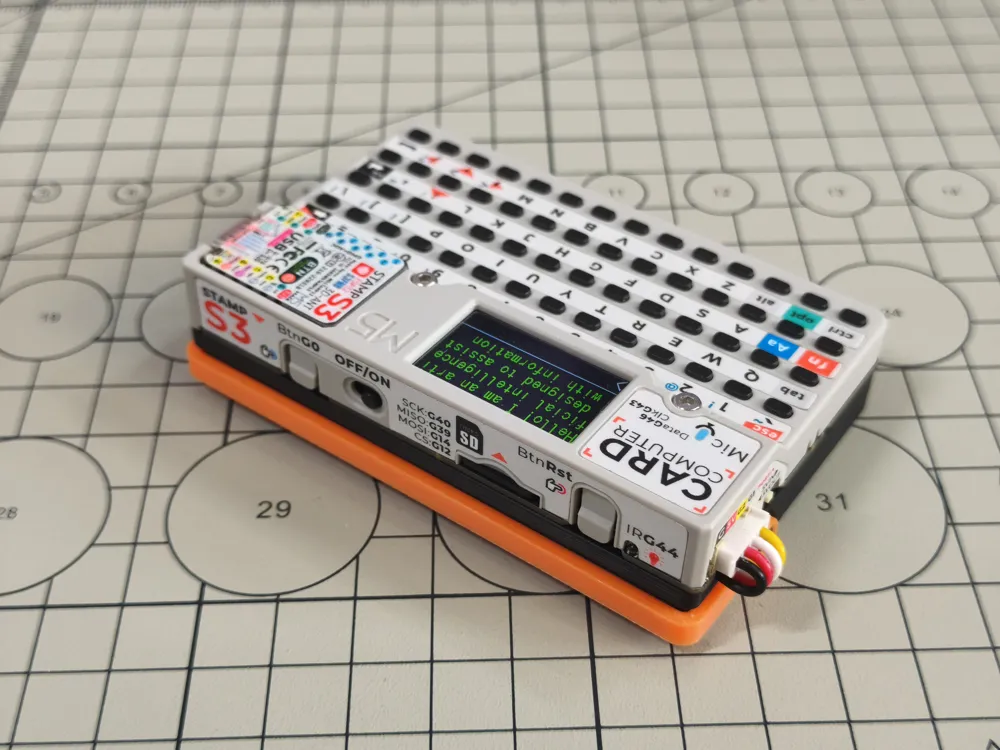
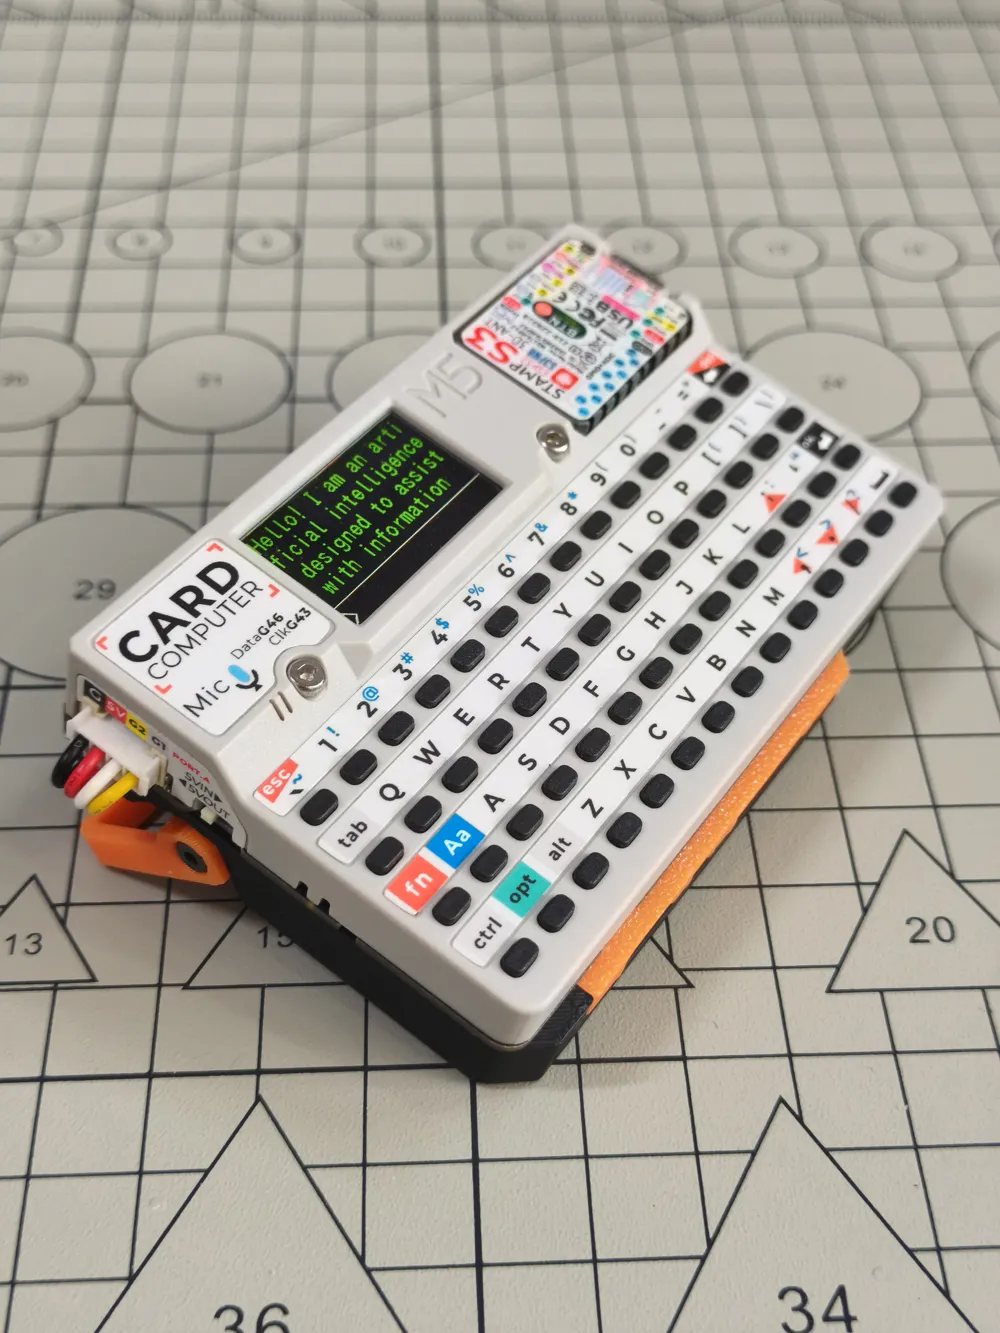
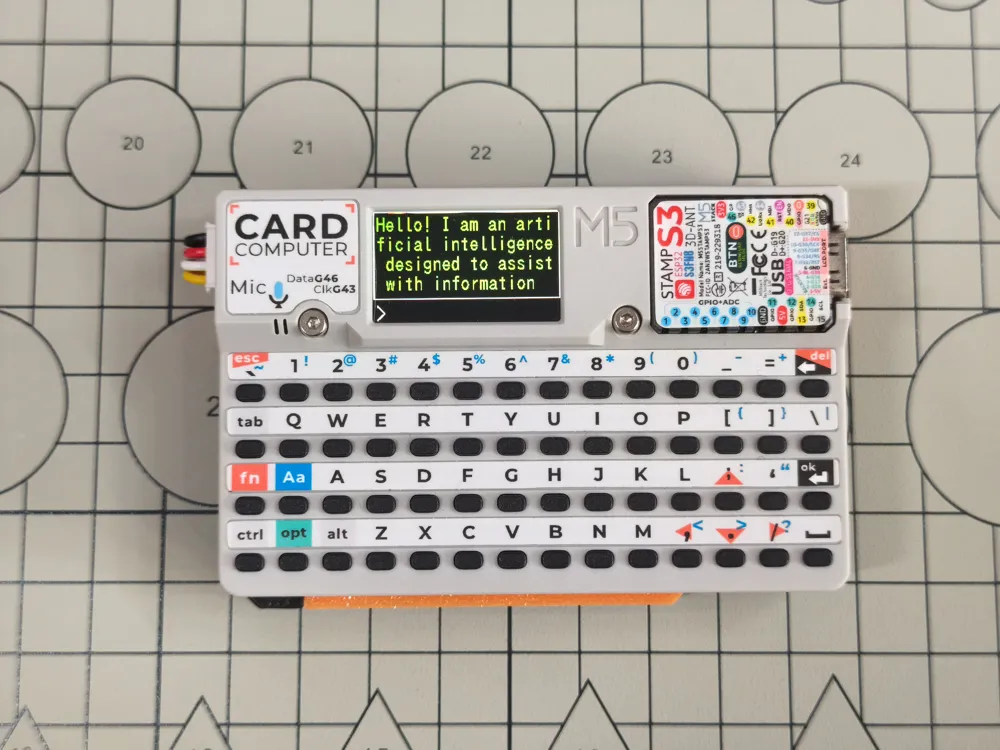
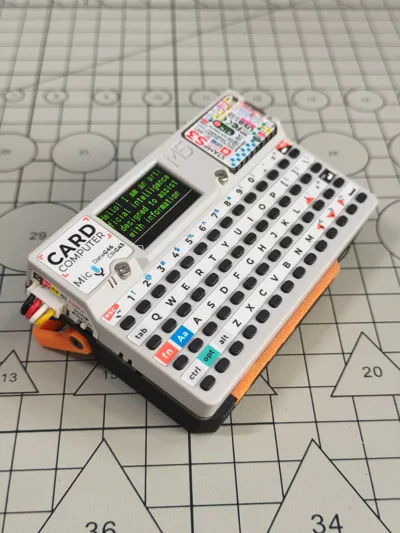
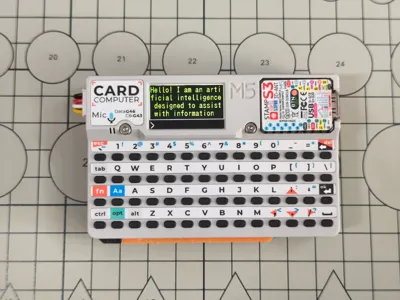
CardputerLLM - Case for Cardputer && Module LLM
This printing kit is for GOROman's LLMCardputer project, allowing the Module LLM to be installed on the Cardputer's base and used together, see details at https://github.com/GOROman/LLMCardputer
Features
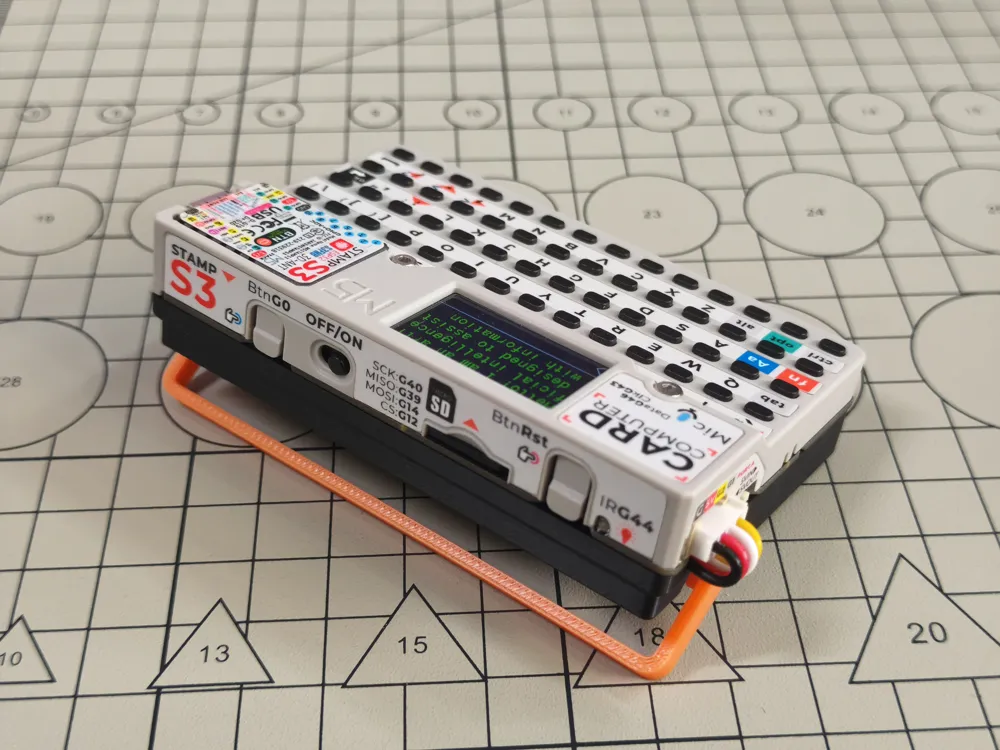
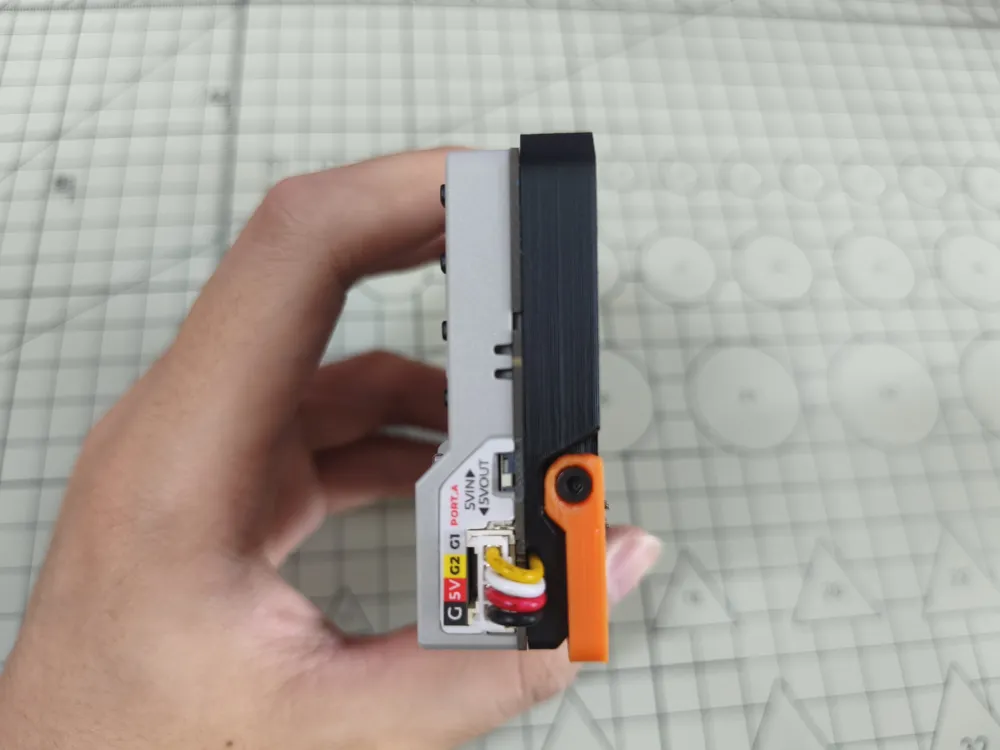
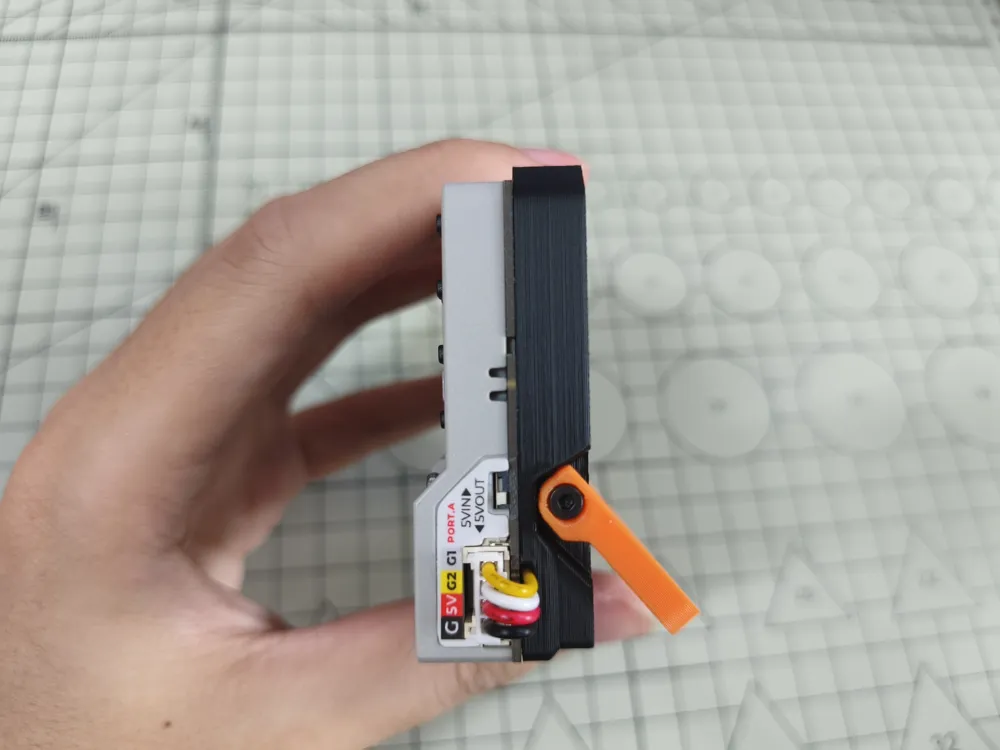
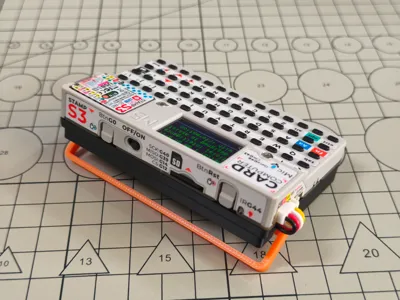
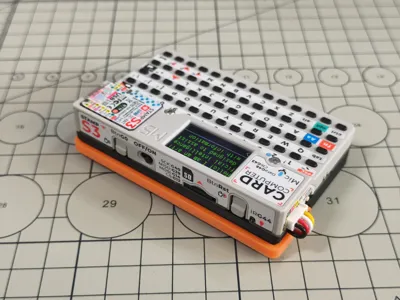
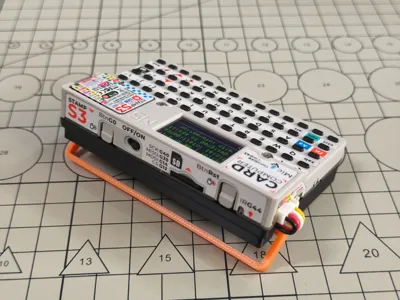
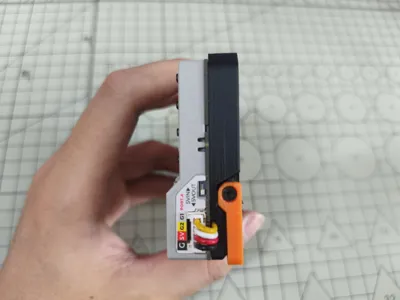
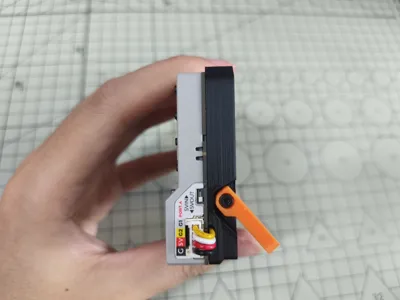
- Foldable stand
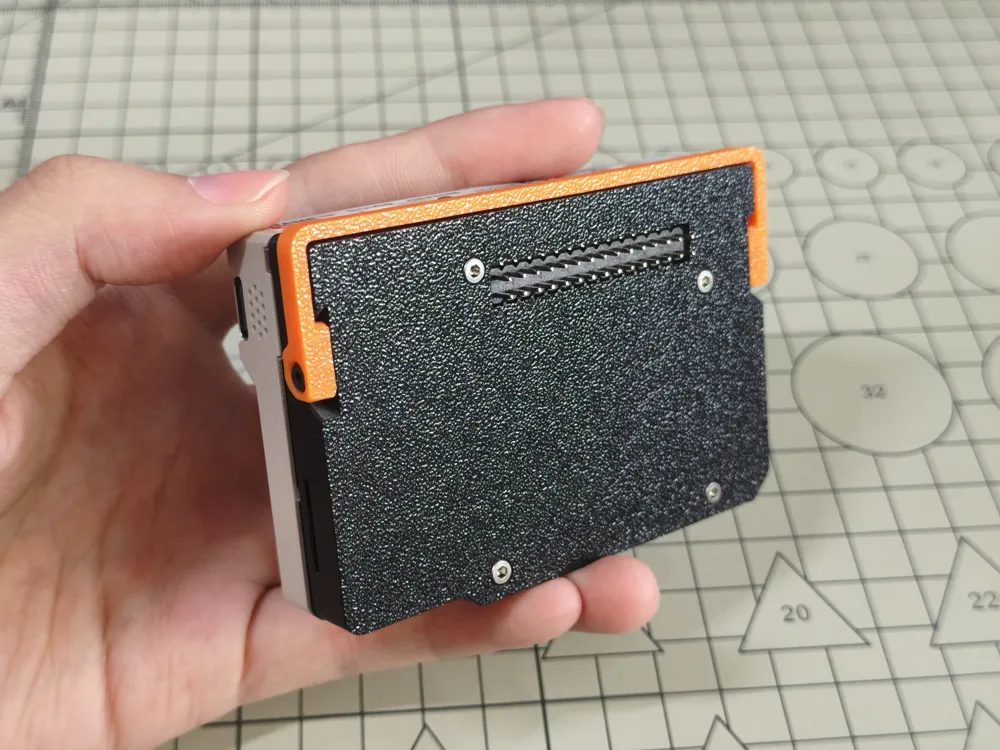
- Overall thickness is consistent with the original Cardputer
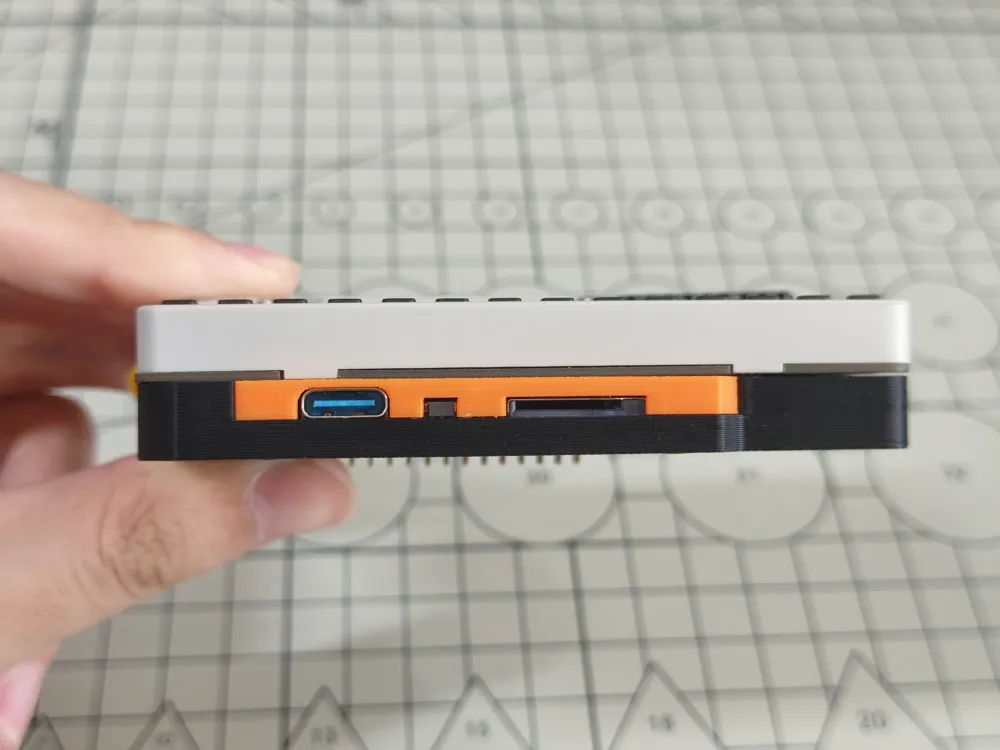
- All Module LLM interfaces are retained
BOM List
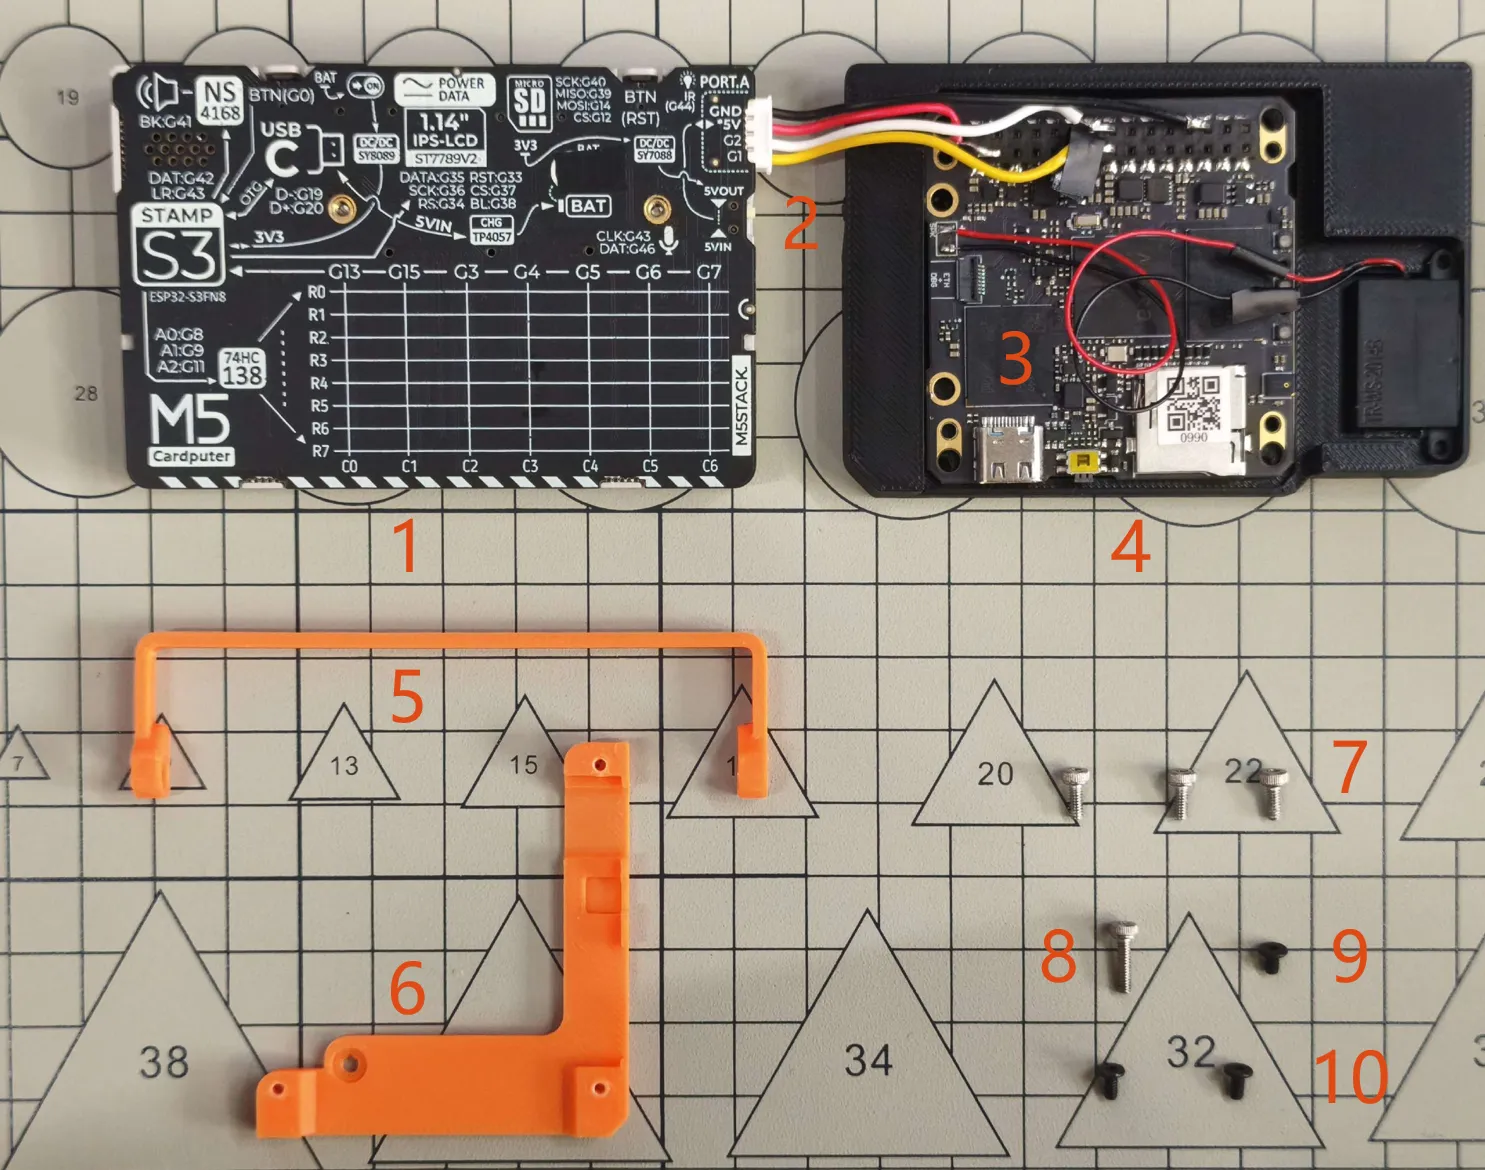
- M5Stack Cardputer
- GROVE HY2.0-4Pin Sensor Cable
- M5Stack Module LLM
- 3D Printed Case L1
- 3D Printed Case S1
- 3D Printed Case M1
- M2x5 Hex Socket Cap Head Screws (3 pcs)
- M2x8 Hex Socket Cap Head Screw (1 pc)
- M2x3 Hex Socket Flat Head Screw (1 pc)
- M2x4 Hex Socket Flat Head Screws (2 pcs)
Assembly Instructions
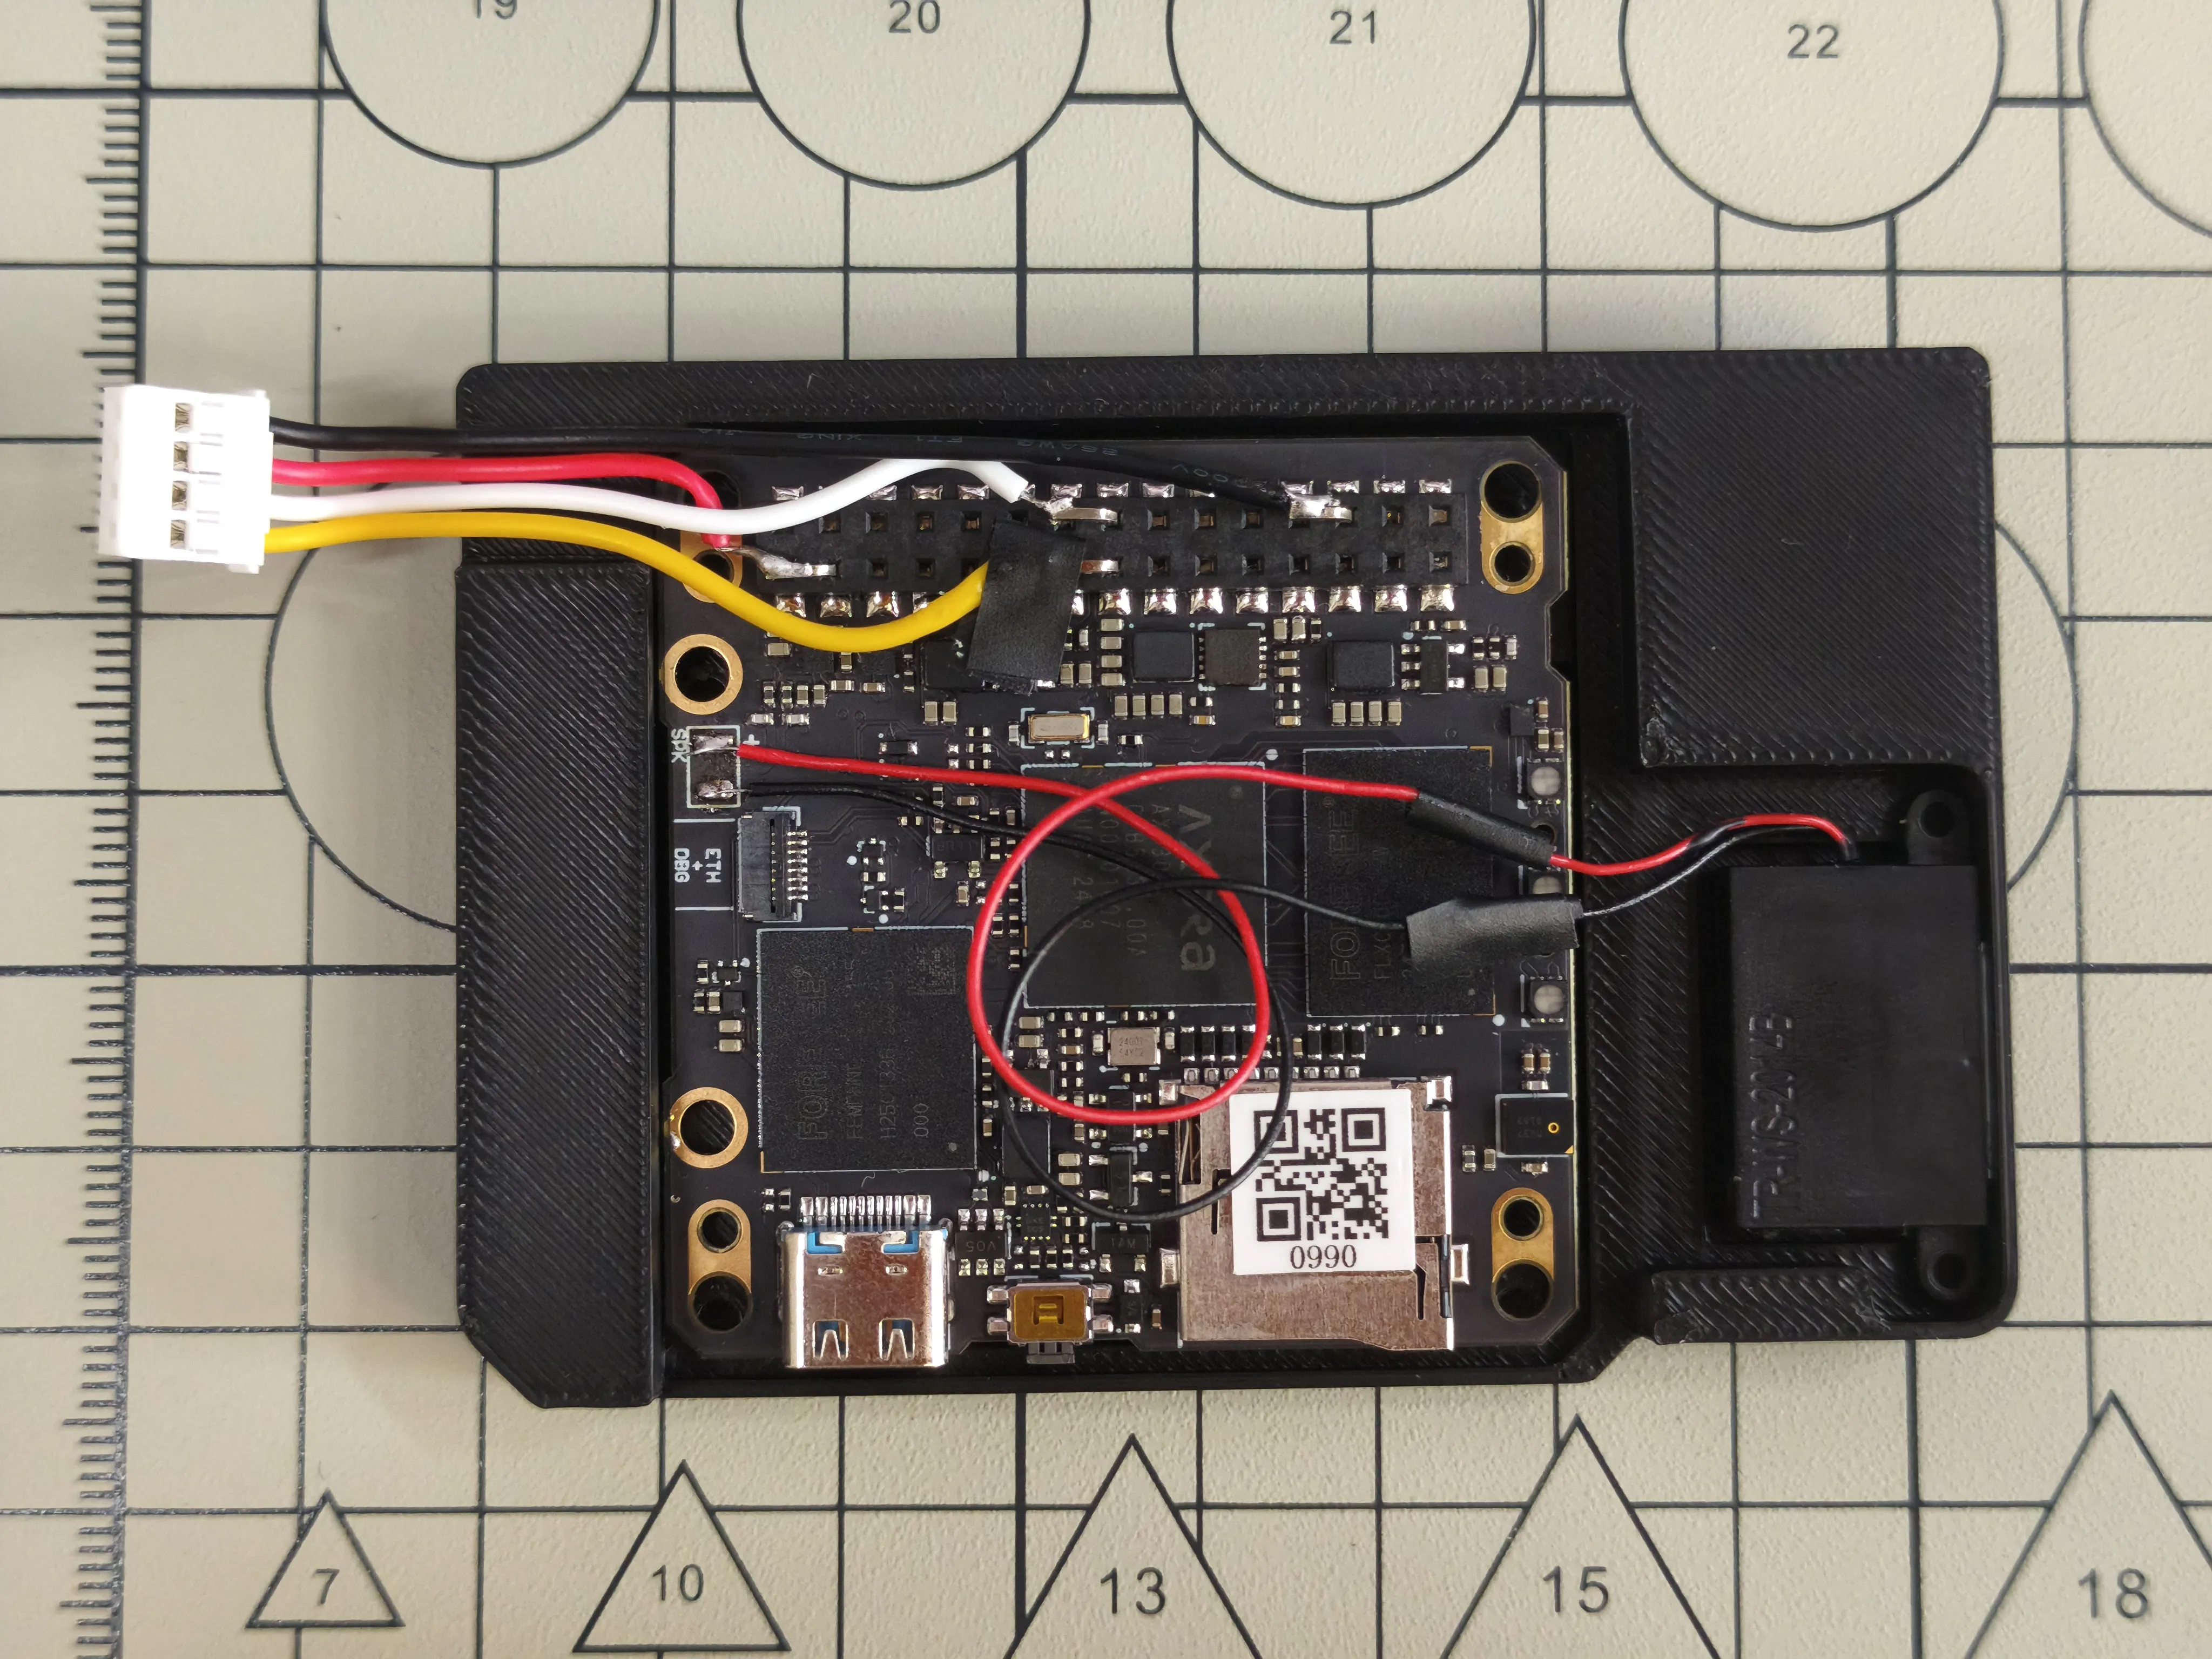
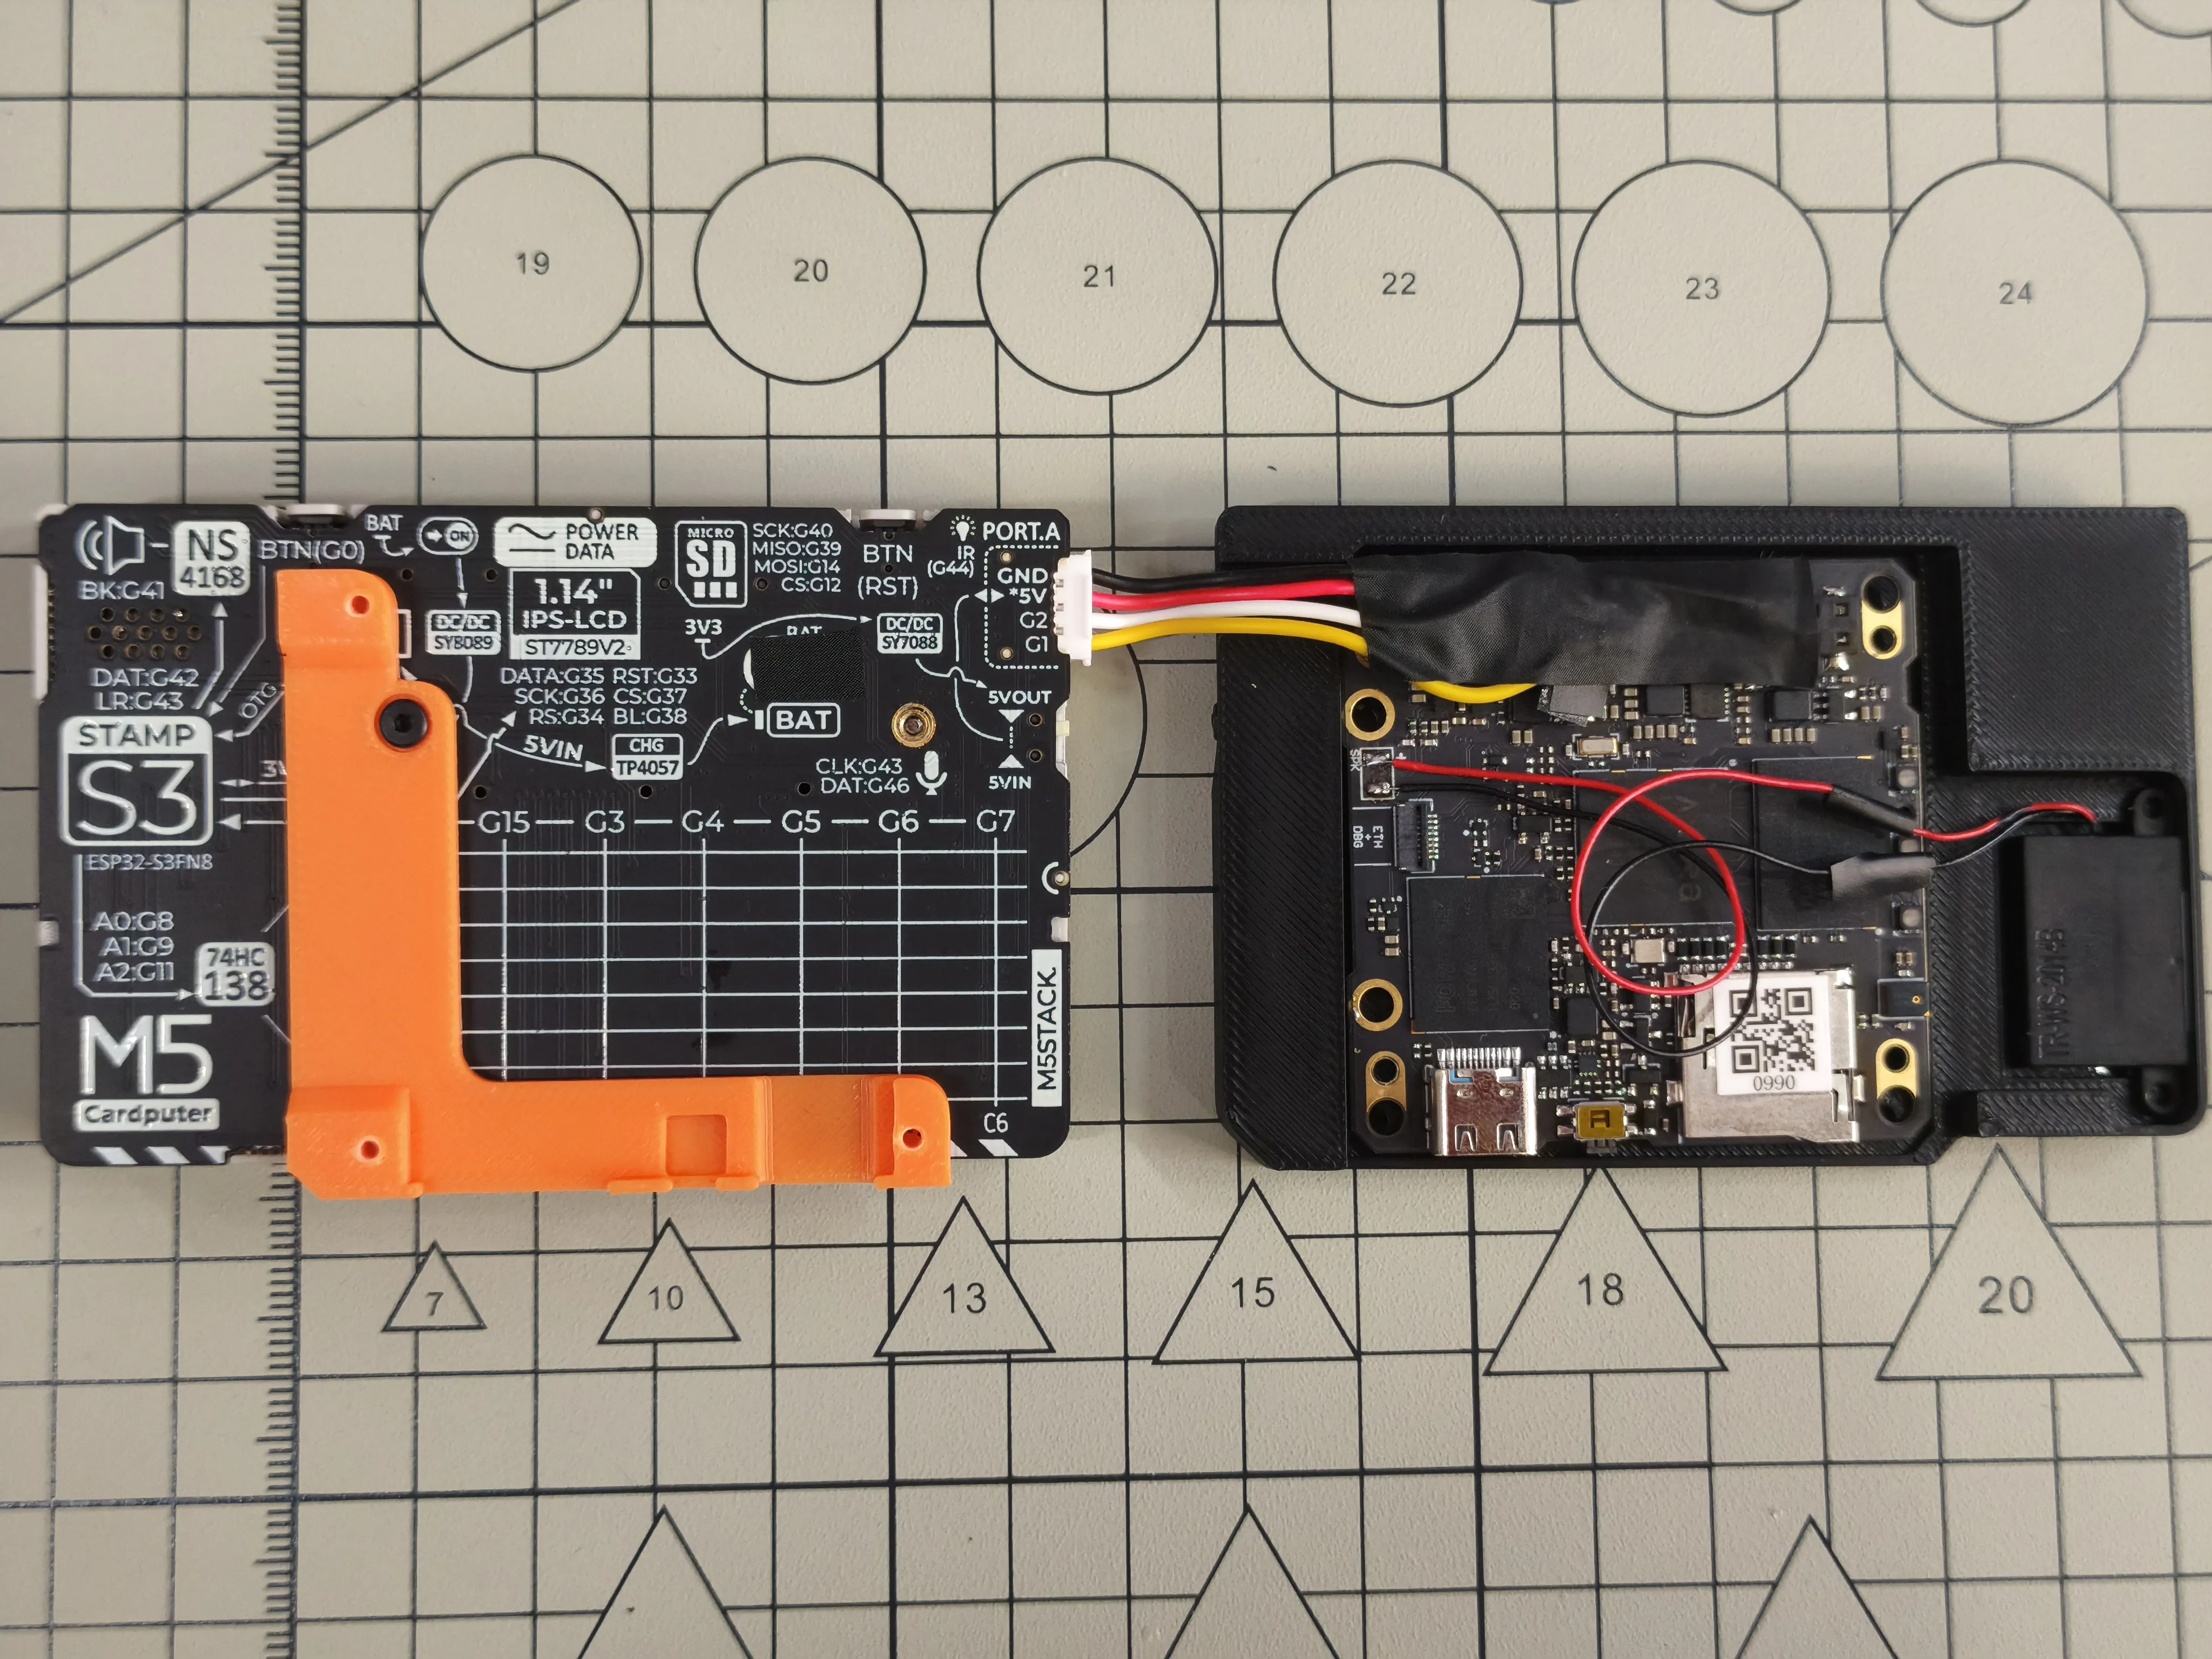
Install the Module LLM motherboard and speaker into the 3D Printed Case L1; the wires connecting the speaker to the Module LLM need to be extended
The GROVE sensor cable needs to be connected to the Module LLM; please refer to the specific wiring method at https://github.com/GOROman/LLMCardputer
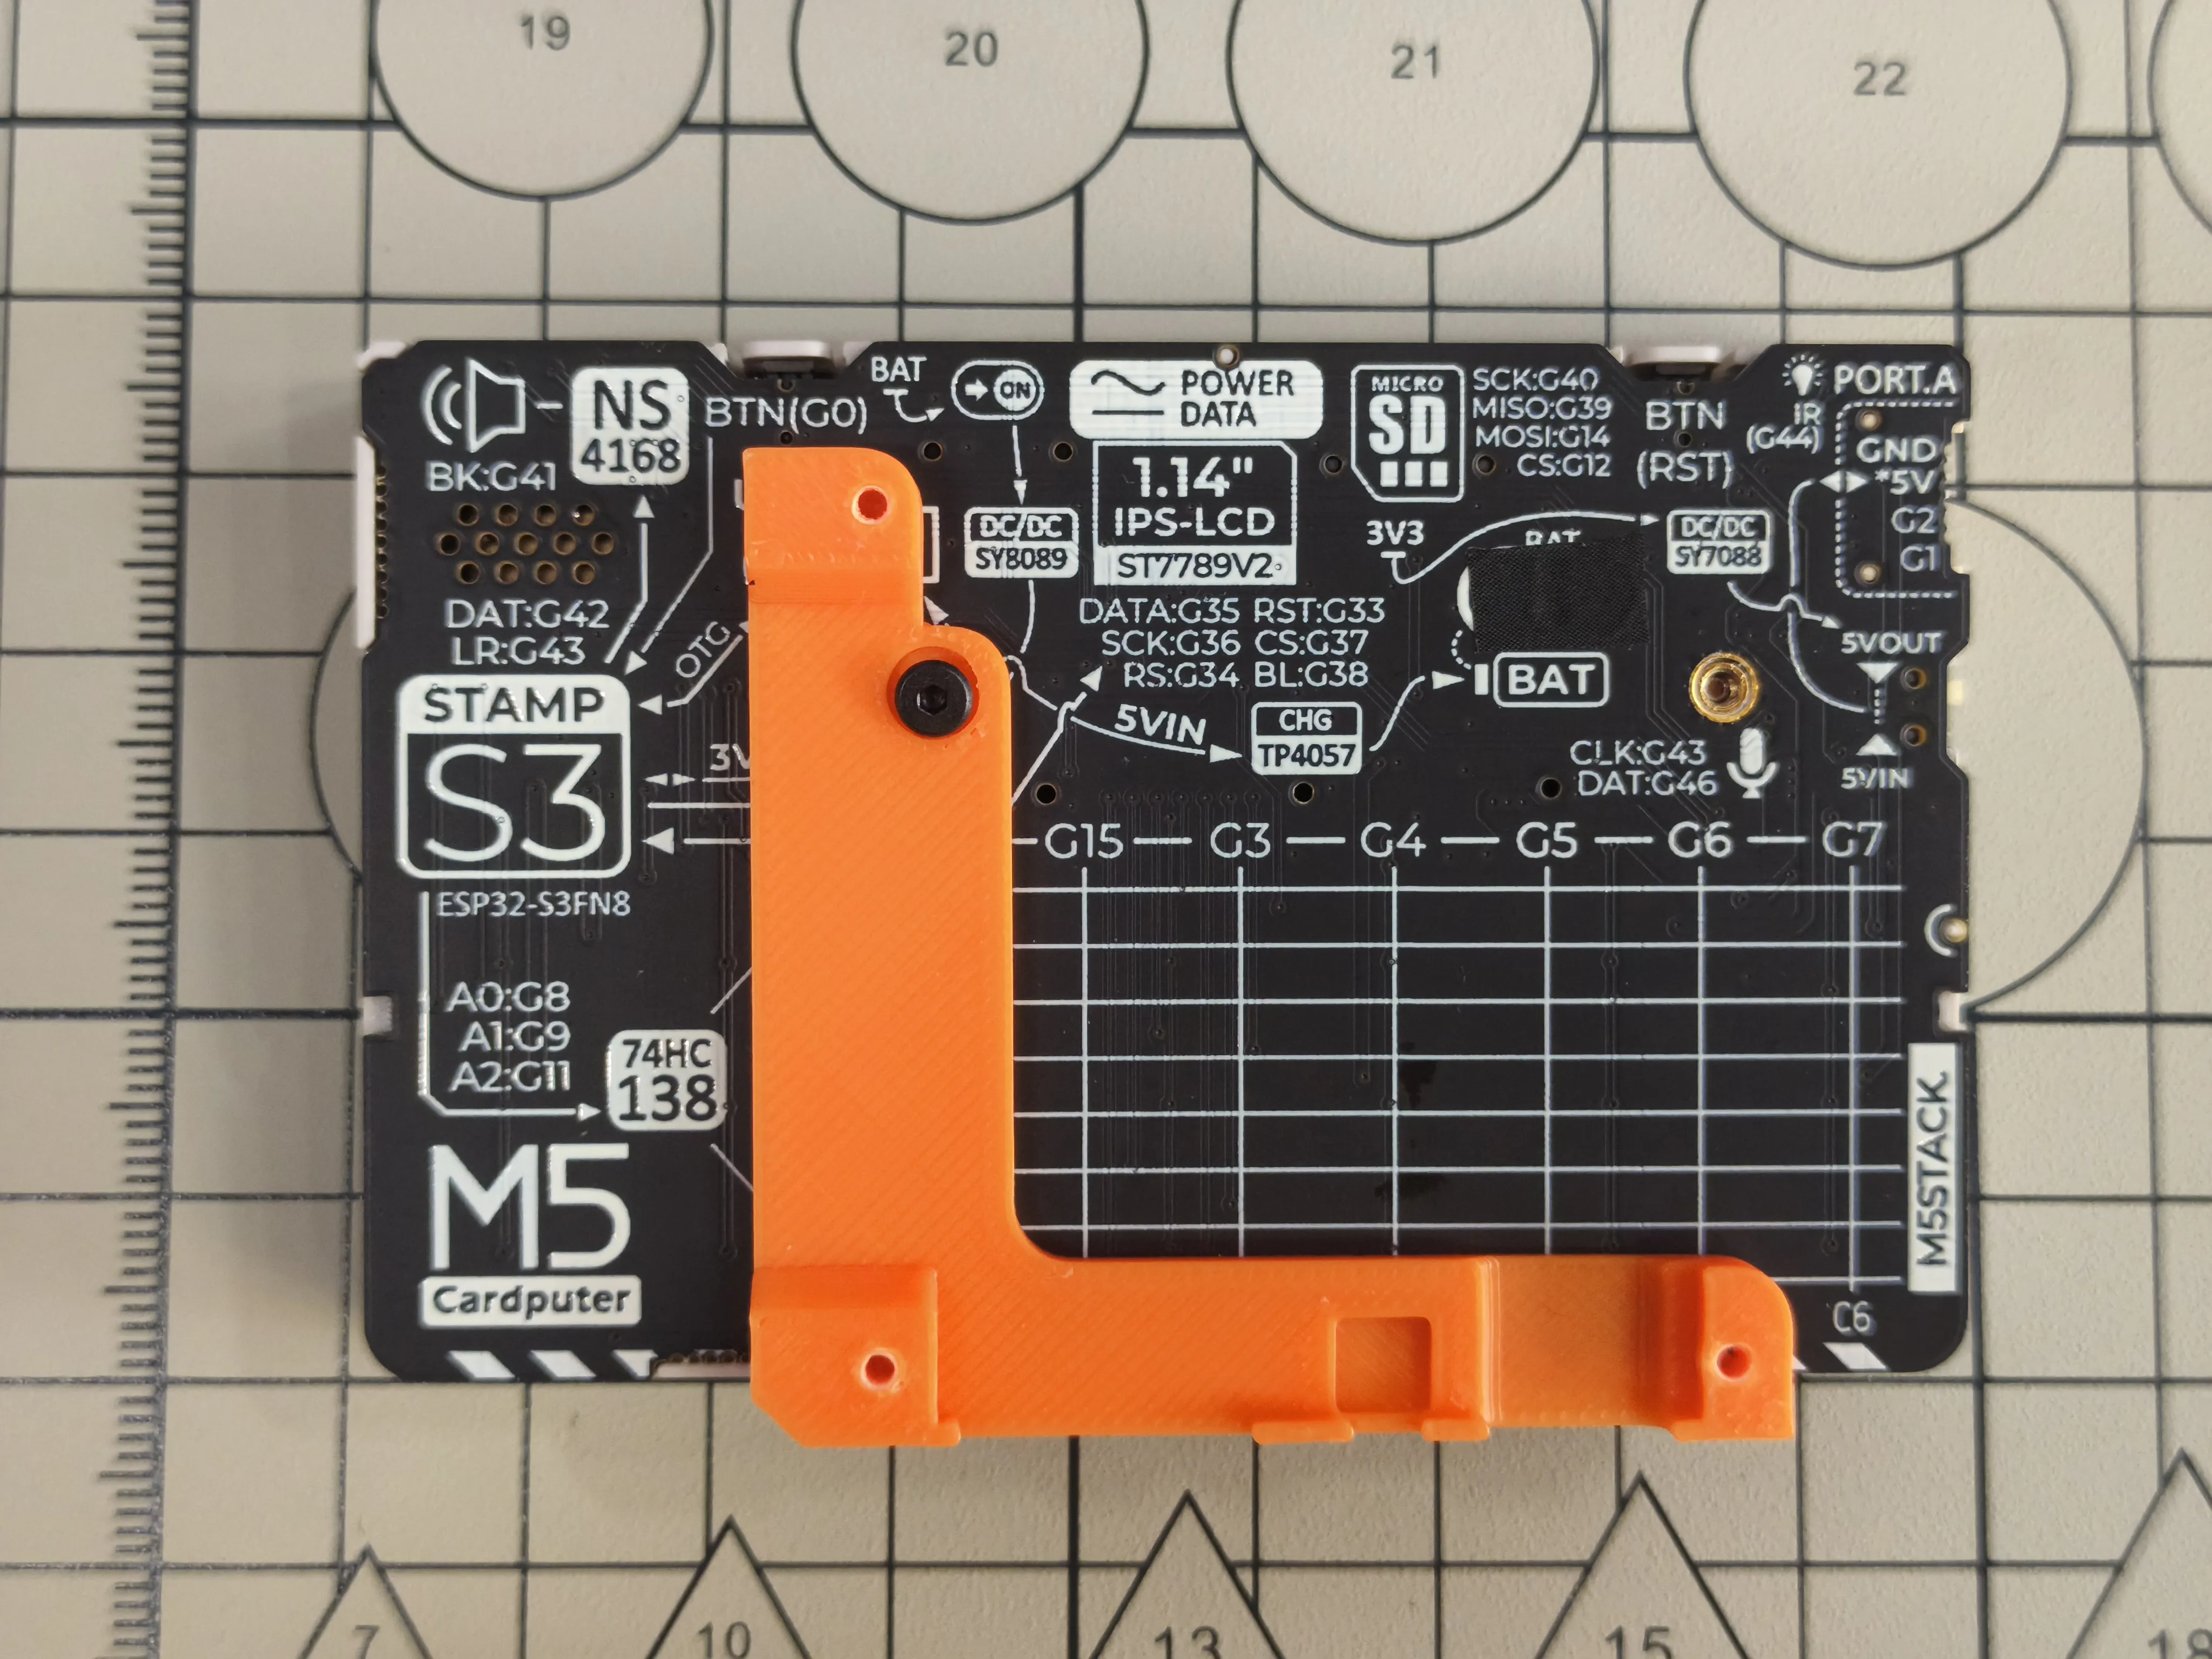
Use one M2x3 Hex Socket Flat Head Screw to install the 3D Printed Case M1 onto the Cardputer
Connect Cardputer and Module LLM
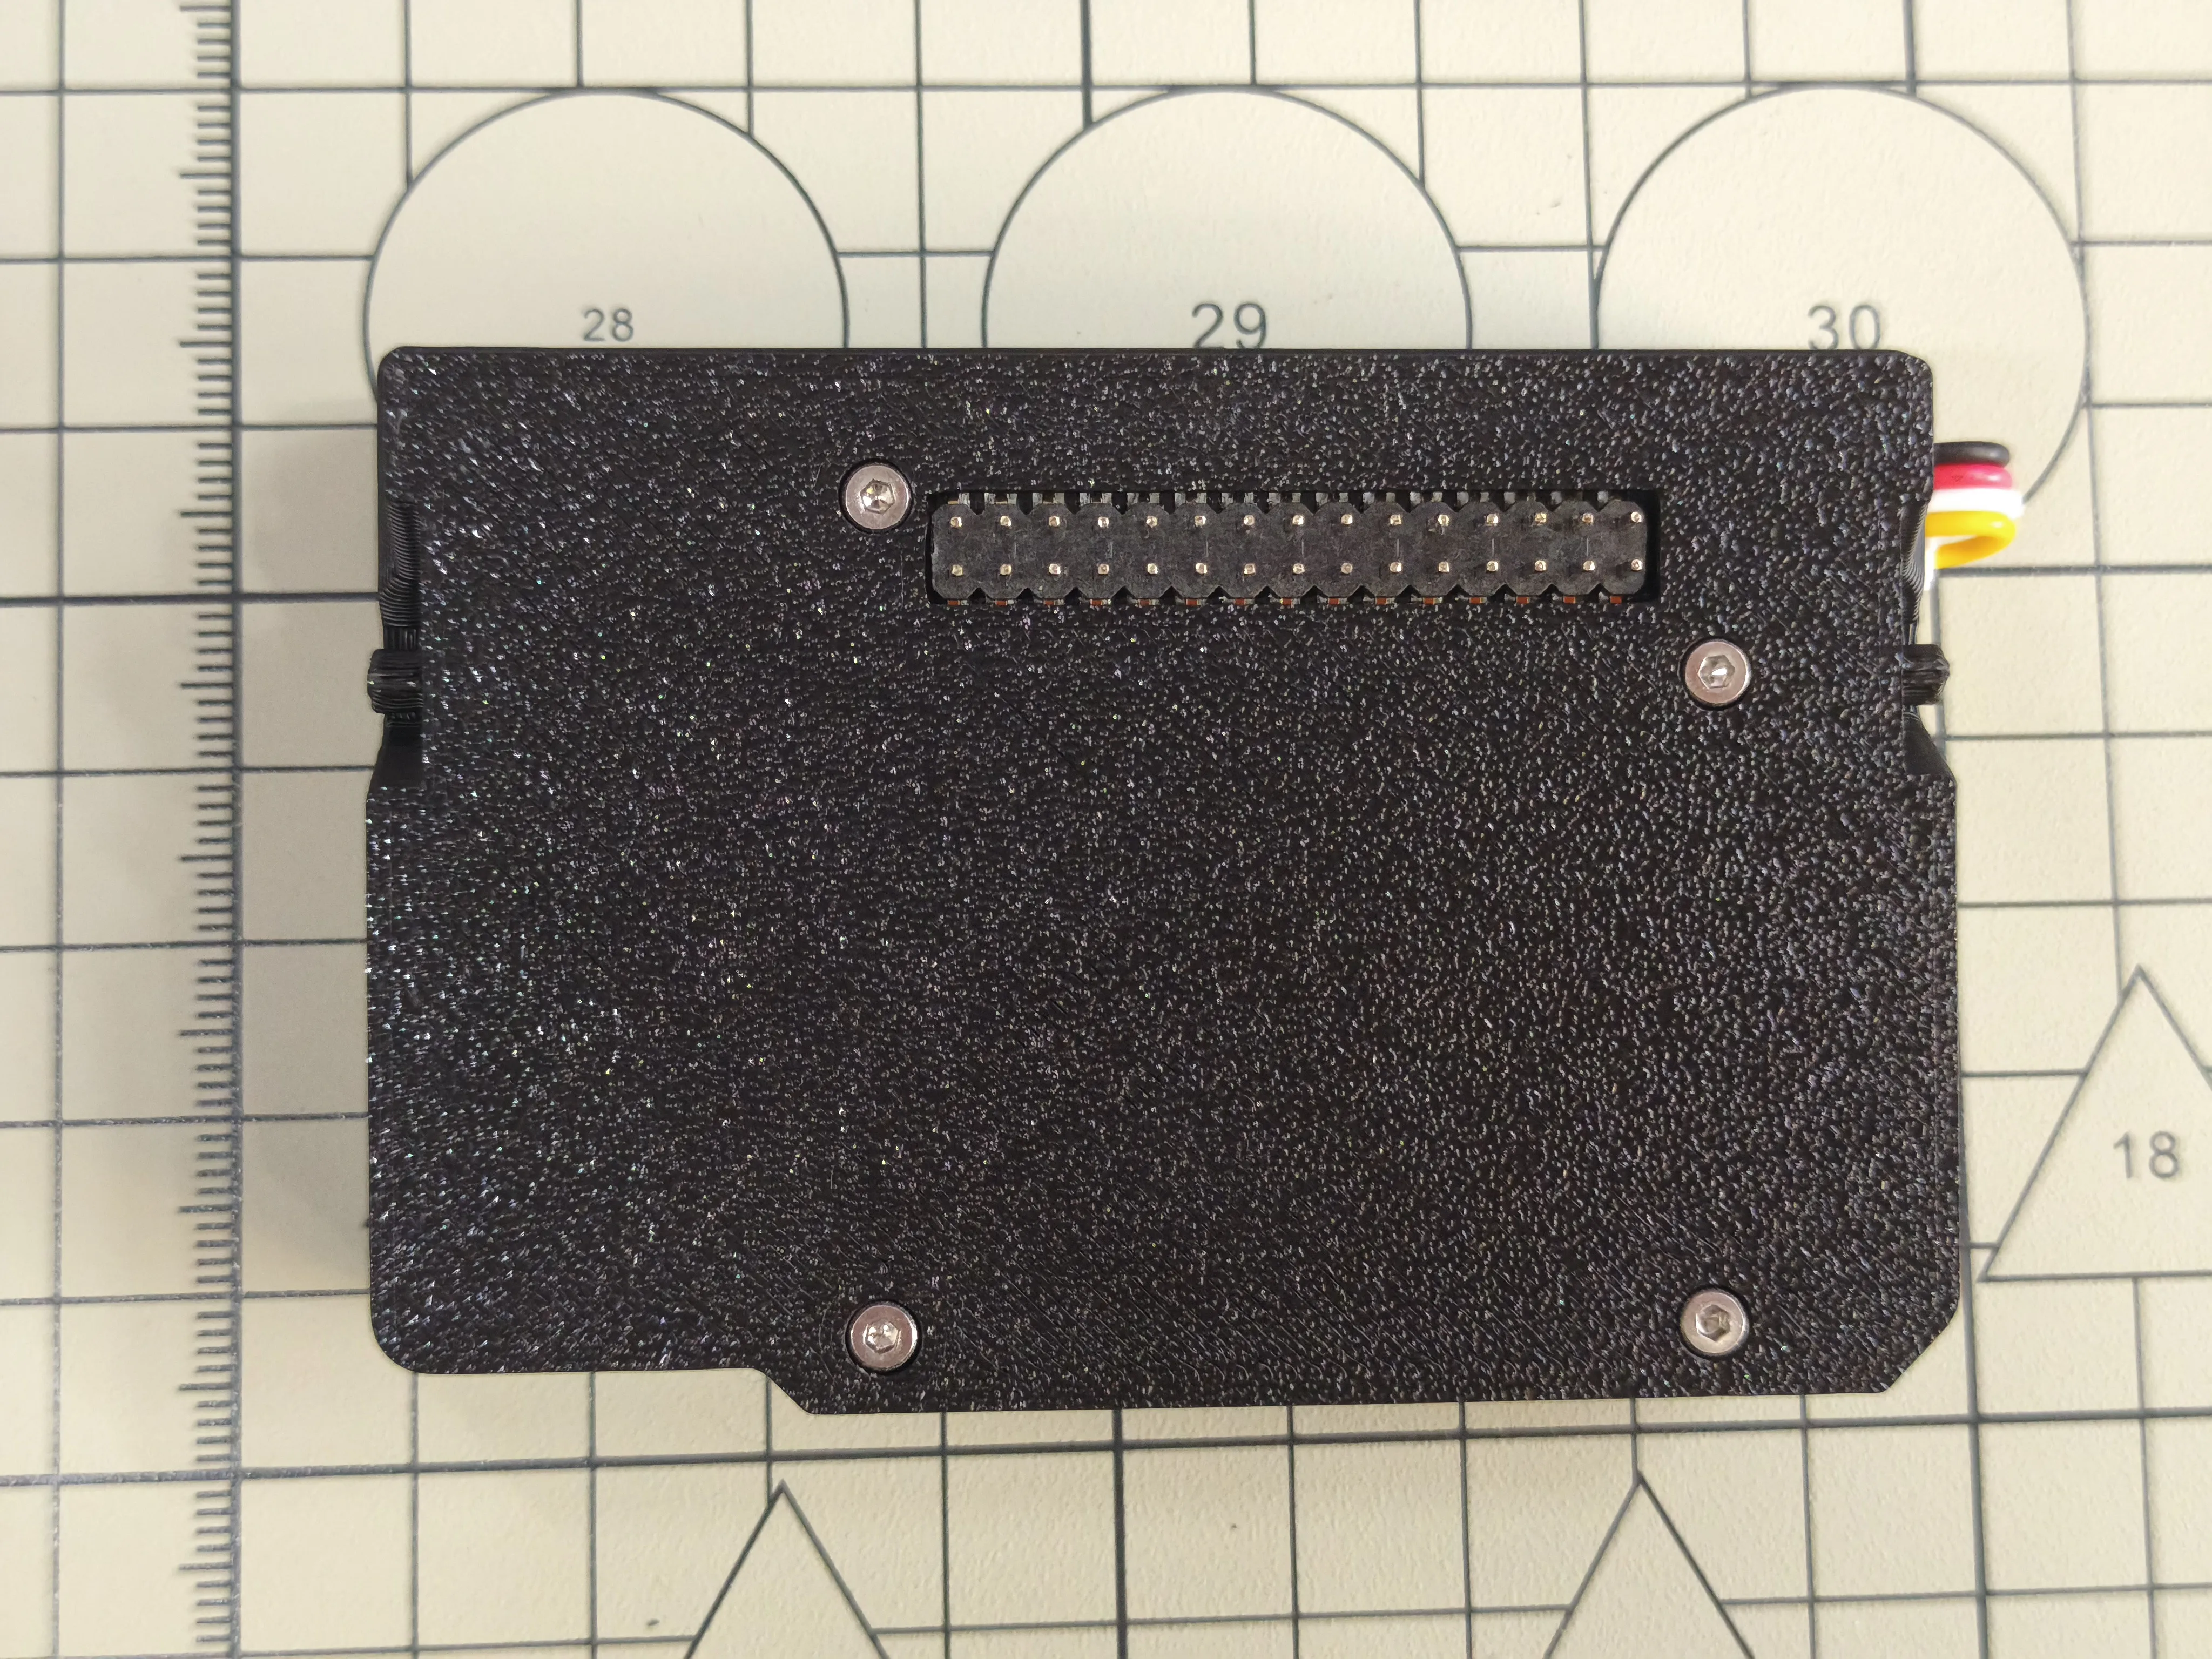
Use 3 M2x5 Hex Socket Cap Head Screws and 1 M2x8 Hex Socket Cap Head Screw to install the 3D Printed Case L1 onto the Cardputer
Use 2 M2x4 Hex Socket Flat Head Screws to install the 3D Printed Case S1 onto the 3D Printed Case L1
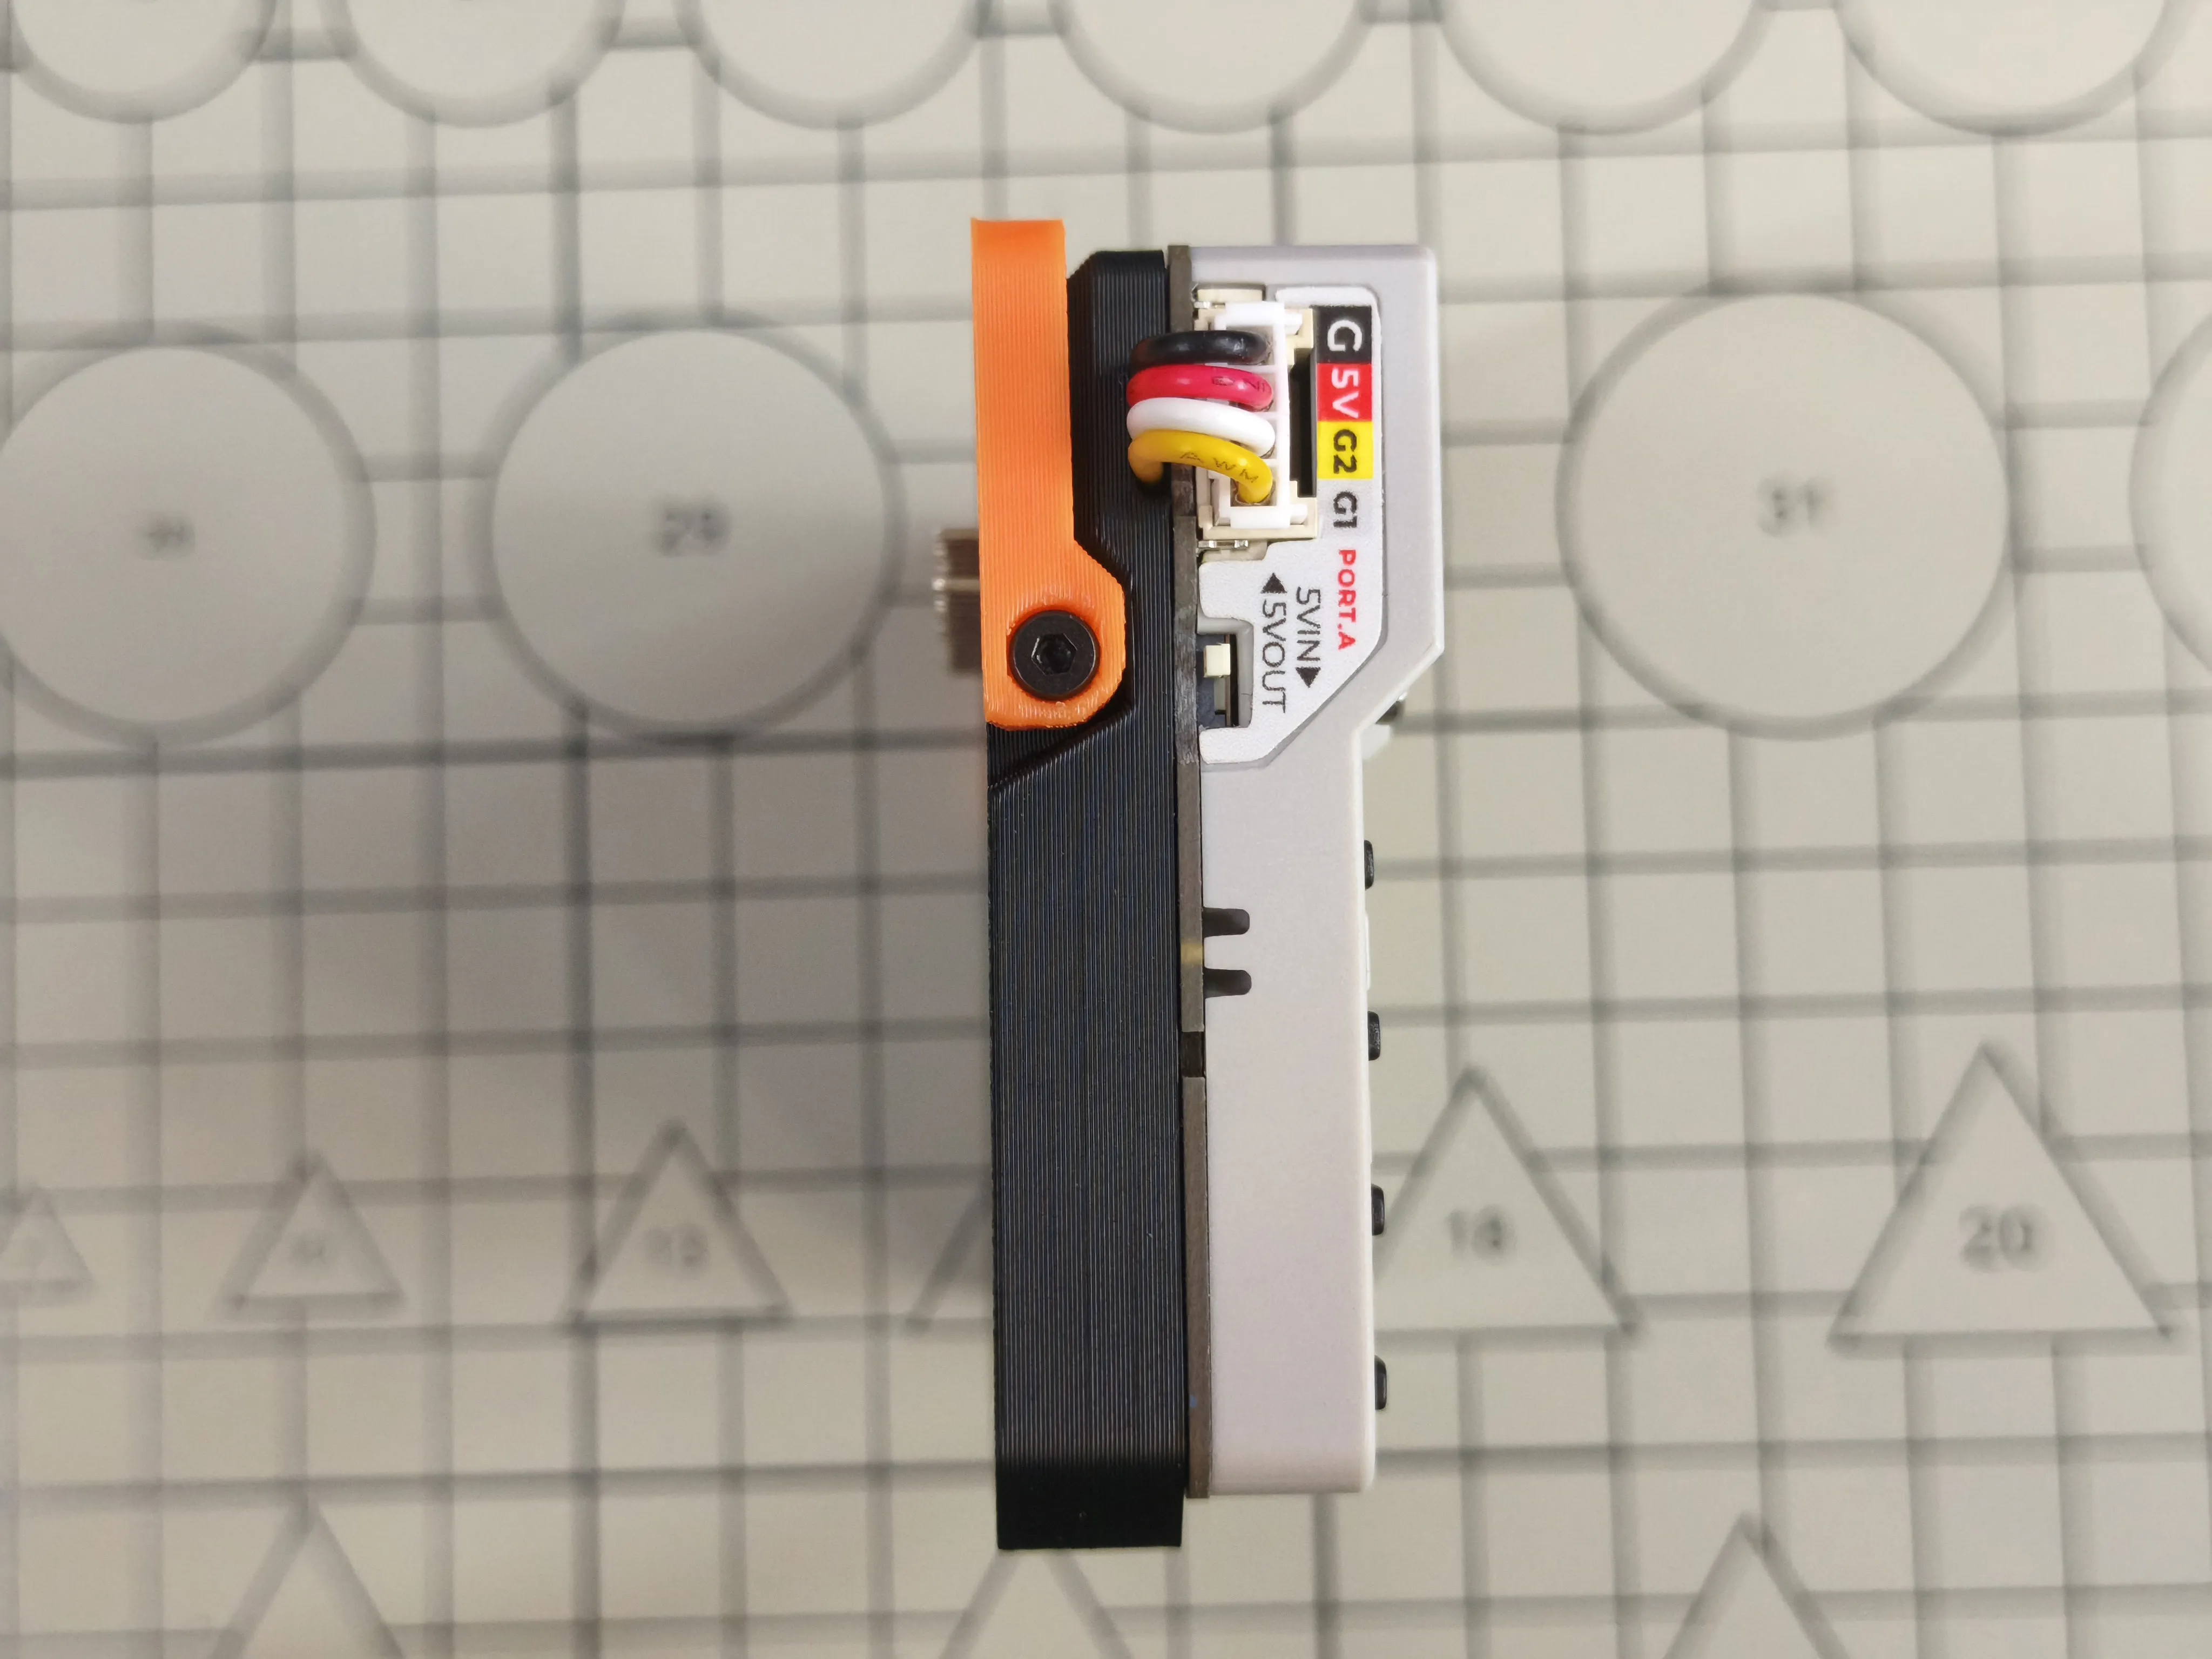
Assembly Completed
Additional Notes
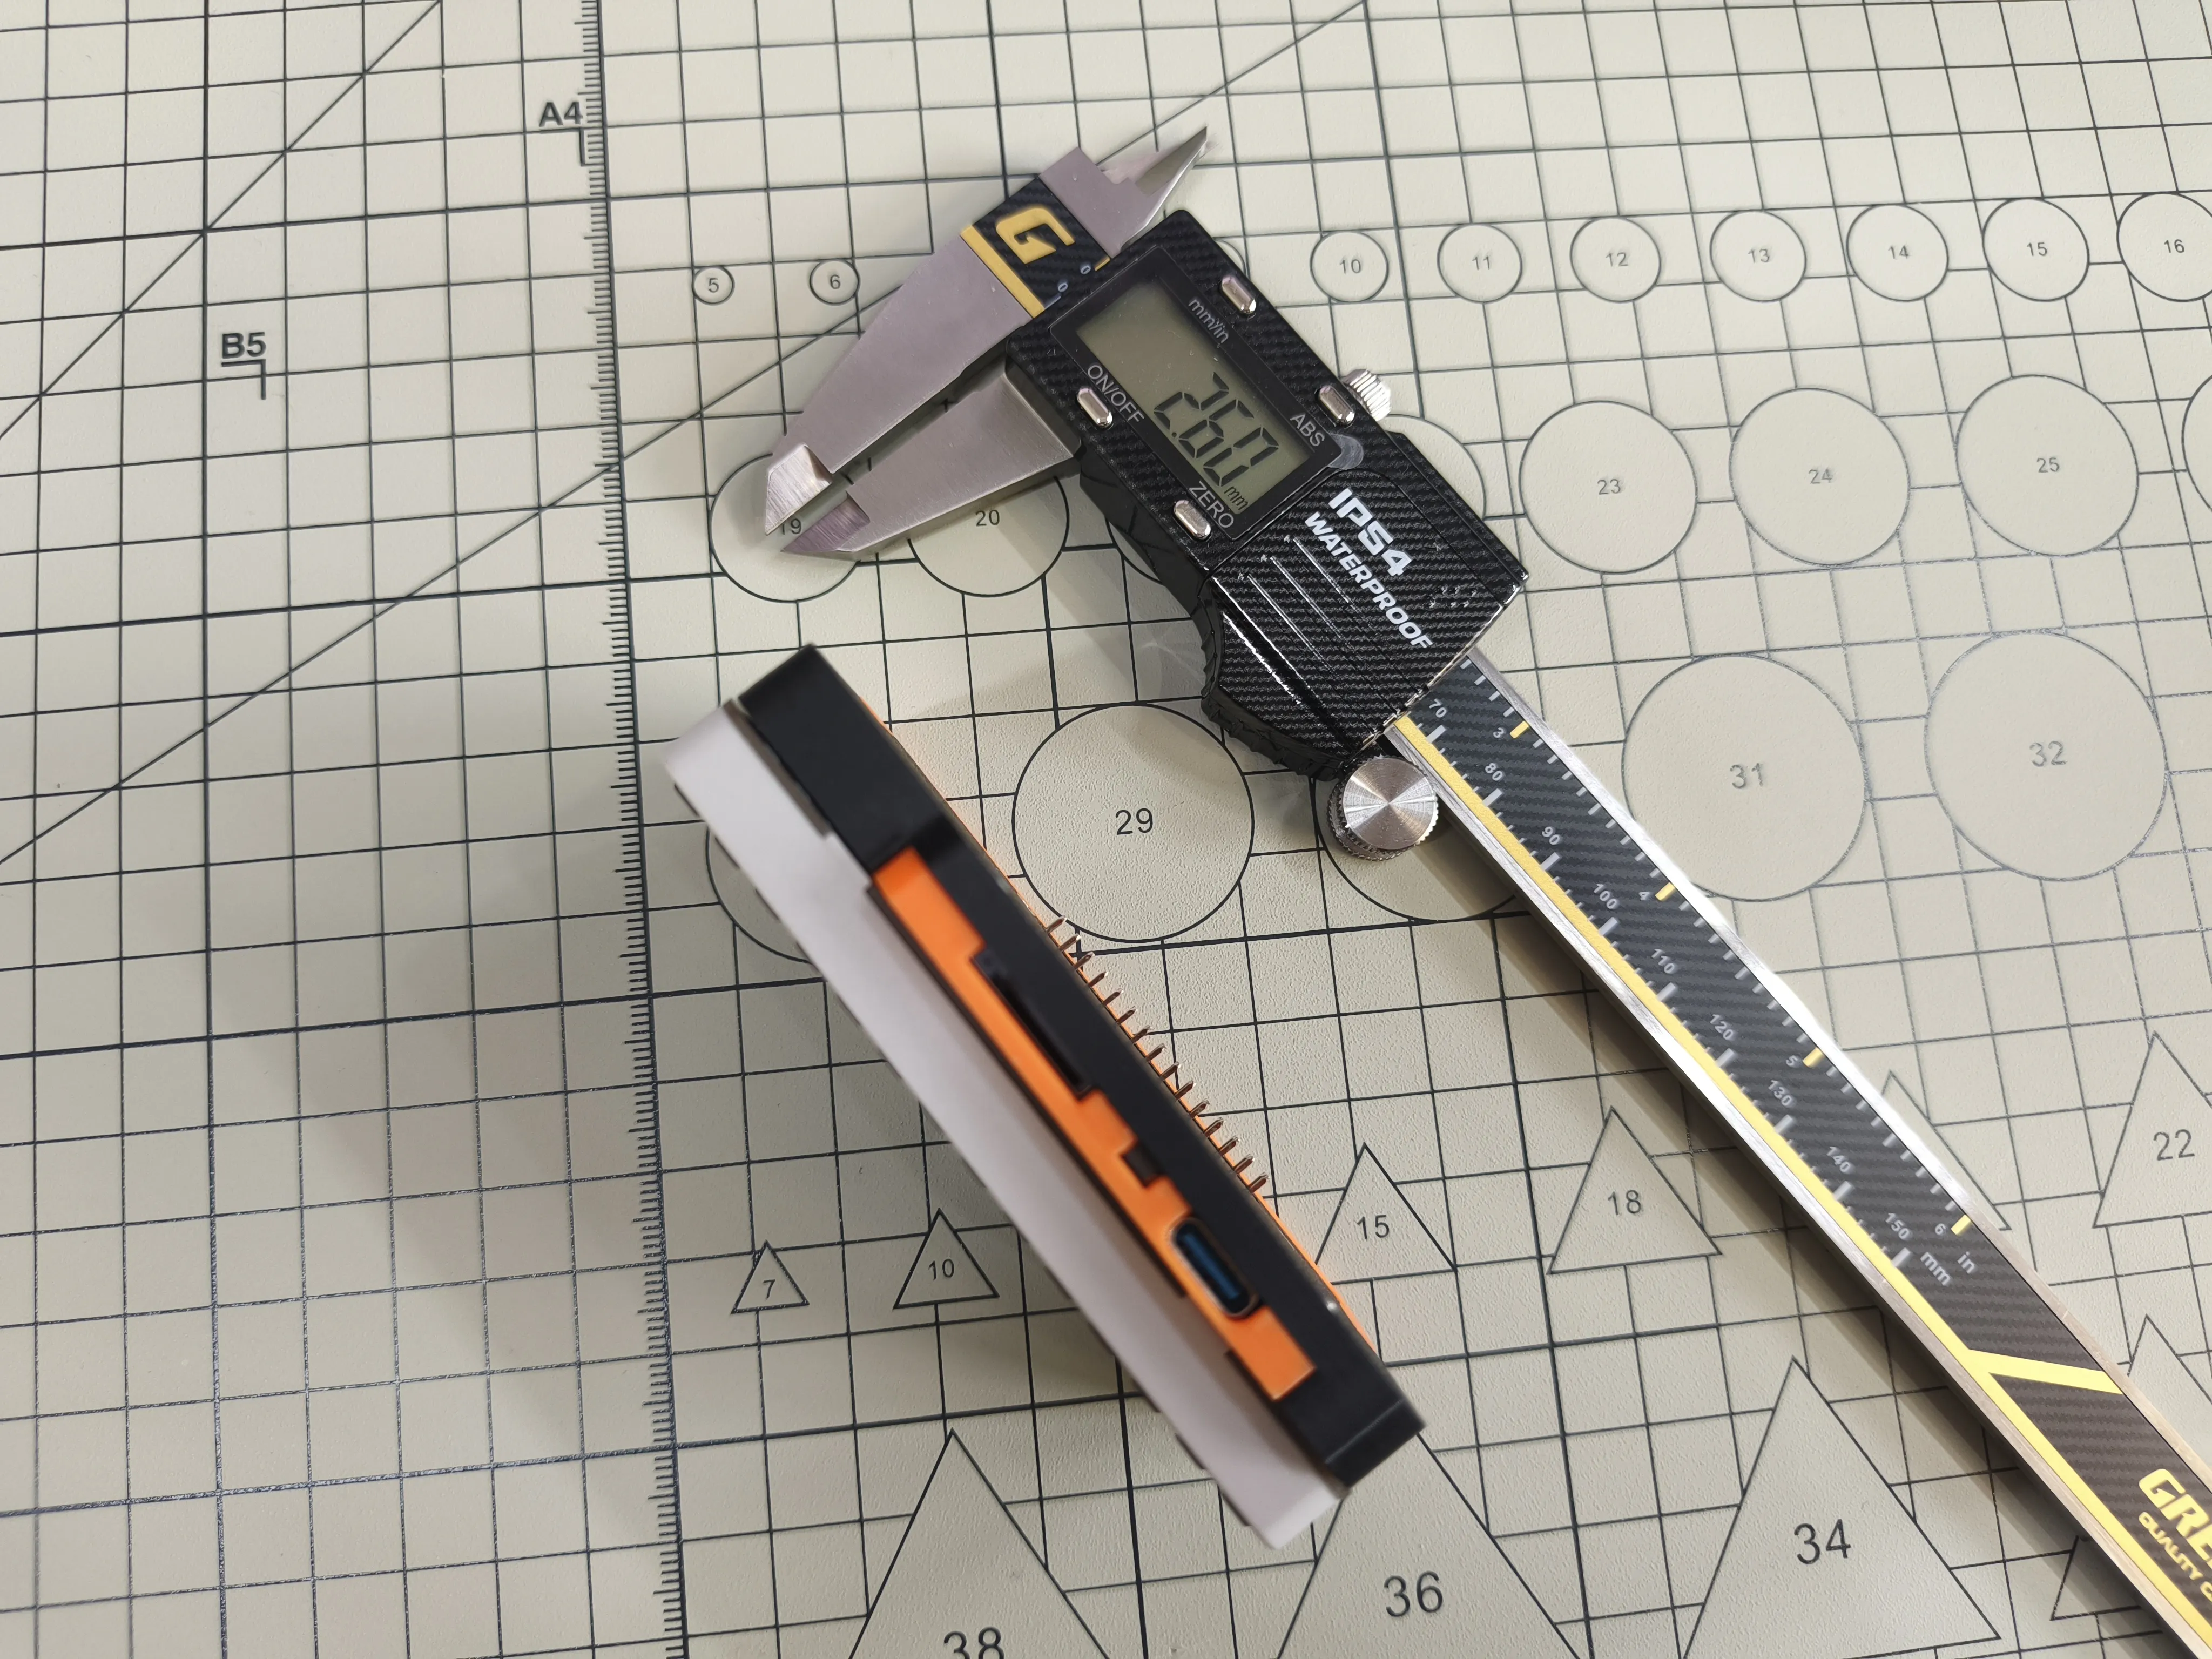
To keep the CardputerLLM's thickness consistent with the original Cardputer, the Module LLM's pin headers will protrude from the case by about 2.6 mm. For a flush surface, the pin headers can be trimmed. Of course, unfolding the stand also allows the CardputerLLM to be placed stably on a desktop
License



Comment & Rating (1)