
Rock Skull - Halloween Figurine (ZKULL Collection)
Print Profile(1)

Description
Boost Me (for free)
Thank you for your support, each boost encourages me a little more ! :)

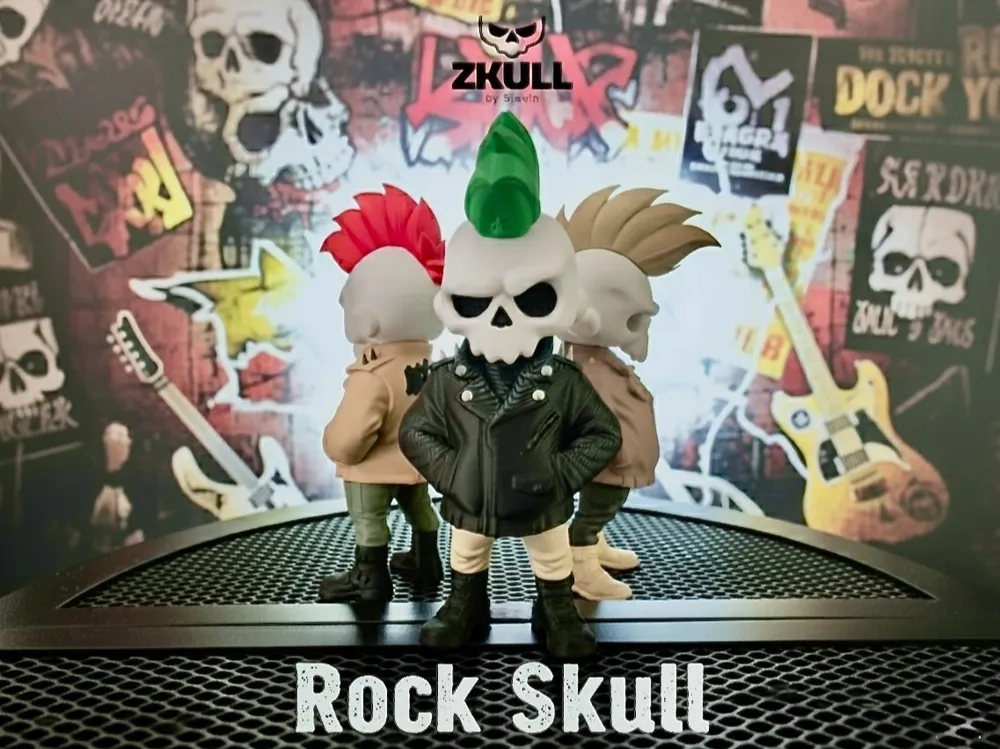
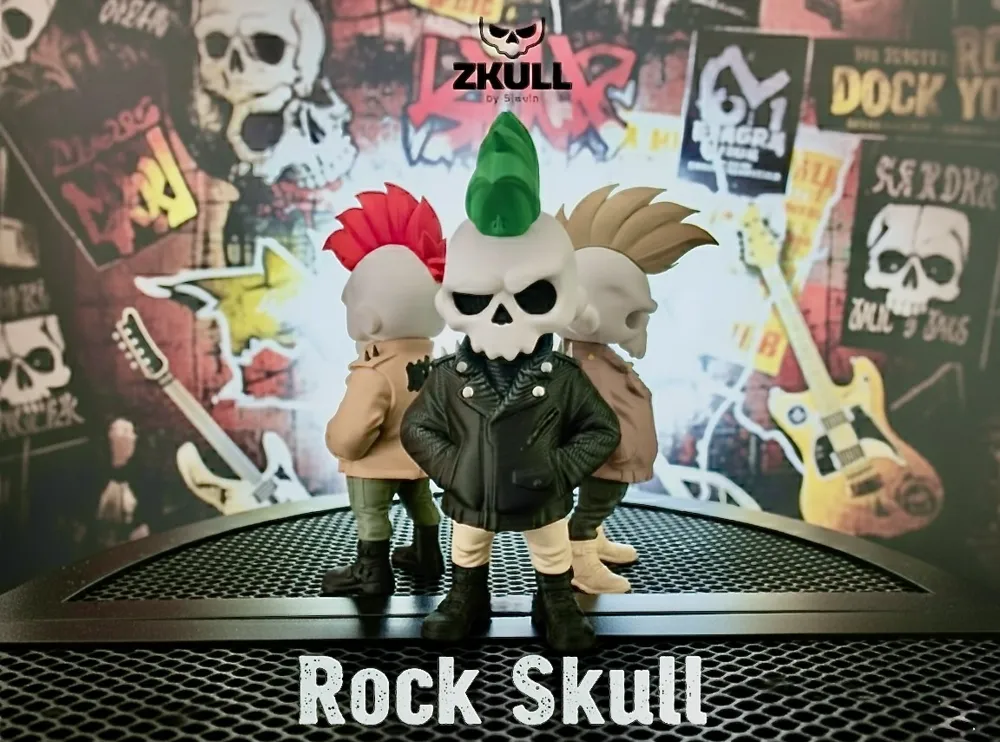
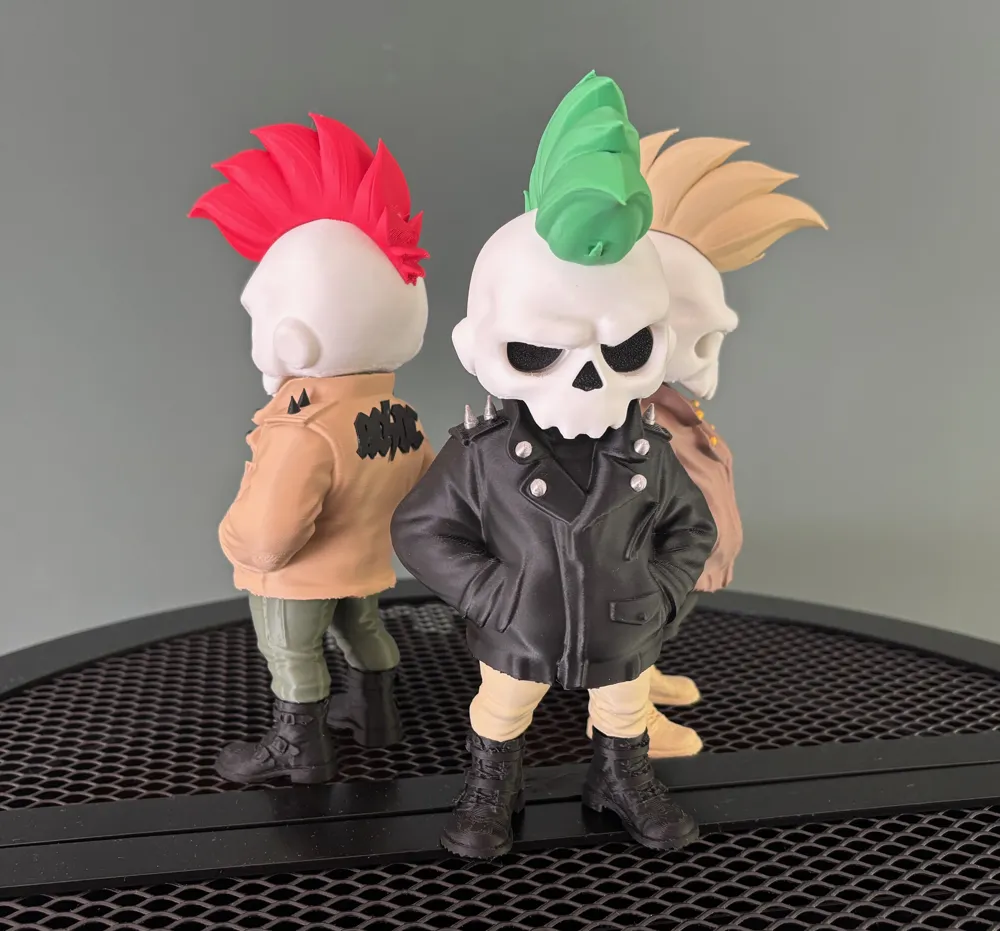
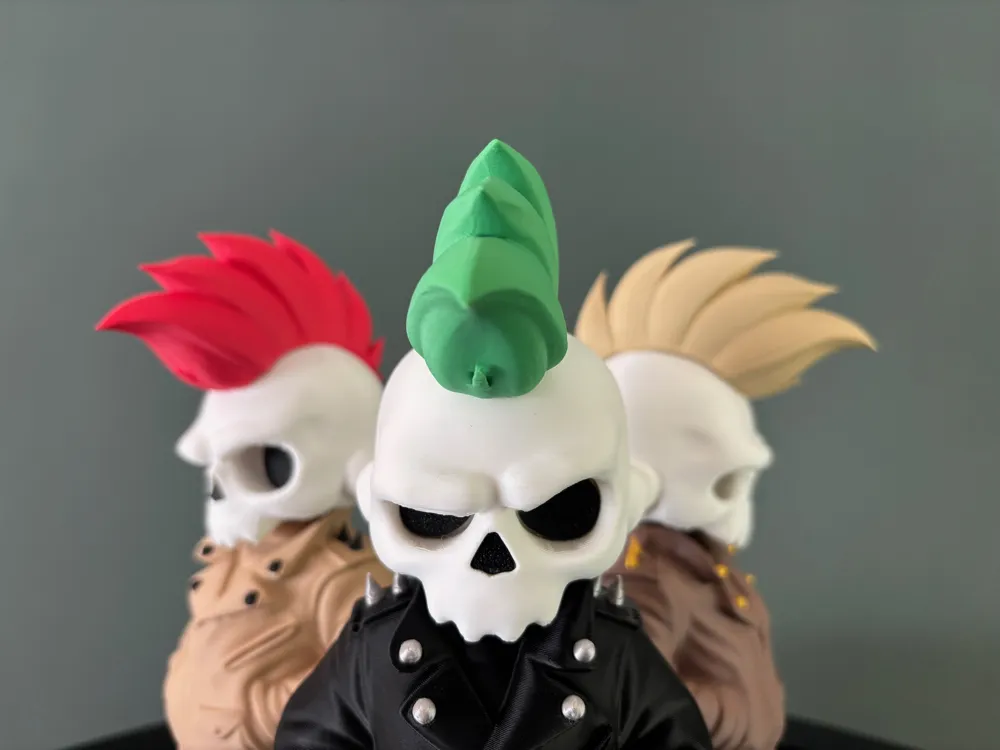
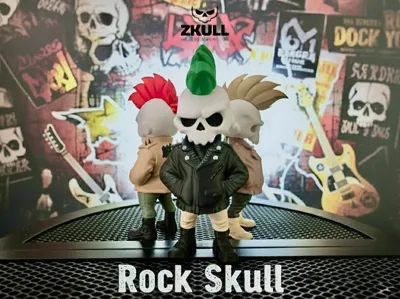
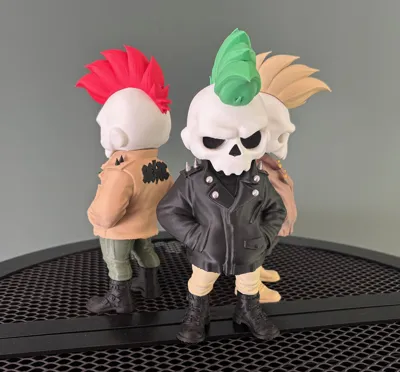
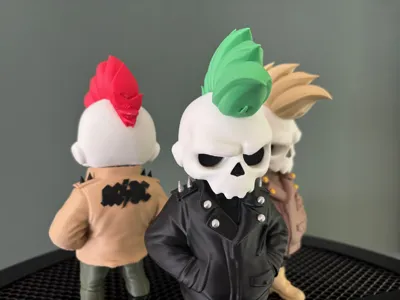
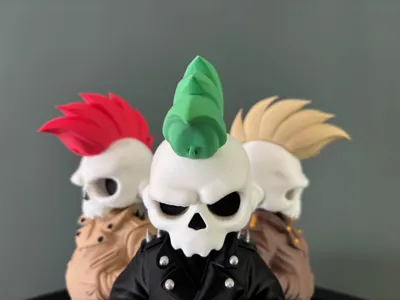
Modular multi-part skull figurine (ZKULL Edition).
Designed for single-extruder printing (no AMS required) with friction-fit pegs for clean assembly. Glue is optional, and the separated parts allow for easy color swaps, especially for the mohawk.
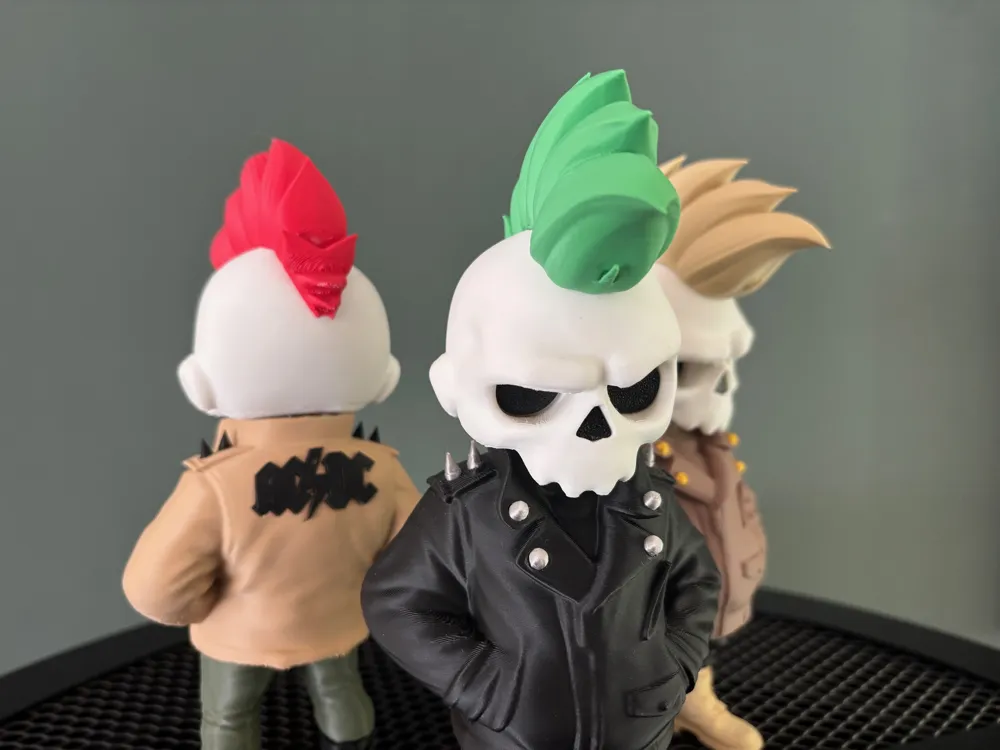
Rock & biker vibe: leather jacket, bold silhouette, sharp punk crest. Inspired by the raw energy of concerts and the rebellious edge of the streets, this figurine sits between designer toy and collectible art piece.
The files provided include optimized orientations to minimize supports and tested Bambu Studio (.3mf) profiles, ensuring reliable printing and straightforward assembly.
ZKULL Collection here
The Rock Skull (ZKULL Edition #4)
Born in the wings of a concert, when amp smoke meets the crumpled leather of a jacket. The mohawk slices like a blade, the skull’s gaze echoes haunted riffs — half rock, half street. Its silhouette carries the patina of stages, the nonchalance of a biker, and the raw elegance of a designer toy. Designed to be customized, swapped, and displayed, this skull is as much a visual statement as a chromatic playground: change the mohawk’s color, pair a dark jacket with contrasting eyes, and make it yours.
"They call him the Rock Skull. Some say he was born when a guitar screamed too loud, shattering the night as the walls of a concert hall trembled. His mohawk, forged from the shards of riffs, burns like an untamed flame.
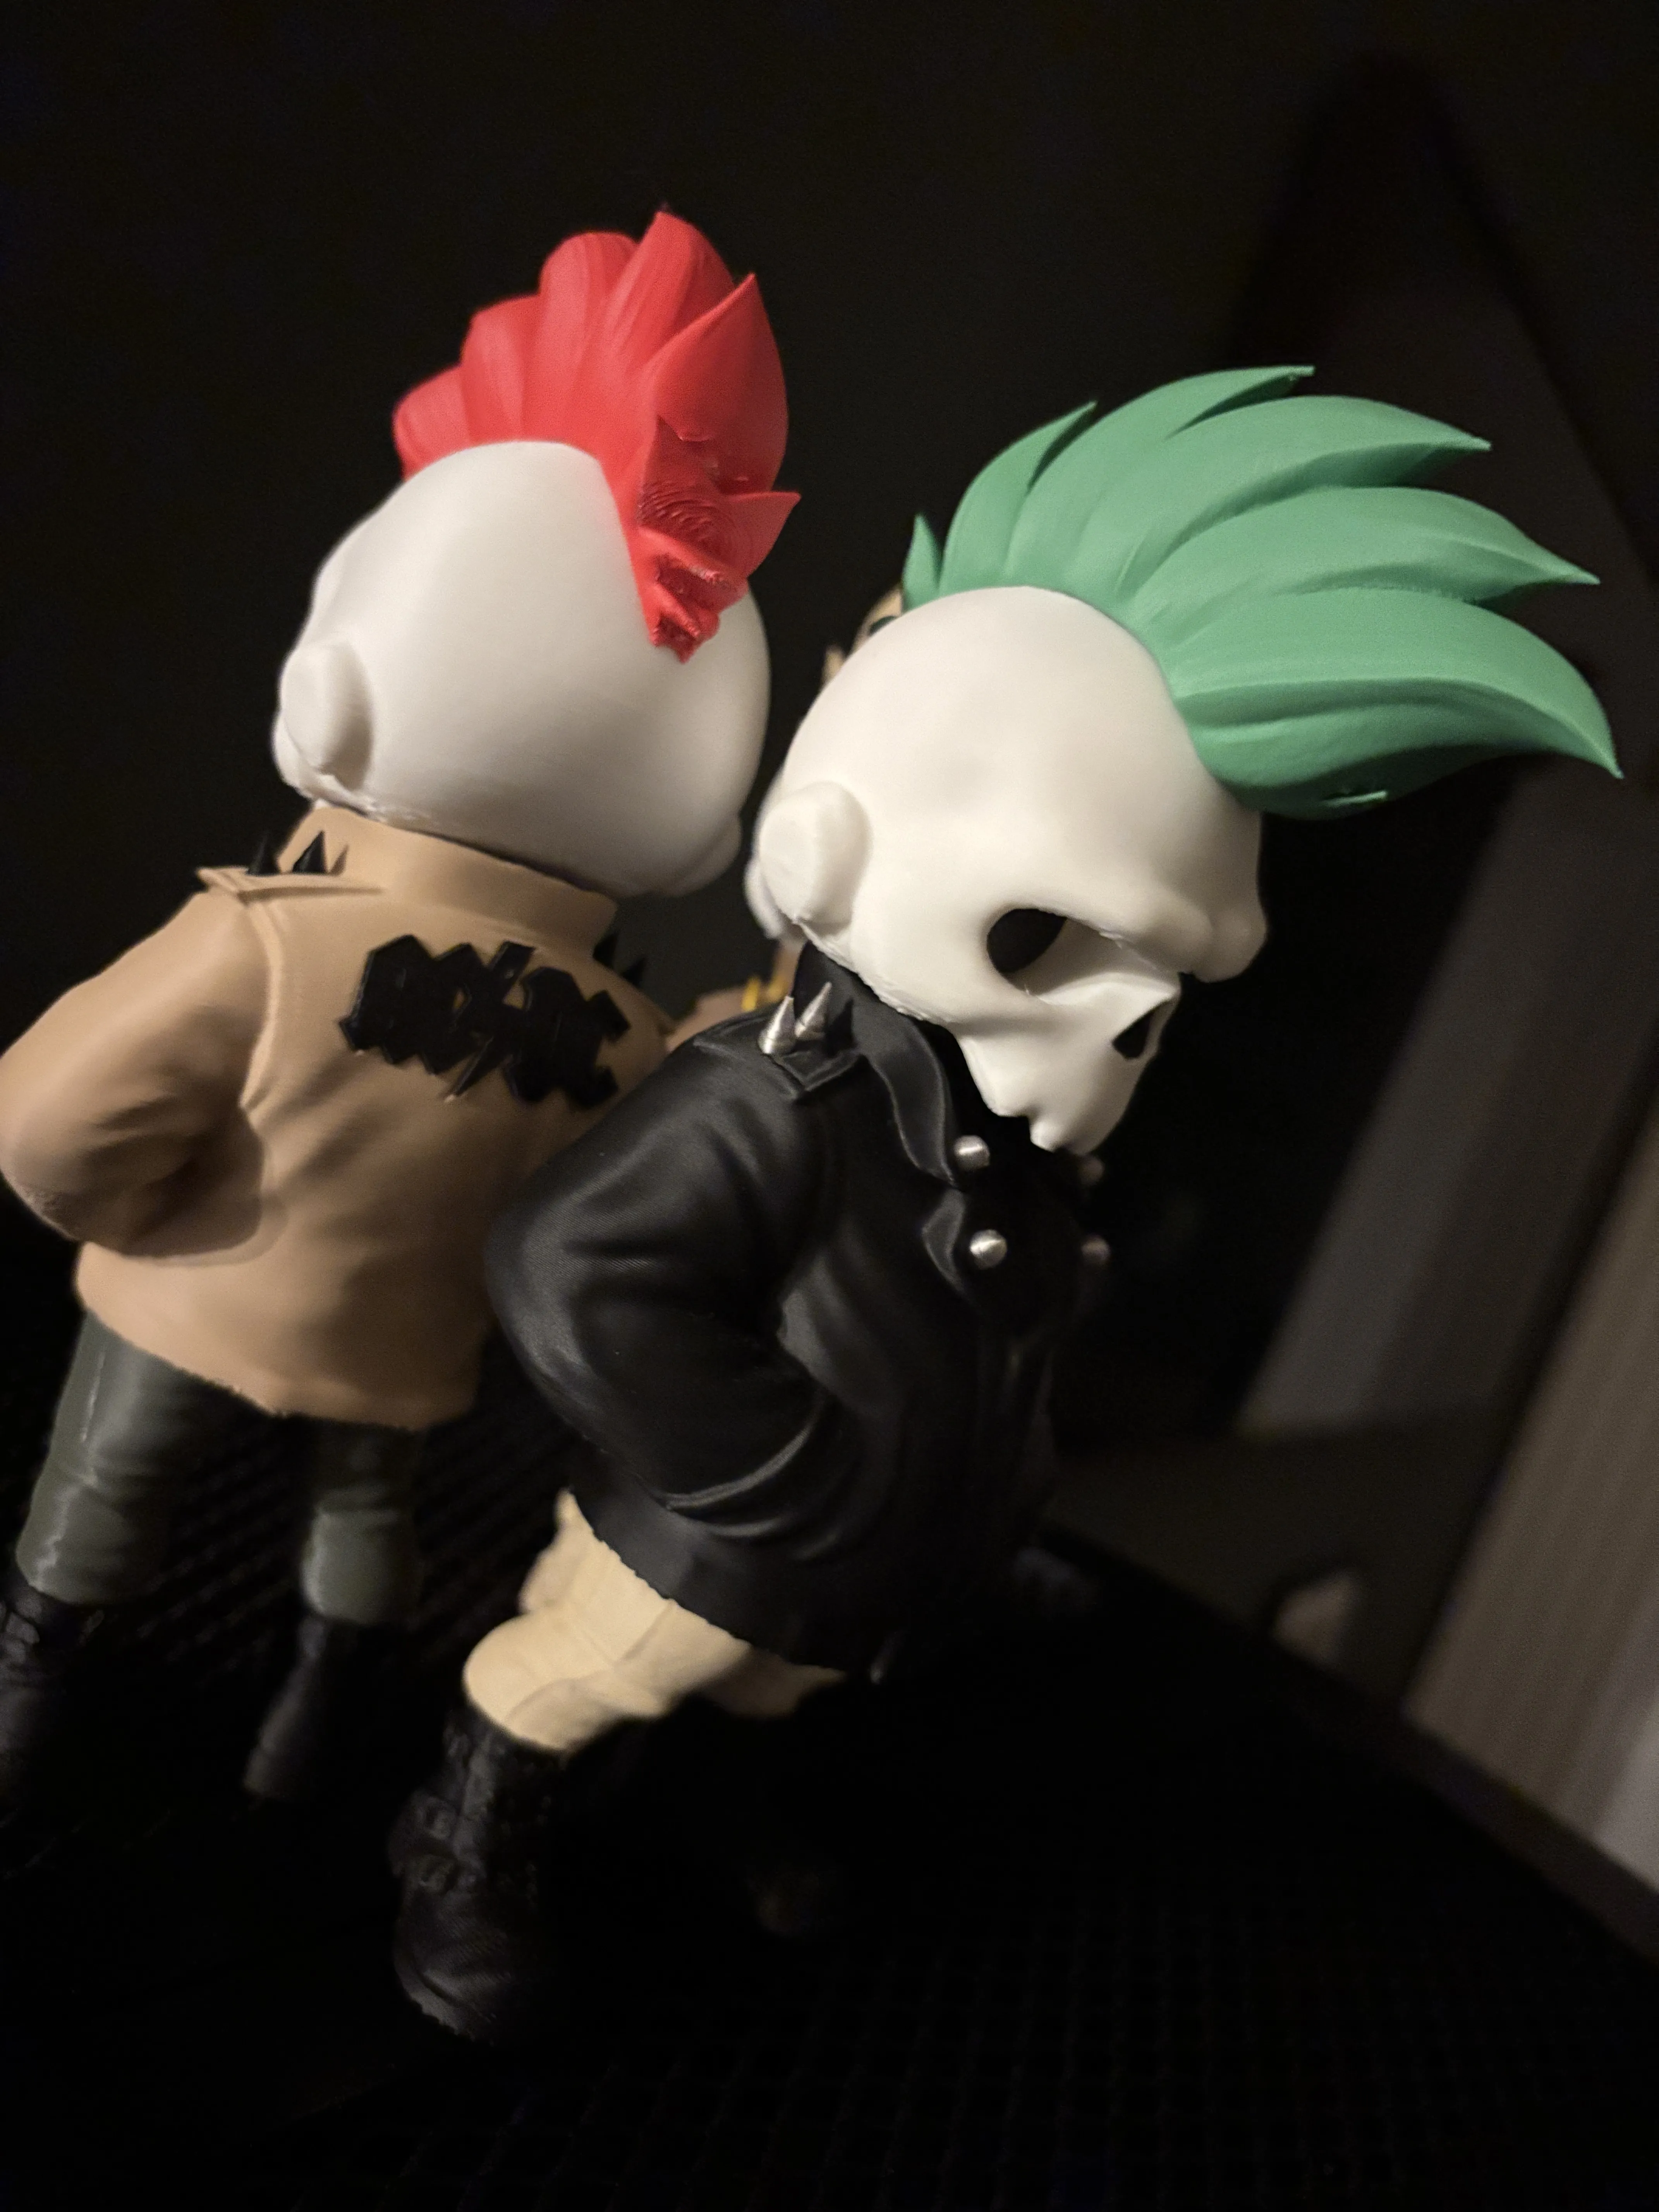
You might glimpse him outside clubs, under tired neon lights, an invisible cigarette at the corner of his skull. His jacket carries the scars of endless roads, smoky bars, and abandoned parking lots where the music never stopped. His steps echo like a muffled drum, his silence like a forgotten chorus.
He belongs to no band, yet everywhere he is recognized — a quiet emblem of resistance. Where walls are covered in graffiti and old amps still spark, he lingers, motionless. Some say he isn’t just a witness, but the living echo of every chord played, the memory of every scream in the dark."
______________________________________________________________
Summary
Model designed in multiple parts and assembled with connectors. The pieces hold together by press-fit without glue, provided tolerances match your material and printer calibration. The supplied files already include optimized orientations (for supports and positioning), do not change part orientation unless you know exactly what you are doing.
Printing Instructions
Keep the provided settings: the Bambu Lab / Bambu Studio profiles included in the archive have been tested for this model, you can use them as-is for reliable printing.
Orientation & Supports
The parts are positioned in the files to minimize supports and simplify post-processing. Do not reorient the parts globally; if you change one, check the impact on supports.
Assembly – Recommended Method
- Dry fit: assemble all parts without glue first to check alignment and tolerances.
- Cleanup: lightly deburr the edges and pegs with a file/modeling tool for smooth contact.
- Fine adjustments: if too tight → very light sanding (200–400 grit sandpaper). If too loose → apply a thin strip of PLA/PTFE tape on the peg (very discreet) or a small drop of glue.
- Optional fixing: cyanoacrylate (CA) glue for permanent bonds
- Small parts (buttons & spikes): depending on your printer’s precision, you may need to glue these small details to ensure proper hold.
- Back patch / logo: it is recommended to glue the back patch piece firmly in place for long-term stability.
- Final check: verify motif alignment and mobility (if any moving parts).
Recommended Print Settings
- Layer height: 0.12–0.20 mm (0.12 mm for fine details).
- Perimeters (walls): 2–3.
- Infill: 10–20% (can be increased for load-bearing parts).
- Top/Bottom layers: 4.
- Supports: use the orientation from the provided files — Bambu Studio / included profiles handle supports effectively.
- Bed adhesion: use a brim if the contact surfaces are small.
- Temperatures: keep the profile defaults or calibrate according to your filament.
Additional Note on Gluing
Each part can be glued to improve the figurine’s long-term stability, or left unglued if you prefer to swap different color pieces. However, it is strongly recommended to glue the black eye inserts as well as the nose, since these are the only parts without tolerances designed for a friction fit.
Specific Notes and Best Practices
- Tolerances vary depending on the filament: always test on your target printer.
- Do not glue immediately: prefer a dry-fit assembly to allow adjustments and color changes.
- Labeling: keep the part names/positions as indicated in the files (this makes reassembly and support easier).
Membership
Are you a 3D print seller? Get a commercial license to legally use my models in your shop. Choose the option that fits your needs: Lite License: covers around ten selected models. Standard License: gives you access to all my models for commercial use. Whether you're selling online or at local markets, these licenses allow you to print and sell physical copies of my designs. Support independent creators and grow your business with original models made for makers like you.
License

You shall not share, sub-license, sell, rent, host, transfer, or distribute in any way the digital or 3D printed versions of this object, nor any other derivative work of this object in its digital or physical format (including - but not limited to - remixes of this object, and hosting on other digital platforms). The objects may not be used without permission in any way whatsoever in which you charge money, or collect fees.


Comment & Rating (255)