
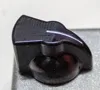
25mm Mini Chicken Head Knob - EVH 5150 III Style
Print Profile(1)
Description
🚀 Support My Creative Journey🚀
If you find my designs helpful or inspiring, there are two ways you can help me keep creating:
Boost Me (for free)
If you're on MakerWorld, a "Boost" helps me reach more makers and keeps the filament flowing! It's Free!!🚀
Buy me a coffee☕: For those who want to go the extra mile to support my work and my family.
📖 Description
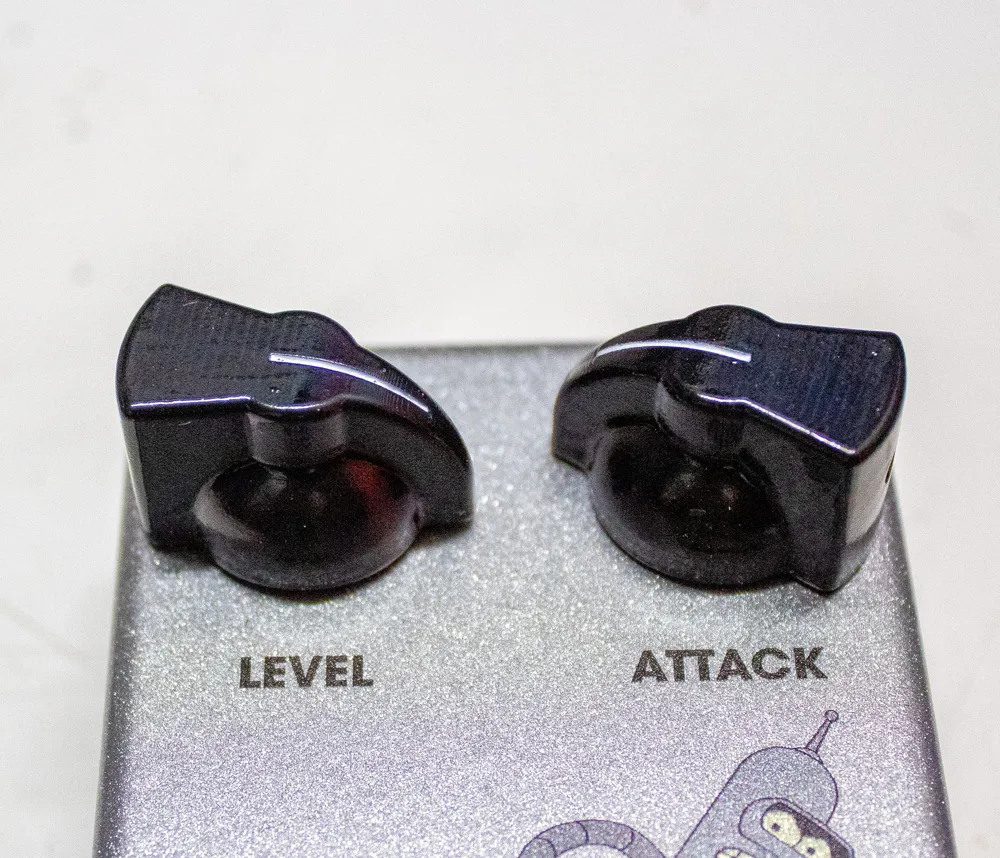
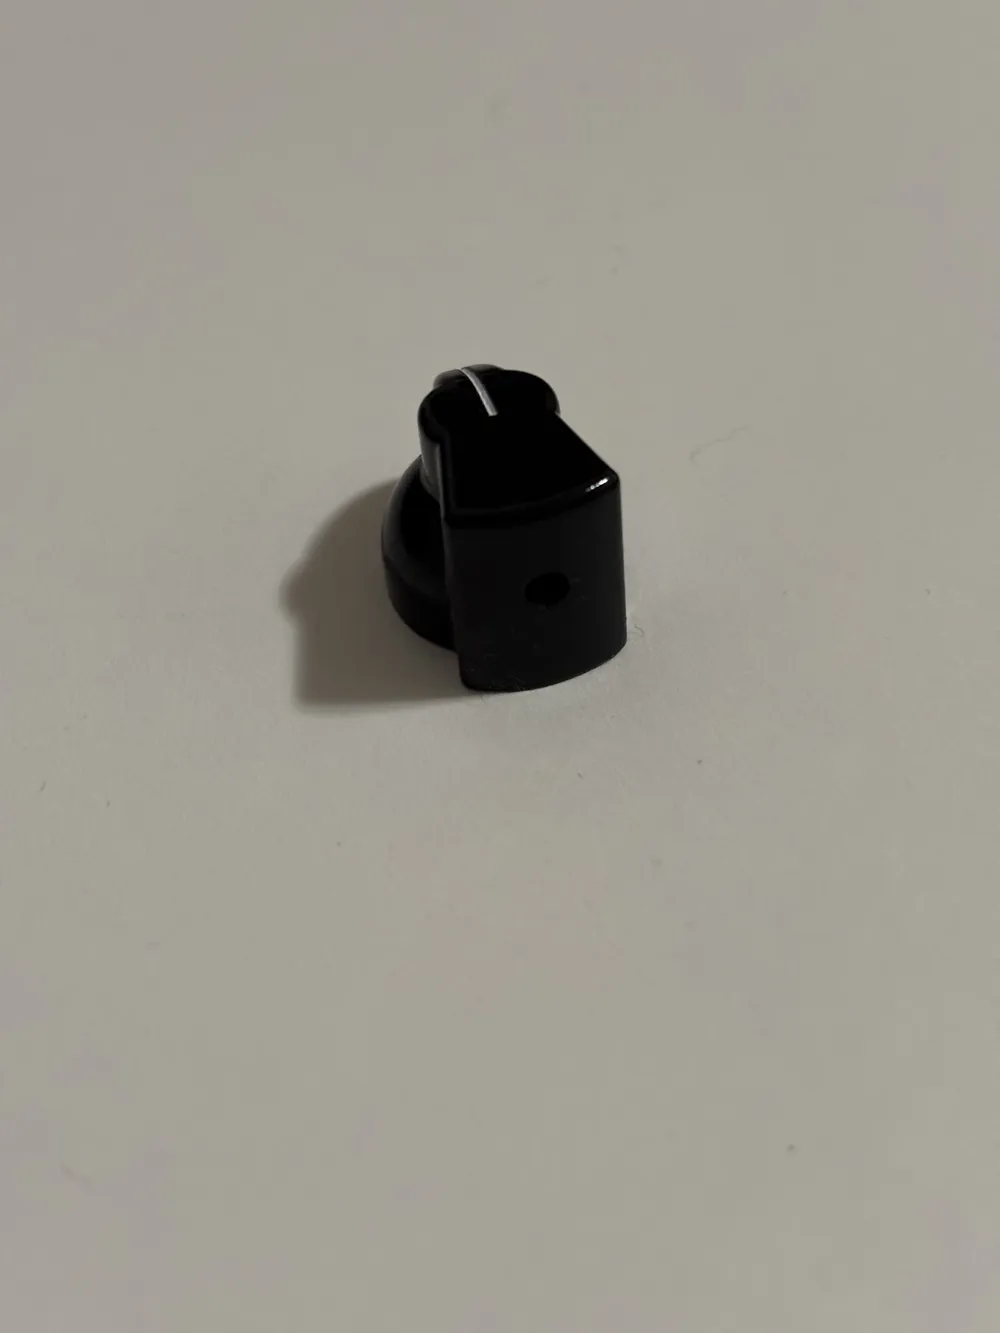
The iconic "Chicken Head" knob, reimagined for modern rigs!
Tired of oversized knobs cramping your style or blocking adjacent controls? This is your solution: a 25mm compact version of the legendary "Chicken Head" knob, a staple on countless amplifiers and effects.
Inspired by the sleek look of the EVH 5150 III amplifiers, this design offers that distinctive vintage vibe with a more practical footprint. It's perfect for:
- Modern Amps & Pedals: Ideal for tighter control layouts where standard 32mm Chicken Heads are too large.
- Synthesizers & Eurorack: Precise visual feedback and comfortable grip for delicate adjustments.
- Custom Builds: Add a touch of classic rock style to your projects without sacrificing space.
Why you'll love printing and using these:
- Clear Indication: The prominent pointer ensures you always know your exact setting at a glance.
- Superior Grip: The ergonomic "beak" design provides excellent tactile control for quick adjustments.
- Durable & Reliable: Engineered for longevity, designed to withstand countless tweaks.
🛠 Technical Specifications
- Diameter: 25mm (Compact for space-saving applications).
- Compatibility: Designed for standard 6.35mm (1/4") smooth potentiometer shafts.
- Fastening System: Secure Set-Screw design for a firm, slip-free attachment.
- Hardware Required: 1x Standard M3 Nut + 1x M3 Set Screw (Grub Screw) (4mm or 6mm length).
🔧 Assembly Instructions
- Insert the Nut: Slide the M3 Nut into the internal hexagonal slot.
- Prepare the Screw: Thread the M3 Set Screw into the hole until it meets the nut.
- Mounting: Place the knob on your 6.35mm shaft and tighten the screw until it locks firmly.
🎨 Printing & Finishing Tips
- Resin (Best Result): Highly recommended for that smooth, injection-molded look.
- FDM (PLA/PETG): Use a 0.2mm nozzle and 0.1mm layer height.
- The "Pro" Look: Print in Ivory and use black acrylic paint or a paint pen to fill the indicator line for high contrast.
- Color Choice: Don't feel limited to black or white! Print or paint in neon, transparent, or metallic filaments to make your gear stand out.
Upgrade your gear with precision and style. Download and print these today!
License

You shall not share, sub-license, sell, rent, host, transfer, or distribute in any way the digital or 3D printed versions of this object, nor any other derivative work of this object in its digital or physical format (including - but not limited to - remixes of this object, and hosting on other digital platforms). The objects may not be used without permission in any way whatsoever in which you charge money, or collect fees.


Comment & Rating (0)