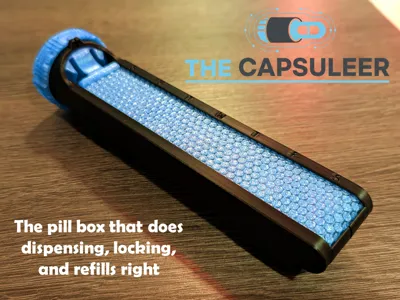
Locking Pill Box | The Capsuleer


Print Profile(2)


Bill of Materials


Description
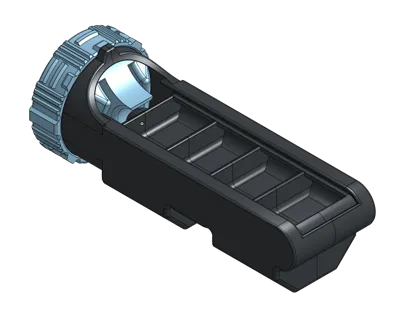
A pill box re-imagined for real life — sleek, secure, and awesome to use.
Please know the Capsuleer v3 is available by clicking here! Same magic as v1, but in a sturdier, snappier, grippier, and more refined design.
Forget frustrating store-bought boxes. The Capsuleer is a pill organizer with a clever rotating dial that does it all:
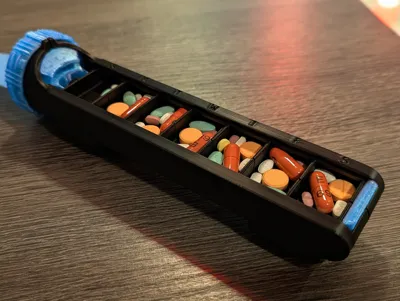
- Dispense one compartment at a time.
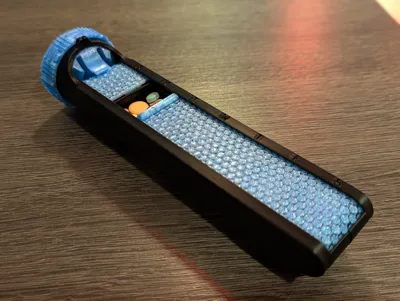
- Refill every bin with a quick slide.
- Lock it so nothing spills in your bag.
After countless prototypes (and about 2kg of filament), the result is a container that’s equal parts smart design, maker’s pride, and daily convenience. If you need something to handle AM/PM or two weeks worth, check out the x2 version.
(On a side note, if you need something to cut PTFE tubes that's precise, safe, and seriously satisfying, you won't want to miss out on my Bowden Puck Pro!)
Why it’s awesome
- Smart – Isolates one bin at a time but slides open fully for refills.
- Secure – Built-in lock keeps pills where they belong.
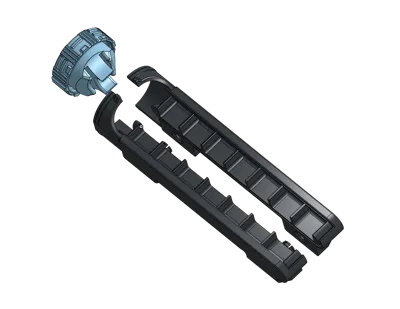
- Glue-less – Snap-fit assembly, no mess required.
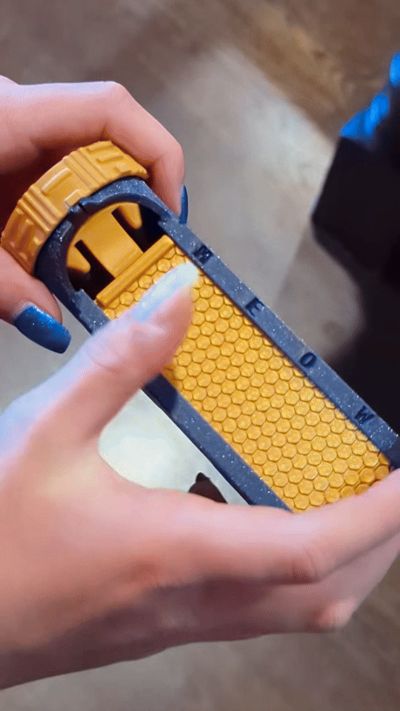
- Grippy – Custom knurled dial feels great.
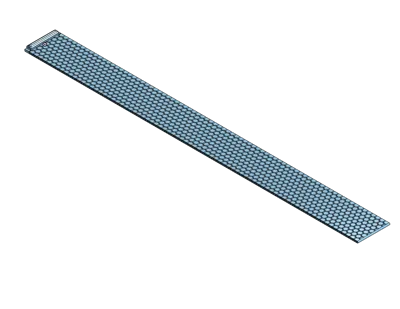
- Stylish – Hex-patterned roller cover with two-color print flair (no AMS needed).
- Easy – Optimized for smooth, support-light printing.
- Custom – Add your own days of the week or numbers right in the slicer.
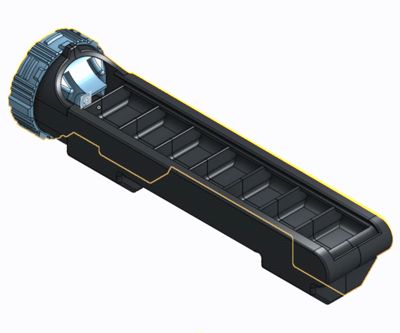
- Options – Full 7-bin or compact 4-bin versions (bins are approximately 20x32x10mm).
Whether you need an everyday carry pill box or just want to flex a beautifully functional print, the Capsuleer is one-of-a-kind.
Important Printing Notes
For best results, treat the cover with extra care:
- Let the build plate cool completely before removing it — pulling it off early can cause warping or brittleness.
- Print the cover in PETG (recommended). PLA works, but PETG is more durable and flexible, especially for moving parts.
- If you’re using a Bambu X or P Series printer, make sure to uncheck flow calibration when printing the cover for the full 7-bin version.
- Expect a short break-in period. The cover and dial will loosen up and slide more smoothly after a few days of use.
Pro Tips
- A perfect first layer is crucial. If you see bulges or waves in the first layer of recent prints, dial in your printer before tackling this model — the thin cover depends on it.
- The model has been carefully oriented for smooth motion. Changing angles, infill direction, seam position, or orientation may cause drag or fit issues.
- Keep it dry! PETG loves to soak up moisture from the air, and damp filament is a surefire way to ruin your day (and your cover). If the cover is having some rough movement, and breaking, there’s a good chance your PETG needs a good drying session before reprinting.
- The snap-fit bins are permanent — once joined, they aren’t meant to come apart.
- Because of the tight tolerances, smooth movement depends on a well-tuned printer. If your setup struggles with precise moving parts, there may be excessive stiffness.
- While PLA Matte and Silk look sleek, they are not the right choice here. These parts flex and are under stress — and these filaments are more brittle than standard PLA — so use stronger filaments for durability.
- Many of the issues people have run into (and mentioned in the comments) come from slicer quirks, not the model itself. If you’re using OrcaSlicer, save yourself some frustration and make sure you set Solid Infill Direction to 0 before printing. OrcaSlicer changes other things as well, but this one setting is absolutely critical.
Assembly
- Choose your size (7-bin or 4-bin) and print the bins, cover, and dial.
- Remove the brim ears from the ends of the bin halves and snap the halves together. Keep them straight — angling may break the cantilever joints.
- Remove the brim ears from the cover handle.
- (Optional but highly recommended) Rub a wax crayon along the edges of the cover — sides, start, and end — for smoother sliding.
- Insert the cover gently into the bin, starting from the non-handle end. Keep it upright.
- Slide the cover back and forth gently to begin the break-in process. Smoothness improves after a few days.
- With the cover tucked fully inside, snap the dial onto the front of the bin. Press firmly — tolerances are tight. Rotate it a few times to loosen it up.
- Twist the dial to the thick horizontal line position to align for refilling. Make sure the protrusions line up; misalignment can block the cover.
- Slide the cover fully open to expose the bins. (Part of the cover will temporarily extend from the bottom of the dial — that’s normal.)
- Refill as needed, then slide the cover closed so it sits at the start of the bin area.
- Twist the dial to the vertical line position to dispense. Slide to the correct bin and pour contents into your hand.
- At week’s end, reset to the refill position and repeat.
- To lock the box, close the cover fully and twist to the double vertical lines.
Changelog:
Nov 17, 2025: Add some brim ears to improve bin bed adhesion
Oct 6, 2025: Update description to prevent printing issues with OrcaSlicer
License
You shall not share, sub-license, sell, rent, host, transfer, or distribute in any way the digital or 3D printed versions of this object, nor any other derivative work of this object in its digital or physical format (including - but not limited to - remixes of this object, and hosting on other digital platforms). The objects may not be used without permission in any way whatsoever in which you charge money, or collect fees.
Comment & Rating (697)