
Tic Tac Toes Halloween Game
Print Profile(2)


Bill of Materials




Description

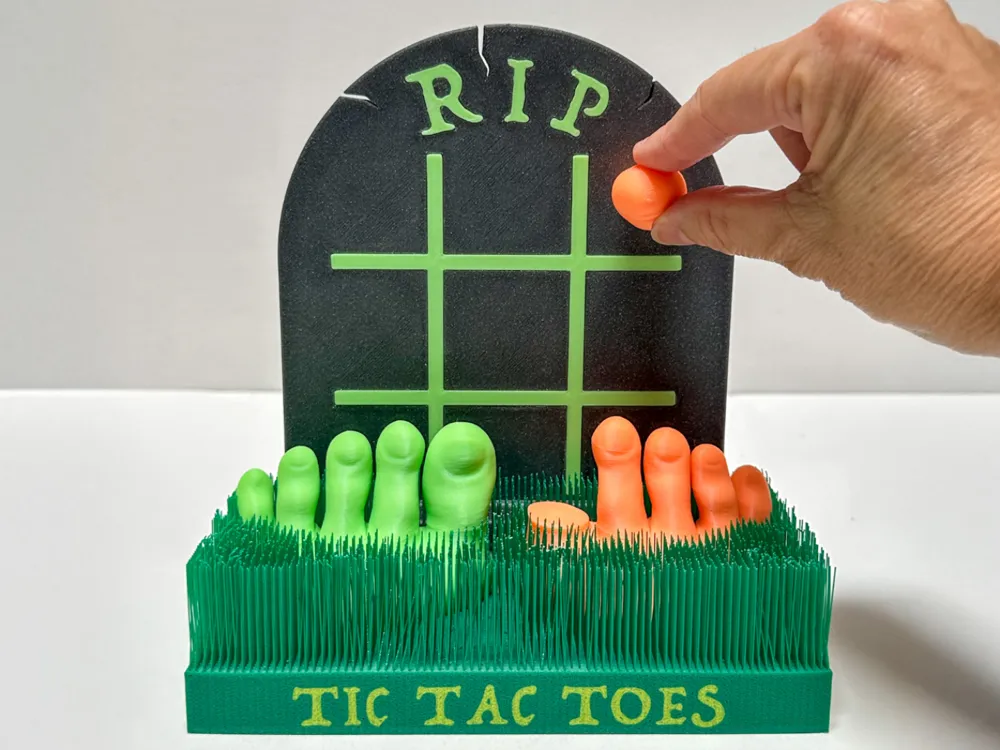
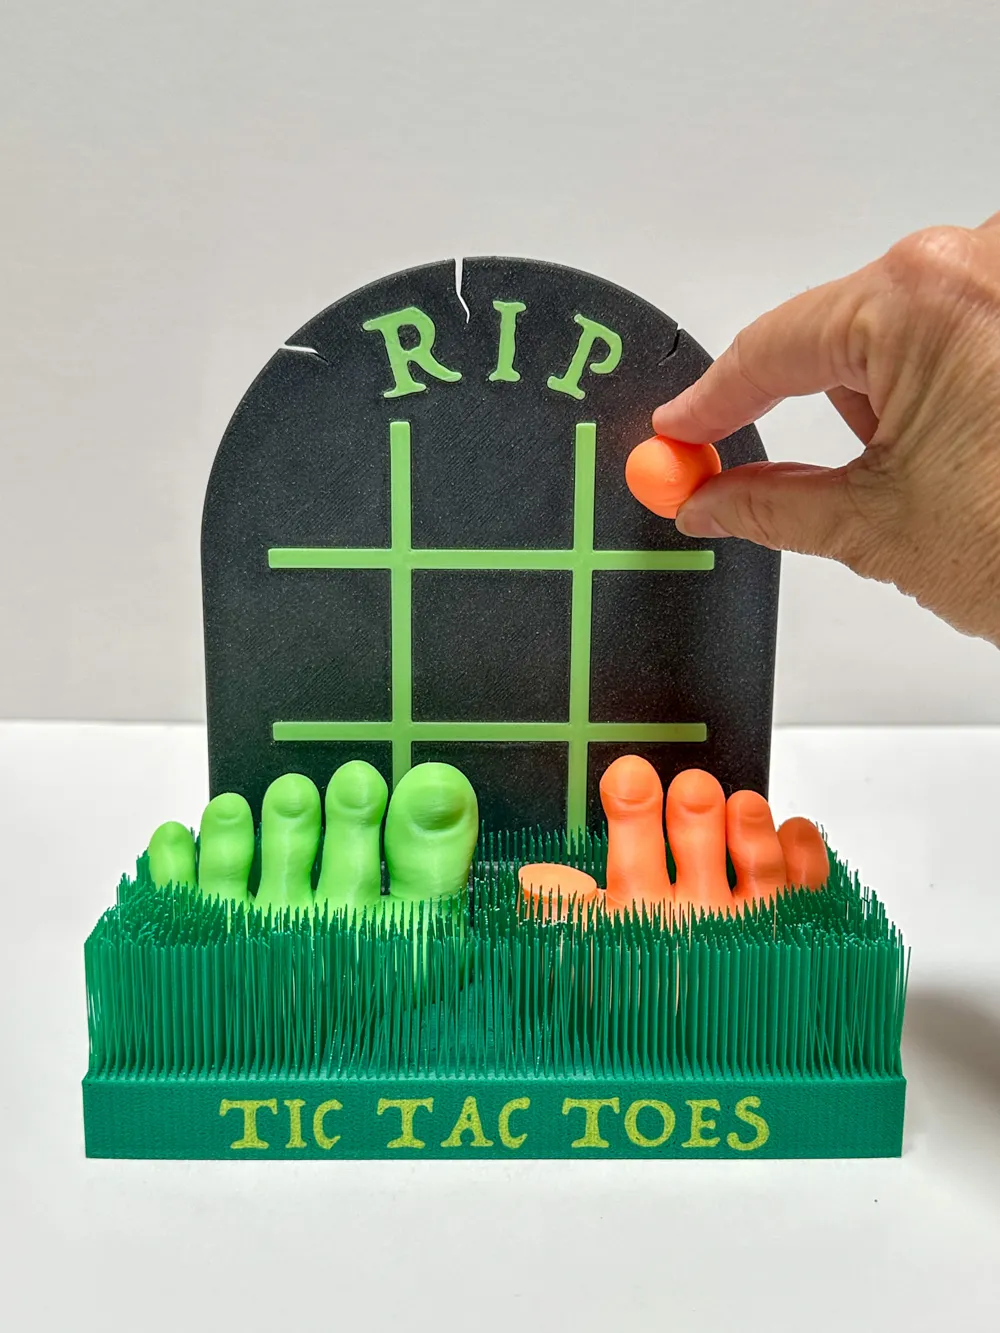
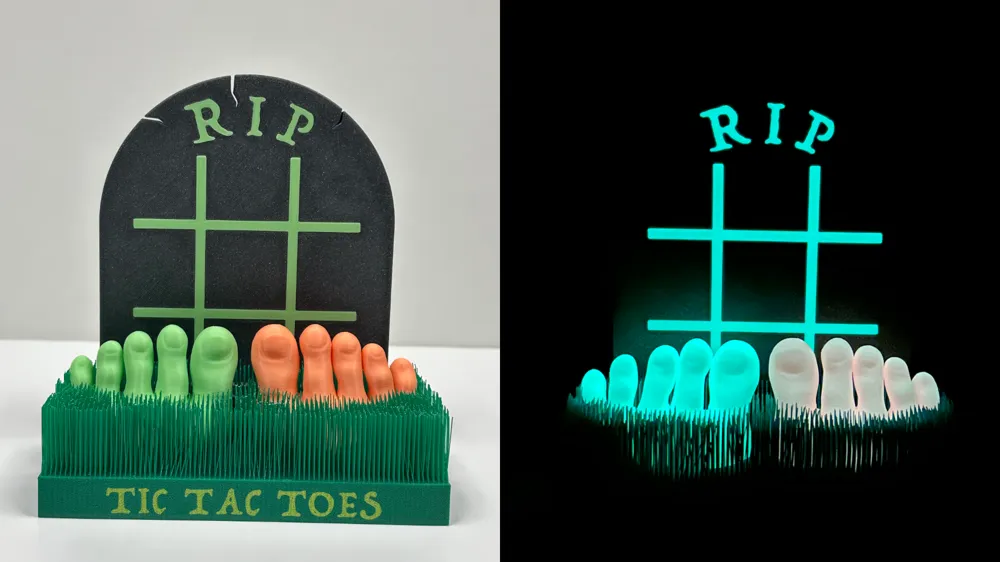
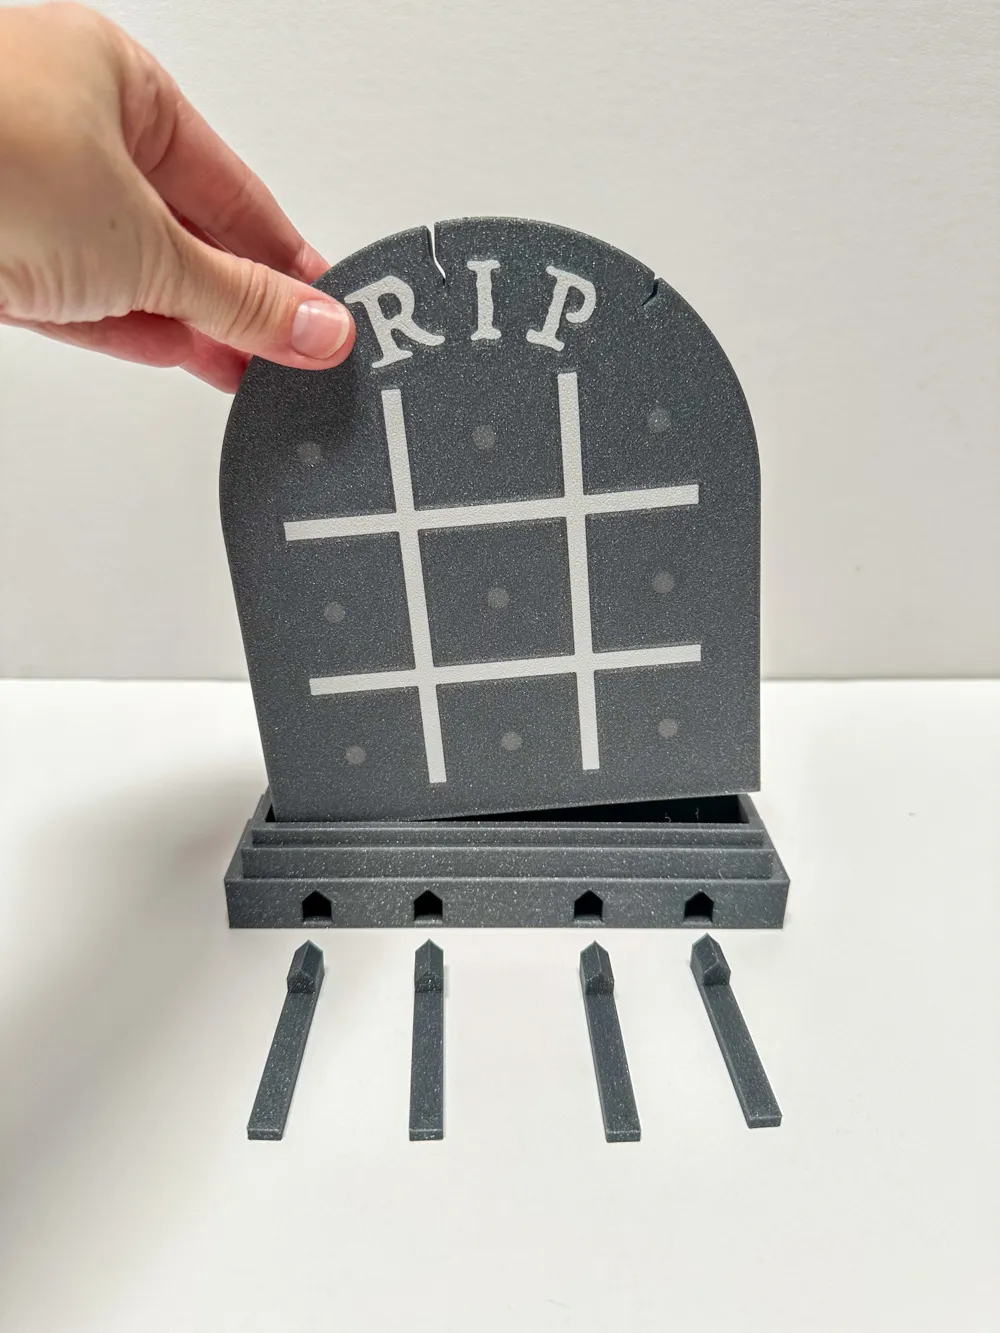
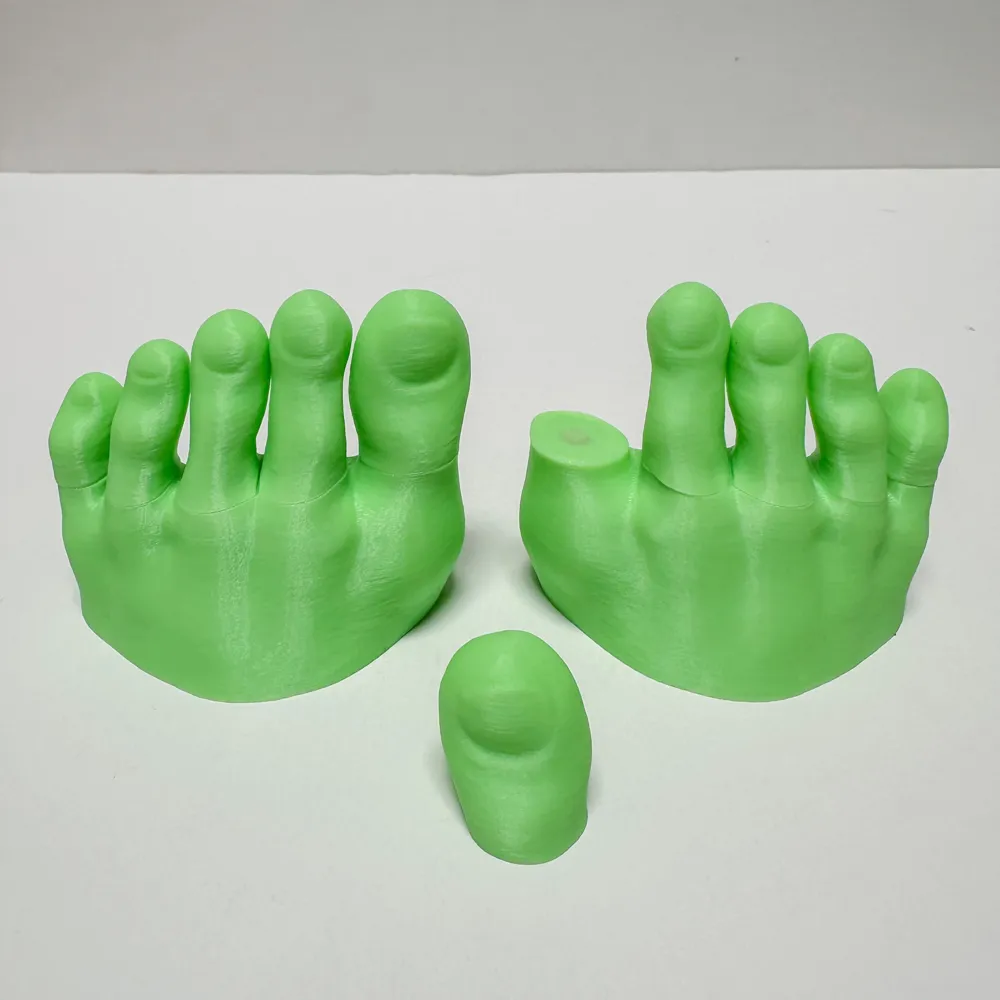
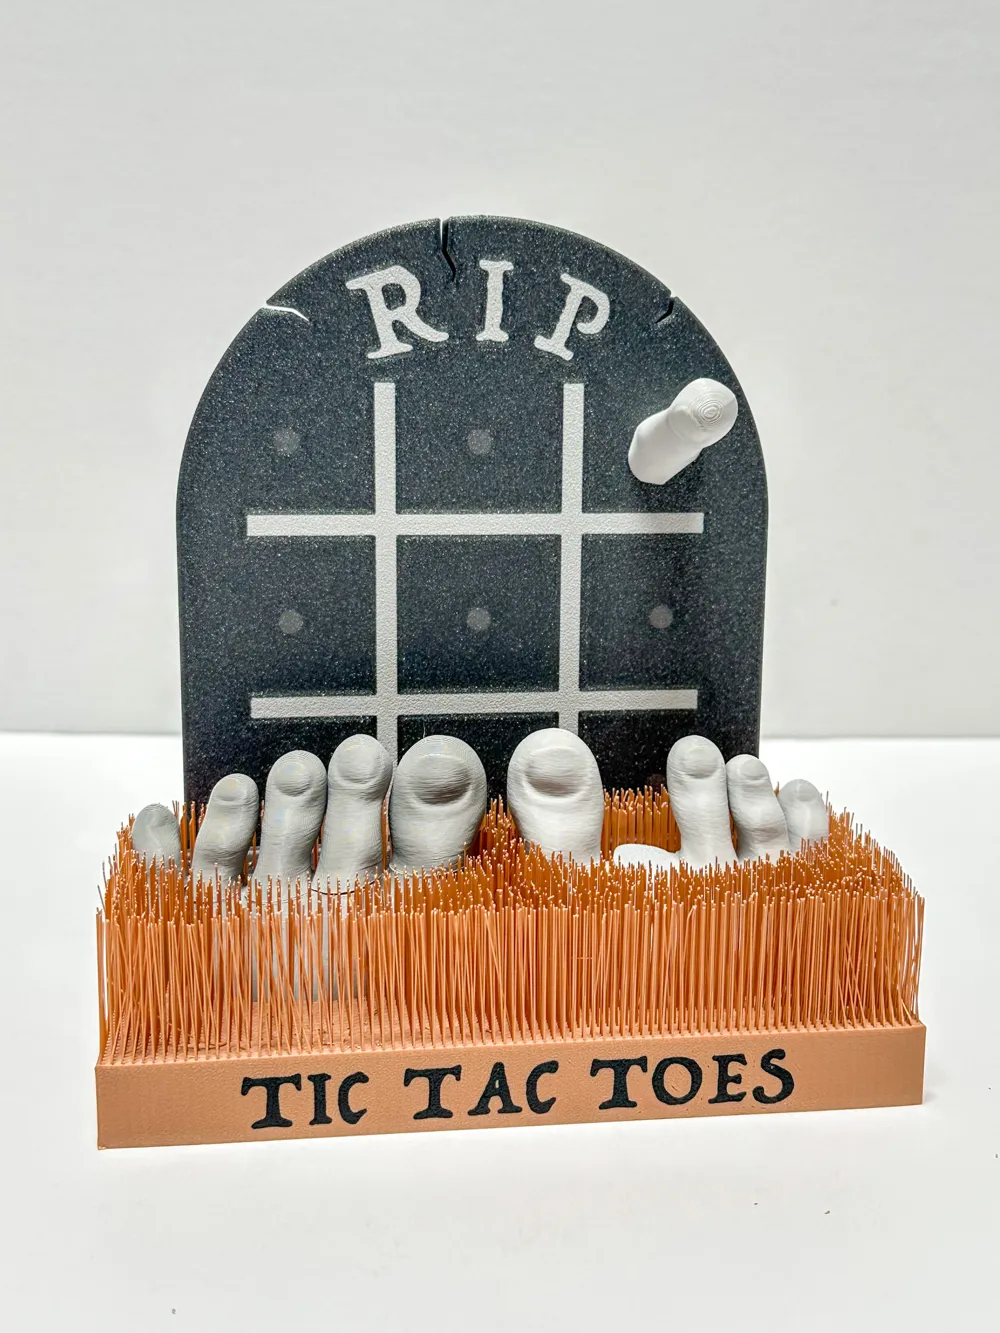
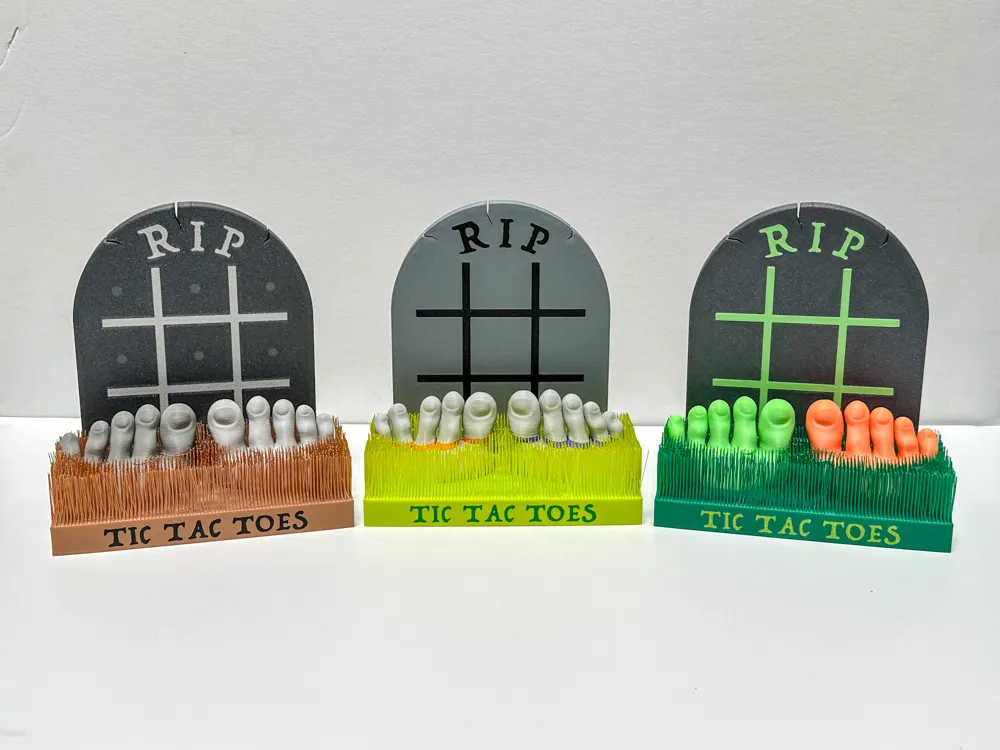
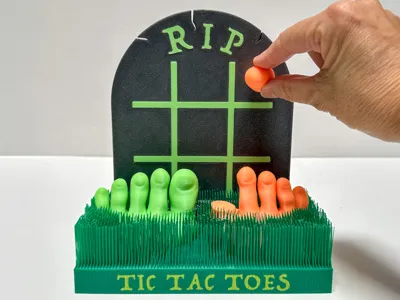
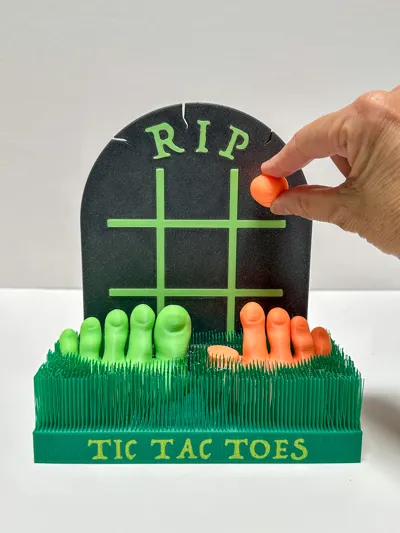
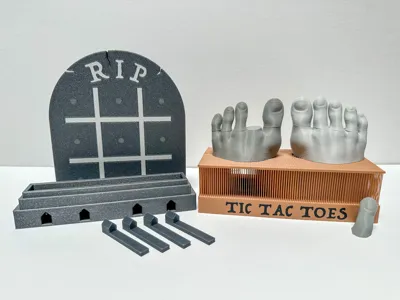
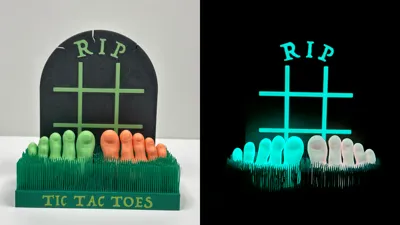
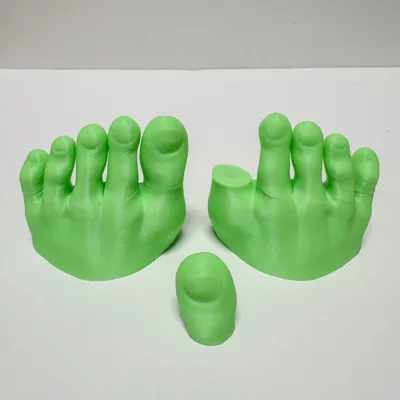
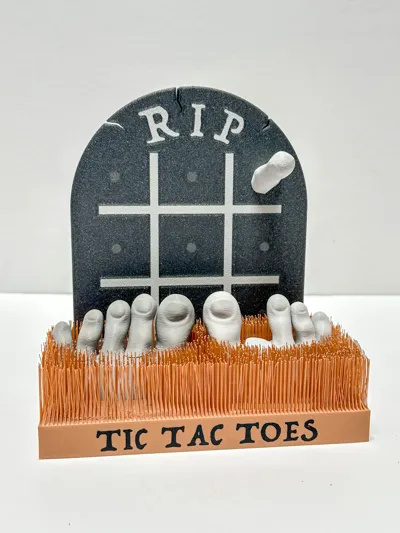
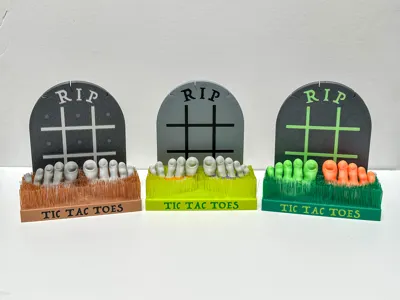
Here is my Halloween version of Tic Tac Toe(s) 👣 One player gets the left foot and one gets the right. To make it extra spooky print the feet in glow-in-the-dark filament 👻 Also, I do recommend printing the feet in two different colors (so they are easy to tell apart:)
PLEASE NOTE: You will need (29) 6x3 mm neodymium magnets for this print (10 for each foot and 9 for the tombstone tic tac toe board)
Here is an Amazon link to the magnets needed: https://amzn.to/42jixNZ
Boost Me (for free)
If you like this model, please give it a boost! Thank you so much 🤗

I have included two 3mf files (they need to be separate because the layer height is different on each):
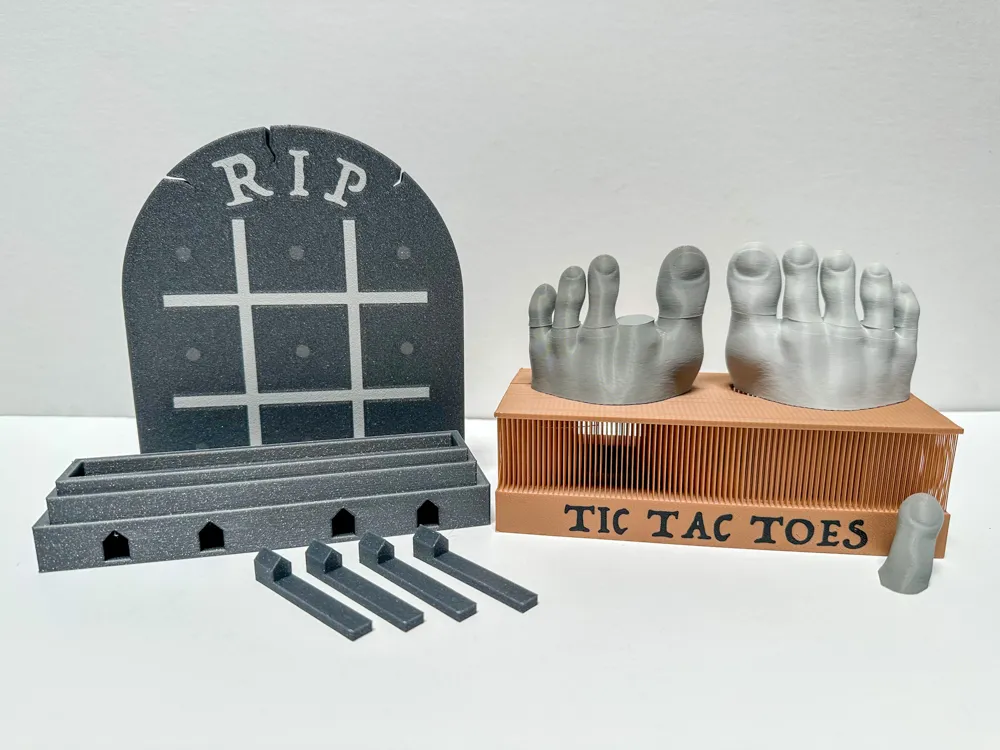
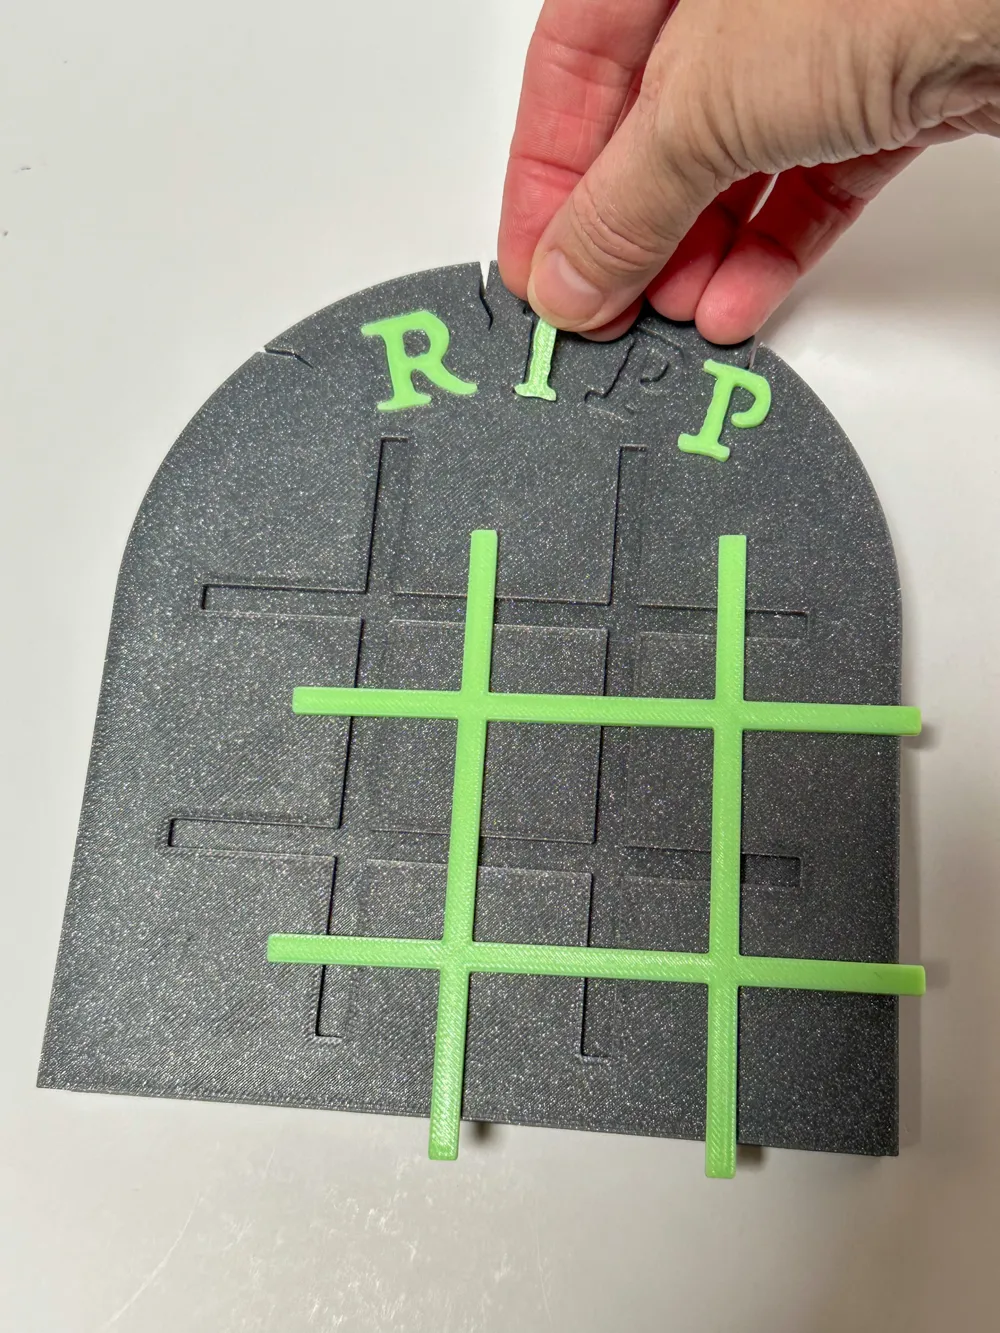
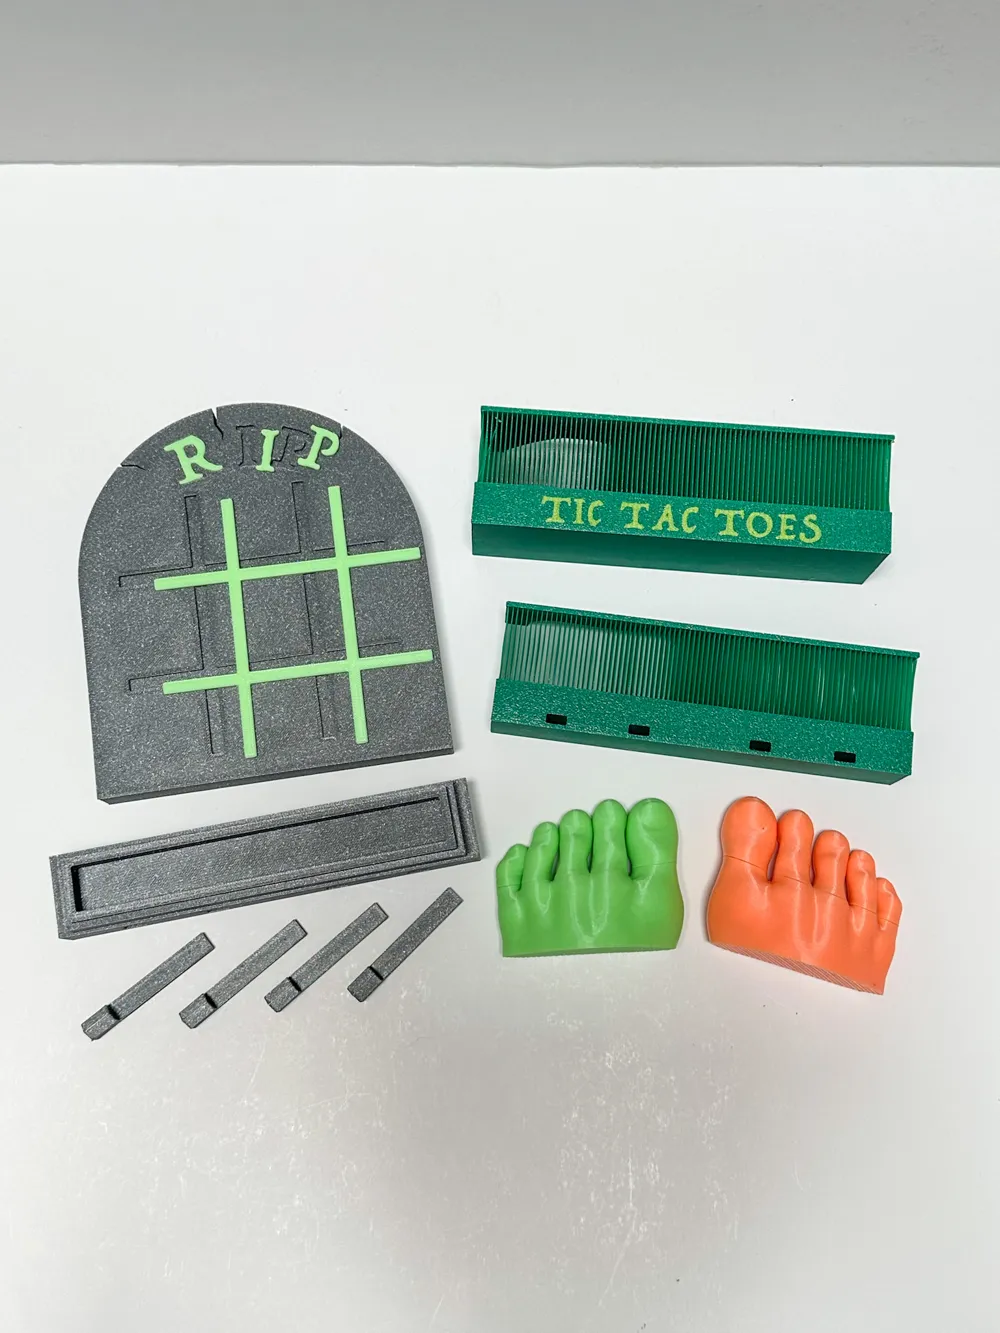
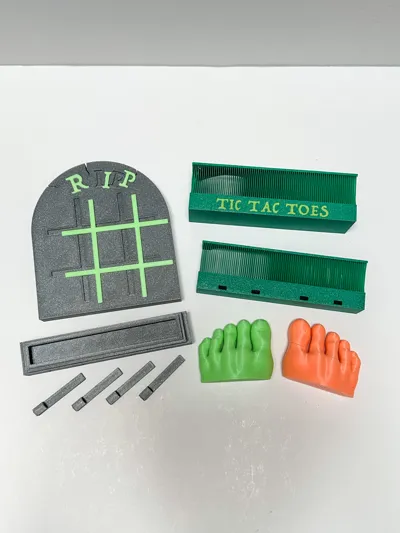
Tic Tac Toes 3mf (includes: feet, tombstones, tombstone base, connectors, and the extra parts for the tombstone that prints in one color)
0.2mm Layer Height
PLA works great (I used PLA Basic, Glow and Sparkle)
No supports
15% Infill
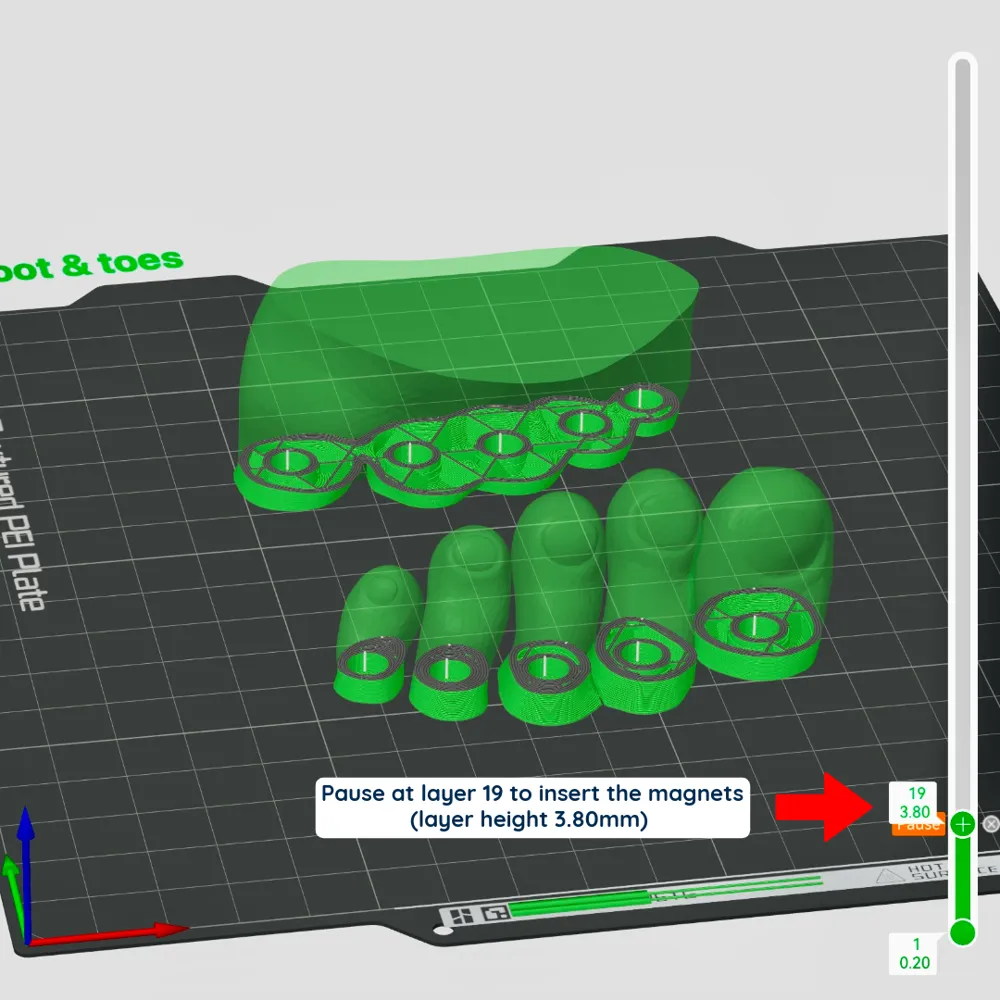
Print ‘pause’ added on print plates with feet and tombstones to insert magnets (see more detail below and photos)
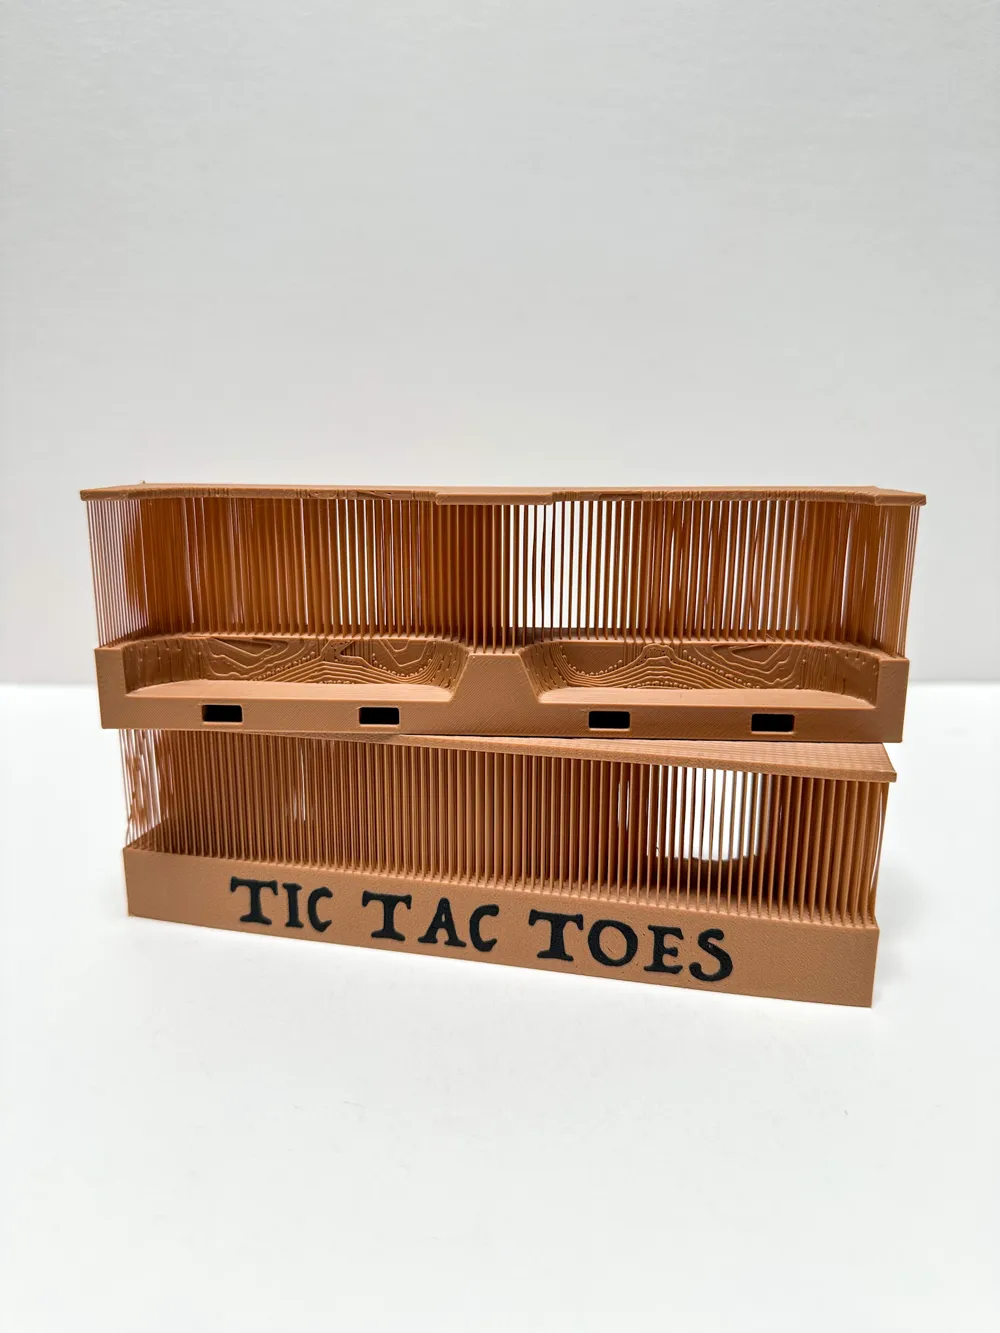
Grass pieces for Tic Tac Toes 3mf (includes front and back grass pieces)
0.24mm Layer Height
PLA works great
Arachne wall generator turned on/selected (very important)
Bridge speed 25mm/s
Thick Bridges turned on/selected
Wall loops 3
Brim ears applied to corners of each piece
No supports needed (NOTE: for the Back Grass piece it will give you a warning about a floating area of the print. It is referring to one blade of grass. I have looked back over my model and do not see any issues with any blades. I have printed it several times without supports. PLEASE DO NOT ADD SUPPORTS)
How to Print and Insert the Magnets into the Feet/Toes:
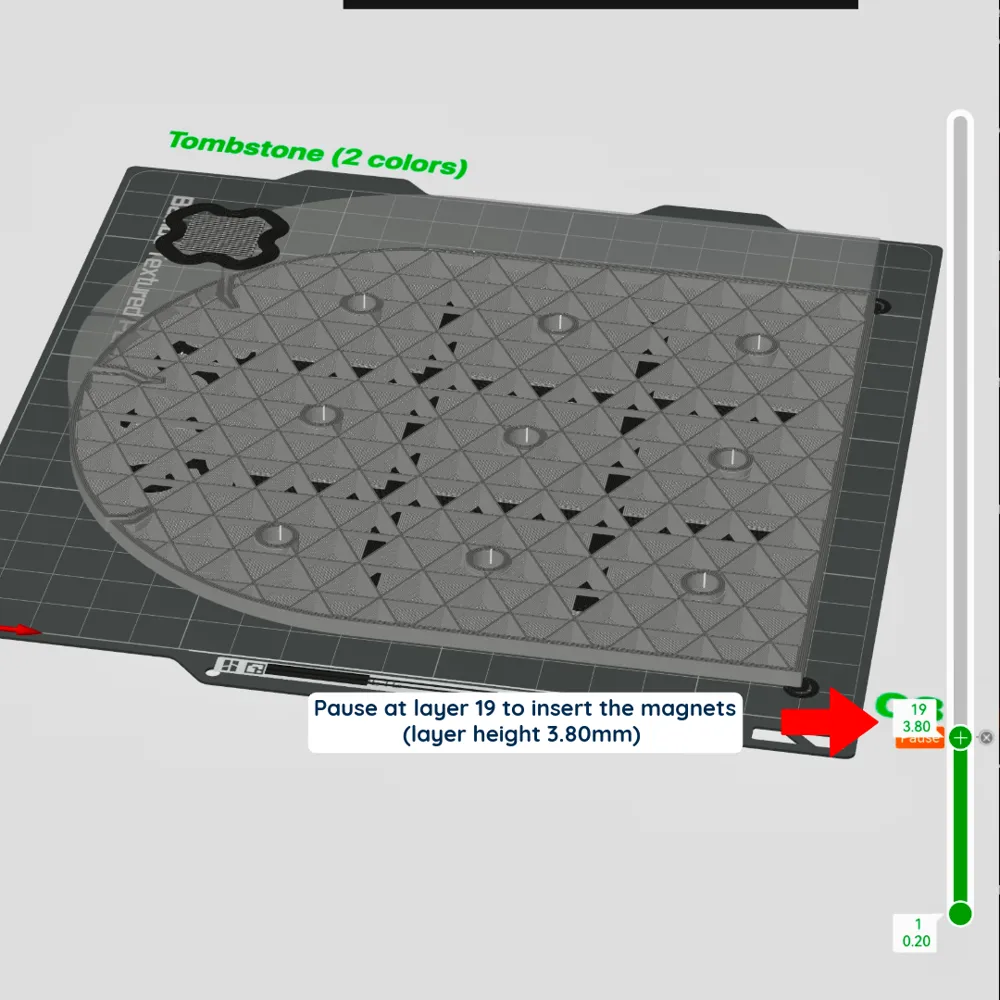
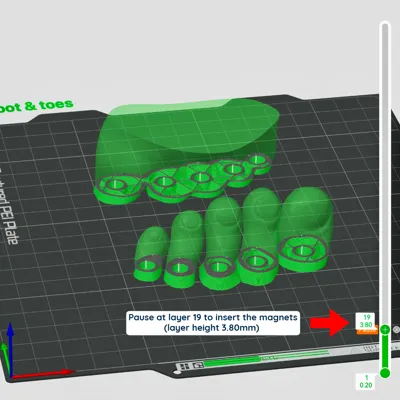
- Pause at layer 19 (layer height 3.80mm) for both the feet and toes to insert the magnets
- Make sure the magnets are orientated correctly (make sure the toes will be attracted to the feet AND that the toes will be attracted to the tombstone) I like to print the feet/toes first and then the tombstone. I use the toes to check my magnet orientation before I insert the magnets into the tombstones (see video)
How to Print and Insert the Magnets in the Tombstones:
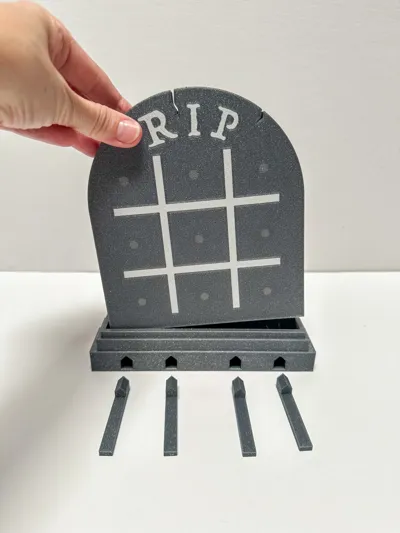
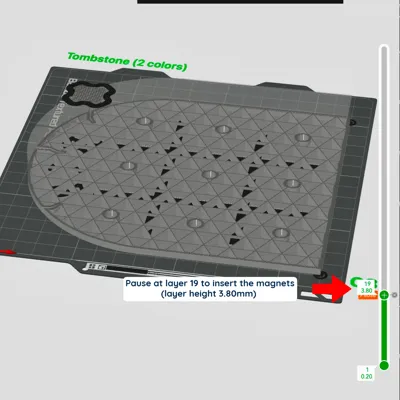
The Tombstone (two colors) will print facing down. I have inserted a pause print at layer 19 (layer height 3.80mm). When the print pauses, insert the magnets in the correct orientation (compared to the toes) and then resume the print.
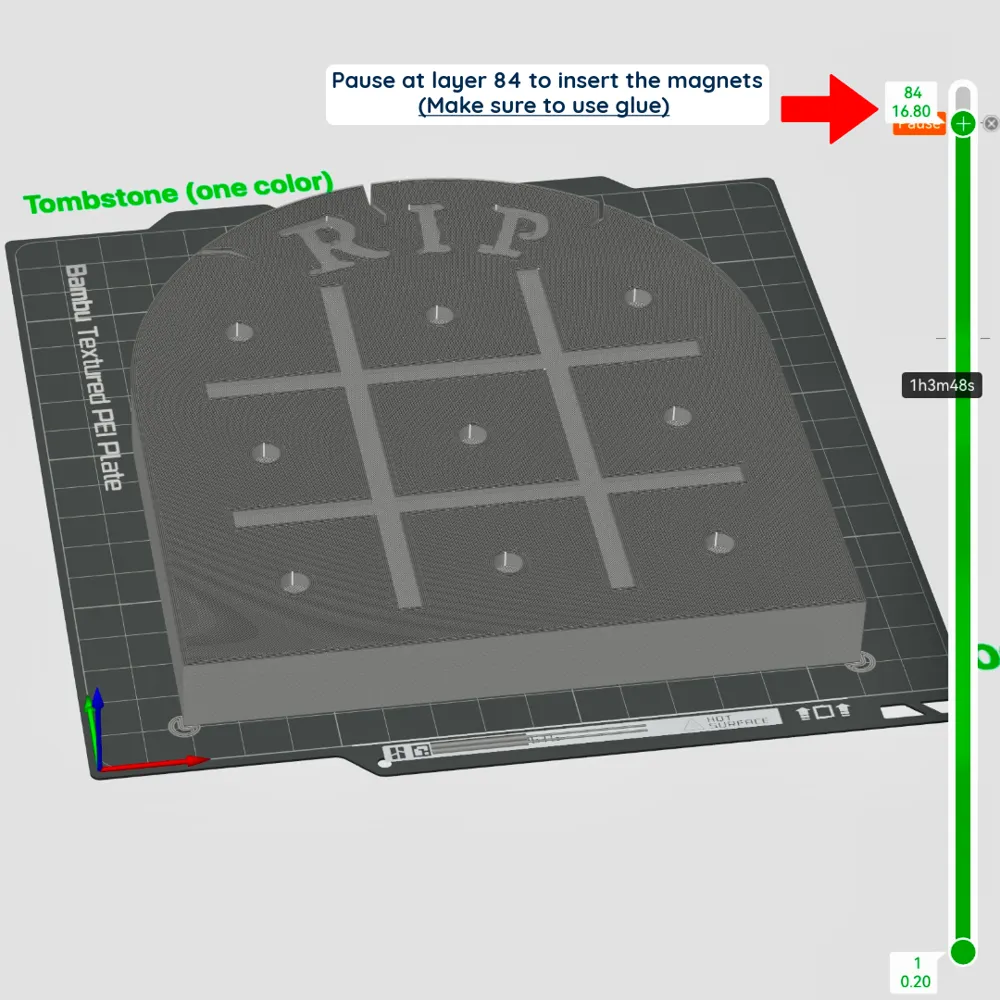
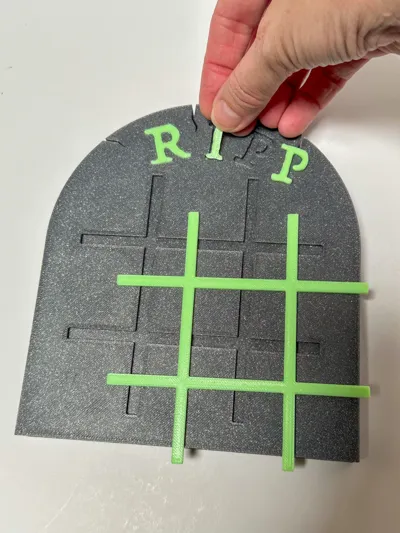
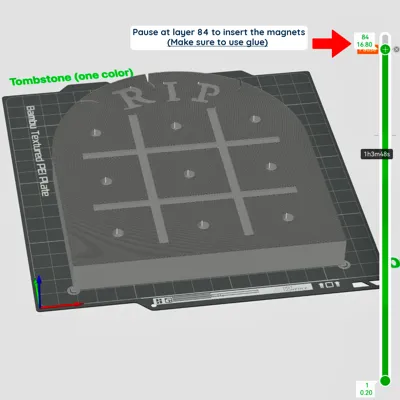
The Tombstone (single color) prints facing upright due to the recessed areas of the letters and grid lines. I have inserted a pause print at layer 84 (layer height 16.8).
NOTE: Because these magnets are inserted higher in the print, you will need to add a little glue into the hole for each magnet (you can use a very small drop of super glue or even a little smear of a glue stick on the back of the magnet). This will help them stay in place when the print resumes and prints over them. If you don’t secure the magnet with a little glue, when the print resumes the magnets may ‘jump’ out of the holes and cling to the print head (see above video)
How to Print and Trim the Grass pieces:
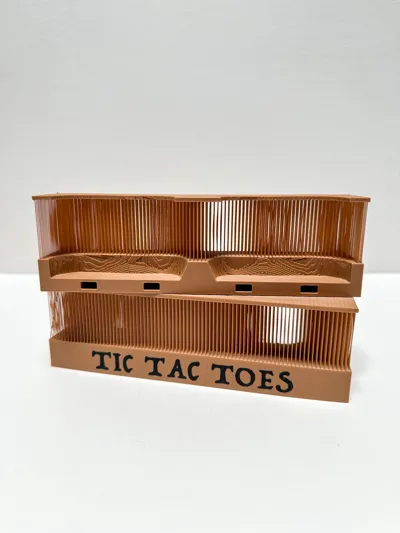
Both Grass pieces print on their side. After they are done printing you will need to trim off the top cover of the grass. You can use scissors, wire cutters or even carefully slice it off with a knife. Use caution and take your time. After that top cover is removed you can trim and shape the grass however you would like (see above video)
How to Assemble:
- Slide the connectors into the tombstone base (add a little glue if necessary)
- Slide the back grass piece onto the connectors
- Slide the connectors into the front grass piece
- Before pushing these three parts together too tightly, insert the feet. Glue can be added to the bottom of the feet to secure them permanently in place.
- If you printed the Tombstone (one color) glue the RIP letters and grid lines into place Insert the tombstone into the tombstone base, add the toes to the feet and you are ready to play (you can also lay the tombstone flat and play on it that way too)

My designs are free for personal and non-commercial use. I offer a commercial license on Thangs. Here is a link if you'd like to check it out 👉 https://thangs.com/designer/3DPmom

If you like my work and want to help support it, you can buy me a Diet Coke at https://www.buymeacoffee.com/3dpmom
Thanks so much!
Have fun printing and playing!! 👻
License

You shall not share, sub-license, sell, rent, host, transfer, or distribute in any way the digital or 3D printed versions of this object, nor any other derivative work of this object in its digital or physical format (including - but not limited to - remixes of this object, and hosting on other digital platforms). The objects may not be used without permission in any way whatsoever in which you charge money, or collect fees.


Comment & Rating (75)