
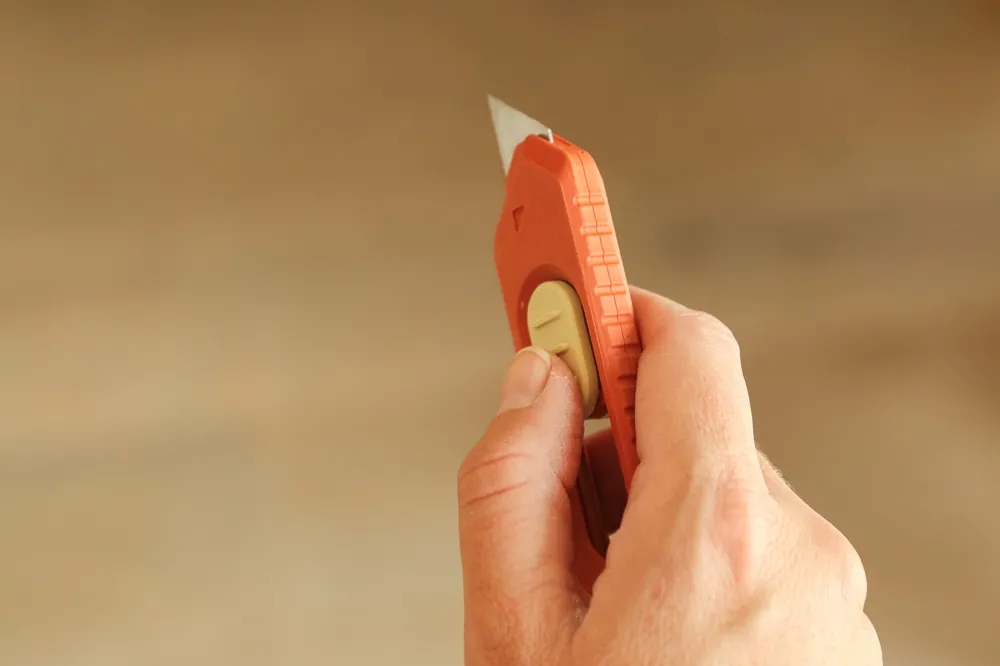
Mini Utility Cutter - Compact & Stylish
Print Profile(7)





Description
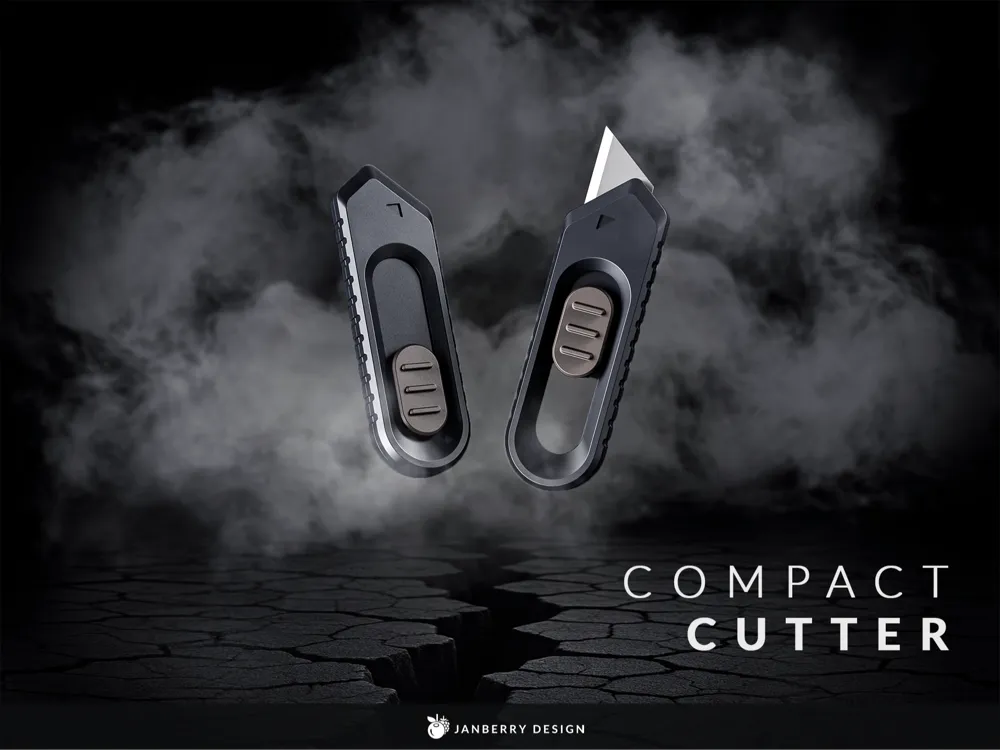
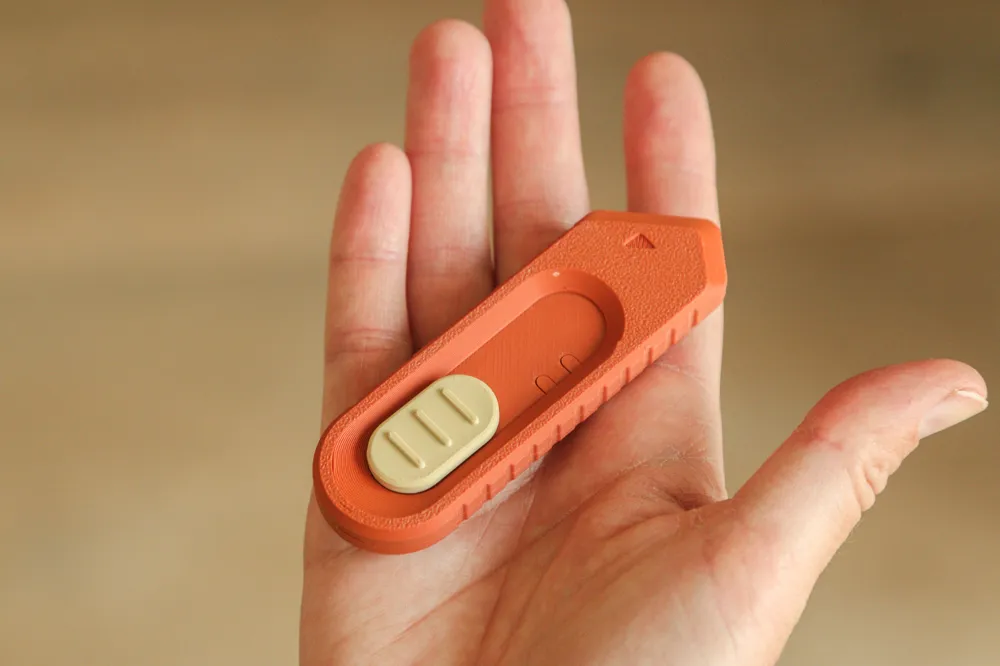
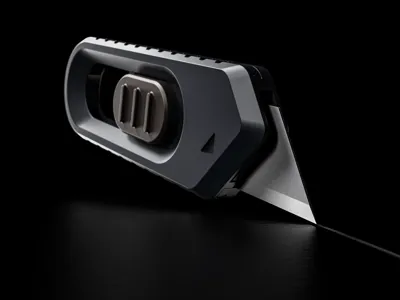
Mini Utility Cutter - Compact & Stylish
UPDTATE: Added a Skadis holder. You need two M3 x 8 mm to fit both parts together. Glueing is another option. Are you interested in a Screwable holder aswell?
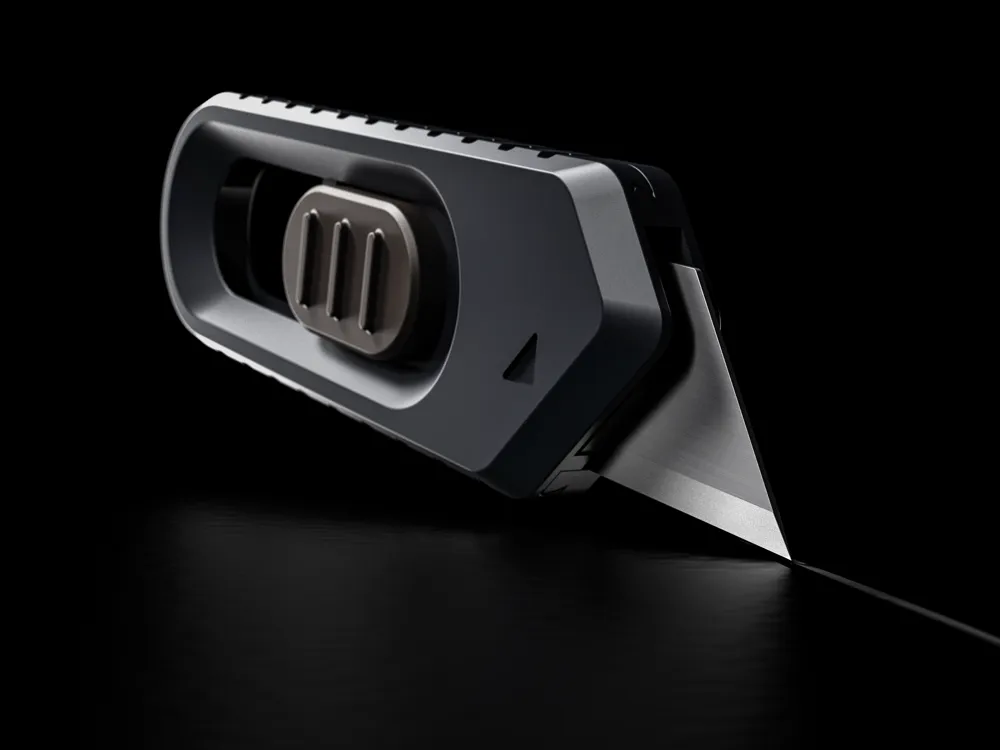
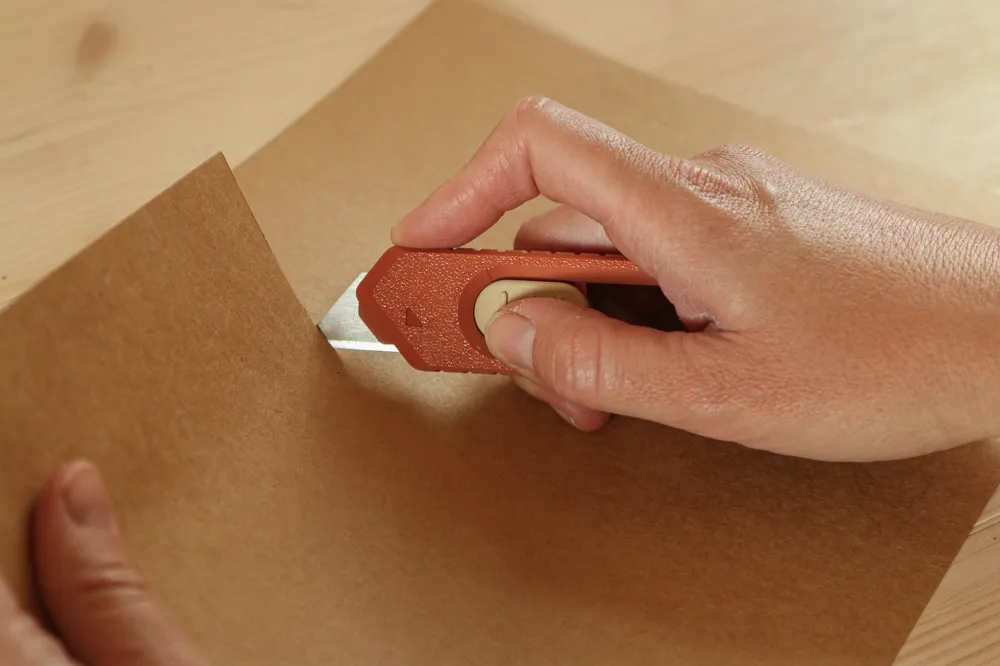
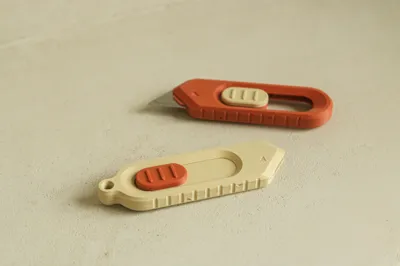
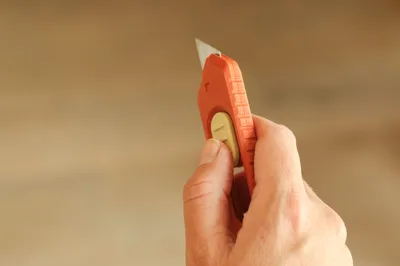
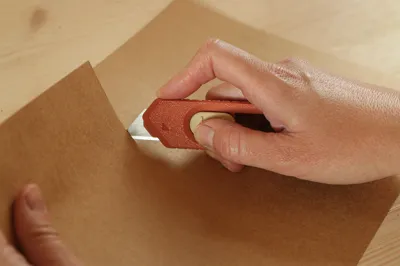
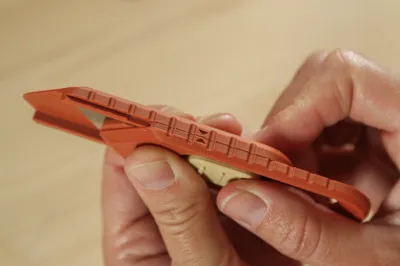
The mini utility cutter combines safety, functionality, and portability in one clever design. With its 6-step adjustable blade, it’s perfect for both delicate cutting tasks (open boxxes) and deeper material cuts — whether you’re at home, on the job, or outdoors.
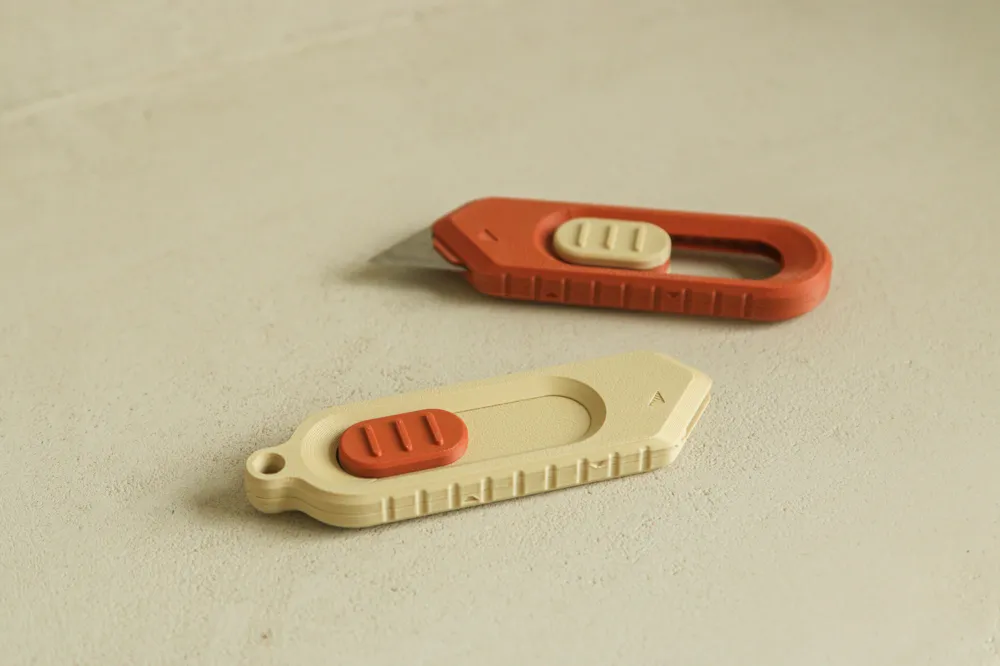
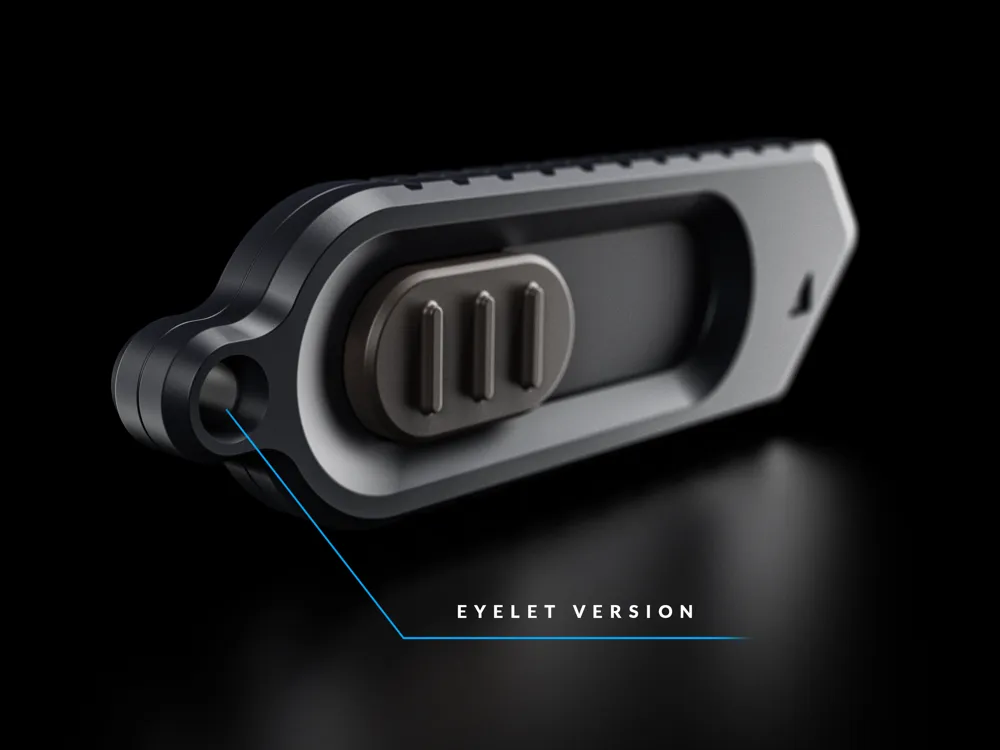
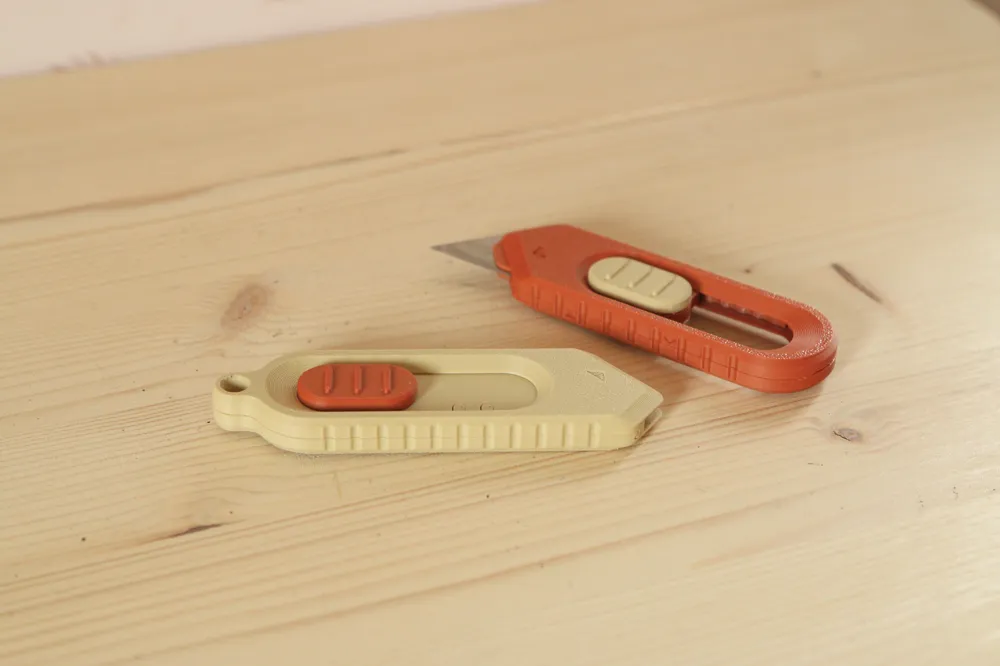
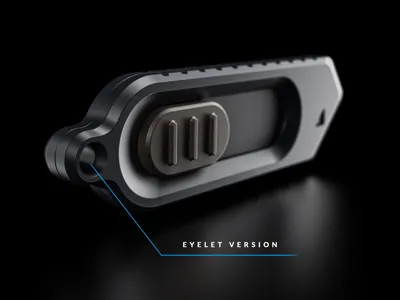
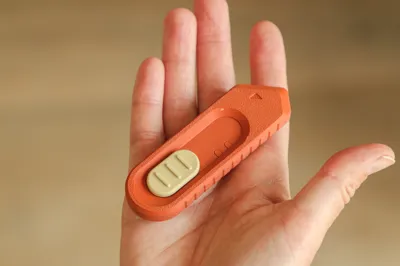
Thanks to its compact size, the cutter easily fits in your pocket, backpack, or toolbox, making it an ideal companion for camping, hiking, travel, or everyday carry. A keychain version is also available, so you can always have a reliable cutting tool right at hand.
Print time
~ 1 hour
Dimensions
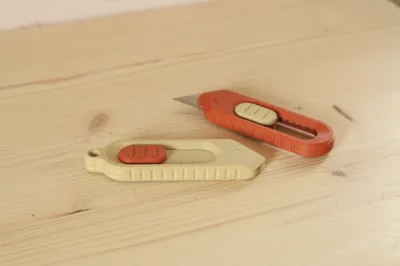
Standart Version
~ 95 mm x 30 mm x 10 mm
Eyelet Version
~ 104 mm x 30 mm x 10 mm
Features
- 7-step adjustable blade – suitable for light cuts (like opening boxes) and longer, deeper cuts
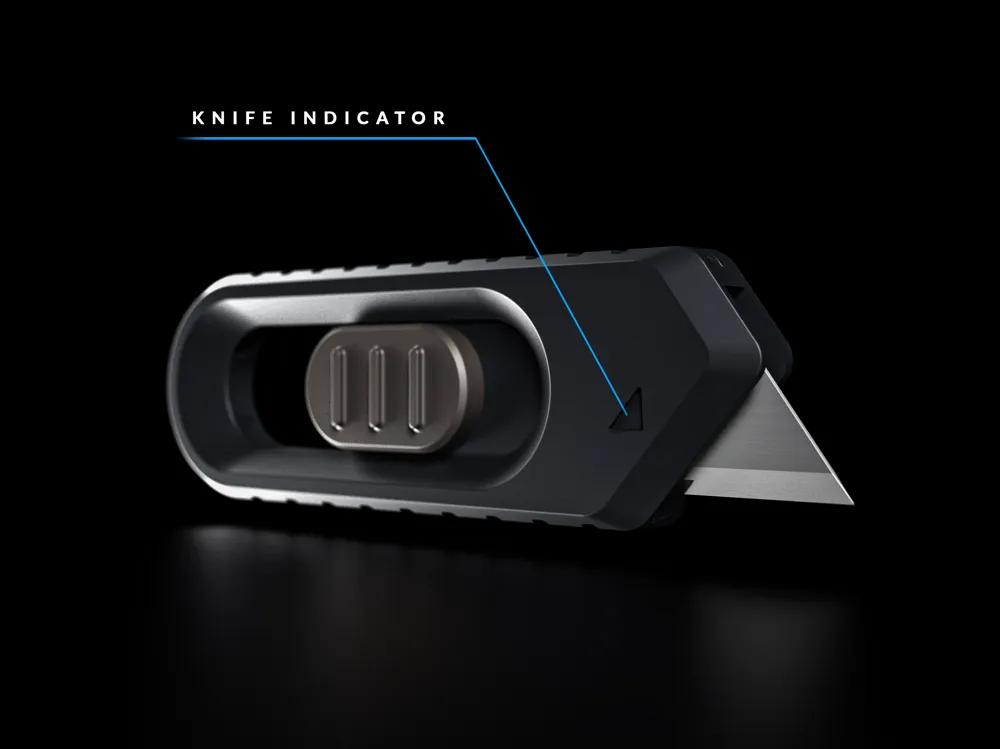
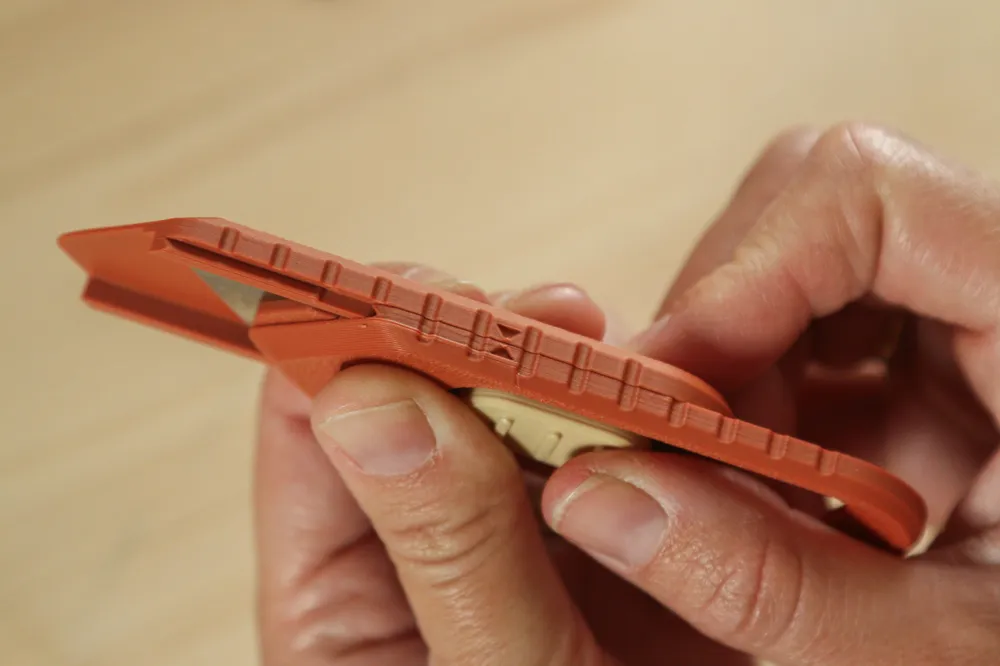
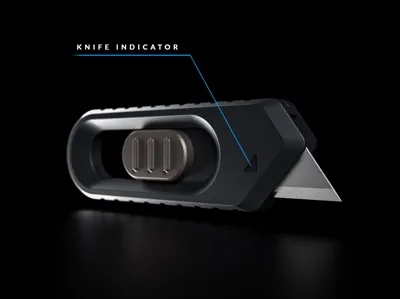
- Safety marking – shows where the blade exits, reducing the risk of injury
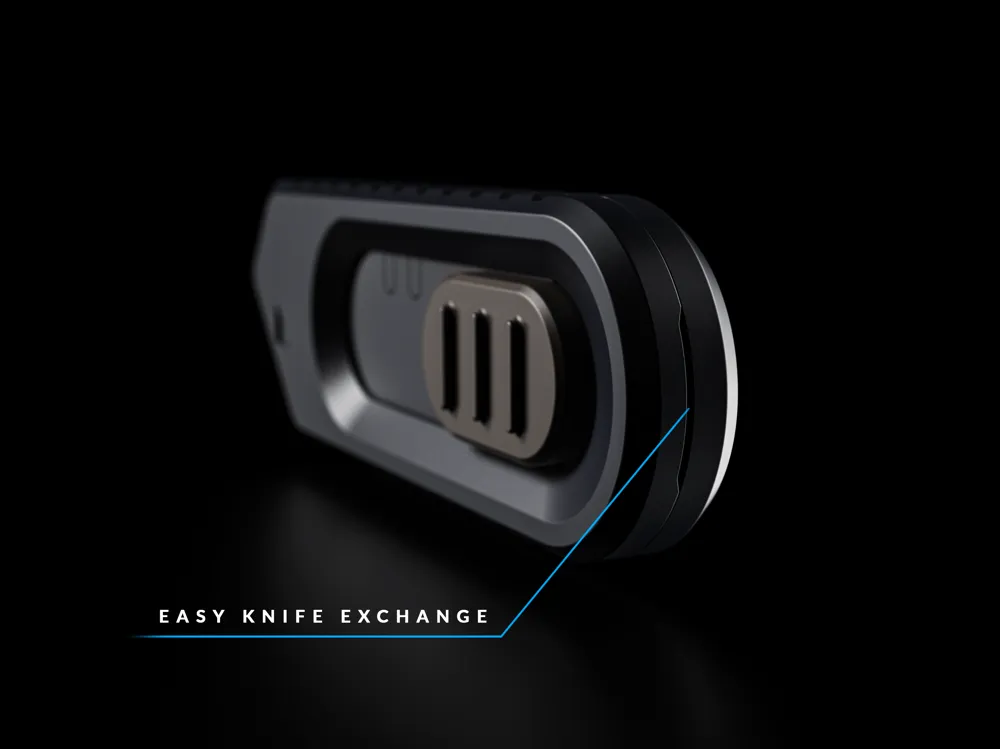
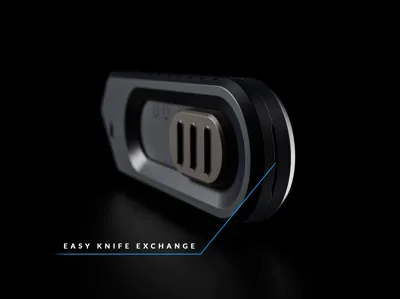
- Easy blade change – quick, tool-free replacement of standard trapezoid blades
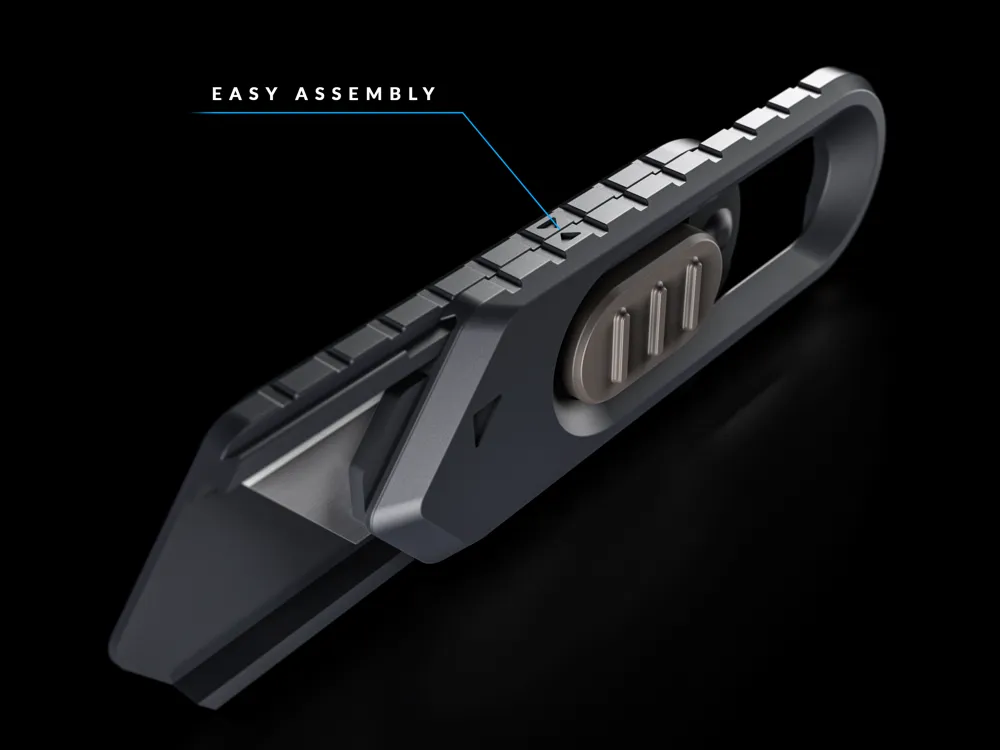
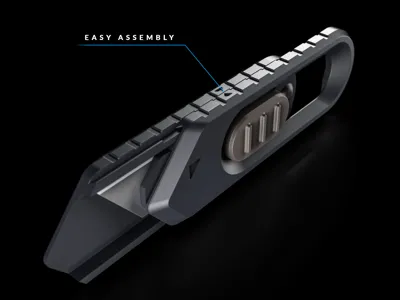
- Simple assembly – easy to disassemble and reassemble when needed
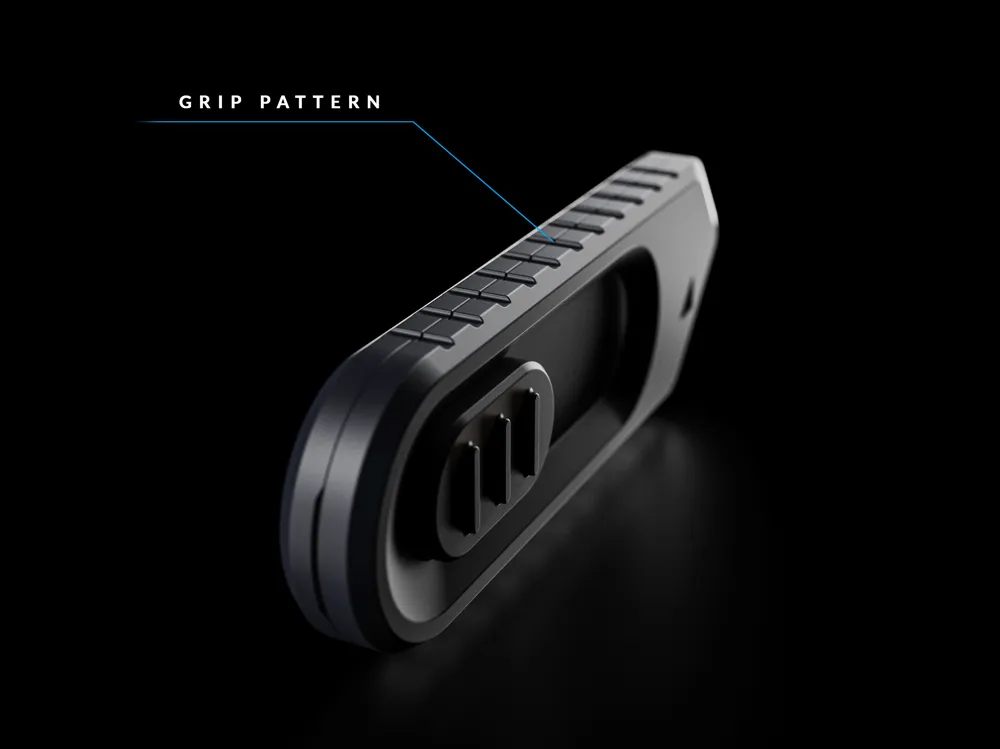
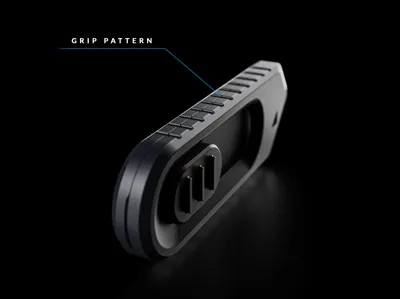
- Grip zones – textured sides for a secure, non-slip hold and precise handling
- Compact & lightweight – perfect for pocket carry, toolkits, or outdoor gear
- Keychain option – attachable version for easy access on the go
Assembly
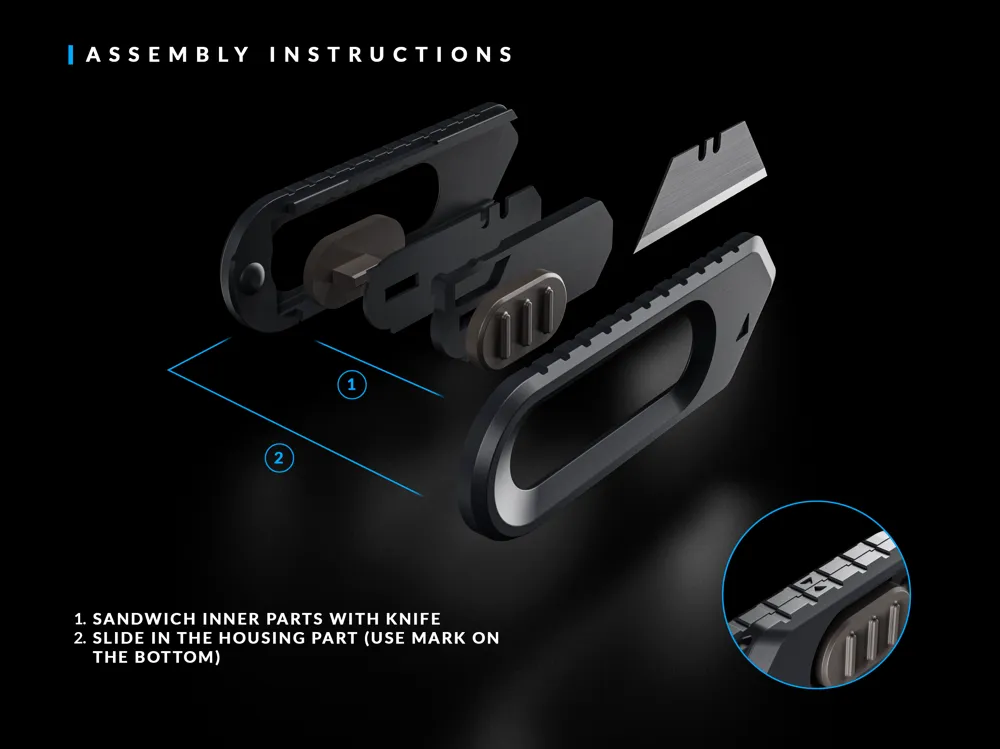
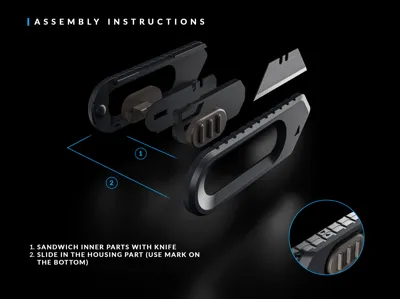
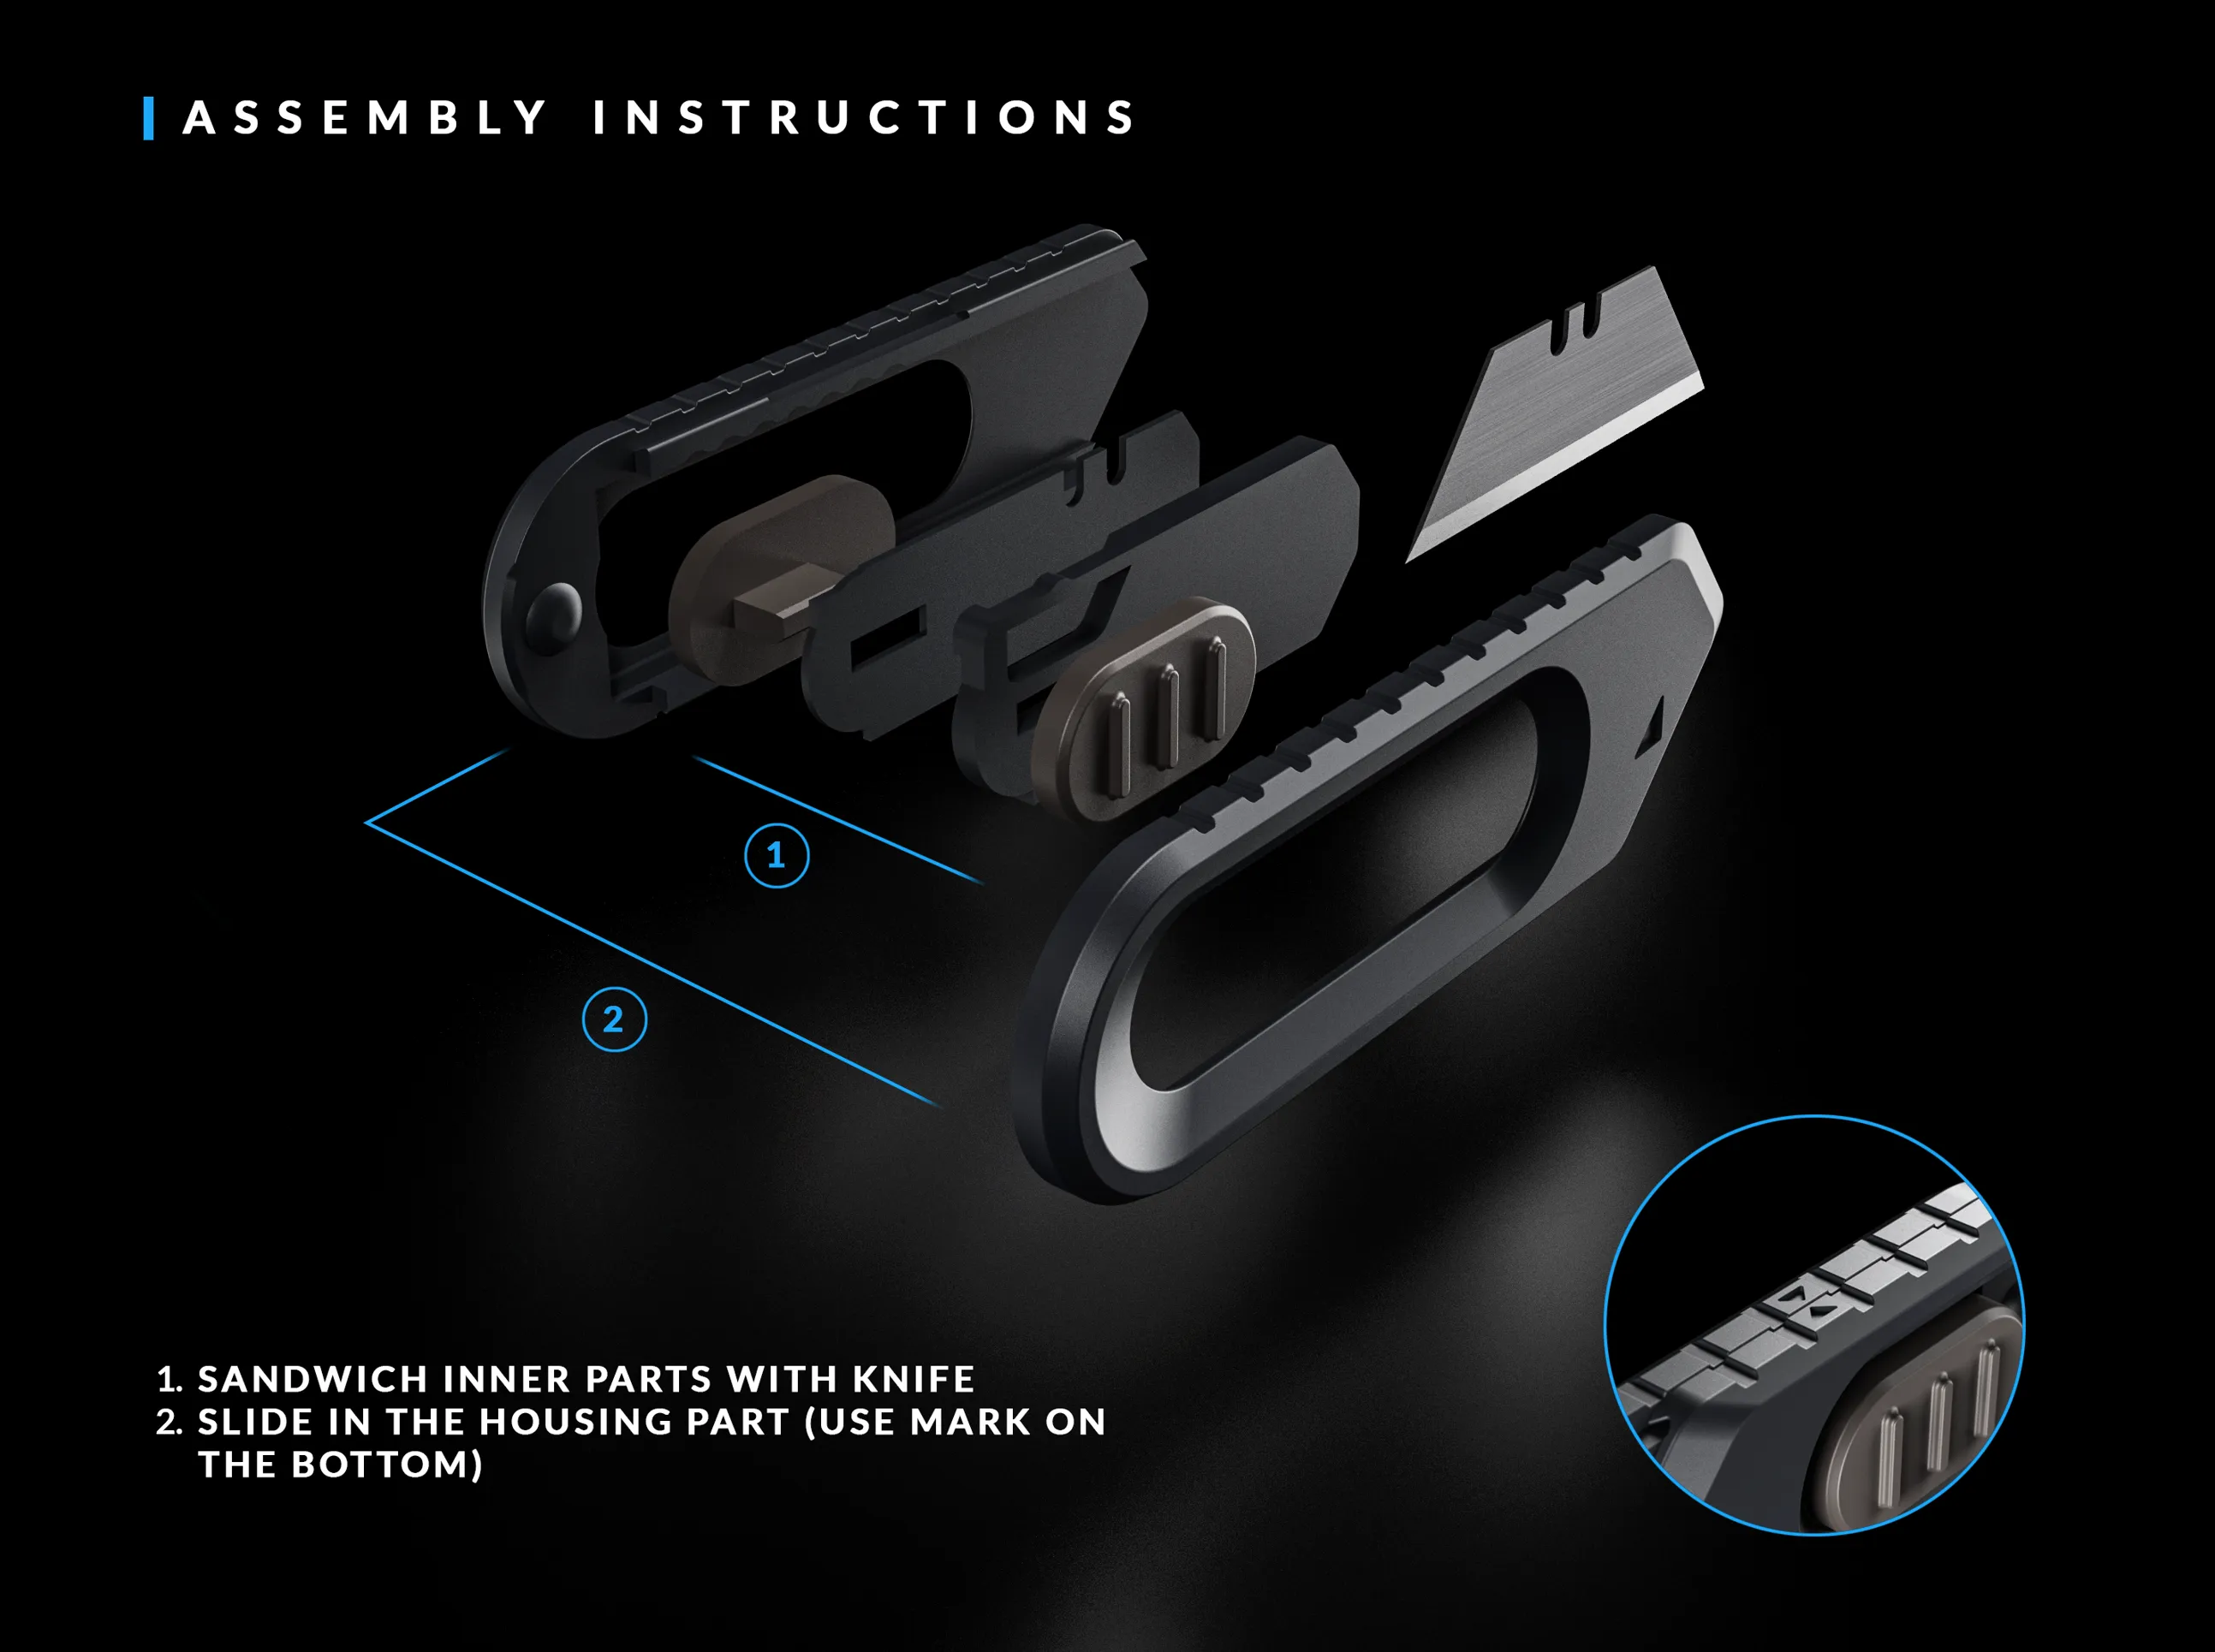
!STEP BY STEP ASSEMBLY MANUAL ADDED!
You need a standart trapezoid blade!
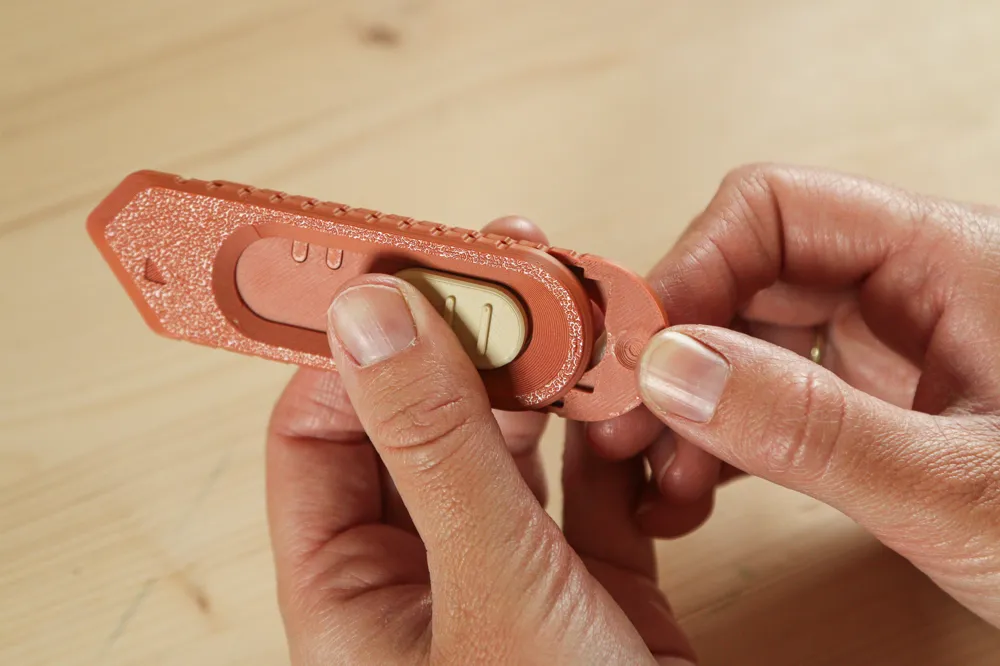
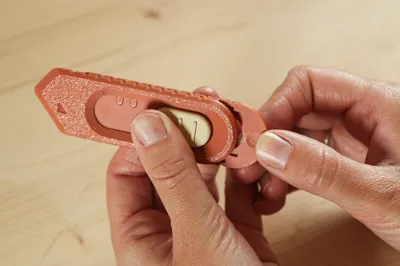
- Sandwich the slider, cover, and the two side buttons together. The buttons are designed for a press-fit connection.
If they feel too loose, you can use a small amount of glue to secure them. - For safety, it’s recommended to insert the blade between the cover and the slider as the final step to avoid injuries.
- Next, place the small assembly into the left outer shell (the one with the wave-shaped pattern that indicates the different blade positions).
- Now turn the unit over so you can see the bottom of the two outer shells.
Locate the alignment marks, then press the parts together and slide them into place until they fit securely.
Membership
Boost Me (for free)
Interested in my other work? Check out my profile for more projects and designs!
Documentation (1)
License

You shall not share, sub-license, sell, rent, host, transfer, or distribute in any way the digital or 3D printed versions of this object, nor any other derivative work of this object in its digital or physical format (including - but not limited to - remixes of this object, and hosting on other digital platforms). The objects may not be used without permission in any way whatsoever in which you charge money, or collect fees.


Comment & Rating (1220)