
[Zenless Zone Zero] Lucky Bambu - Flexi Version - No AMS Required
Print Profile(1)

Description
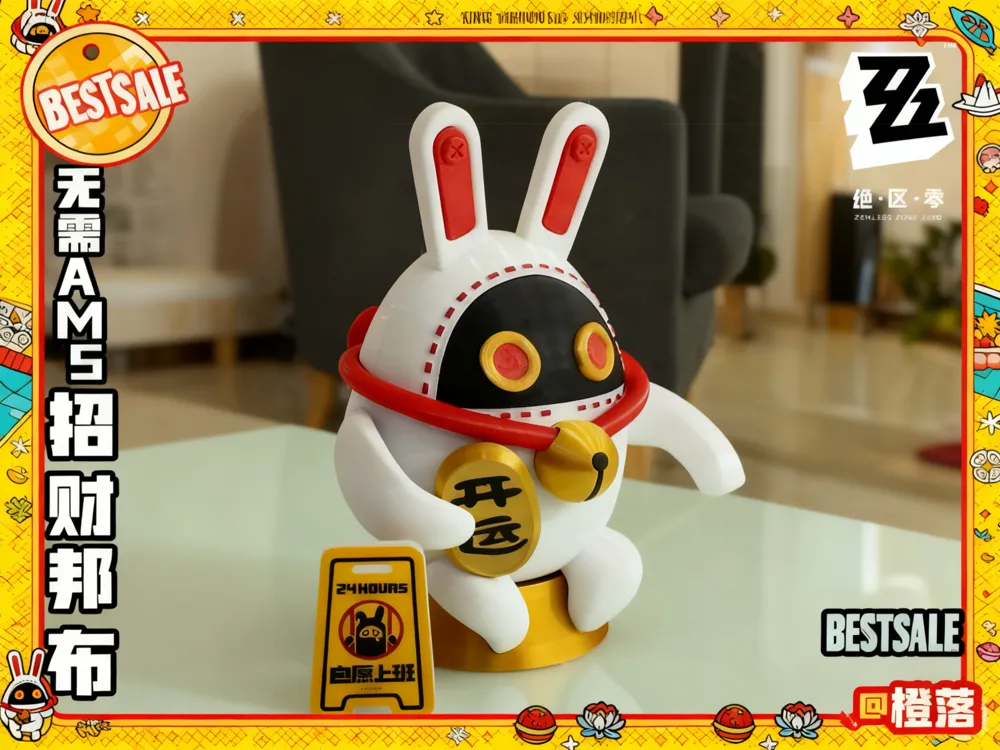
Finally finished the model on the last day of the deadline!
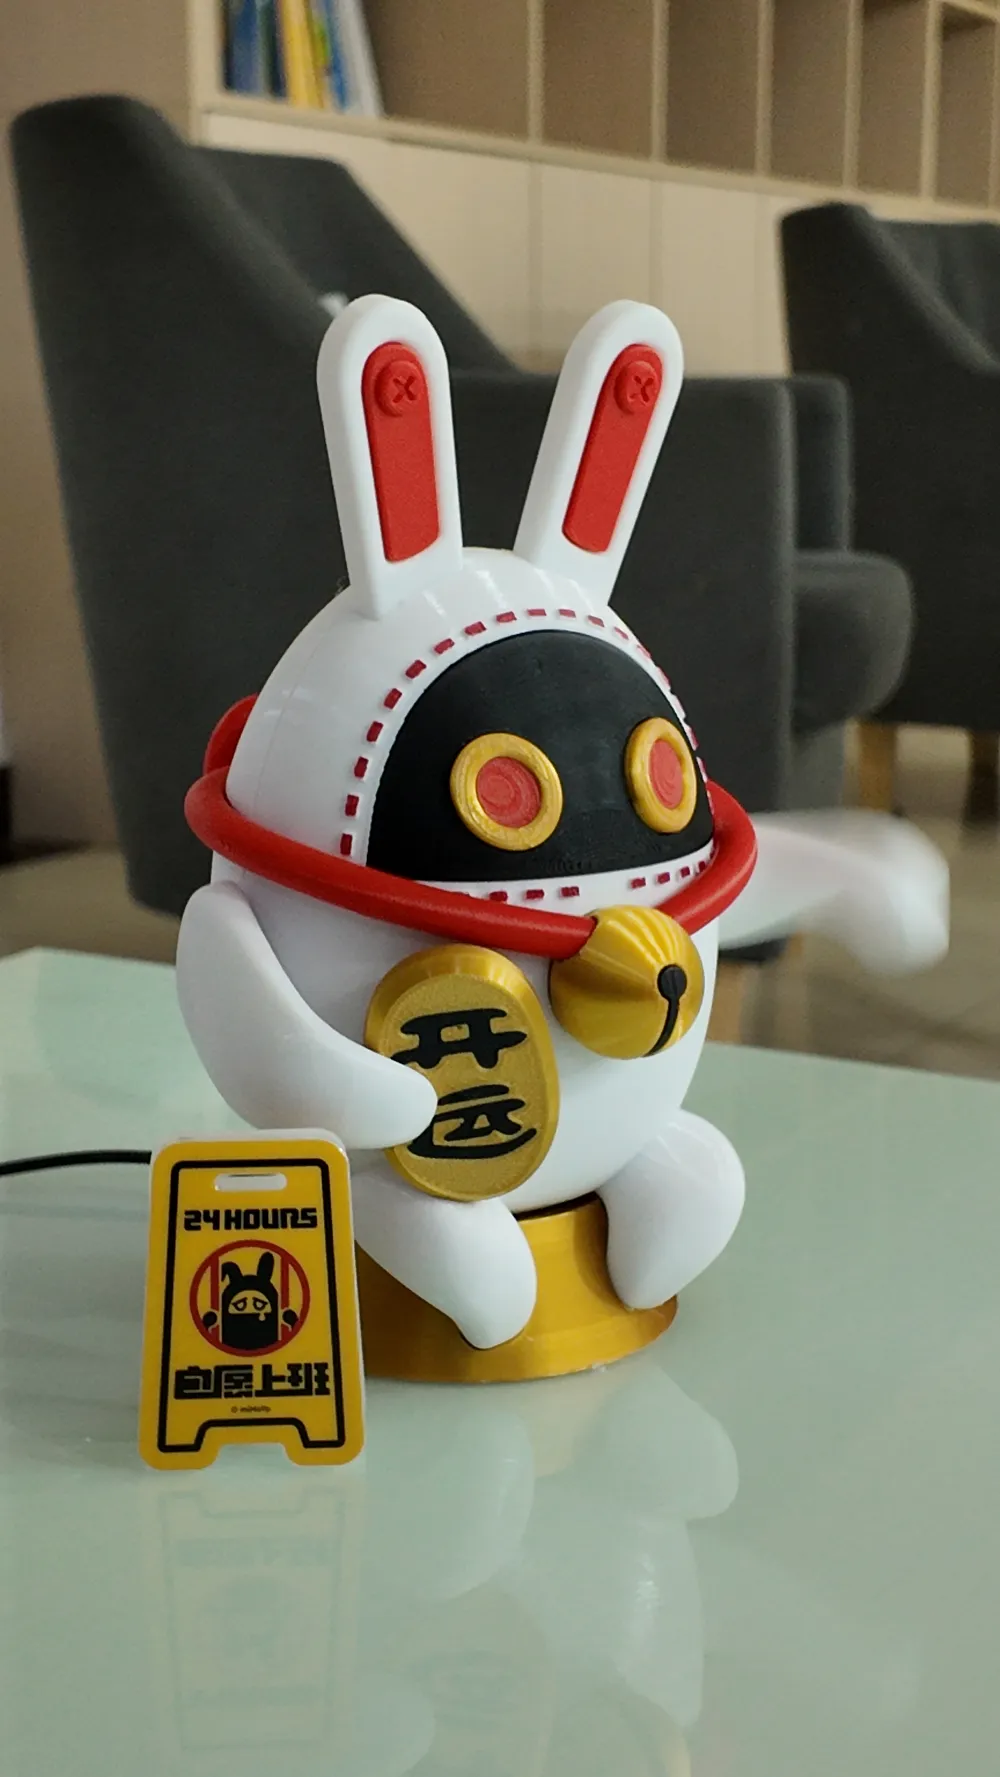
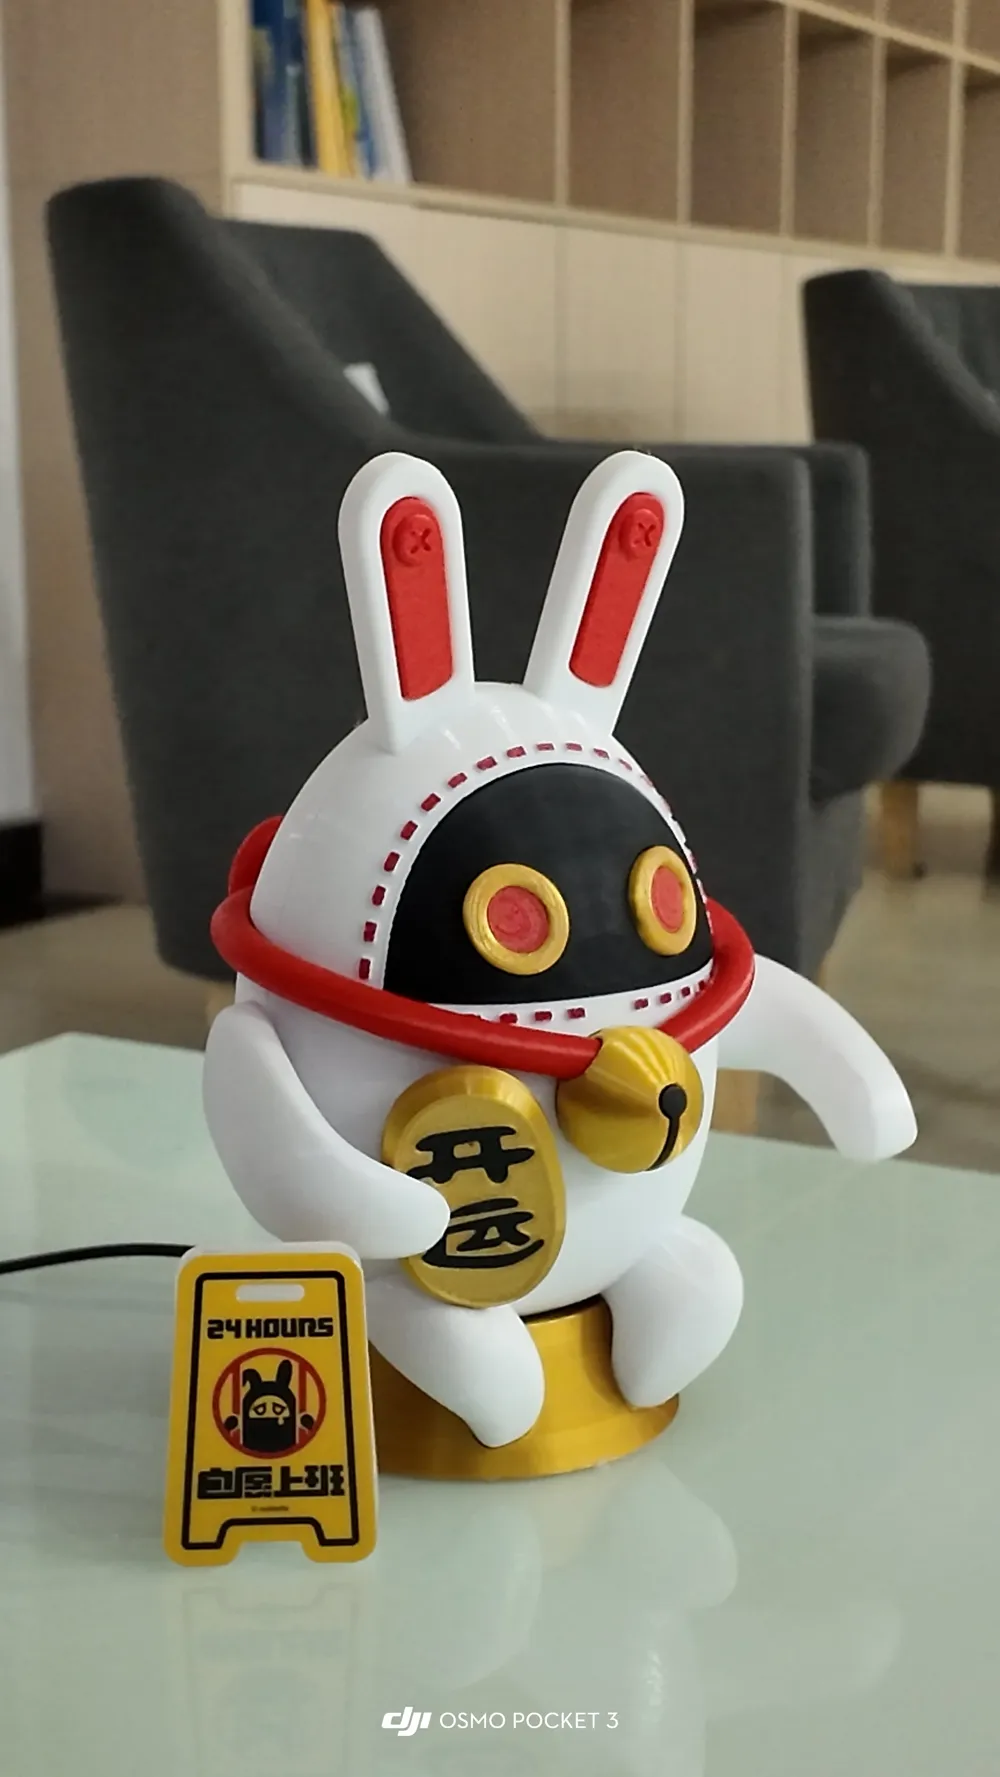
[Zenless Zone Zero] Lucky Bambu - Articulated Version - No AMS Needed
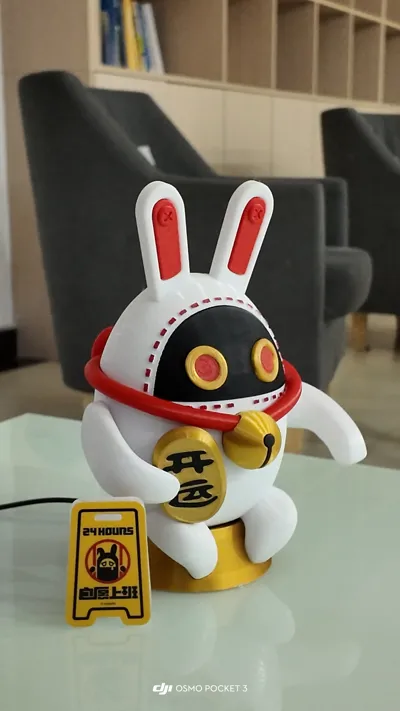
On RandomPlay's counter sits a little guy, constantly waving its arm to welcome customers for the Cereal Siblings... "Bring fortune... bring fortune..." the little guy probably thinks to itself.
Open Source Date: October 10, 2025
Boost Me (for free)
If you like my work, please support me! o(* ̄▽ ̄*)ブ
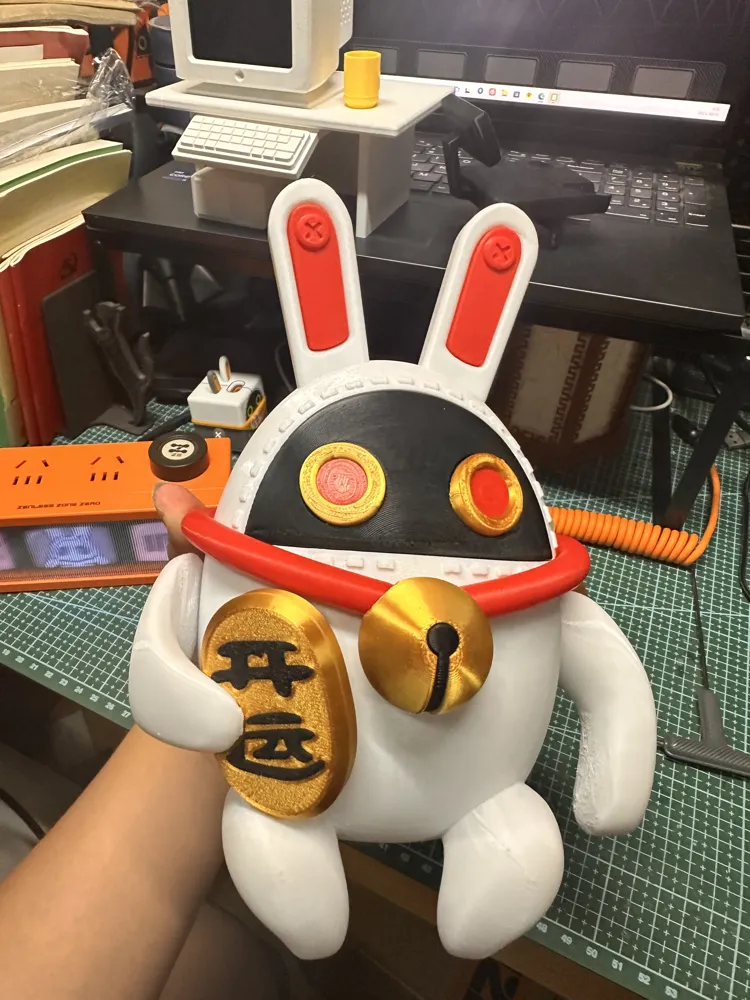
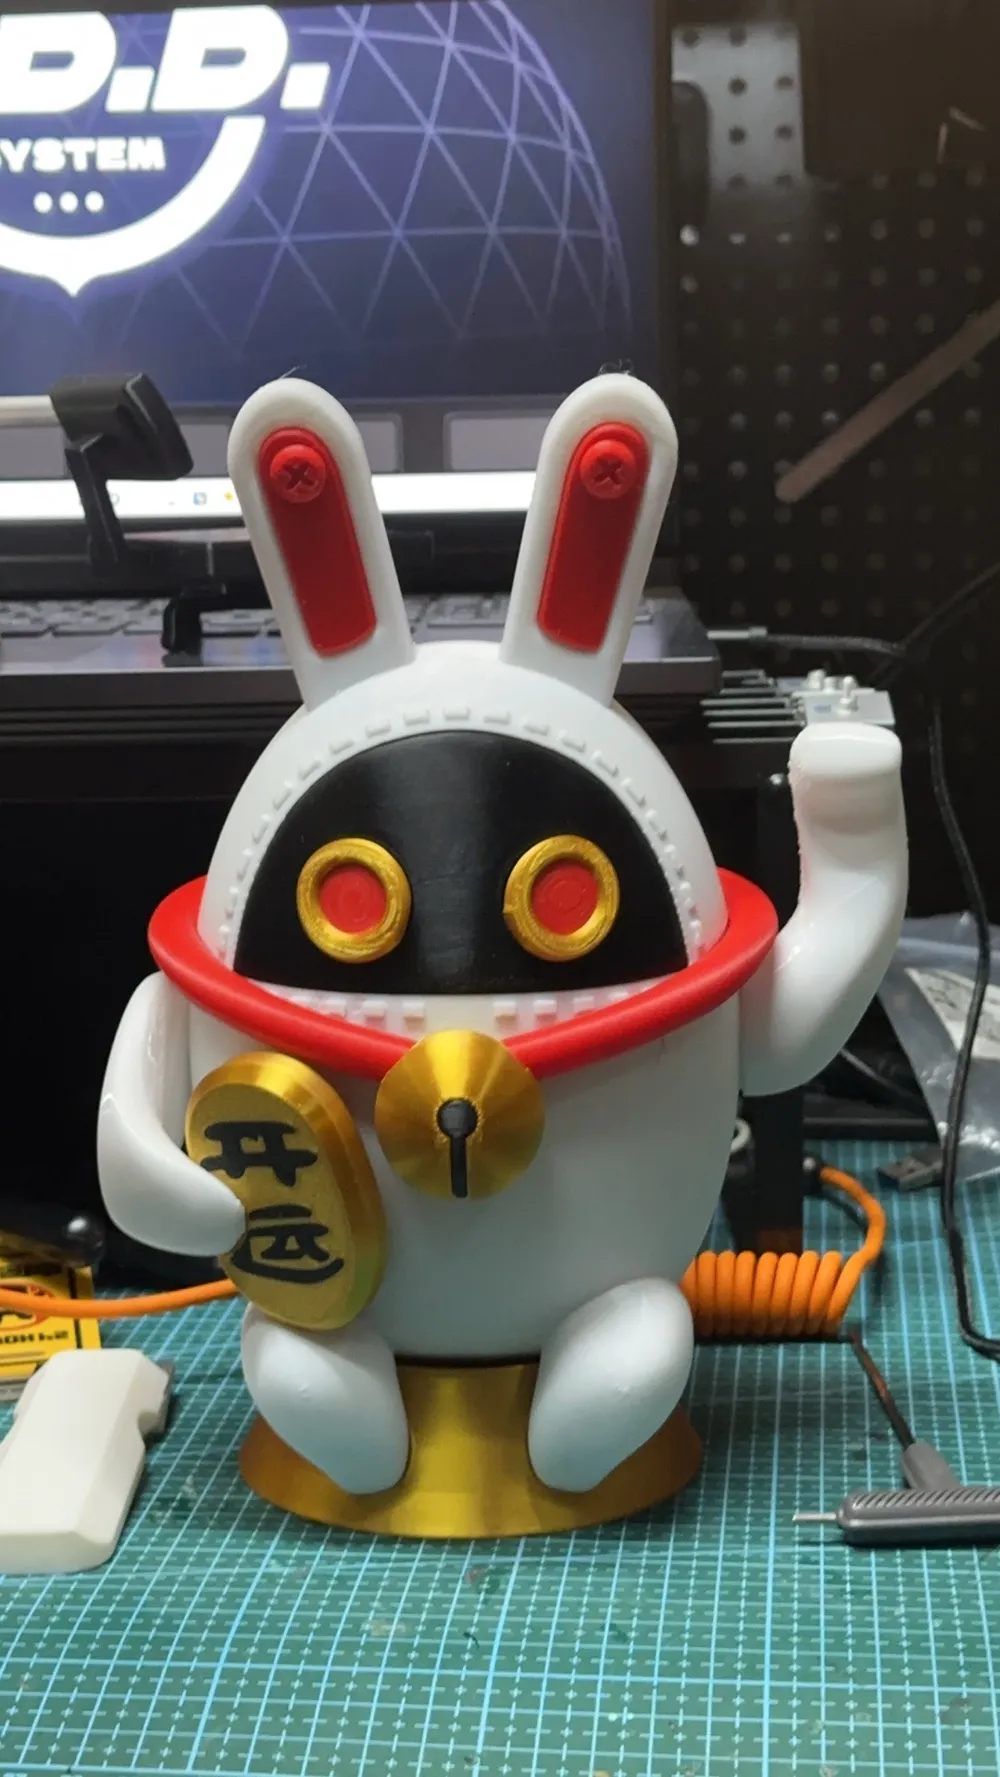
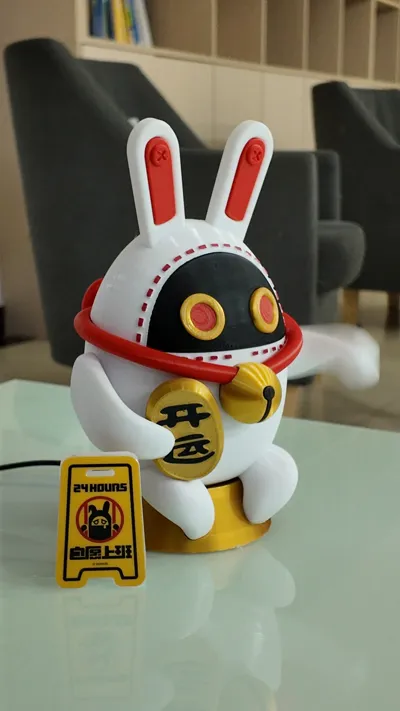
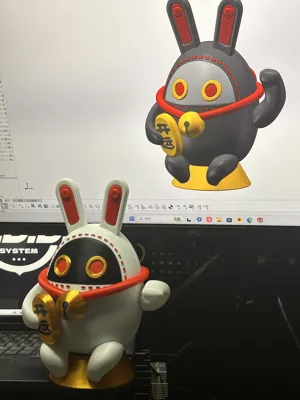
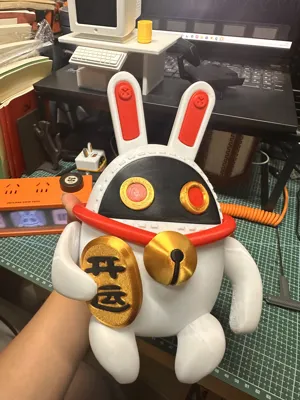
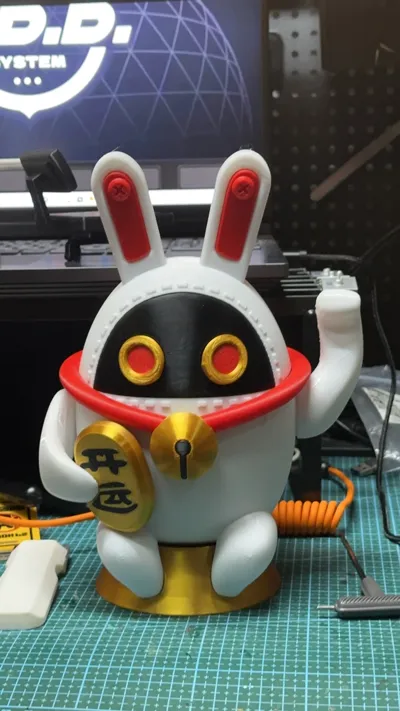
Finished Product Display


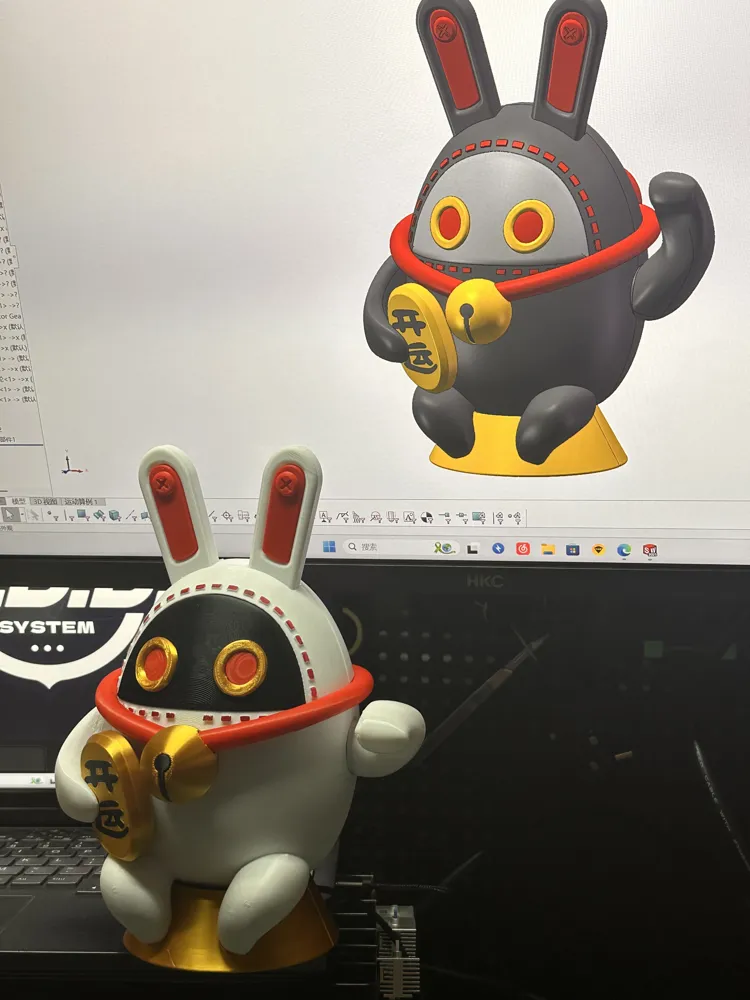
Required Filament Colors
①Ydanny Cloth Version:
Black, White, Red, Gold
②RandomPlay Counter Version
Black, Grey, Red, Gold
*Parts inside the conversion box can be printed in any color.
Other Required Accessories
Several M3×6 screws
One TT motor (recommended 1:120)
Two bearings (outer diameter 15 inner diameter 10 thickness 4)
One USB male bare wire
Four M6×3 magnets (optional)
Printing Content Preview

Installation Tutorial
1. Basic Exterior Parts
This section has absolutely no assembly difficulty, simply combine them one by one according to the finished product. If you encounter screw holes, boldly tighten them with M3×6 screws! The tail part requires extra glue for fixation due to its tricky angle; the butterfly knot is the same, just a light dab is enough.
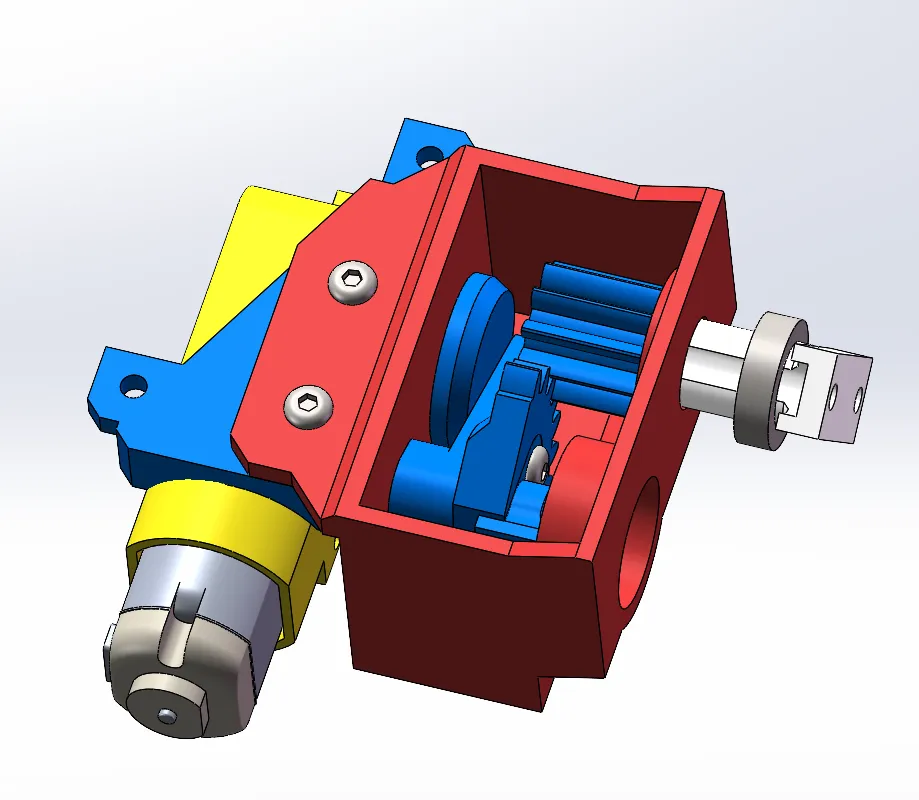
2. Internal Conversion Box
This part is used to convert the TT motor's rotational motion into an oscillating motion, and there are specific requirements for the installation sequence to prevent interference.
①Insert one screw through the slot into the crank disk, ensuring the screw slides smoothly within the slot.
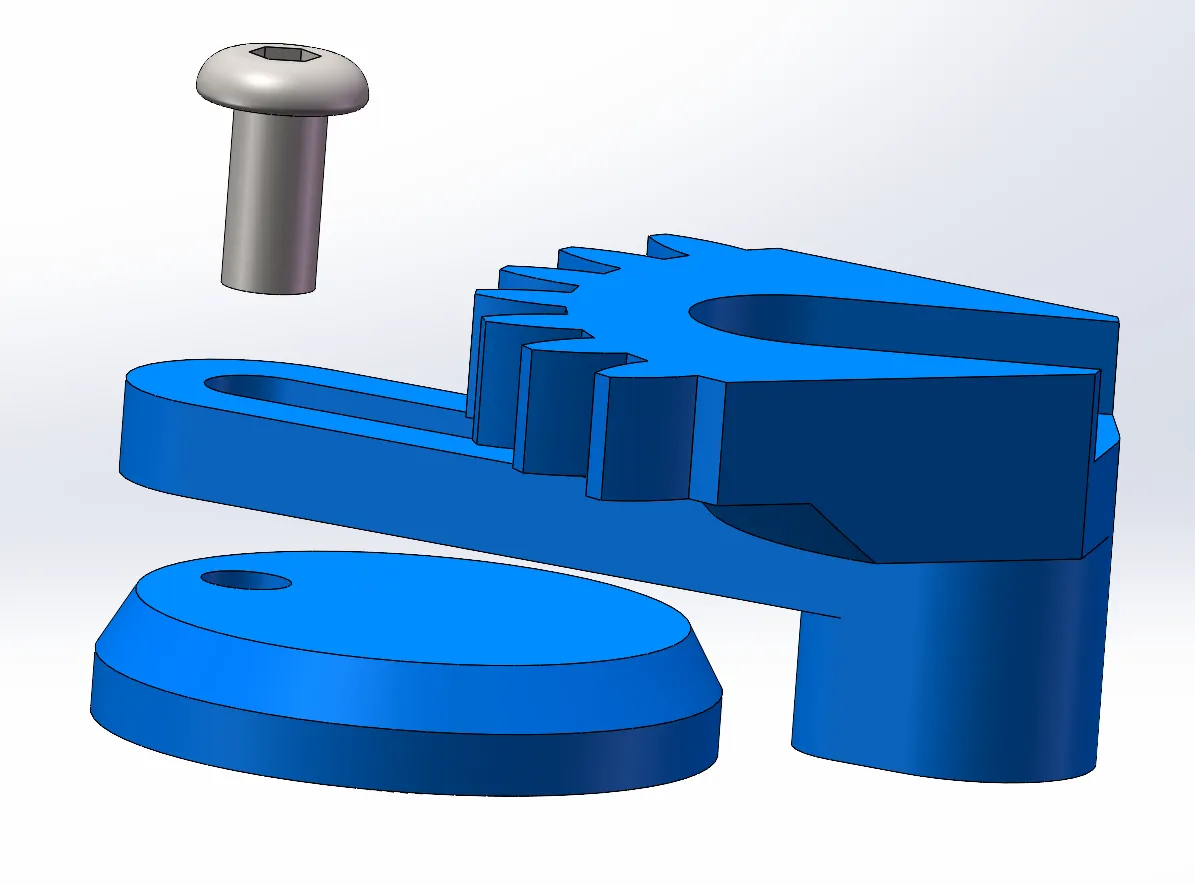
②Fix the rocker arm to the conversion box, ensuring it's not overtightened so the rocker arm can rotate
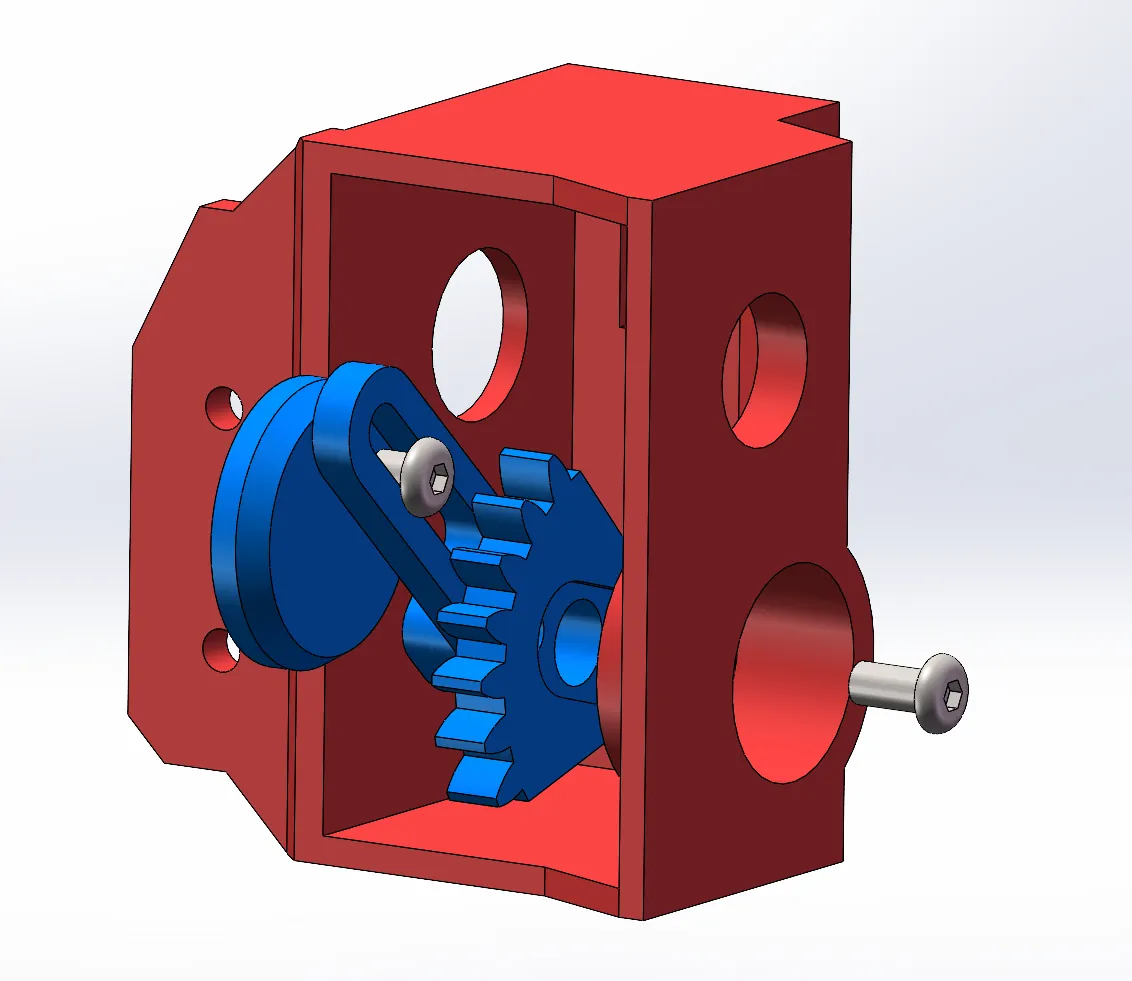
③Screw one screw into the extension shaft beforehand, do not unscrew it for now.
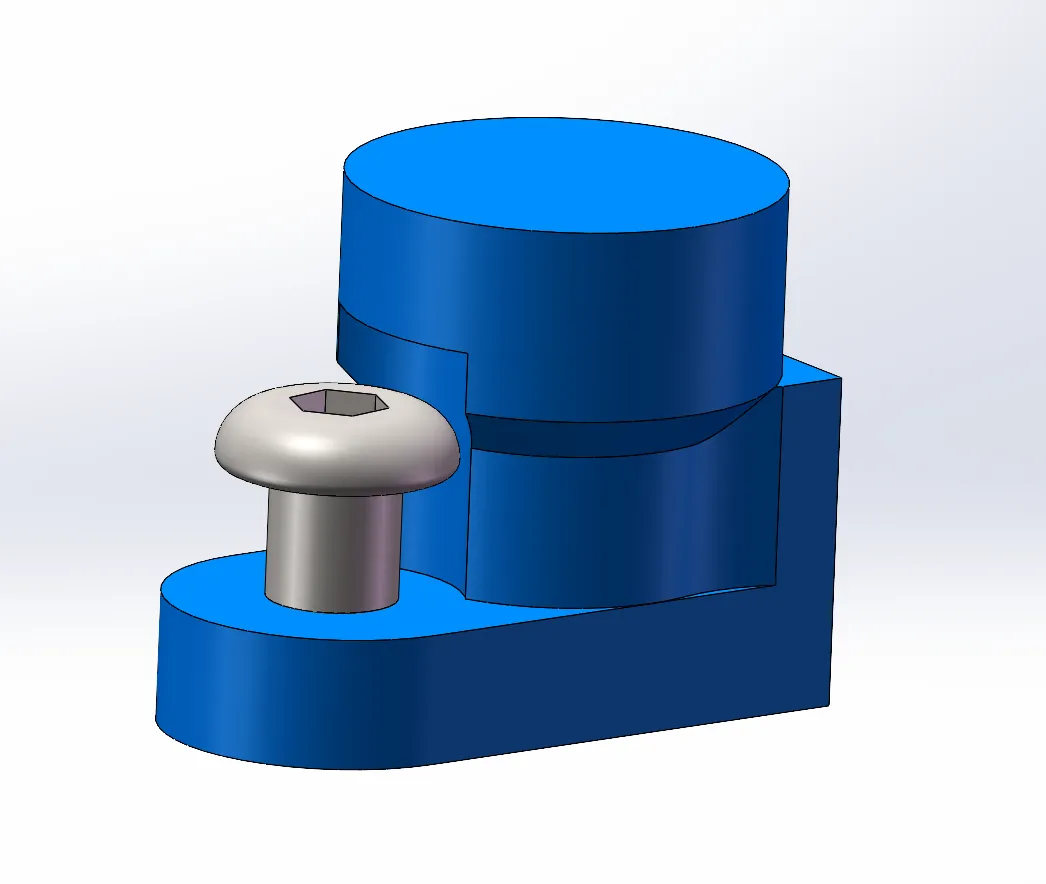
④Insert the part from step three through the large hole on the right side of the conversion box and tighten the screw from step ③.
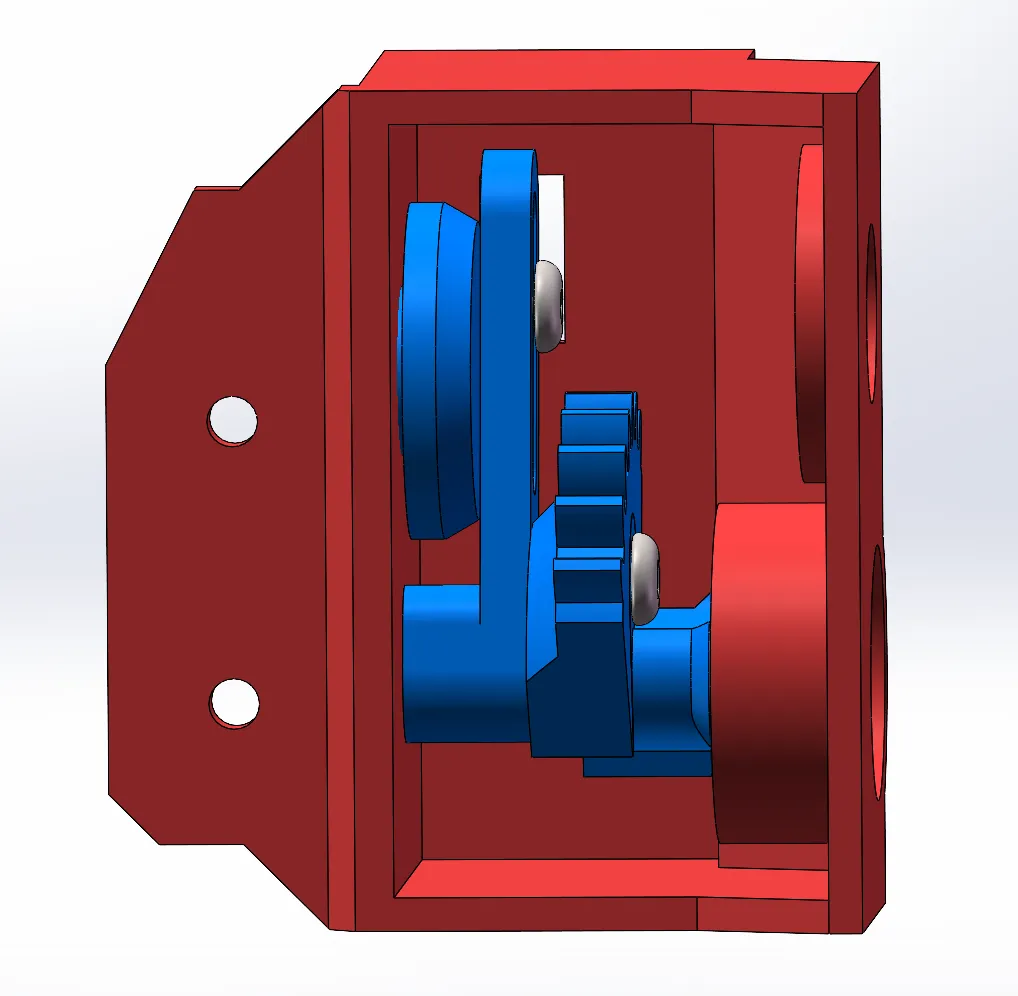
⑤Tap in one bearing to fix the shaft end.
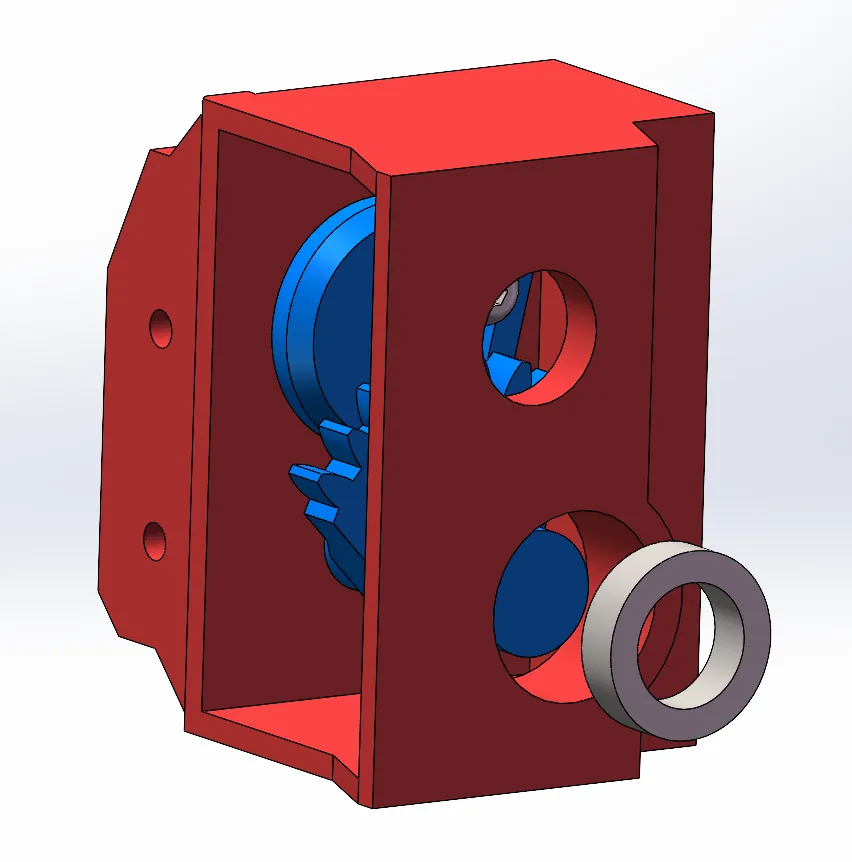
⑥In order, string the main shaft, bearing, and small gear onto both sides of the output shaft hole. Note that the main shaft should already be connected to Bambu's left arm (screws already fixed). Push the joystick towards the inside of the conversion box, and ensure the angle of the main shaft is roughly as shown when the two gears mesh.
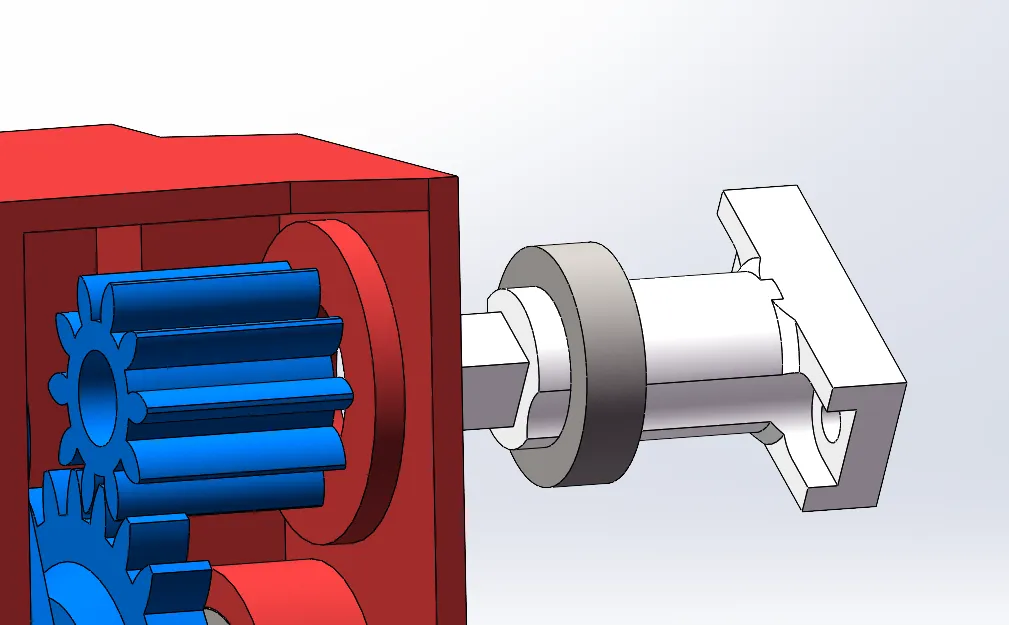
⑦Fix the motor cover plate with two screws.
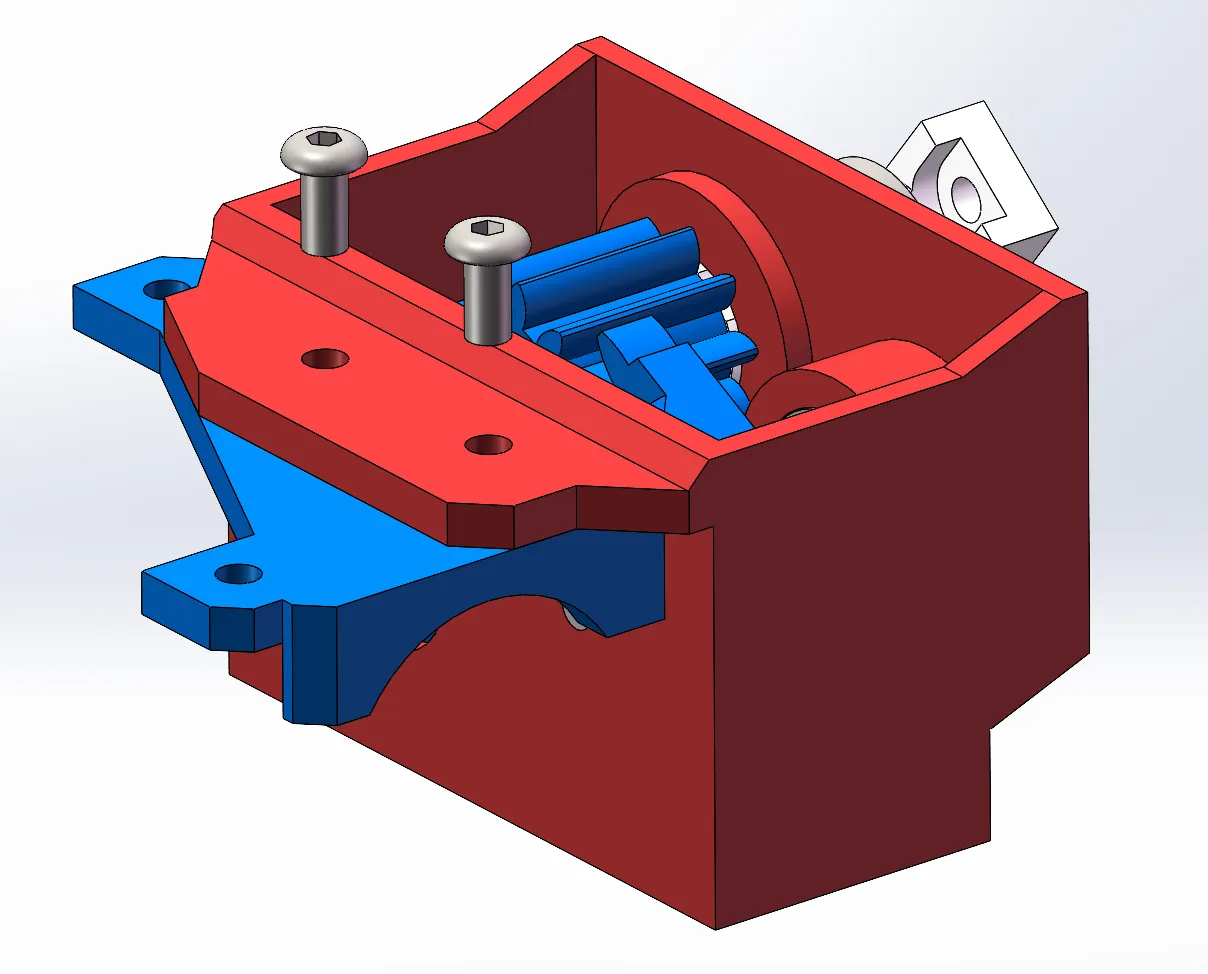
⑧Align the motor output shaft with the crank disk hole and fix the connection.
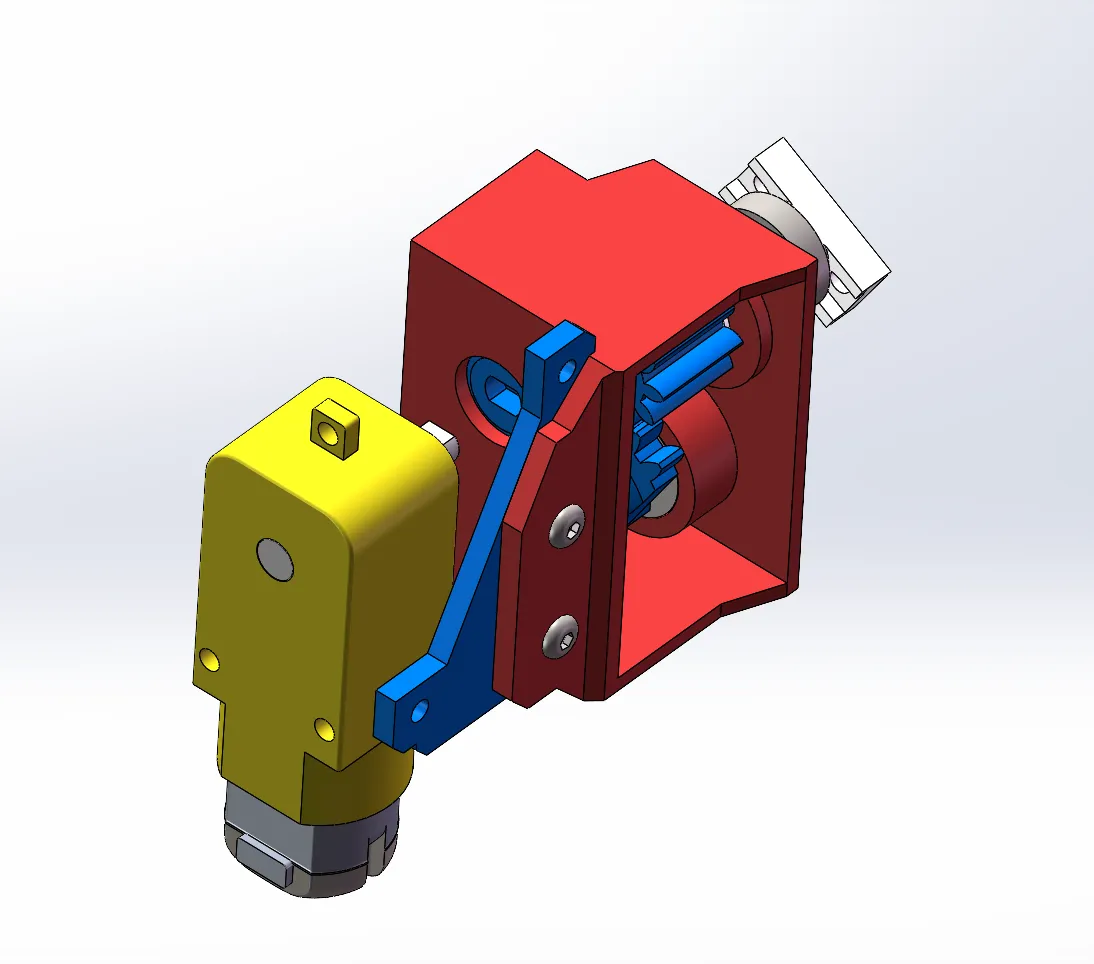
END. The conversion box structure has been installed. At this point, the structure is relatively fragile; it will become stable once installed inside Bambu. Wishing you a smooth installation! If you encounter any problems during installation, please let me know in the comments! o(* ̄▽ ̄*)ブ
License

You shall not share, sub-license, sell, rent, host, transfer, or distribute in any way the digital or 3D printed versions of this object, nor any other derivative work of this object in its digital or physical format (including - but not limited to - remixes of this object, and hosting on other digital platforms). The objects may not be used without permission in any way whatsoever in which you charge money, or collect fees.


Comment & Rating (0)