
Smart Home Shelly Plug & DHT22 Sensor Enclosure
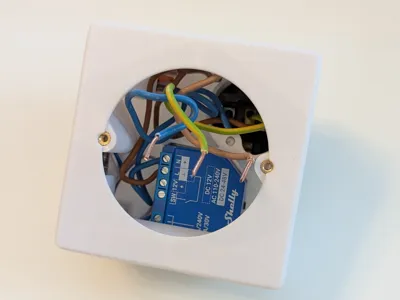
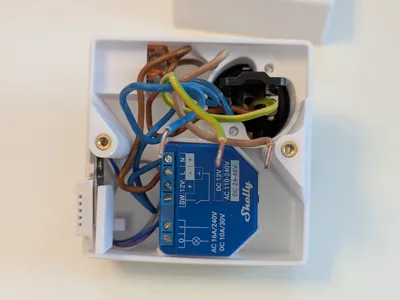
Print Profile(1)

Description
Boost Me (for free)
Like it? Give it a boost! Your click means a lot!
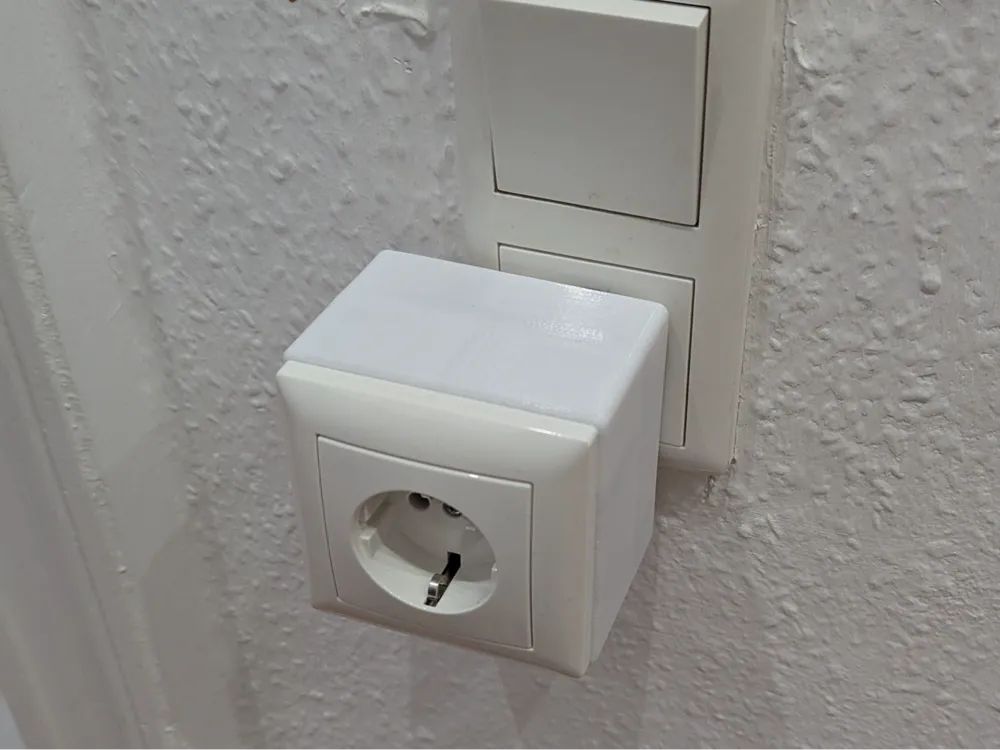
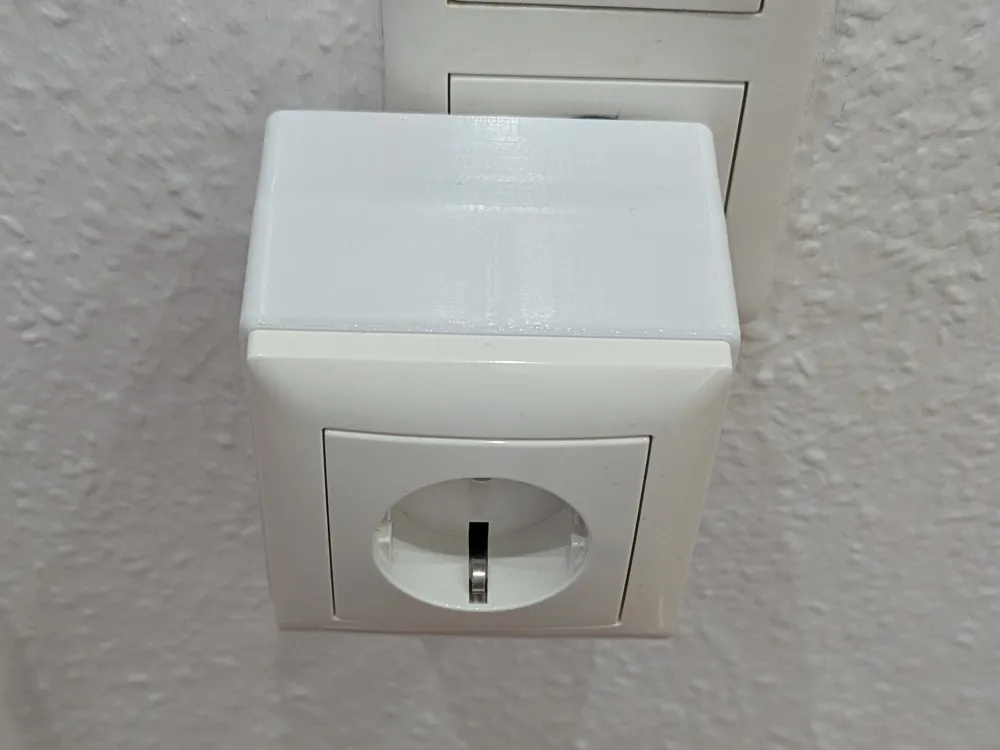
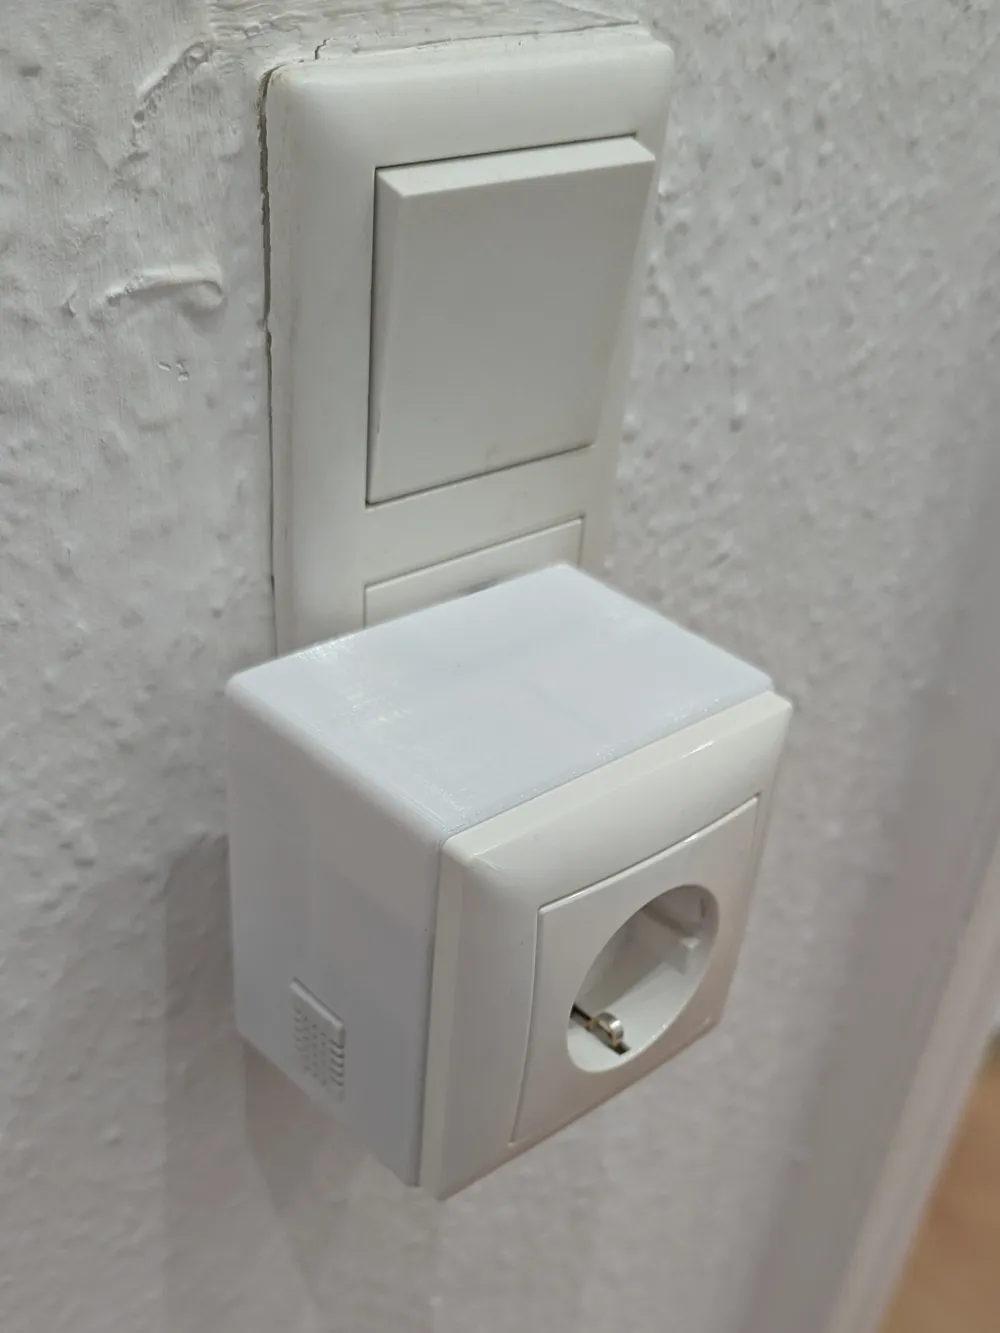
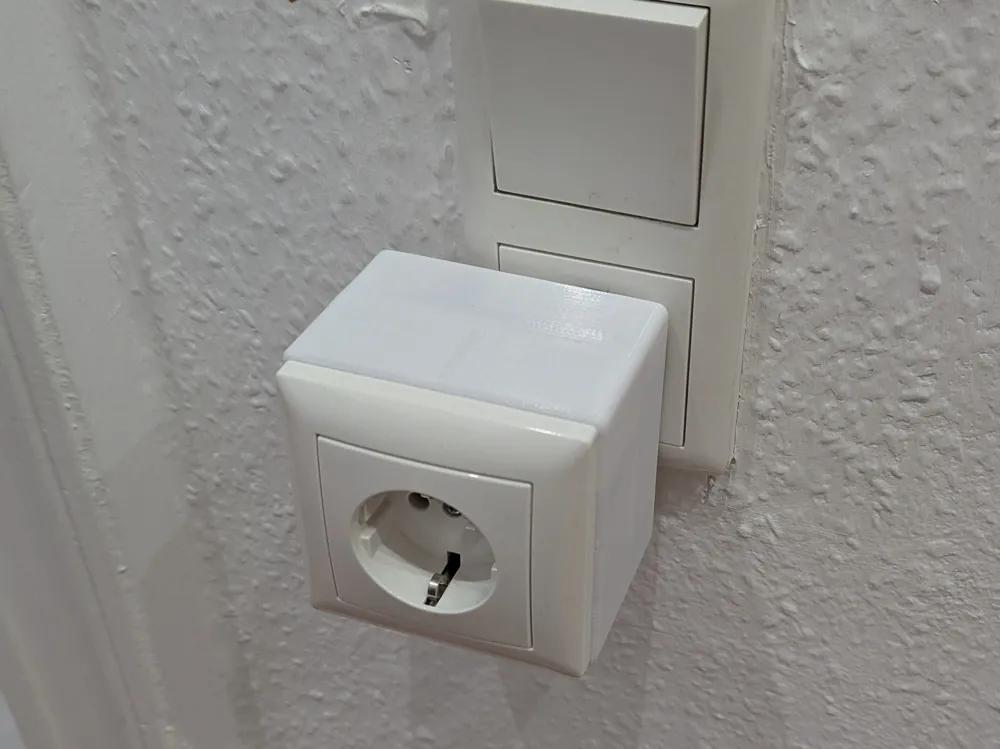
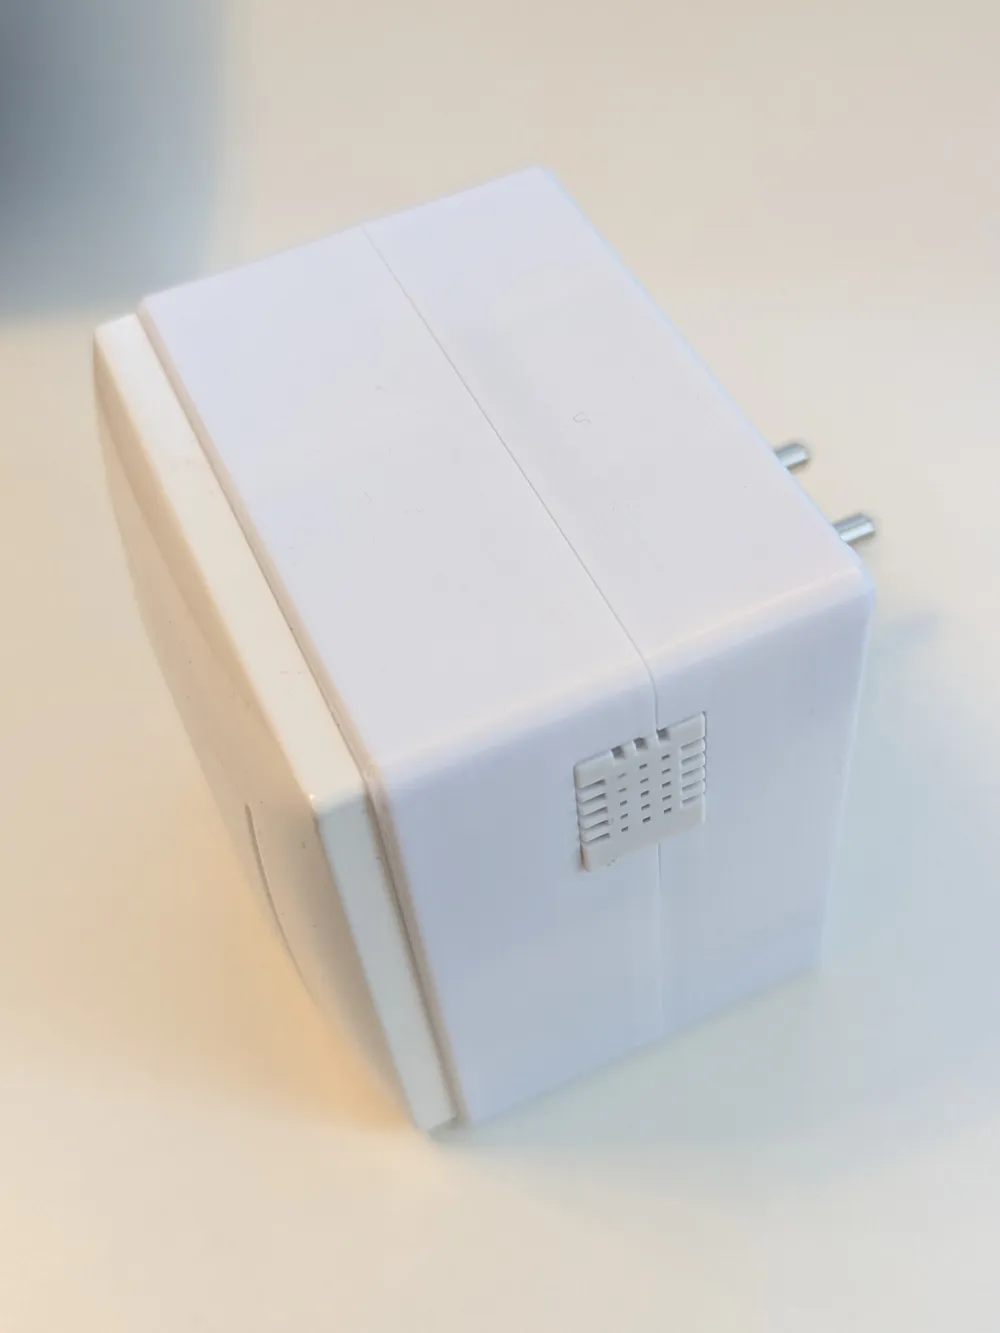
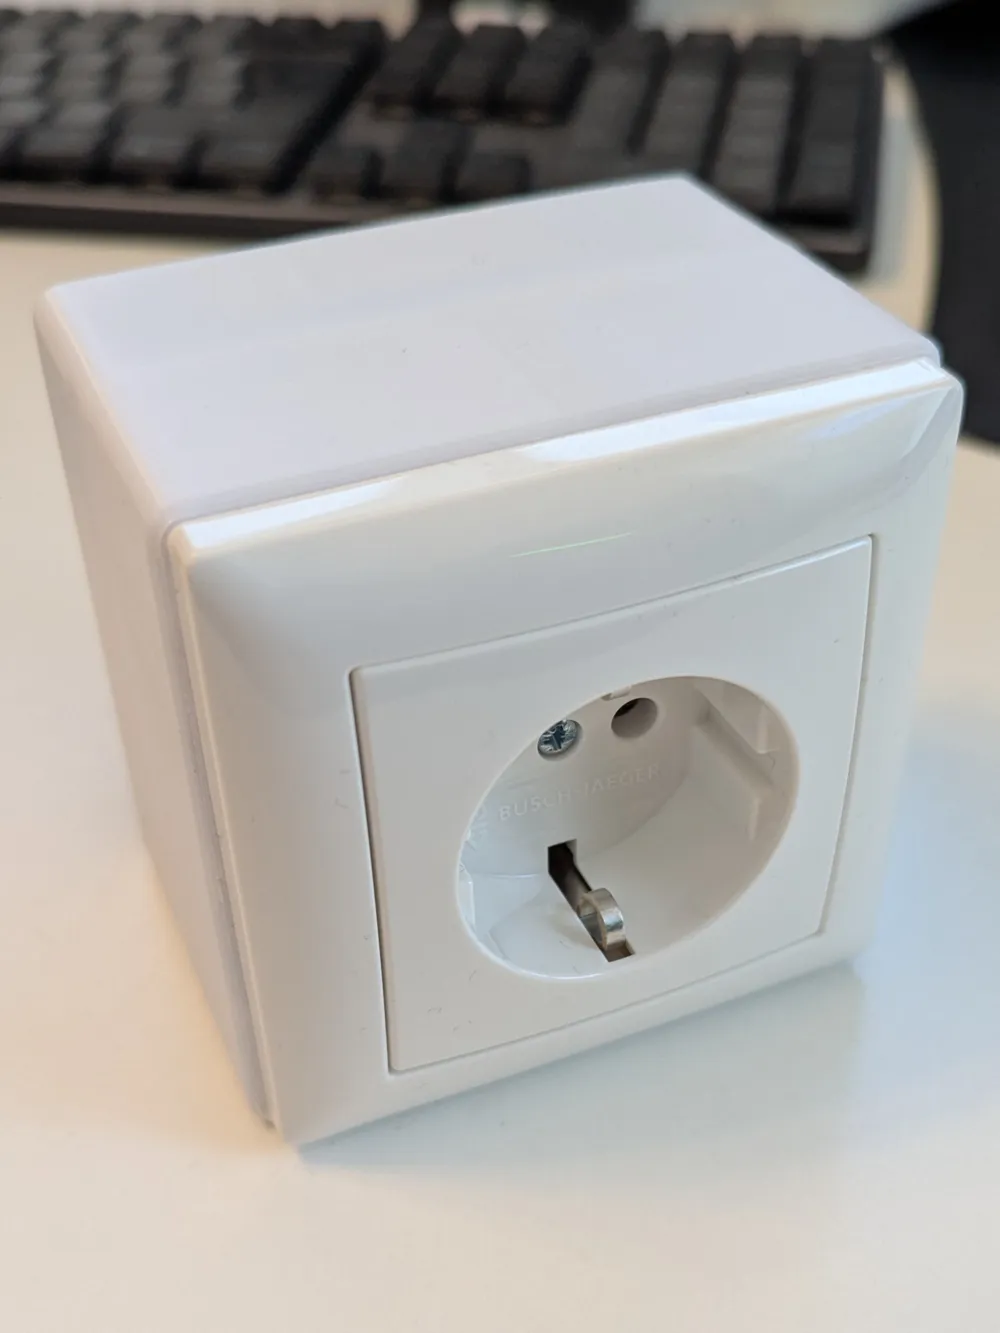
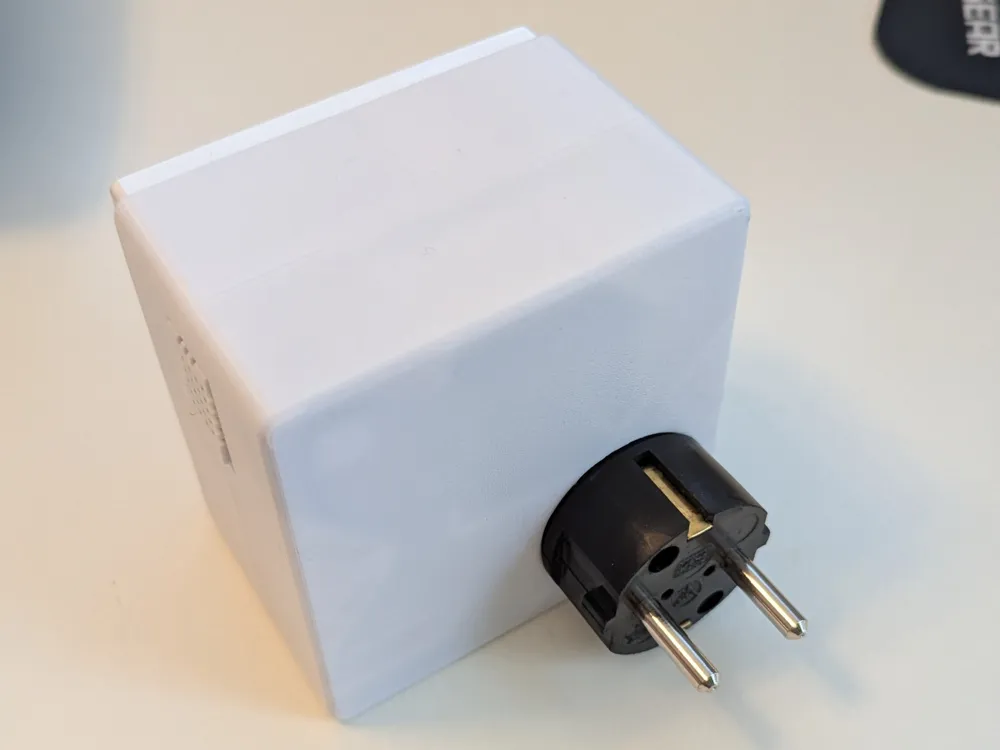
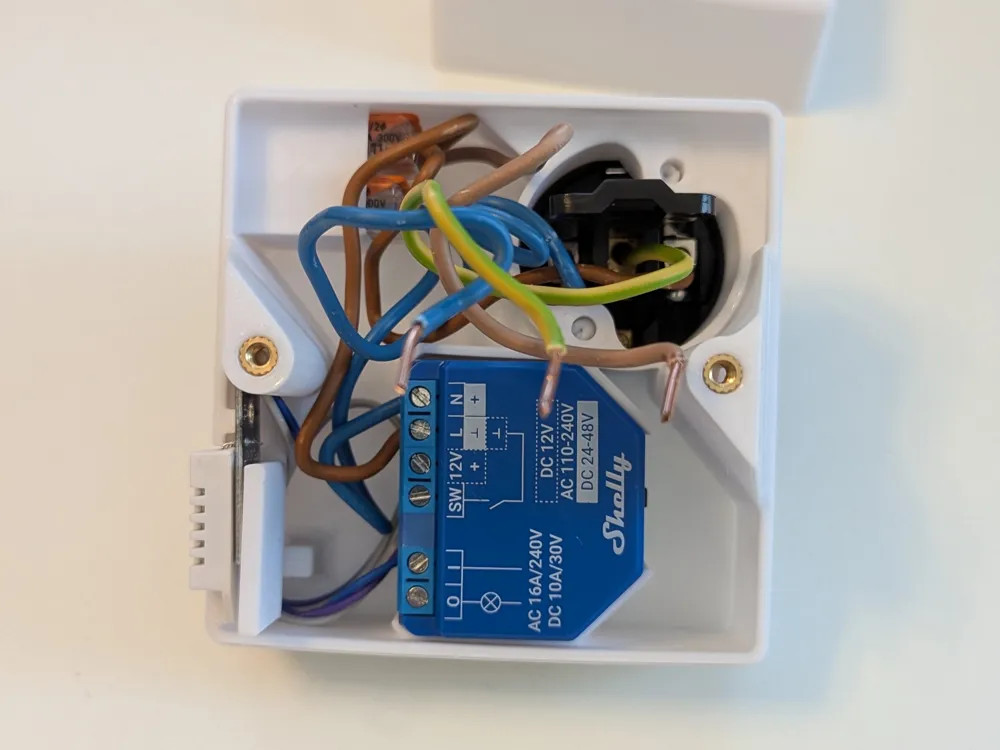
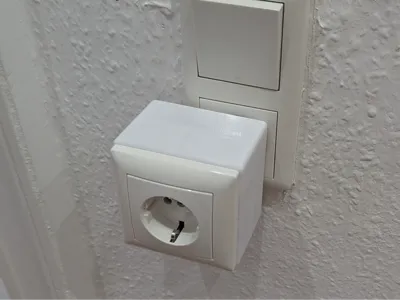
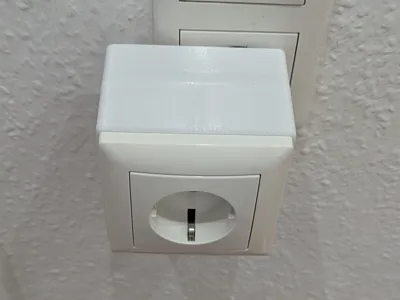
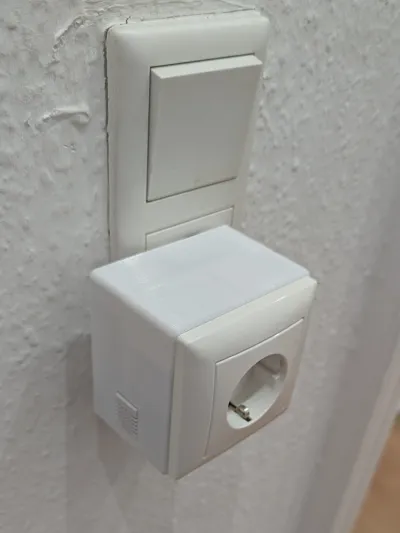
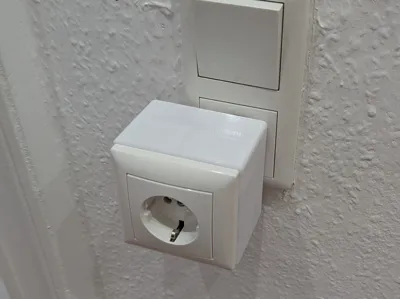
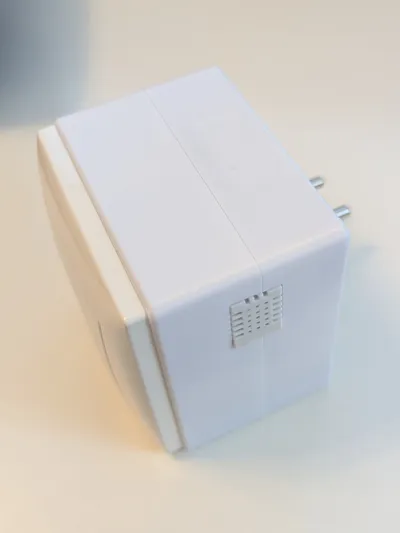
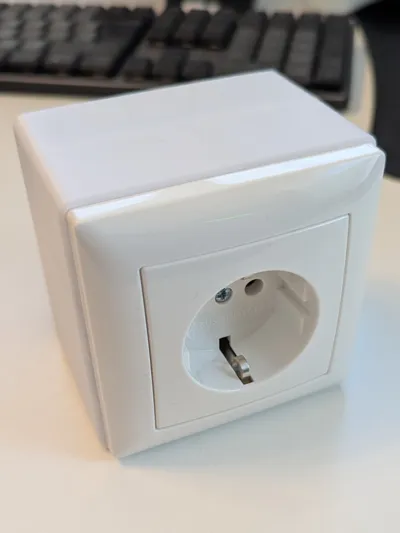
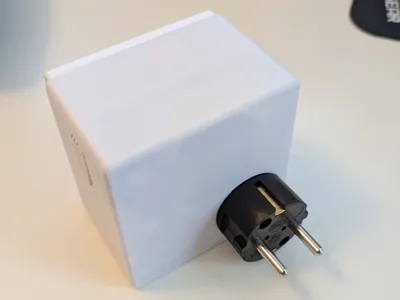
This 3D printable enclosure is designed to integrate a Shelly device with AddOn, a DHT22 temperature and humidity sensor (with PCB), and a Kopp EU plug (article number 1795.1600.9). It allows you to create a compact, smart, and modular plug-in unit for your Shelly-based smart home setup. 🔌📡🛠️
If you're an advanced DIY enthusiast, check out my other design that offers even more functionality: All-in-One Smart Home Sensor Case. 🧠⚙️🚀
Features ✨📦💡
- Fits any Shelly device (e.g., Shelly 1, Shelly Plus 1PM, etc.) with the Shelly AddOn module attached.
- Integrates a DHT22 sensor for temperature and humidity monitoring.
- Front panel supports multiple configurations:
- Standard Schuko outlet
- Standard switch
- Shelly 4-button switch
- Includes two internal slots for WAGO connectors to simplify wiring for L and N conductors.
- Can be directly plugged into a wall socket — no additional installation required, and can also be easily moved between rooms.
- Perfect for anyone using Shelly in their smart home setup. ⚡🔧🏡
Required Components 🧰📋🔩
- Shelly device (e.g. Shelly 1 / 1PM / Plus / Pro)
- Shelly AddOn
- DHT22 sensor (with breakout PCB)
- Kopp plug (article no. 1795.1600.9)
- Front panel component of your choice:
- Schuko socket
- Switch
- Shelly 4-button switch
- WAGO 221 connectors (2 pieces) (optional when the Shelly 4 button switch is used)
- M3 heat-set inserts and M3 screws for securing front components
- Flexible wire (litze) for internal connections 🧵⚙️🔌
Assembly Instructions 🛠️🧾🧱
Print the case using PETG (recommended) or PLA. PETG provides better heat resistance.
- Approx. filament usage: ~80g
- Layer height: 0.2 mm
- Nozzle: 0.4 mm
- At the screw points of the plug, use support material during printing for proper overhang stability
- Standard print settings otherwise.
🖨️📏🔧
- Prepare the DHT22 sensor:
- Use the version with an onboard PCB.
- Solder the sensor leads to wires that connect to the Shelly AddOn.
- Use ferrules (cable sleeves) for a clean and secure connection. 🔥🪛🔋
- Install the components:
- First, connect and wire the Kopp plug before mounting it into the housing, as the terminals become inaccessible afterward.
- Insert the Kopp plug in the back and secure it.
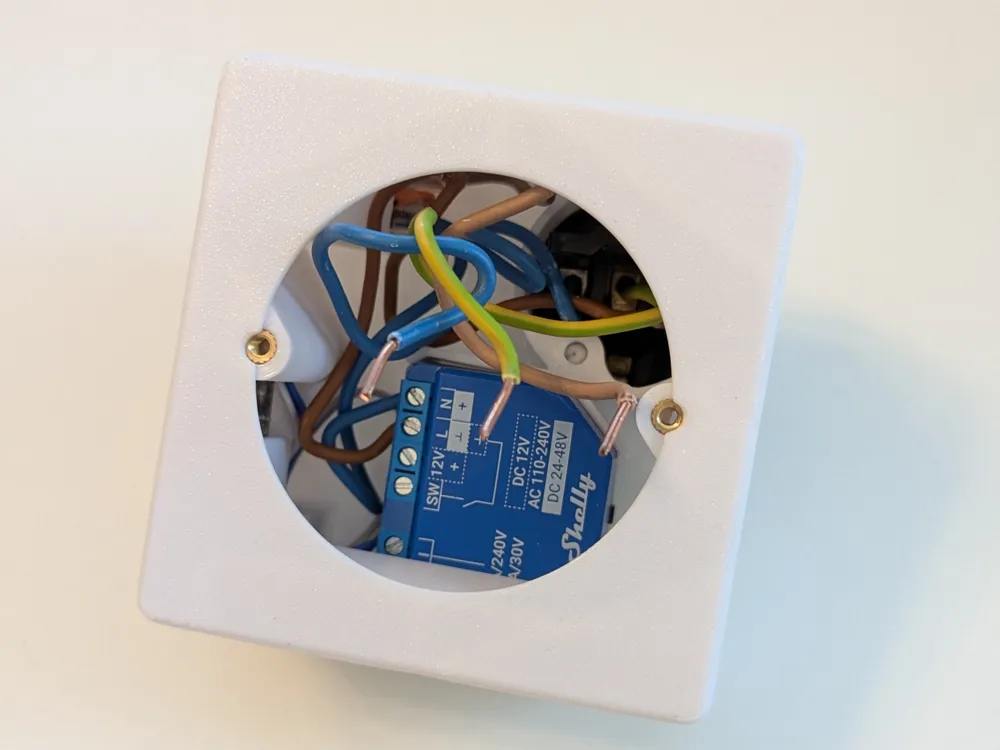
- Connect L and N between plug and Shelly with the WAGOs.
- Mount the Shelly + AddOn inside the case — make sure to wire the Shelly and the WAGO connectors before inserting them into the housing, as access is limited afterward.
- Insert WAGO connectors into the two internal slots.
- Wire the front outlet or switch.
- Mount the front outlet or switch using M3 screws into the heat-set inserts.
- When tightened, the front and back halves of the case will be held together. 🔩📦⚡
- Important: Use stranded wire (litze) for connections between Shelly, plug, and front outlet/switch for flexibility and safety. ⚠️🧵🔒
Setup Instructions 📶⚙️📱
- Plug the assembled unit into a wall socket.
- Power up your Shelly device.
- Use the Shelly App or Web Interface to connect it to Wi-Fi.
- Add the DHT22 sensor under the AddOn configuration.
- Test switching and sensor readings.
- Optionally integrate with Home Assistant, MQTT, or Shelly Cloud. 🌐🔍🏠
Sourcing Recommendations 🛒🔍📦
- Shelly devices and AddOns: shop.shelly.cloud
- DHT22 sensor (with PCB): Amazon, AliExpress, or local electronics suppliers
- Kopp plug: widely available on Amazon or hardware stores (article 1795.1600.9)
- WAGO connectors & M3 inserts: Amazon or any electronics distributor 🧰💡🧾
Notes ⚠️💭📘
- Ensure that all high-voltage wiring is done safely and properly insulated.
- The wiring shown in photos uses solid wires for demonstration — use flexible stranded wires in your final assembly.
- The enclosure is intended for indoor use only.
- Verify all connections before plugging into mains power. 🧠🔌🛠️
- The device plugged into this unit may not be galvanically separated. Due to the fact that you don't know whether you really wired L to L in the outlet it is possible that it may be only disconnected from neutral.
⚠️ Safety Notice / Disclaimer
This model is designed to be used with 230V AC mains voltage. Working with mains electricity is dangerous and can cause serious injury, fire, or damage to property.
Only use this design if you have proper knowledge and experience with electrical installations.
I am not responsible for any damage, injury, or loss resulting from the use, modification, or installation of this model. Use at your own risk.
This project combines power control and environmental sensing in a single, compact form — ideal for Shelly enthusiasts who want to expand their smart home ecosystem without complex installation! 🏡✨🔧
License



Comment & Rating (7)