
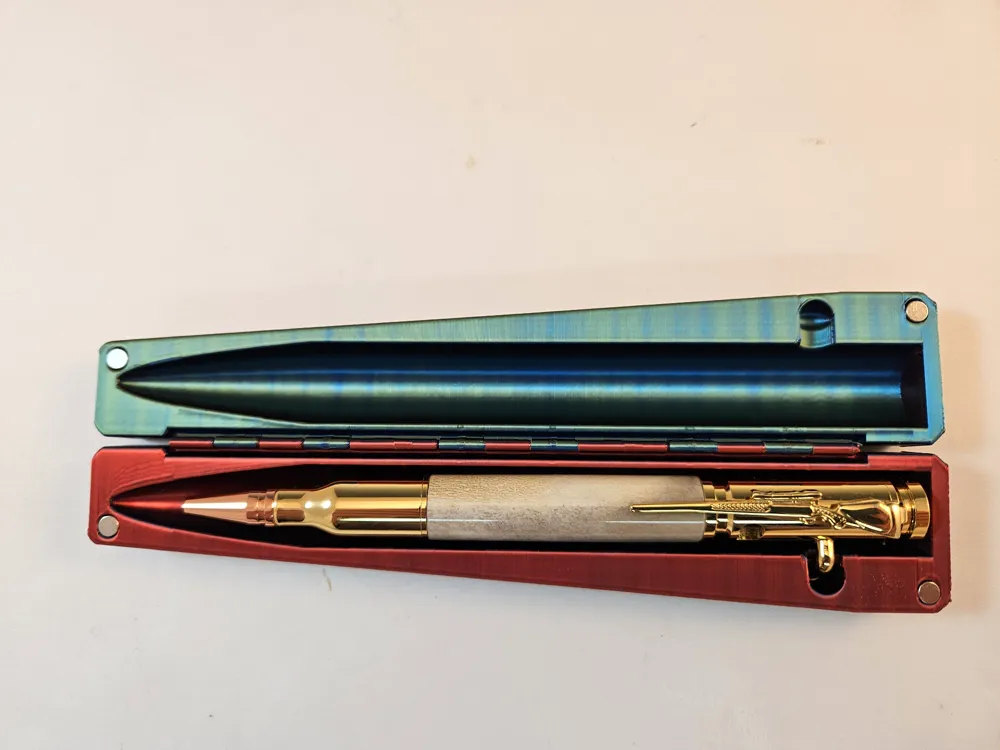
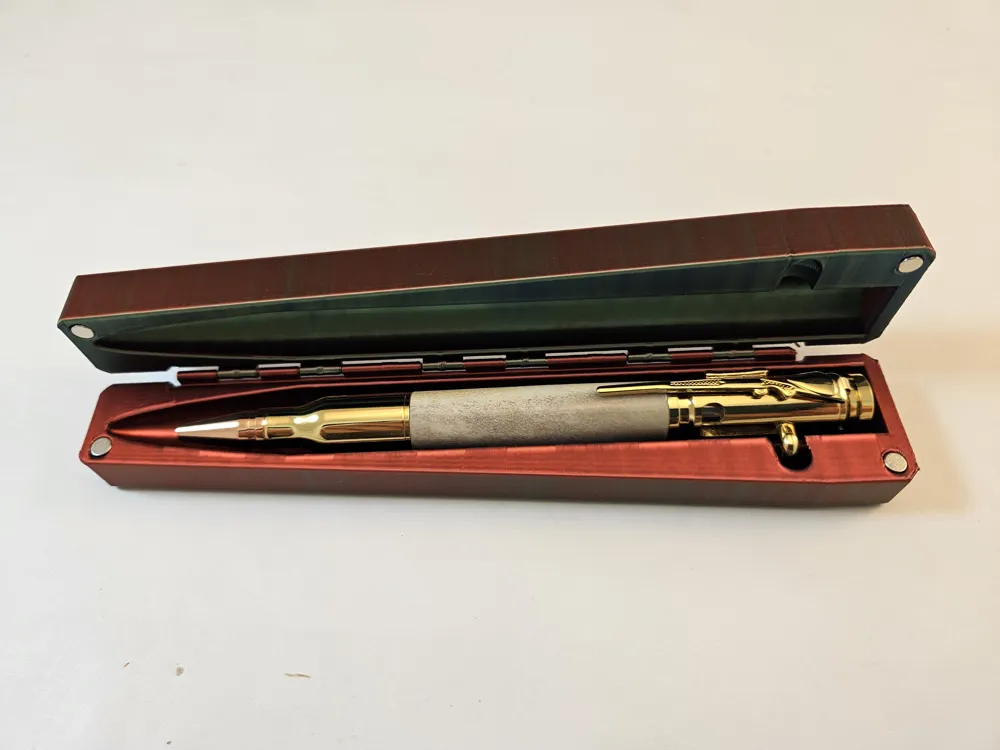
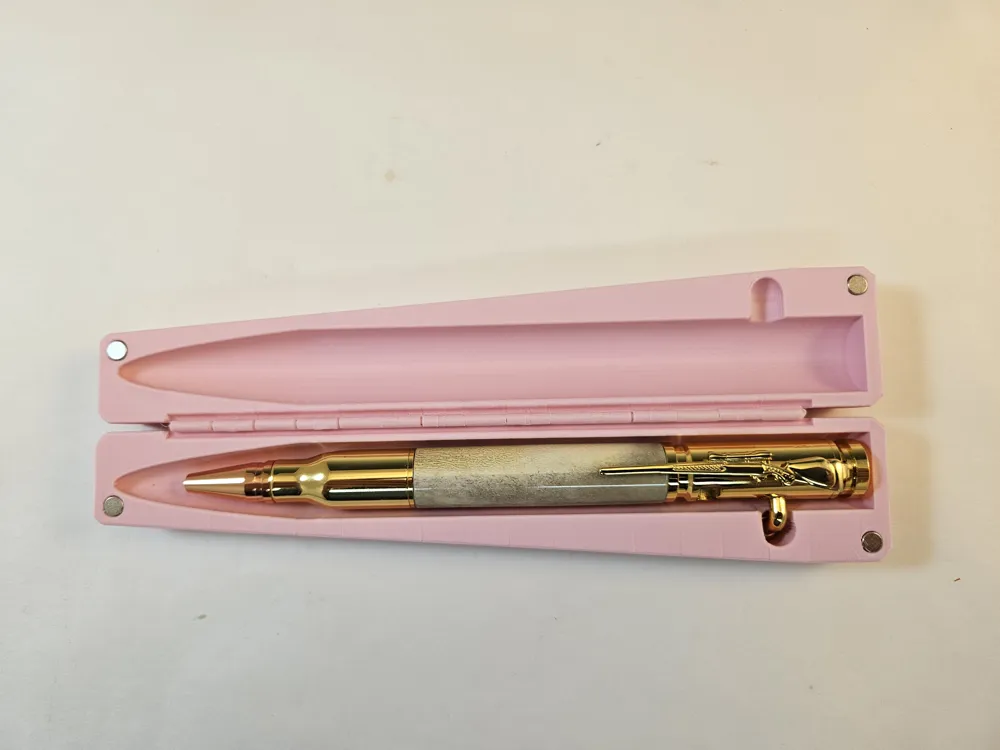
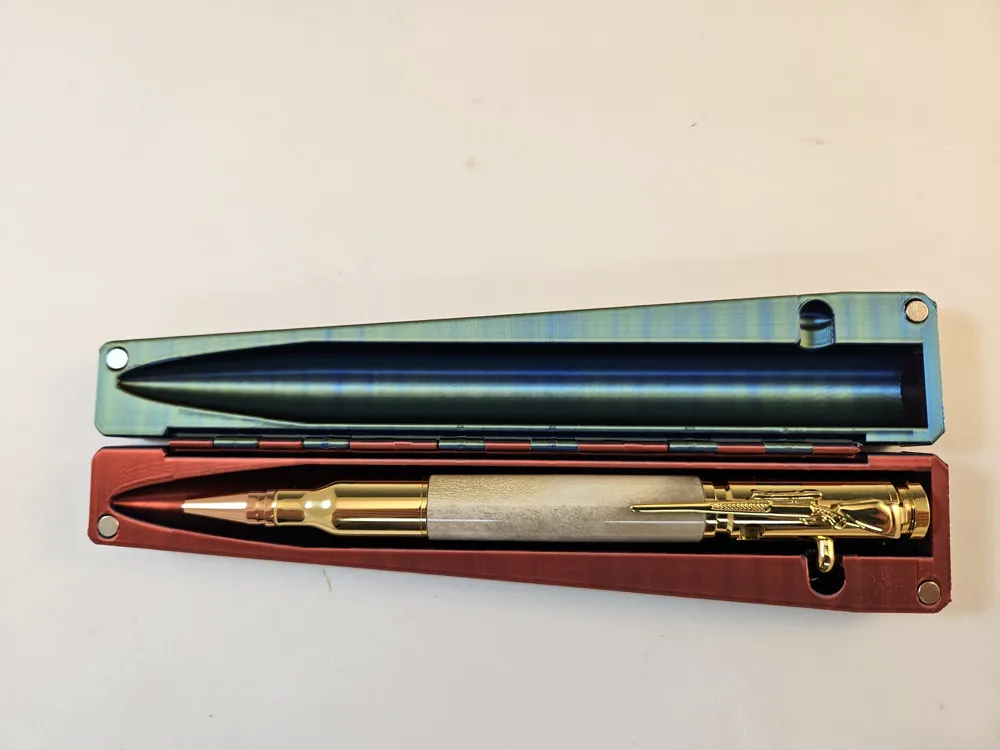
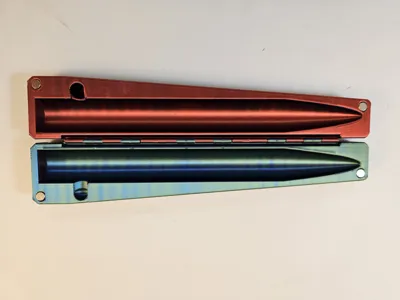
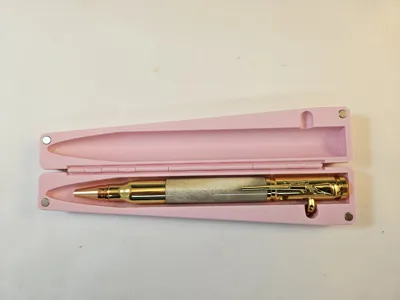
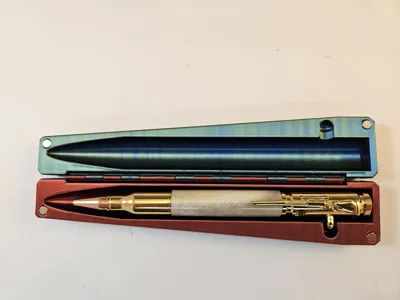
pen box for 30 caliber Bolt Action pen
Print Profile(2)


Bill of Materials

Description
Reason I created these boxes
I like to make pens/pencils on my wood lathe. I have also made wooden boxes to hold the pen. But the boxes are time consuming and unless it is for a very special someone or event it feels like it’s not worth it. Sometimes you just need a quick holder to present the pen to someone. But you can still make it special by adding their name or accomplishment to the box. And in some cases, it can be better than a wood box. So now I don’t feel like I’m just handing them a pen/pencil.
This box is Sized for 30 caliber Bolt Action Pens with a slim center turning. If you like fat centers this box won’t work as is.
Printer settings
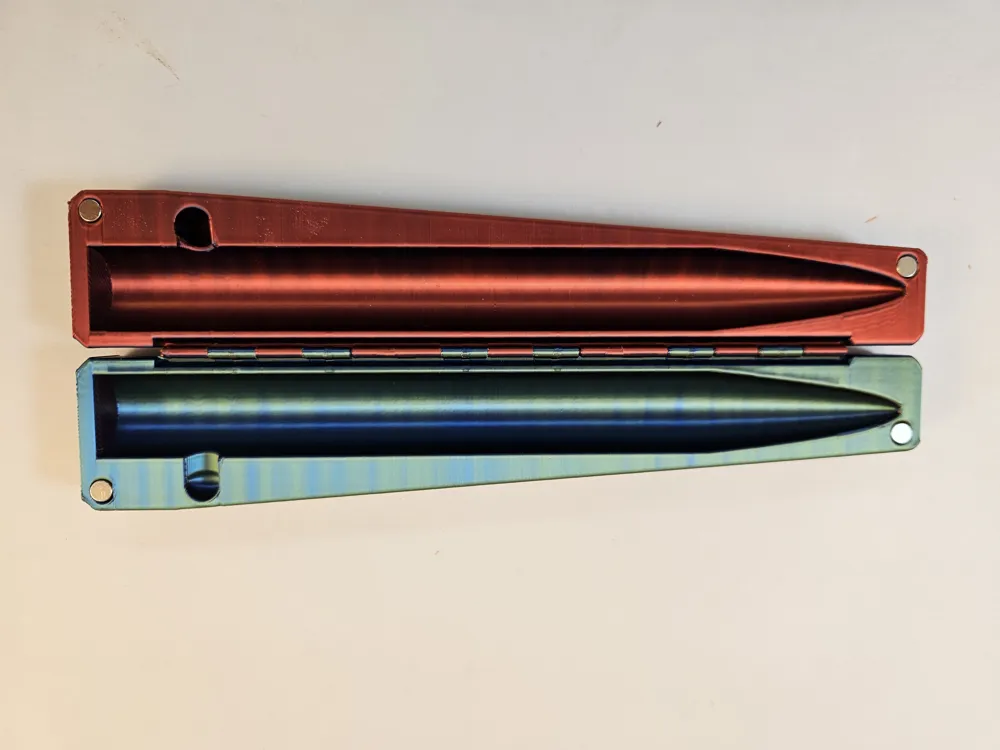
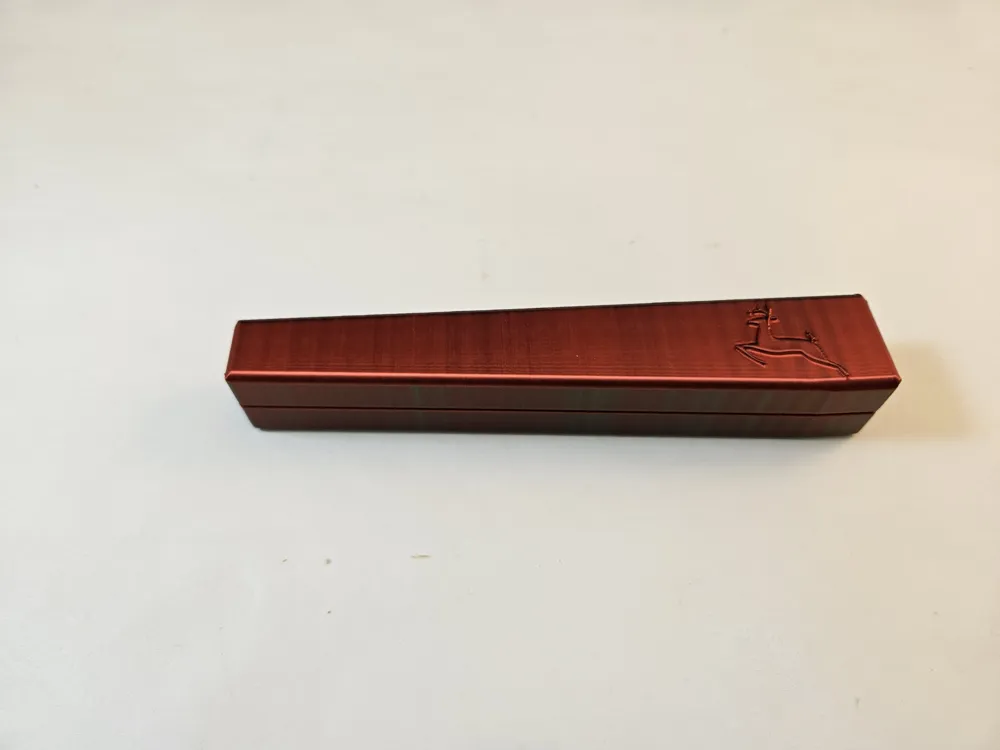
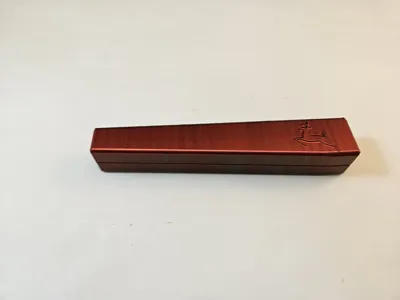
I printed this in PLA silk tri color but any PLA works fine. I used my P1S with 0.4 nozzle and brim on auto (but my p1s doesn’t use it), and no support necessary using a Bambu Textured PEI plate. The Box prints in place standing on one end. If you try laying it down, things will go badly. You can certainly add a Name, Painting to the name or other embellishments. I have also included 4mm x 2mm Magnet holes. If you think you would like to add magnets, they do hold it nicely shut.
Note: Your printer calibrations may vary affecting the magnet holes also other types of filaments could make a difference.
Assembly
The first time you open the box after printing, the hinge will be a little stiff. If necessary, carefully use a thin blade knife to open the box and then work the hinge a few times to loosen it up. For the magnets, place one on a flat metal object like a table knife blade. Place the magnet over the hole and squeeze it into the hole until it is down flat. Then place another magnet on the first magnet and close the lid, squeezing it tight shut. (No Glue needed). Repeat on the other end.
Note. Placing the second magnet on the first makes the polarities line up correctly. Putting a magnet in the wrong polar face to face is bad. DAMHIK😒
Magnets be sure you click on the 4x2mm
Boost Me (for free)
This was a bit more difficult to make, If you like this model give me a boost.
Documentation (1)
License

You shall not share, sub-license, sell, rent, host, transfer, or distribute in any way the digital or 3D printed versions of this object, nor any other derivative work of this object in its digital or physical format (including - but not limited to - remixes of this object, and hosting on other digital platforms). The objects may not be used without permission in any way whatsoever in which you charge money, or collect fees.


Comment & Rating (10)