
MagSlide & MagSlide Keychain (Magnetic Fidget Slider)


Print Profile(3)


Description
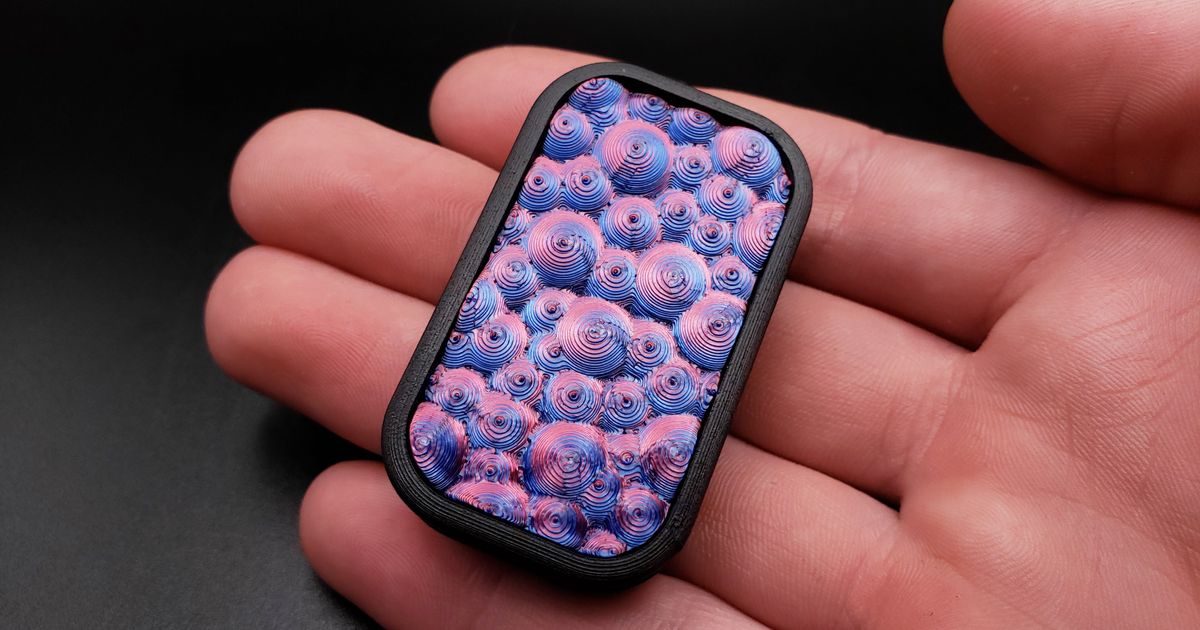
Check out the MagSlide, a cool magnetic fidget toy that's all about sliding and swirling fun! Inspired by NeonGraveStoneArt's "Bubbly" and "Fractal" Magnetic Haptic Slider Fidget designs, I've souped it up for even more enjoyment.
I've beefed up the magnets to 6x3mm size, a dozen in total, so you get a stronger magnetic pull for that satisfying tactile feel. The insert has been completely revamped, now with a smooth surface perfect for adding your own flair - slap on team logos, text, or whatever floats your boat!
And here's the kicker - forget glue! I've added the option to use a screw (M2x4) to attach the insert to the base, making it a breeze to swap out whenever you're in the mood for a change. So go ahead, mix it up and keep the fun going!
Now included is MagSlide Keychain! The keychain doubles as a finger hook for a better grip and easier slides.
Assembly
- Print using the default settings for the print profile, selecting your color options. All 4 pieces are included, 2 of the body and 2 of the inserts.
- Place 6 6x3mm magnets, all facing the same direction, in the holes on the 1st body. The tolerance is tight, you will probably need to use a hard flat object to press them into place.
- Place the insert into the body.
- Insert an M2x4 wafer/pan head screw into hole on the underside of the body and tighten. (or some form of super glue)
- Place 6 magnets on the bottom side of the already assembled body to ensure correct alignment.
- Use something to mark the opposing side of the magnets, like a black permanent marker.
- Remove the magnets, one at a time, placing the marked side up, push the magnets into the holes on the 2nd body. The tolerance is tight, you will probably need to use a hard flat object to press them into place.
- Place the insert into the body.
- Insert an M2x4 wafer/pan head screw into hole on the underside of the body and tighten. (or some form of super glue)
- ENJOY your newly assembled MagSlide!
EDIT
2/16/24 - Recessed the magnets further into the body of the MagSlide giving much better attractions to the opposing magnets resulting in a firmer slide and more of a tactile feel.
2/19/24 - Complete redo of the magnet locations and hole sizes as I noticed the insert would only fit properly in one direction. Added a screw to connect the two pieces together allowing for interchangeable inserts, and no glue.
3/7/24 - Added the MagSlide Keychain Edition.
2/20/24 - Uploaded the obligatory Bambu Lab Edition of the MagSlide. Included a new profile and individual files for each insert.



Comment & Rating (13)