
Original SKPOP Photocard Vending Machine
Print Profile(4)



Description
Gen 2 Now Live!
Gen 2 Improvements include:
- Material savings
- Bottom cut out for easy lubrication
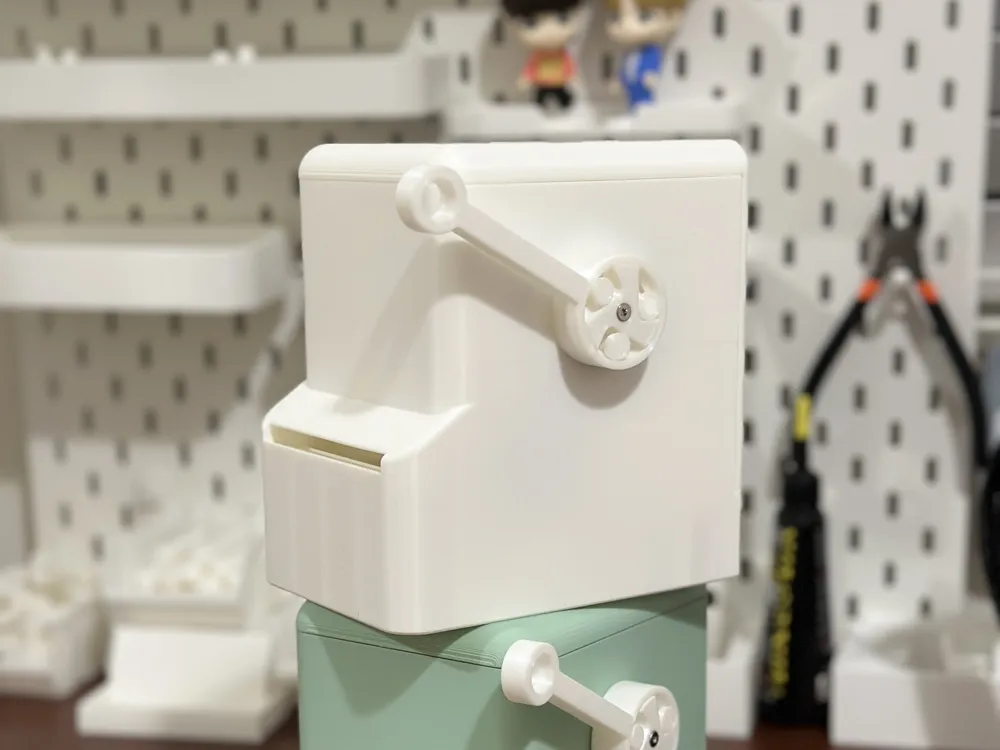
- Larger gear ratio for better dispensing (change of big and mid gear teeth counts)
- Elimination of mid gear axle hole on the side of the case
- Mid gear mounting is updated to use the new gear plate
Description
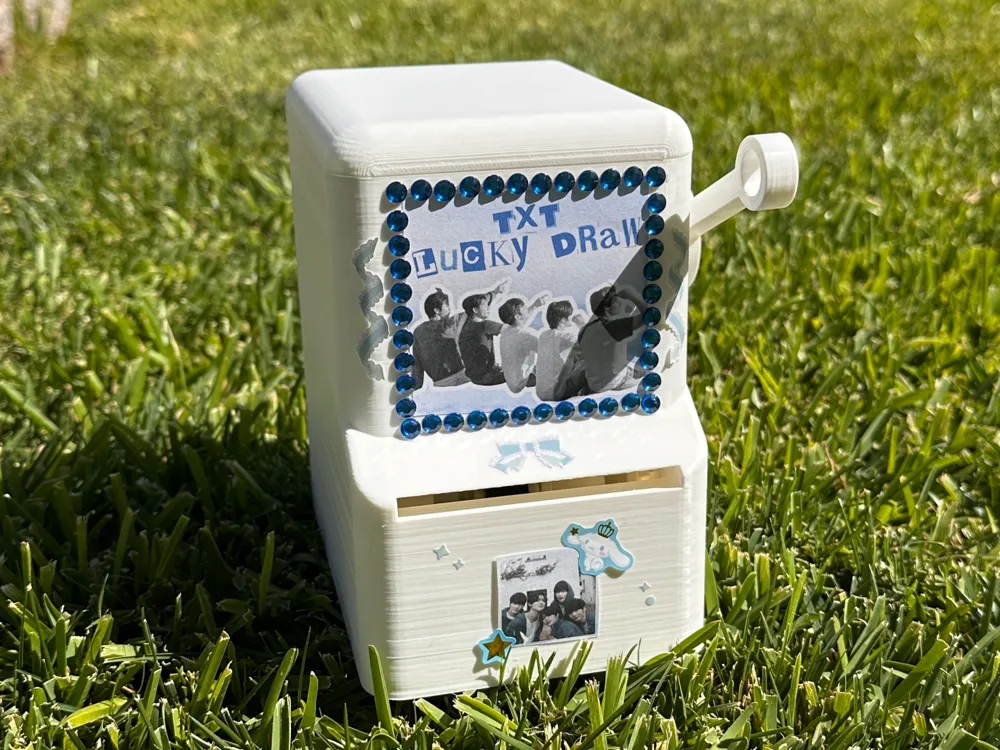

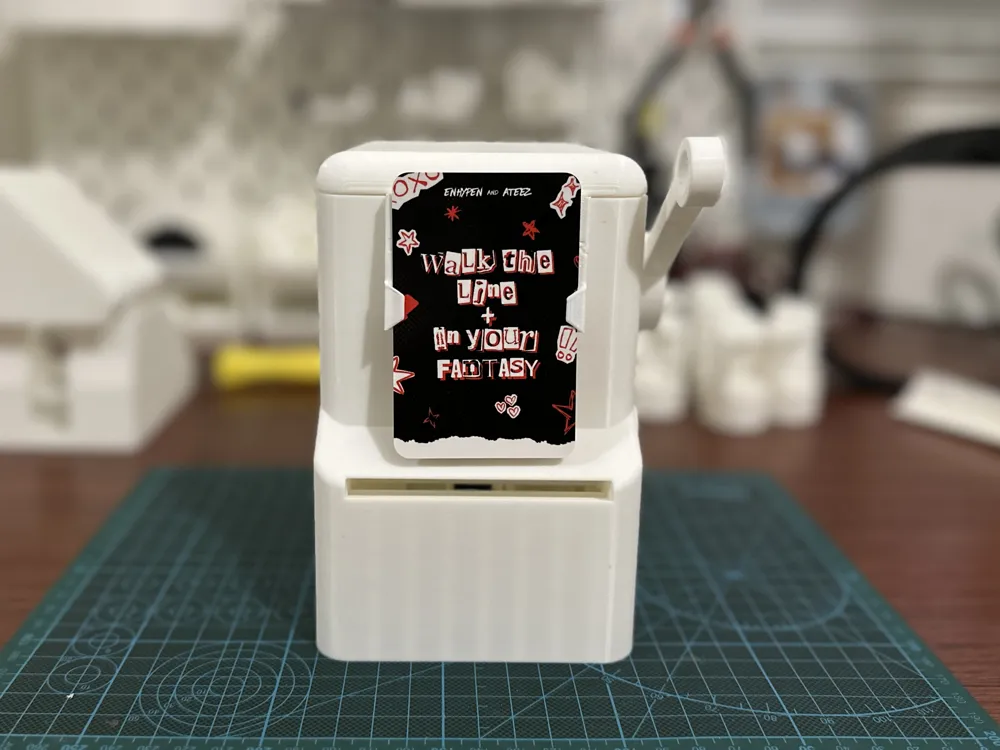
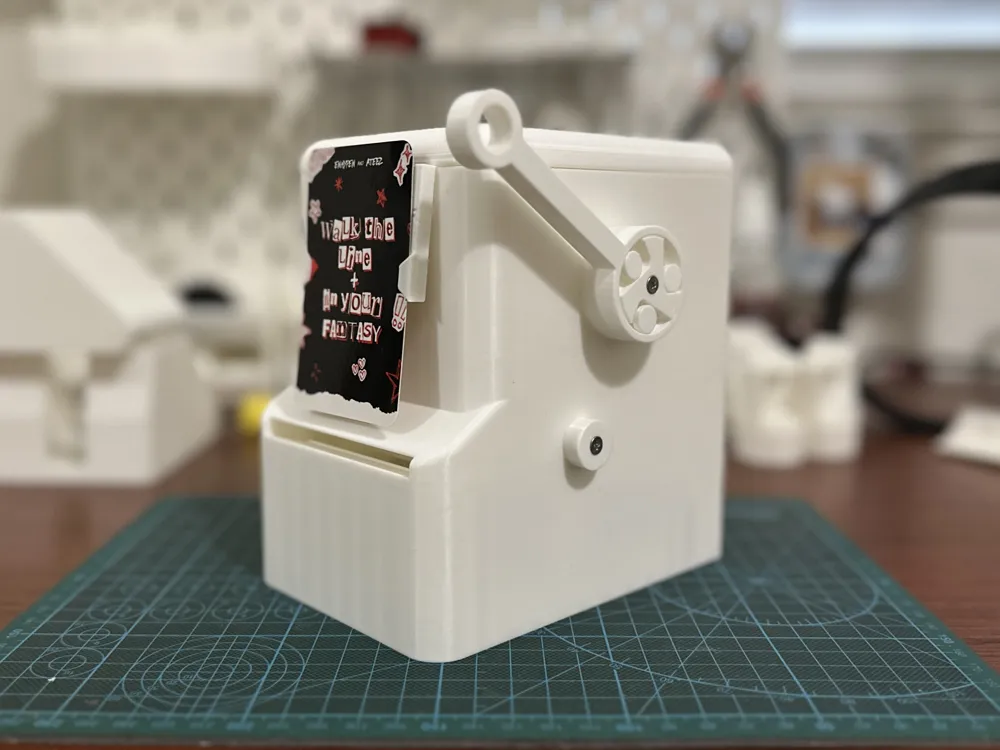
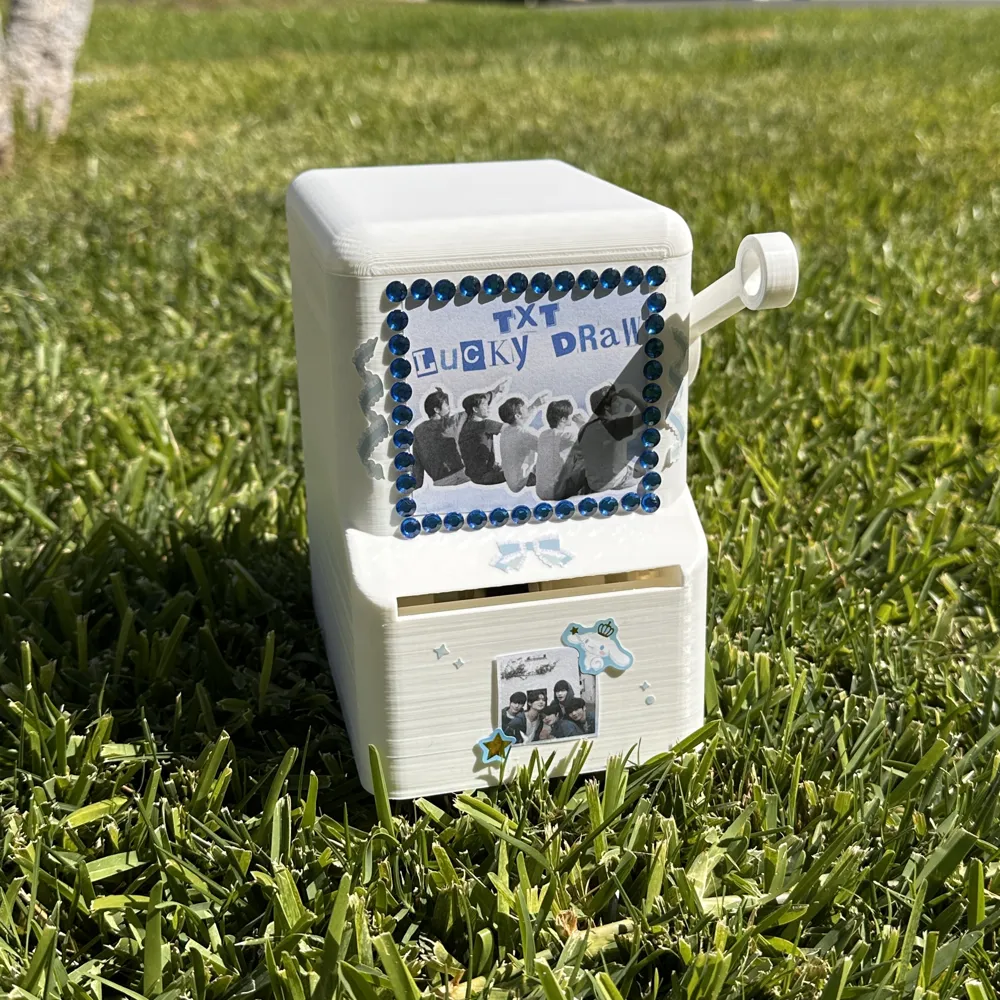
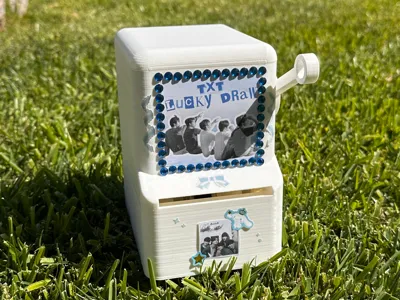
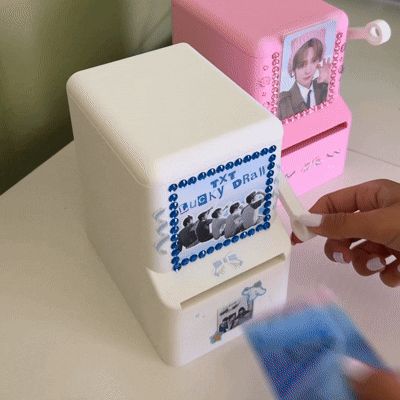
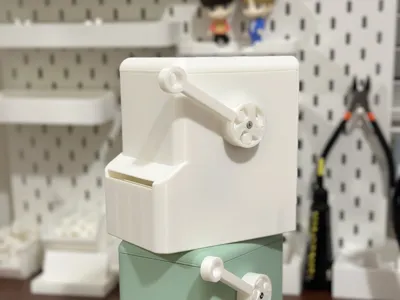
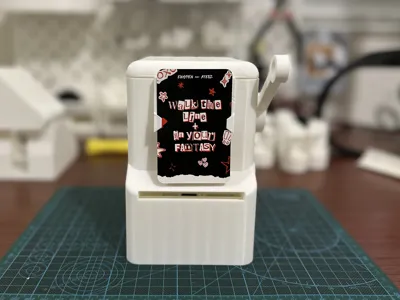
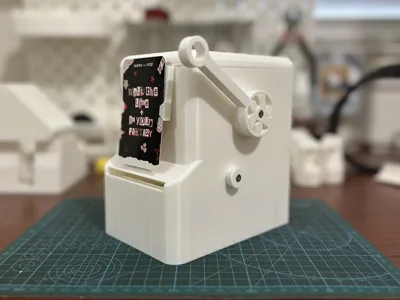
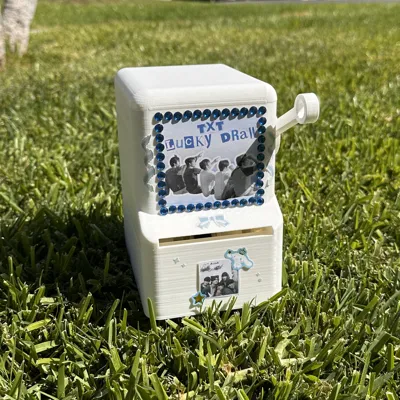
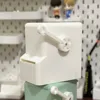
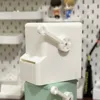
The SKPOP Card Dispenser Original is designed as a k-pop photocard vending machine. The dispenser reliably dispenses 1 card at a time with the flip of a lever. Use it as your own “lucky draw” machine, or simply a playing card dispenser!
- Higher capacity, larger card size compatibility when compared with Dispenser Mini
- Works for cards up to 90mm in length and up to 78mm in width
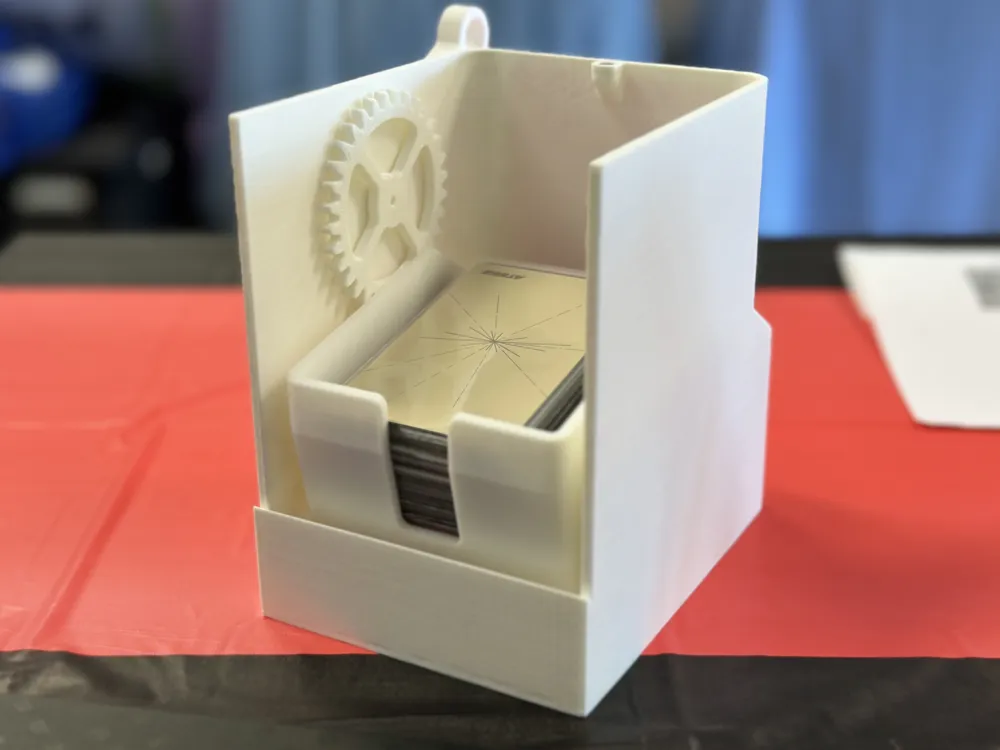
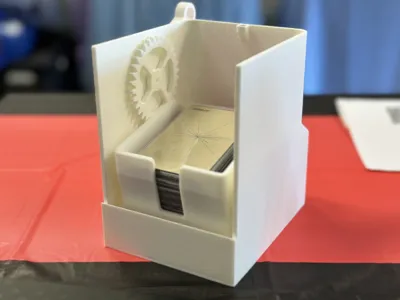
- Fits up to ~70 cards
- Adjustable to work with sleeved/unsleeved cards of various thicknesses
- Note: the handle one-way clutch tolerance is calibrated to X1C. A reduced tolerance version is available if your handle gets stuck. See attached step file.
Tips and commercial license: https://ko-fi.com/skpop
Measurements
📐 Overall Dimensions: 156 mm Height * 143 mm Depth * 120 mm Width
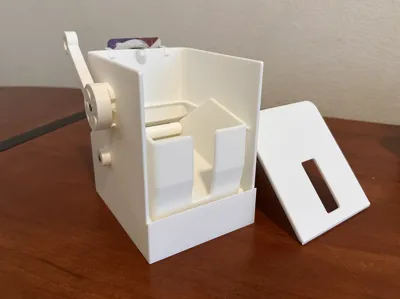
📏 Card tray internal dimensions: 78 mm Width * 95 mm Length
Components Required
You will need the following non-printed components:
- 8x M3 screws, length between 6 and 12 mm (Alternatively, use superglue)
- 1x rubber strip, length = 115 mm (for 36mm diameter roller drum), width ~ 15 mm, thickness ~ 2 mm;
Example: https://a.co/d/czWigbg (Alternatively, use rubber band) - Optional: 2x 5x2mm magnets
Assembly Instructions
Link to Gen-2 instructions with images: https://sakupop.notion.site/Gen-2-Photocard-Dispenser-Assembly-Instructions-34adb1b58633800292d3f9ec5dd73f22?
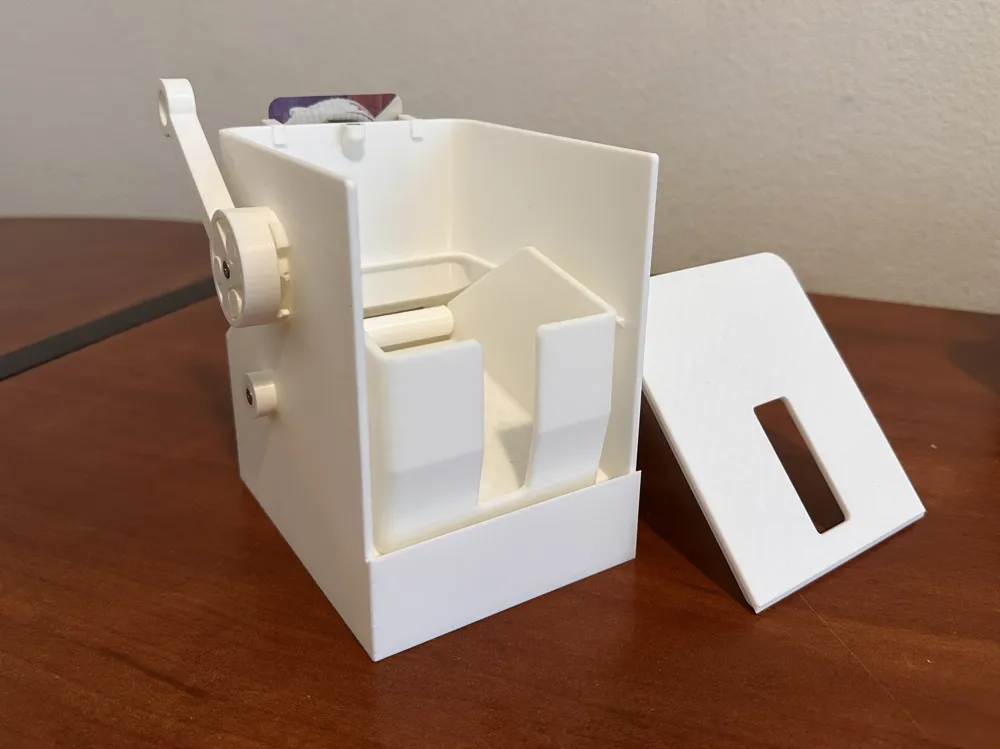
- Insert big gear [08] through the gear plate [10], then through the case. Make sure the gear plate sits between the two notches on the inside of the case.
- Slide mid gear [07] onto the gear plate.
- Install Handle [11] onto the gear axle from the outside of the case, then secure with a M3 screw.
- Insert roller gear [06] through roller gear mount [05] into roller drum [04], then secure with a M3 screw. Wrap the roller drum with rubber strip.
- Install the roller assembly to the bottom of the card tray [03], then secure with 2x M3 screws.
- Snap front roller [09] into card tray [03]. The front roller should not rotate freely. Make sure the two notches are pointing up.
- Install the card tray assembly into case [01] - be careful not to push the gear plate out of position. Secure with 3x M3 screws. (Note: there are extra holes in case threads are stripped)
- Install lid [02] and dispense!
- Optionally, use the two card clips to hold a display card, and hang them on the case.
Adjustment for different card types
- To use with unsleeved cards, or if multiple cards come out at once, adjust by rotating the front roller [6] forward 90° so that the notches point sideways. This decreases the dispensing gap to accommodate thinner cards. Rotate more (up to 180°) if needed.
- Rotating the front roller backwards will tighten the dispensing gap (if you found yourself dispensing multiple cards at once)
Please consider supporting me by liking and boosting!
Archive
OUTDATED: Gen 1 Assembly Instructions (Please see .zip file for Gen-1 models)
License

You shall not share, sub-license, sell, rent, host, transfer, or distribute in any way the digital or 3D printed versions of this object, nor any other derivative work of this object in its digital or physical format (including - but not limited to - remixes of this object, and hosting on other digital platforms). The objects may not be used without permission in any way whatsoever in which you charge money, or collect fees.


Comment & Rating (57)